In this guide, we'll show you how to build your own Meshtastic LoRa Node. While you could buy a WisBlock RAK node for just $24, you can create your own for about $12 using a $6 NRF52840 Pro Micro and a $6 LoRa chip.
Hardware
Now let's get started with the hardware you need:
- 1x NRF52840 Pro Micro - AliExpress Price 3.00USD
- 1x 433 Mhz LoRa Module Ra-02 DIP - AliExpress Price: 3.72USD | 868/915 Mhz LoRa (We did not test it & It is SMD, very small and hard to work with & No IPEX Support) - AliExpress Price: 5.15USD
- 1x GIZONT 433 Mhz 10 dbi Gain (Optional but Highly Recommended) - AliExpress Price: 11.16USD For Pair Short & Large (Tested with ~1.5 KM Range In High-Density City No LOS) - Single Antenna - AliExpress Price: 4.88USD - 5.58USD
- 1x IPEX to SMA-K (If you decide to go with Antenna) - AliExpress Pirce: 2.95USD
- 14x Female to Female Pin Connector - AliExpress Price: 0.42USD
- 1x 0.96 inch I2C OLED - AliExpress Price: 1.29USD (Optional)
- 1x 3.7V 110mAh 301230 Lithium Polymer Li-Po Battery - AliExpress Price: 6.72USD (Optional)
- 4x Female to Female Pin Connector (If you decide to go with screen)
- 1x Soldering Iron + 60/40 Solder Wire (Optional - You can go to a nearby electronic shop to solder the Lora header on the board)
NRF52840 Pro Micro
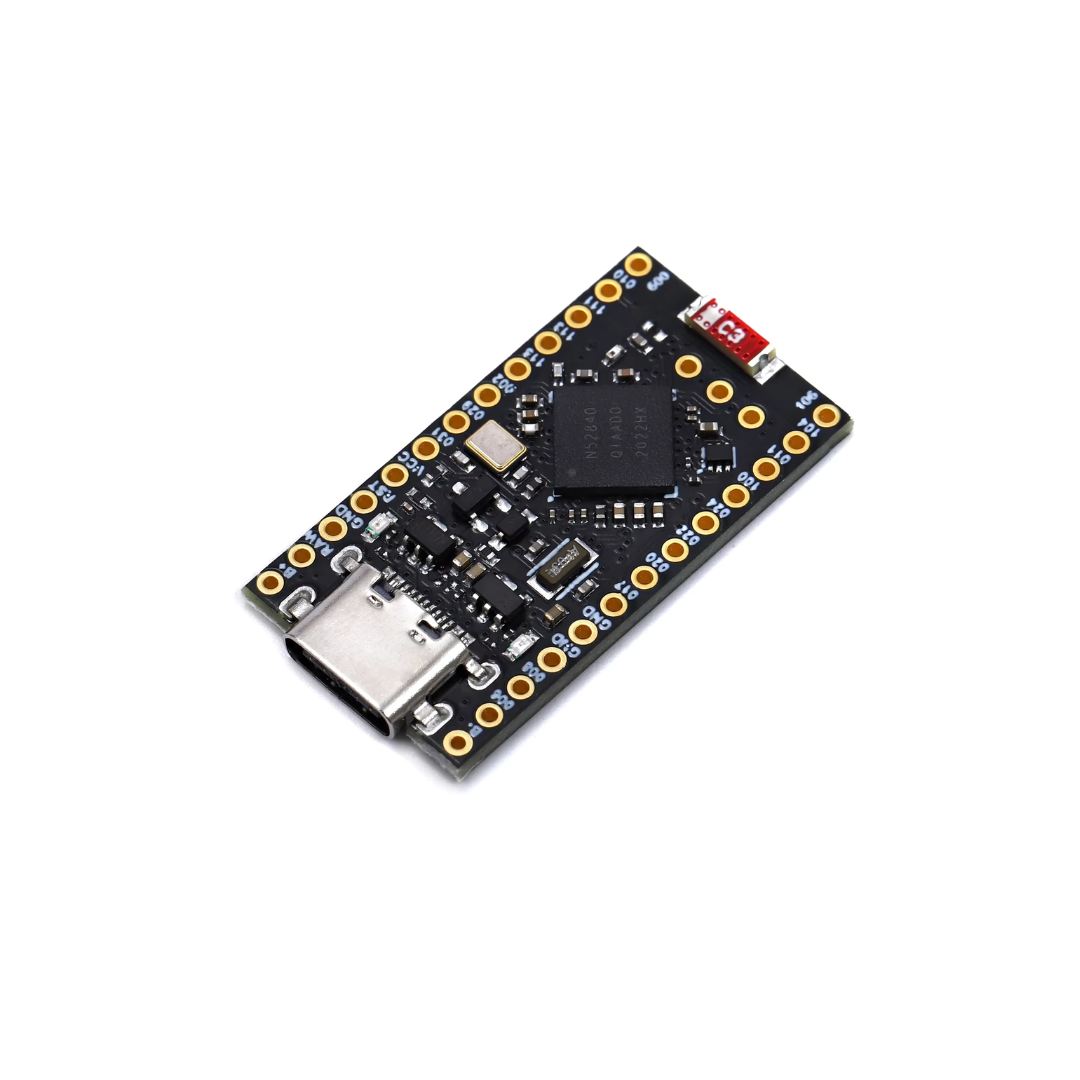
For this guide, we will use the NRF52840 Pro Micro, an excellent choice for building a Meshtastic LoRa Node. This compact board features an integrated Battery Management System (BMS) and Bluetooth connectivity, all while maintaining very low power consumption, allowing it to run on a small battery for days. However, it's important to note that the NRF52840 does not have WiFi capabilities, so features like the PAX counter or connecting to MQTT via WiFi won't be available. This board is best suited for applications that rely on Bluetooth and LoRa communication rather than WiFi connectivity.
🛑It is not recommended to use a battery larger than 450mAh with this board. Although this limitation isn't officially documented, some users on Reddit have reported issues with larger batteries. We have not tested this ourselves.
LoRa Module Ra-02 DIP
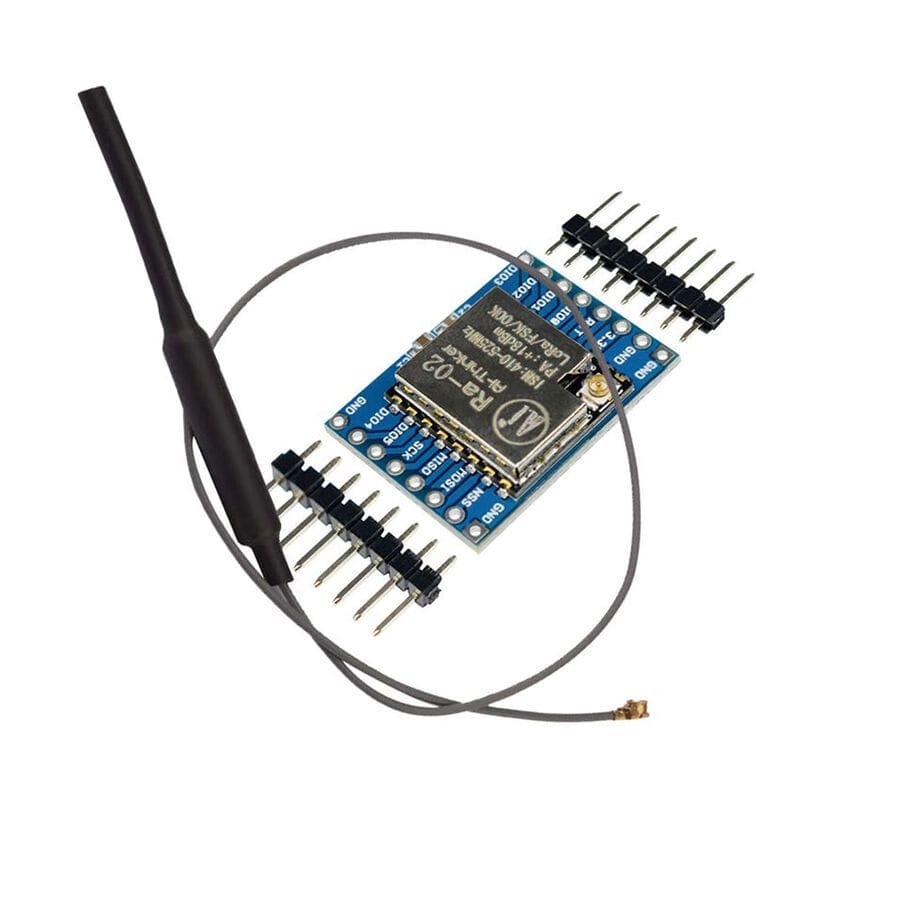
When it comes to the LoRa chip, many options are sold as Surface Mount Components (SMCs), which are very small and can be challenging to handle without damaging the board. For this reason, we opted for the RA-02 DIP version. This version is mounted on an adapter board, giving you easy access to all the pins and making it as simple as building with Lego blocks. Keep in mind that you'll need to solder the headers to the board.
To keep costs low, consider checking with your local electronics shop—they may offer soldering services, saving you the hassle and expense of purchasing soldering equipment.
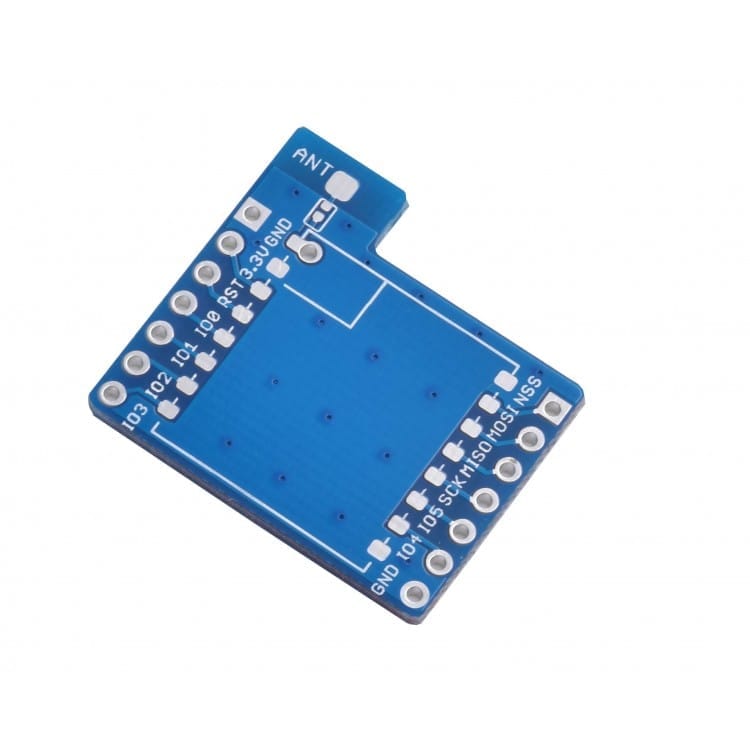
If you want to use a different frequency, you may not find a DIP version (with pins) readily available. In that case, you'll need an adapter board like the one shown in the picture below. We attempted to find a reliable source for these boards but couldn't find one online, so check your local area for potential sellers.
💡The firmware we will use in this guide is designed to support both SX126X and SX127X LoRa chips. However, we have only tested it with the SX127X, which is the specific chip mentioned in this guide.
GIZONT 433 Mhz 10 dbi Gain
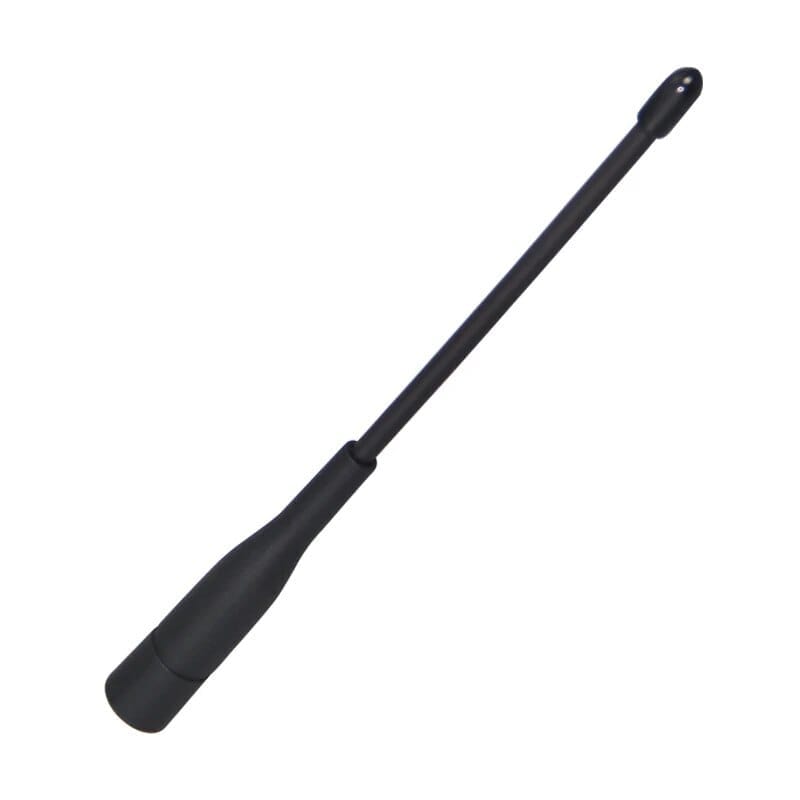
The RA-02 LoRa module usually comes with an antenna, but it's often of very poor quality, providing a range of only 10-50 meters. We tested the GIZONT antenna (link provided), and it performed significantly better. While it’s possible we just got lucky with a well-calibrated antenna, feedback from Meshtastic users suggests that GIZONT is a reputable store.
When choosing an antenna, make sure to select the correct frequency. In our tests, we used a 40 cm antenna for base stations, like those placed at home or on a balcony, and a 24 cm or 20 cm antenna for handheld devices.
 Adrelien
 Alexander Williams
 William
 Chris Hamilton
 Selali Adobor