 mclien
Soldering smd parts is tricky using a soldering iron from the 90th, no hot air solder and no solder paste. But it is doable, you need to be creative on how to fix the parts, till you make the first connection.
So here we go:
I removed the USB socket by disassembling it (cut away the metal hosing with the saw, nibbling away the resin and get rid of all the metal tongues except D+/- (yeah might have been easier to remove it entirely and use the pads directly, but this way, I could bend the tongues a bit out of the way to prevent shorts)
First par was the magconnector, barley doable because is sticks out just some 10th of a mm. I then covered most of the backside of the trinket with capton tape and fixed it with the USB and Bat holes. One capacitor is TH, that is the one that makes a few connections, so the wire is helpful. The sot-23 Mosfet just sits in place (and won't stay there by itself
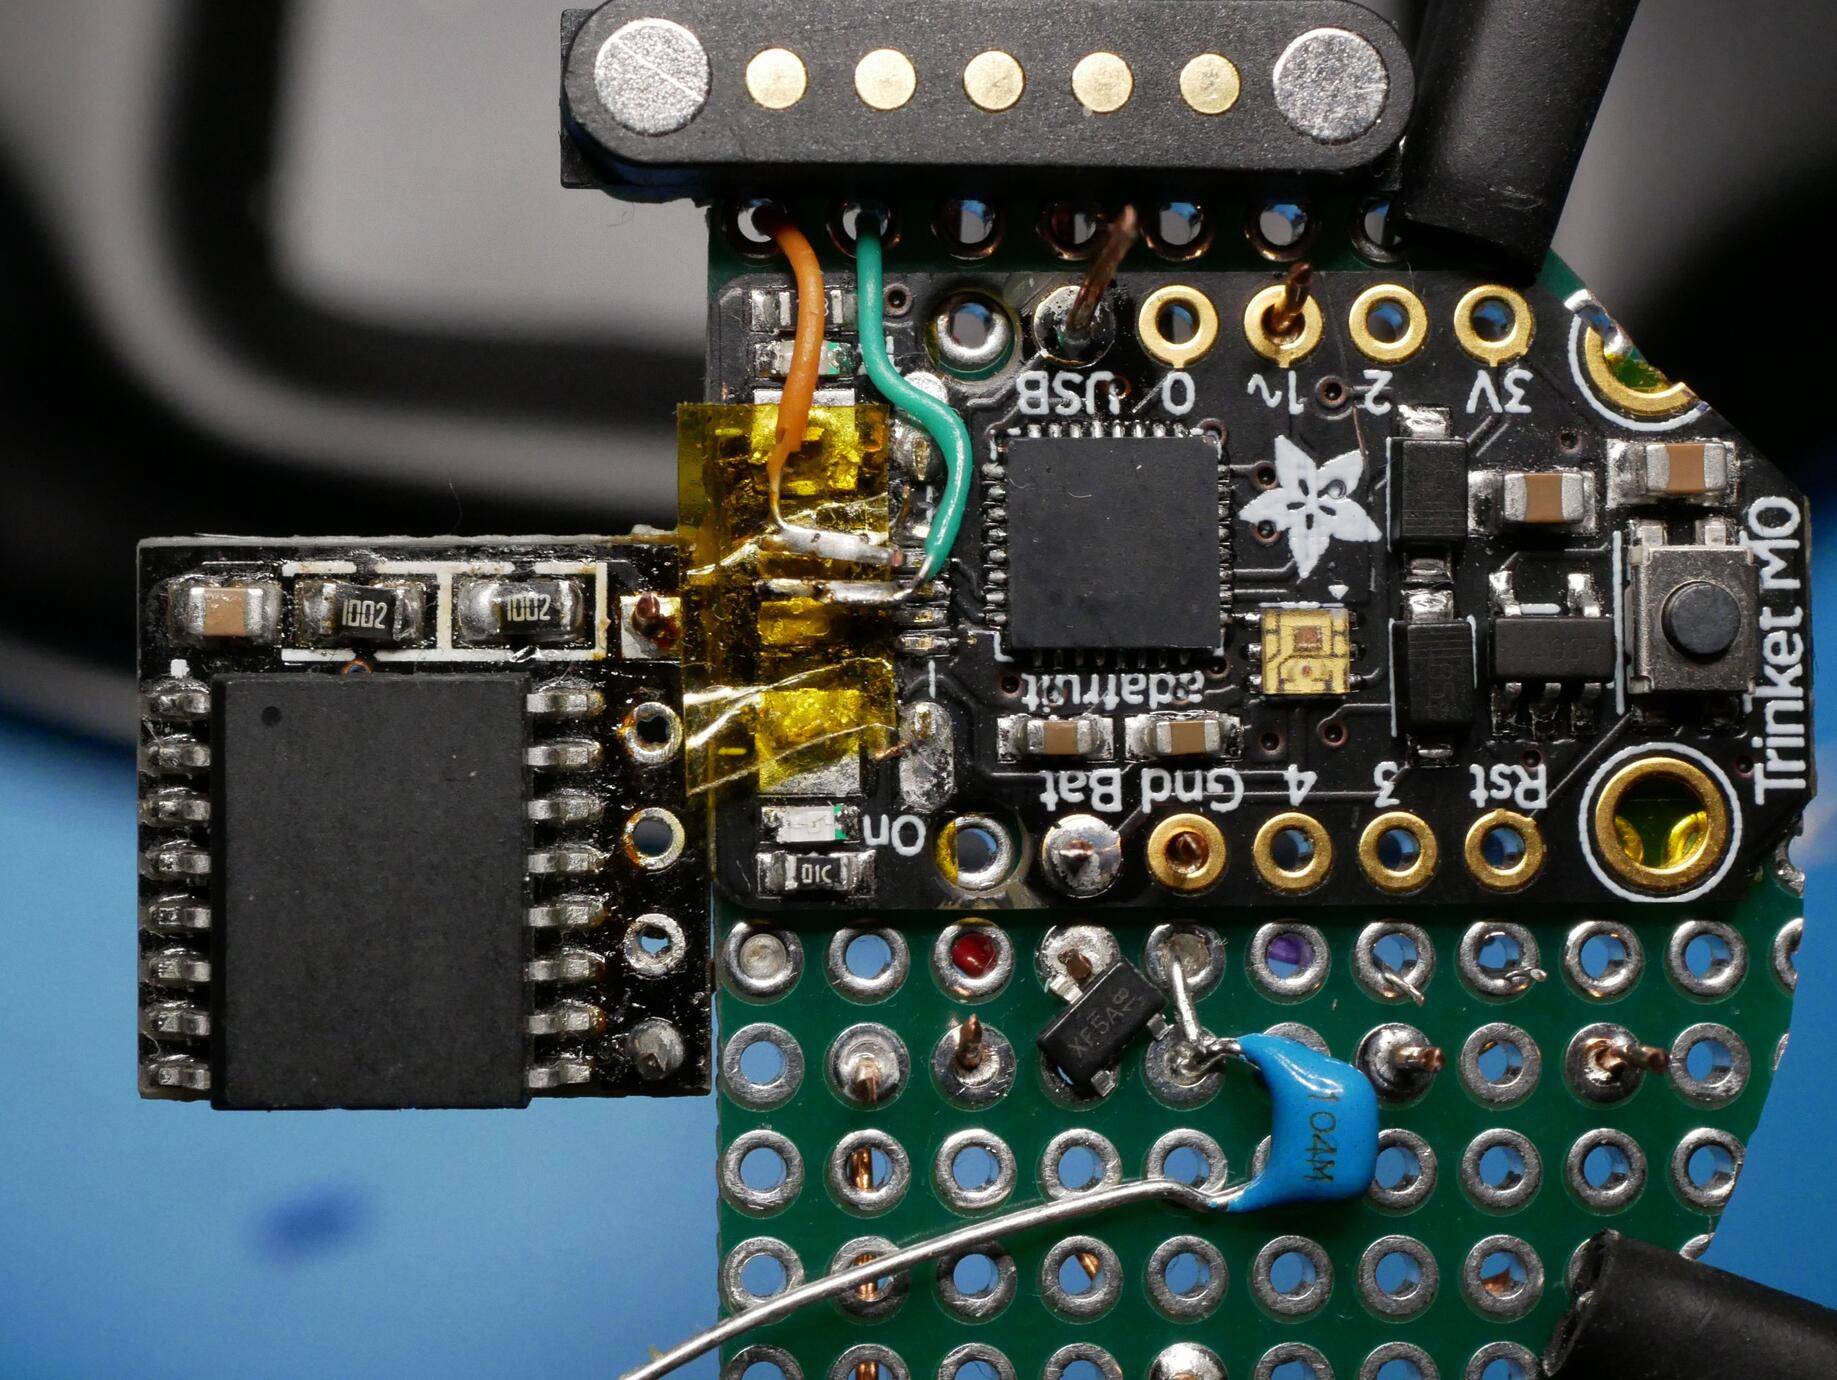
So, to hold it in position: (plus the resitor parallel to the cap)

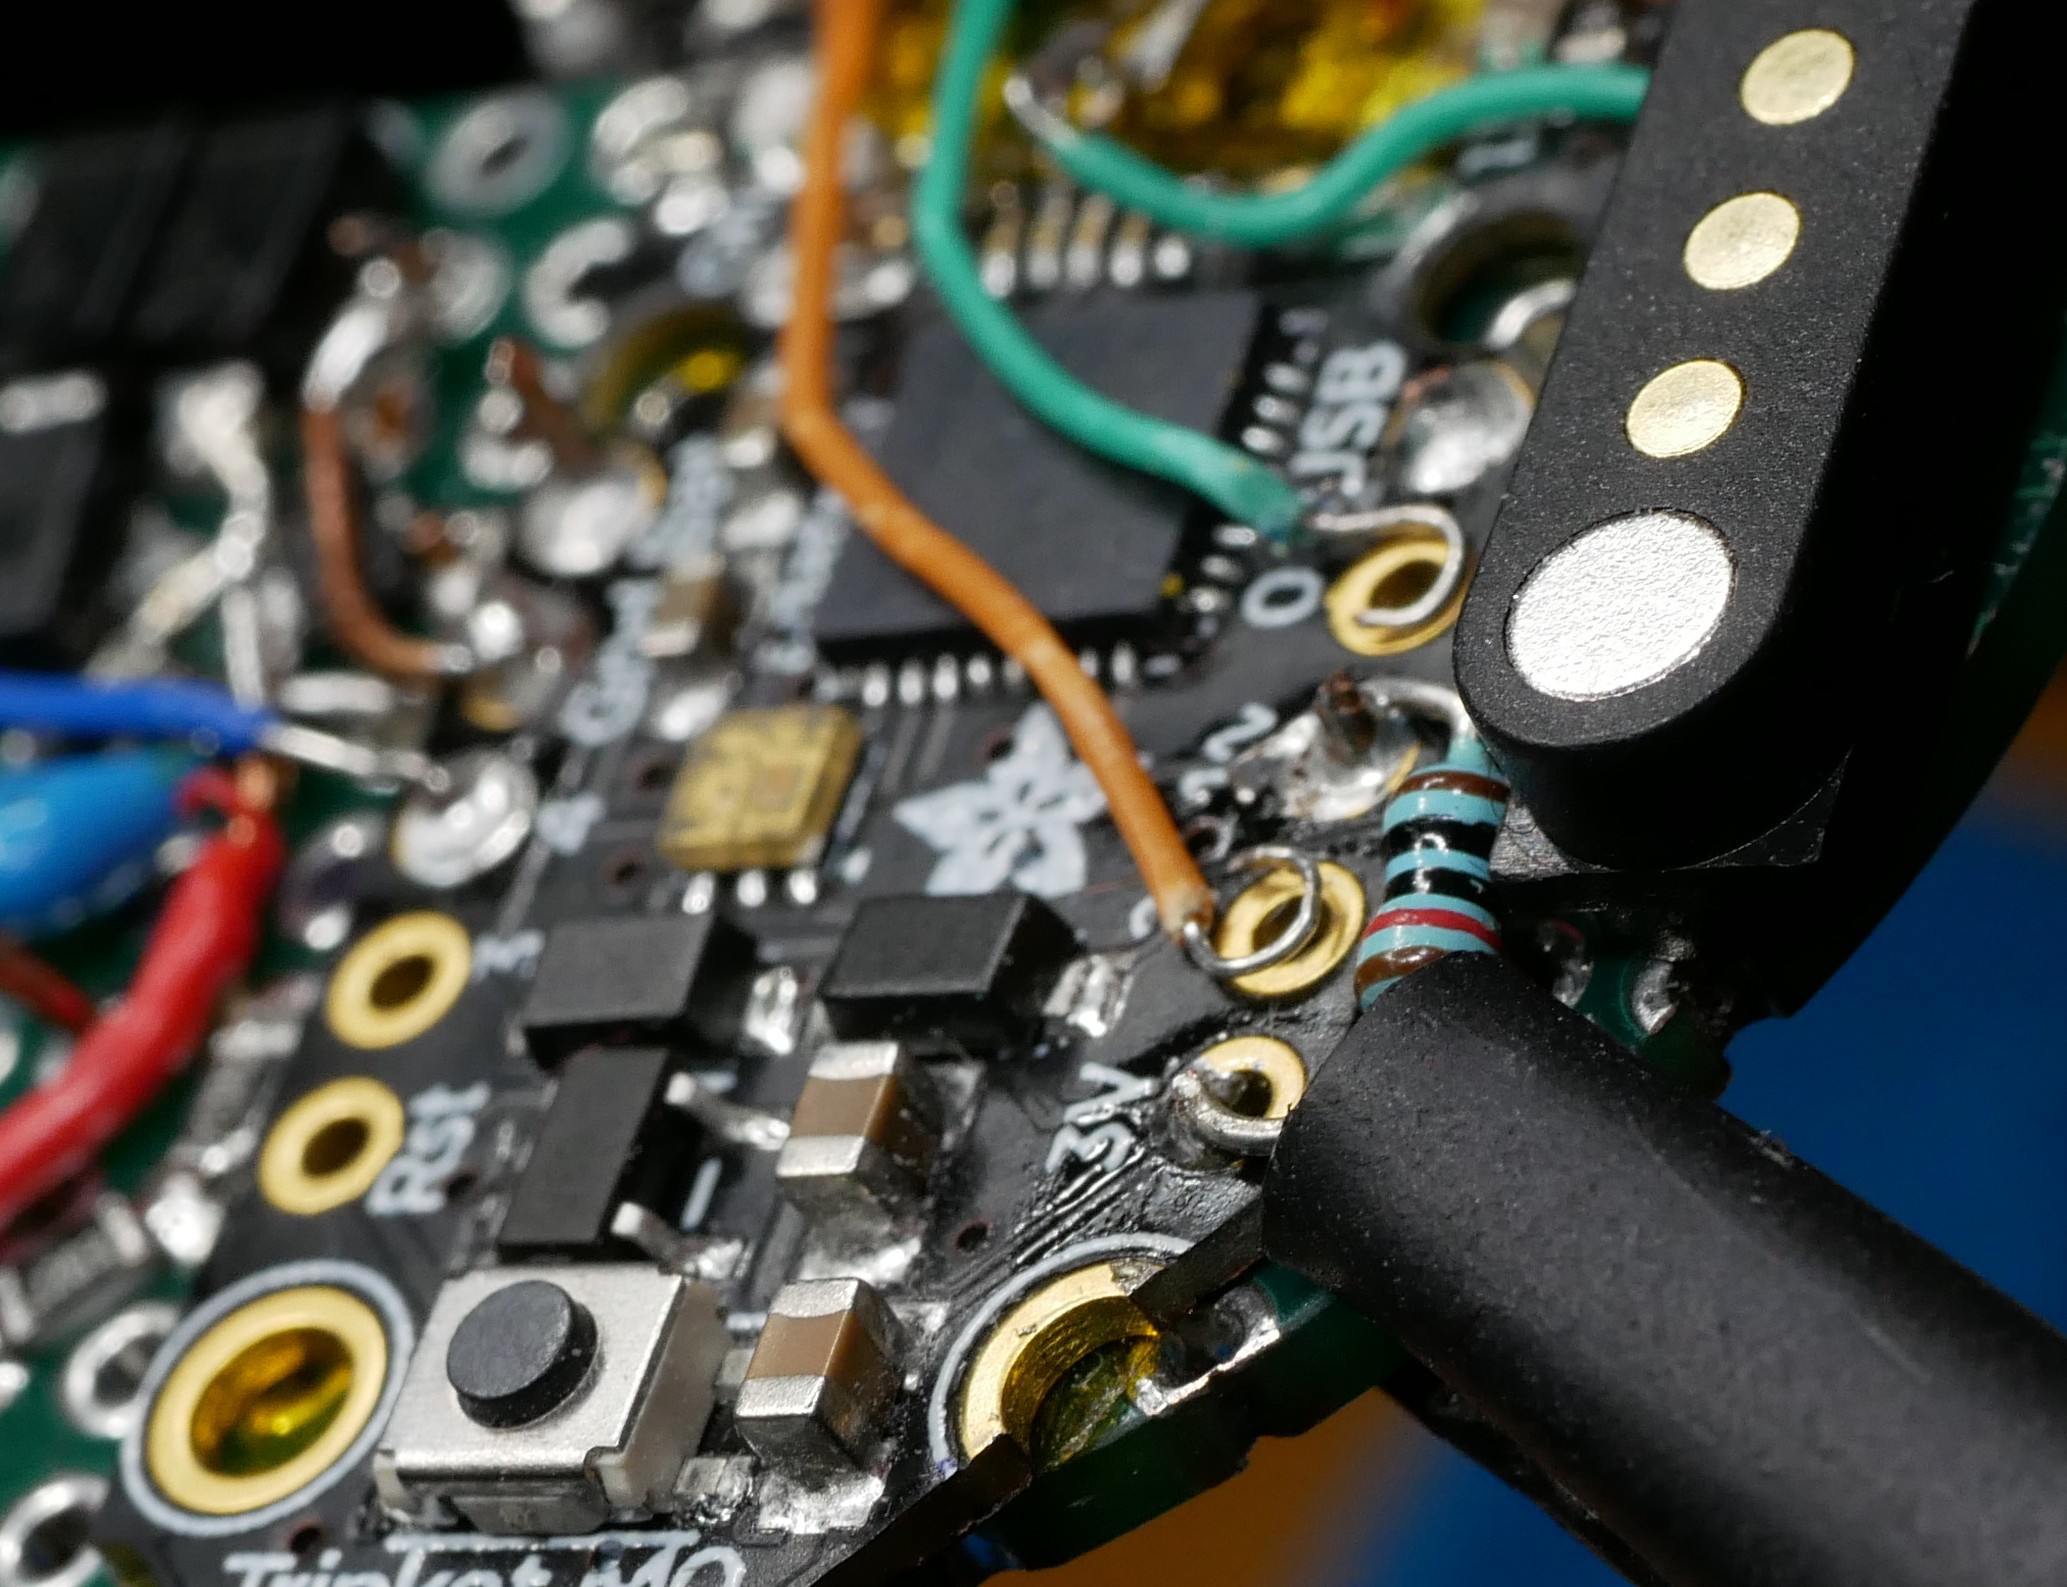
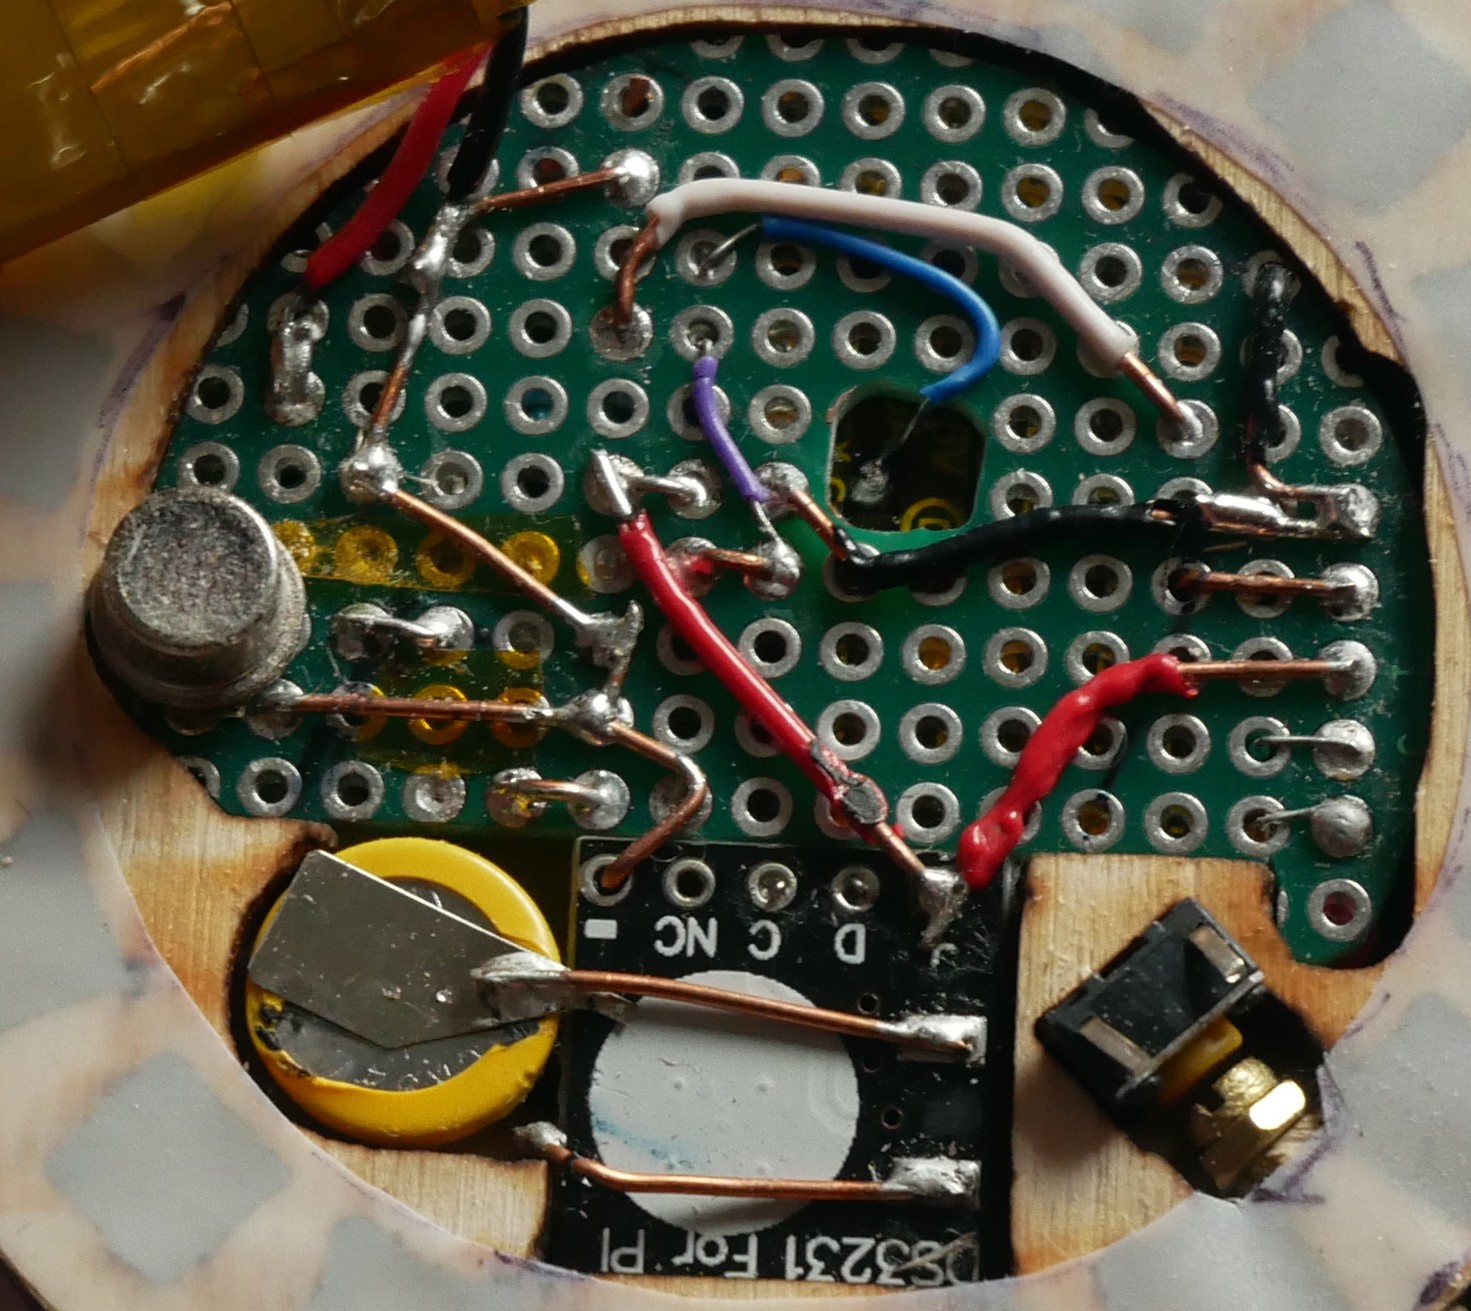
Not exactly the next step, but almost all connections on the backside. I used some un-tangled CAT5 cable here, which is obviously not make with insulation suitable for heat.. (have to find better material for the next project..)
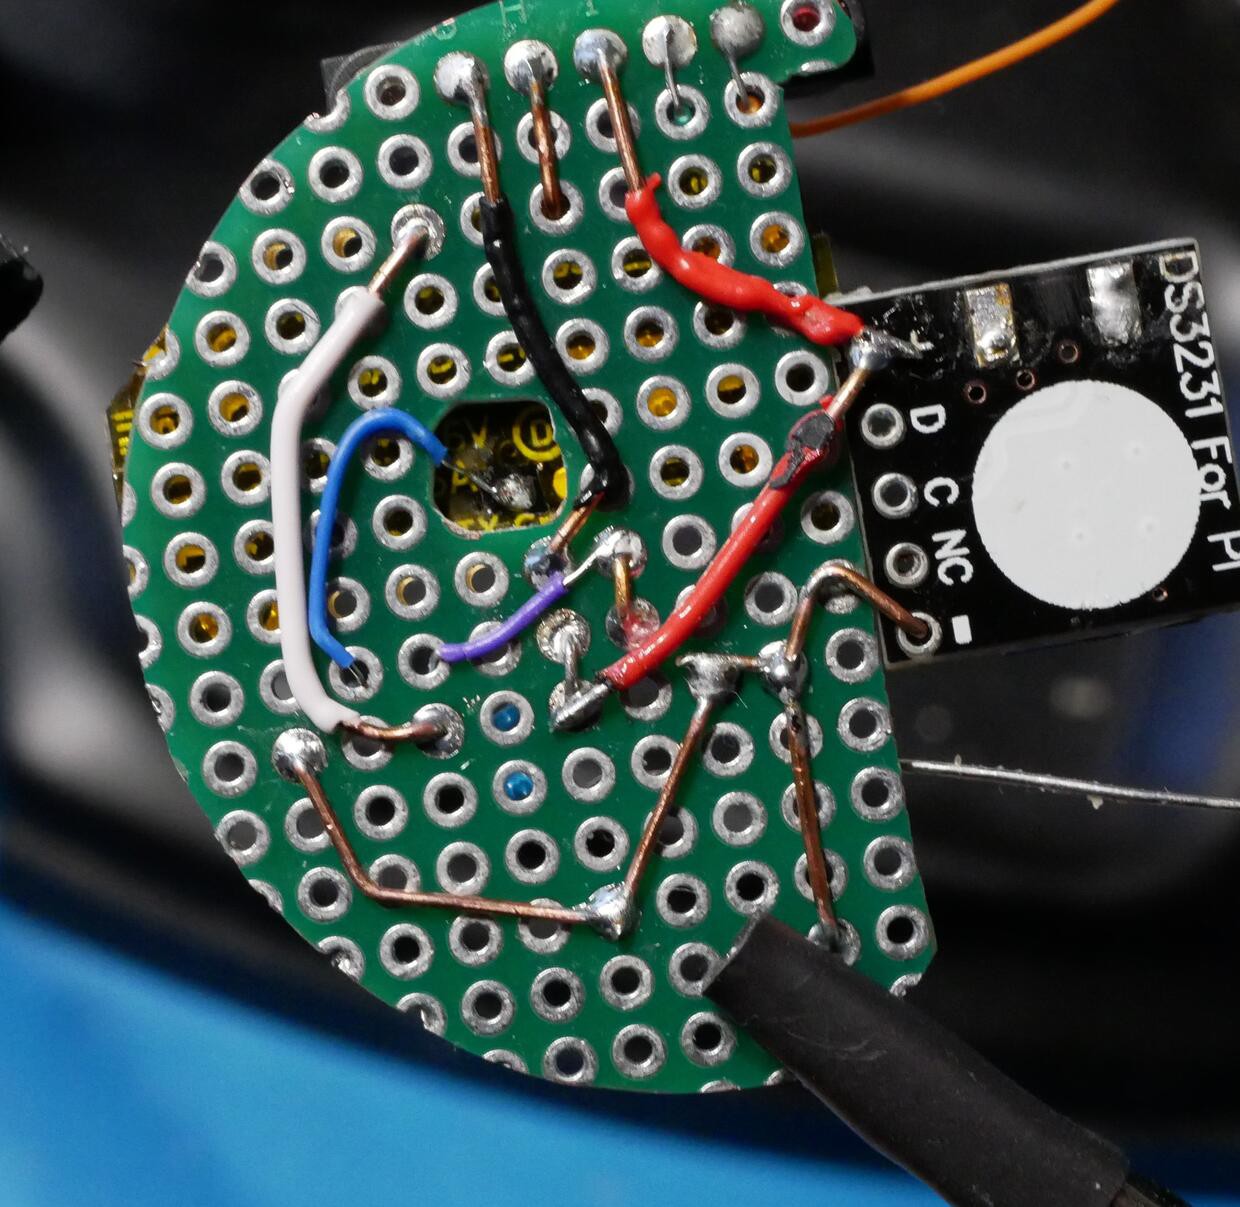
Few steps later, I2C wires from the RTC to the trinket:
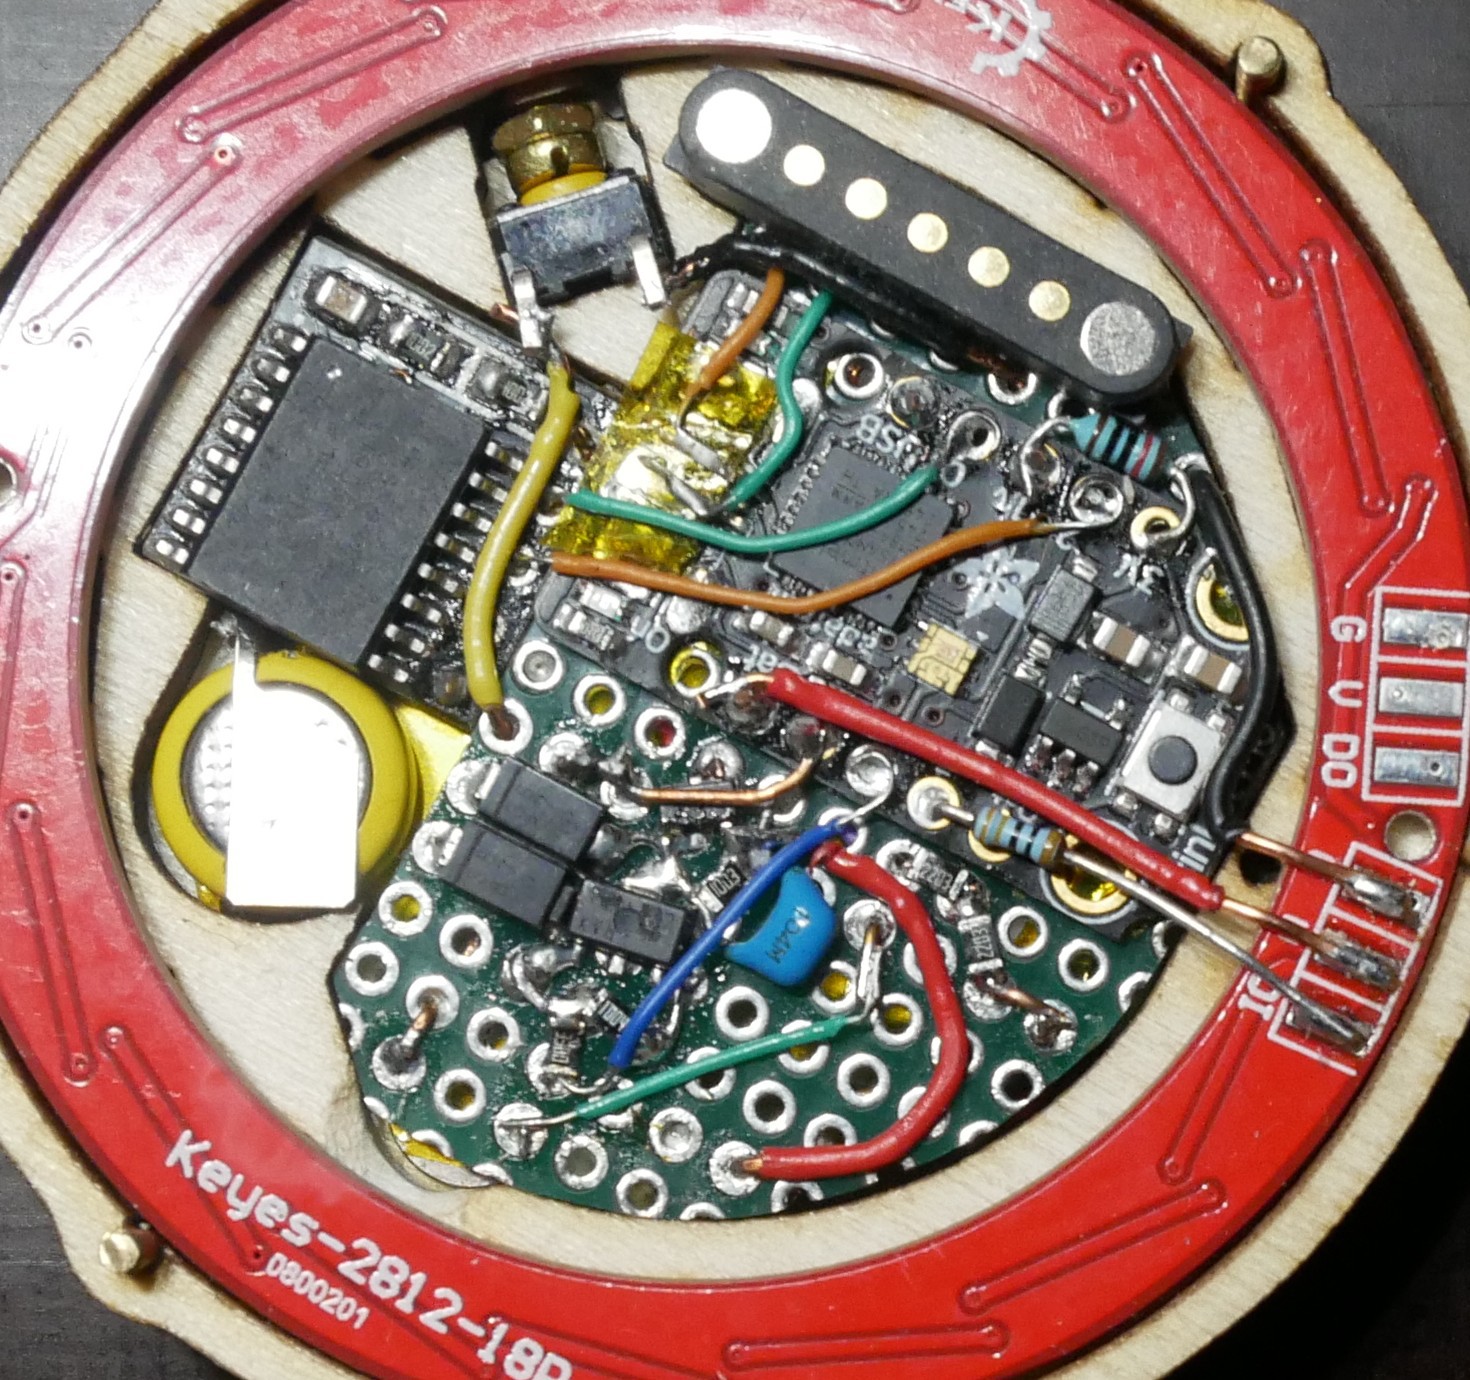
And here is the finished population:
And the backside with the backup battery placed from stacked to side-by side. Involves some cutting and bending of the solder tongues.
The hole in the matrix board for reaching the pin underneath the trinket.
Next up: assembling. I re-opened it for the pic and I did notice the amount of dust on the LDR, we'll come to that problem later, which also effects the LEDs/letters.
Discussions
Become a Hackaday.io Member
Create an account to leave a comment. Already have an account? Log In.