 mclien
What was to expected, is the fact, that having the letters as holes in the surface is. it will collect dirt/fuzz:
Especially carrying the watch in the pocket of a black trousers:
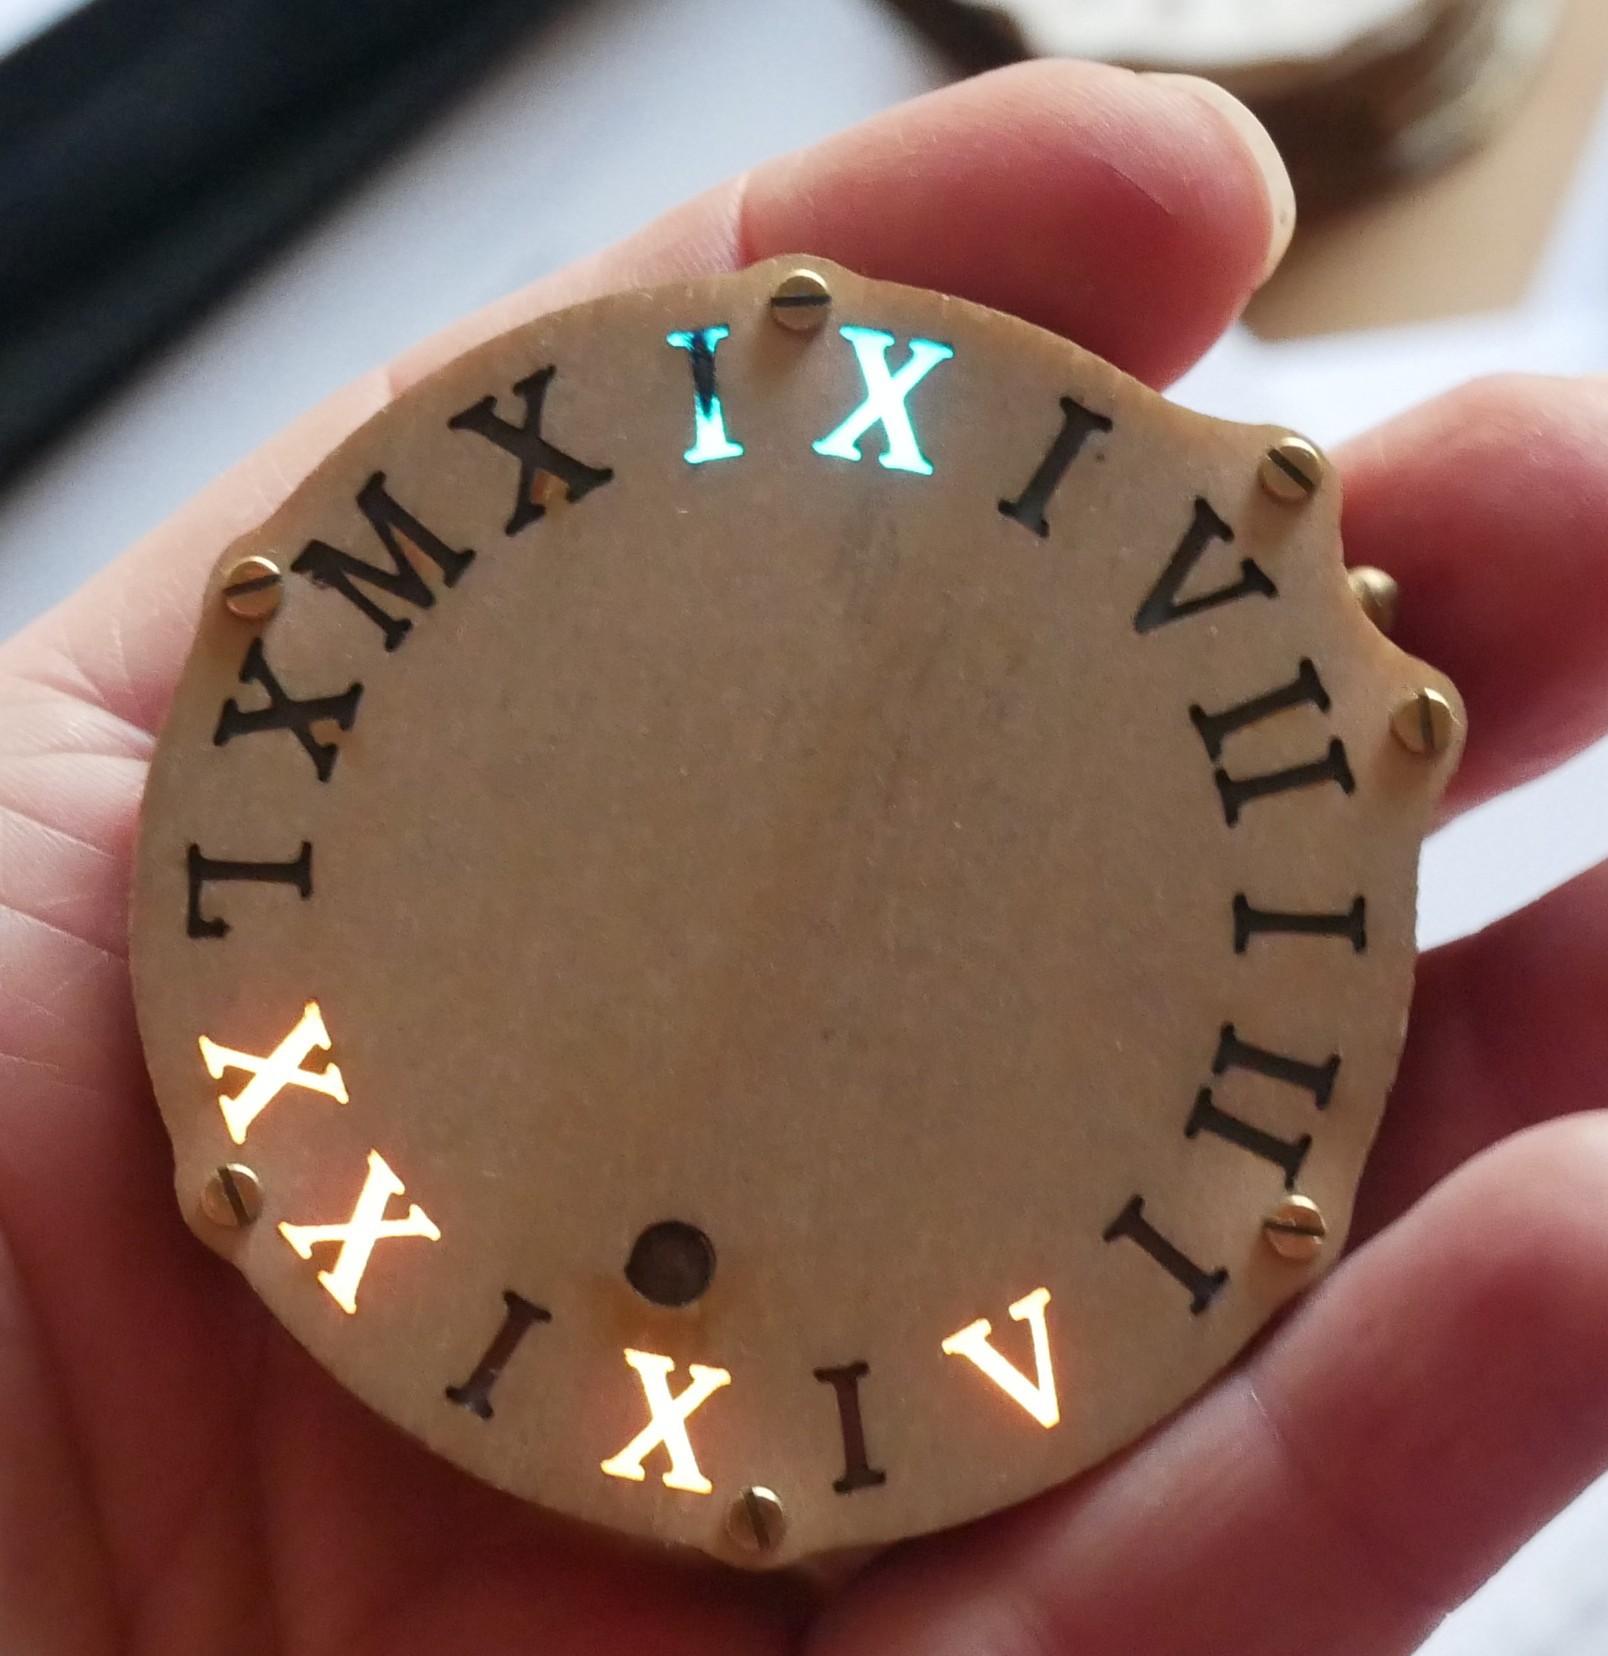
It is not too difficult to remove, but hardly the best option. The watchmakers choice would possibly be a a glas/mineral on top of it, but that would require considerable extra designing steps.
After spending some time on the technical support hotline of my favored resin supplier, I was going for "fill it with resin". So I ordered a resin with low viscosity and the hint to make that even more low and get the bubbles out by heating the resin to 60°C. To apply it in the (very small) cutouts, I was planning to use a syringe. I guessed 2 sizes of inner diameter (0.15mm/0.006" and 0.25mm/0.010" with blunt tips. You don't want to accidentally poke yourself with a sharp syringe filled with epoxy).
The burned flanks should help to prevent resin soaking to much into the wood, but also reduces adhesion. As I feared those small pieces would come of easily, I thought to stick the 2 top layers together first and fill the letter cutouts and the LED cutouts underneath, hence hold the resin in place by from fit, too.
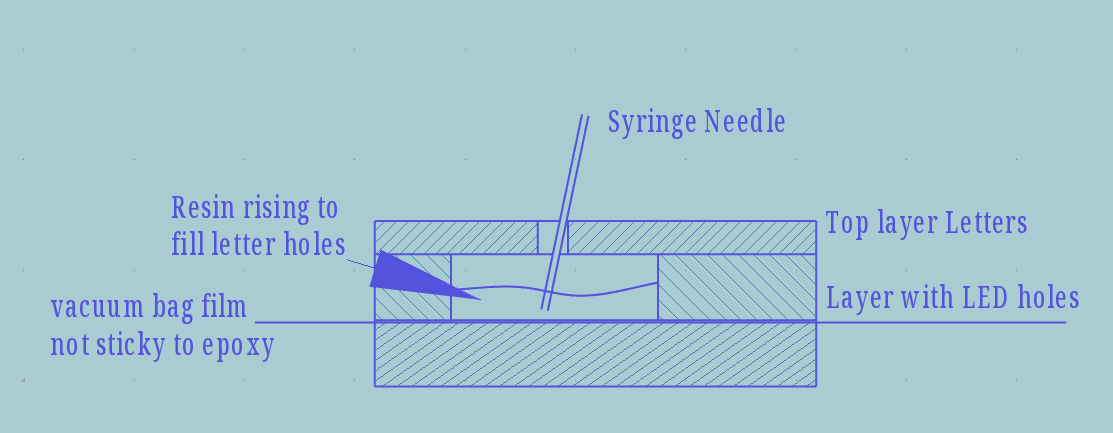
So this is a cut section of the idea to fill the resin from top with the syringe and let the resin rise from button to top through the letter cutouts:
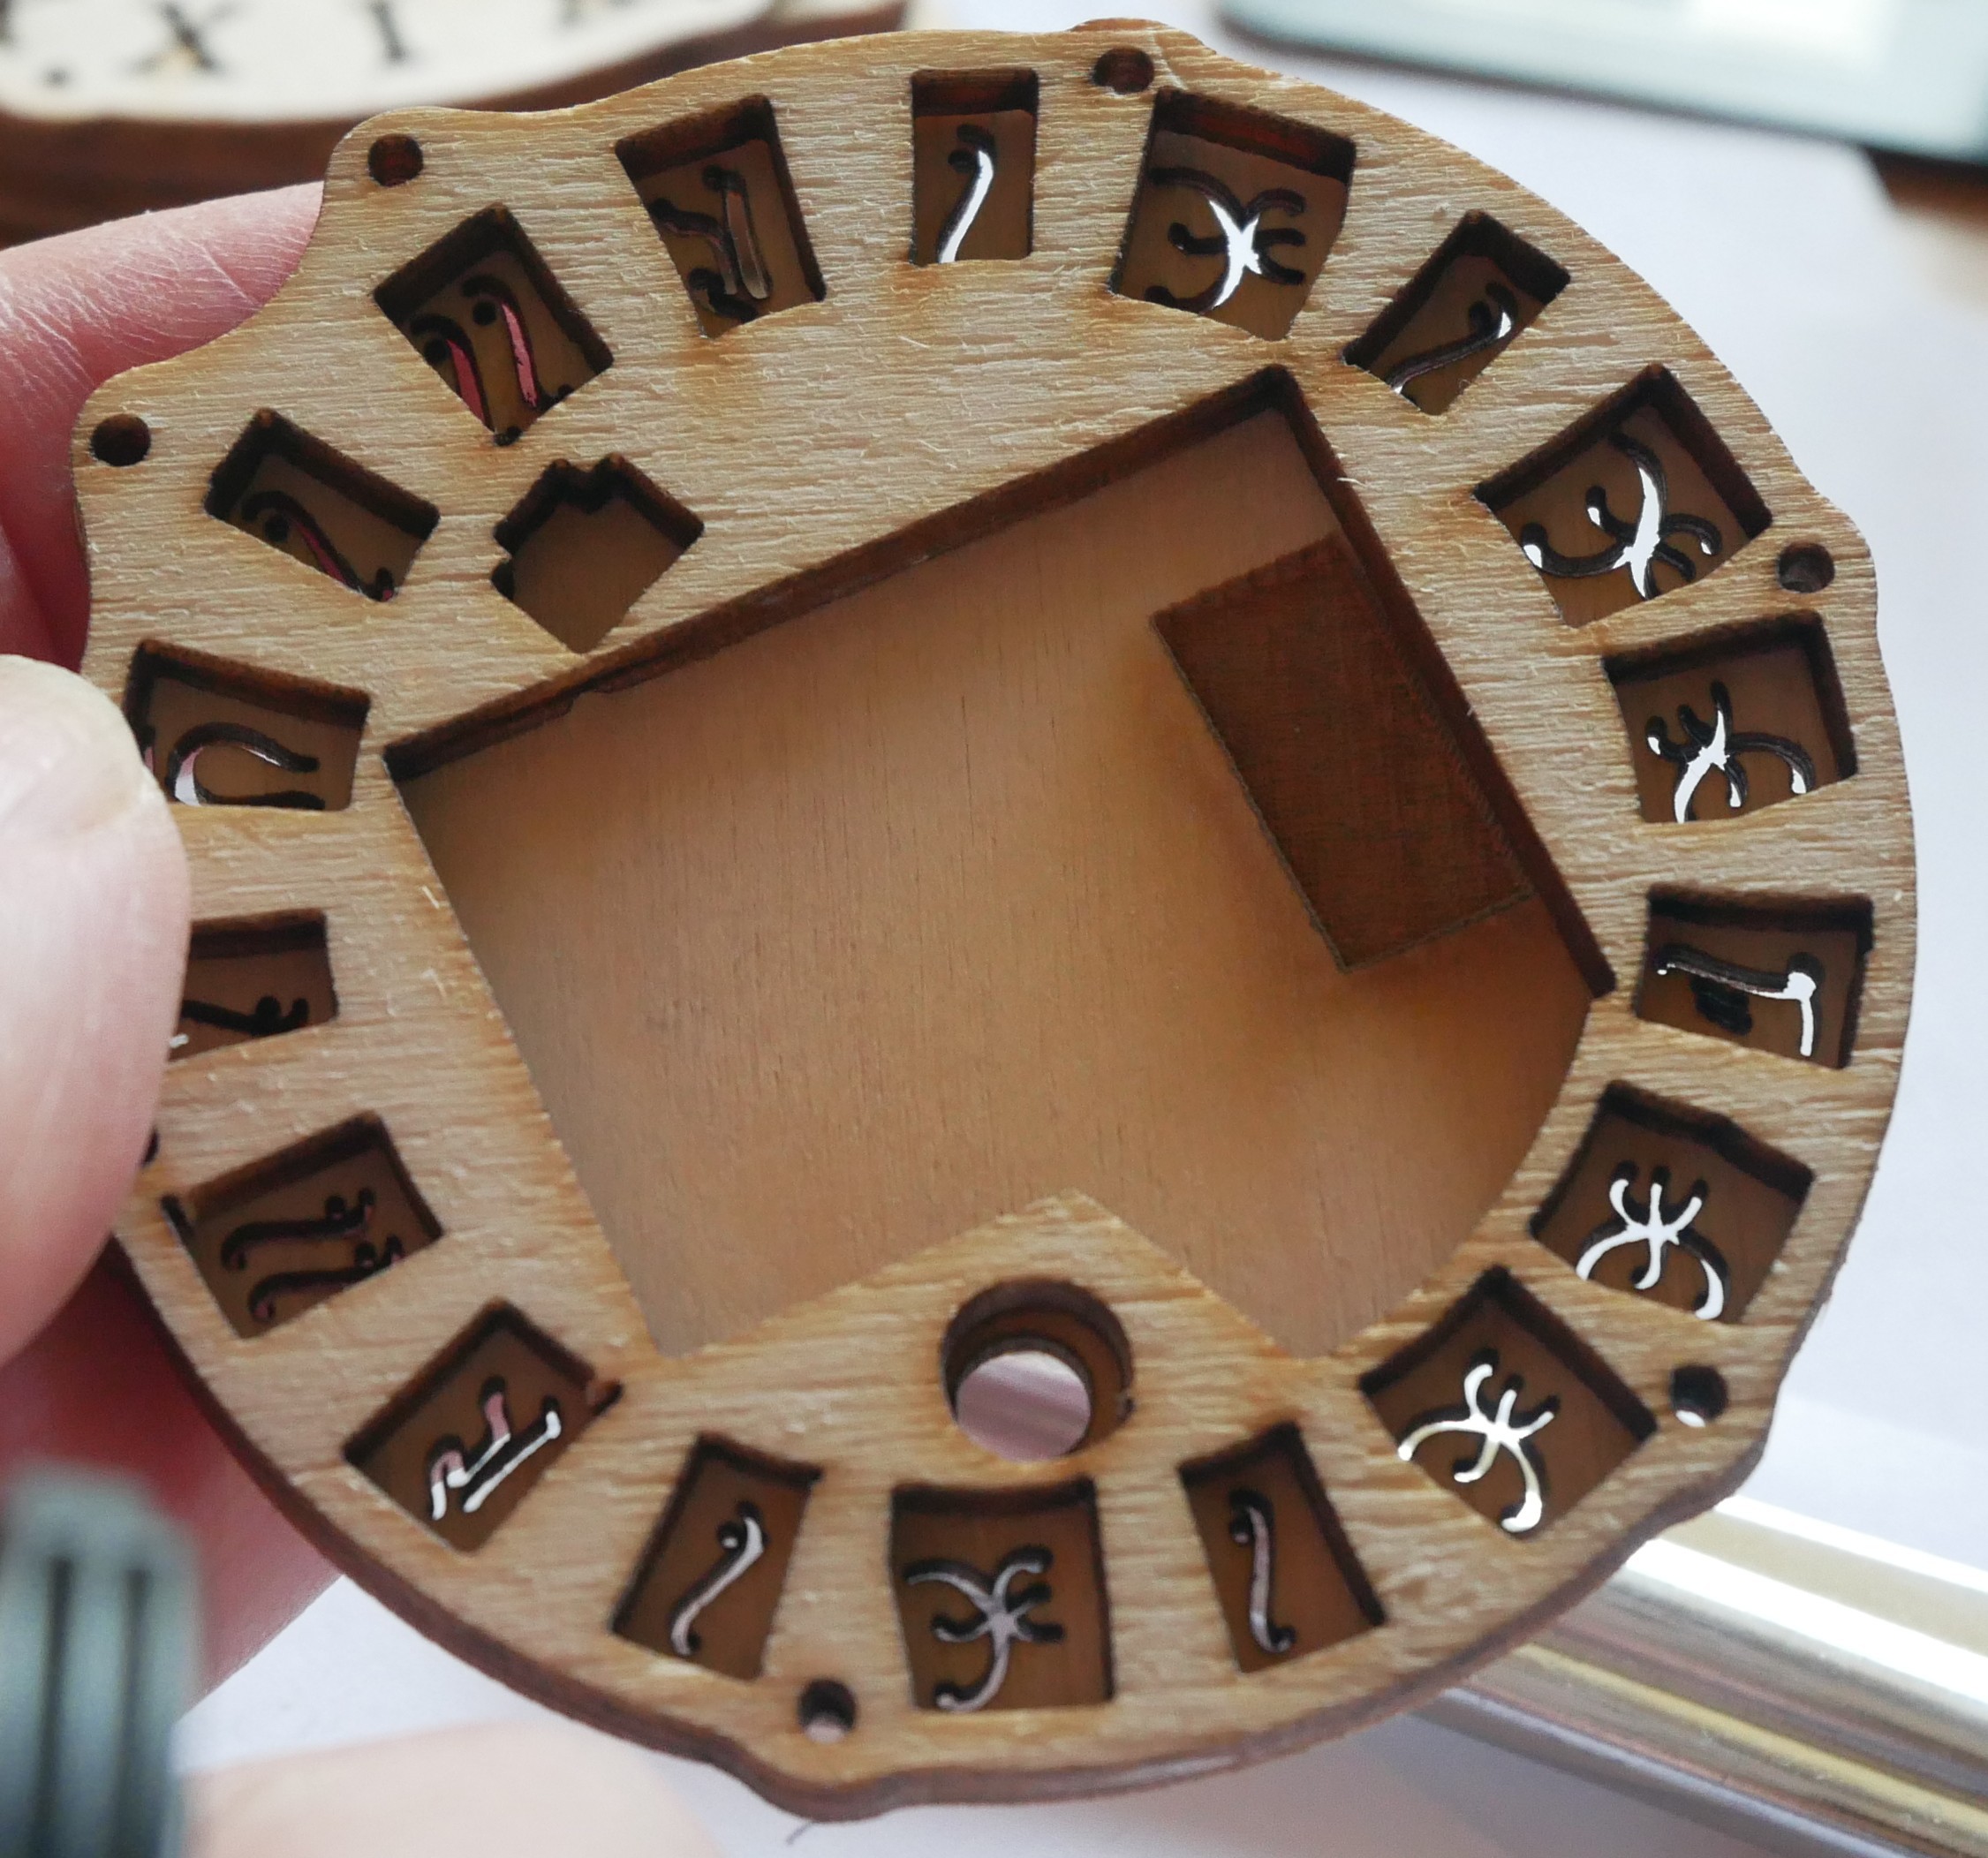
Here are the 2 top layers glued together:
(these are the pylea runes, because those are smaller to be easy applicable to the bigger roman letters)
With the 2 top layers on top, some failed laser cuts on the bottom side with the separating file in-between and poked through the film with the bolts:
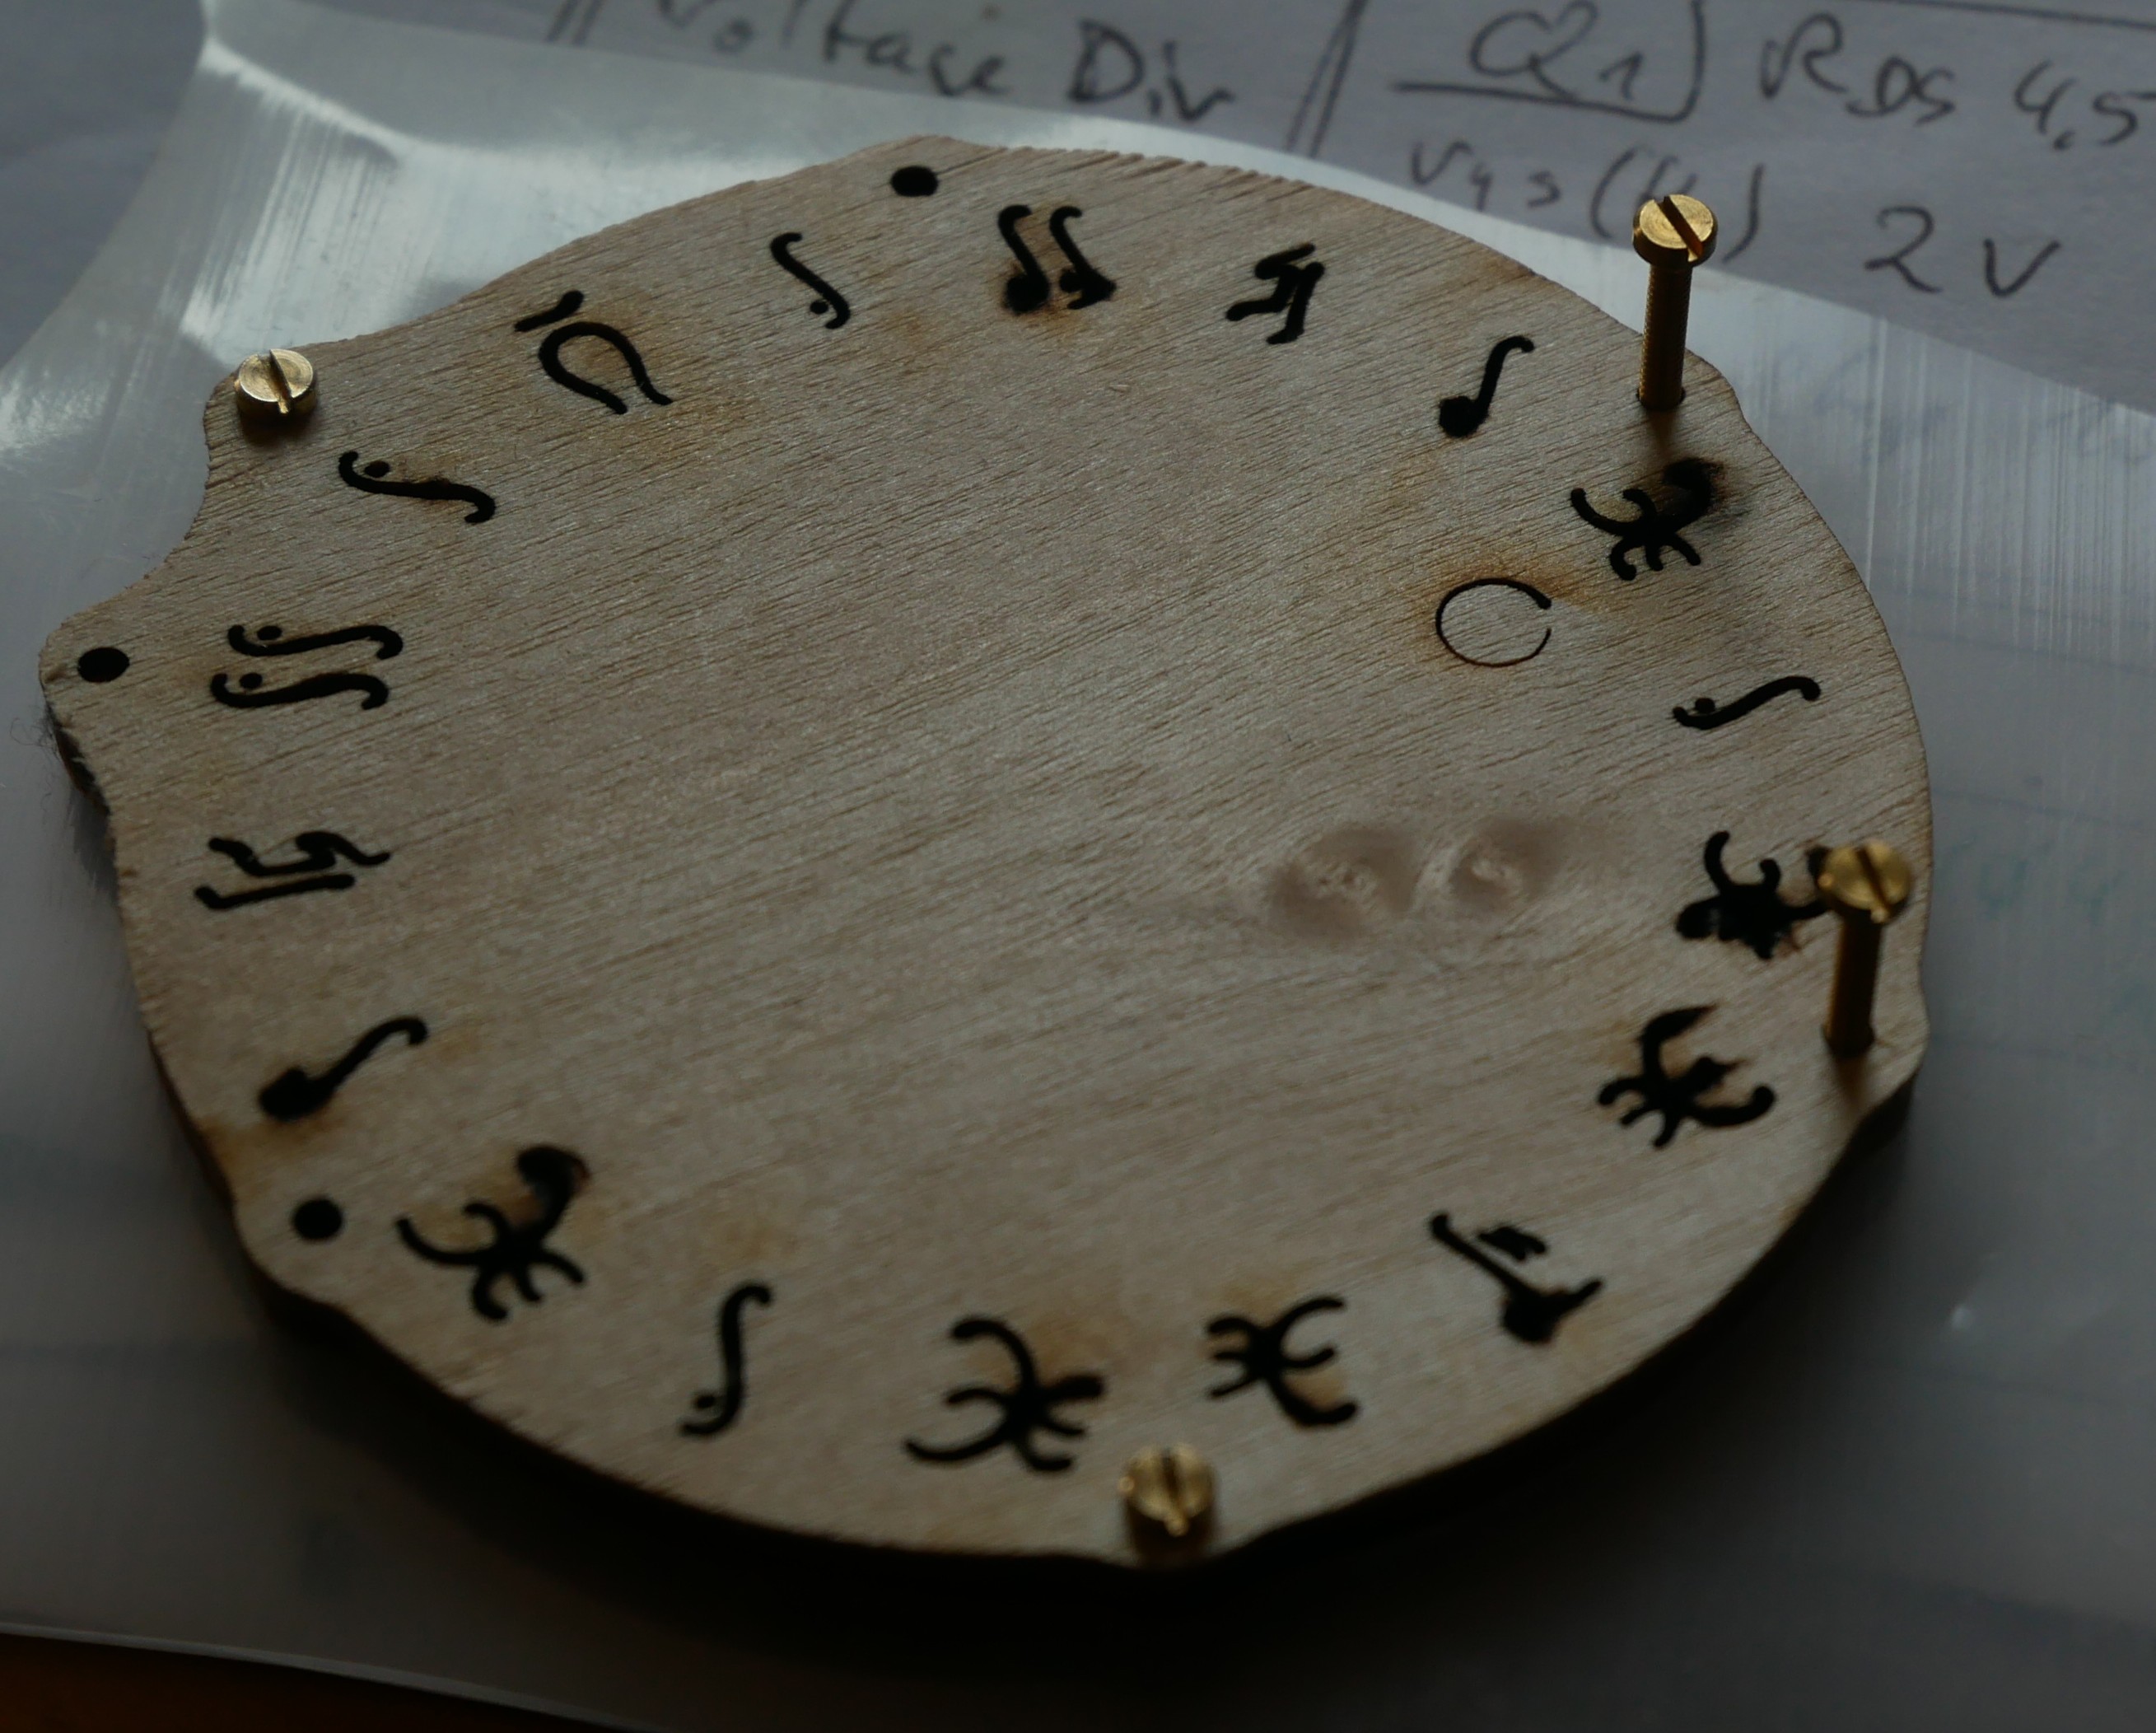
And finally screwed it all together:

And here is a pic of the dry-run, how I planned to apply the resin. As you run out of hand immediately when working with resin anyways, there is now way to take pictures by yourself at this task.
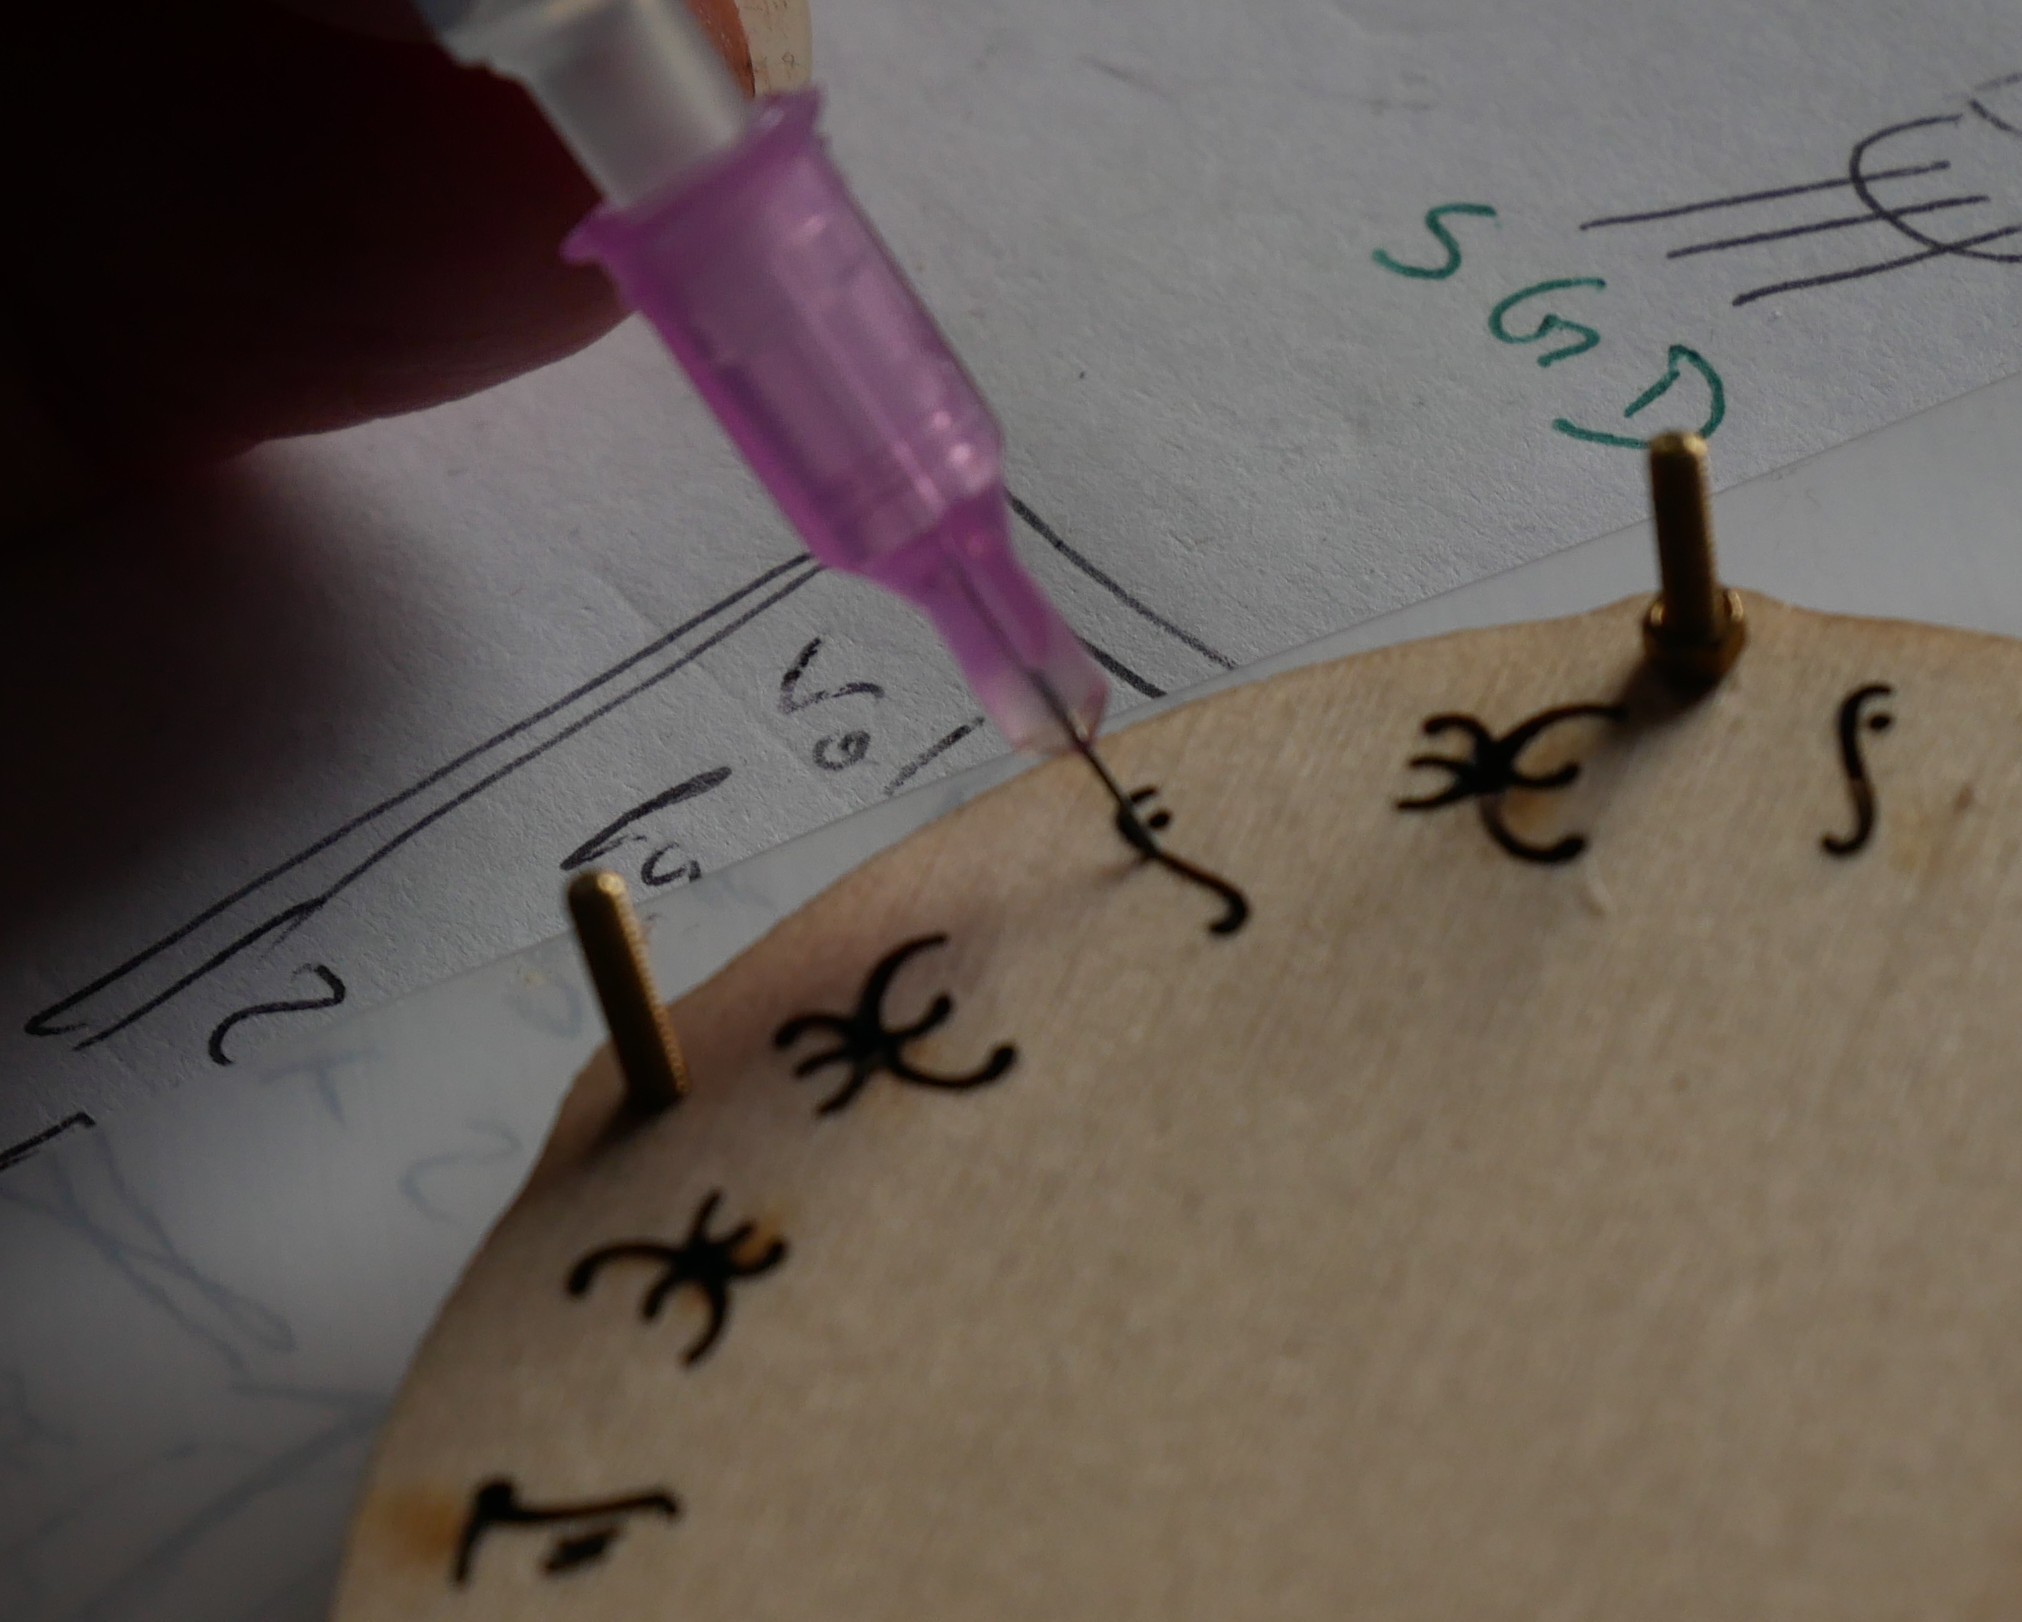
I did use 2 resin mixes (only the clear on and one with a bit of with transparent color paste) and did 2 ways off applying: "only till it reaches the top edge and "a bit of overflow (to the surface tension bubble). The later one needs to be refilled a drop from time to time, until the resin starts to get less viscous, which I did only start to use as I saw the resin didn't get soaked into the wood too much.
The smaller syringe (0.15mm) was too hard to get the resin through btw.
It is curing right now, I'll take some pics of the further progress after that. I intend to grind the excessive resin flat to the wood level.
Discussions
Become a Hackaday.io Member
Create an account to leave a comment. Already have an account? Log In.