 Space Buck
It's mid-February, so naturally it's time to write up my Halloween project. I sort of made a capybara head, but it's also a camera and thermal printer. And the whole thing is sort of 90s beige computer themed. Supercon 2024 started on Halloween night, so that was my excuse for wearing it off and on throughout the entire Supercon weekend. You can follow some of the assembly in this Bluesky thread!
I named it Chigüire, because I associate the era of 90s beige computers with egregious character encoding fails. (chigüire is the Venezuelan Spanish word for "capybara")
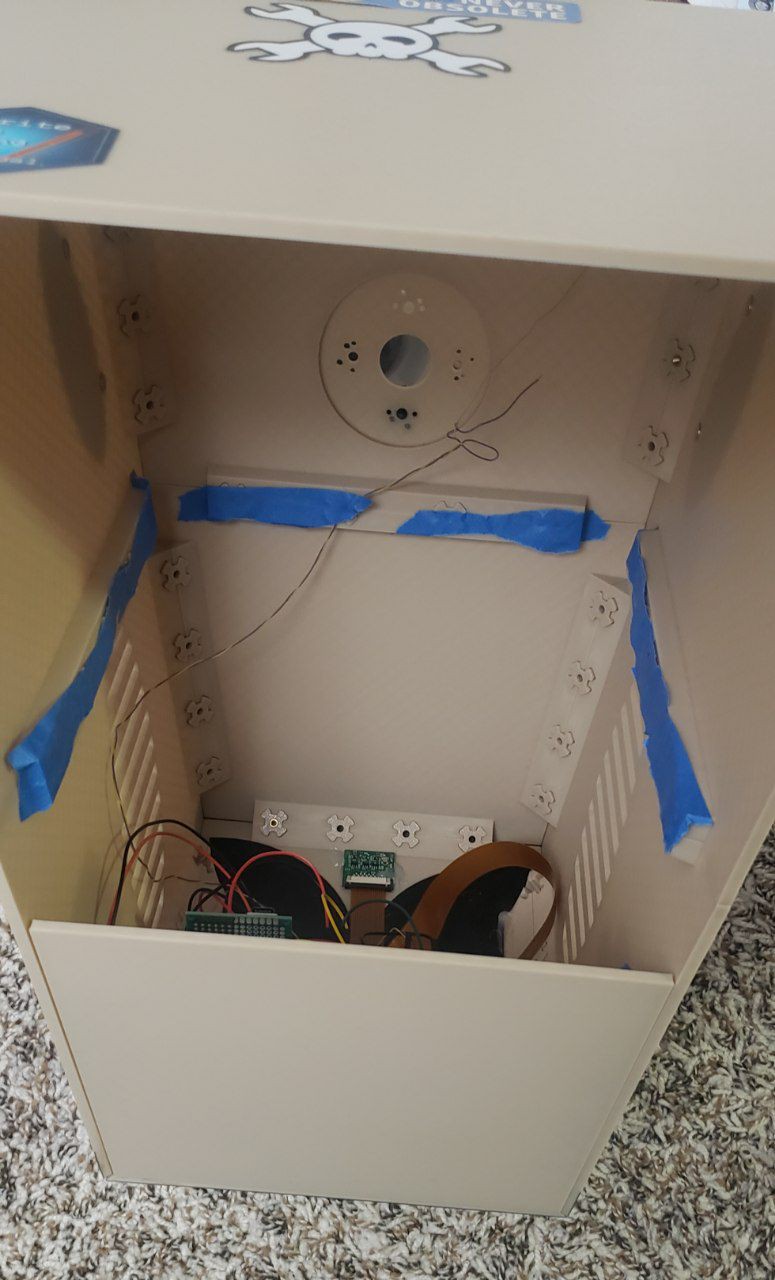
Inside the head is a Raspberry Pi Zero 2, a Raspberry Pi Camera, a 9600 baud thermal printer, and some bits to deliver enough power to everything. As of Supercon, here's what the head could do:
- pressing down on the citrus activated the Raspberry Pi camera in the snout
- a convoluted imagemagick algorithm tried to make the photo look like a lineart sketch
- a thermal printer in the mouth would spit out the photo on sticker paper, taking about 45 seconds to do so
The physical assembly
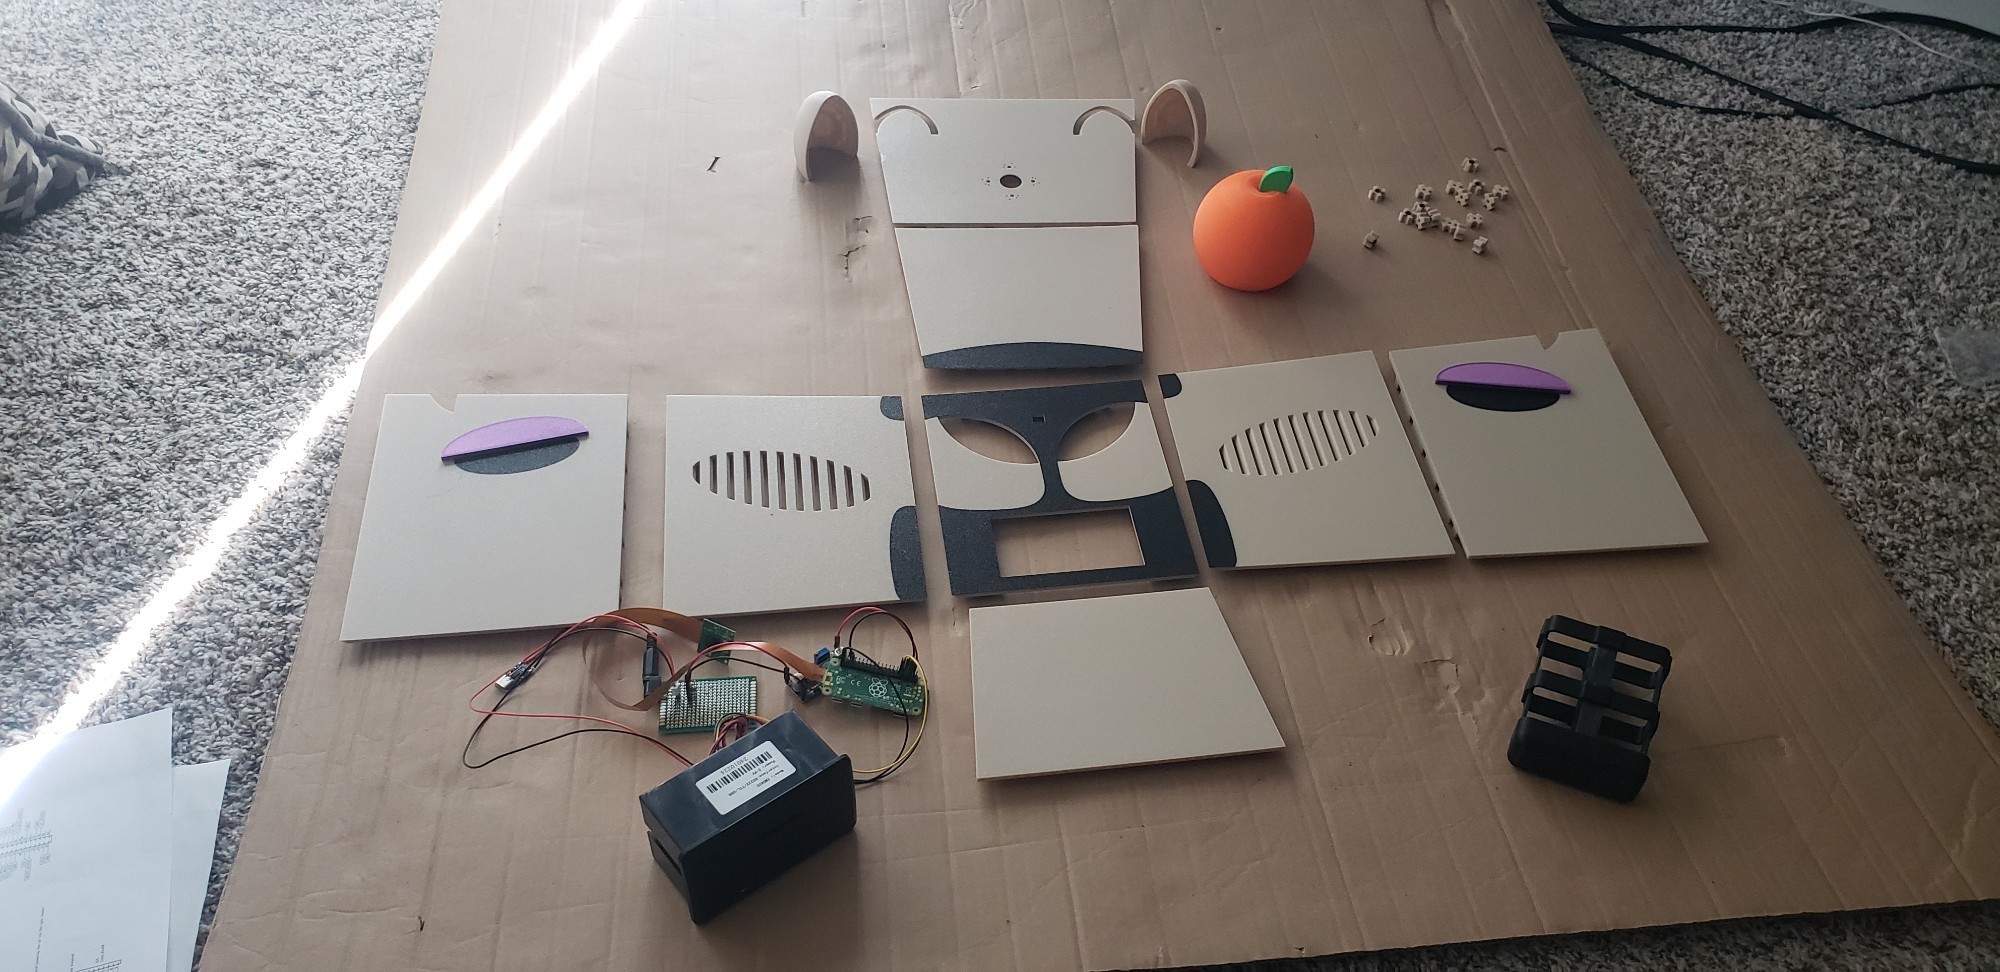
There are nine big flat panel pieces, two ears, a citrus with leaf, various eyelid accessories, and lots and lots of little connector pieces. All the panels were printed on a Bambu A1 with AMS Lite, which with a bed size of 256×256mm is my only "big" FDM printer available. I used some of my other FDM machines to print the smaller parts.
The panels are held together by dozens of tapered X-shaped pieces inspired by the GridSystem modular computer case platform. I recreated them in Solidworks to make it easier for me to create panels at the weird angles on the capy head. The citrus is sitting on four MX keyswitches; the print was too heavy to sit on a single keyswitch. One of the four MX switches goes to a GPIO on the Raspberry Pi.
For power, I wore a battery bank on a hip clip that worked out quite well. I kind of want to turn that into a separate project description.
TODO: describe the eyes/eyelids here
Stickers, a necessary part of a computer build
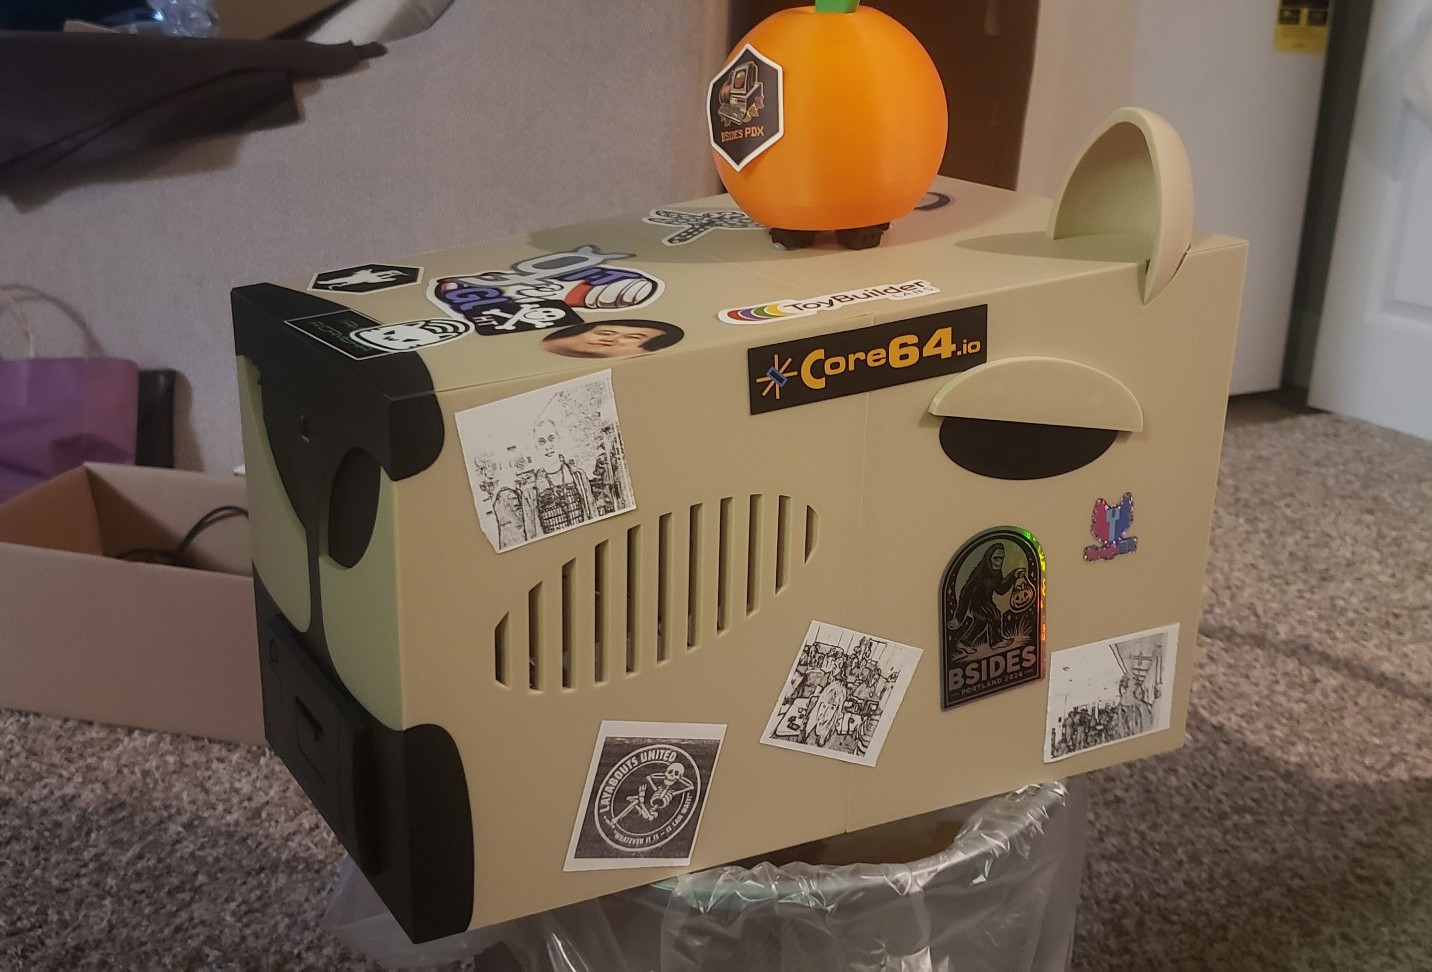
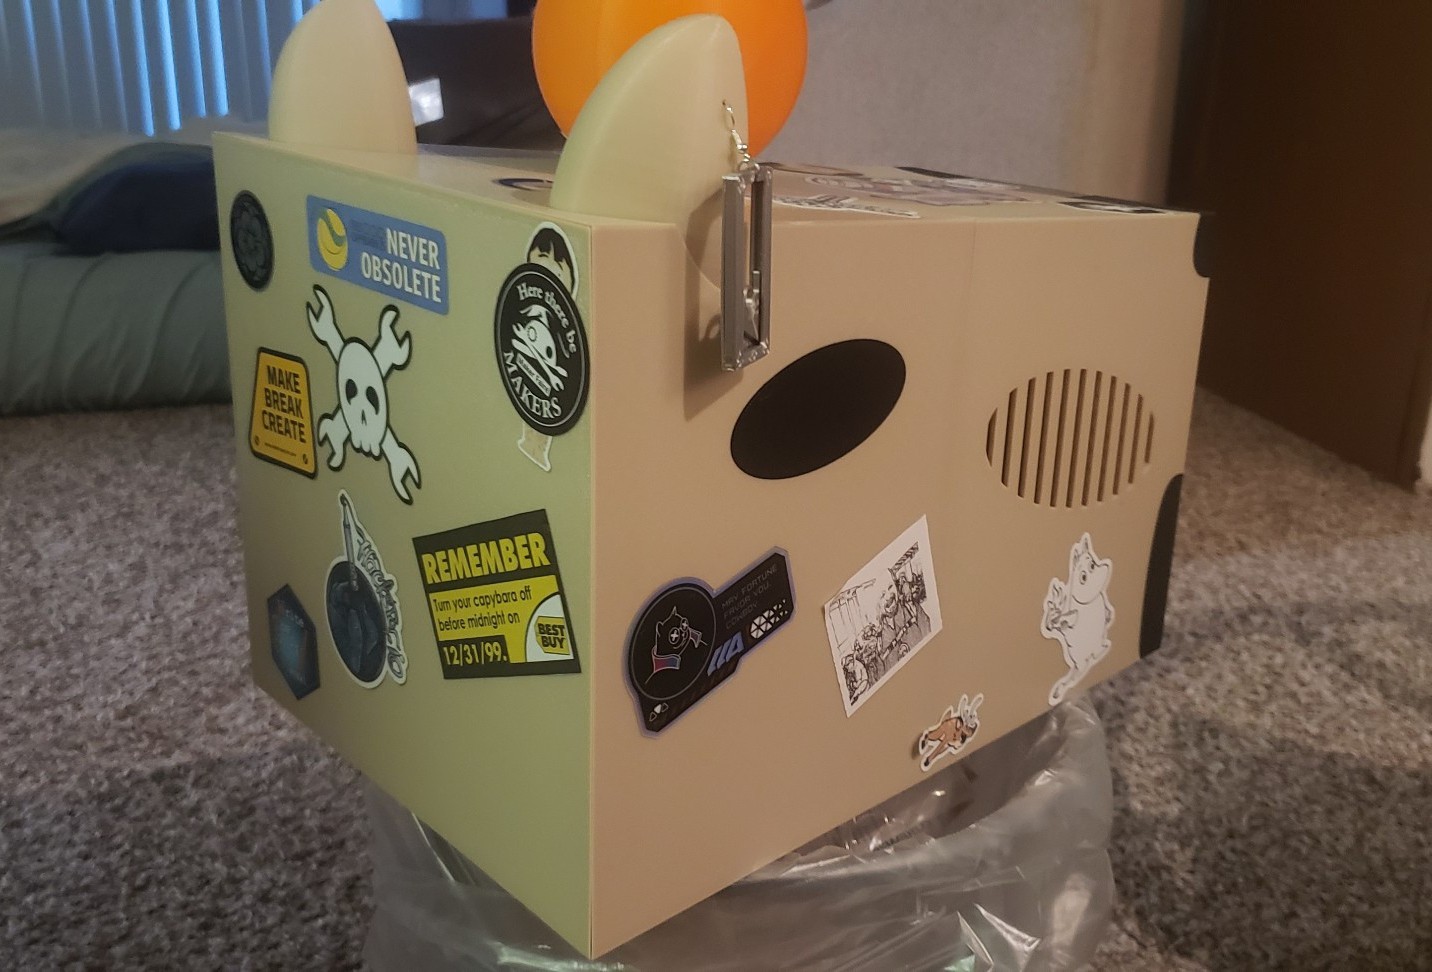
I know beige 90s computers weren't traditionally plastered in stickers like modern computers often are, but this thing is too perfect a canvas to *not* cover in stickers! I like the idea of bringing it to events in a pristine unstickered state, and documenting the stickering as it progresses.
Notice there's also an earring on there! Peppertronics designed a cool 3d printed guillotine earring and then proceeded to do a flawless lighter-and-safety pin ear piercing on the creature.
The camera
TODO: include a before-and-after of a photo in the imagemagick algorithm
To go from "normal color raspicam photo" to "pencil-sketch-looking B+W image," I used a convoluted imagemagick algorithm based on the "watercolor" algorithm from Fred Weinhaus.
# Take image with raspistill command
raspistill -w 512 -h 384 -t 500 -o imagecolor.jpg

# Convert to black and white sketchy image
convert imagecolor.jpg -colorspace Gray -mean-shift 5x5+10% \( -clone 0 -define convolve:scale='!' -define morphology:compose=Lighten -morphology Convolve 'Sobel:>' -negate -evaluate pow 15 \) \( -clone 0 -clone 1 -compose luminize -composite \) -delete 1 -define compose:args=50 -compose blend -composite -brightness-contrast 10x50 sketch.jpg
There are a ton more details to fill in later--the magnetic eyes/eyelids, the stickers and earring, the imagemagick algorithm, configuring a printer on raspi without a desktop environment, the web server I want to set up if I haul this thing out for future events, possible case design changes.

<3