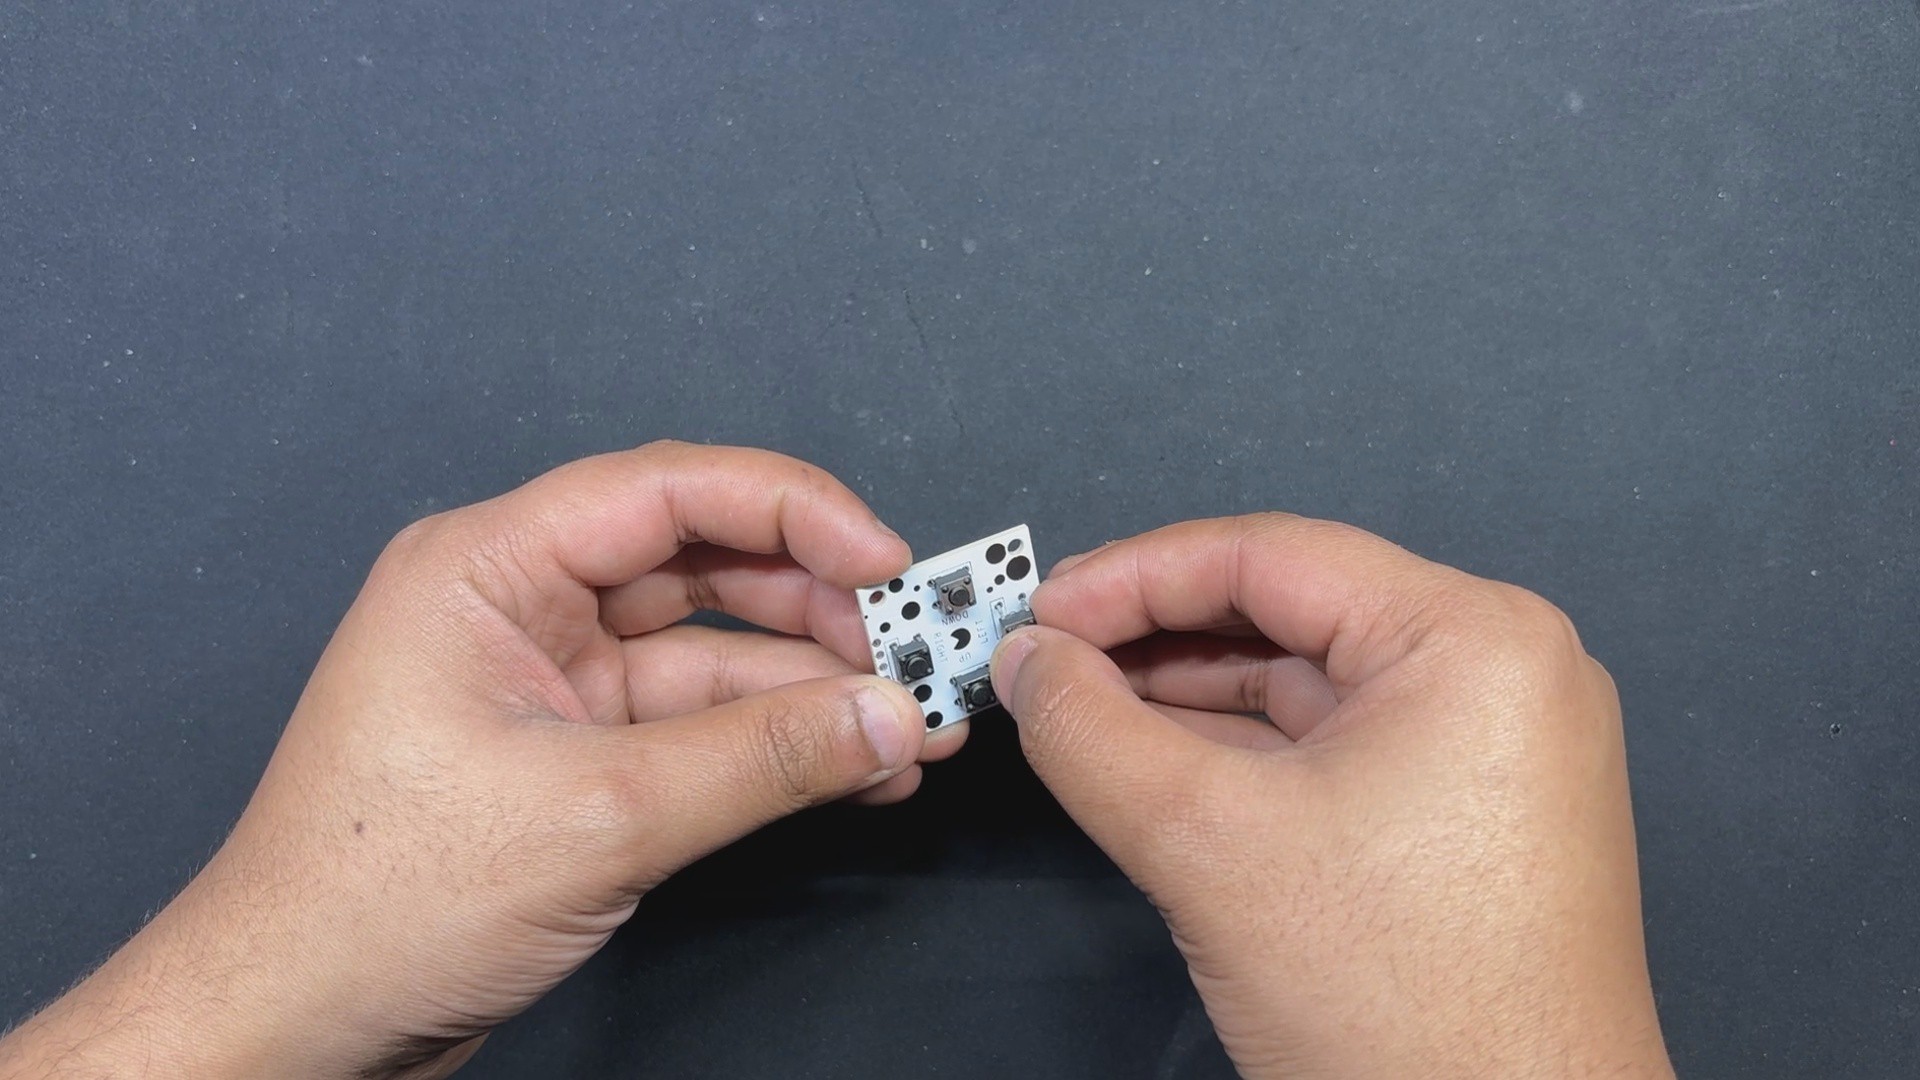
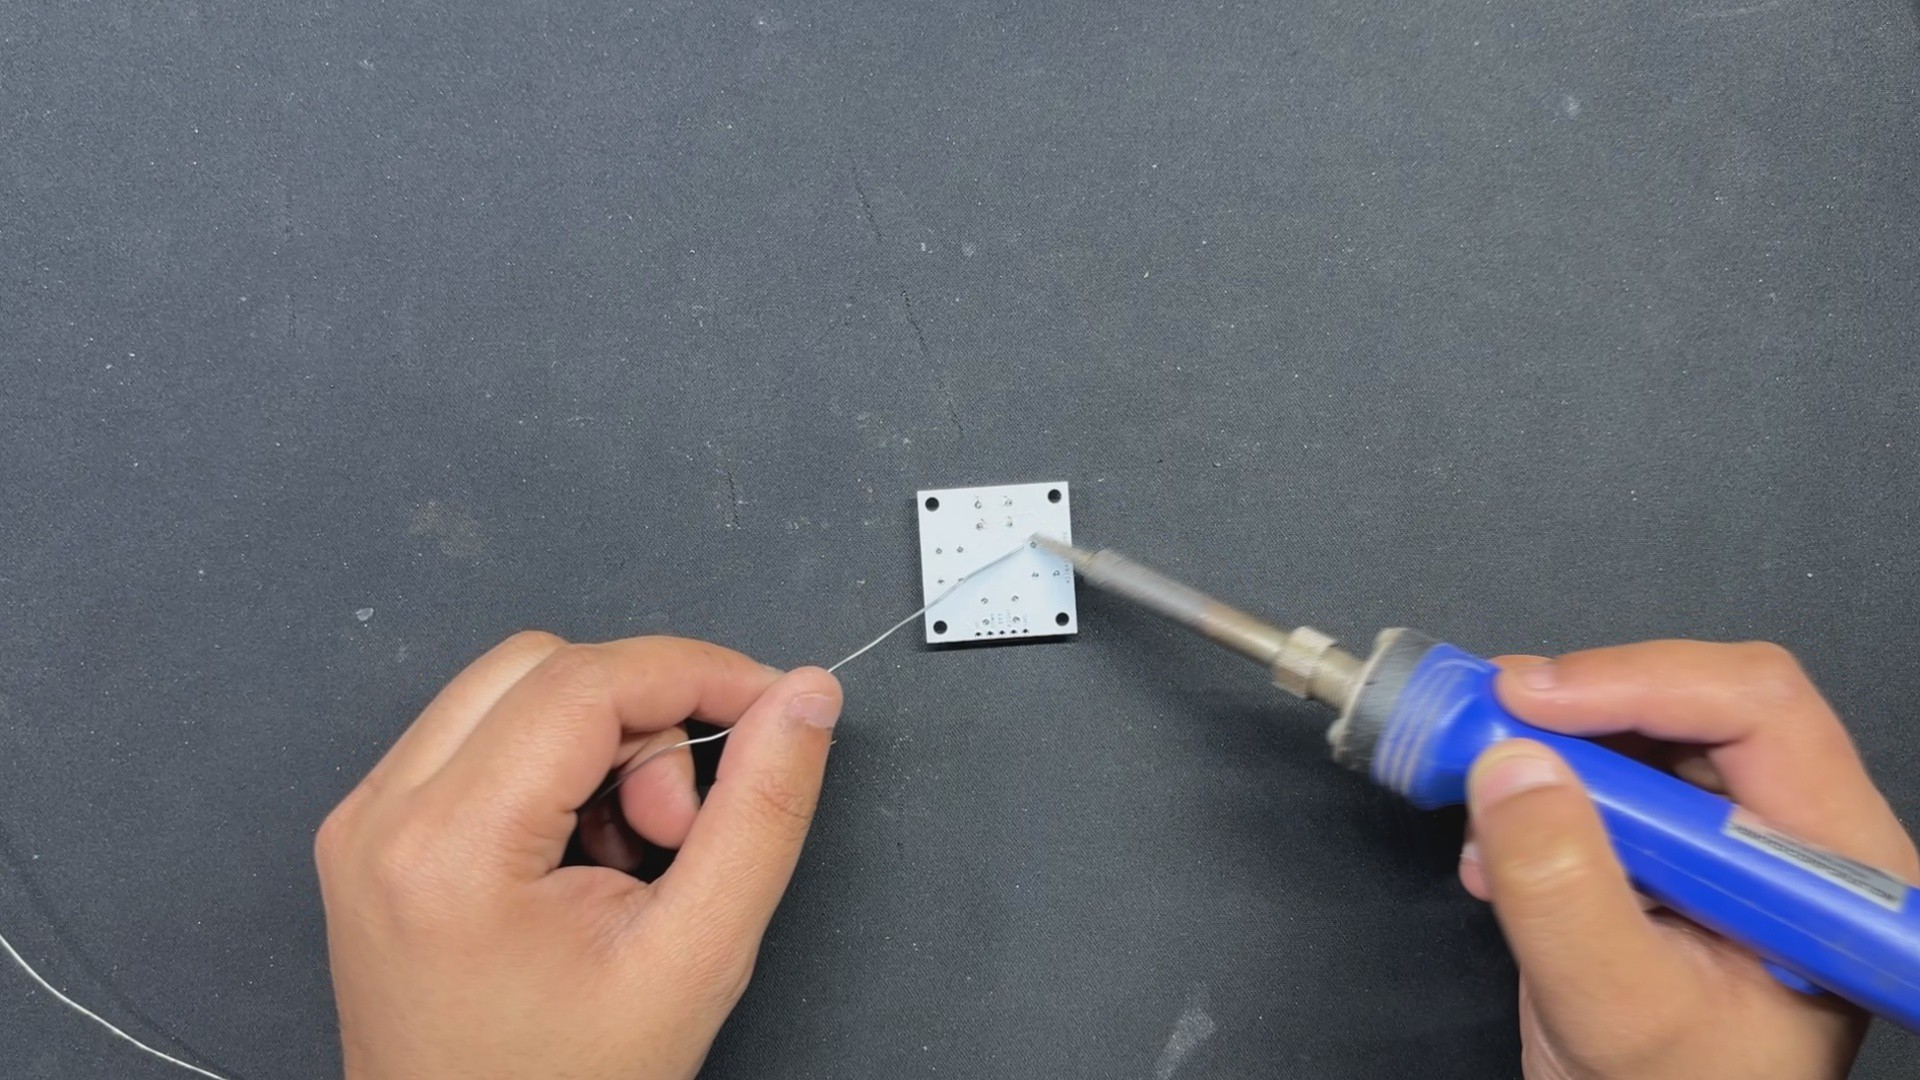
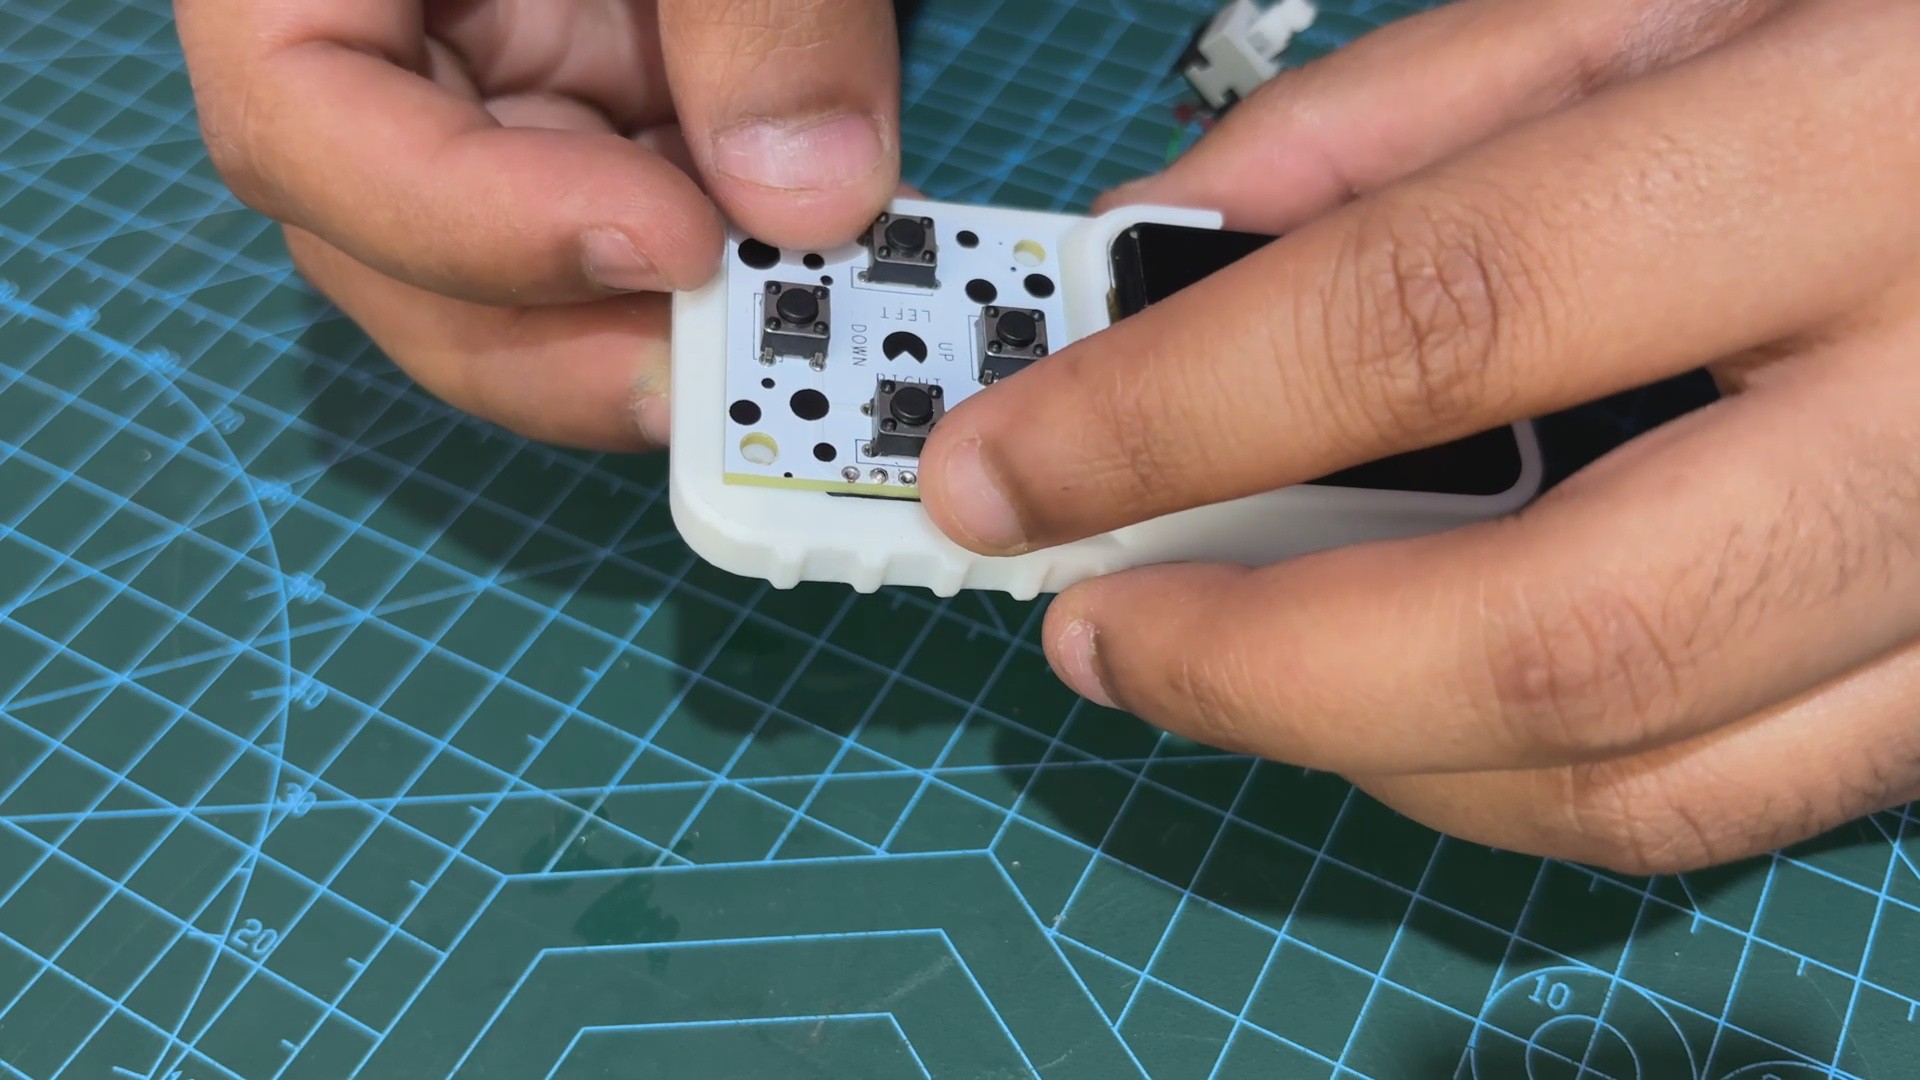
Button Board assembly process was super simple. we first position the push buttons from the top side of the board, and then we solder their pads from the bottom side using a soldering iron.
2
Wiring Process
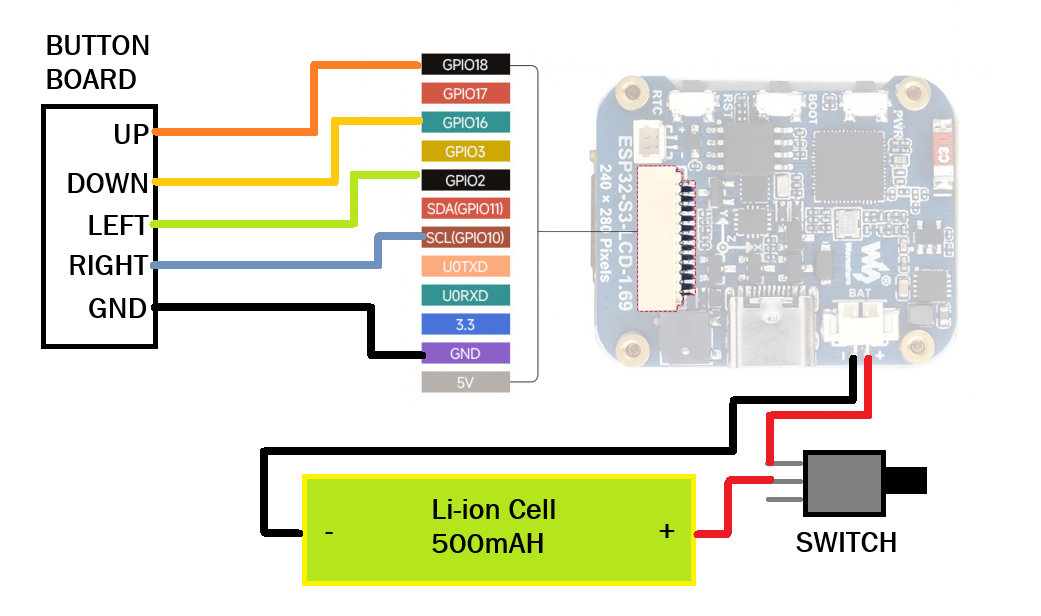
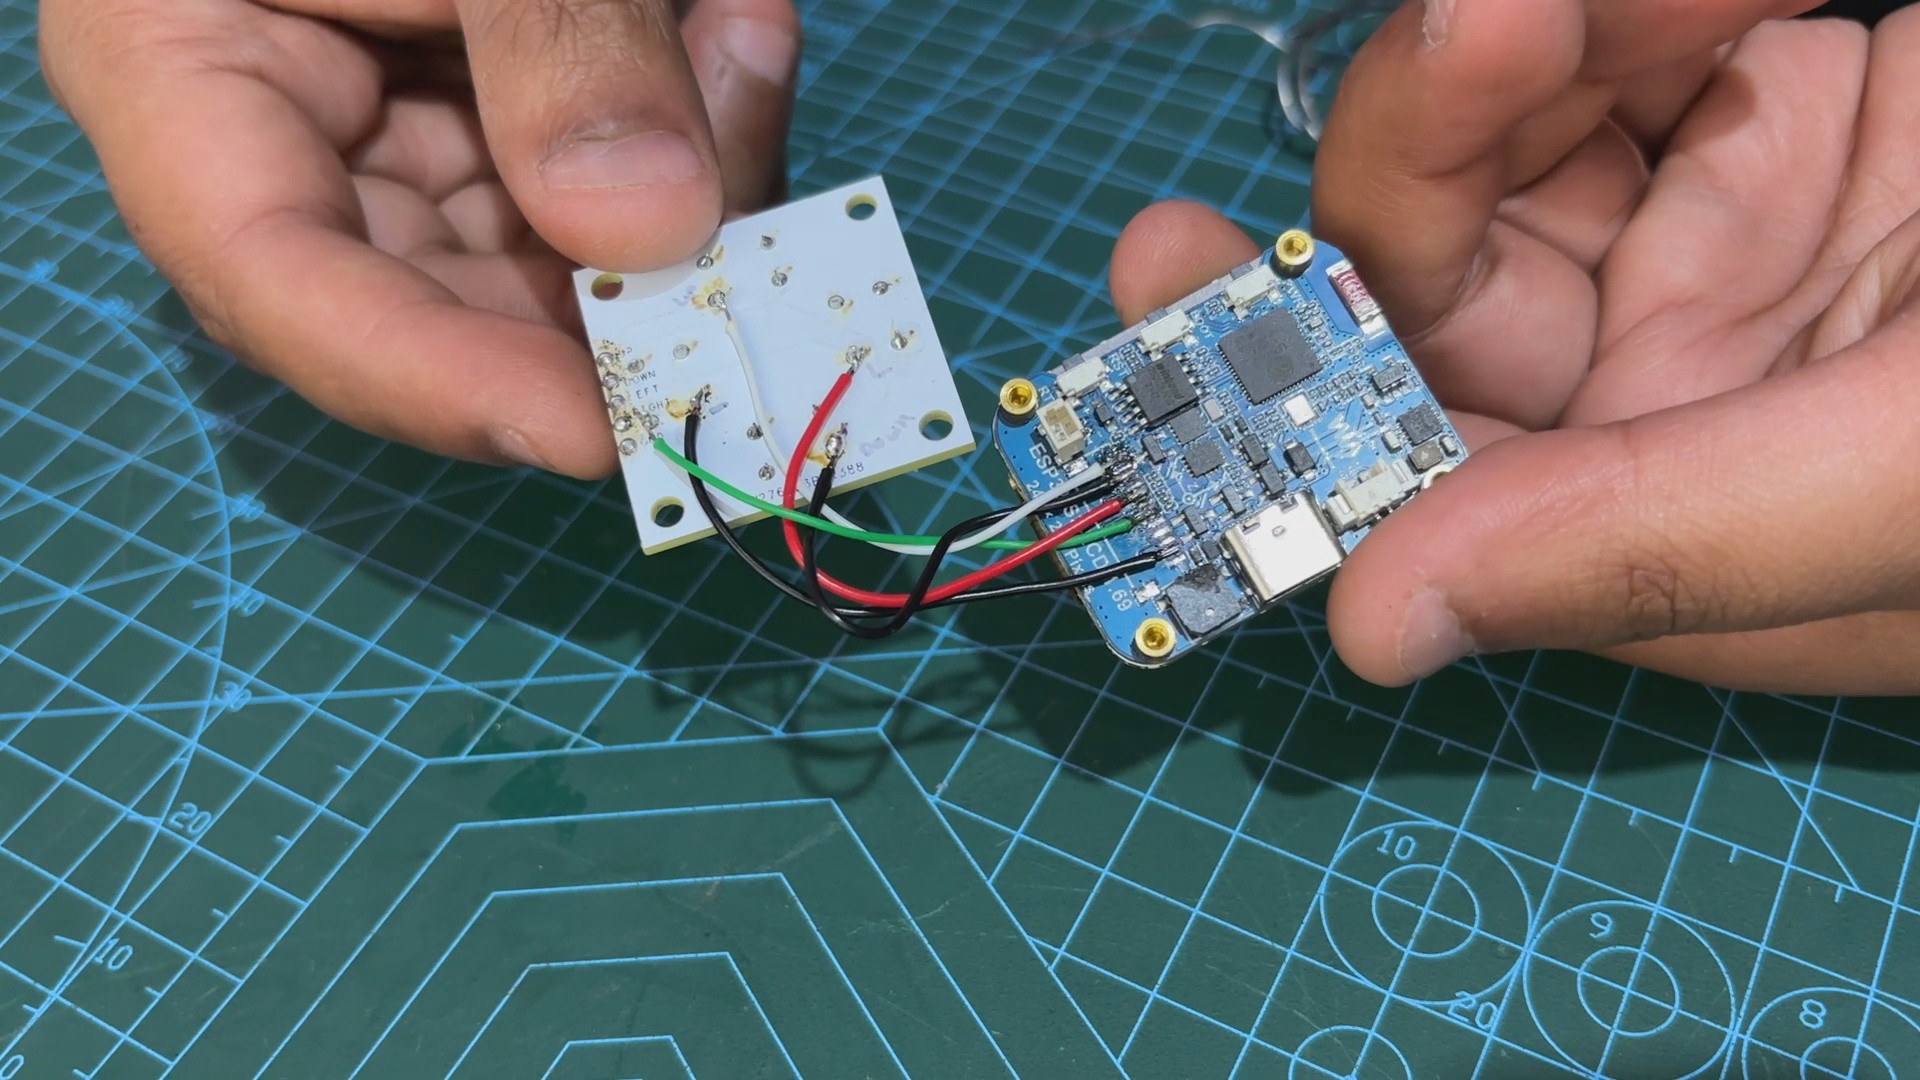
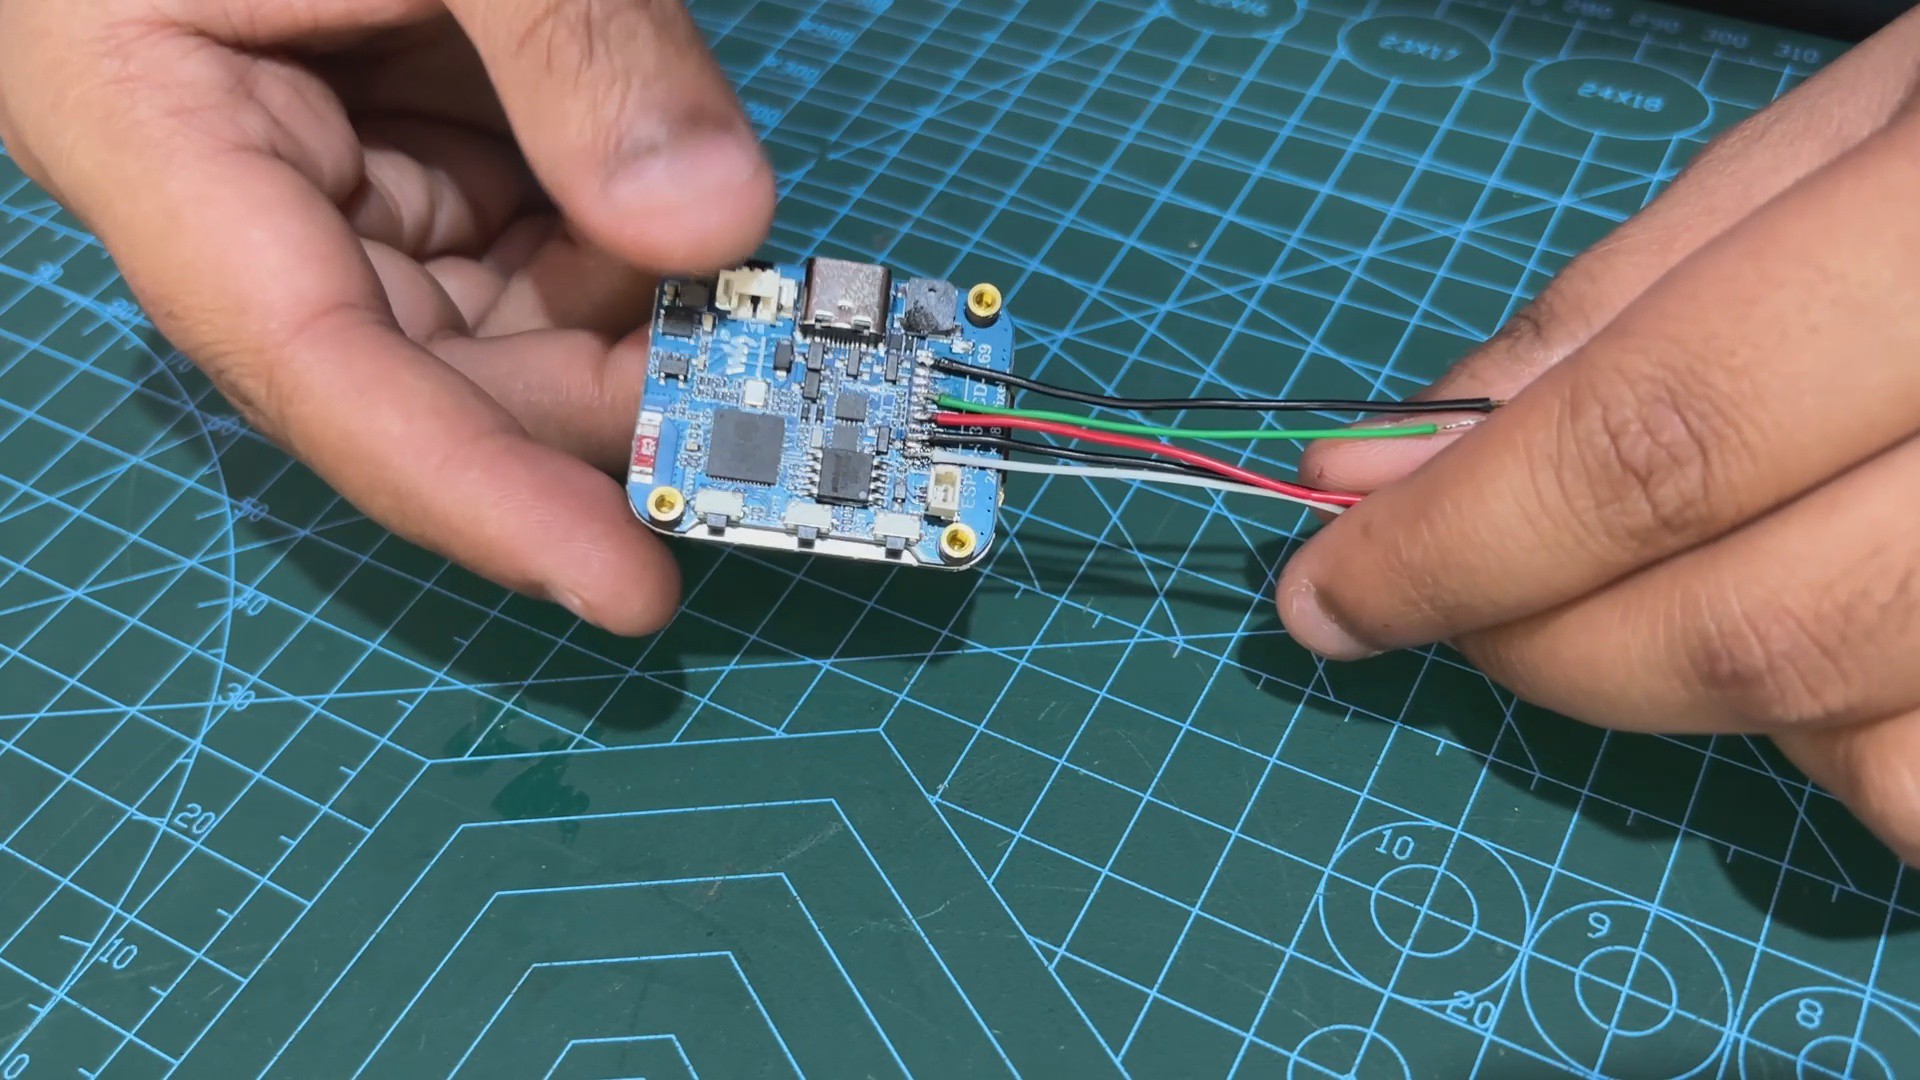
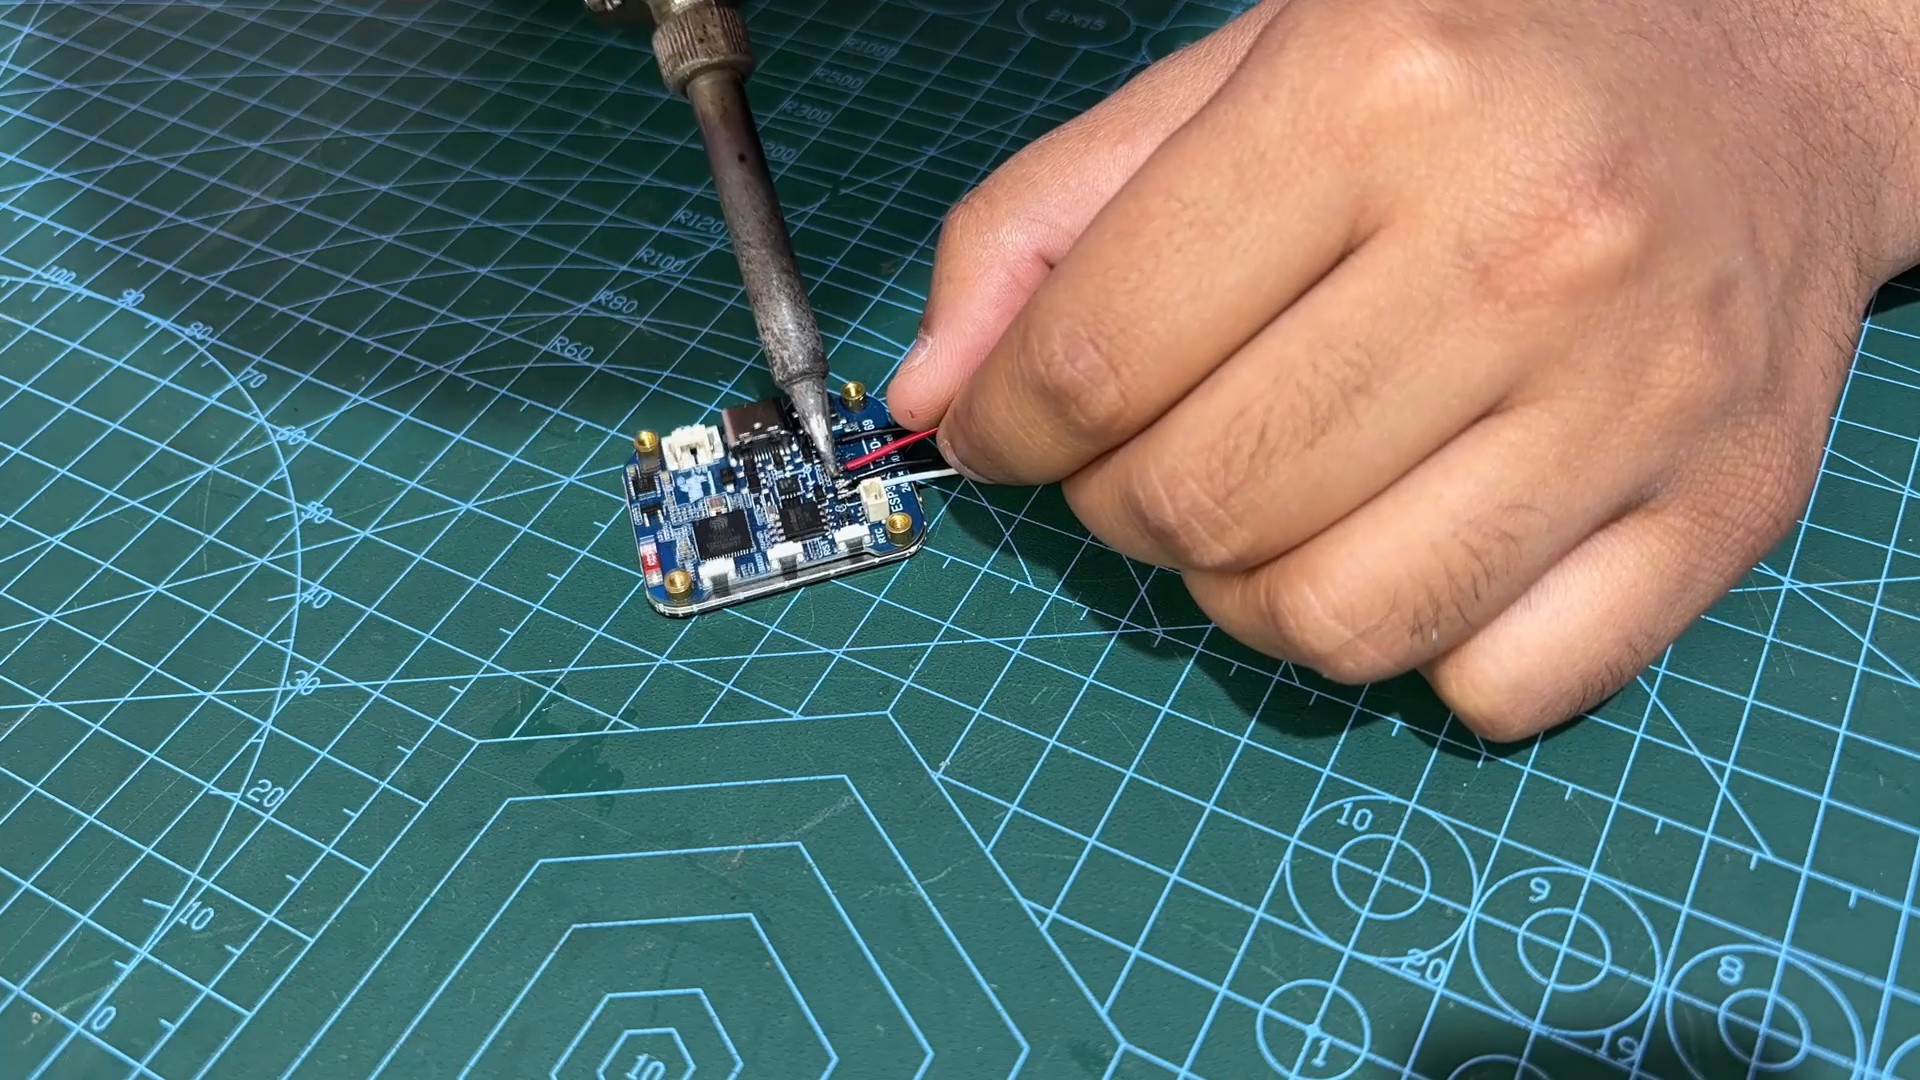
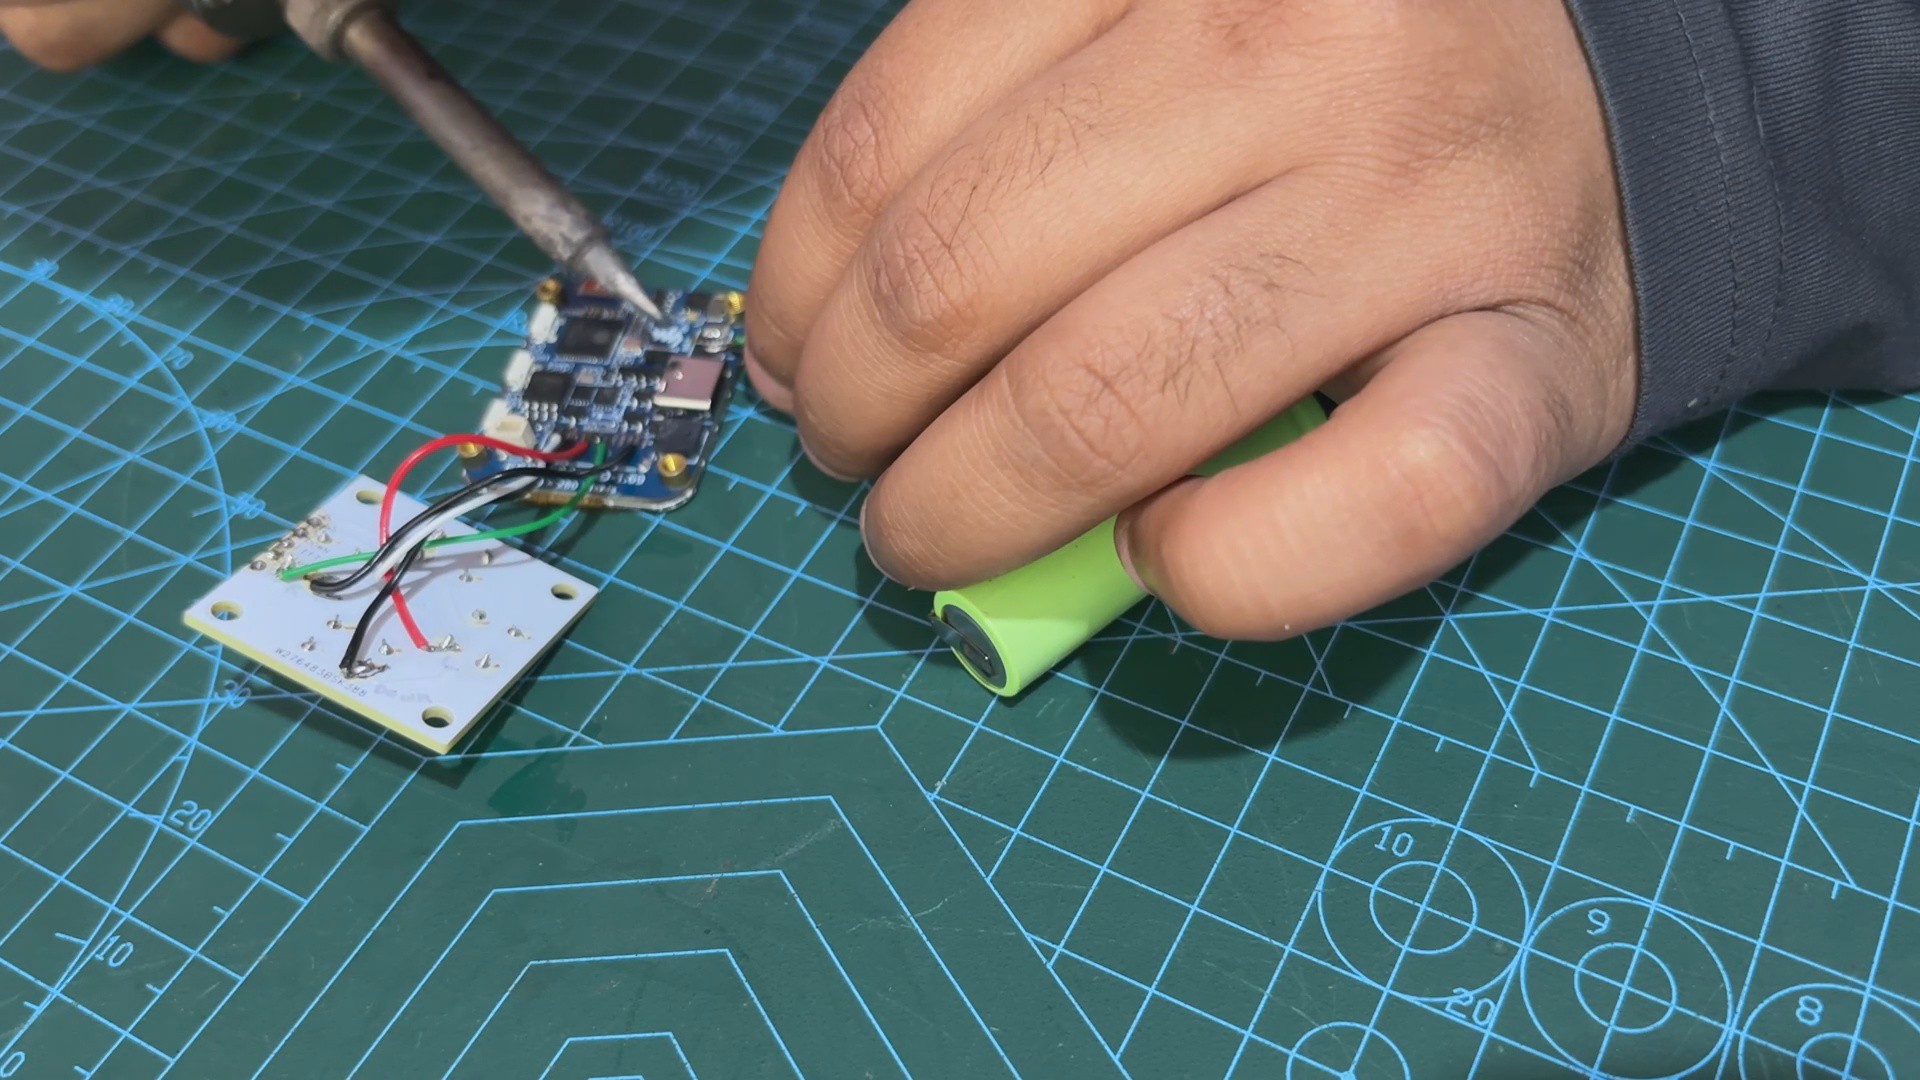
The wiring process begins by connecting five wires to the ESP32 Dev board's GPIO2, GPIO10, GPIO16, GPIO18, and GND terminals.
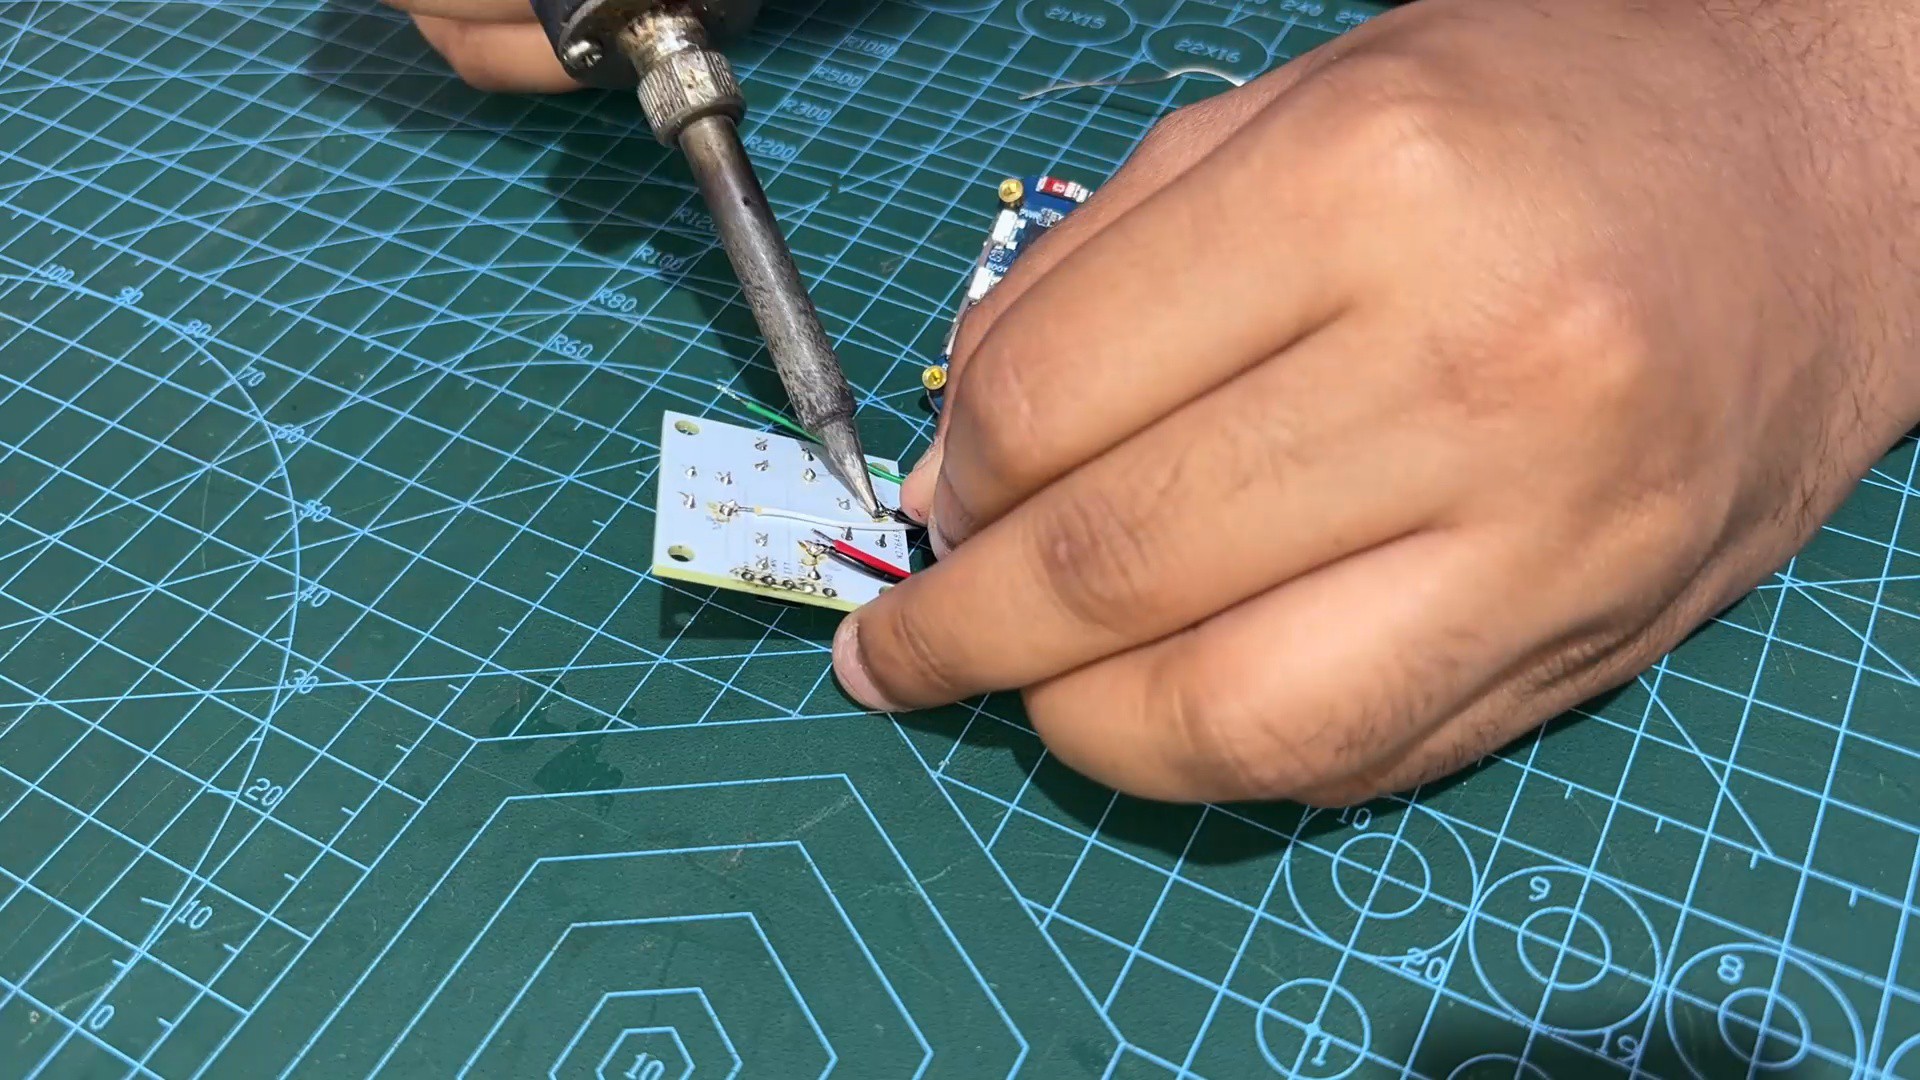
Next, we connected the GND wire to the GND terminal of the Button board.
The GPIO2 wire is attached to the switchboard's left terminal.
GPIO10 connects to the right terminal.
GPIO16 connects to the Down terminal.
GPIO18 connects to the Up terminal.
3
Power Source Assembly
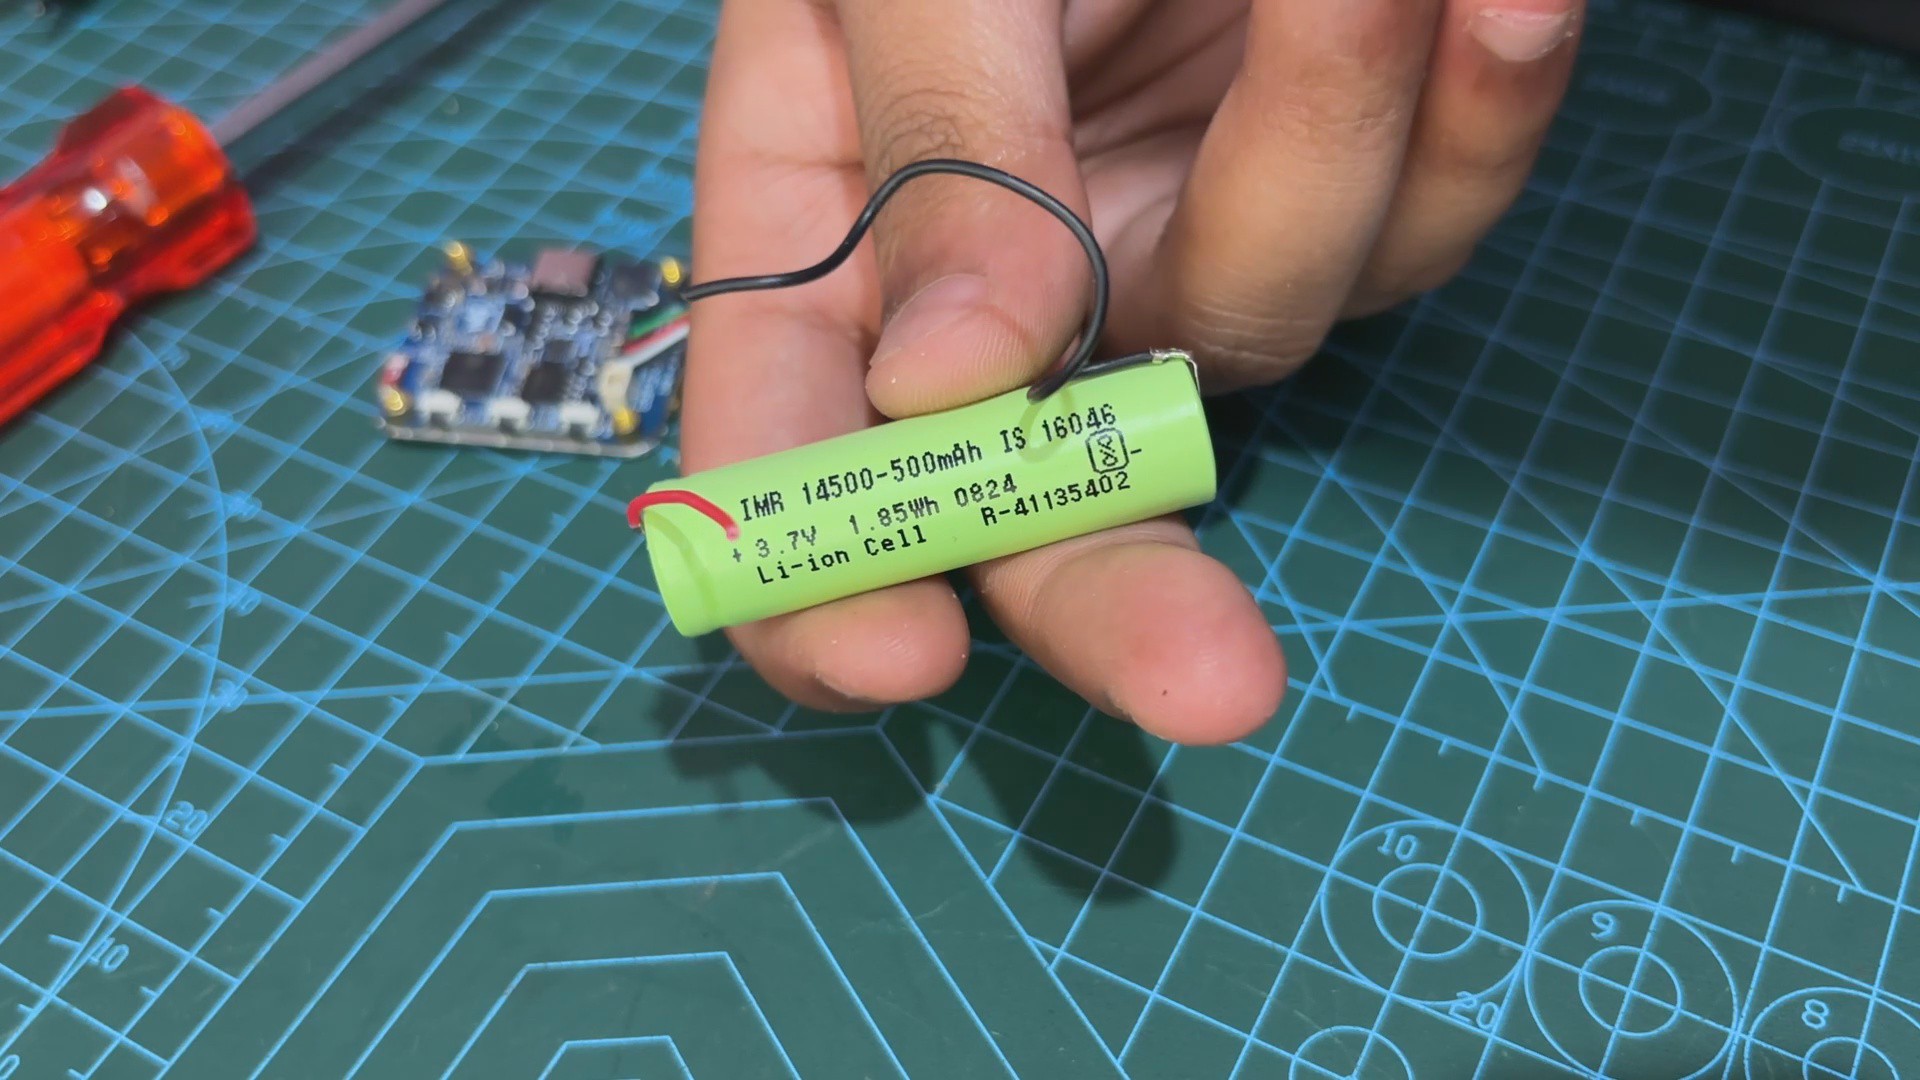
We're utilizing a 3.7V 500mAh 14500 Li-ion cell as the power source for this project.
They usually do not arrive with wires spot-welded, forcing people to manually solder wires to battery terminals, which is a bad practice that can lead to a fire or blast. It will undoubtedly reduce battery life and capacity; thus, we should avoid soldering wires directly to the terminals of lithium cells using a soldering iron.
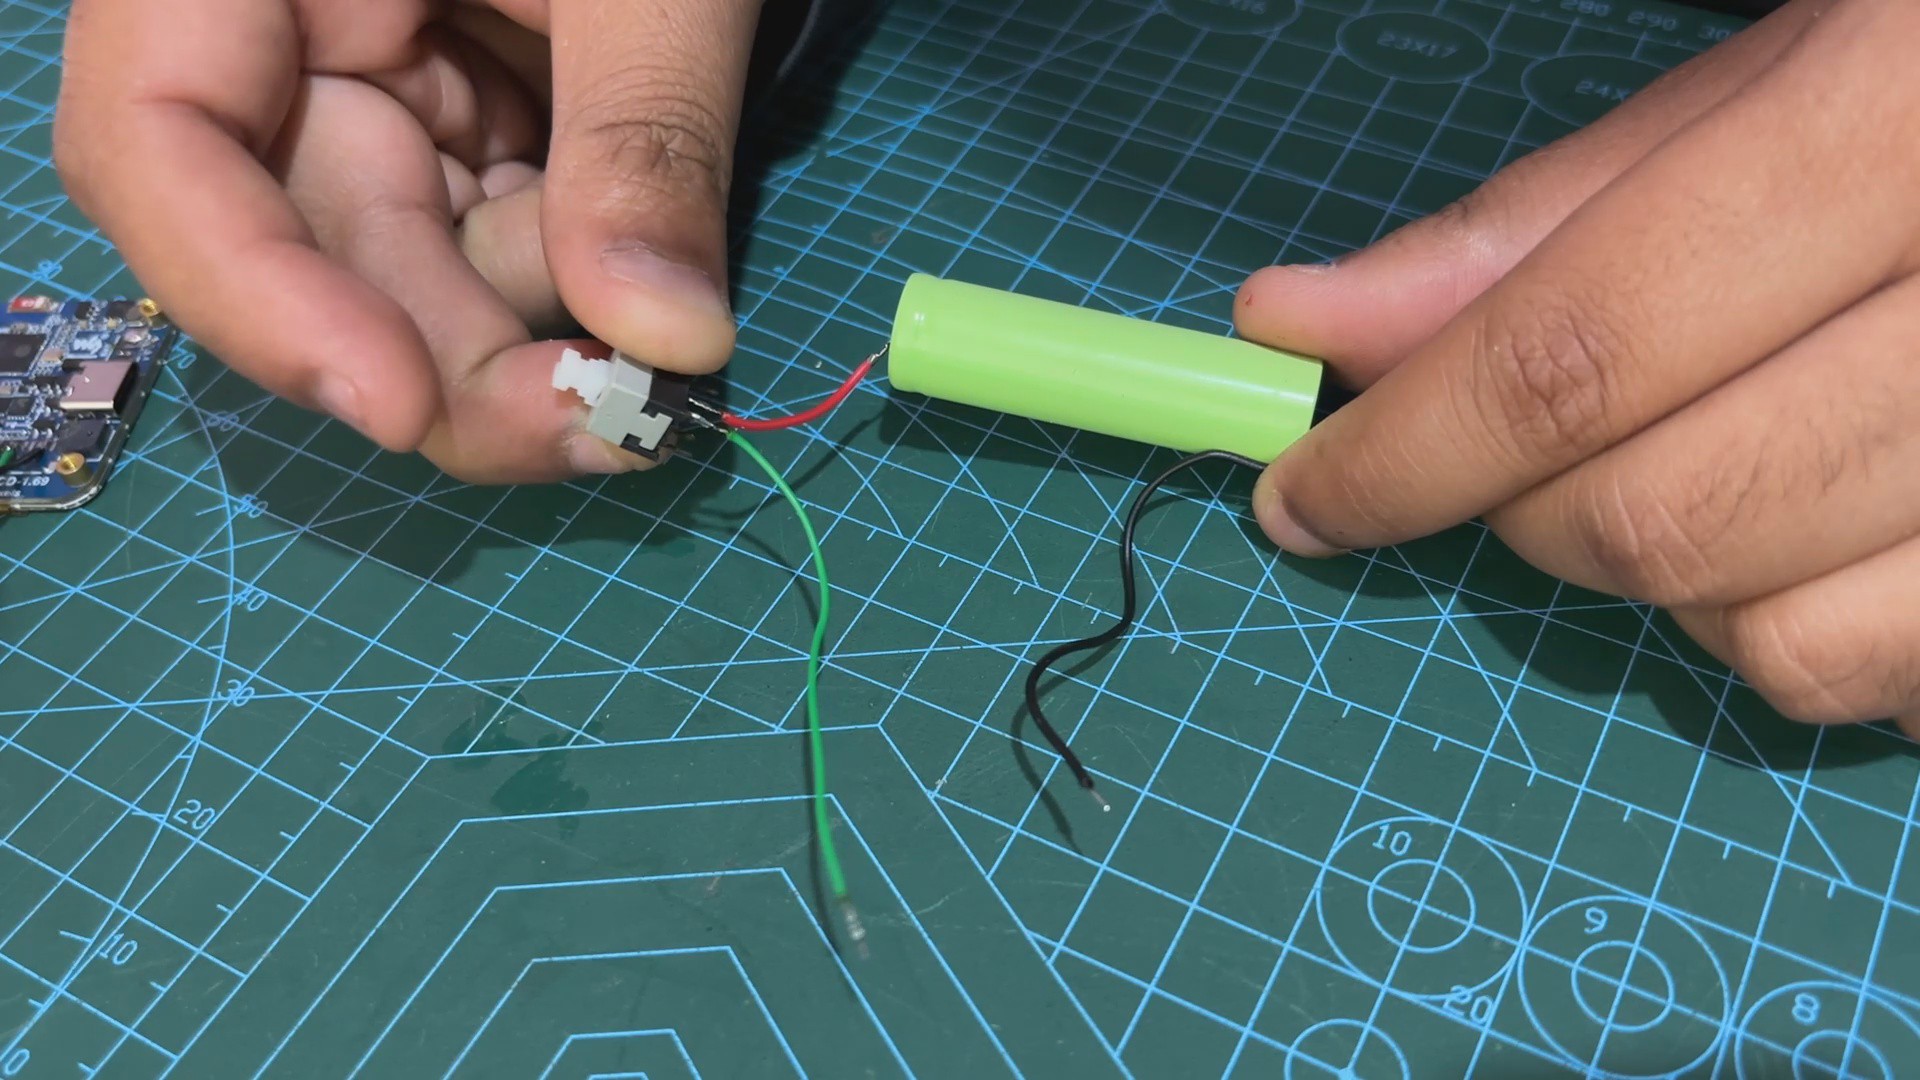
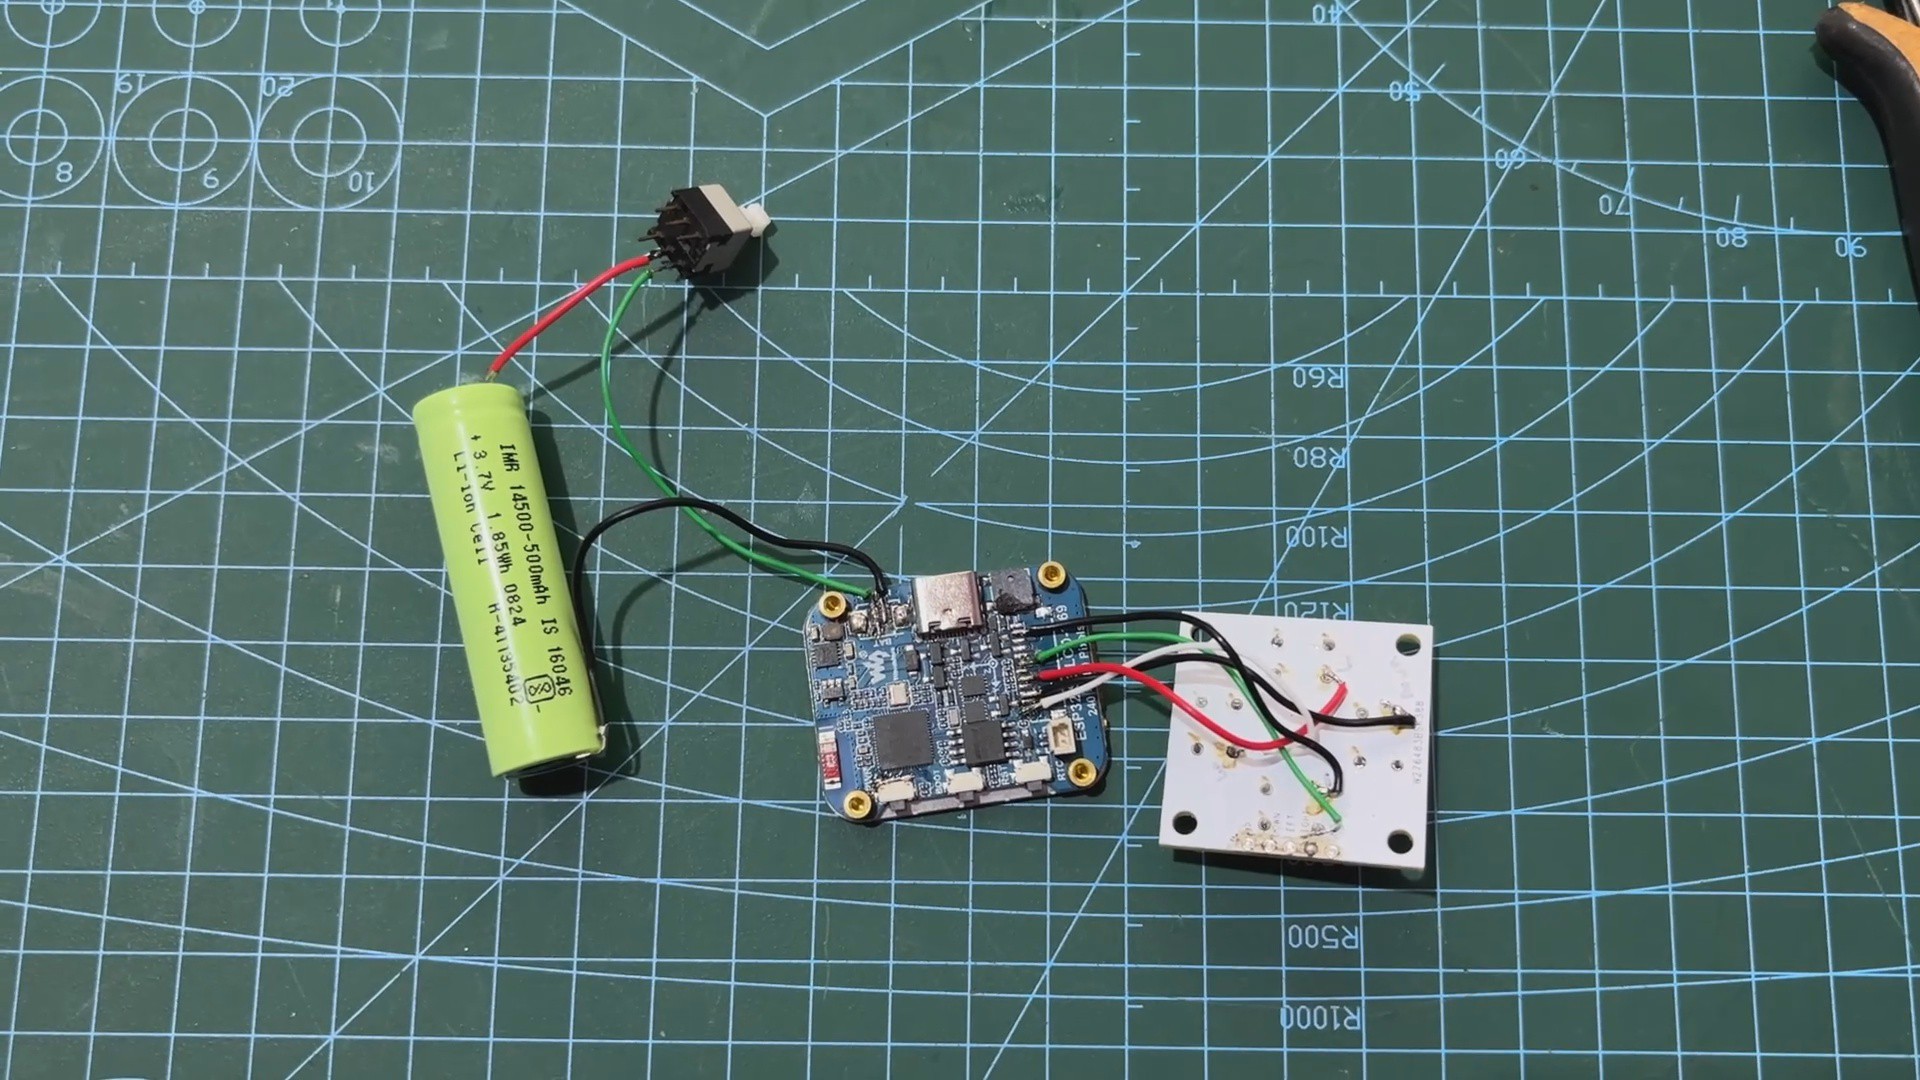
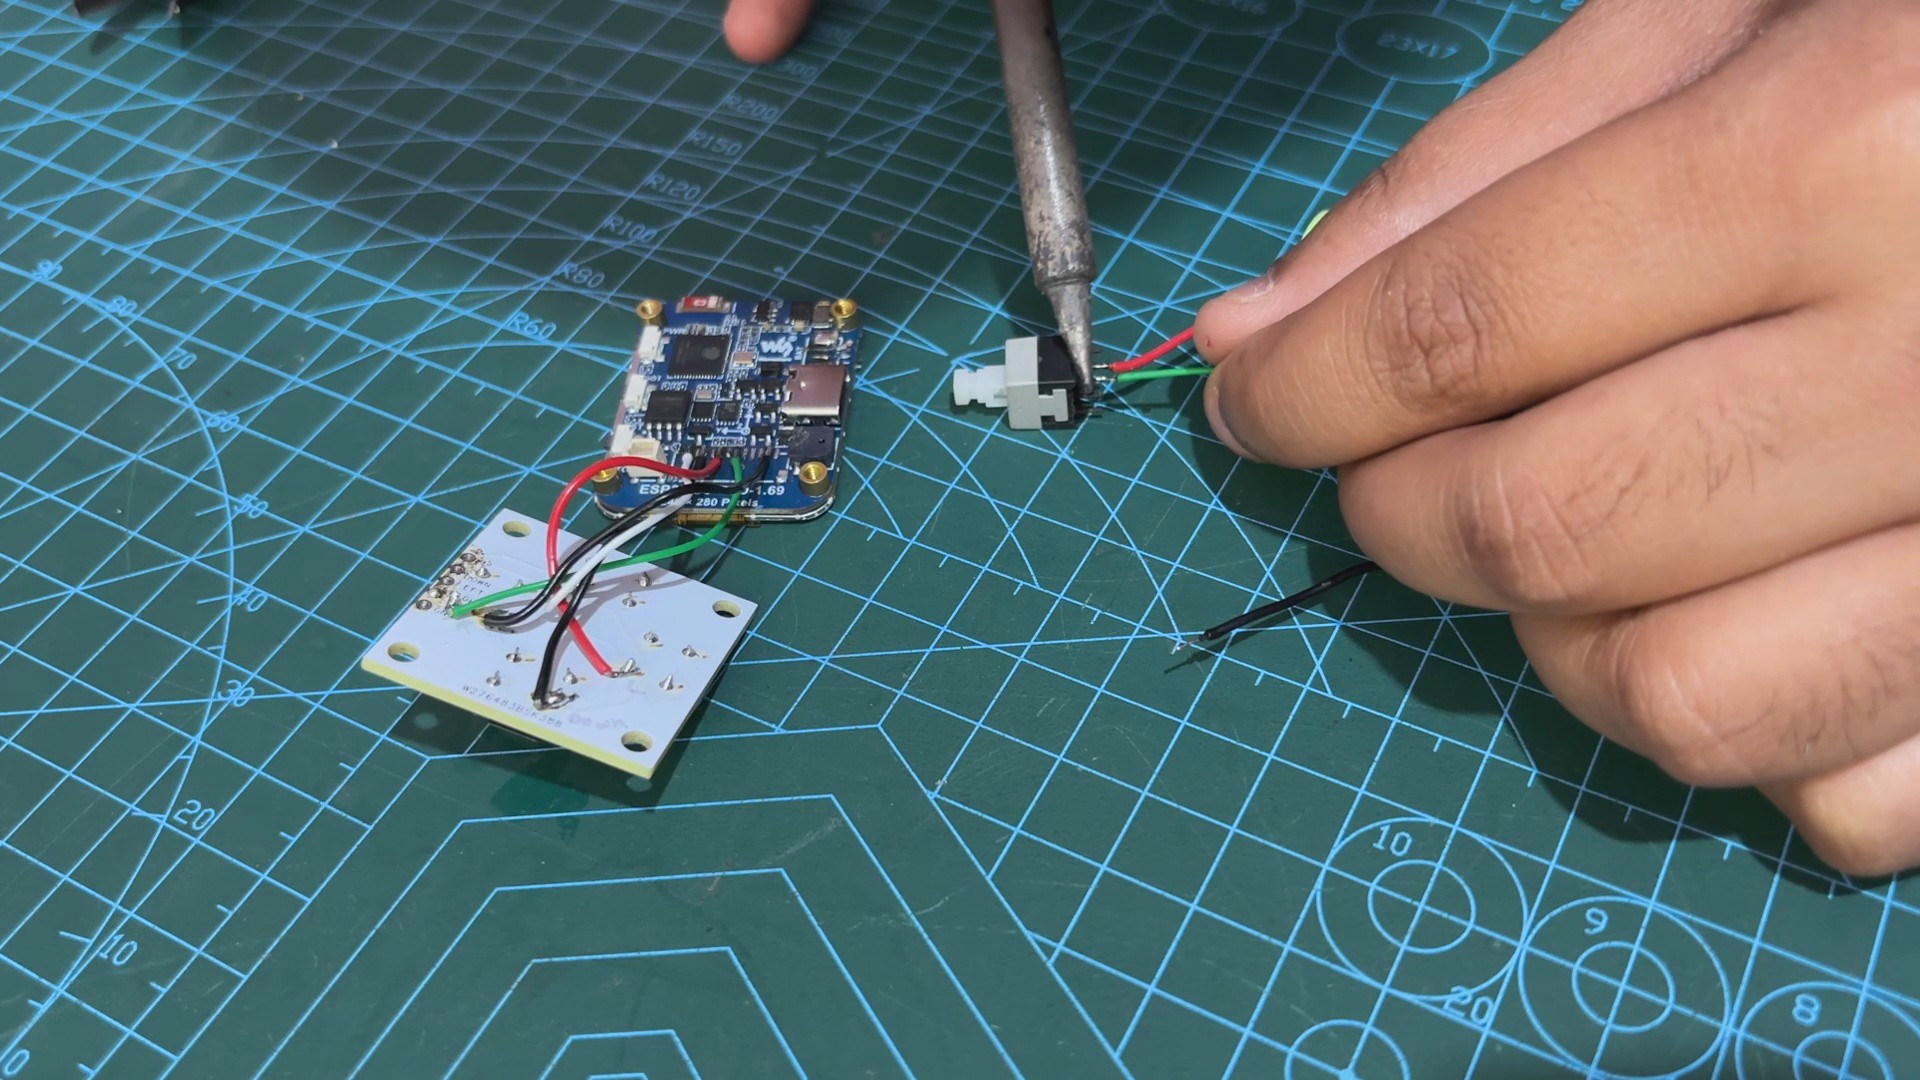
We now begin the power source assembly process by connecting the positive wire of the battery to the NC of the push switch.
We add another wire to the common terminal of the Push Switch. We have included a push switch between the battery's positive terminals so that battery power can be turned off with this switch.
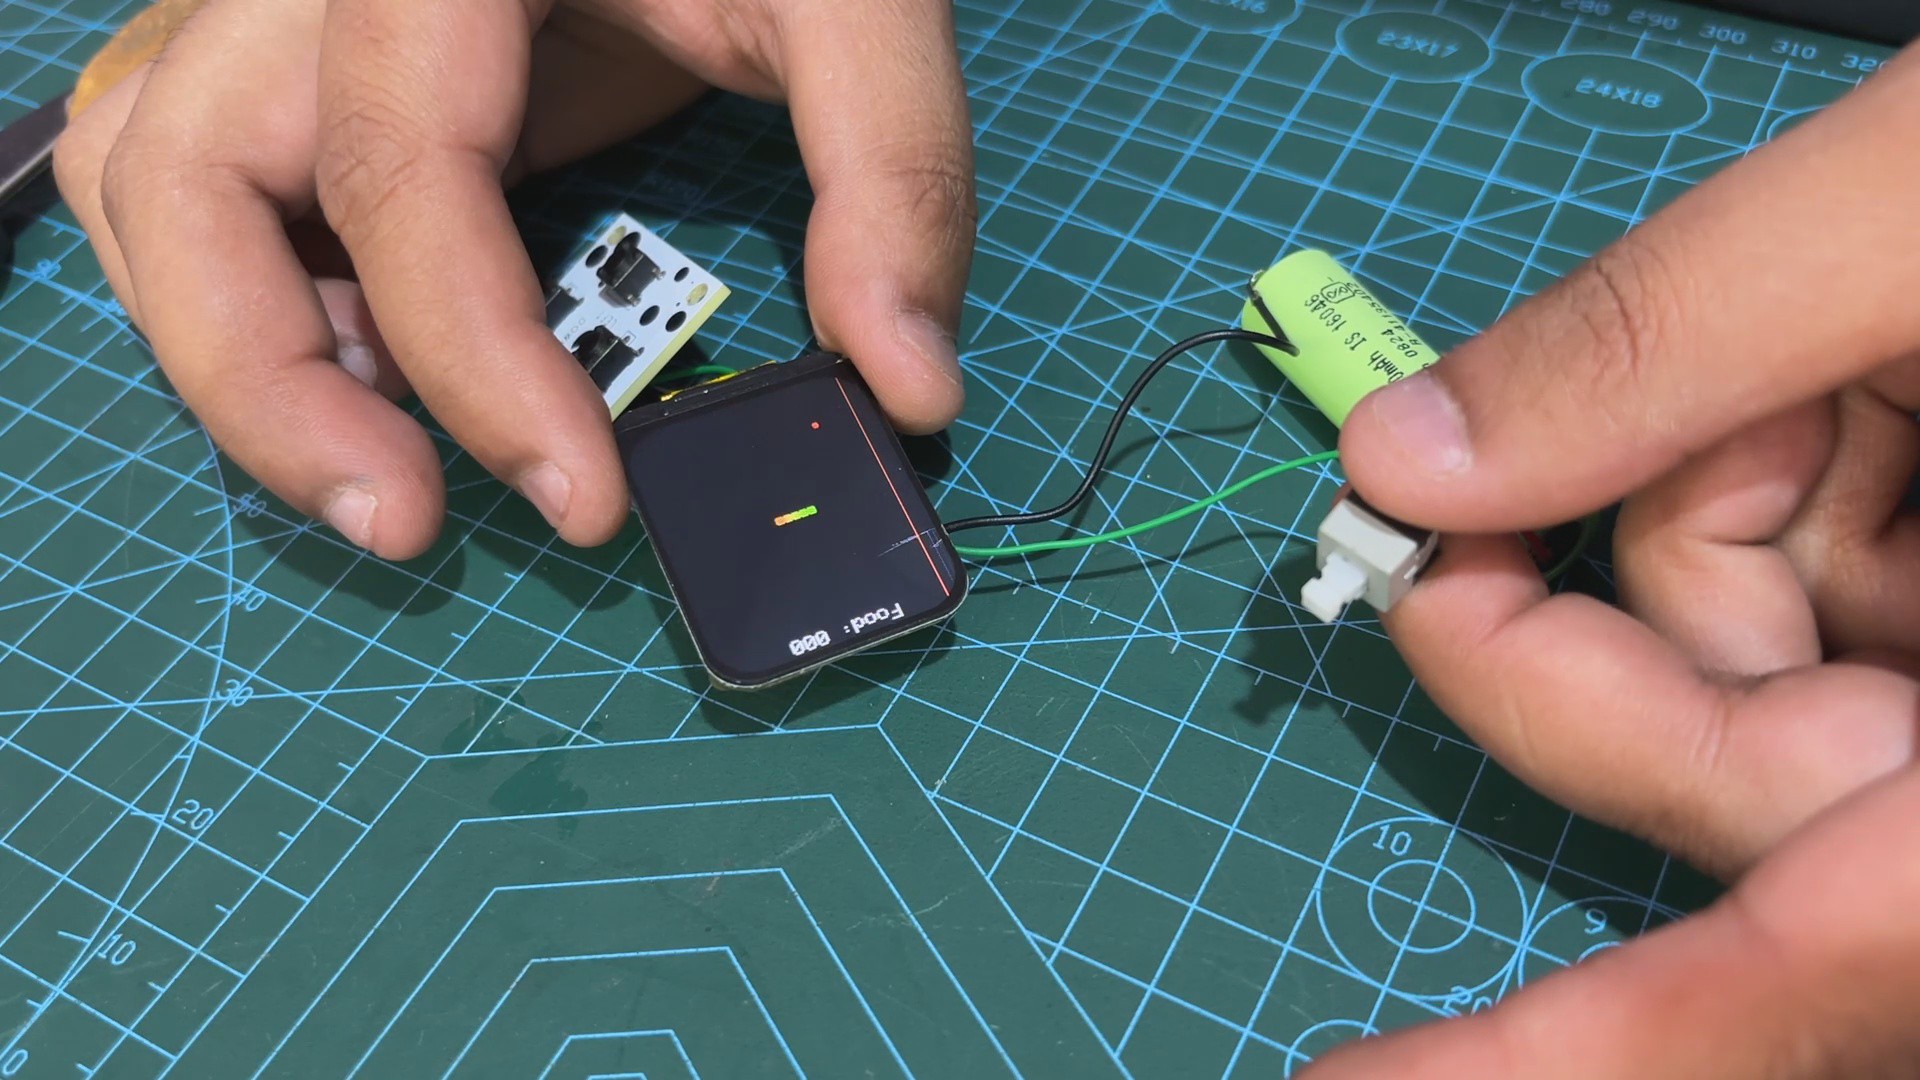
Next, we connected the battery's positive and negative connection wires to the Battery connector on the ESP32 board.
By making this connection, we can now power the setup with our Li-ion battery.
4
Final Assembly
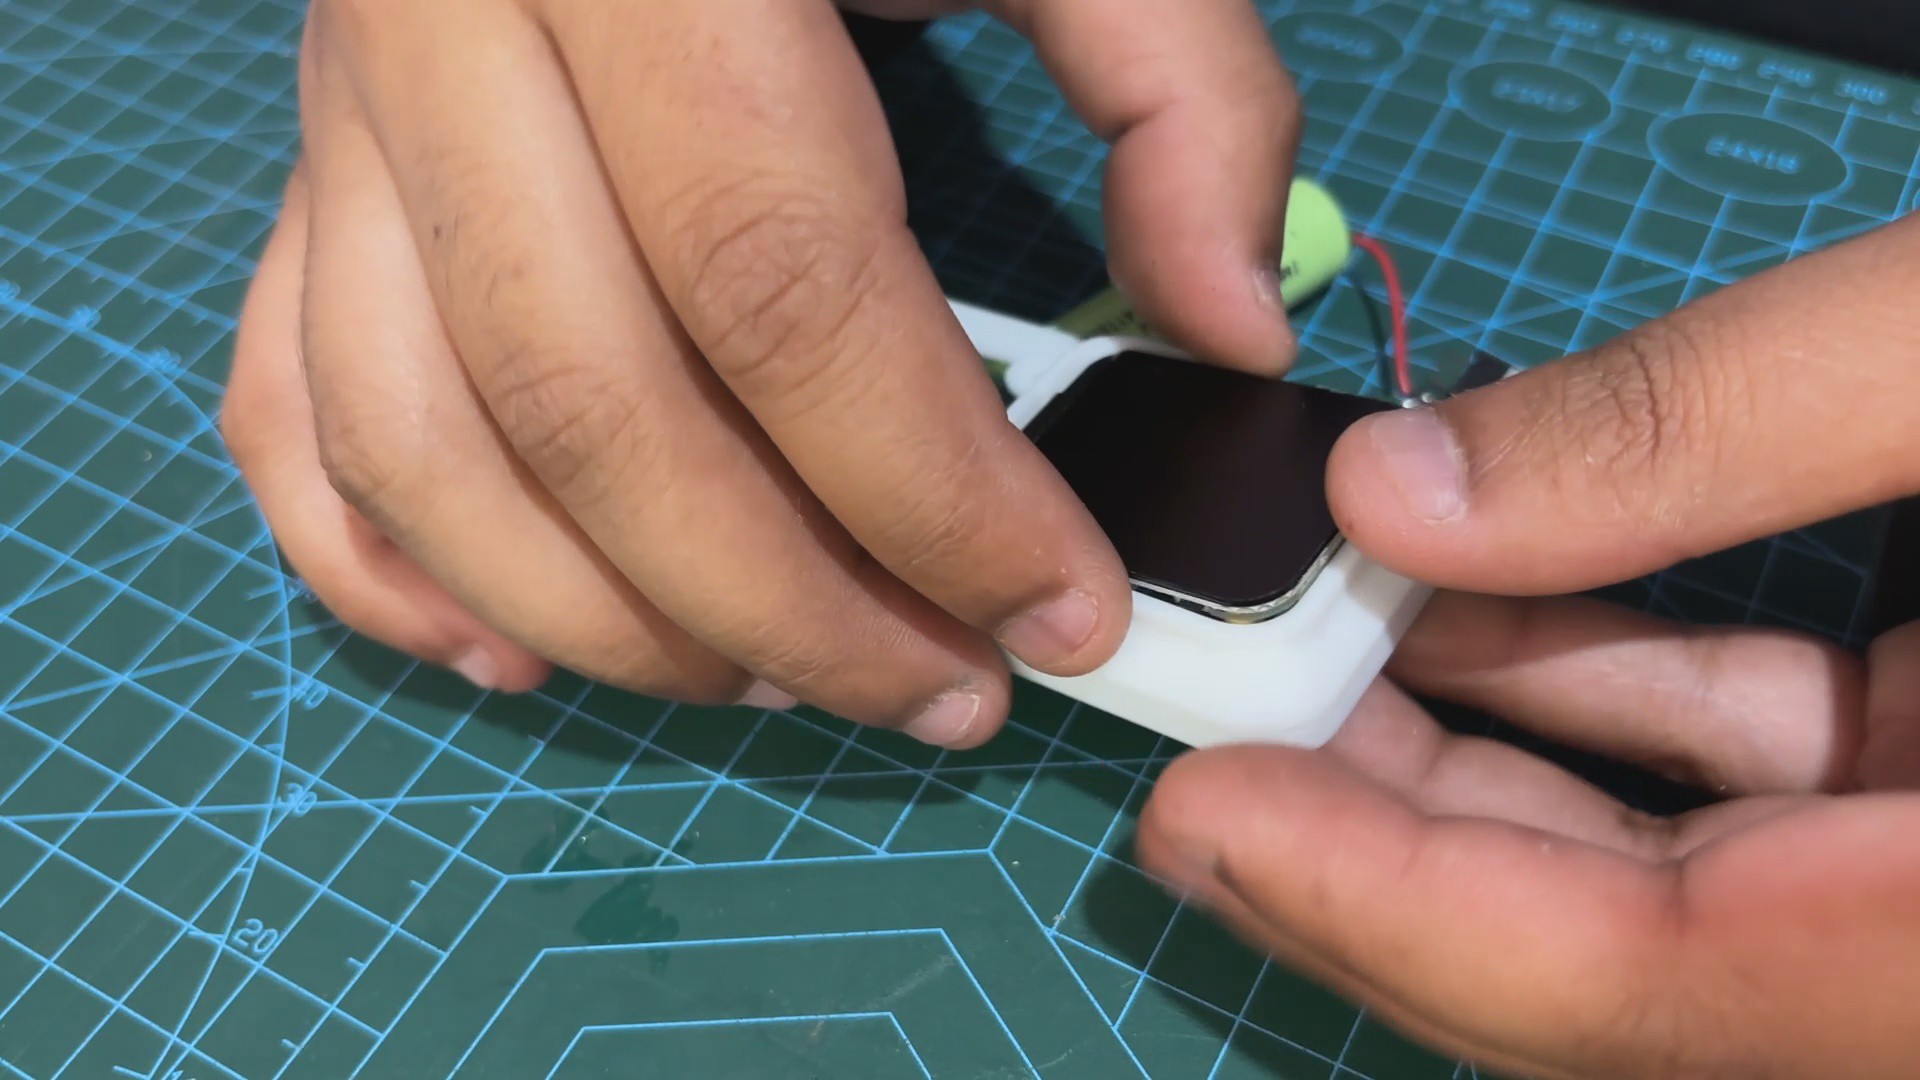
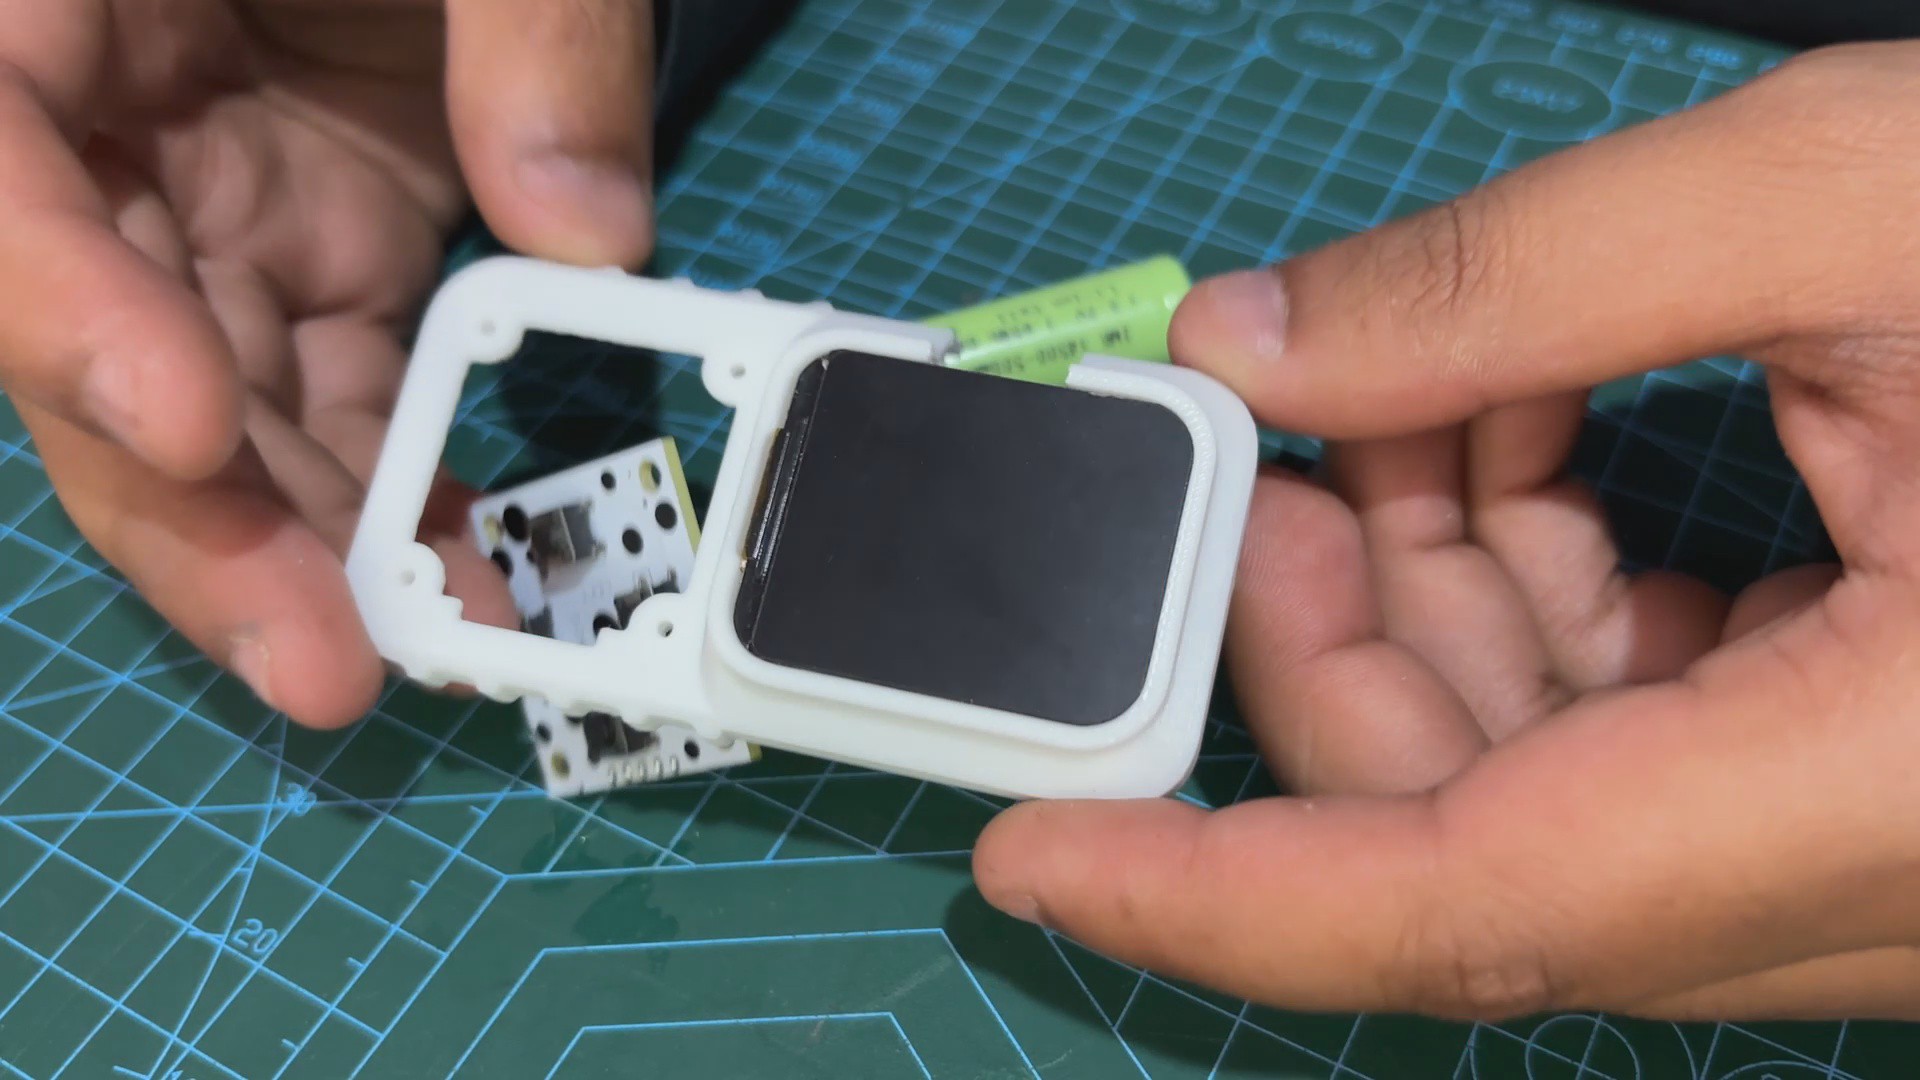
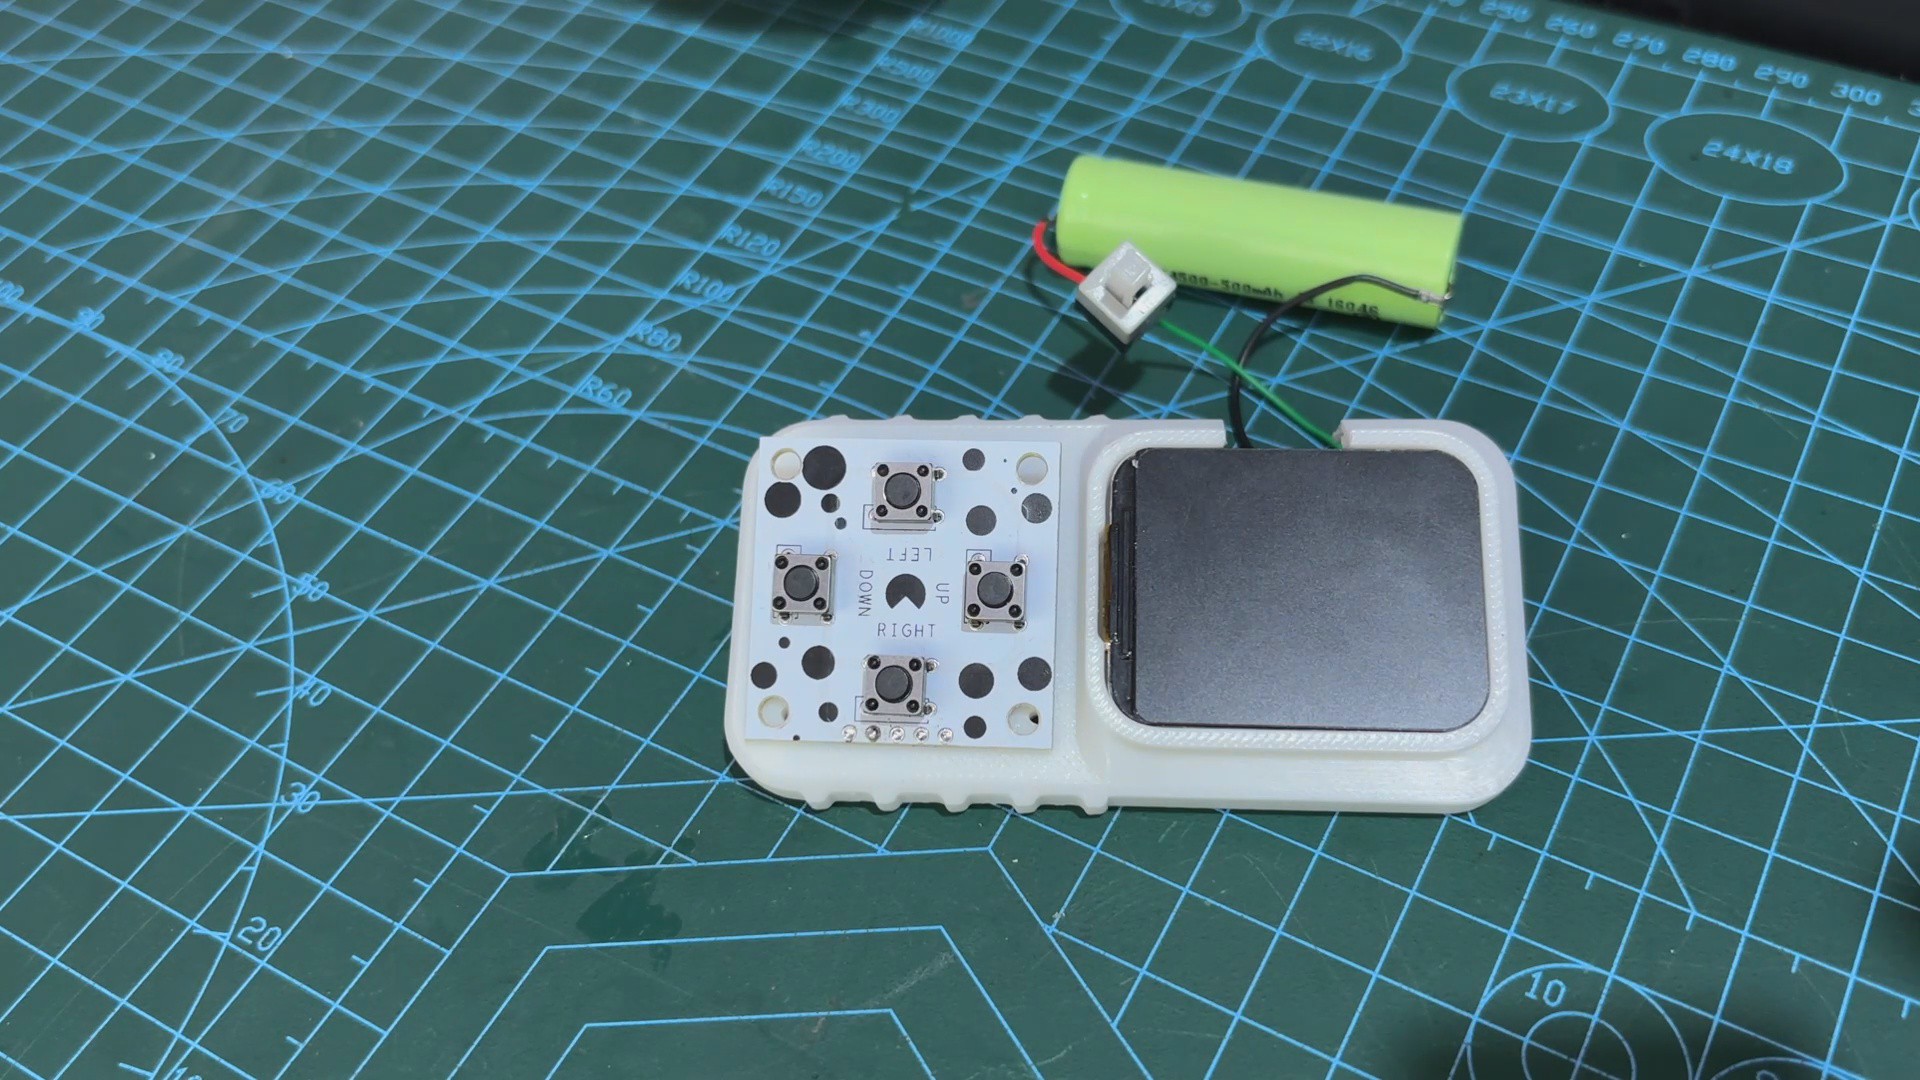
The final assembly begins with the placement of the ESP32 Display on the front enclosure, which we push in place from the front side.
Next, we pass the Switch PCB from the inside of the Front Enclosure and place it on the front. This will hide the connection wire between the ESP32 Board and the Switch PCB.
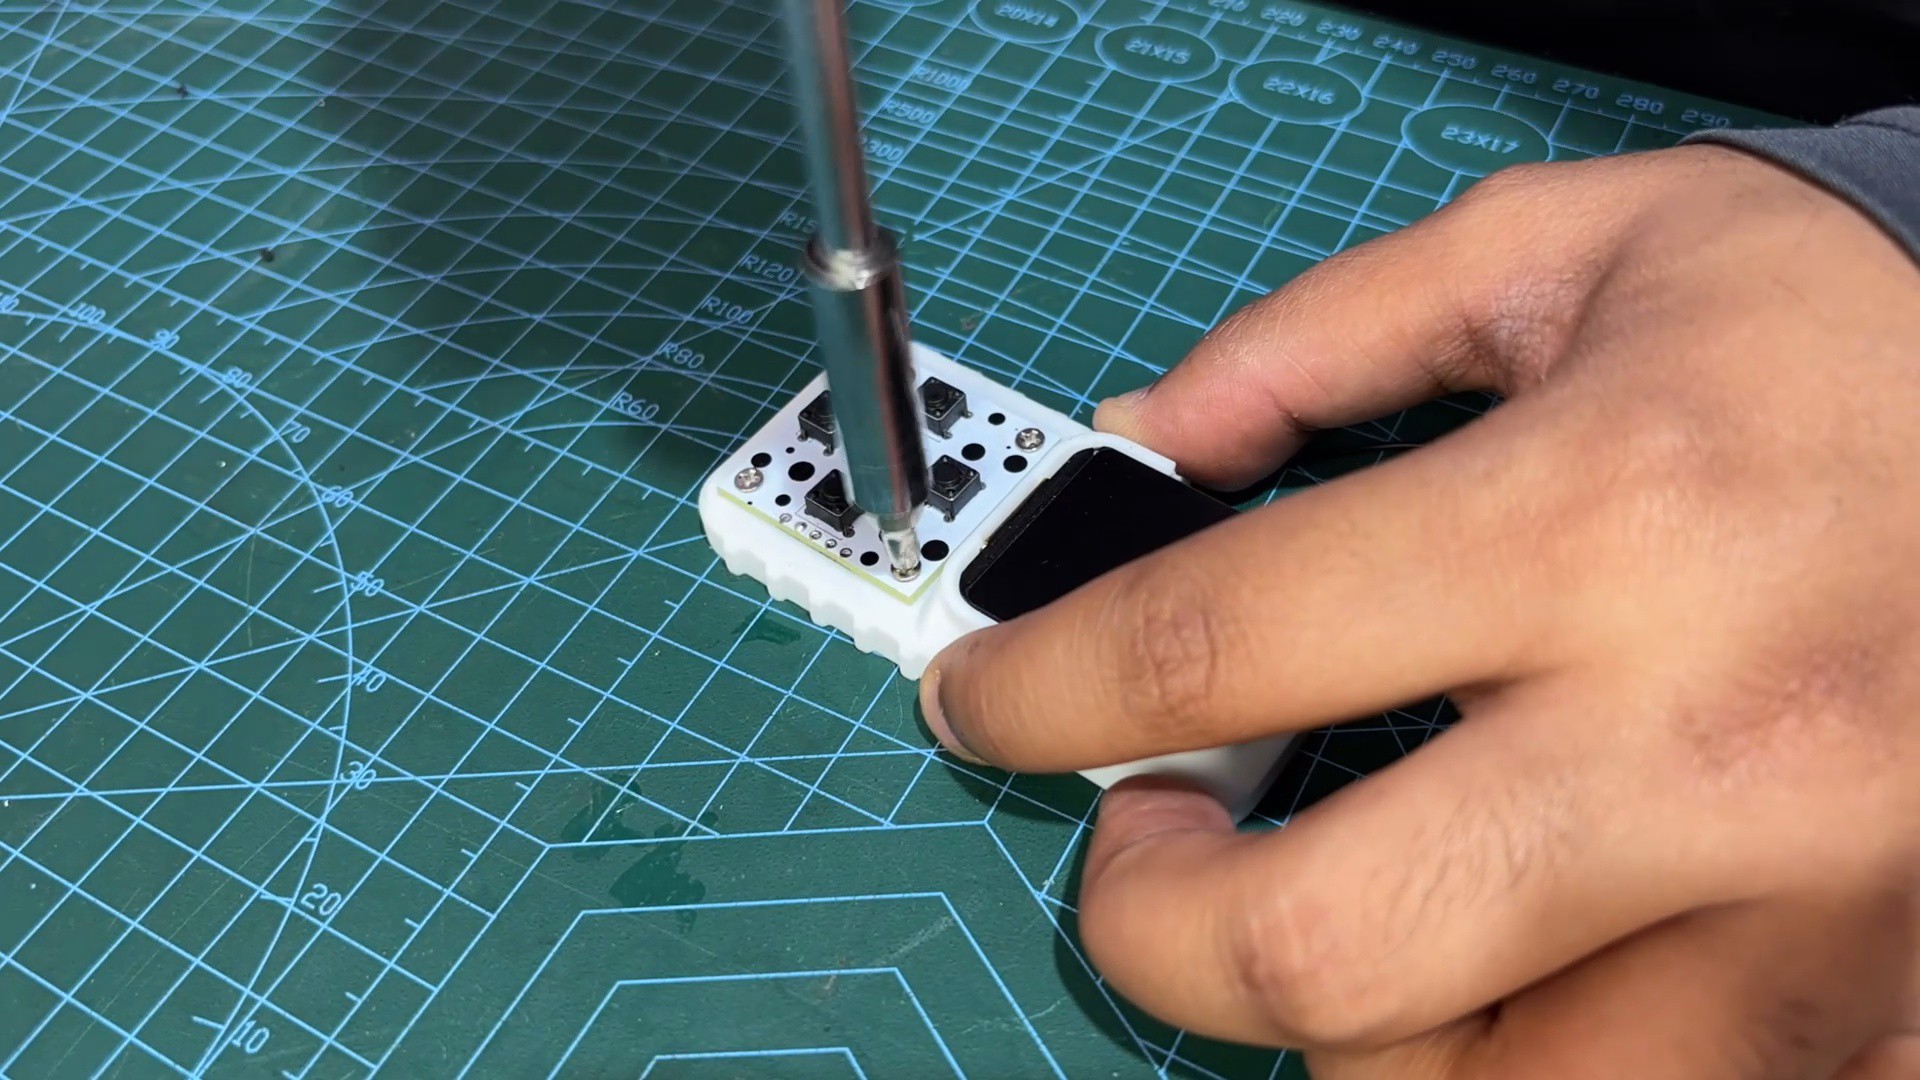
The switch PCB is then secured in place using four M2 screws.
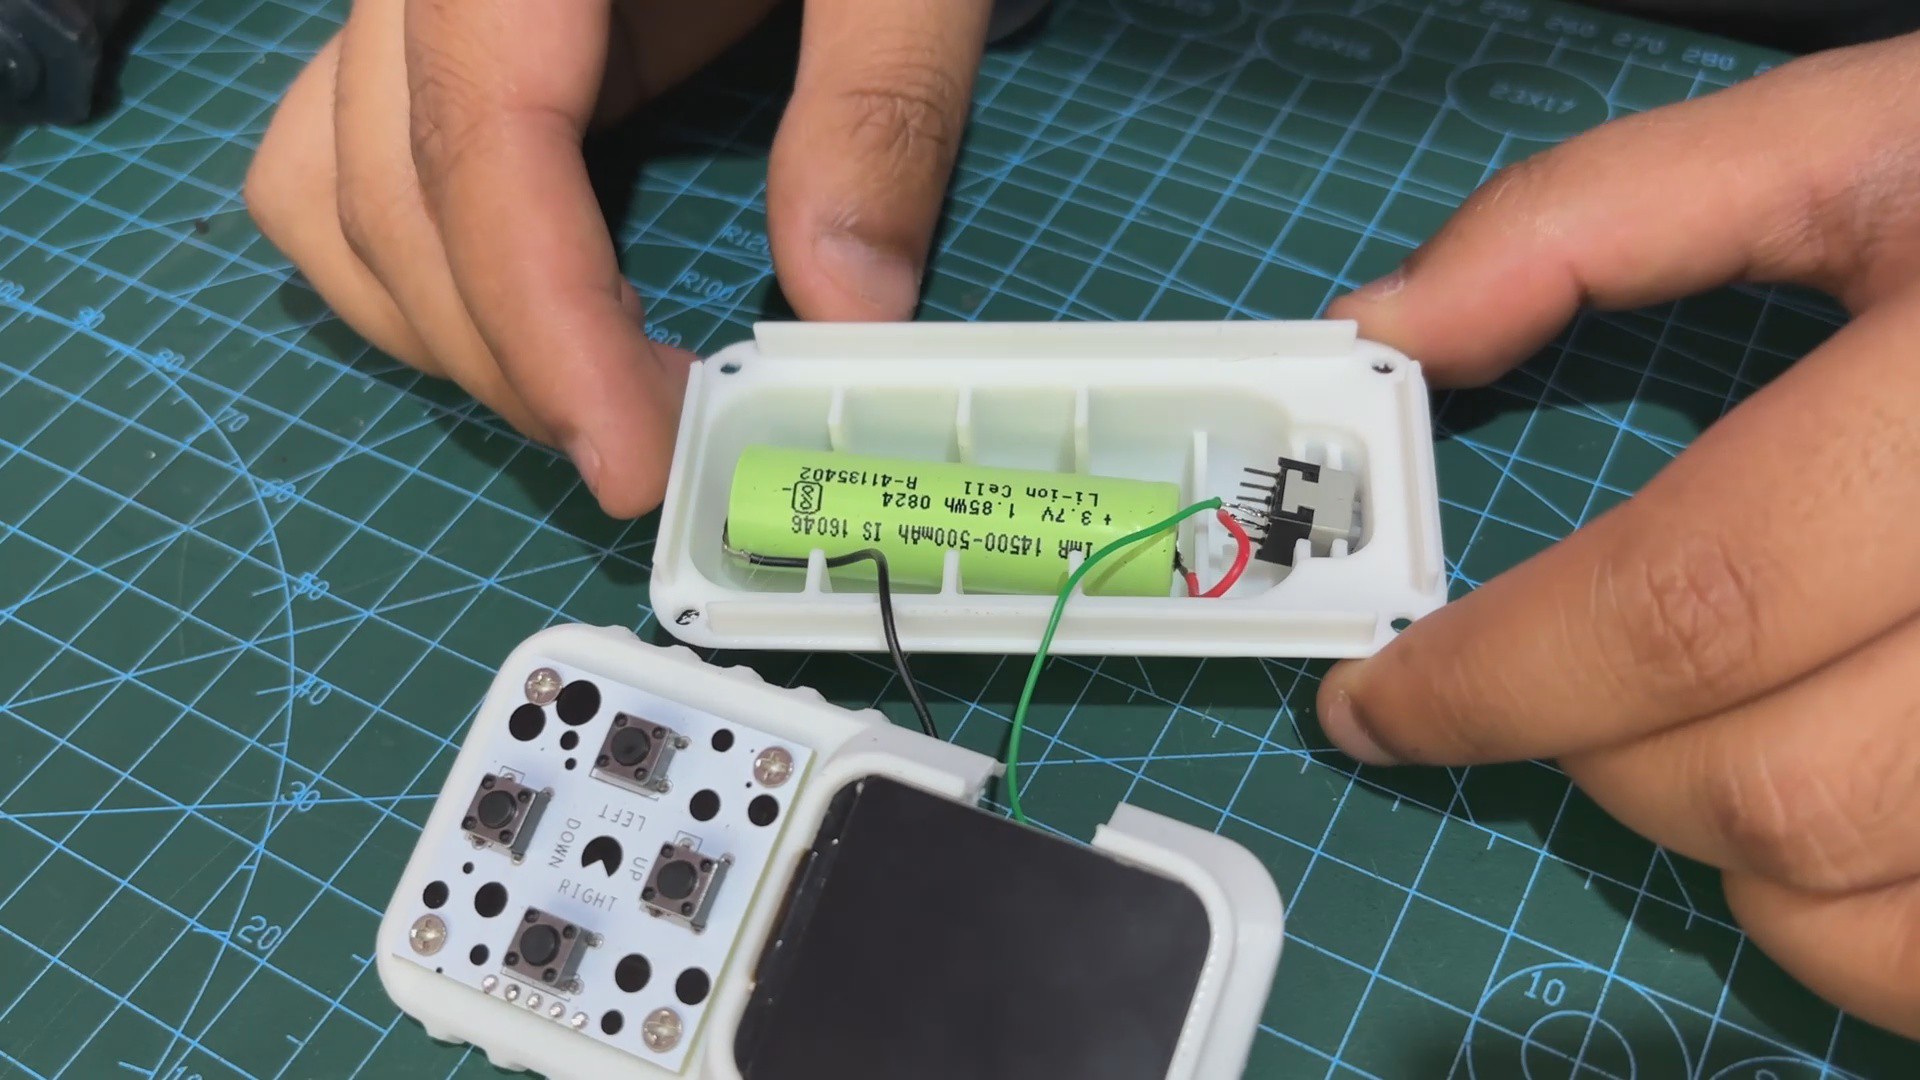
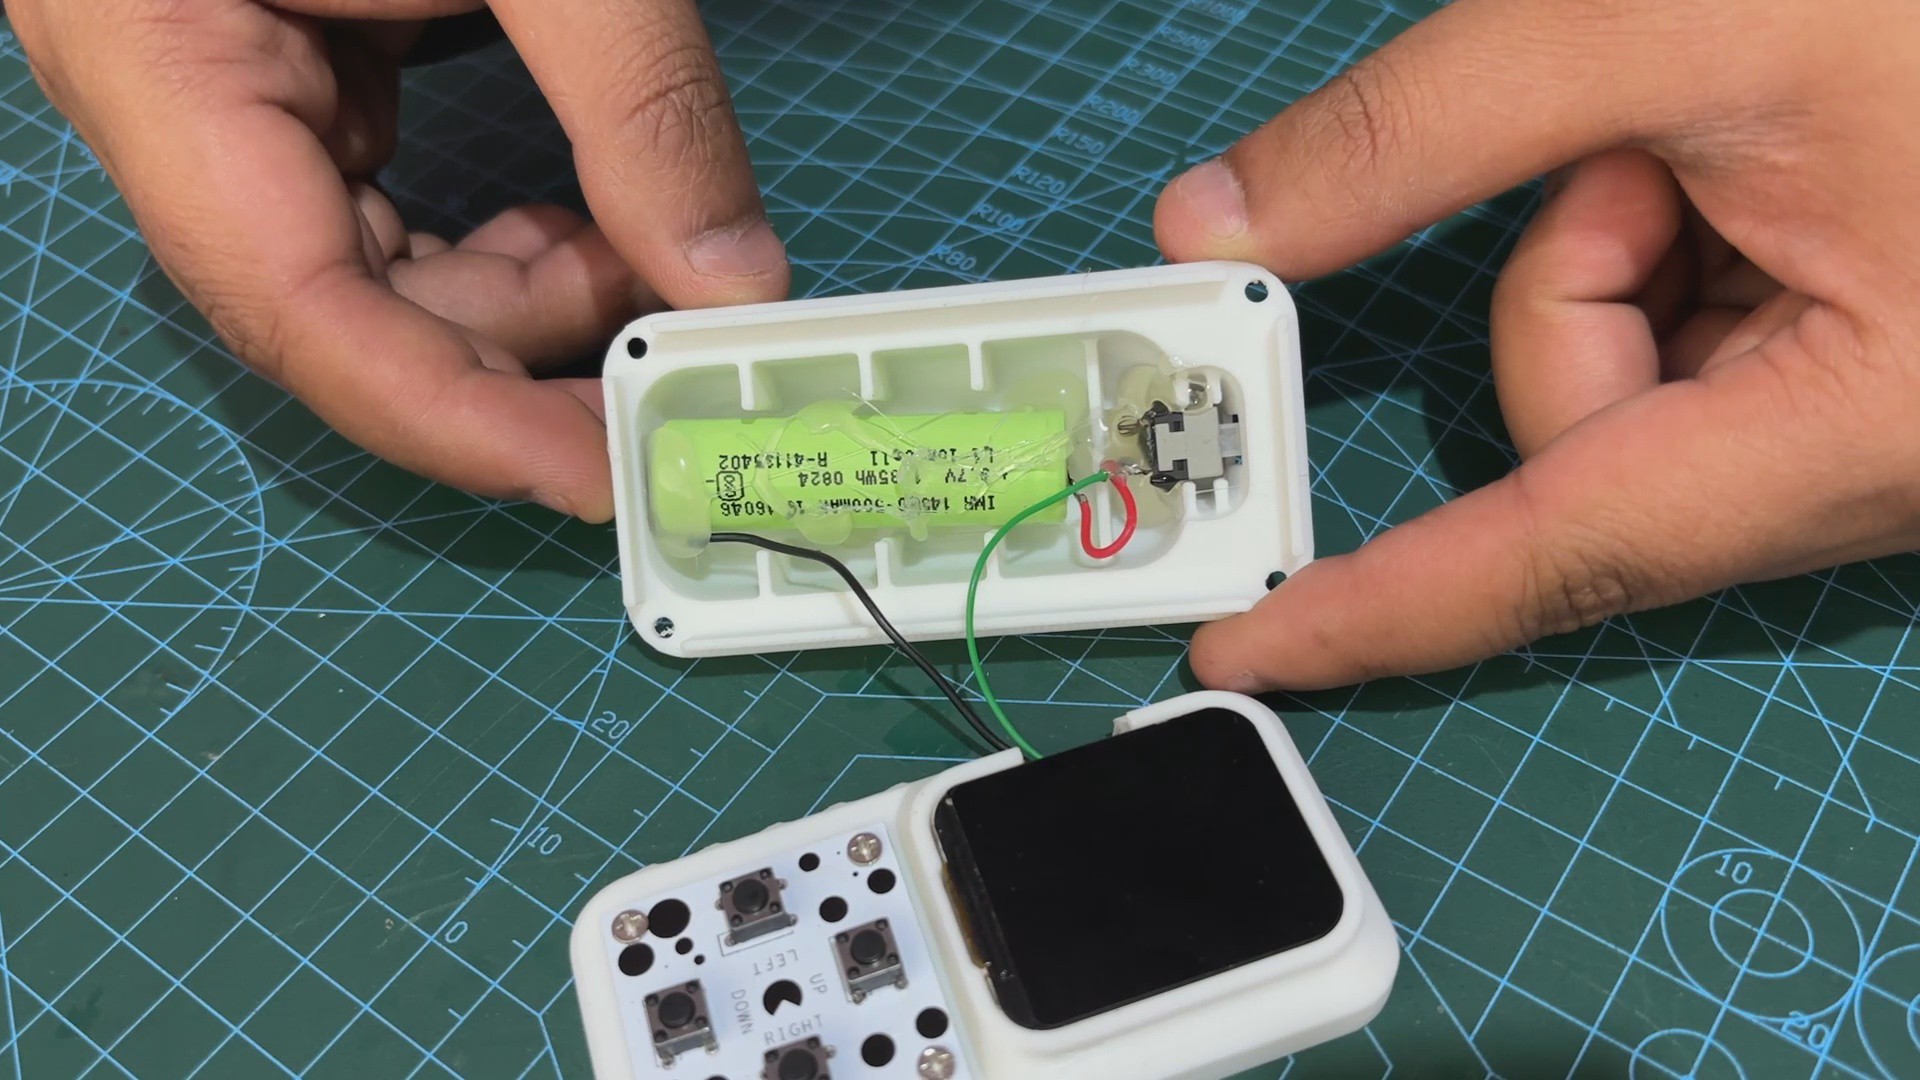
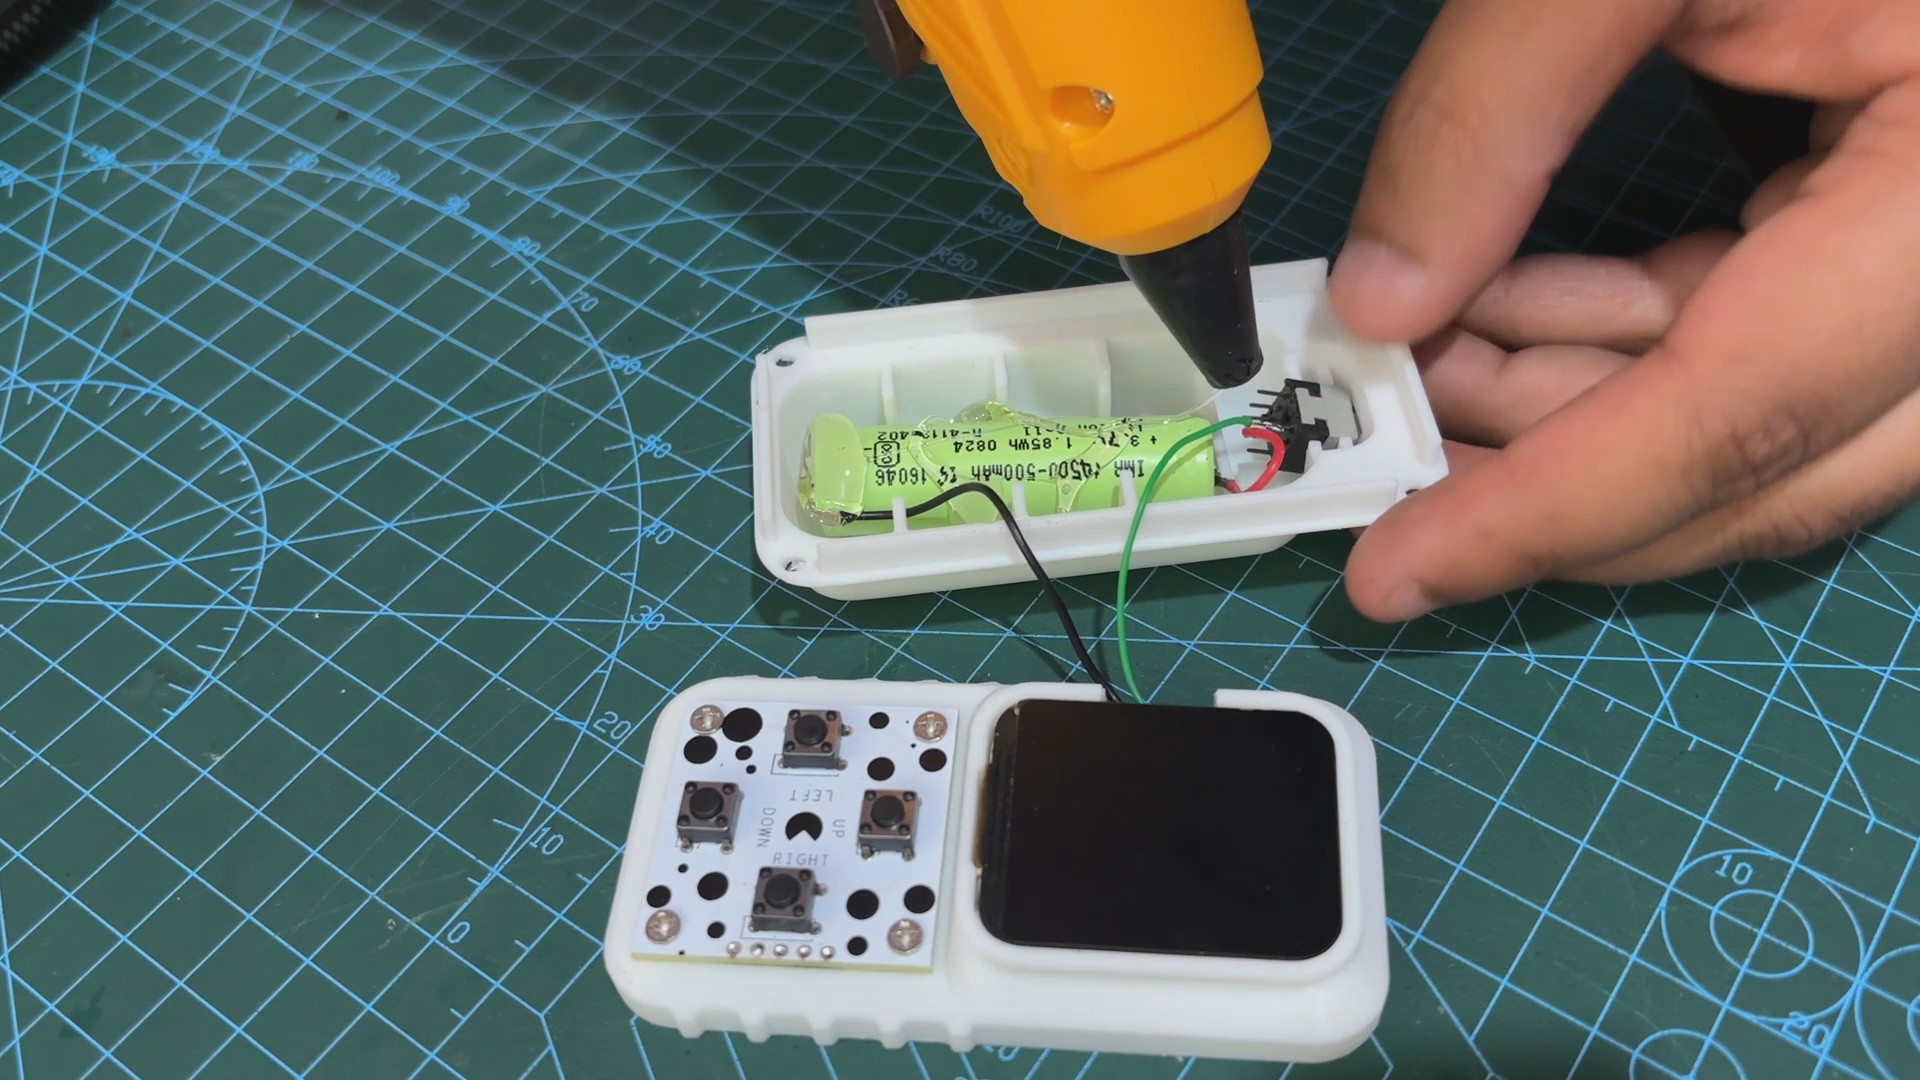
We now install the lithium battery inside the Lid section and the Push switch in its right location.
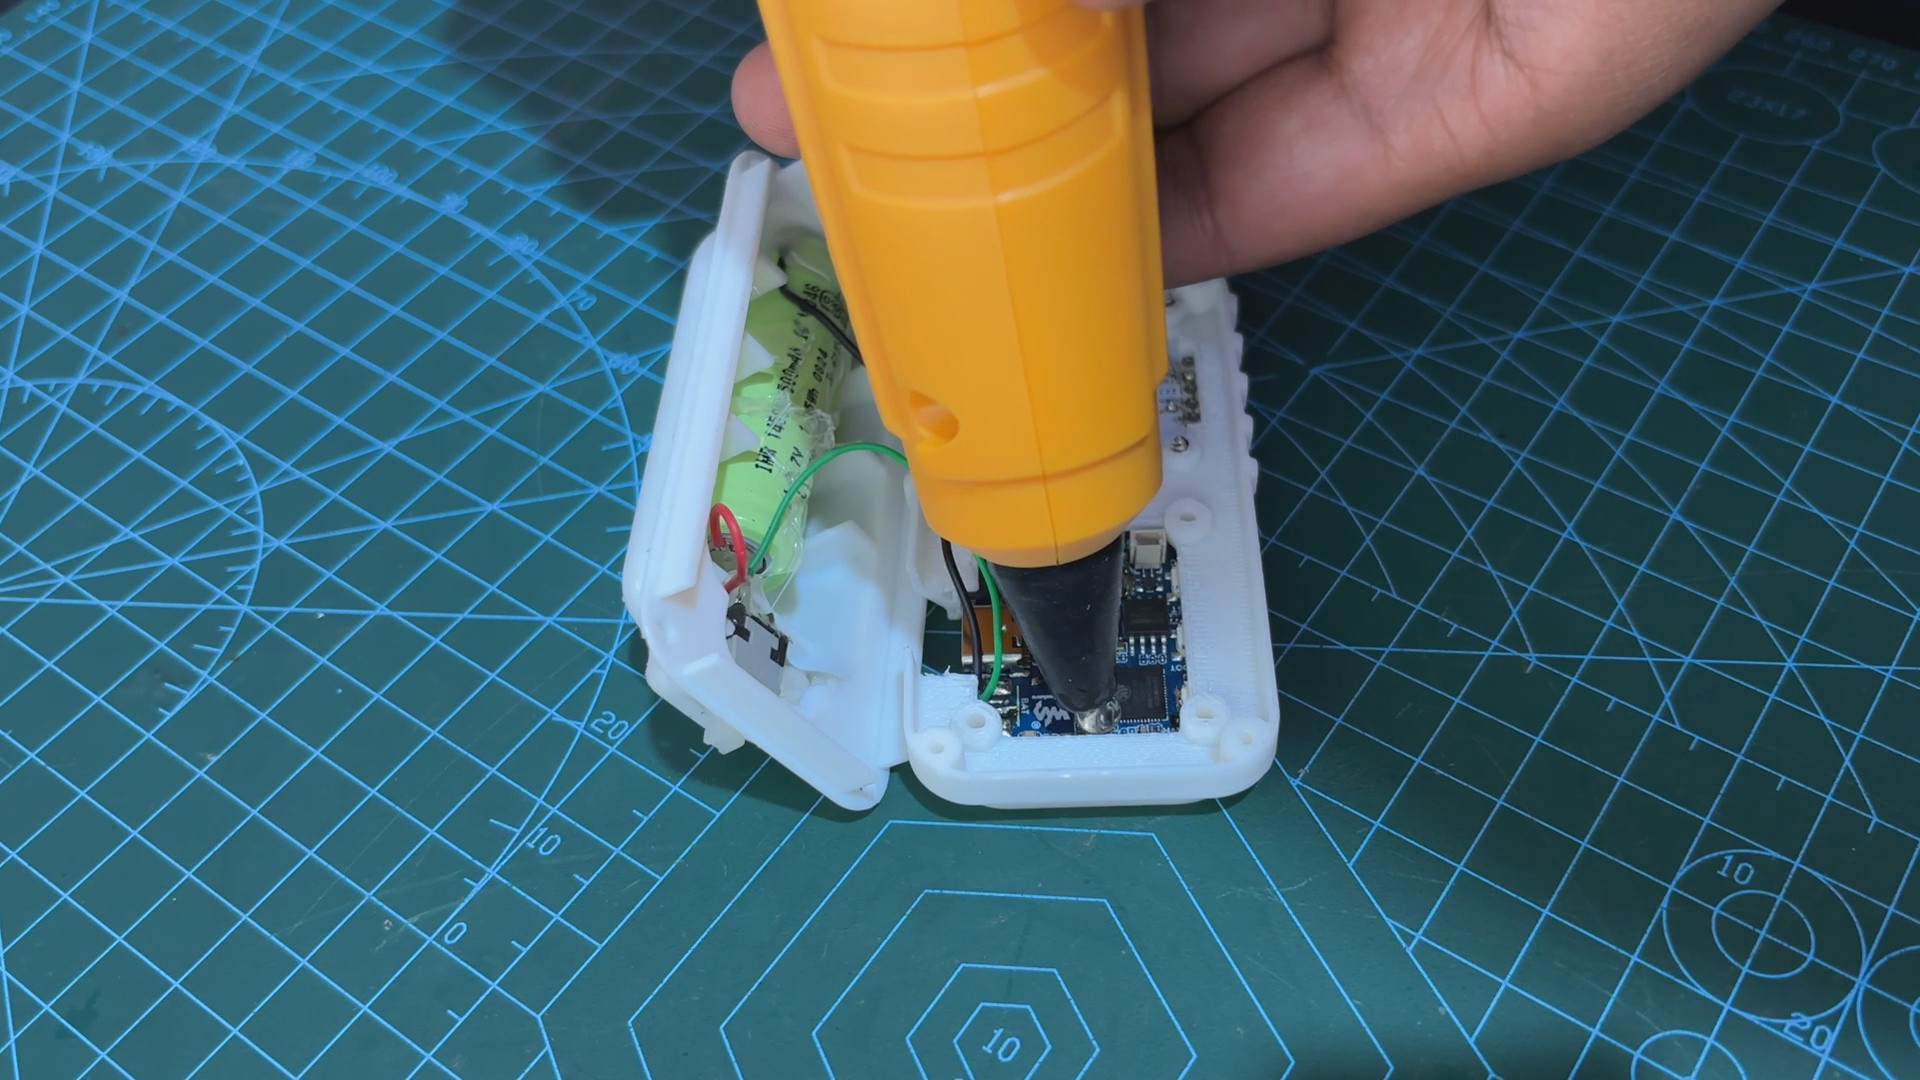
Using a hot glue gun, we apply hot glue to the Push Switch and the Battery to secure them in place.
We next apply hot glue to the rear side of the display over the GPIO Port where we have connected wires for the switchboard, preventing wires from being pulled from the ESP32 traces during the assembling process.
Both halves of the enclosure are now positioned together, and four M2 screws are used to connect them.
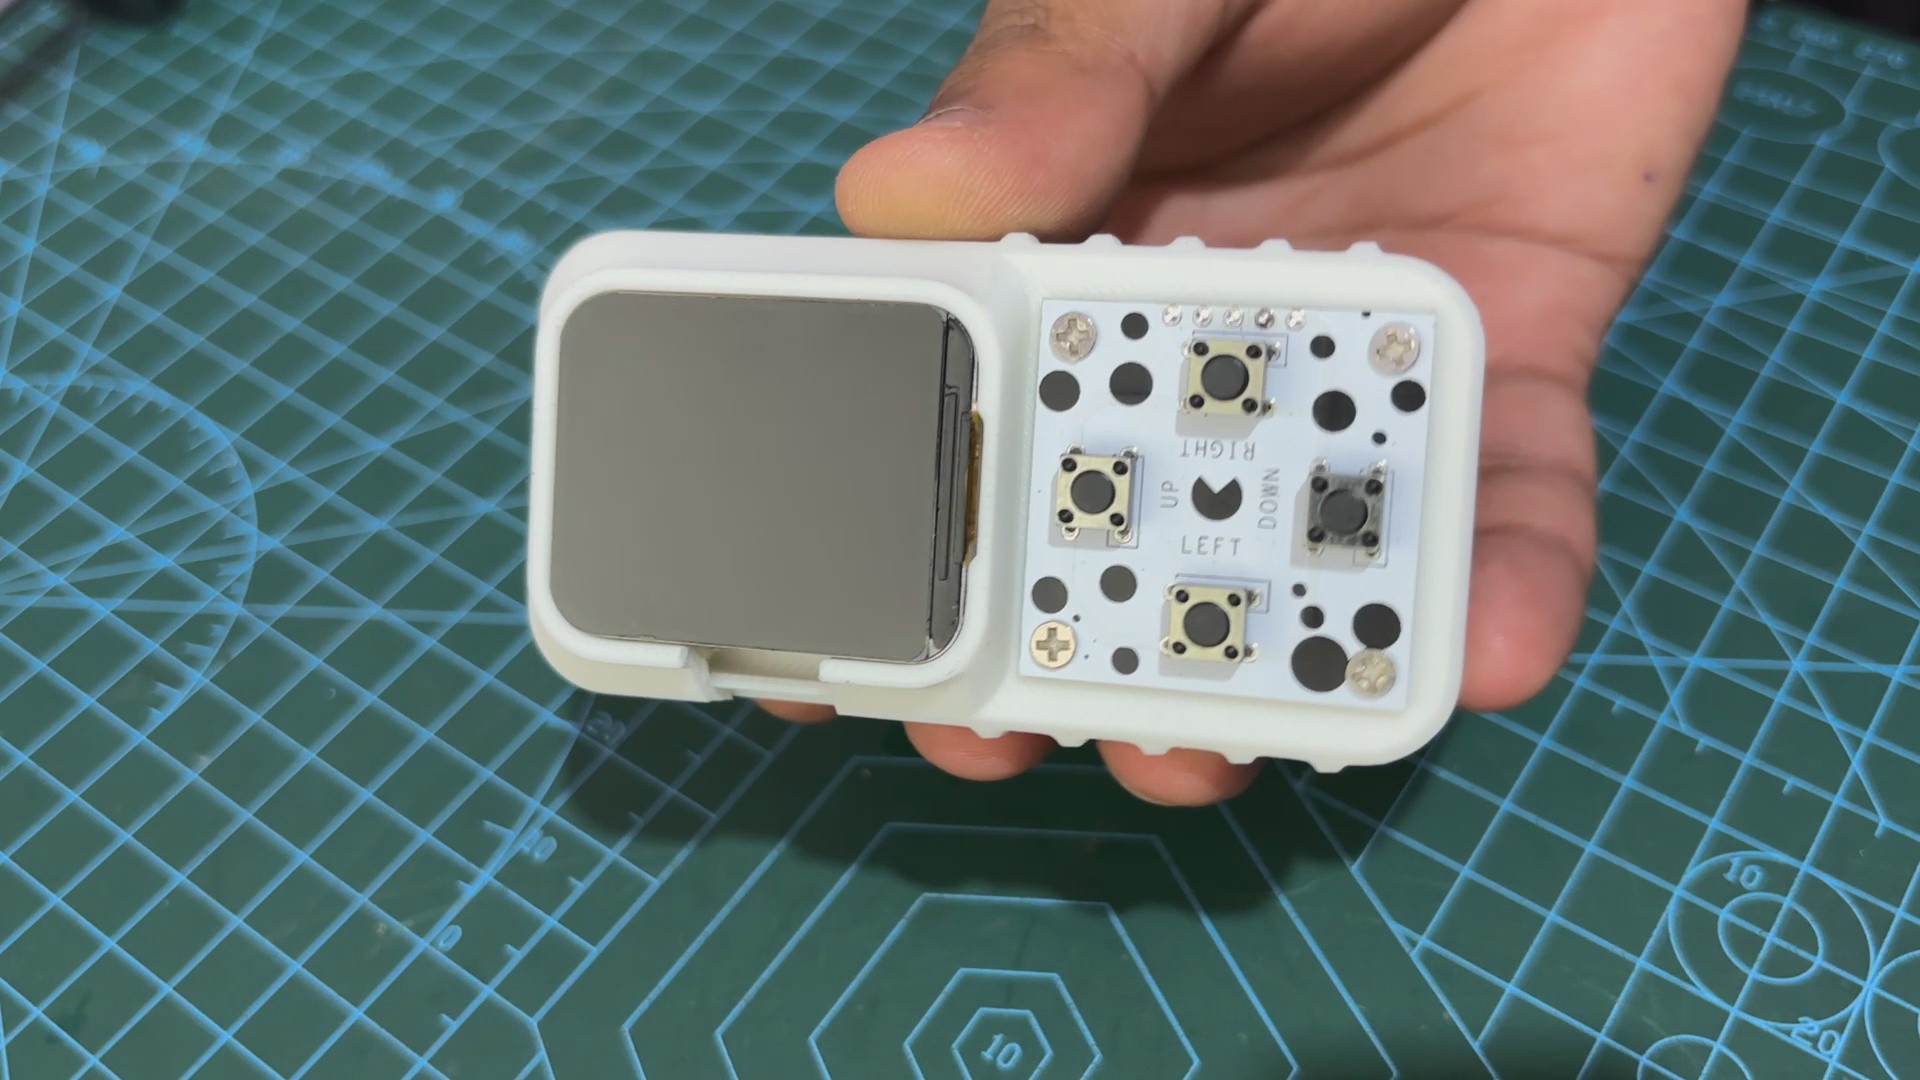
Our Snake Game Console Mini device has been assembled
5
Result
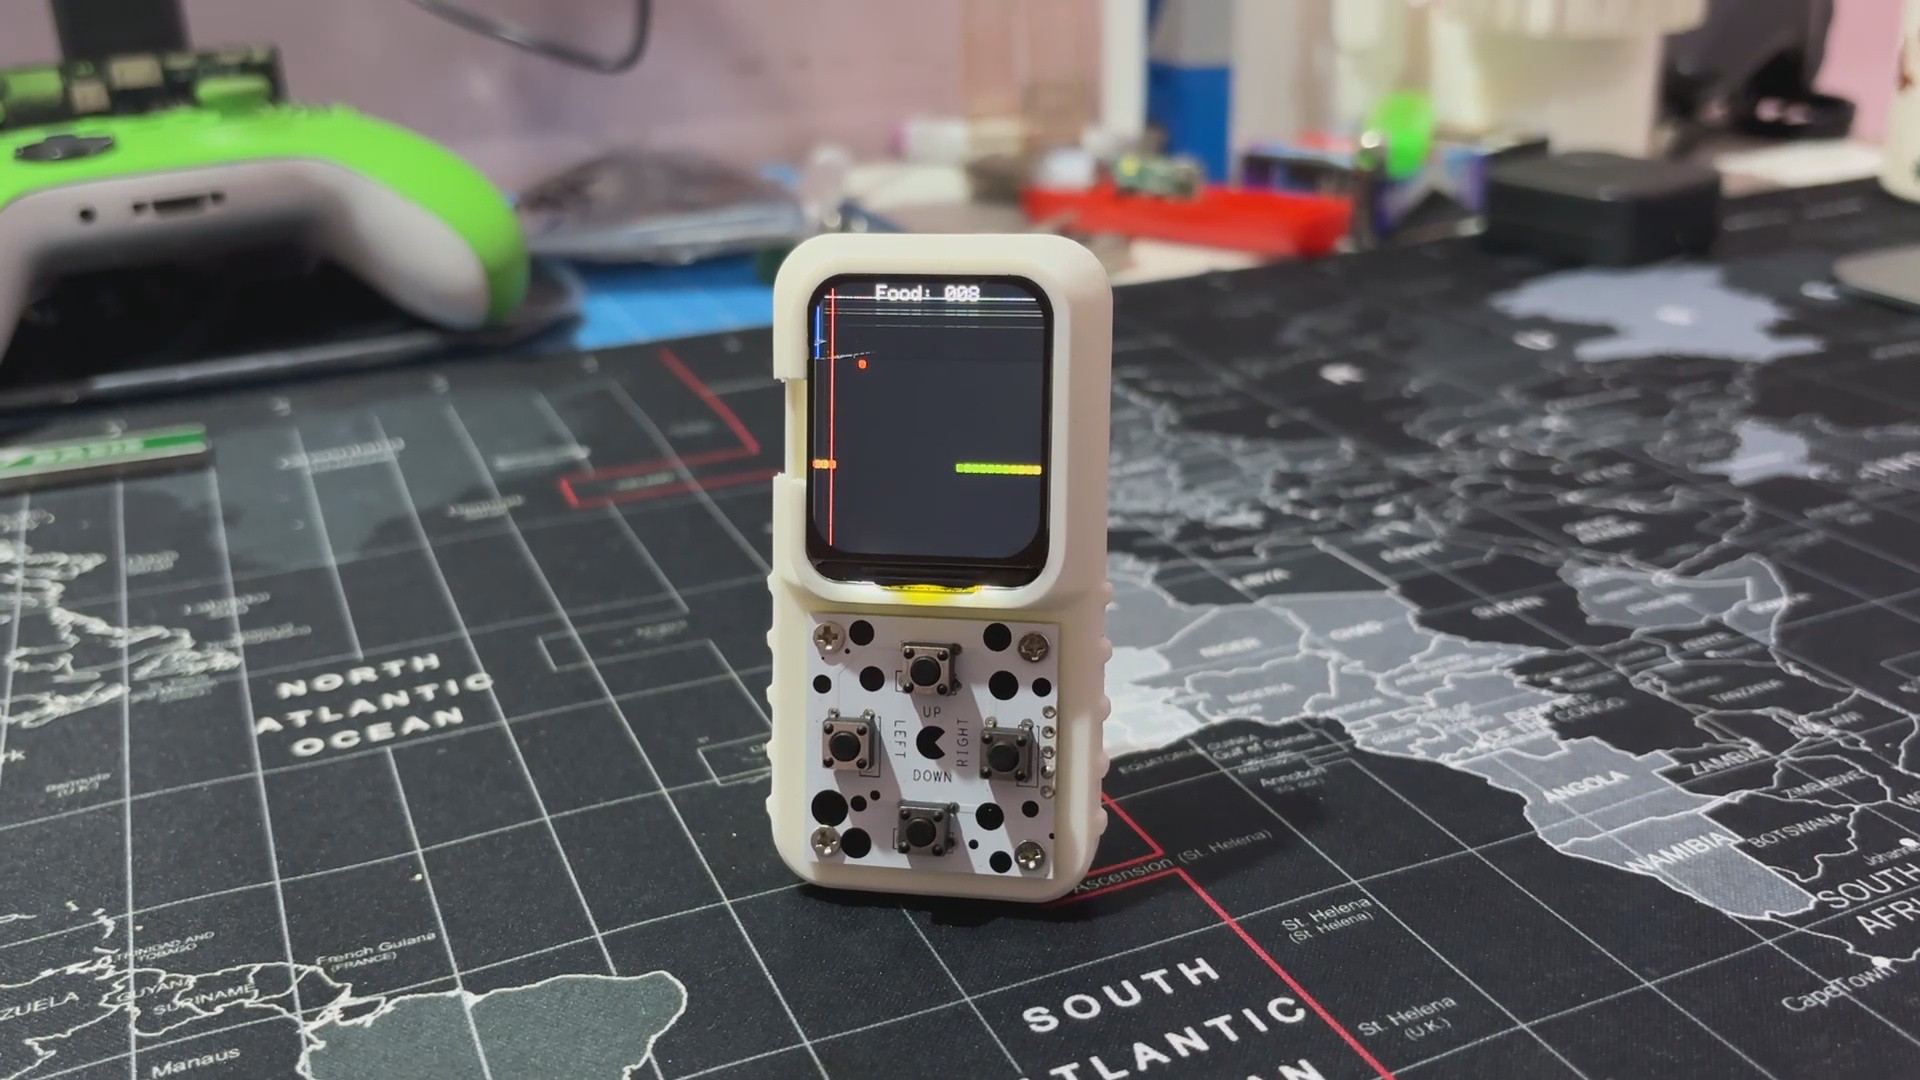
Here's the end result of this small build: the Mini Snake Game Console, a tiny, handheld gaming device that brings the classic Snake game to life in a compact form. The whole design has this nostalgic vibe, kind of like the old Nokia 6110, instantly bringing back memories of early mobile gaming.
Even though it’s small, the console runs smoothly, with responsive controls and a vibrant display powered by the ESP32-S3-LCD-1.69. The gradient-colored snake, the buzzer beep when you eat food, and the custom button board all come together to make it feel polished and fun to play. And the 3D-printed enclosure, designed in Fusion 360, gives it a solid build that fits comfortably in your hand.
Thanks to the onboard 500mAh Li-ion battery, it’s totally portable, letting you game anywhere, anytime without needing a constant power source. The bright display and smooth gameplay make it just as engaging as the bigger version, but now it’s way more convenient to carry around.
6
Whats next
For the next iteration, I'd like to focus more on the game itself, which can be improved further by adding obstacles such as a wall that, when touched by the snake, ends the game. As the snake becomes larger, its speed increases, which is one of the adjustments I'd like to add in the next version of the project. Also, I believe I can create a better and smaller body if we utilize a LiPo cell in our future project, as well as a custom PCB with SMD buttons to increase the size of the PCB and electronics even more.
Please let me know if you require any additional assistance; all the documents, files, and code are included in the article.
 Arnov Sharma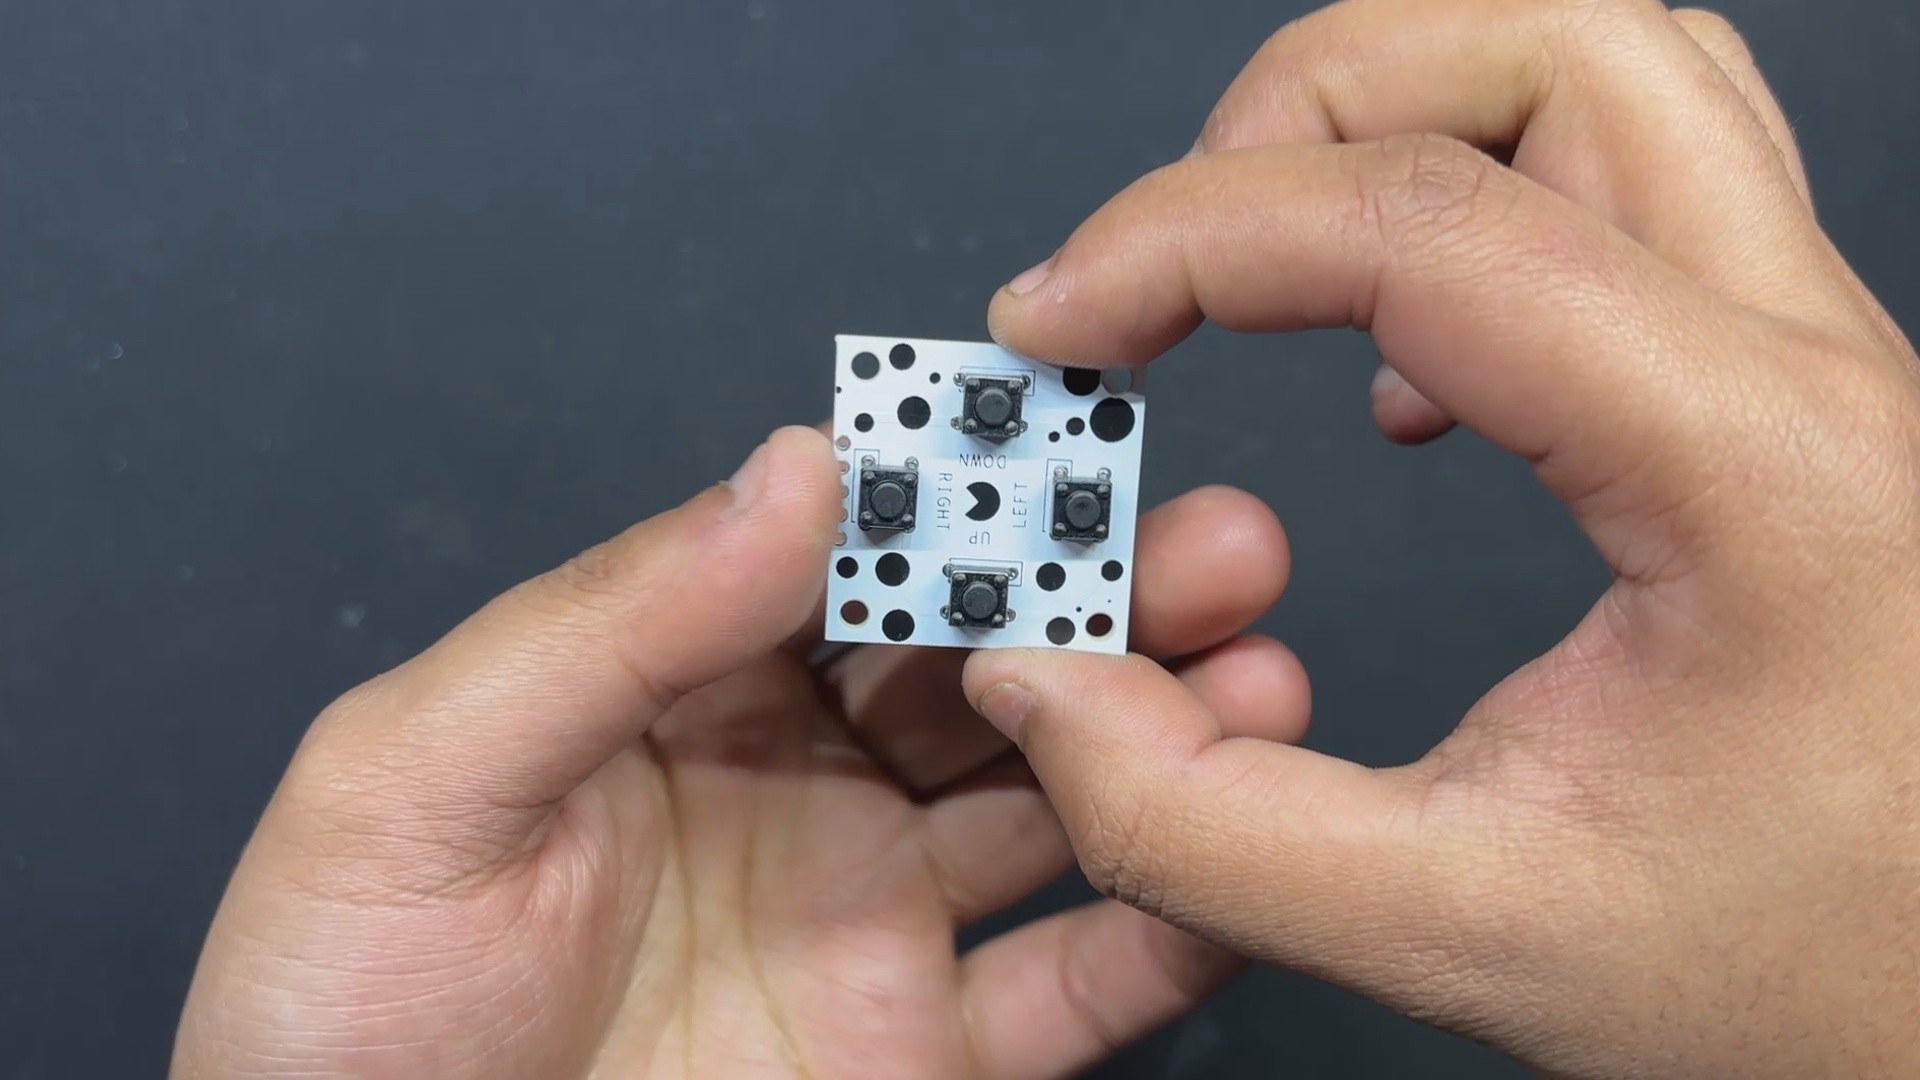

Discussions
Become a Hackaday.io Member
Create an account to leave a comment. Already have an account? Log In.