 sotiris barlakas
An outdoor lab in a vineyard — an experimental space for open DIY tech, sustainable agriculture, collective learning, and deeper connection with nature.
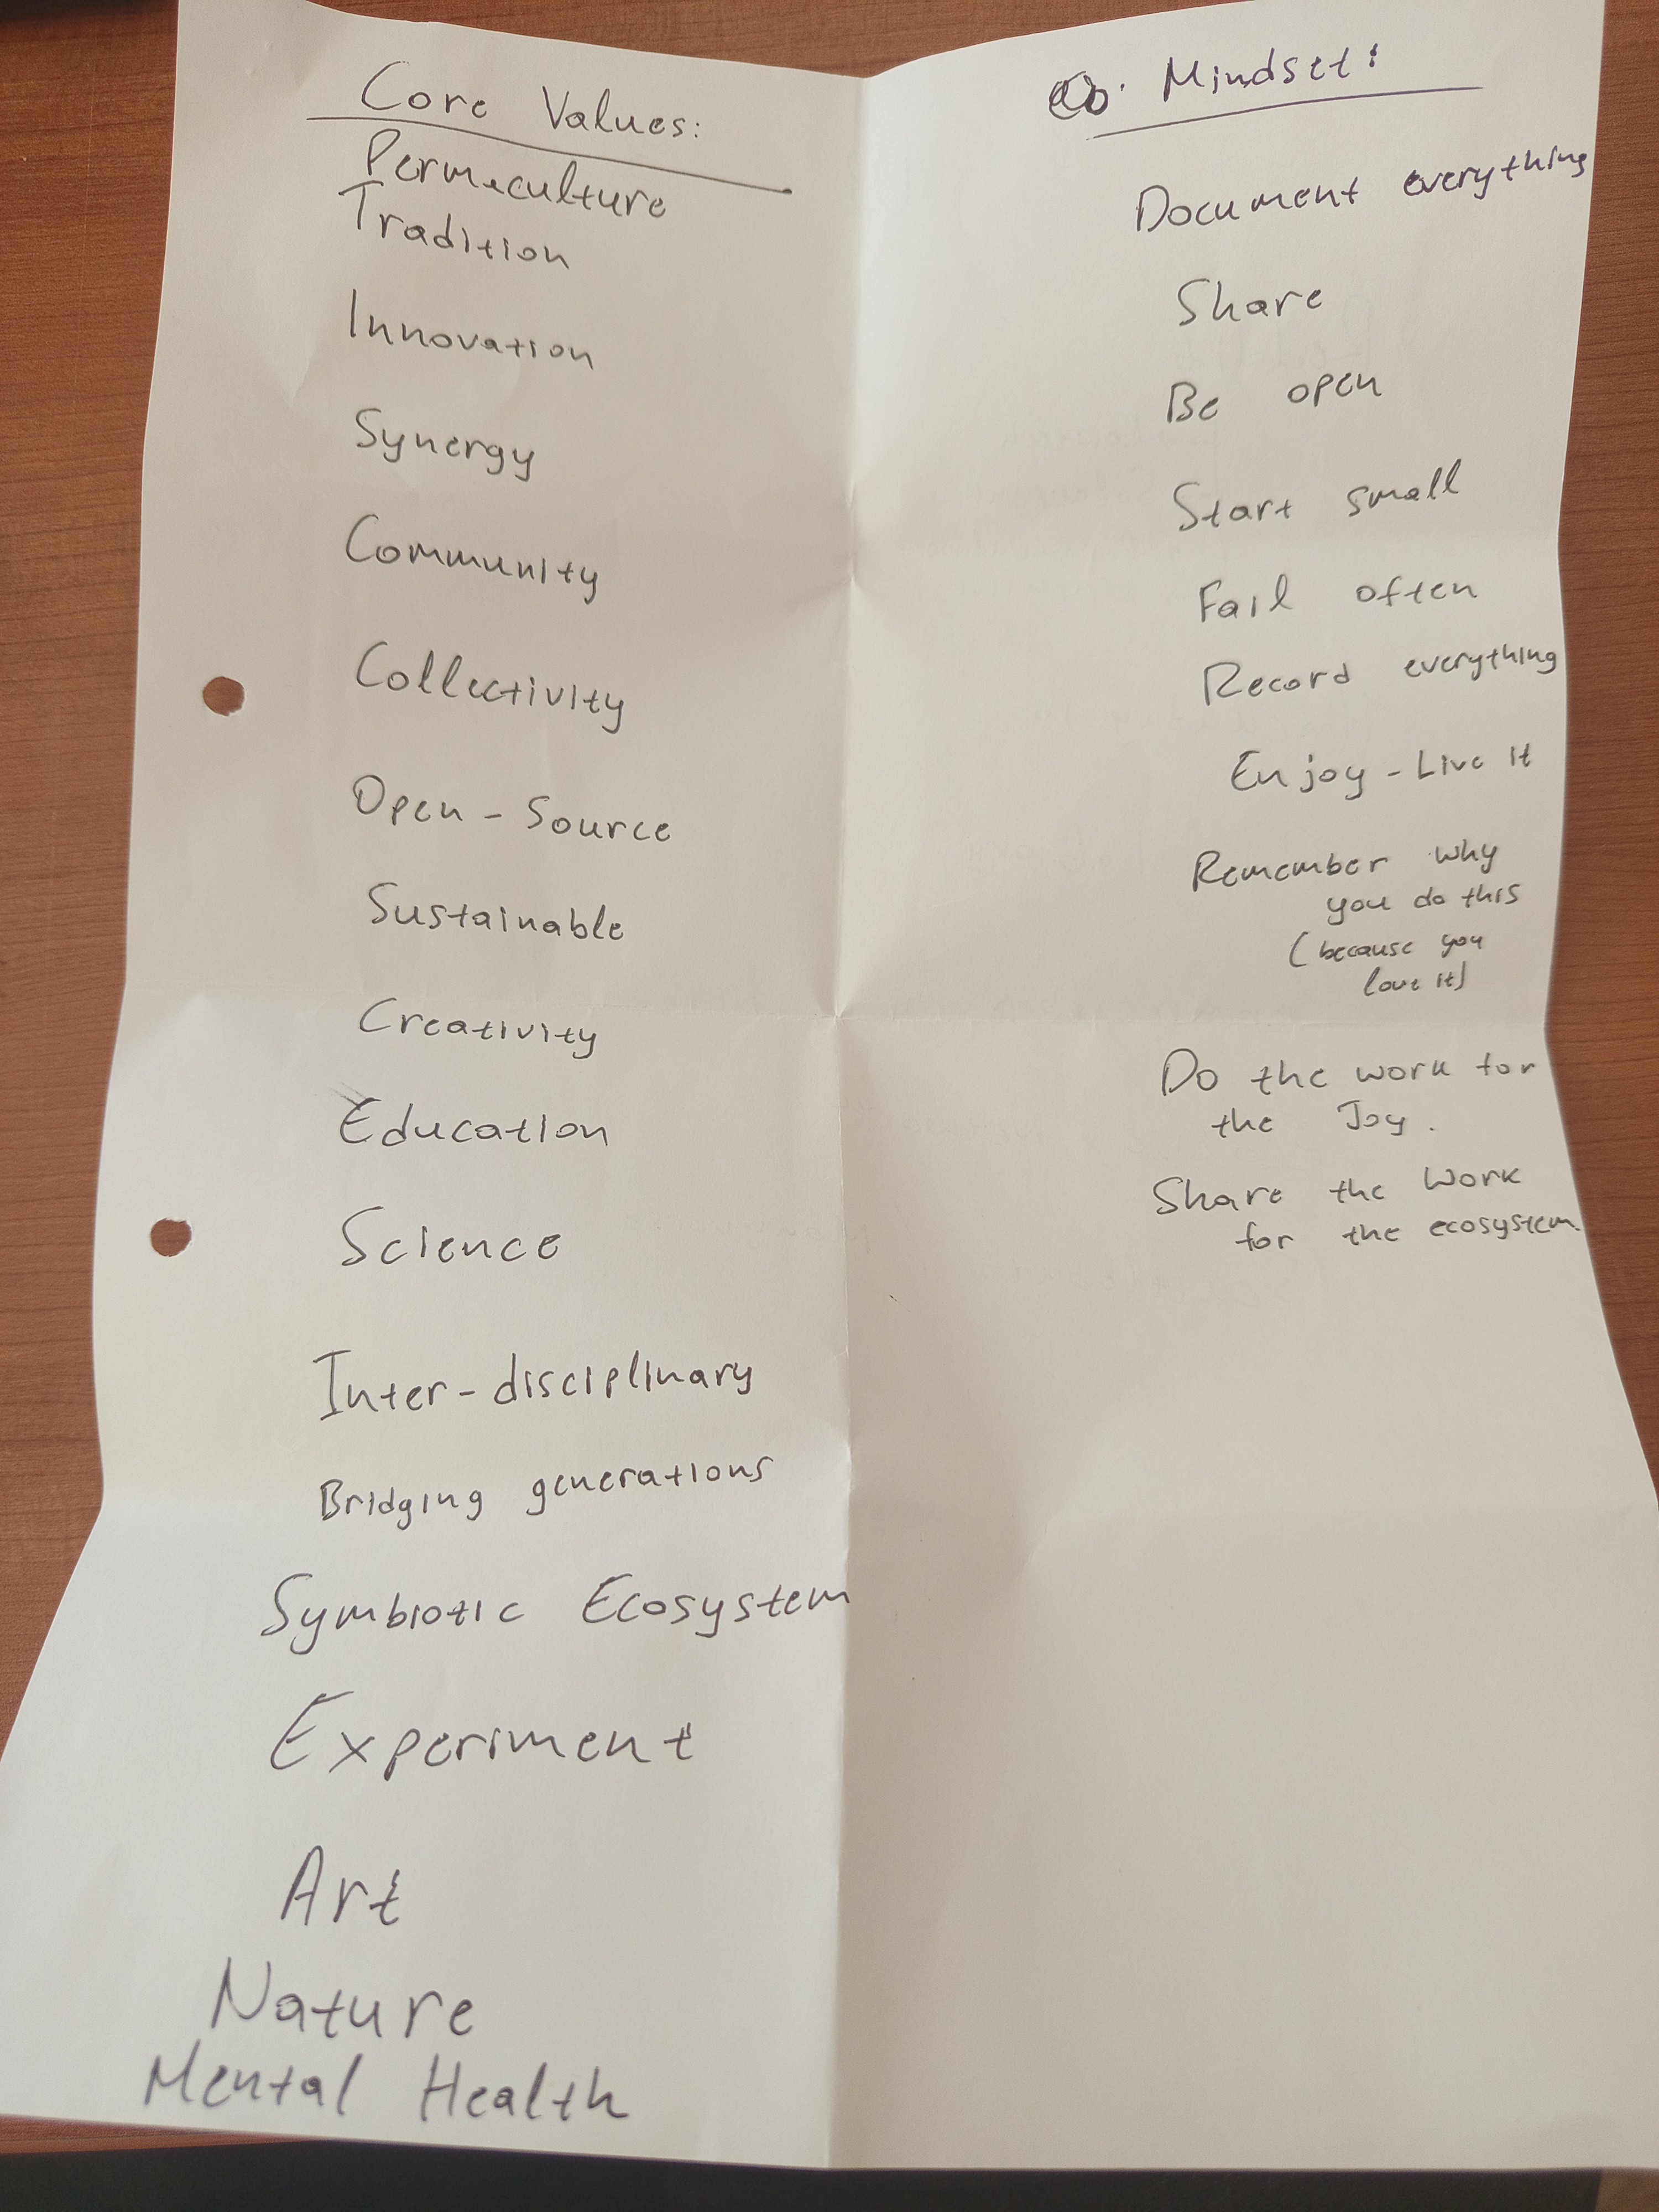
This project reimagines a traditional vineyard as more than farmland — as a place of experimentation, creativity, and shared curiosity. It begins with building low-cost, solar-powered devices to monitor and care for the land. But beyond the hardware, it’s about forming a community — of learners, makers, artists, and farmers — who explore new ways of living and working together.
We're not aiming for a polished blueprint or a perfect system. We’re embracing the unknown, learning as we go, and enjoying the process of building something with others. The goal is to reconnect with nature through technology — not to dominate it, but to observe, adapt, and collaborate with it.
Whether it’s kids discovering electronics in the field, or friends hacking robots in a repurposed pig shed, this vineyard-lab is a platform for exploration. A quiet rebellion against isolation, complexity, and overconsumption — and a small experiment in making the future feel more human.
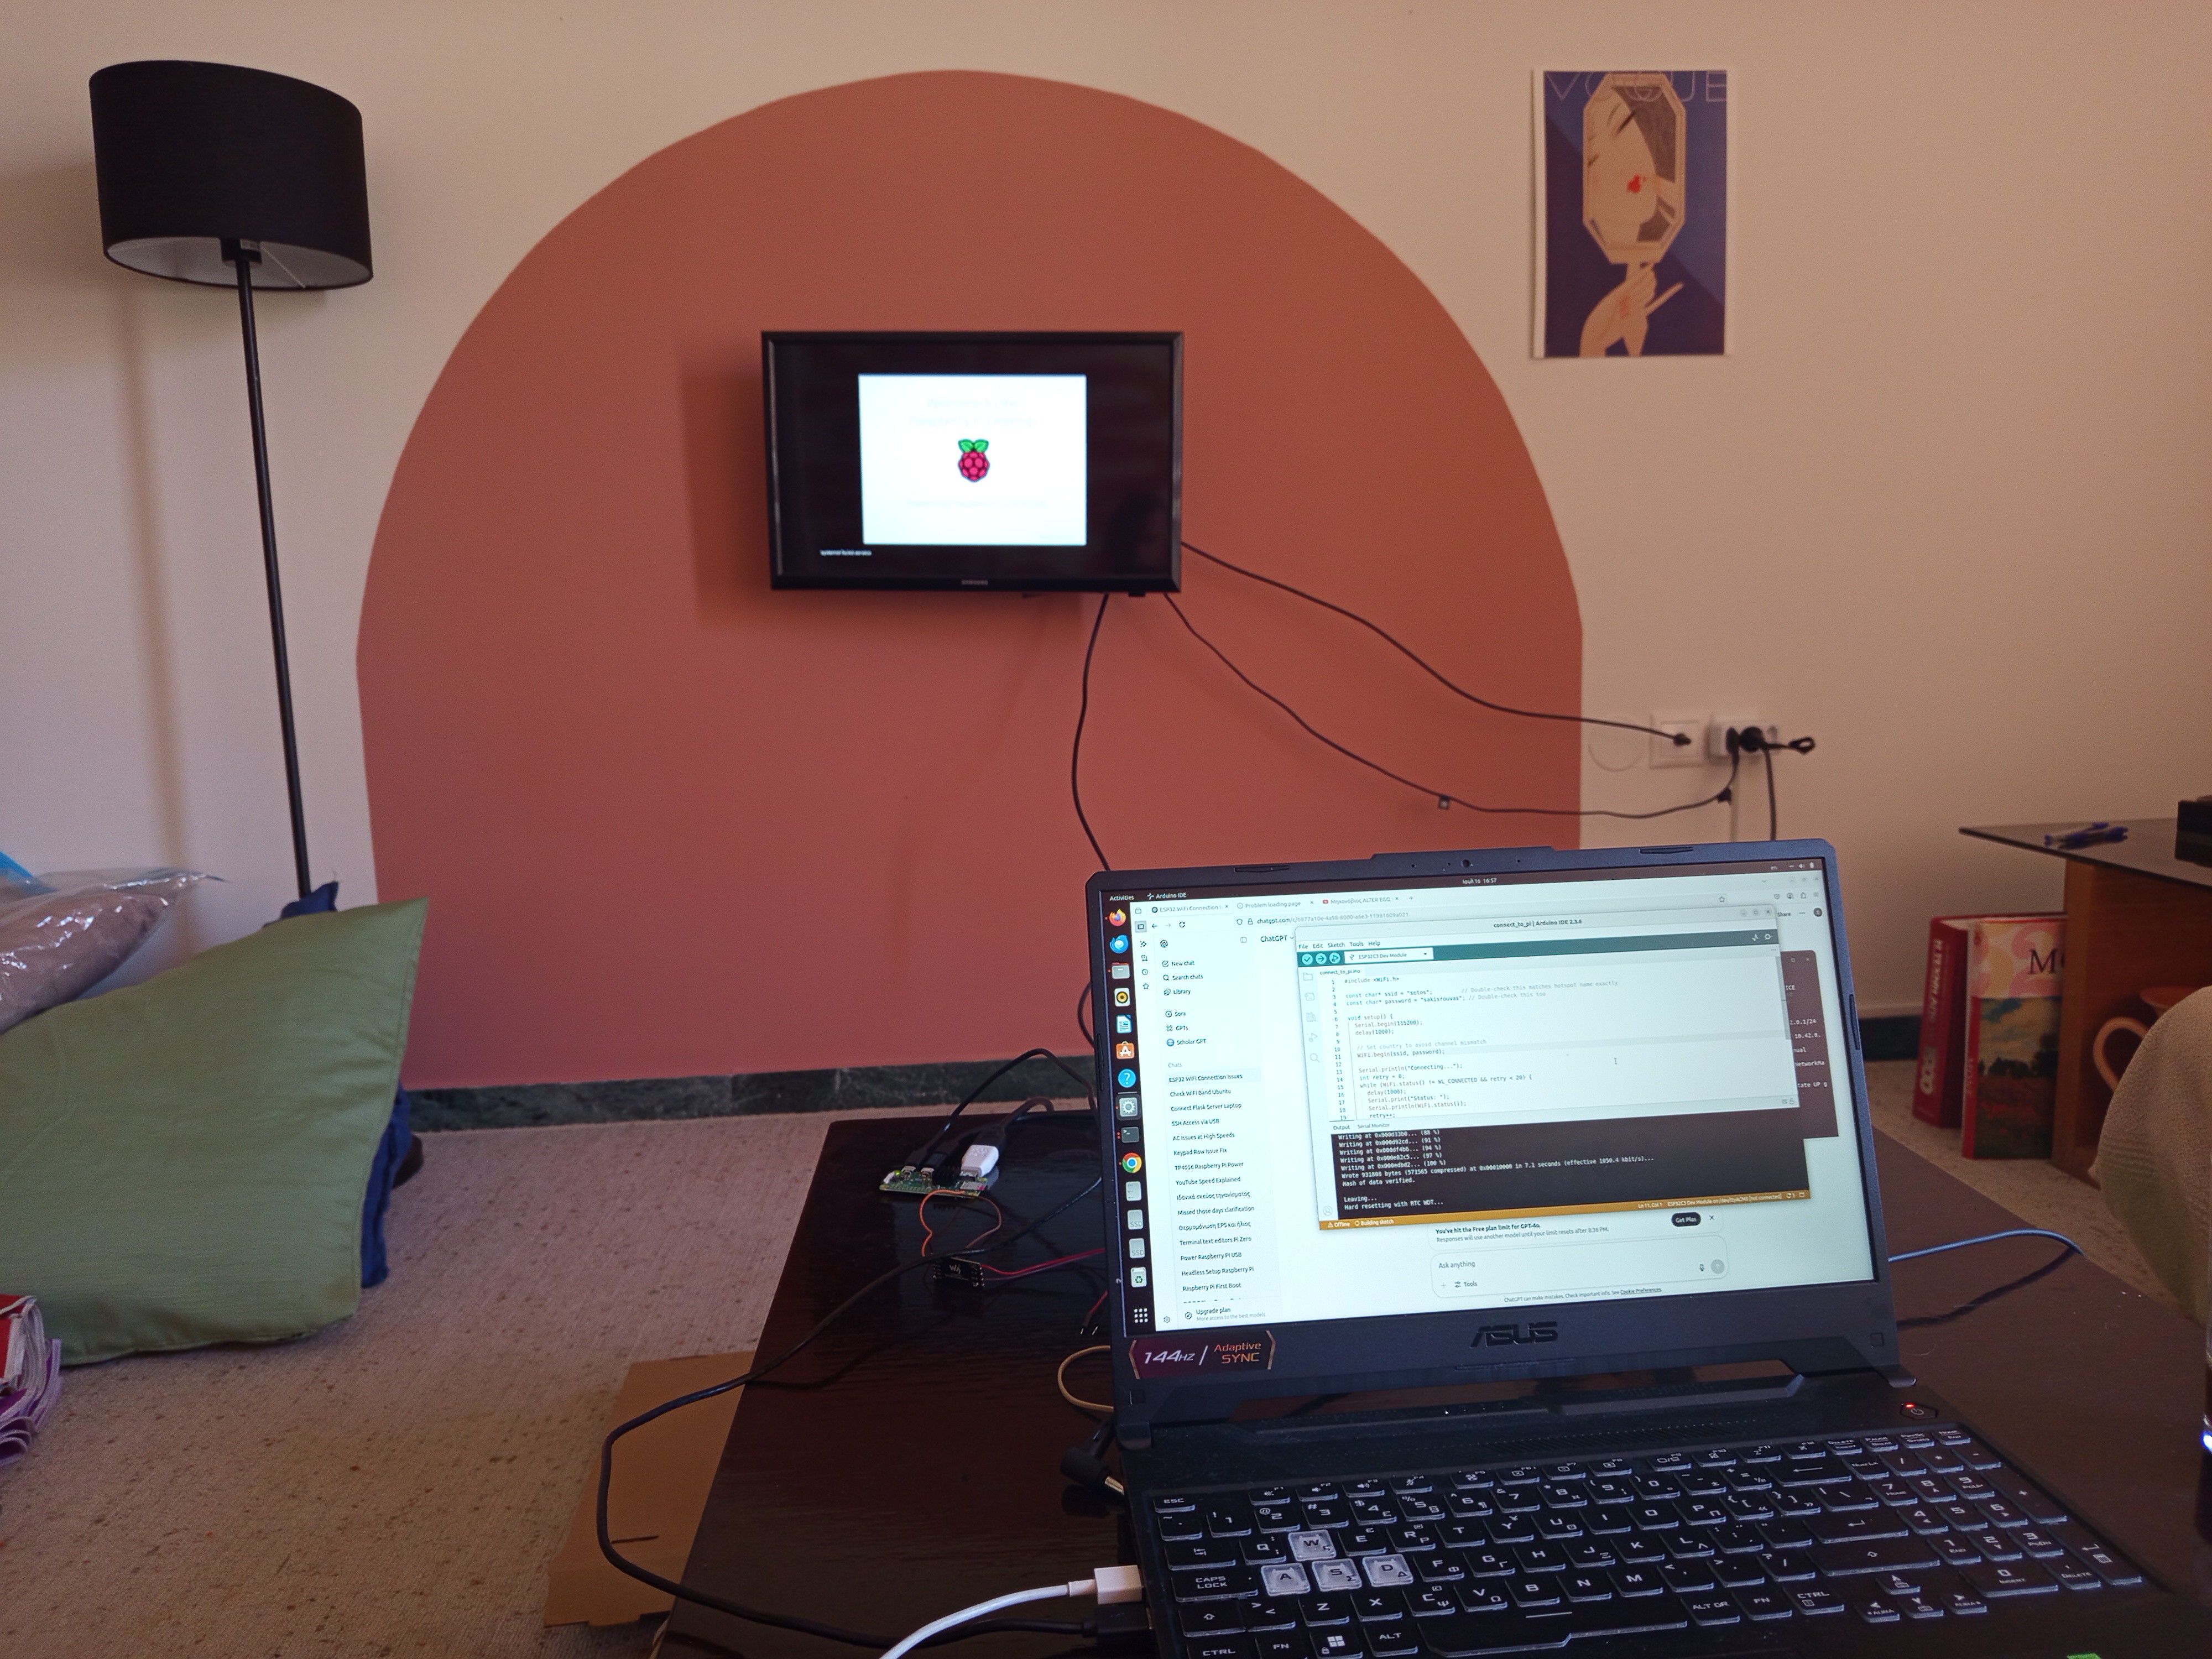
First milestone:
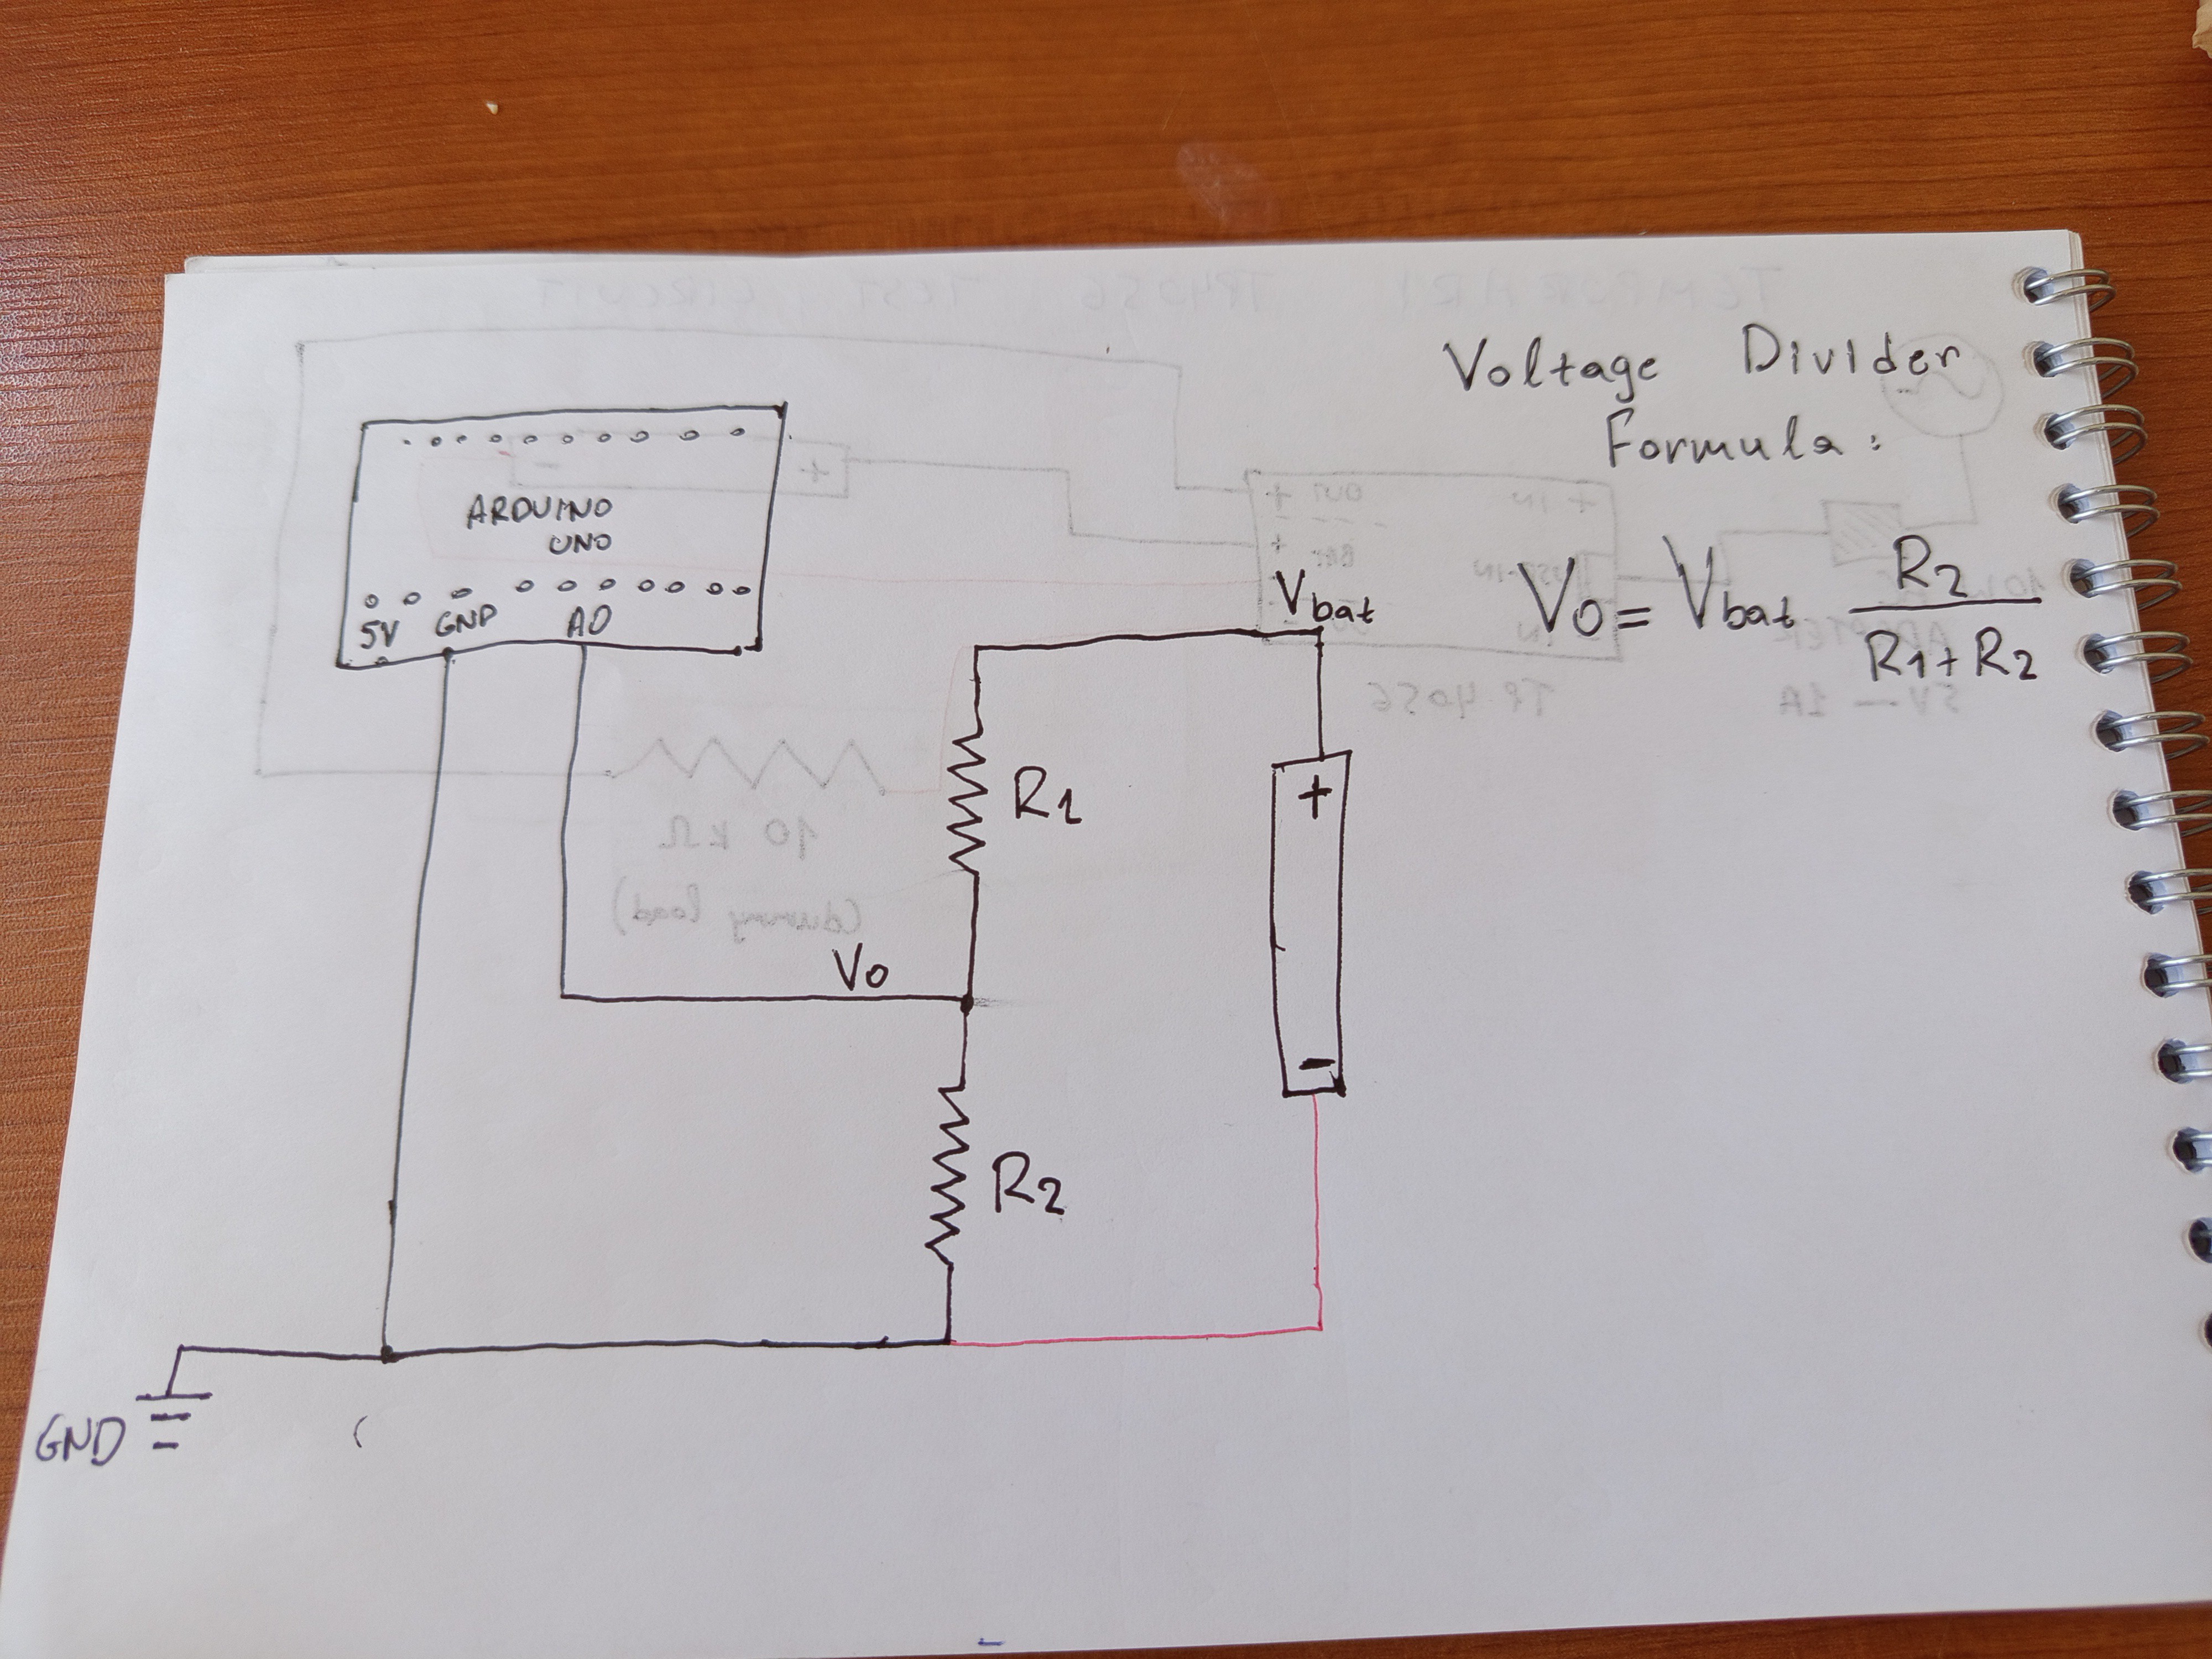
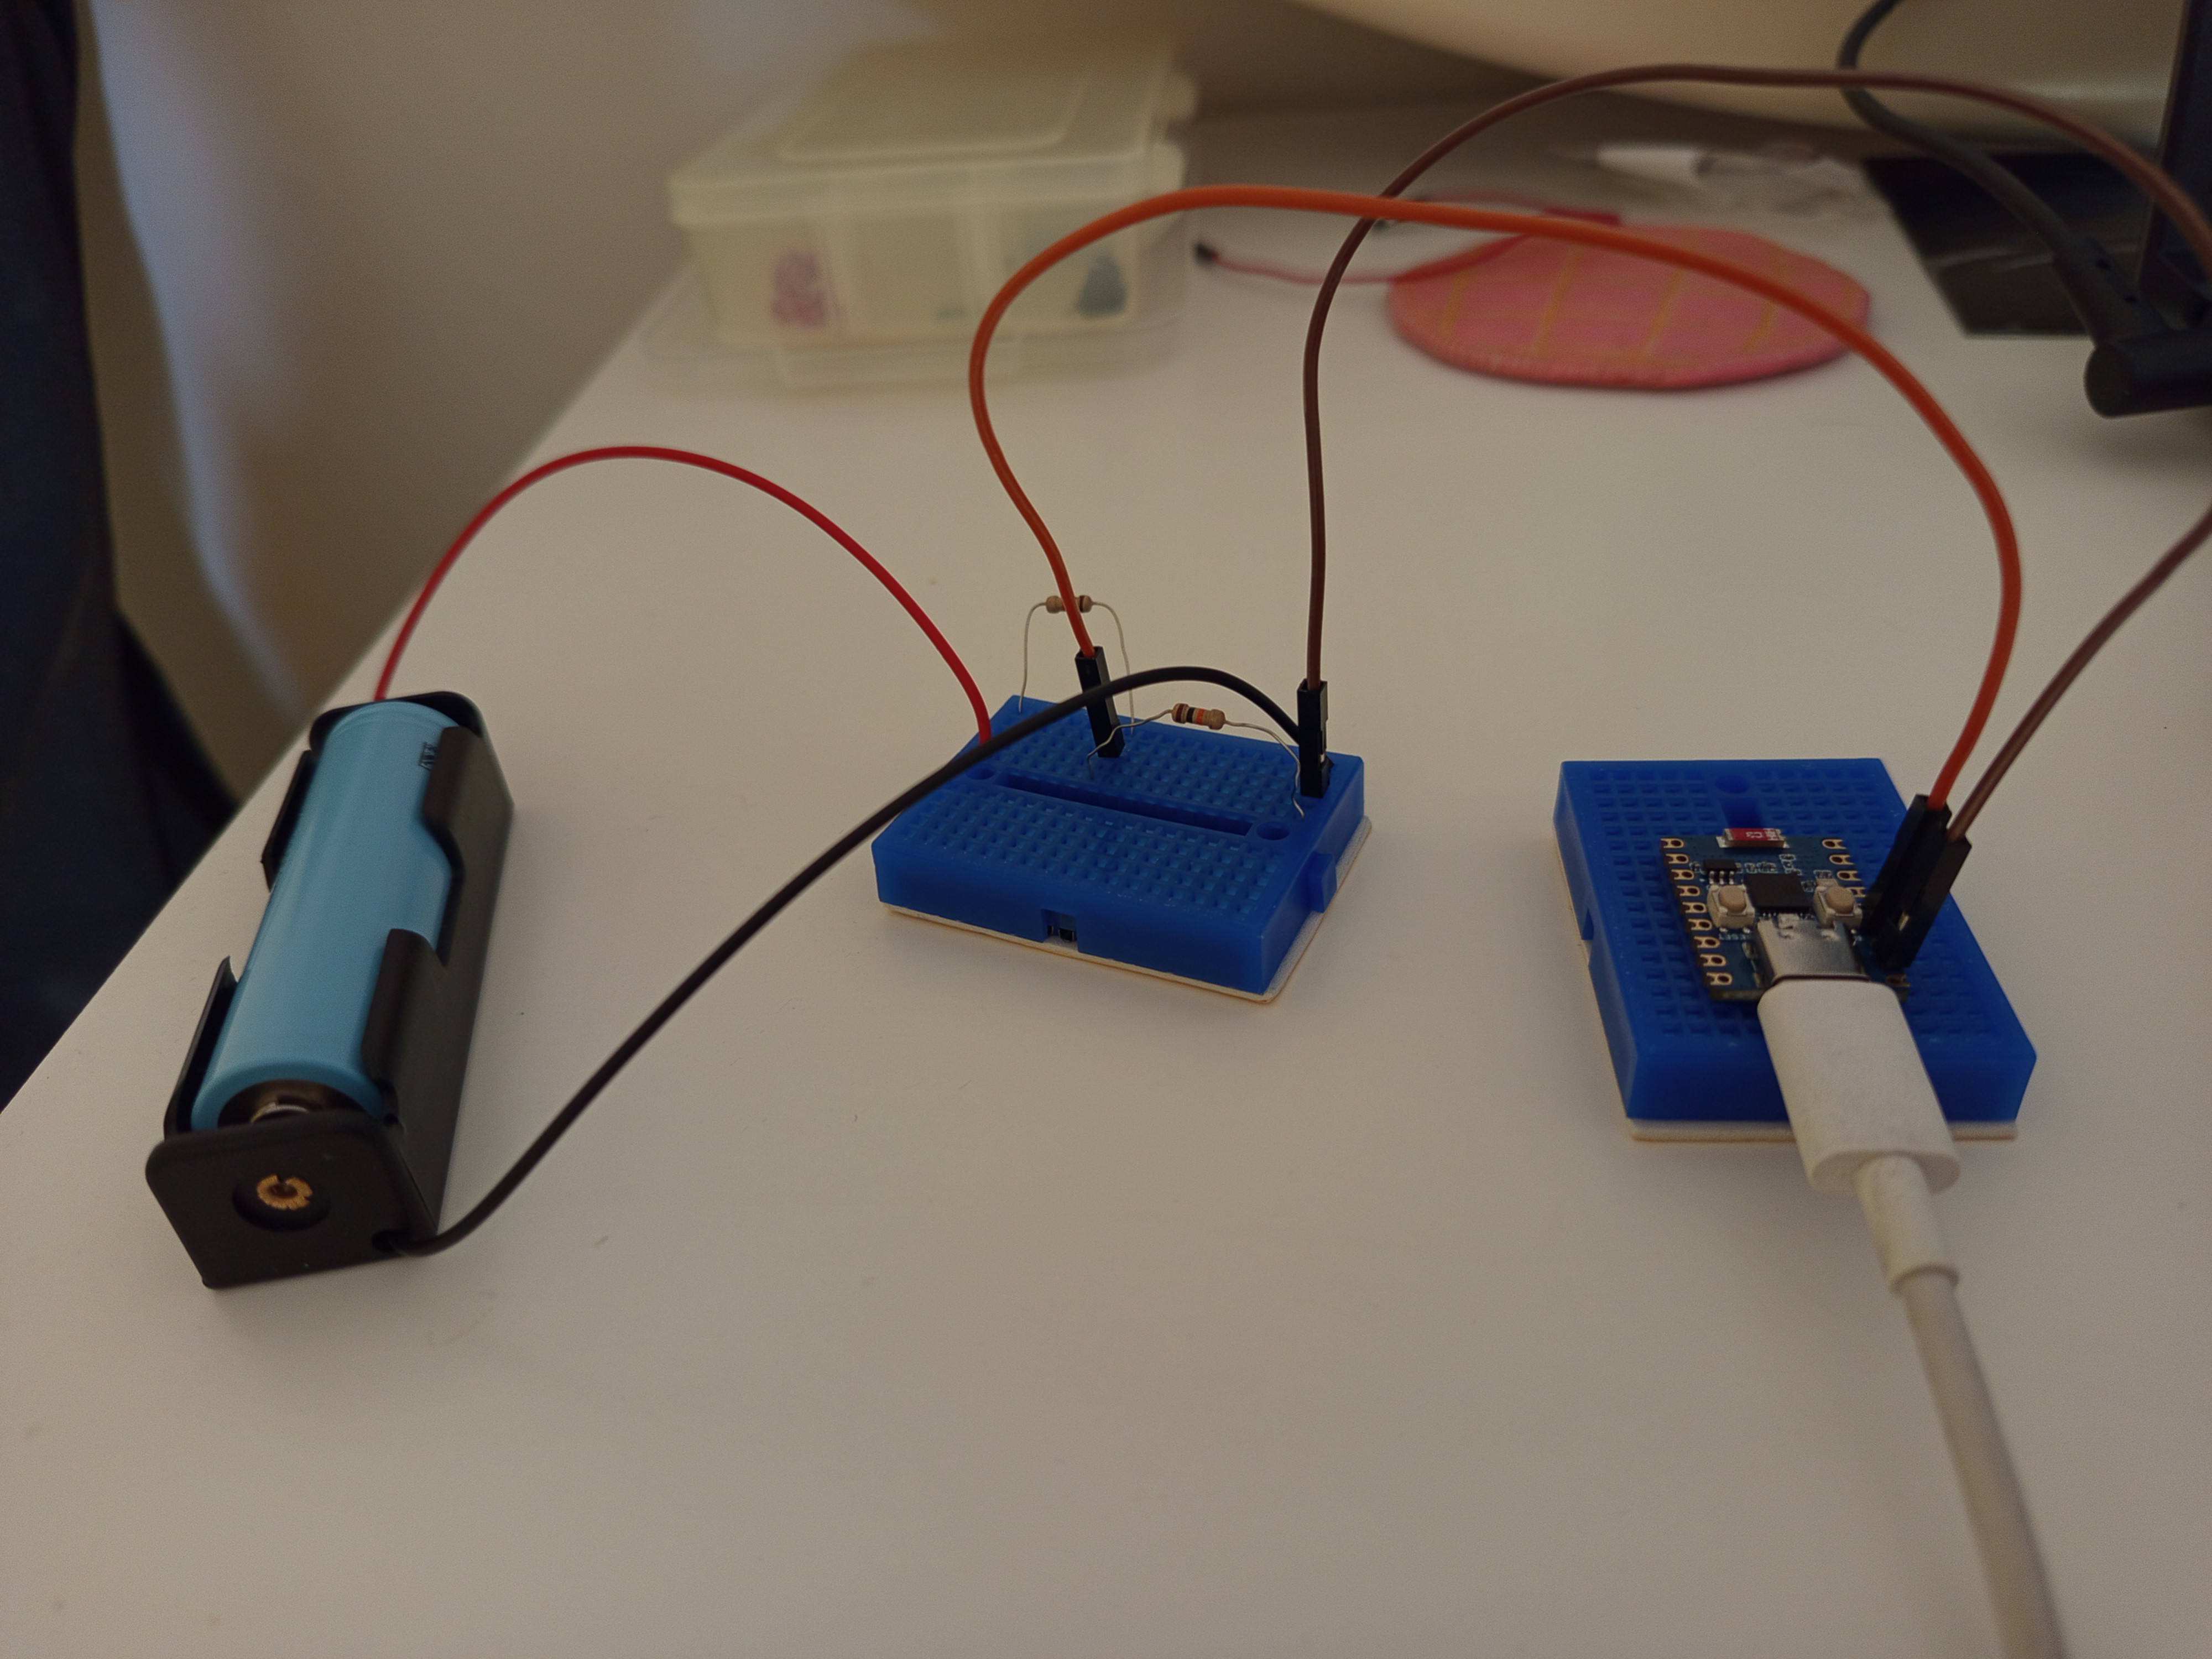
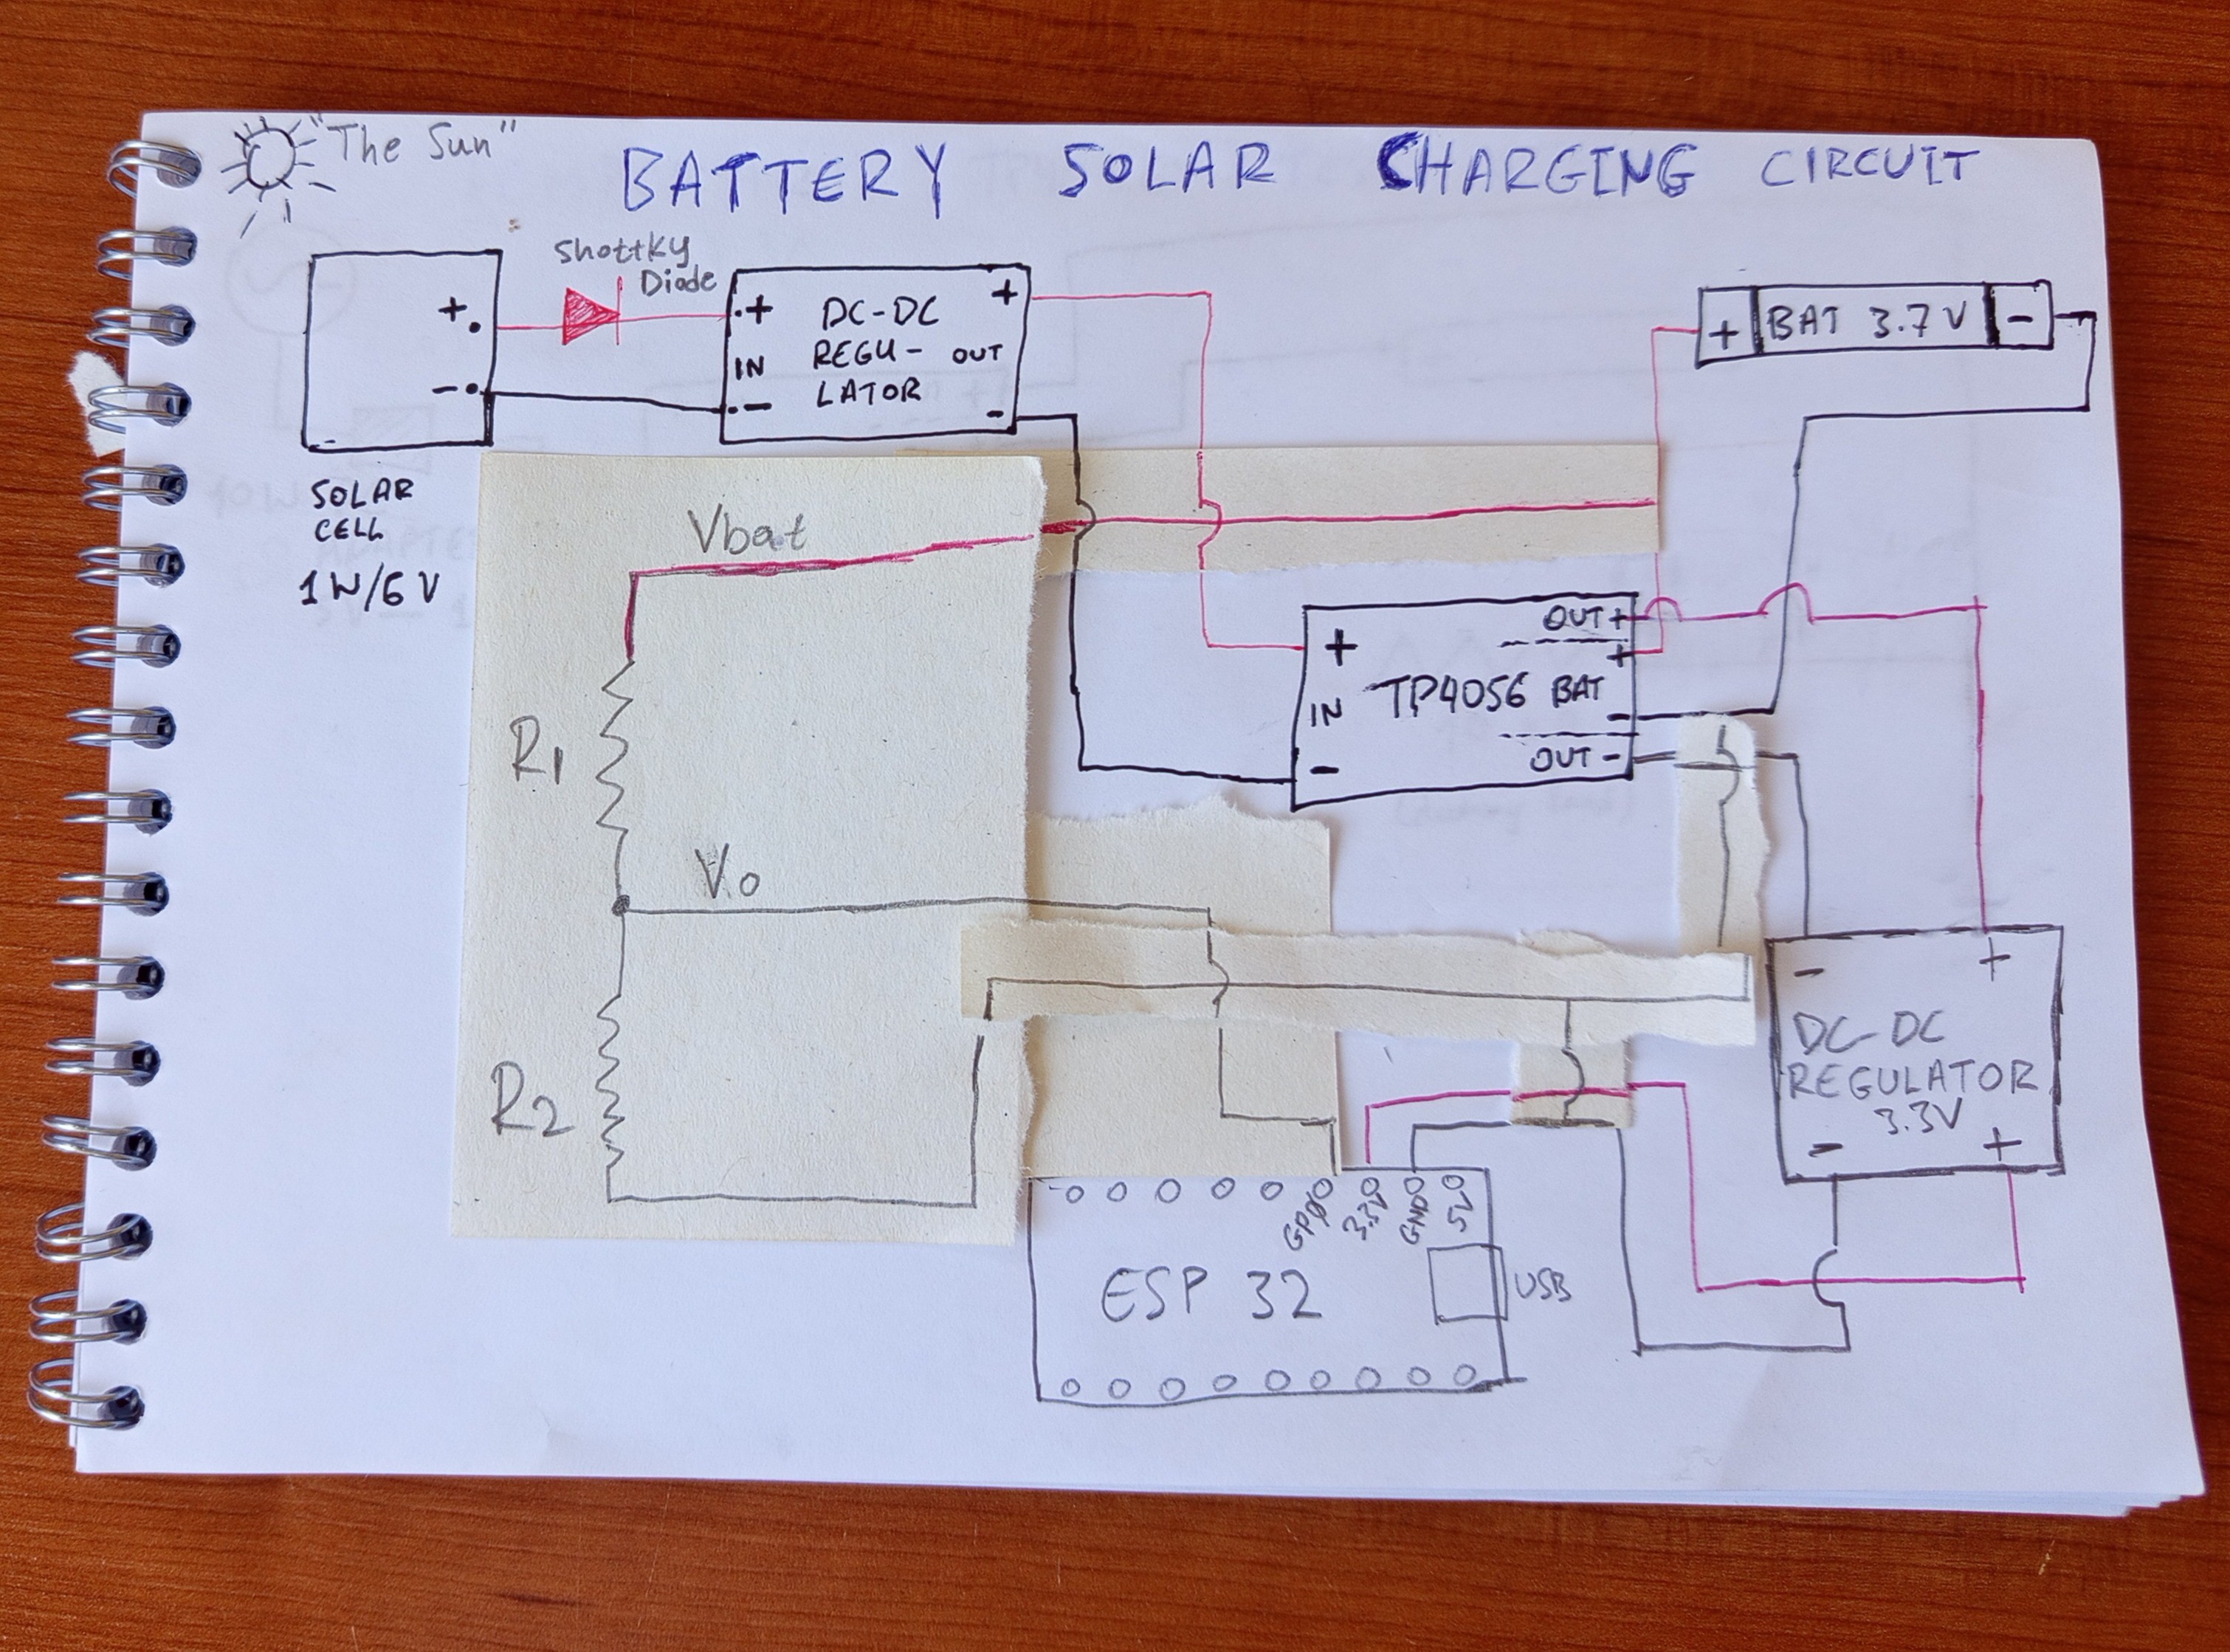
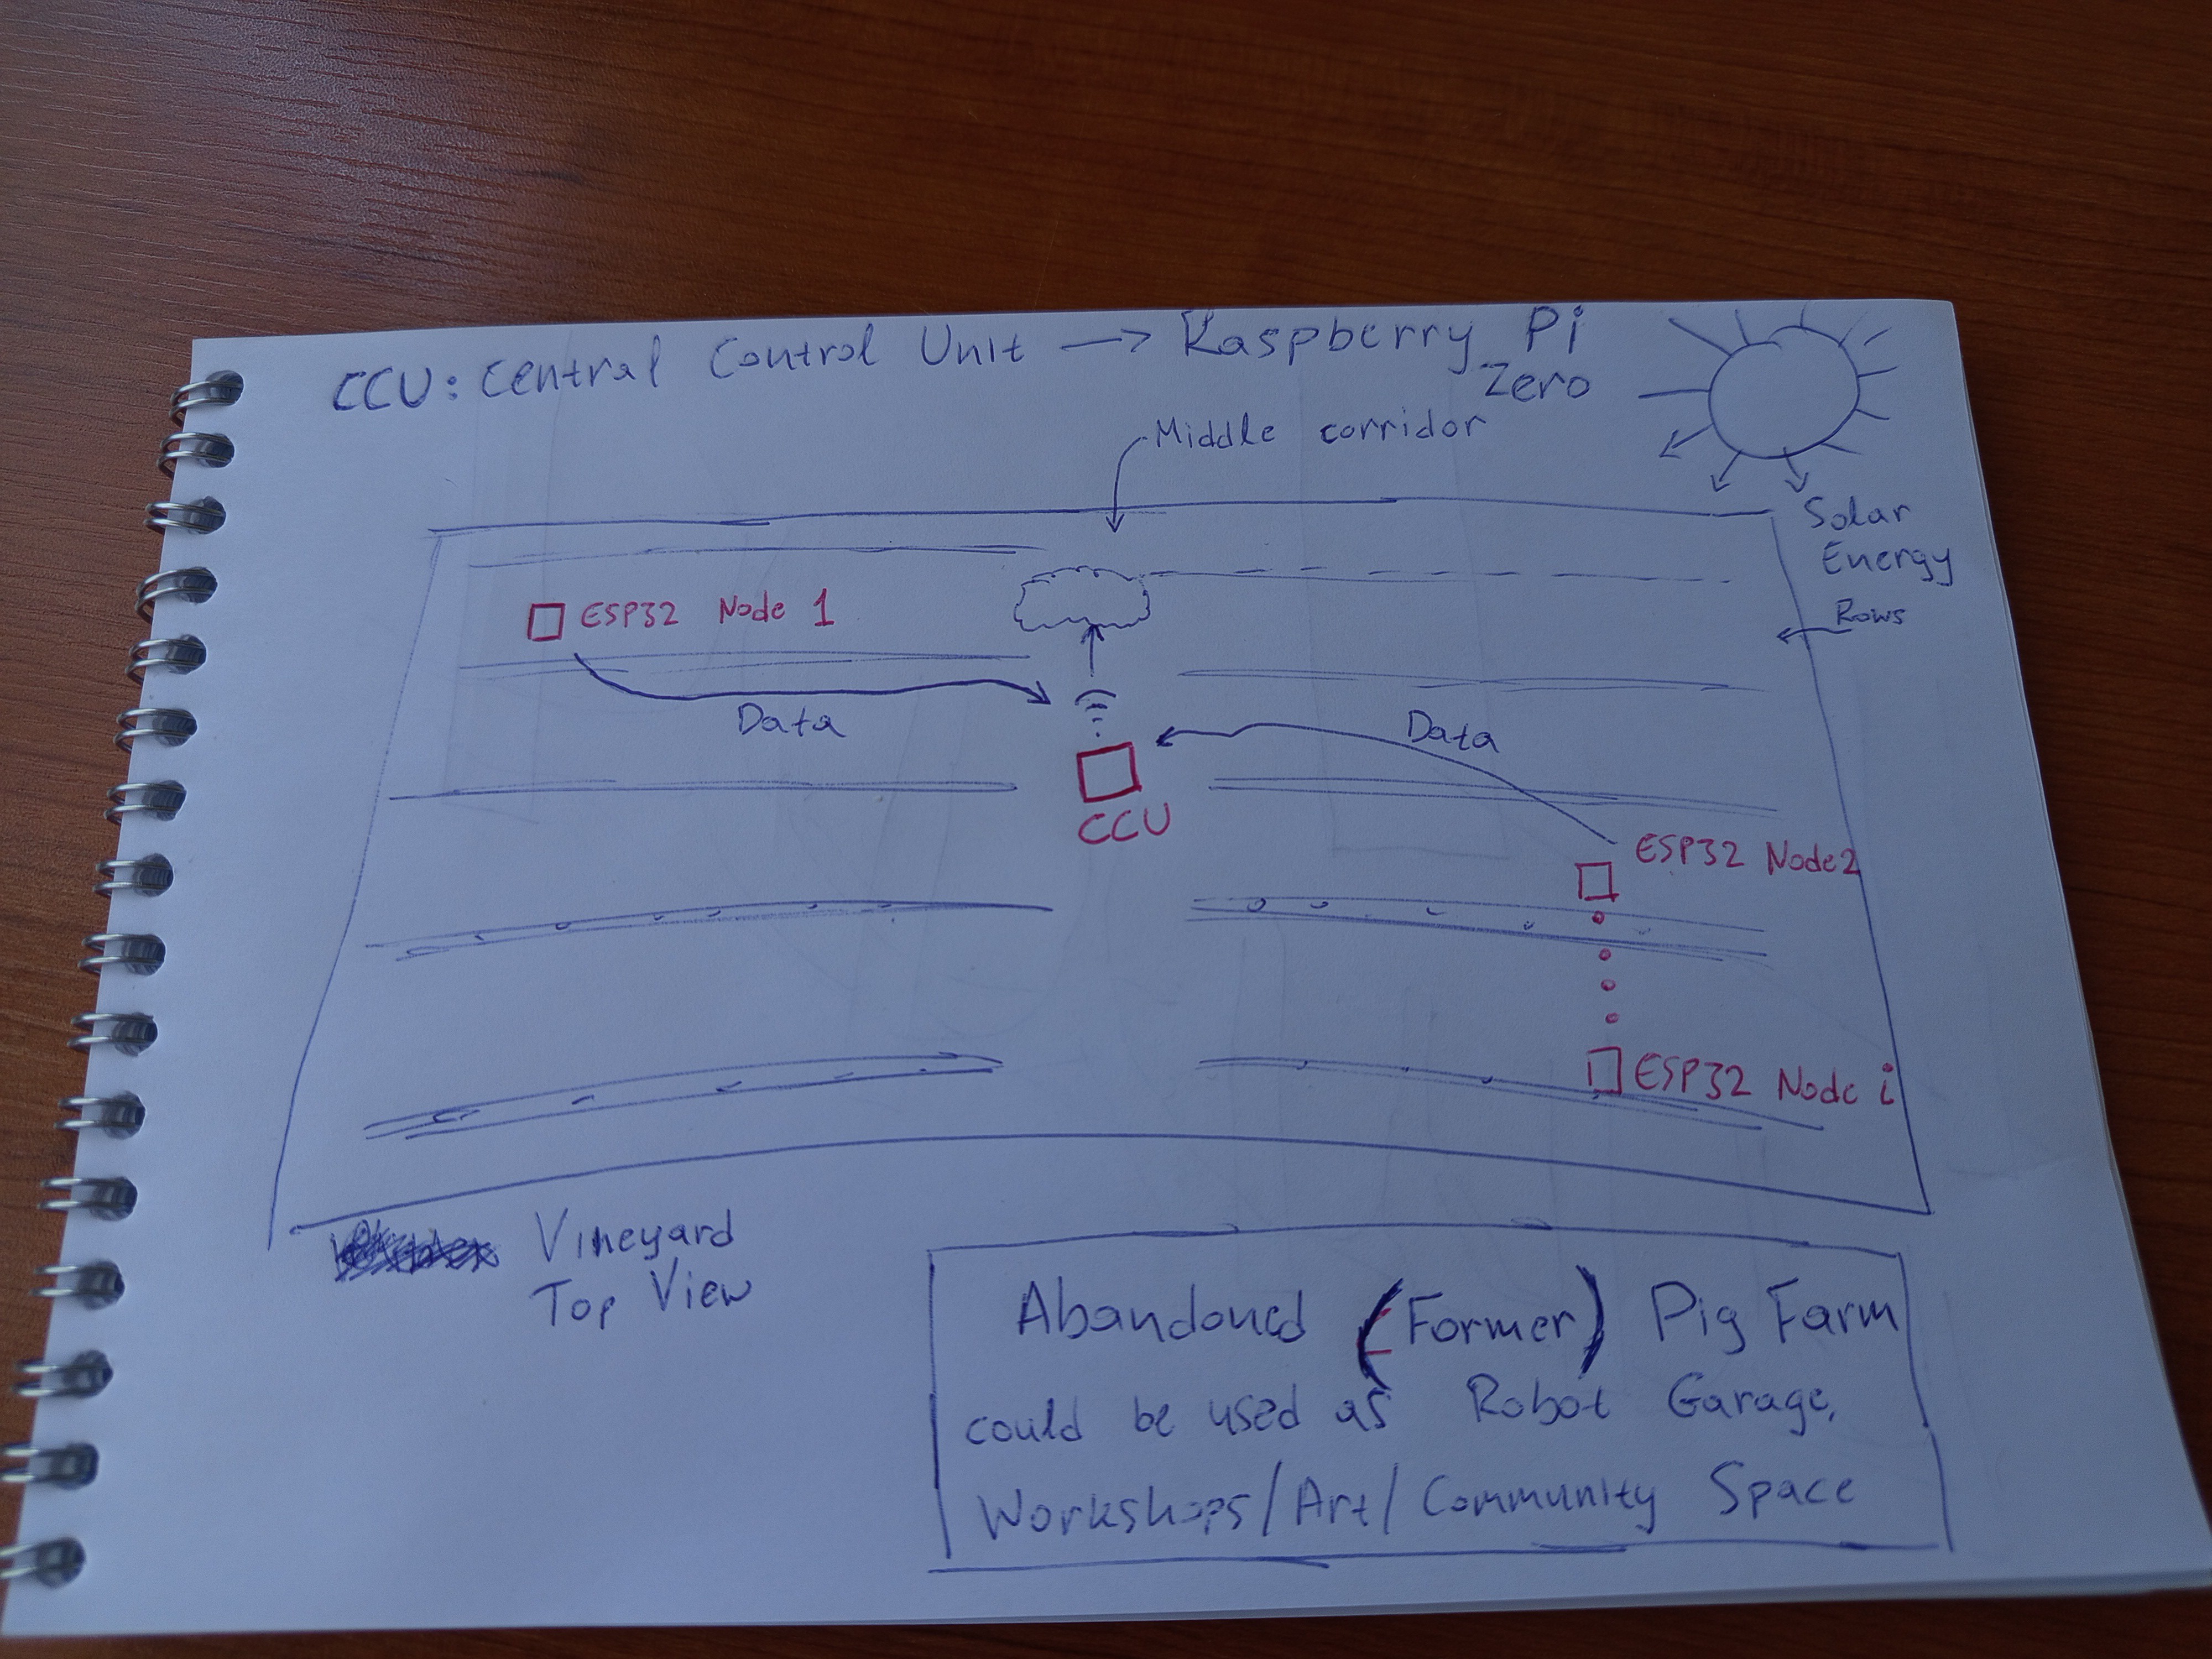
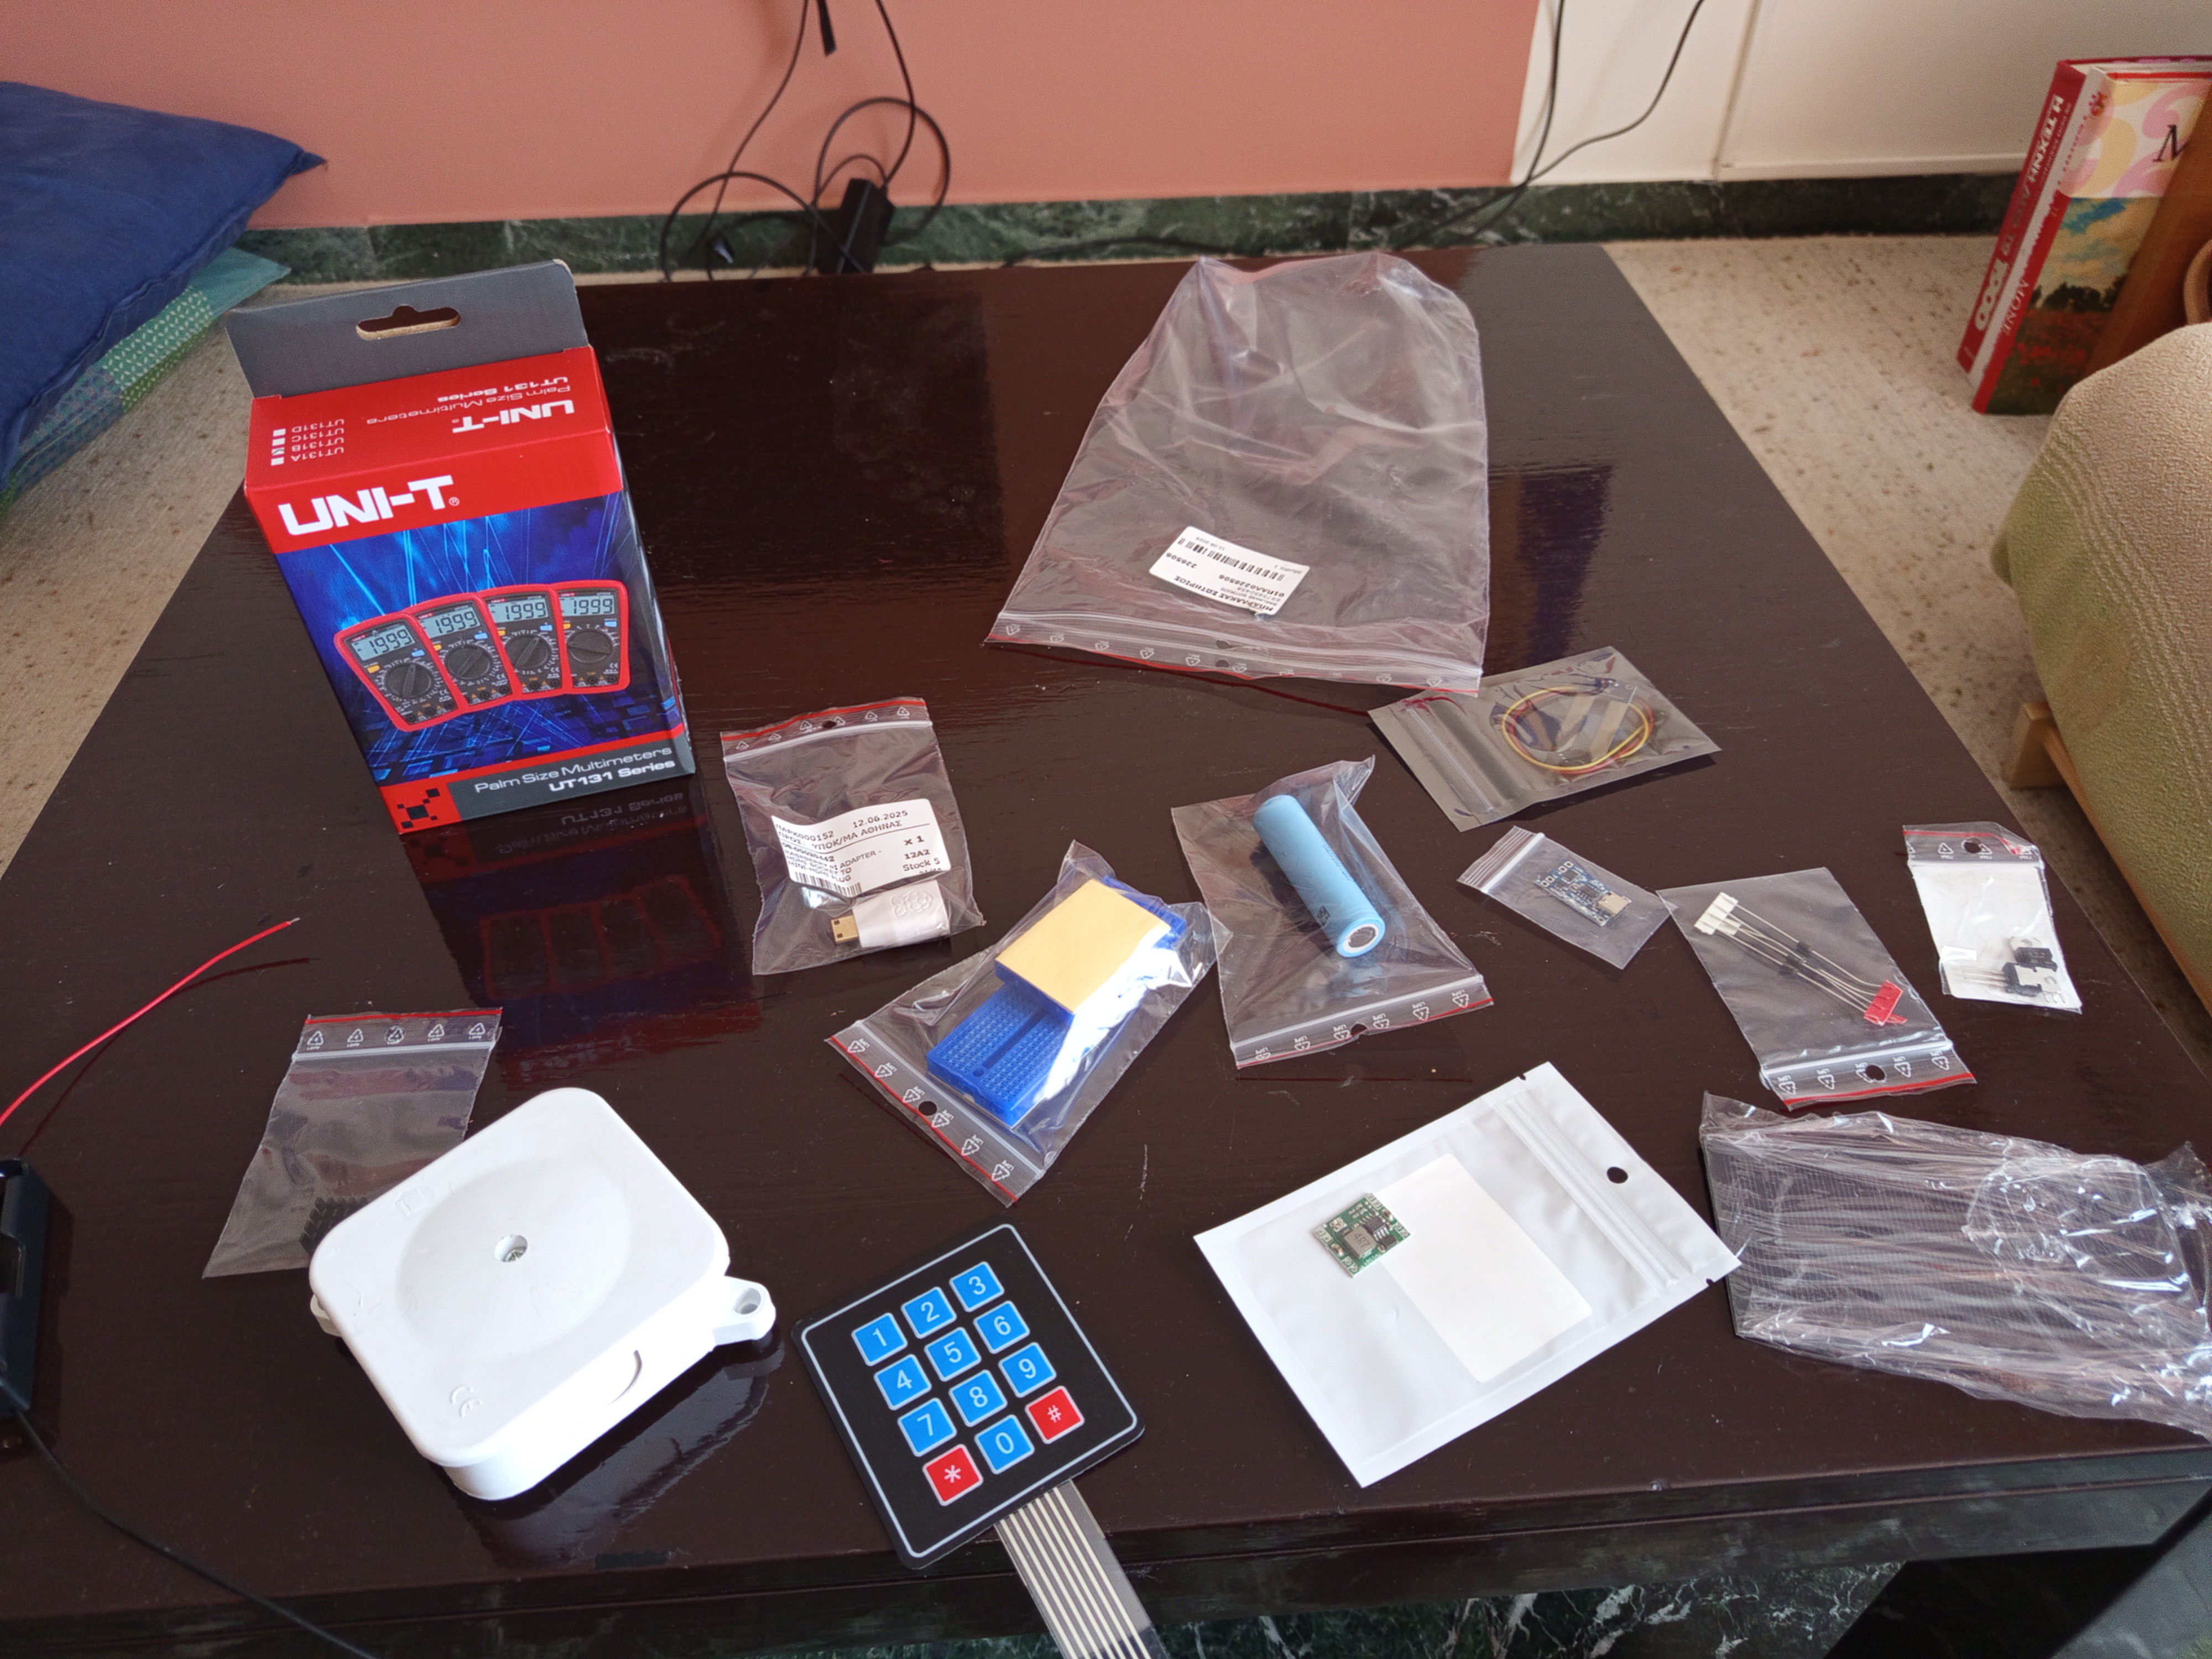
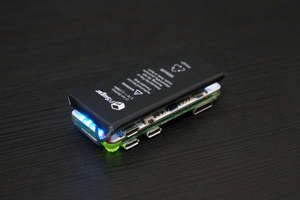
Build and test a solar-powered ESP32 node that can wirelessly send sensor data to a Raspberry Pi base station.
Later, the Pi will be solar-powered as well and connected to the cloud via cellular network for remote monitoring.
This first step is well within reach — and once it's working, it opens the door to much more ambitious experiments in automation, robotics, and creative use of outdoor tech.


 powerfeatherdev
 Patrick Van Oosterwijck
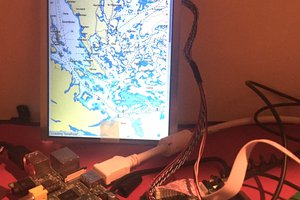
 Jdaie
Jdaie