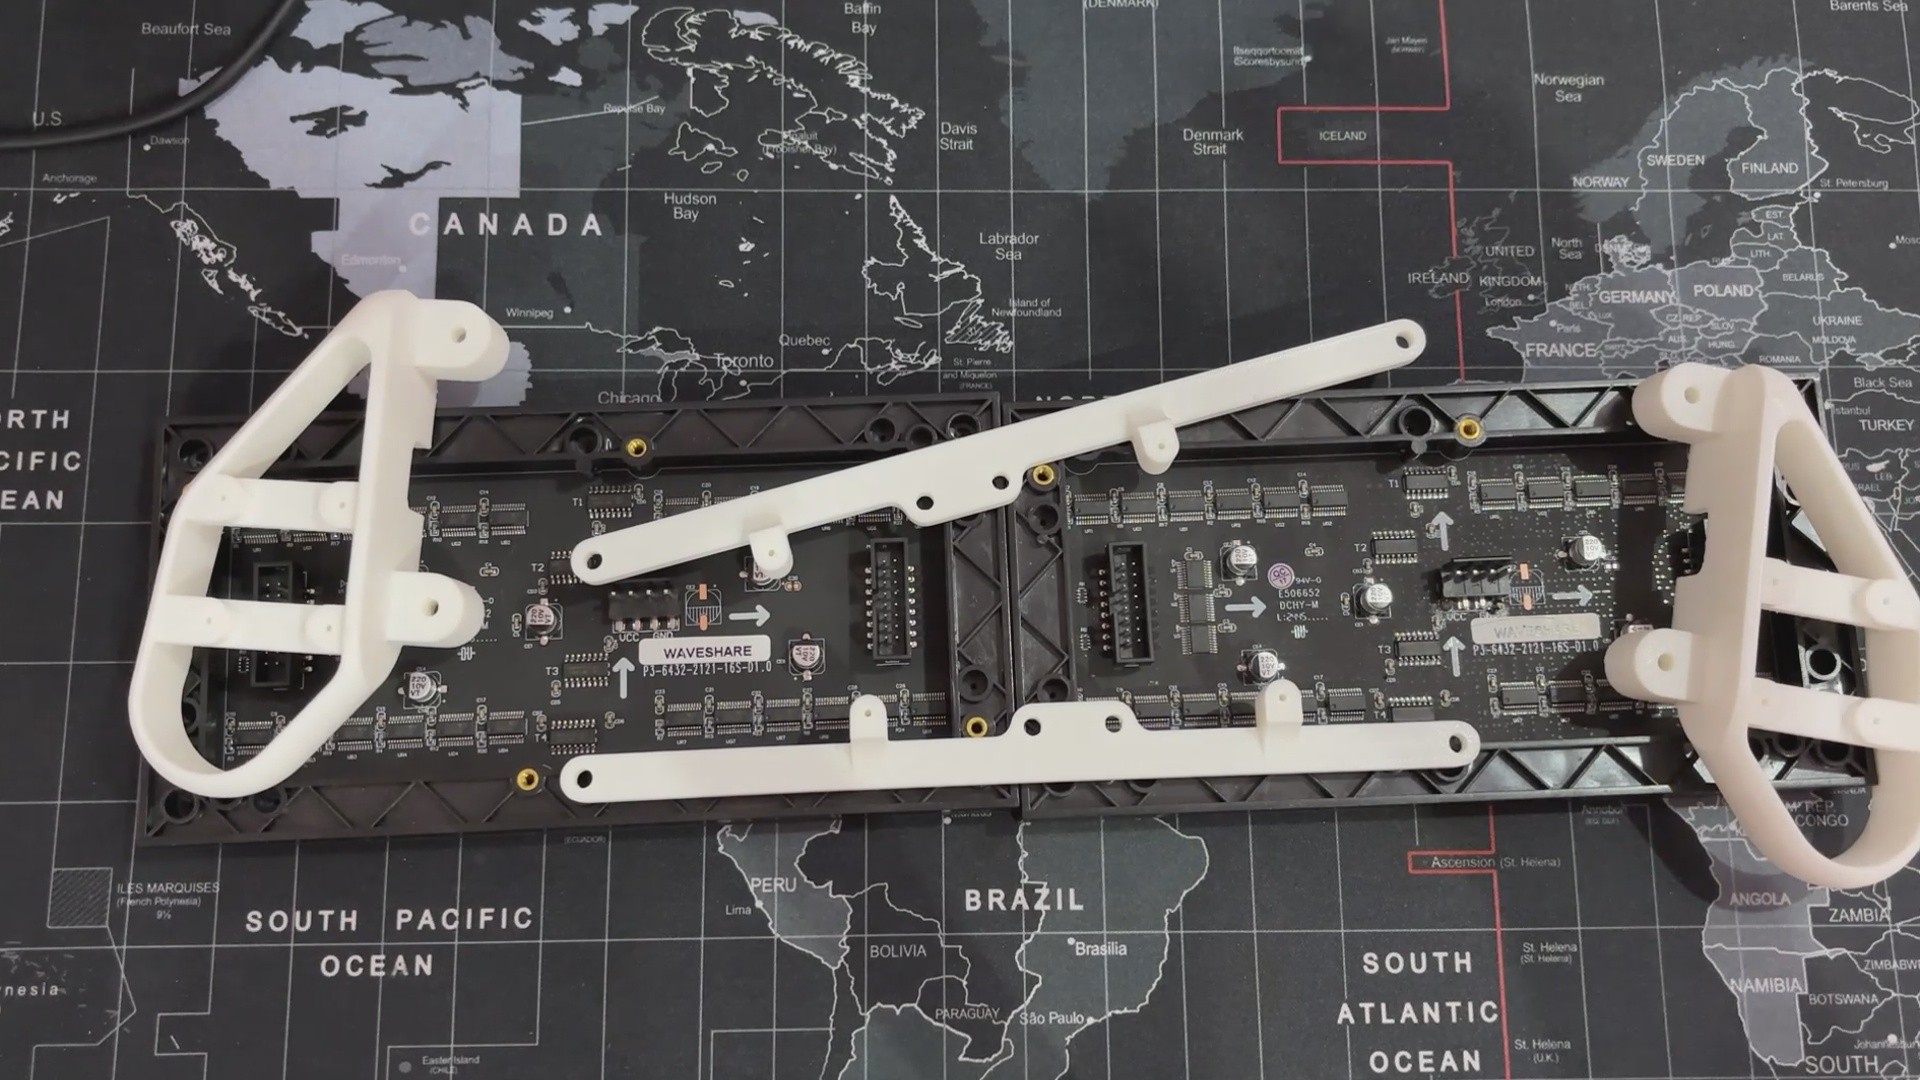
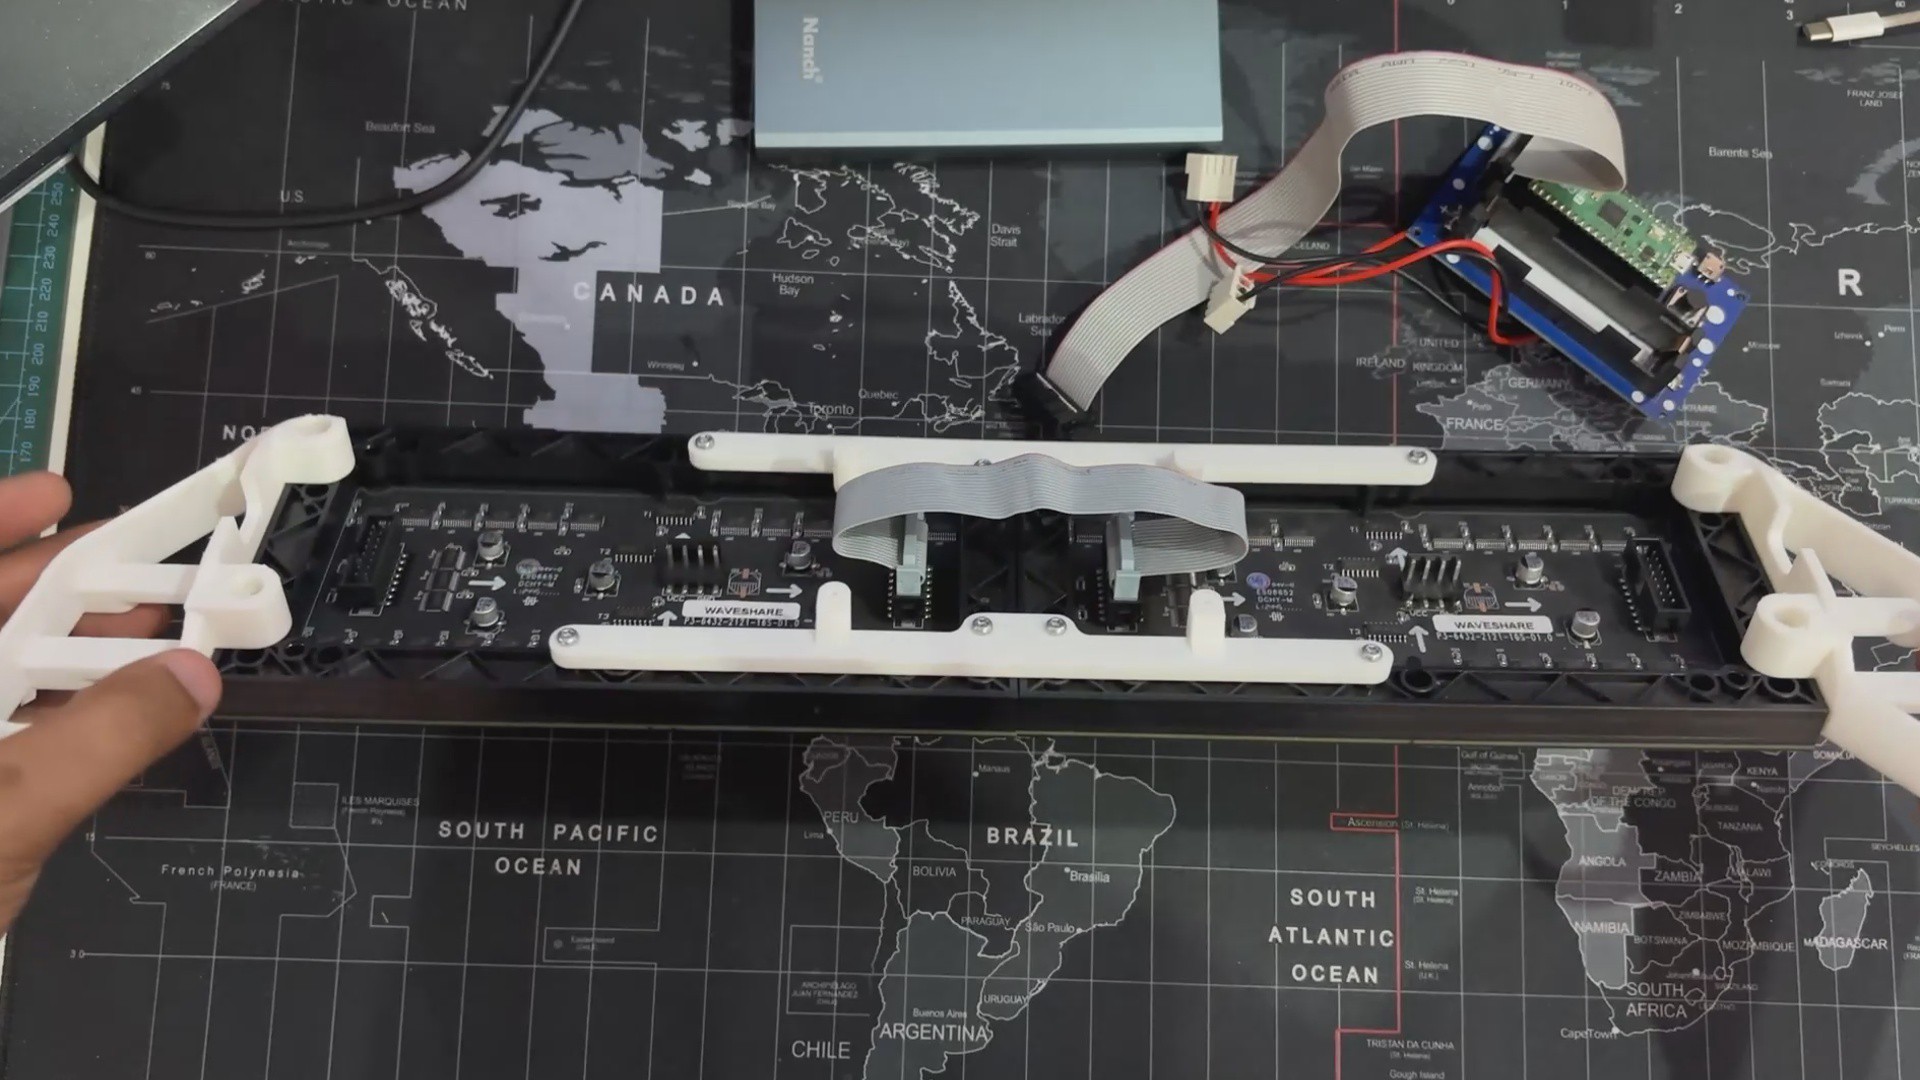
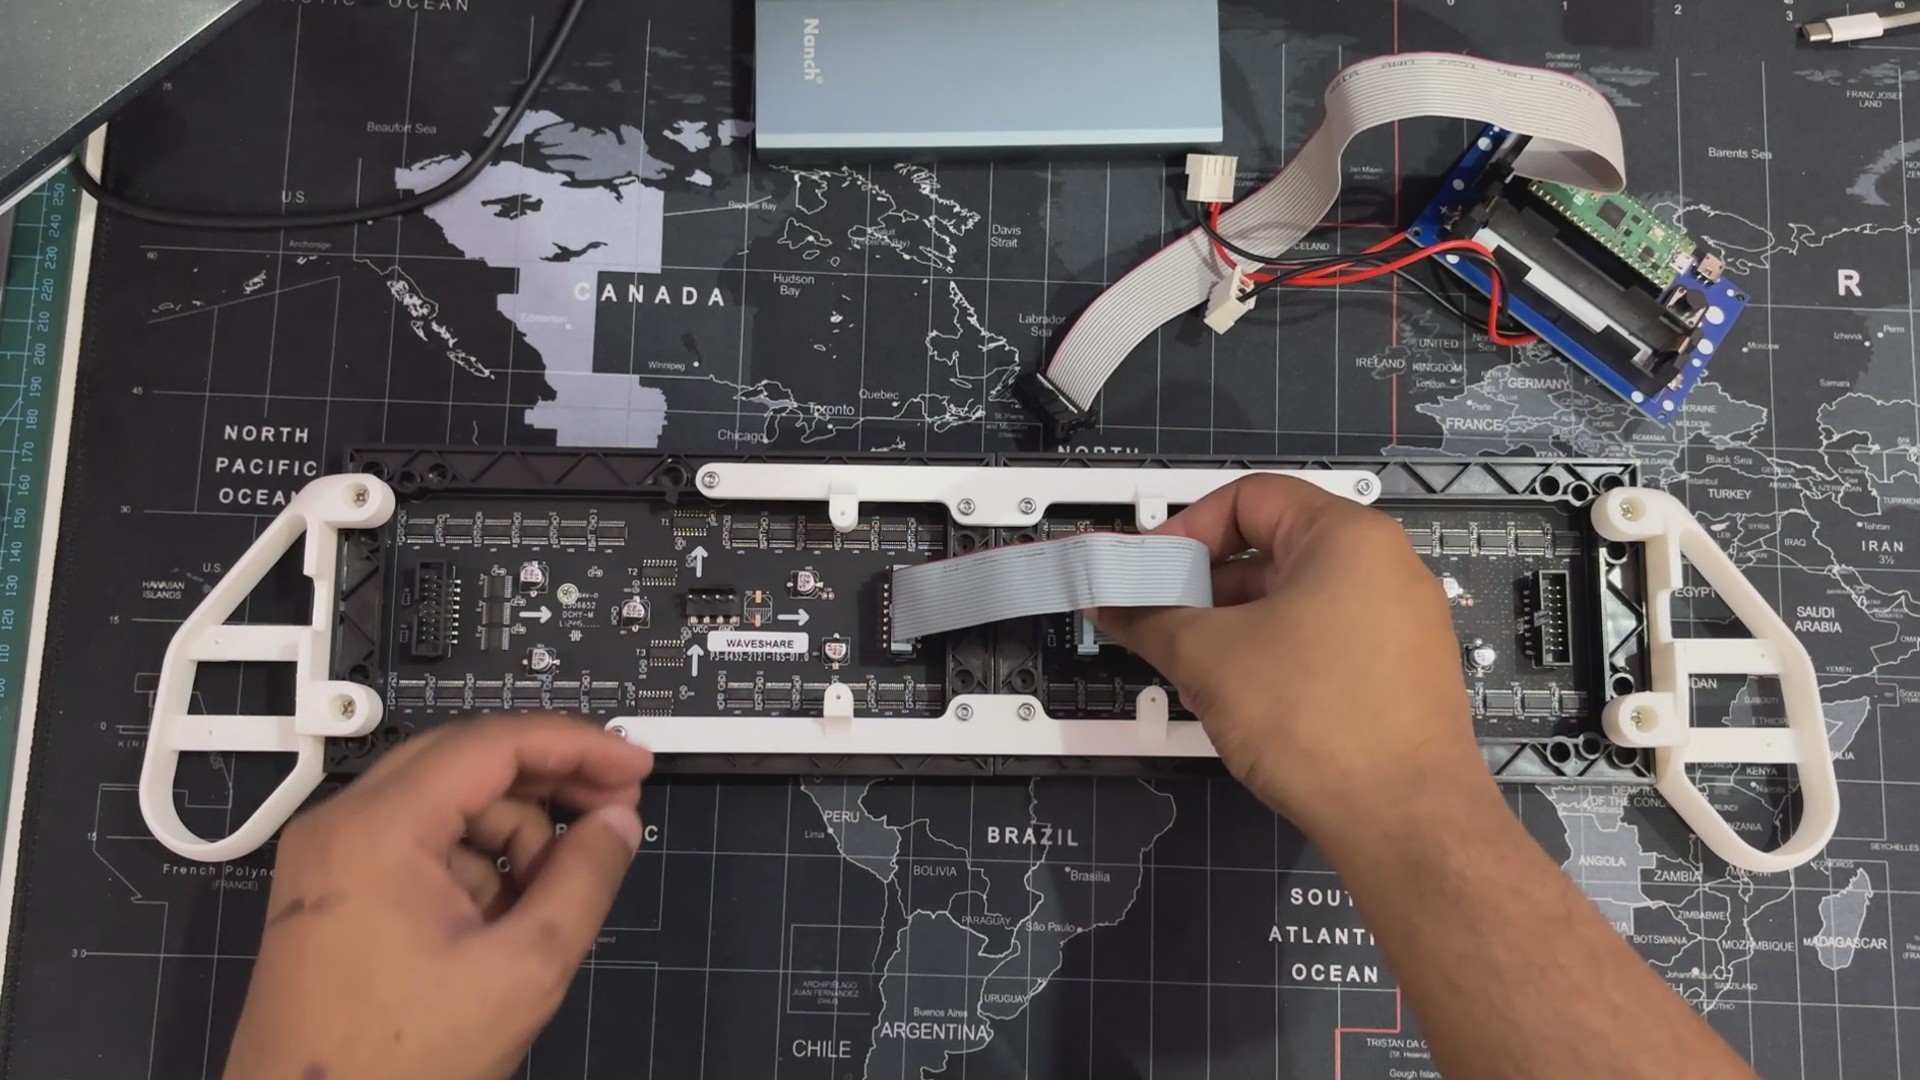
We began the assembly process by connecting the two matrix panels together using the display frames placed over the M2.5 inserts of the two matrix panels.
We then used four M2.5 bolts to secure each display frame to the back side of the matrix panel.
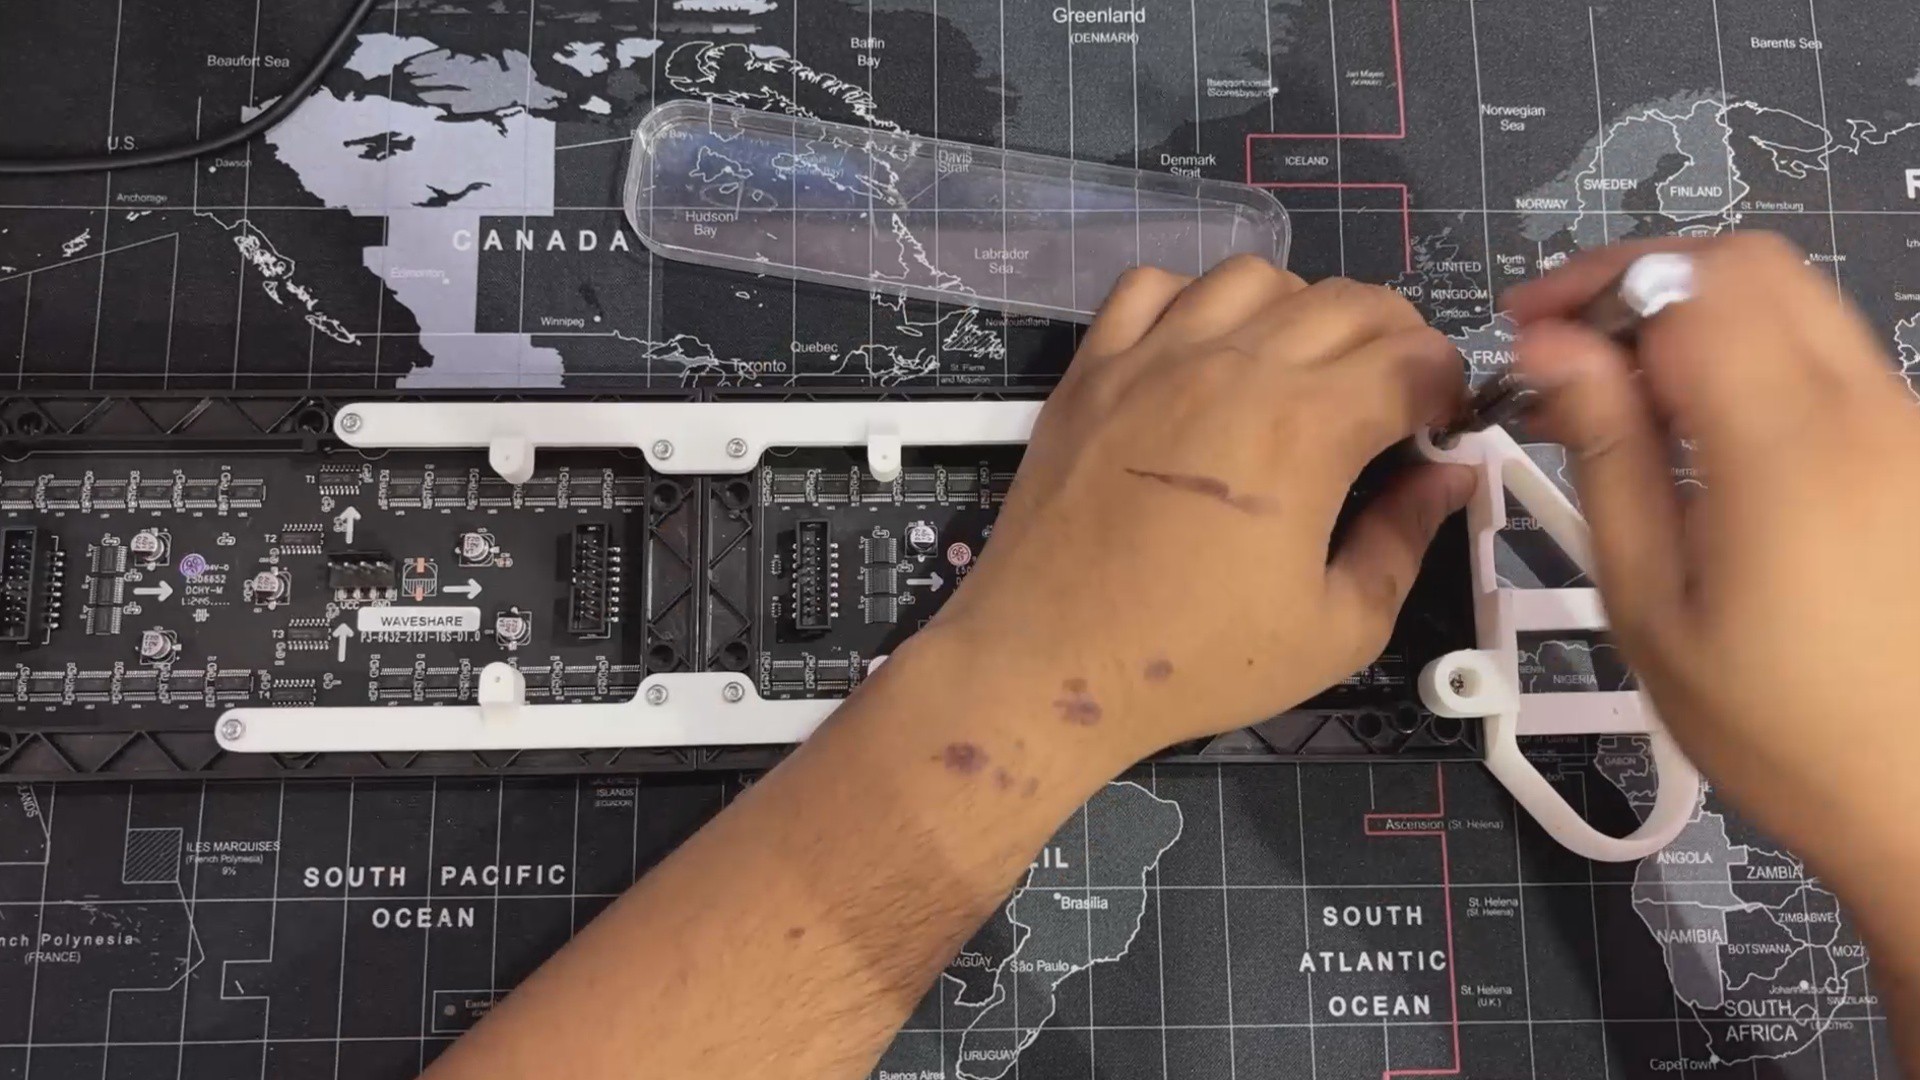
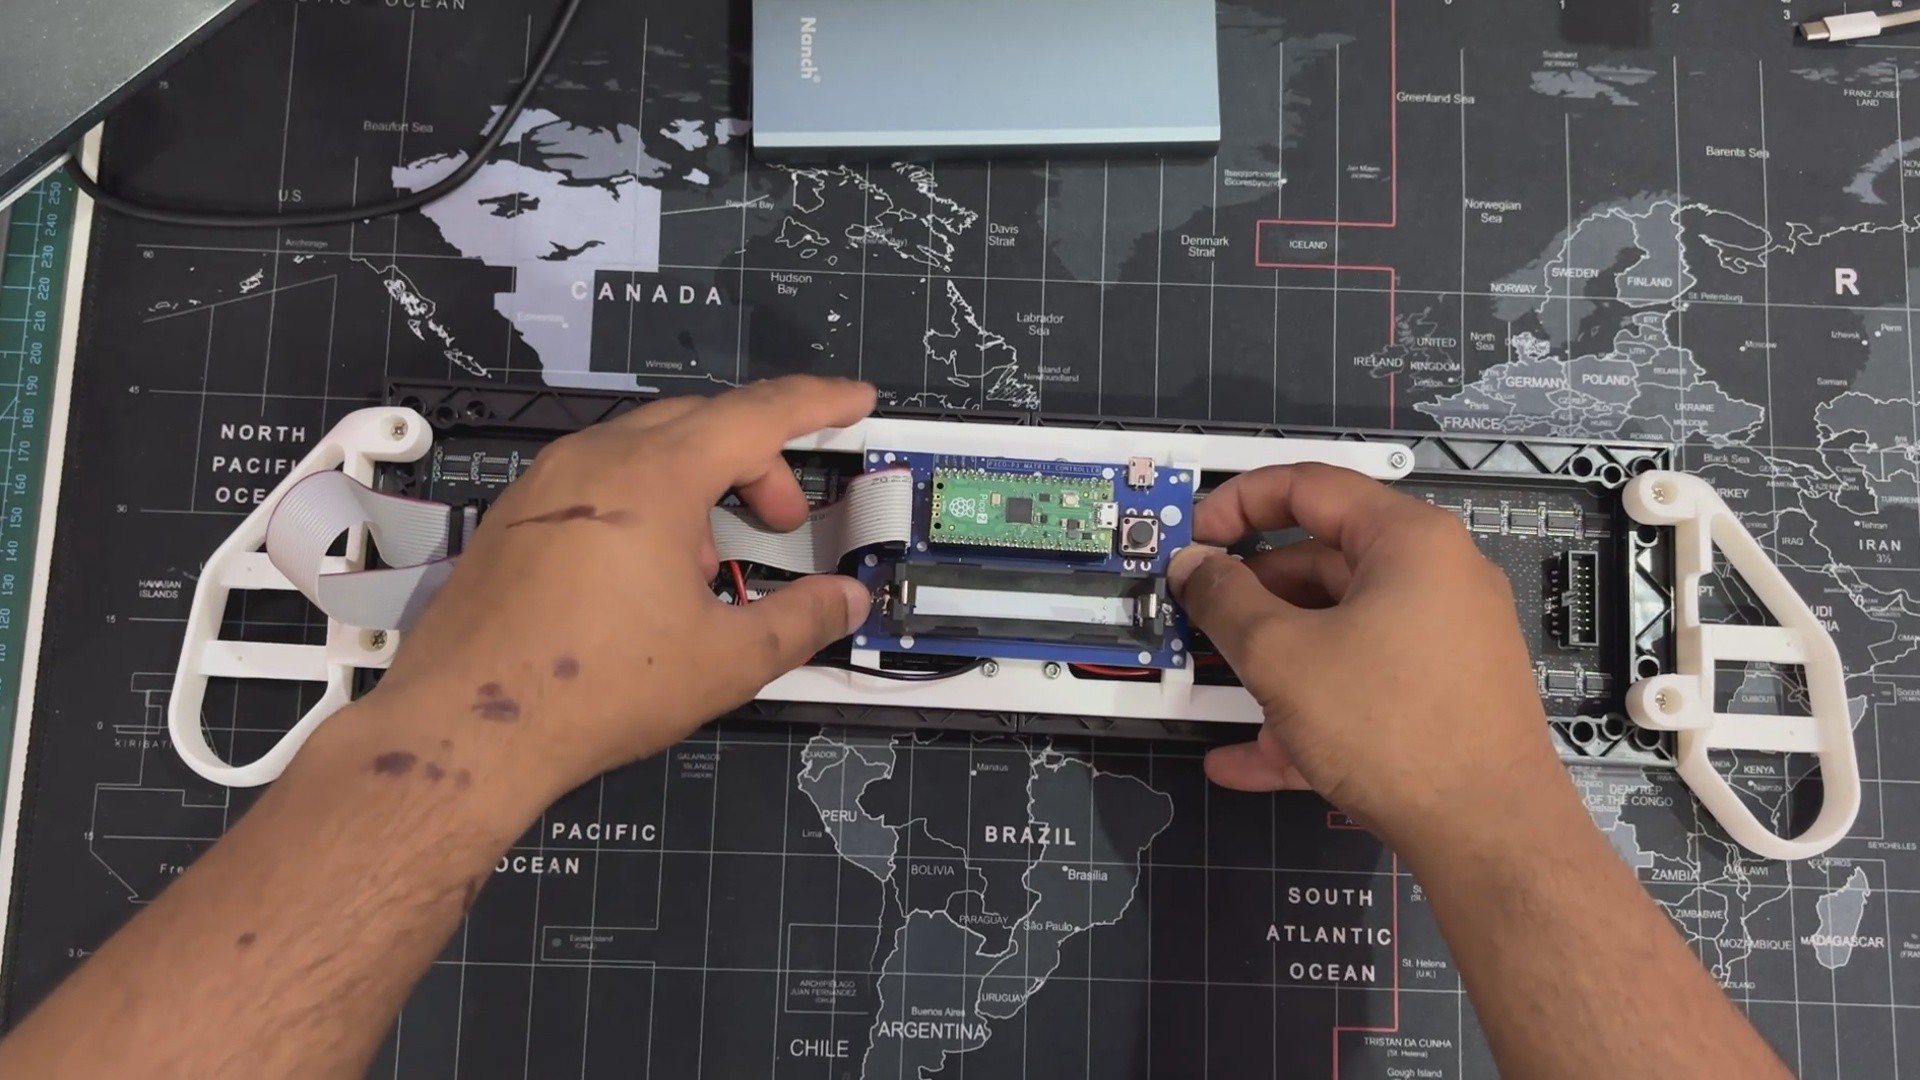
Next, on both sides of the matrix panel, we have attached the handgrip, which is placed over M.25 inserts, allowing us to attach bolts to tighten the handgrip part to the matrix.
2
PICO Driver Assembly
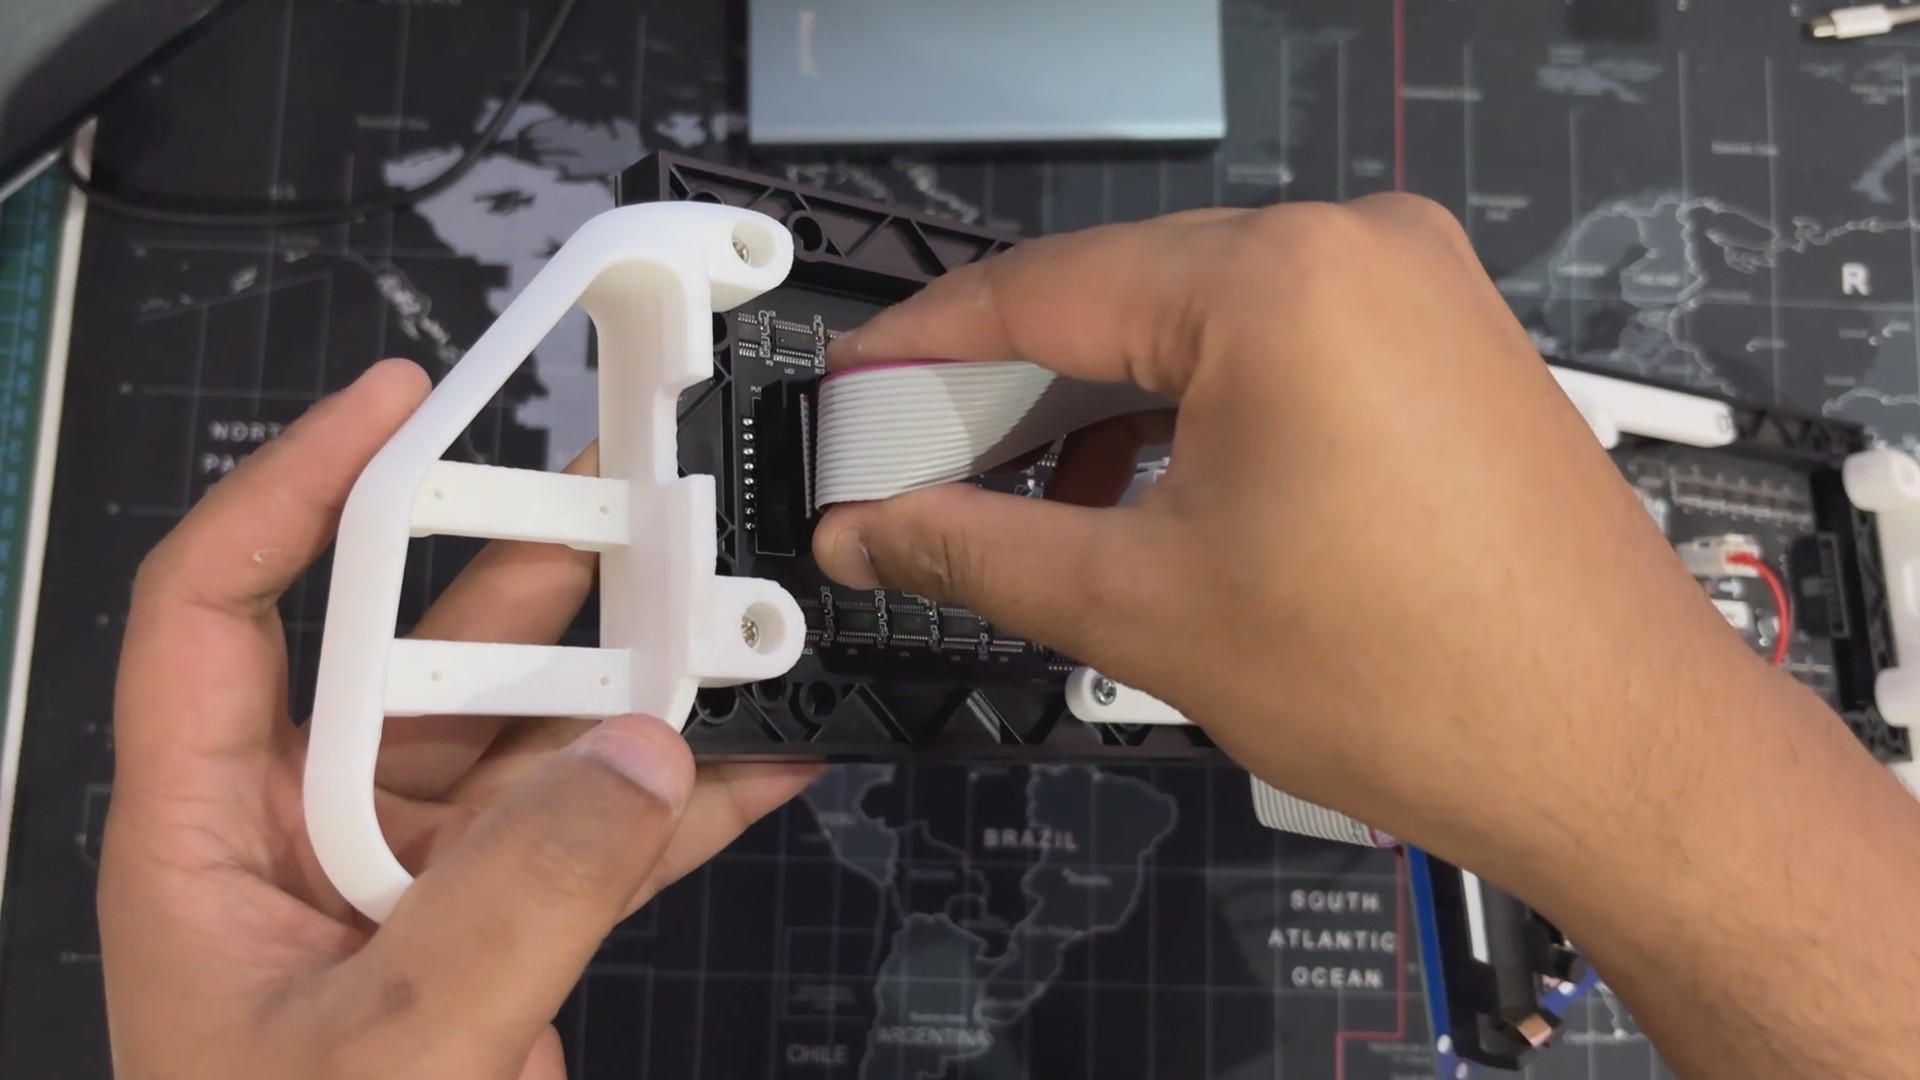
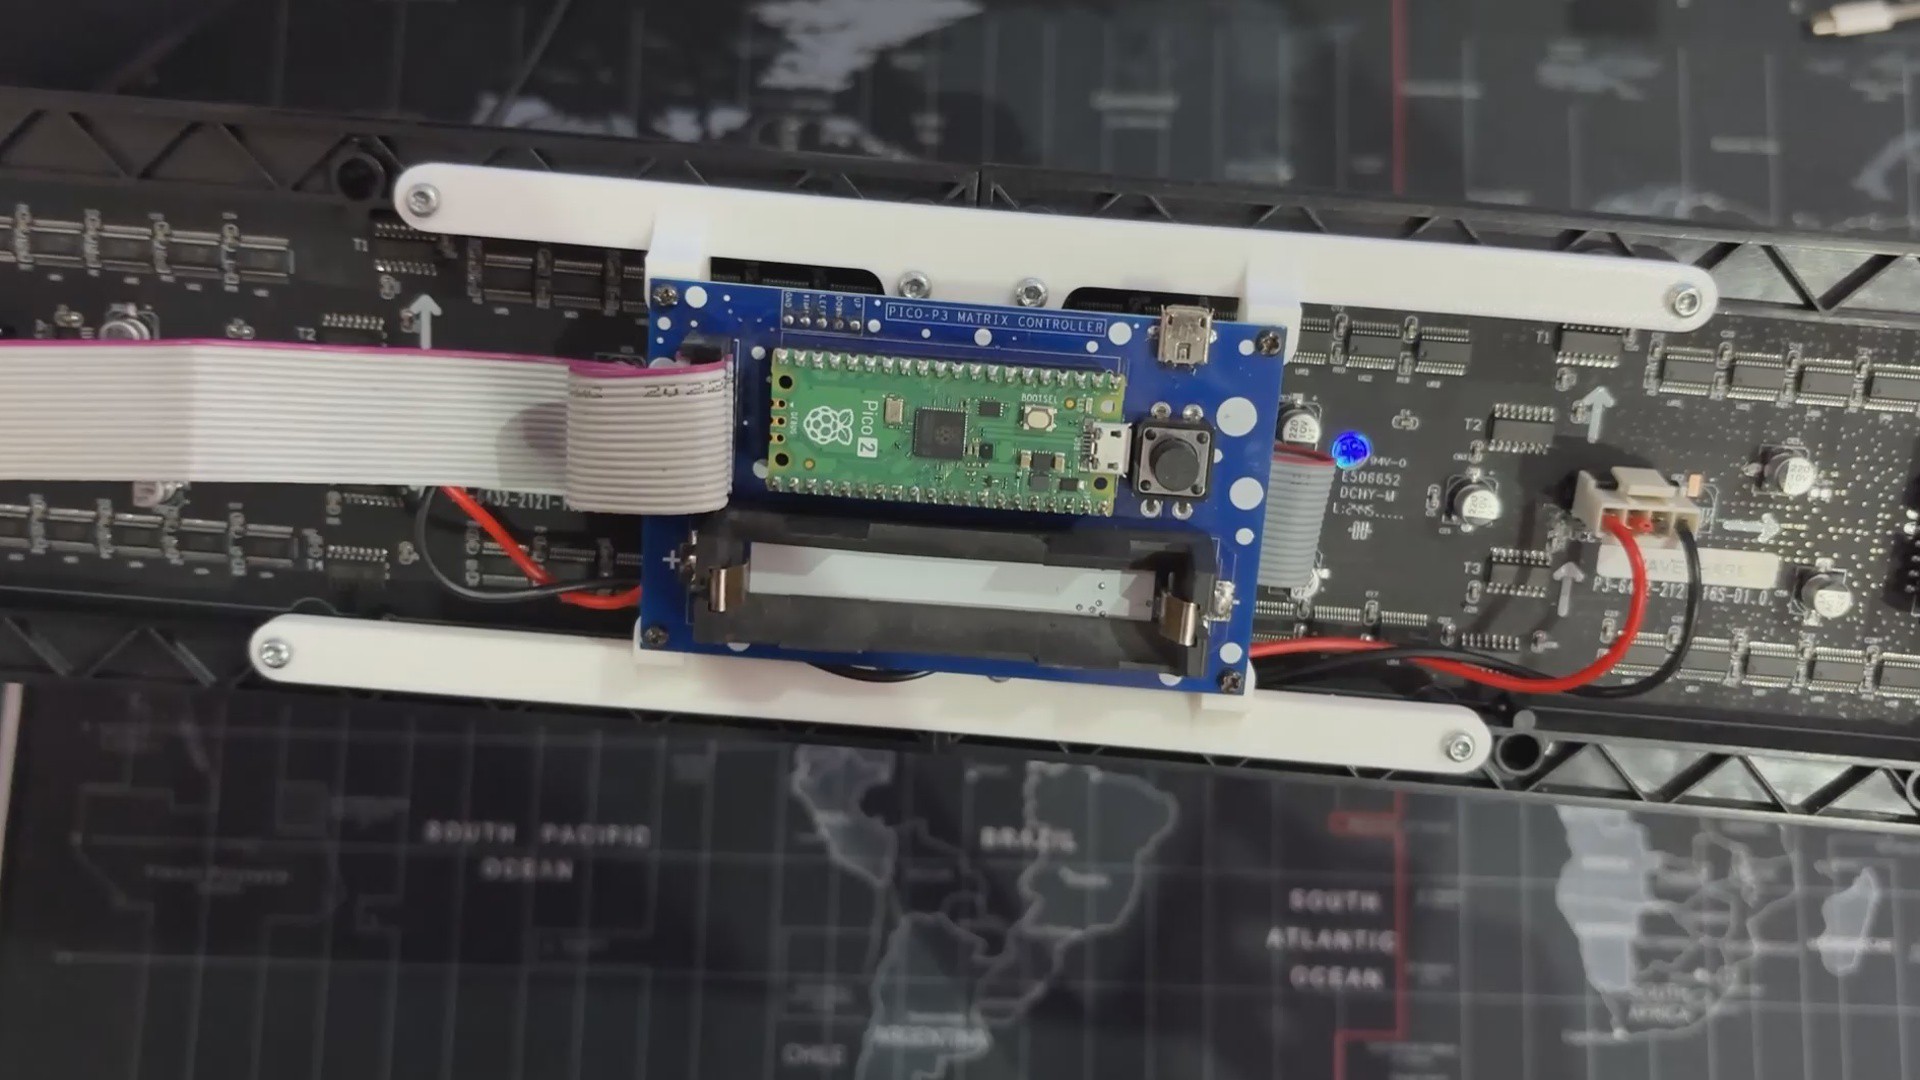
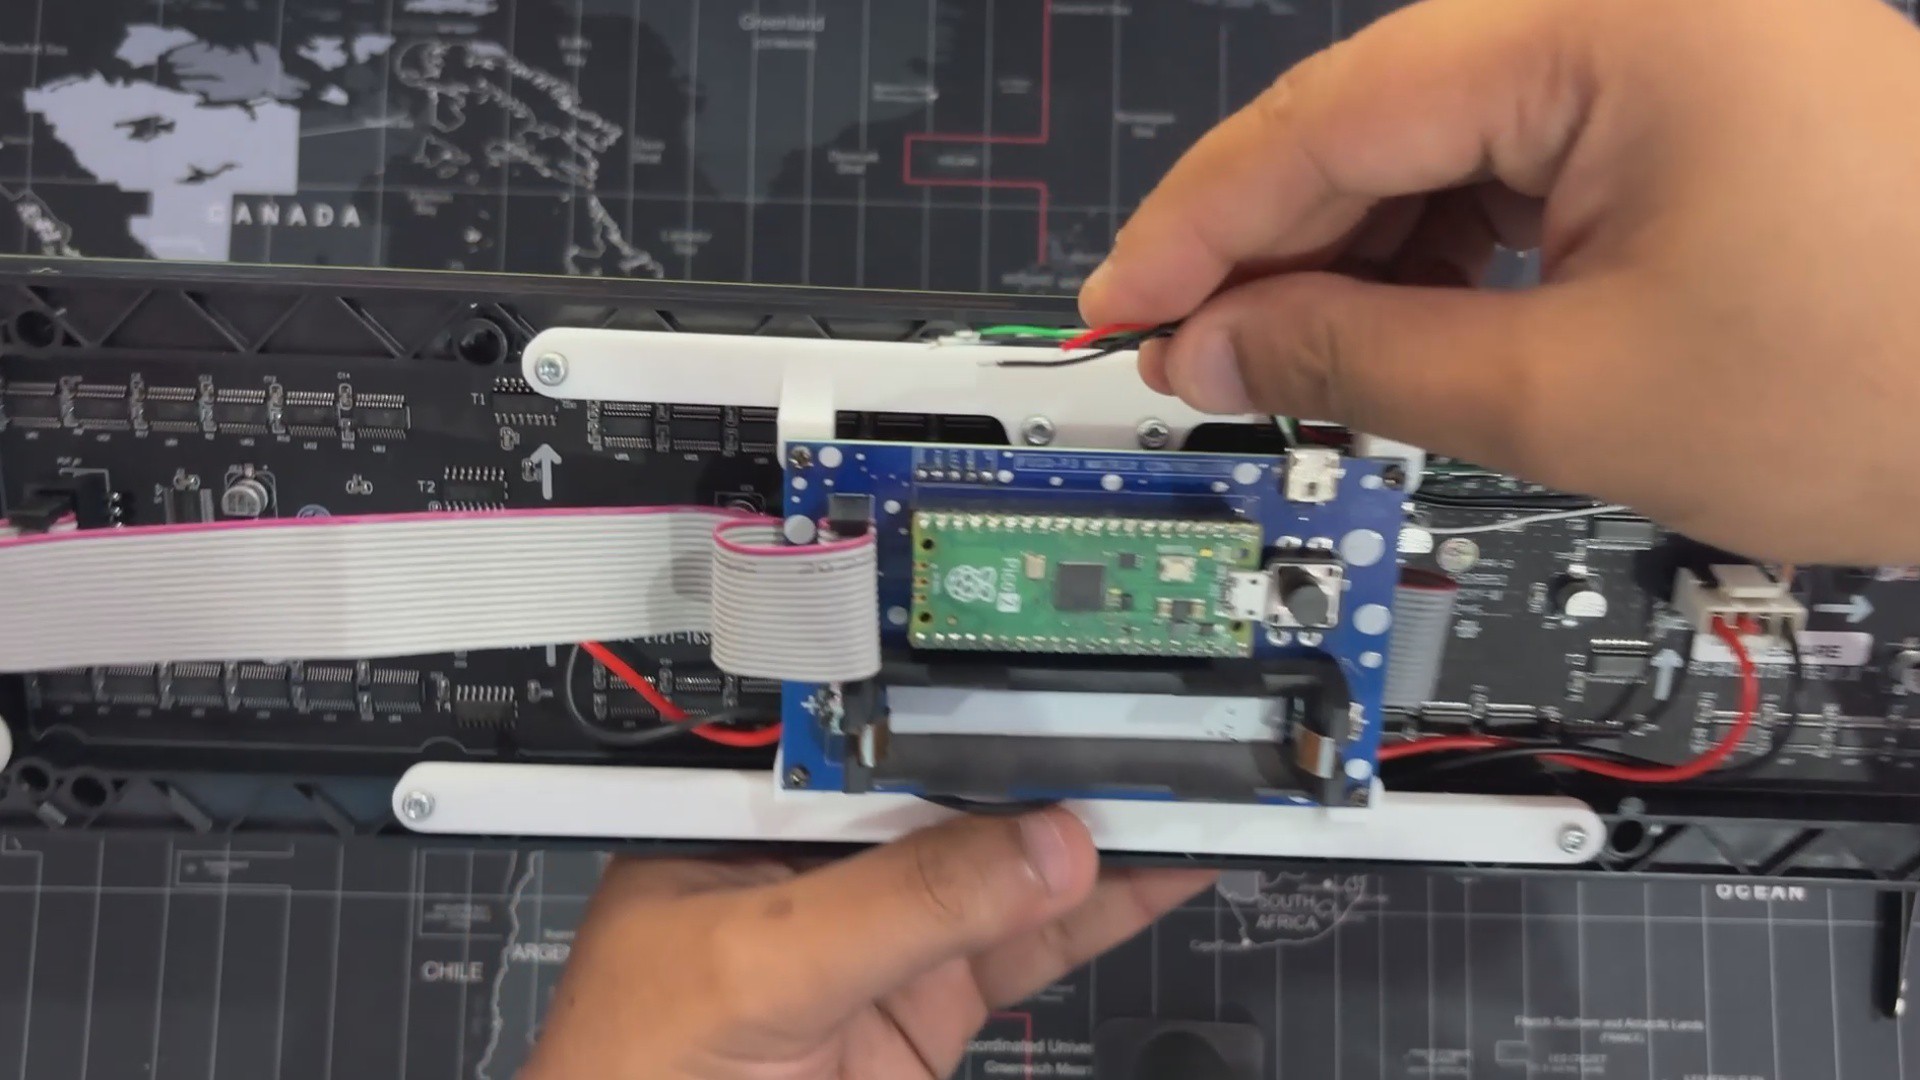
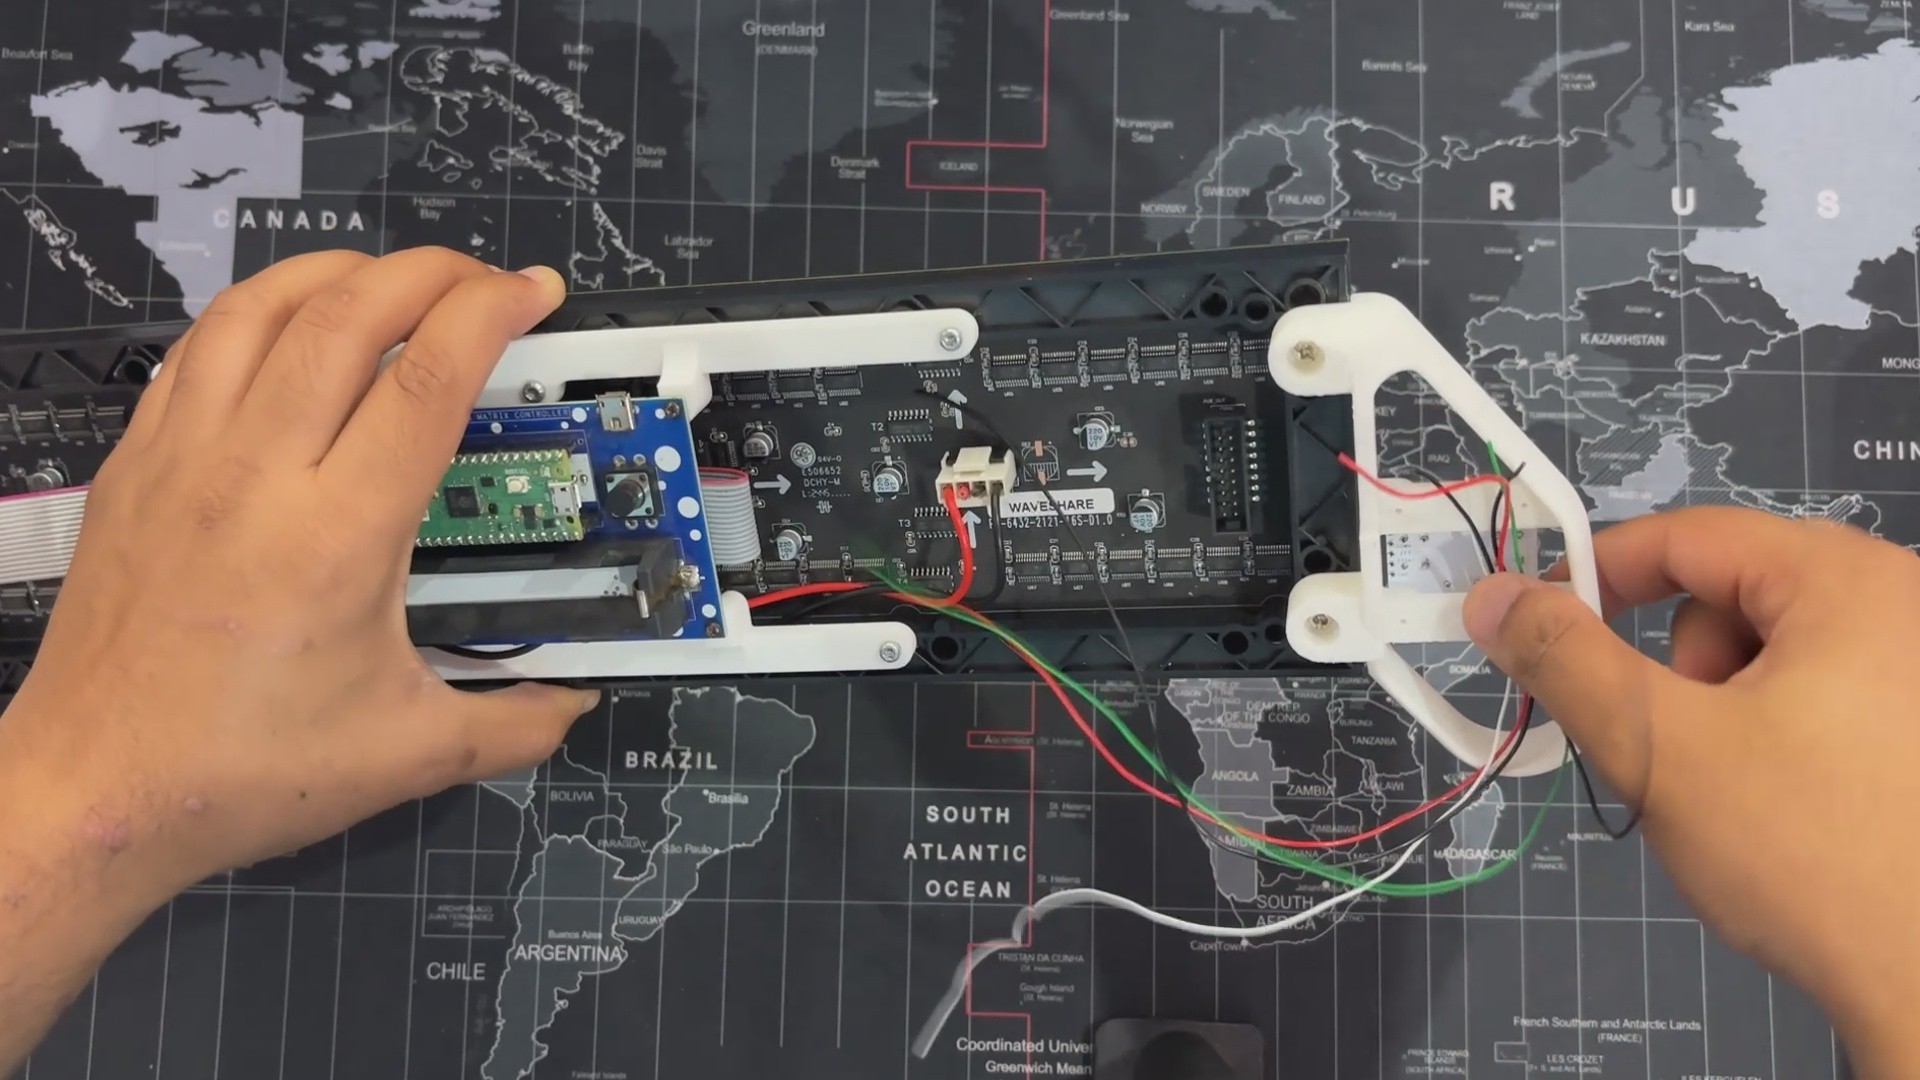
Next follows the PICO Driver Assembly, which begins by connecting the two matrix panels in a chain by attaching the included HUB75 Ribbon Cable connector to Dout of the first matrix and the other end to the Din of the second matrix panel. This is comparable to the way RGB LED WS2812 LEDs are connected.
We are employing 2 RGB matrix panels, which means we need to provide power to both panels. To do so, we connected two power connectors in parallel with our PICO Driver's 5V and GND. Then connect both female power connectors to both matrix male power connectors.
Next, the HUB 75 connector of the PICO Driver is linked with the Din of the first matrix.
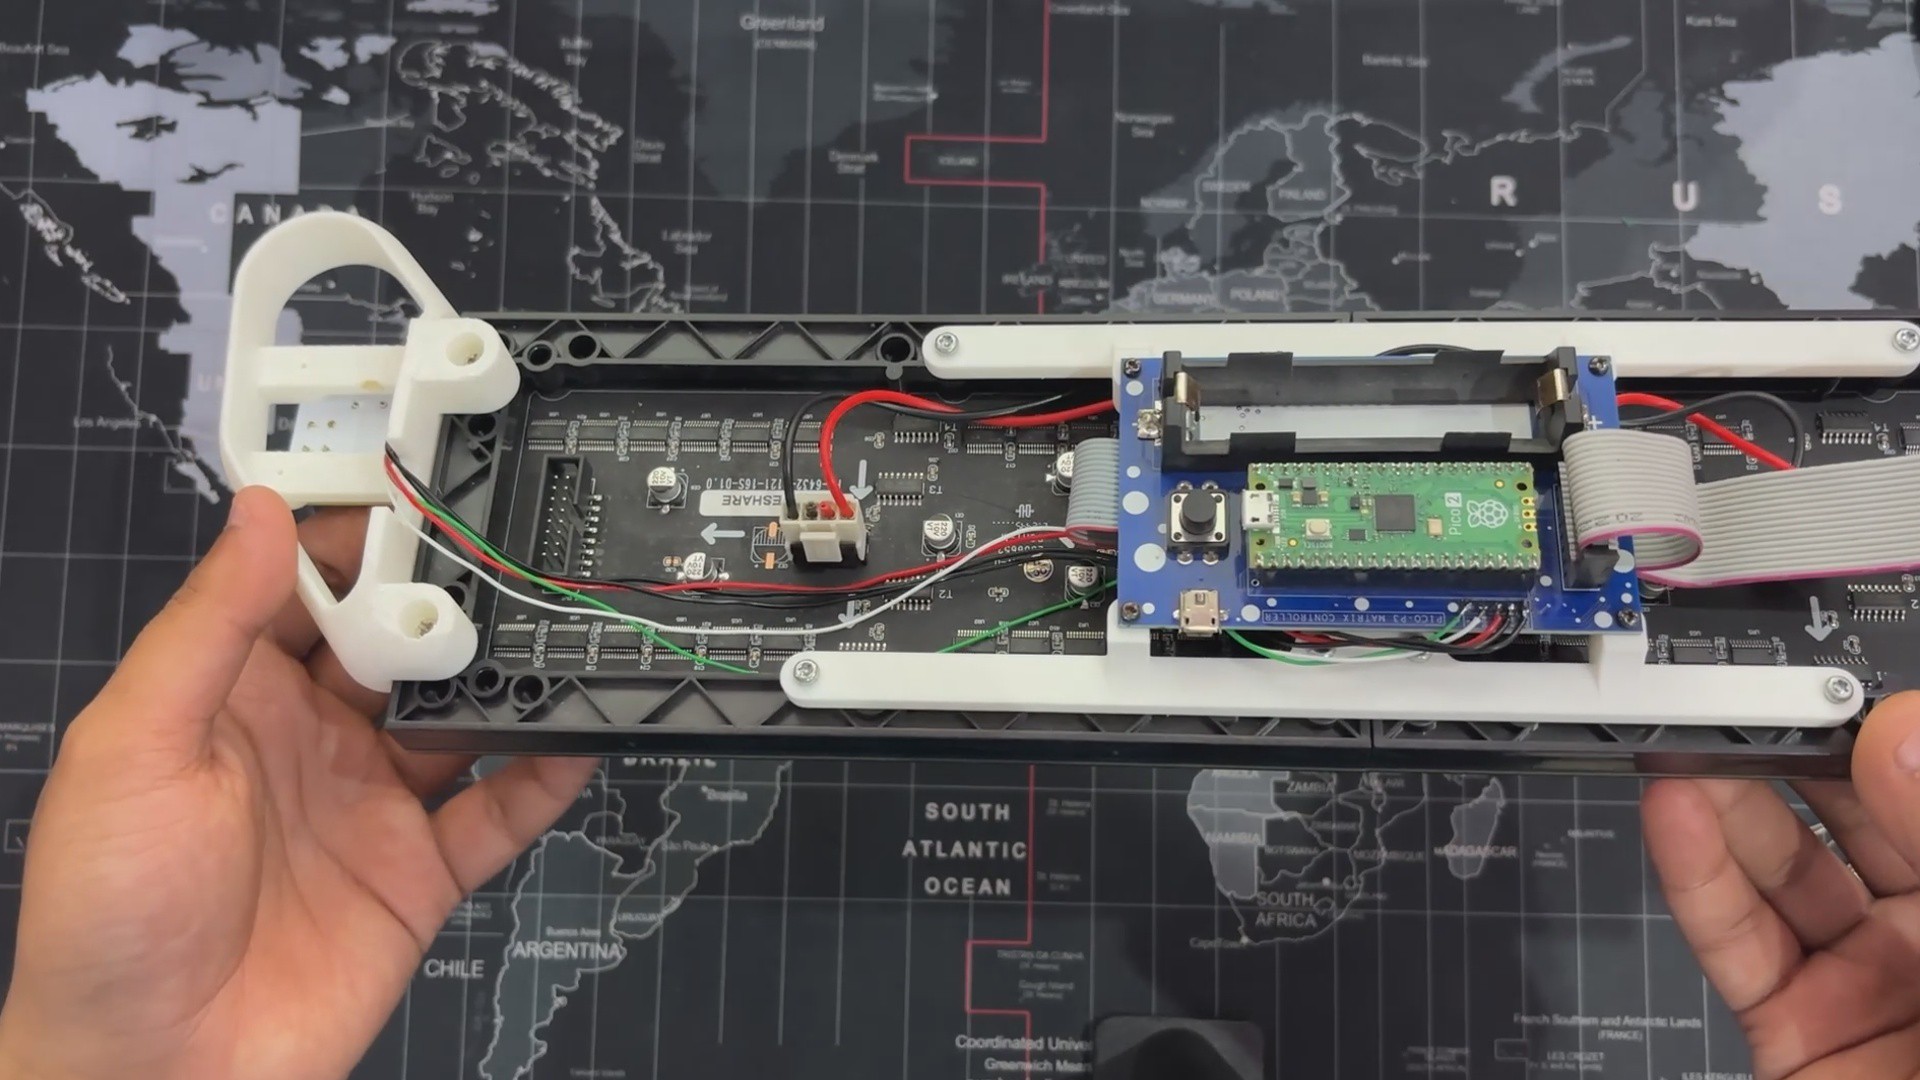
After all of the connectors are plugged in, we align the PICO Driver with the screw bosses added to the Display Frame and secure it with four M2 self-tapping screws.
3
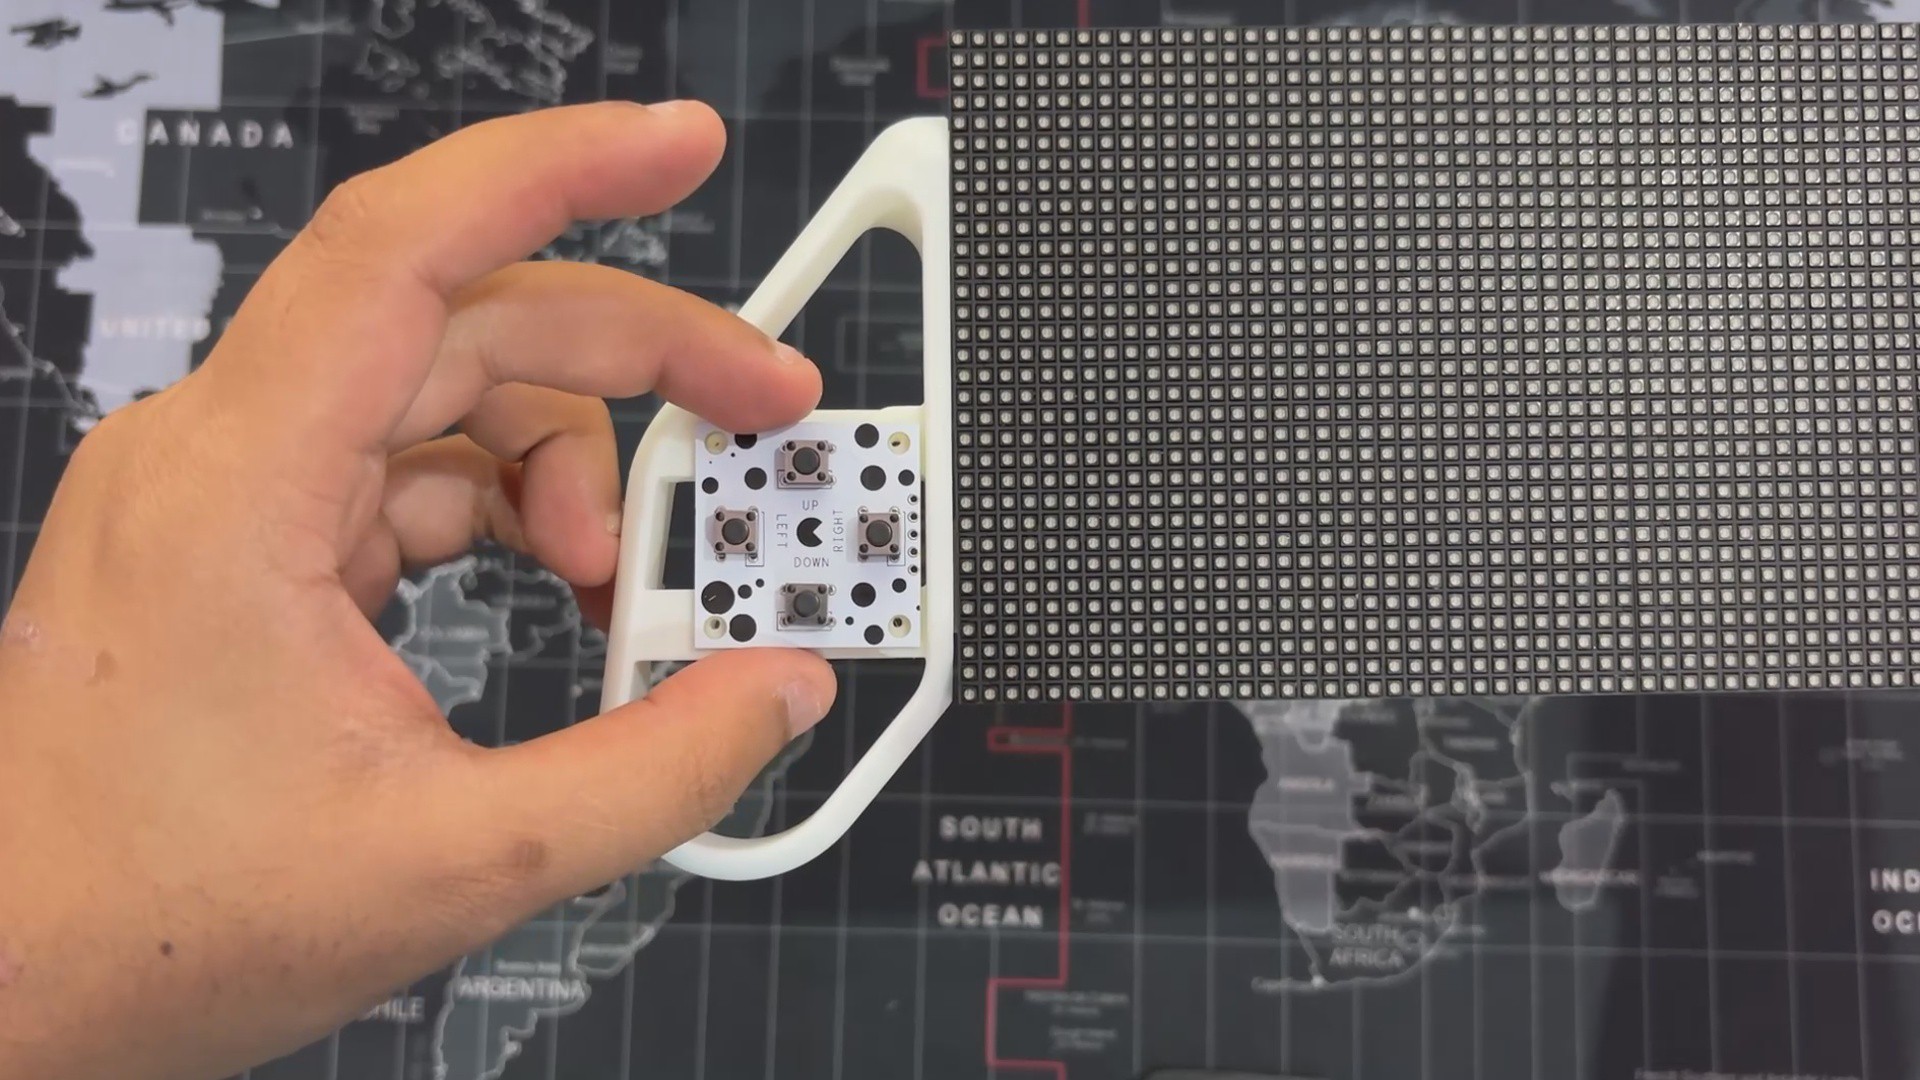
Switch Board Assembly
We install the Switch Board over the four screw bosses on the Left Hand Grip and then use four M2 screws to secure it to the Left Grip part.
4
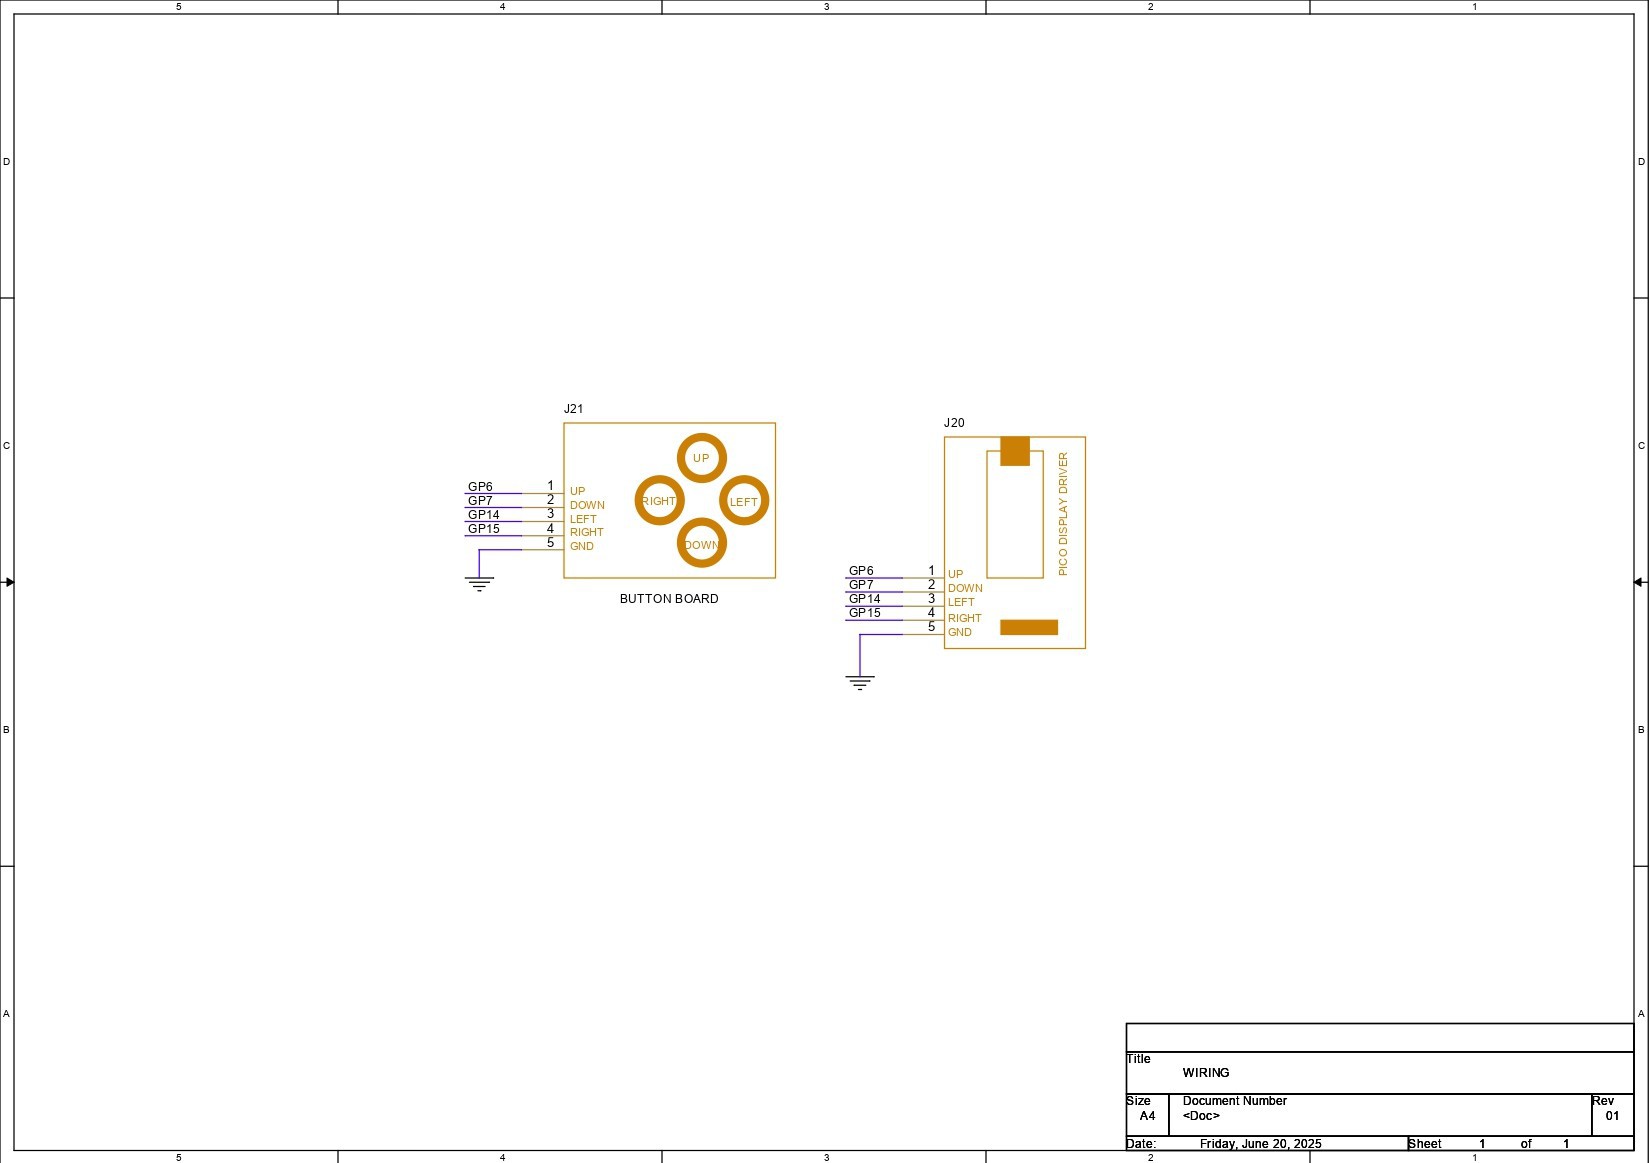
WIRING
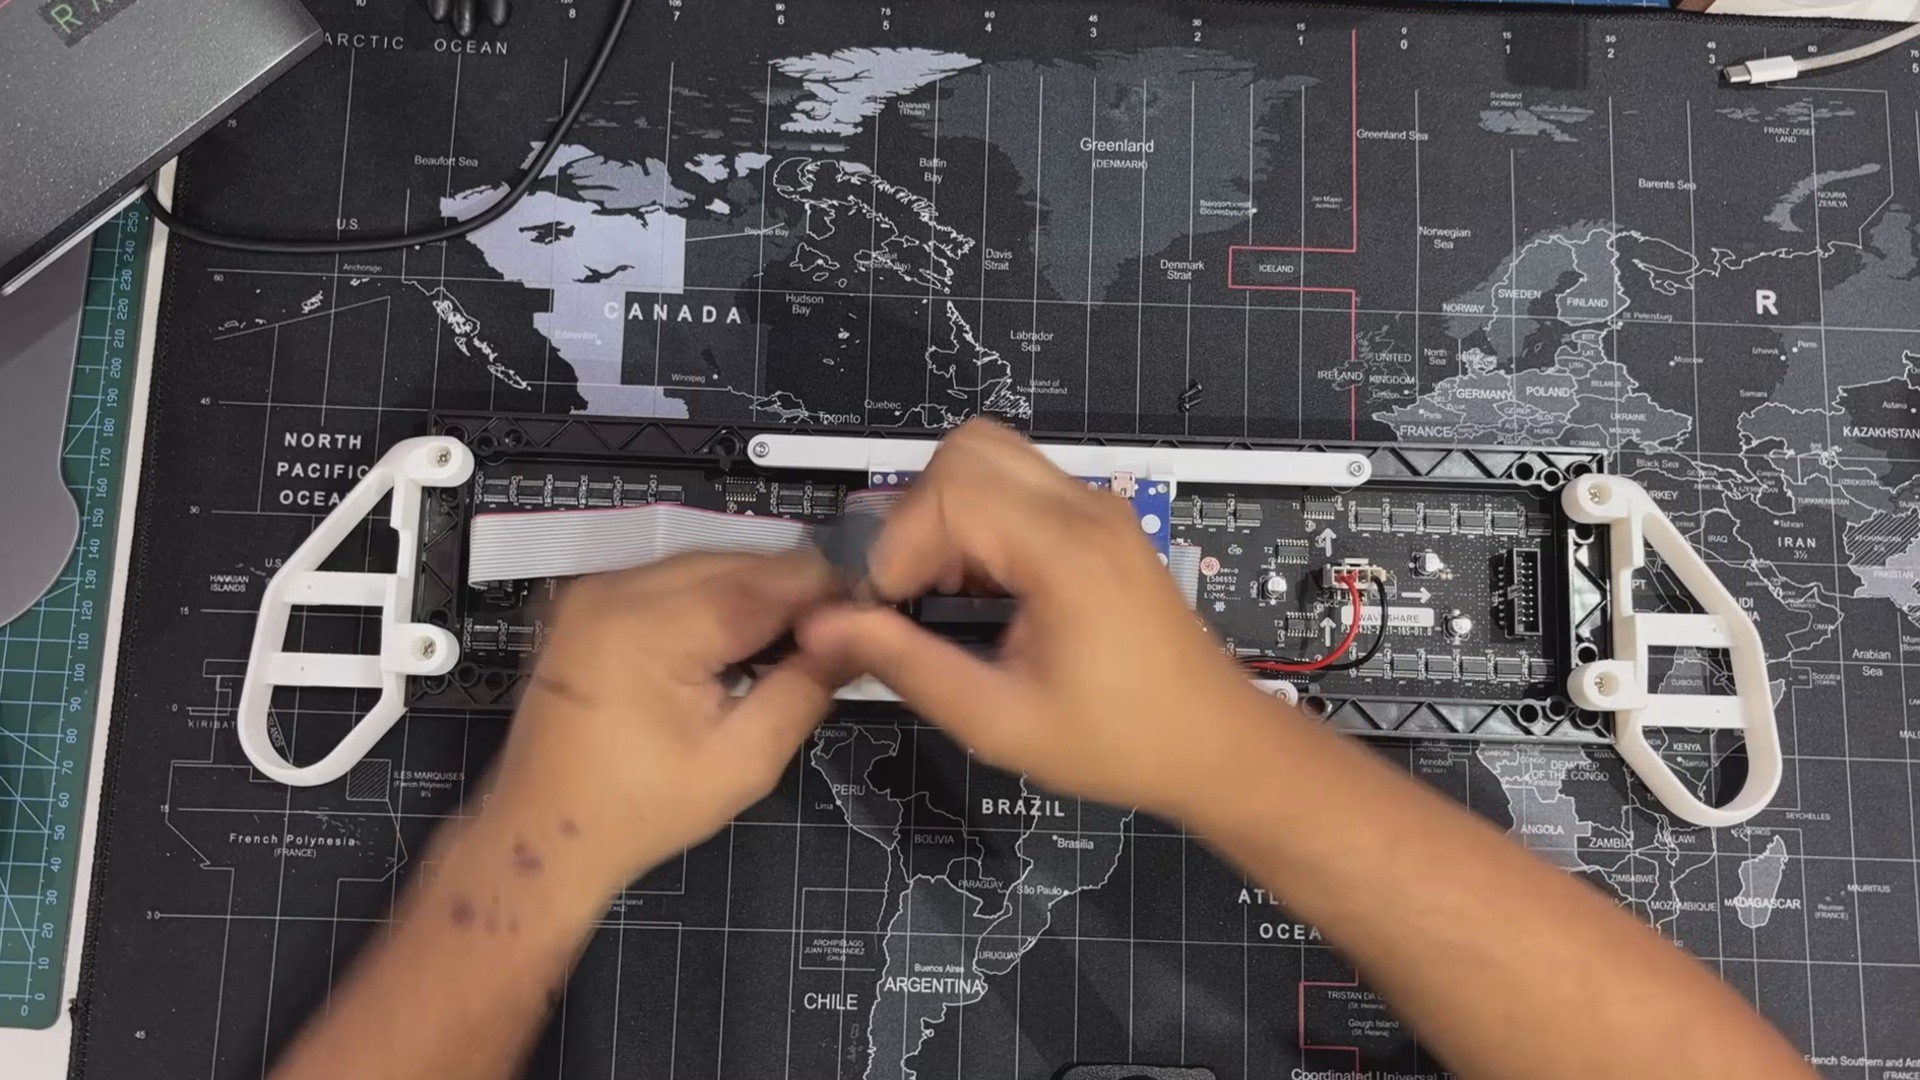
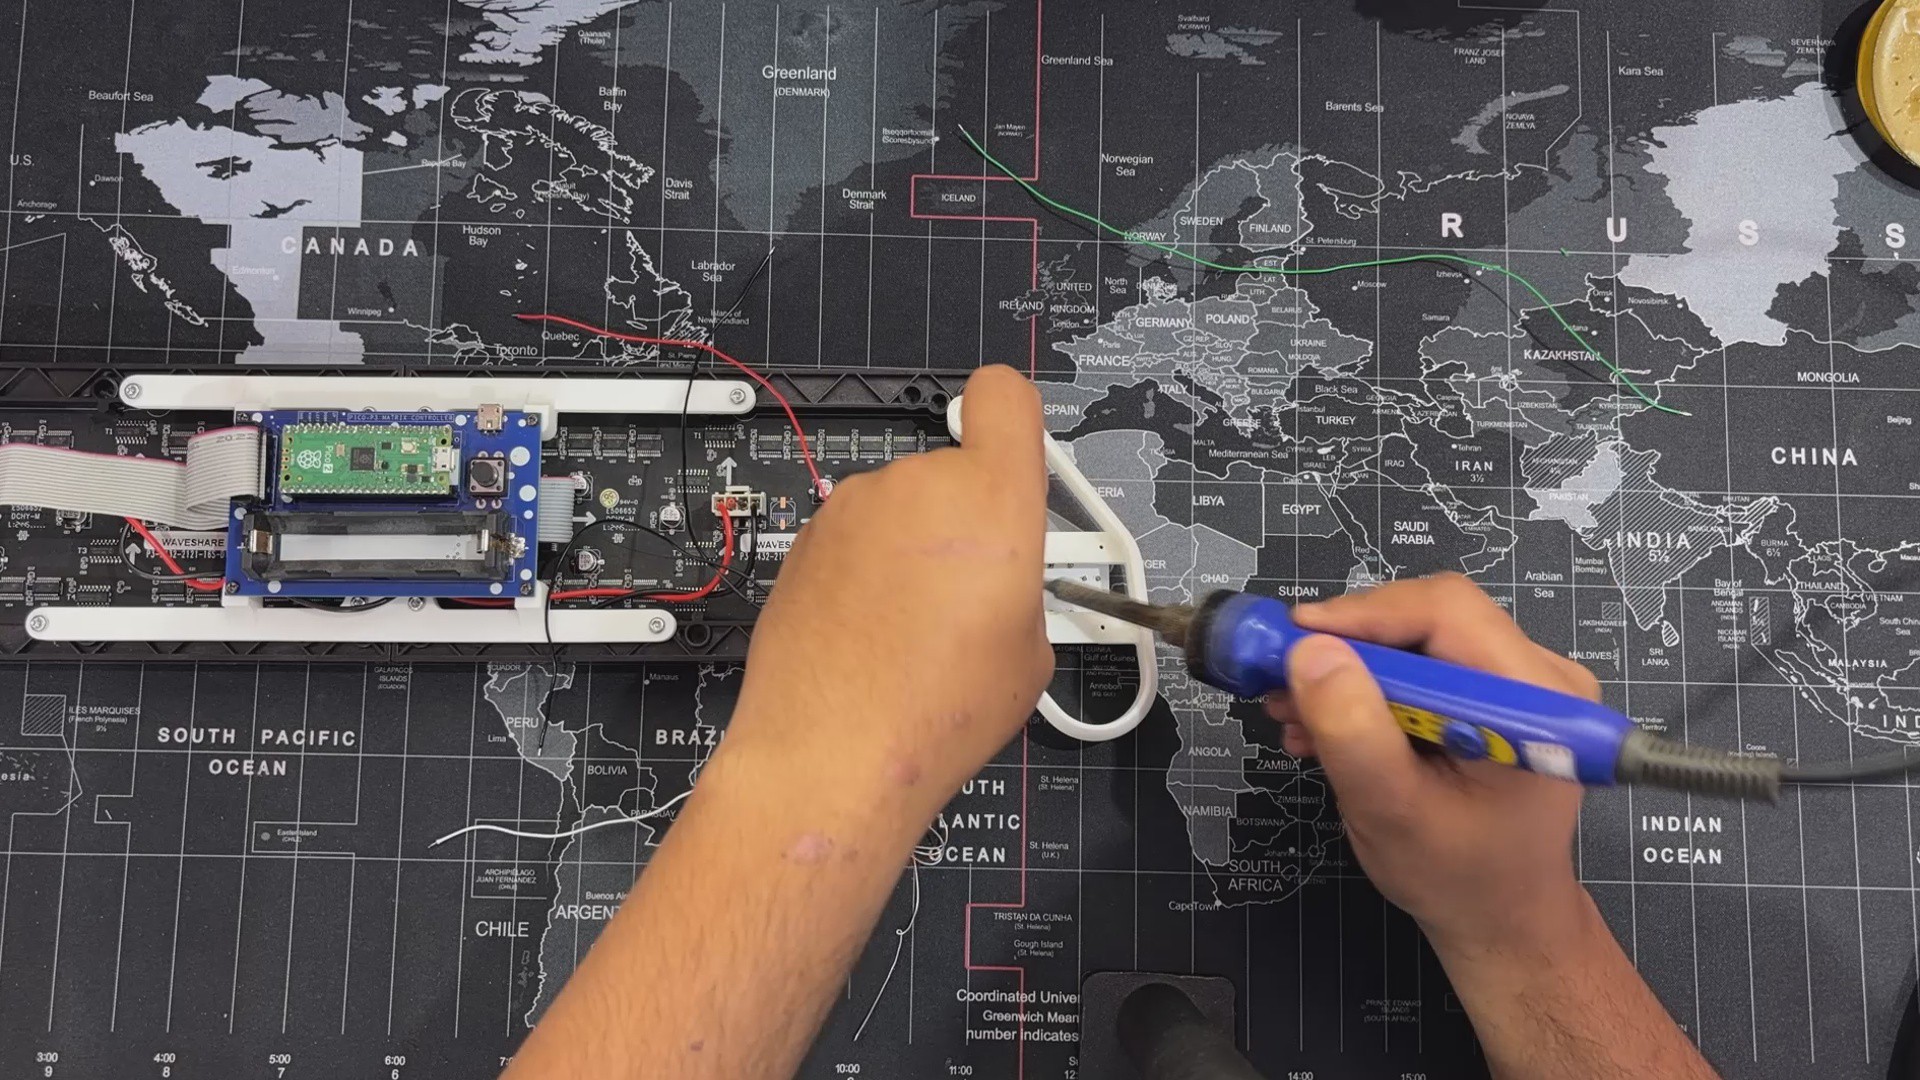
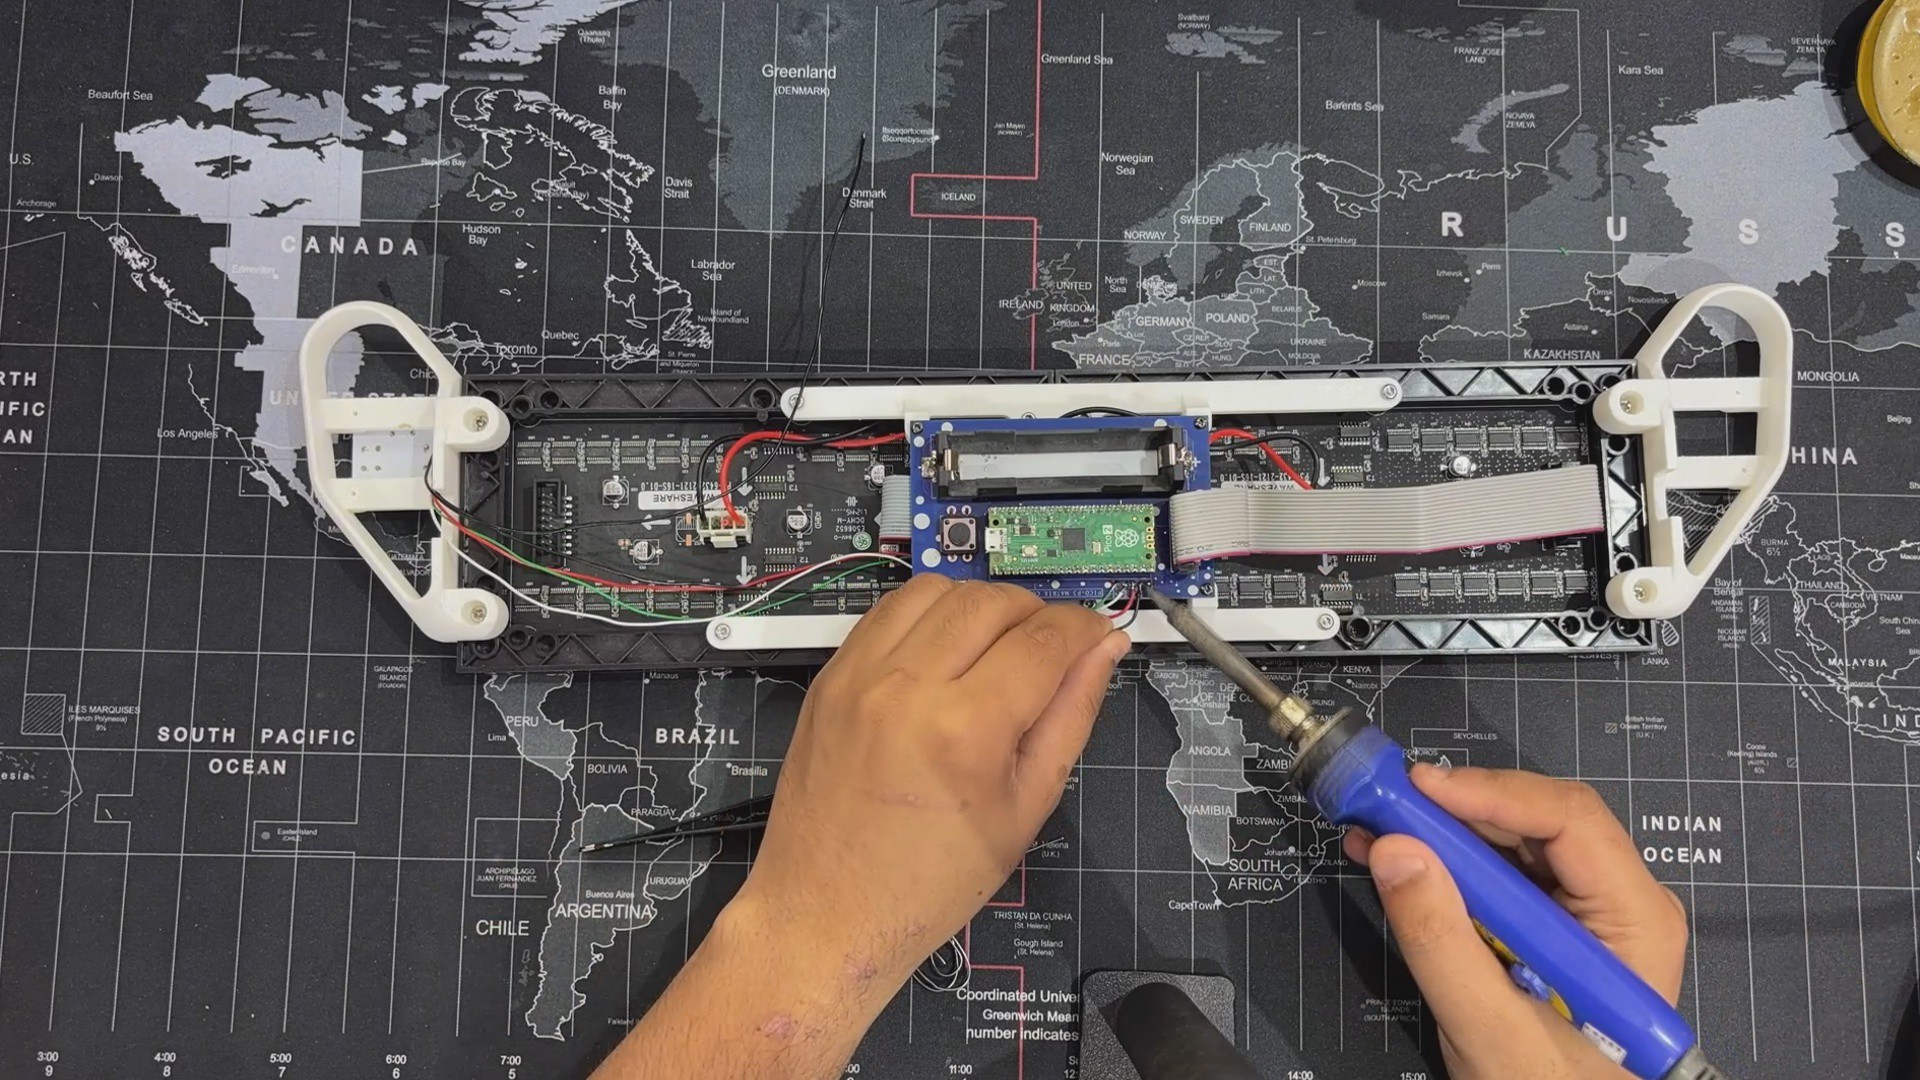
Now follows the wiring step, which requires five long connecting wires to link the Switch Board to the I/O of the PICO Driver Board.
We begin by using a soldering iron to connect wires to the Switch Board's UP, DOWN, LEFT, RIGHT, and GND connections.
Following the wiring order, the Connecting wires attached to the Switch Board's Terminals are all linked to their respective GPIO Pins on the PICO Driver board. We're using the provided Wiring Diagram to connect the switch board and pico driver together.
5
Updated CODE
This is the Code we used in this project and it's a simple one.
#include<Adafruit_Protomatter.h>// Pin definitions#define R1 2#define G1 3#define B1 4#define R2 5#define G2 8#define B2 9#define A 10#define B 16#define C 18#define D 20#define CLK 11#define LAT 12#define OE 13// Button pins#define BUTTON_UP 6#define BUTTON_DOWN 7#define BUTTON_LEFT 14#define BUTTON_RIGHT 15// Panel settings#define PANEL_WIDTH 64#define PANEL_HEIGHT 32#define NUM_PANELS 2#define WIDTH (PANEL_WIDTH * NUM_PANELS)#define HEIGHT PANEL_HEIGHT#define SNAKE_LENGTH 8uint8_t rgbPins[] = { R1, G1, B1, R2, G2, B2 };
uint8_t addrPins[] = { A, B, C, D };
Adafruit_Protomatter matrix(WIDTH, HEIGHT, 1, rgbPins, 4, addrPins, CLK, LAT, OE, false);
structSnakeSegment {int x;
int y;
};
SnakeSegment snake[WIDTH * HEIGHT];
int snakeLength = SNAKE_LENGTH;
int dx = 1, dy = 0;
uint16_t snakeColor = matrix.color565(0, 255, 0);
uint16_t foodColor = matrix.color565(255, 0, 0);
uint16_t borderColor = matrix.color565(255, 255, 255);
uint16_t gameOverColor = matrix.color565(255, 0, 0);
int foodX, foodY;
int score = 0;
bool gameOver = false;
// Speed control variables#define BASE_DELAY 100 // Normal speed#define FAST_DELAY 50 // Faster speed when button is heldvoidplaceFood(){
bool foodOnSnake;
do {
foodX = random(1, WIDTH - 1); // Ensure food doesn't spawn on the border
foodY = random(1, HEIGHT - 1);
foodOnSnake = false;
for (int i = 0; i < snakeLength; i++) {
if (snake[i].x == foodX && snake[i].y == foodY) {
foodOnSnake = true;
break;
}
}
} while (foodOnSnake);
}
voidsetup(){
matrix.begin();
pinMode(BUTTON_UP, INPUT_PULLUP);
pinMode(BUTTON_DOWN, INPUT_PULLUP);
pinMode(BUTTON_LEFT, INPUT_PULLUP);
pinMode(BUTTON_RIGHT, INPUT_PULLUP);
for (int i = 0; i < snakeLength; i++) {
snake[i] = { WIDTH / 2 - i, HEIGHT / 2 };
}
placeFood();
matrix.fillScreen(0);
matrix.show();
}
voiddrawScore(){
matrix.setCursor(WIDTH - 20, 2);
matrix.setTextColor(matrix.color565(255, 255, 255));
matrix.print(score);
}
voiddrawBorder(){
for (int x = 0; x < WIDTH; x++) {
matrix.drawPixel(x, 0, borderColor); // Top border
matrix.drawPixel(x, HEIGHT - 1, borderColor); // Bottom border
}
for (int y = 0; y < HEIGHT; y++) {
matrix.drawPixel(0, y, borderColor); // Left border
matrix.drawPixel(WIDTH - 1, y, borderColor); // Right border
}
}
voidcheckGameOver(){
if (snake[0].x <= 0 || snake[0].x >= WIDTH - 1 ||
snake[0].y <= 0 || snake[0].y >= HEIGHT - 1) {
gameOver = true; // Snake hits the border
}
for (int i = 1; i < snakeLength; i++) {
if (snake[0].x == snake[i].x && snake[0].y == snake[i].y) {
gameOver = true;
break;
}
}
}
voidresetGame(){
snakeLength = SNAKE_LENGTH;
dx = 1; dy = 0;
score = 0;
gameOver = false;
for (int i = 0; i < snakeLength; i++) {
snake[i] = { WIDTH / 2 - i, HEIGHT / 2 };
}
placeFood();
}
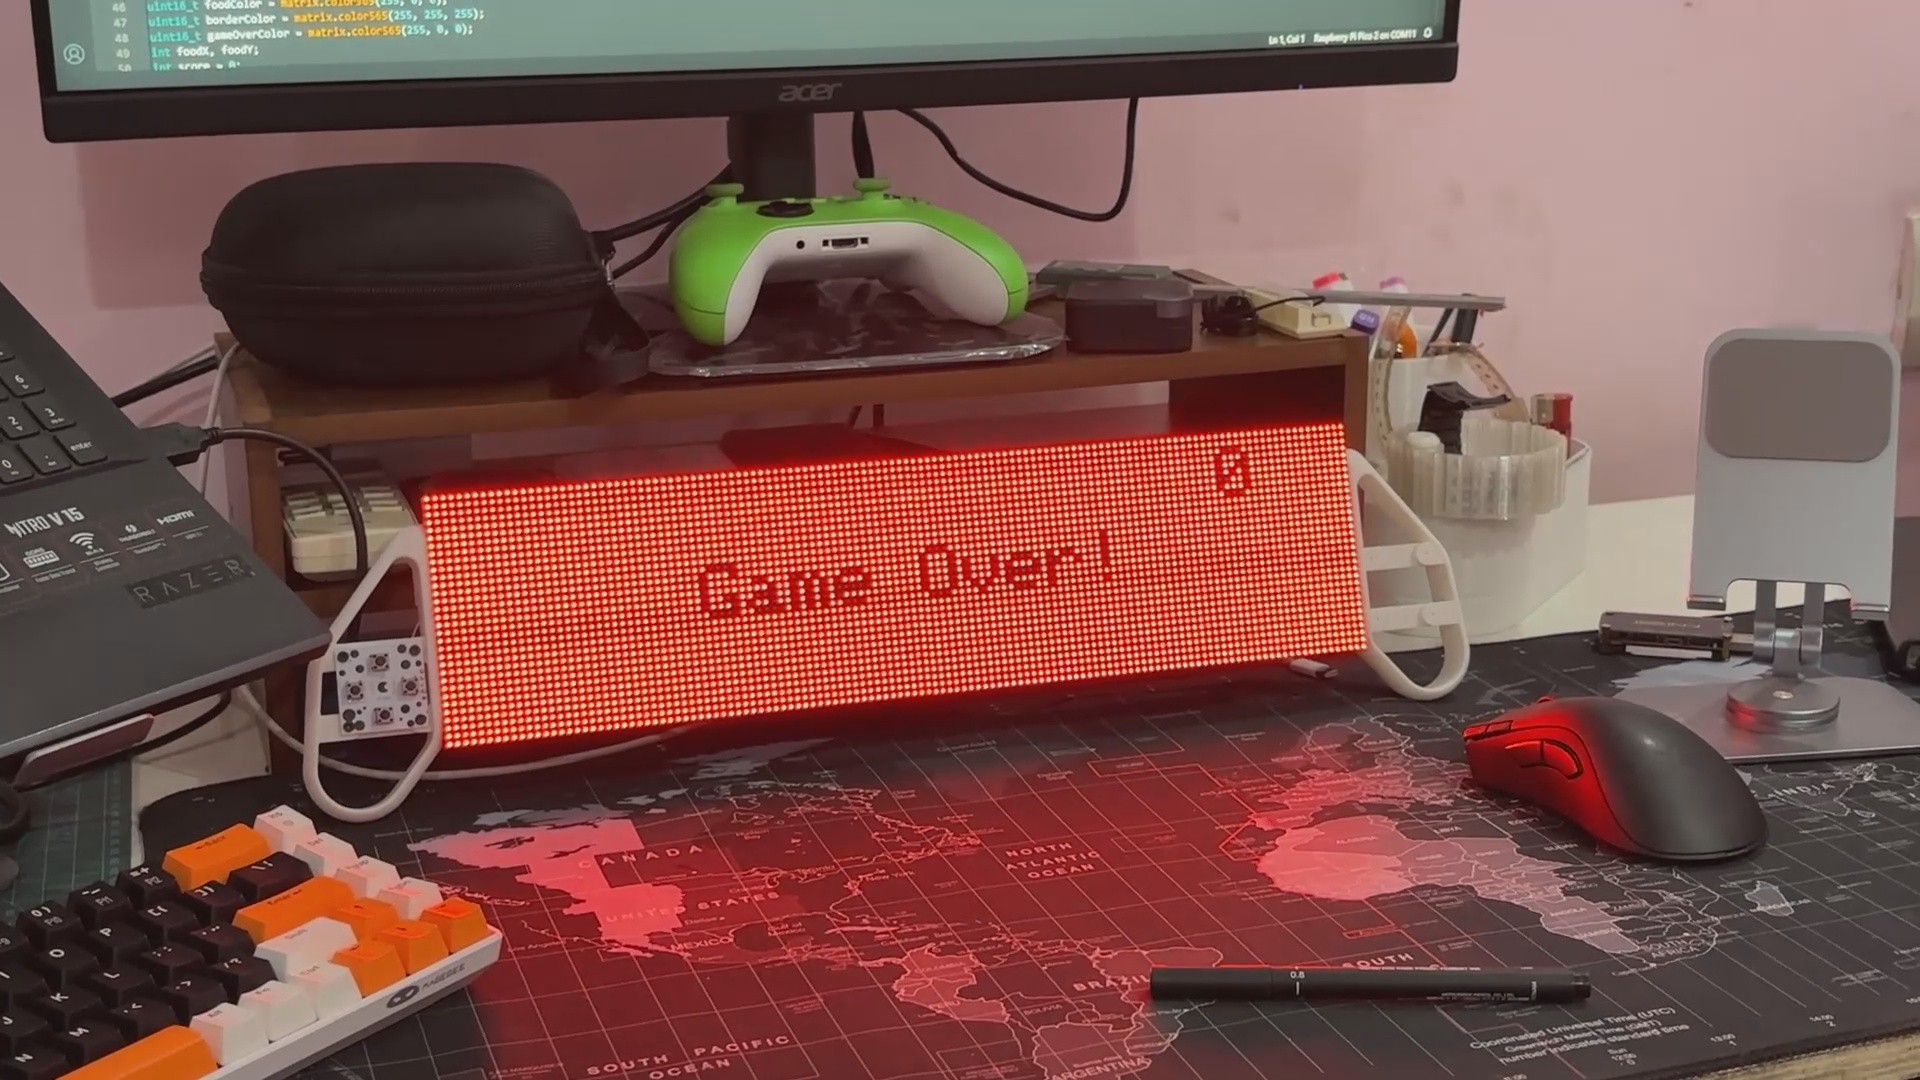
voiddrawGameOver(){
matrix.fillScreen(gameOverColor);
uint16_t black = matrix.color565(0, 0, 0);
matrix.setCursor((WIDTH / 2) - 30, (HEIGHT / 2) - 4);
matrix.setTextColor(black);
matrix.print("Game Over!");
matrix.setCursor(WIDTH - 20, 2);
matrix.print(score);
}
voidloop(){
if (gameOver) {
drawGameOver();
matrix.show();
delay(5000);
resetGame();
return;
}
// Check button states and update directionif (!digitalRead(BUTTON_UP) && dy == 0) { dx = 0; dy = -1; }
elseif (!digitalRead(BUTTON_DOWN) && dy == 0){ dx = 0; dy = 1; }
elseif (!digitalRead(BUTTON_LEFT) && dx == 0){ dx = -1; dy = 0; }
elseif (!digitalRead(BUTTON_RIGHT) && dx == 0){ dx = 1; dy = 0; }
// Determine delay based on button pressint currentDelay = BASE_DELAY;
if (!digitalRead(BUTTON_UP) || !digitalRead(BUTTON_DOWN) ||
!digitalRead(BUTTON_LEFT) || !digitalRead(BUTTON_RIGHT)) {
currentDelay = FAST_DELAY; // Reduce delay when holding a button
}
// Move snakefor (int i = snakeLength - 1; i > 0; i--) {
snake[i] = snake[i - 1];
}
snake[0].x += dx;
snake[0].y += dy;
if (snake[0].x == foodX && snake[0].y == foodY) {
snakeLength++;
score++;
placeFood();
}
matrix.fillScreen(0);
drawBorder(); // Draw border each framefor (int i = 0; i < snakeLength; i++) {
matrix.drawPixel(snake[i].x, snake[i].y, snakeColor);
}
matrix.drawPixel(foodX, foodY, foodColor);
drawScore();
matrix.show();
checkGameOver();
delay(currentDelay); // Adjust speed dynamically based on input
}
This code we are using is the same as the previous Snake Game console project but with a few alterations that we are now going to explain.
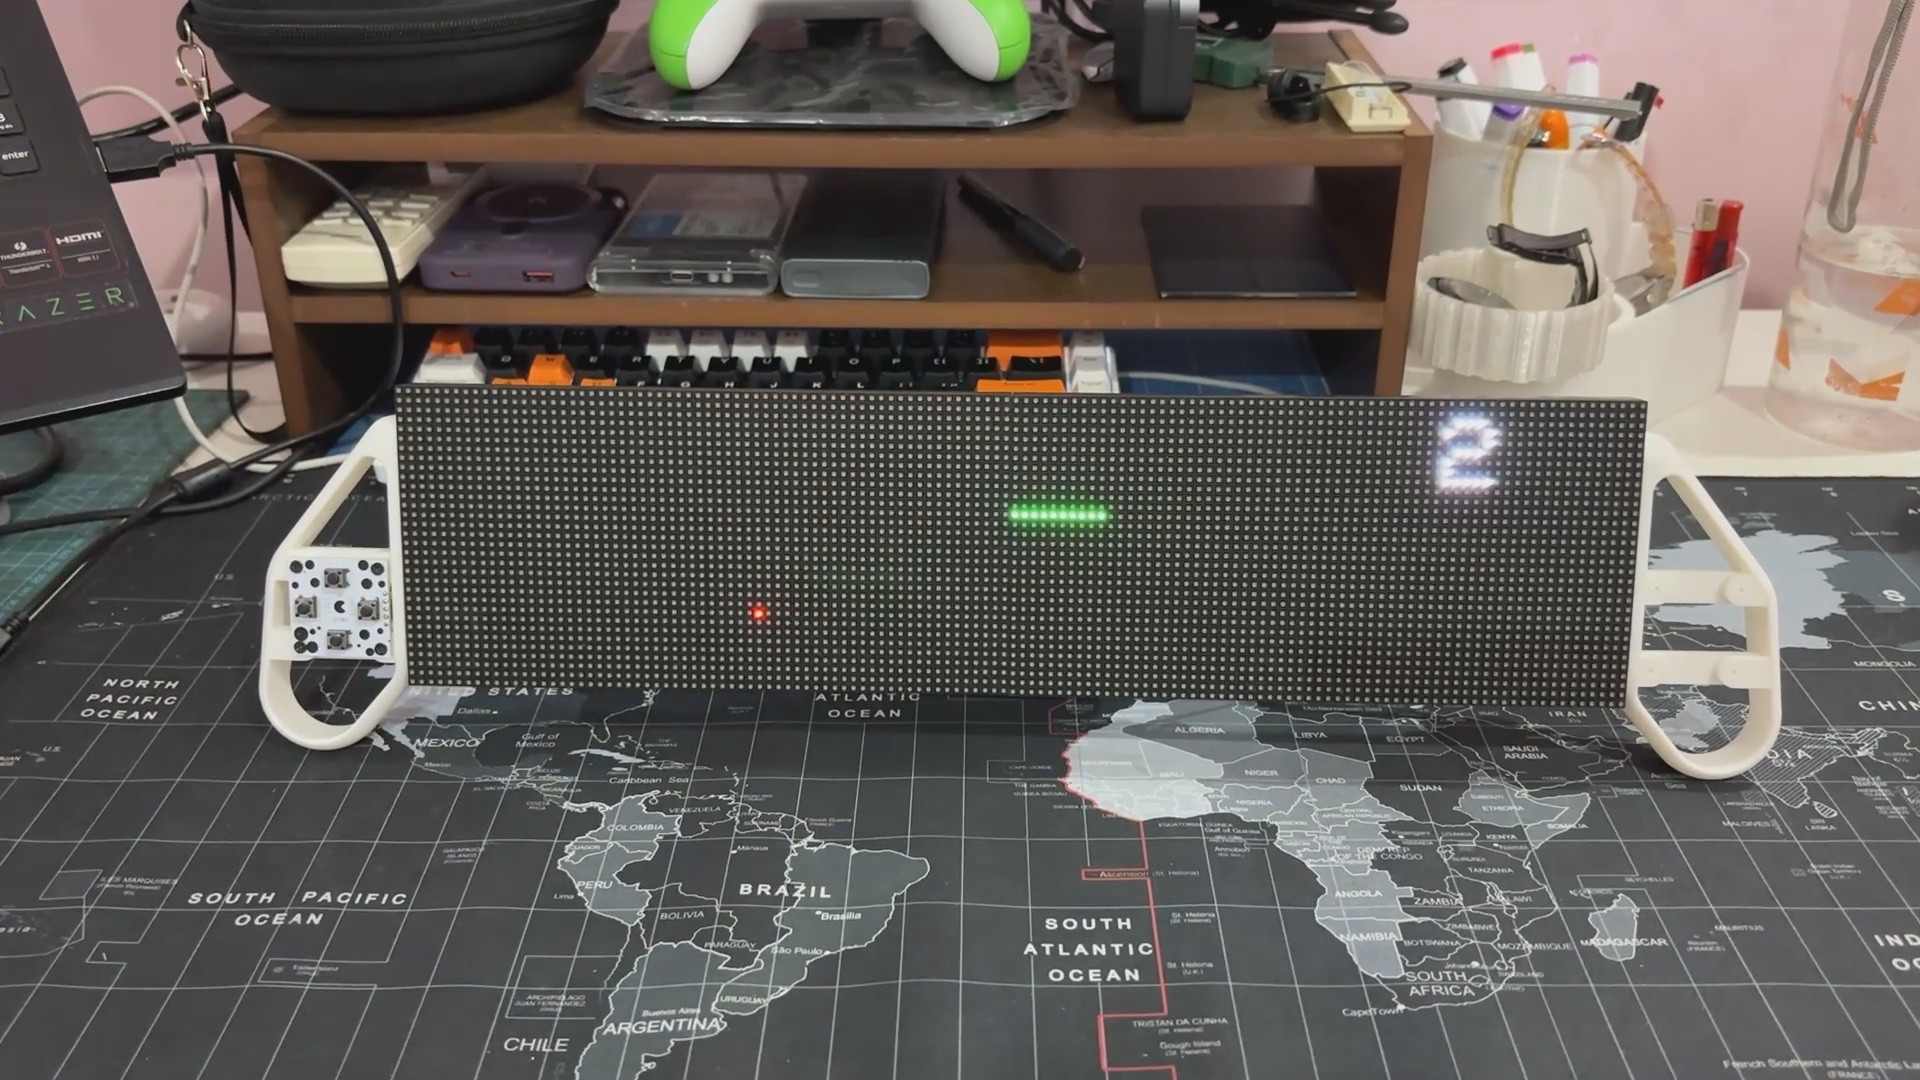
Let's start with the Panel Layout, we are chaining two 64×32 RGB panels side by side to form a single ultra-wide 128×32 display.
These are the map pins for RGB data and address selection:
uint8_t rgbPins[] = { R1, G1, B1, R2, G2, B2 };uint8_t addrPins[] = { A, B, C, D };
Border Logic
void drawBorder() { for (int x = 0; x < WIDTH; x++) { matrix.drawPixel(x, 0, borderColor); // Top matrix.drawPixel(x, HEIGHT - 1, borderColor); // Bottom } for (int y = 0; y < HEIGHT; y++) { matrix.drawPixel(0, y, borderColor); // Left matrix.drawPixel(WIDTH - 1, y, borderColor); // Right }}
The border is a white frame drawn around all four edges of the display. we call drawBorder() in every loop() iteration after clearing the screen to ensure it stays visible.
When any direction button is being held, currentDelay drops from 100 ms to 50 ms, effectively doubling the snake’s speed. This creates a satisfying "dash" effect without complicating the input system or requiring a new button.
6
RESULT & CONCLUSION
The project resulted in an even longer Snake Game Console, transforming a nostalgic classic into a wide-screen, portable gaming experience. This version's dual 64×32 RGB P3 matrix panels, flawlessly combined into a 128×32 display, provide a more immersive gaming experience and better visual feedback.
The addition of a border brings the classic arcade challenge to life—hit the wall, and the game is over. Dynamic speed control increases intensity by allowing gamers to accelerate with a single button press. The sleek housing, replete with ergonomic handles and a snappy D-pad, makes it not only useful but also enjoyable to hold and use.
Overall, this is a polished and portable development of my original Snake Game Console, combining code enhancements, hardware reusability, and intelligent 3D design to create a unified and extremely entertaining package.
Please let me know if you require any additional assistance; all the documents, files, and code are included in the article.
 Arnov Sharma
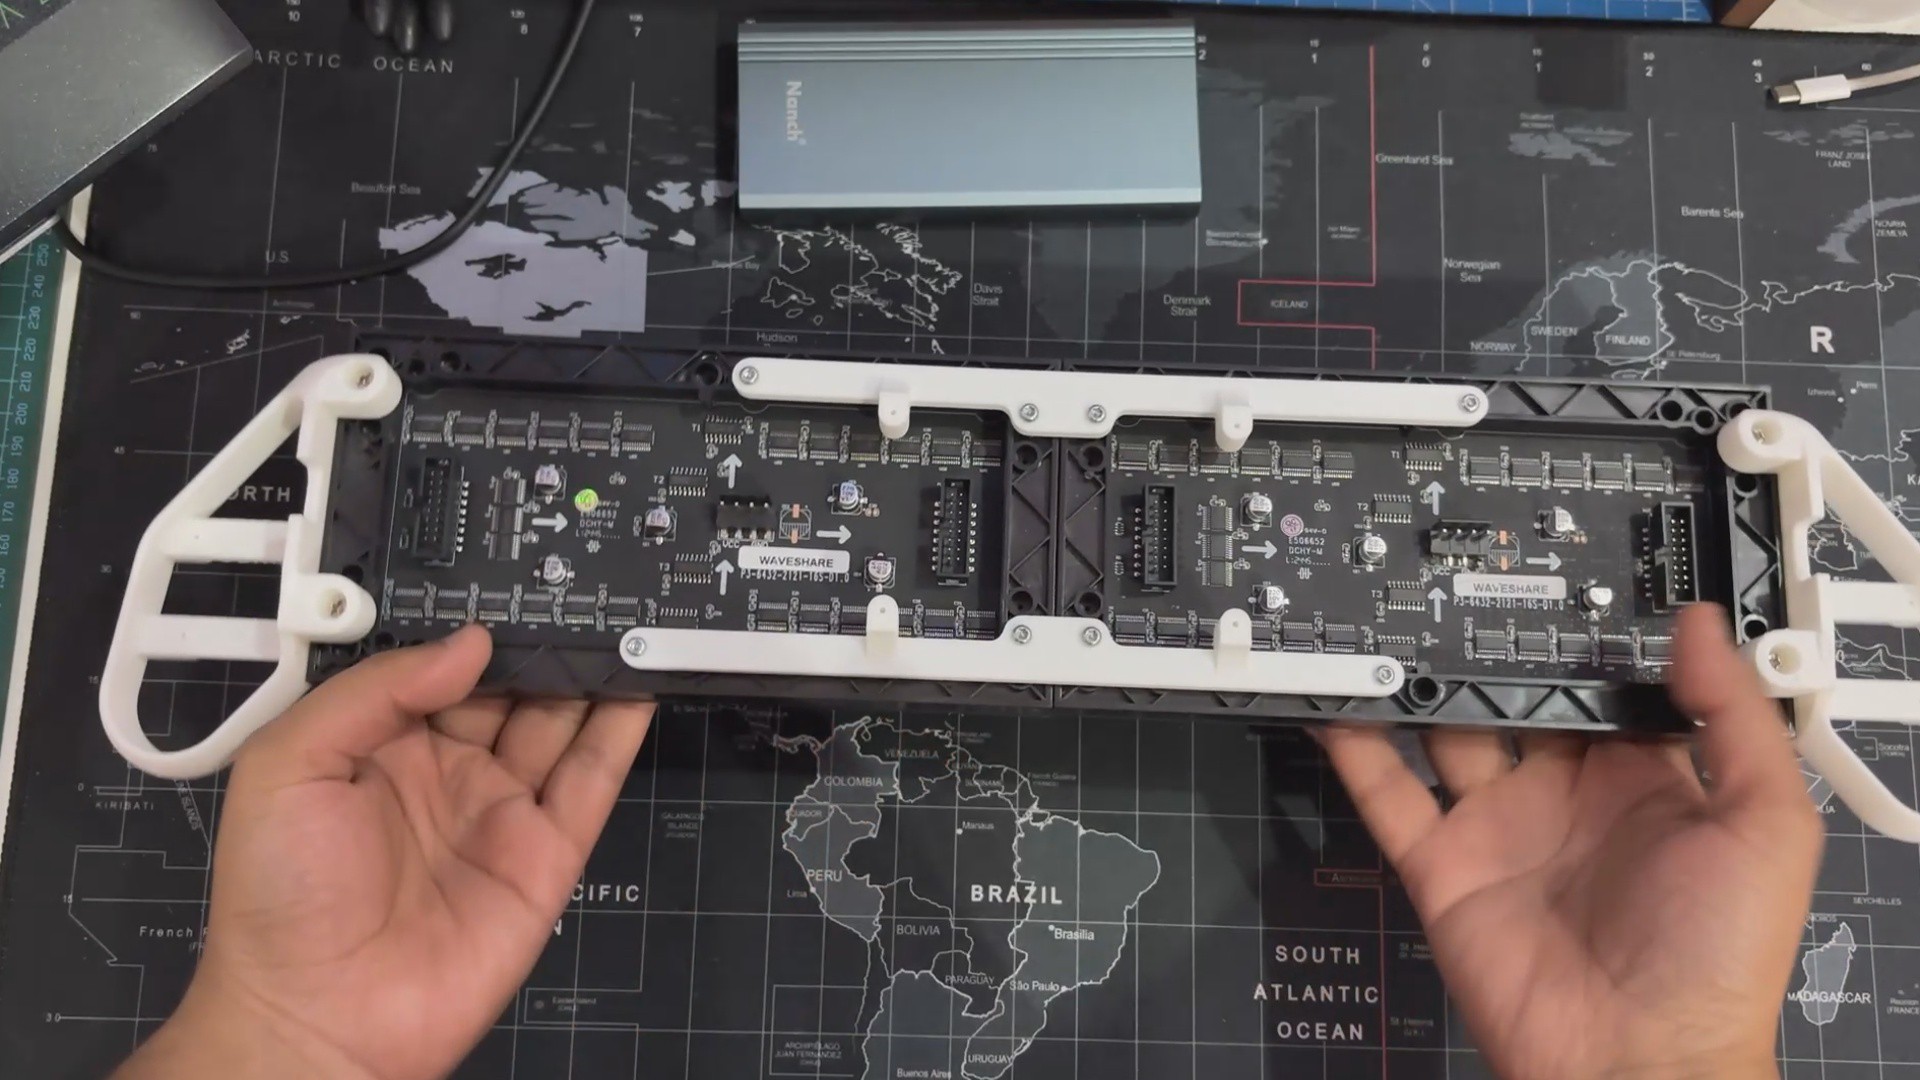


Discussions
Become a Hackaday.io Member
Create an account to leave a comment. Already have an account? Log In.