
An irascible relative by the name of Egon had given us five tribal masks which he had come across second hand.
Naturally, just like anyone presented with an unexpected bounty of tribal masks, thoughts immediately went to how best to implement a Buffy The Vampire Slayer inspired Ovu Mobani effect - namely - glowing eyes which would throb along with the demonic possession when mounted on a wall.
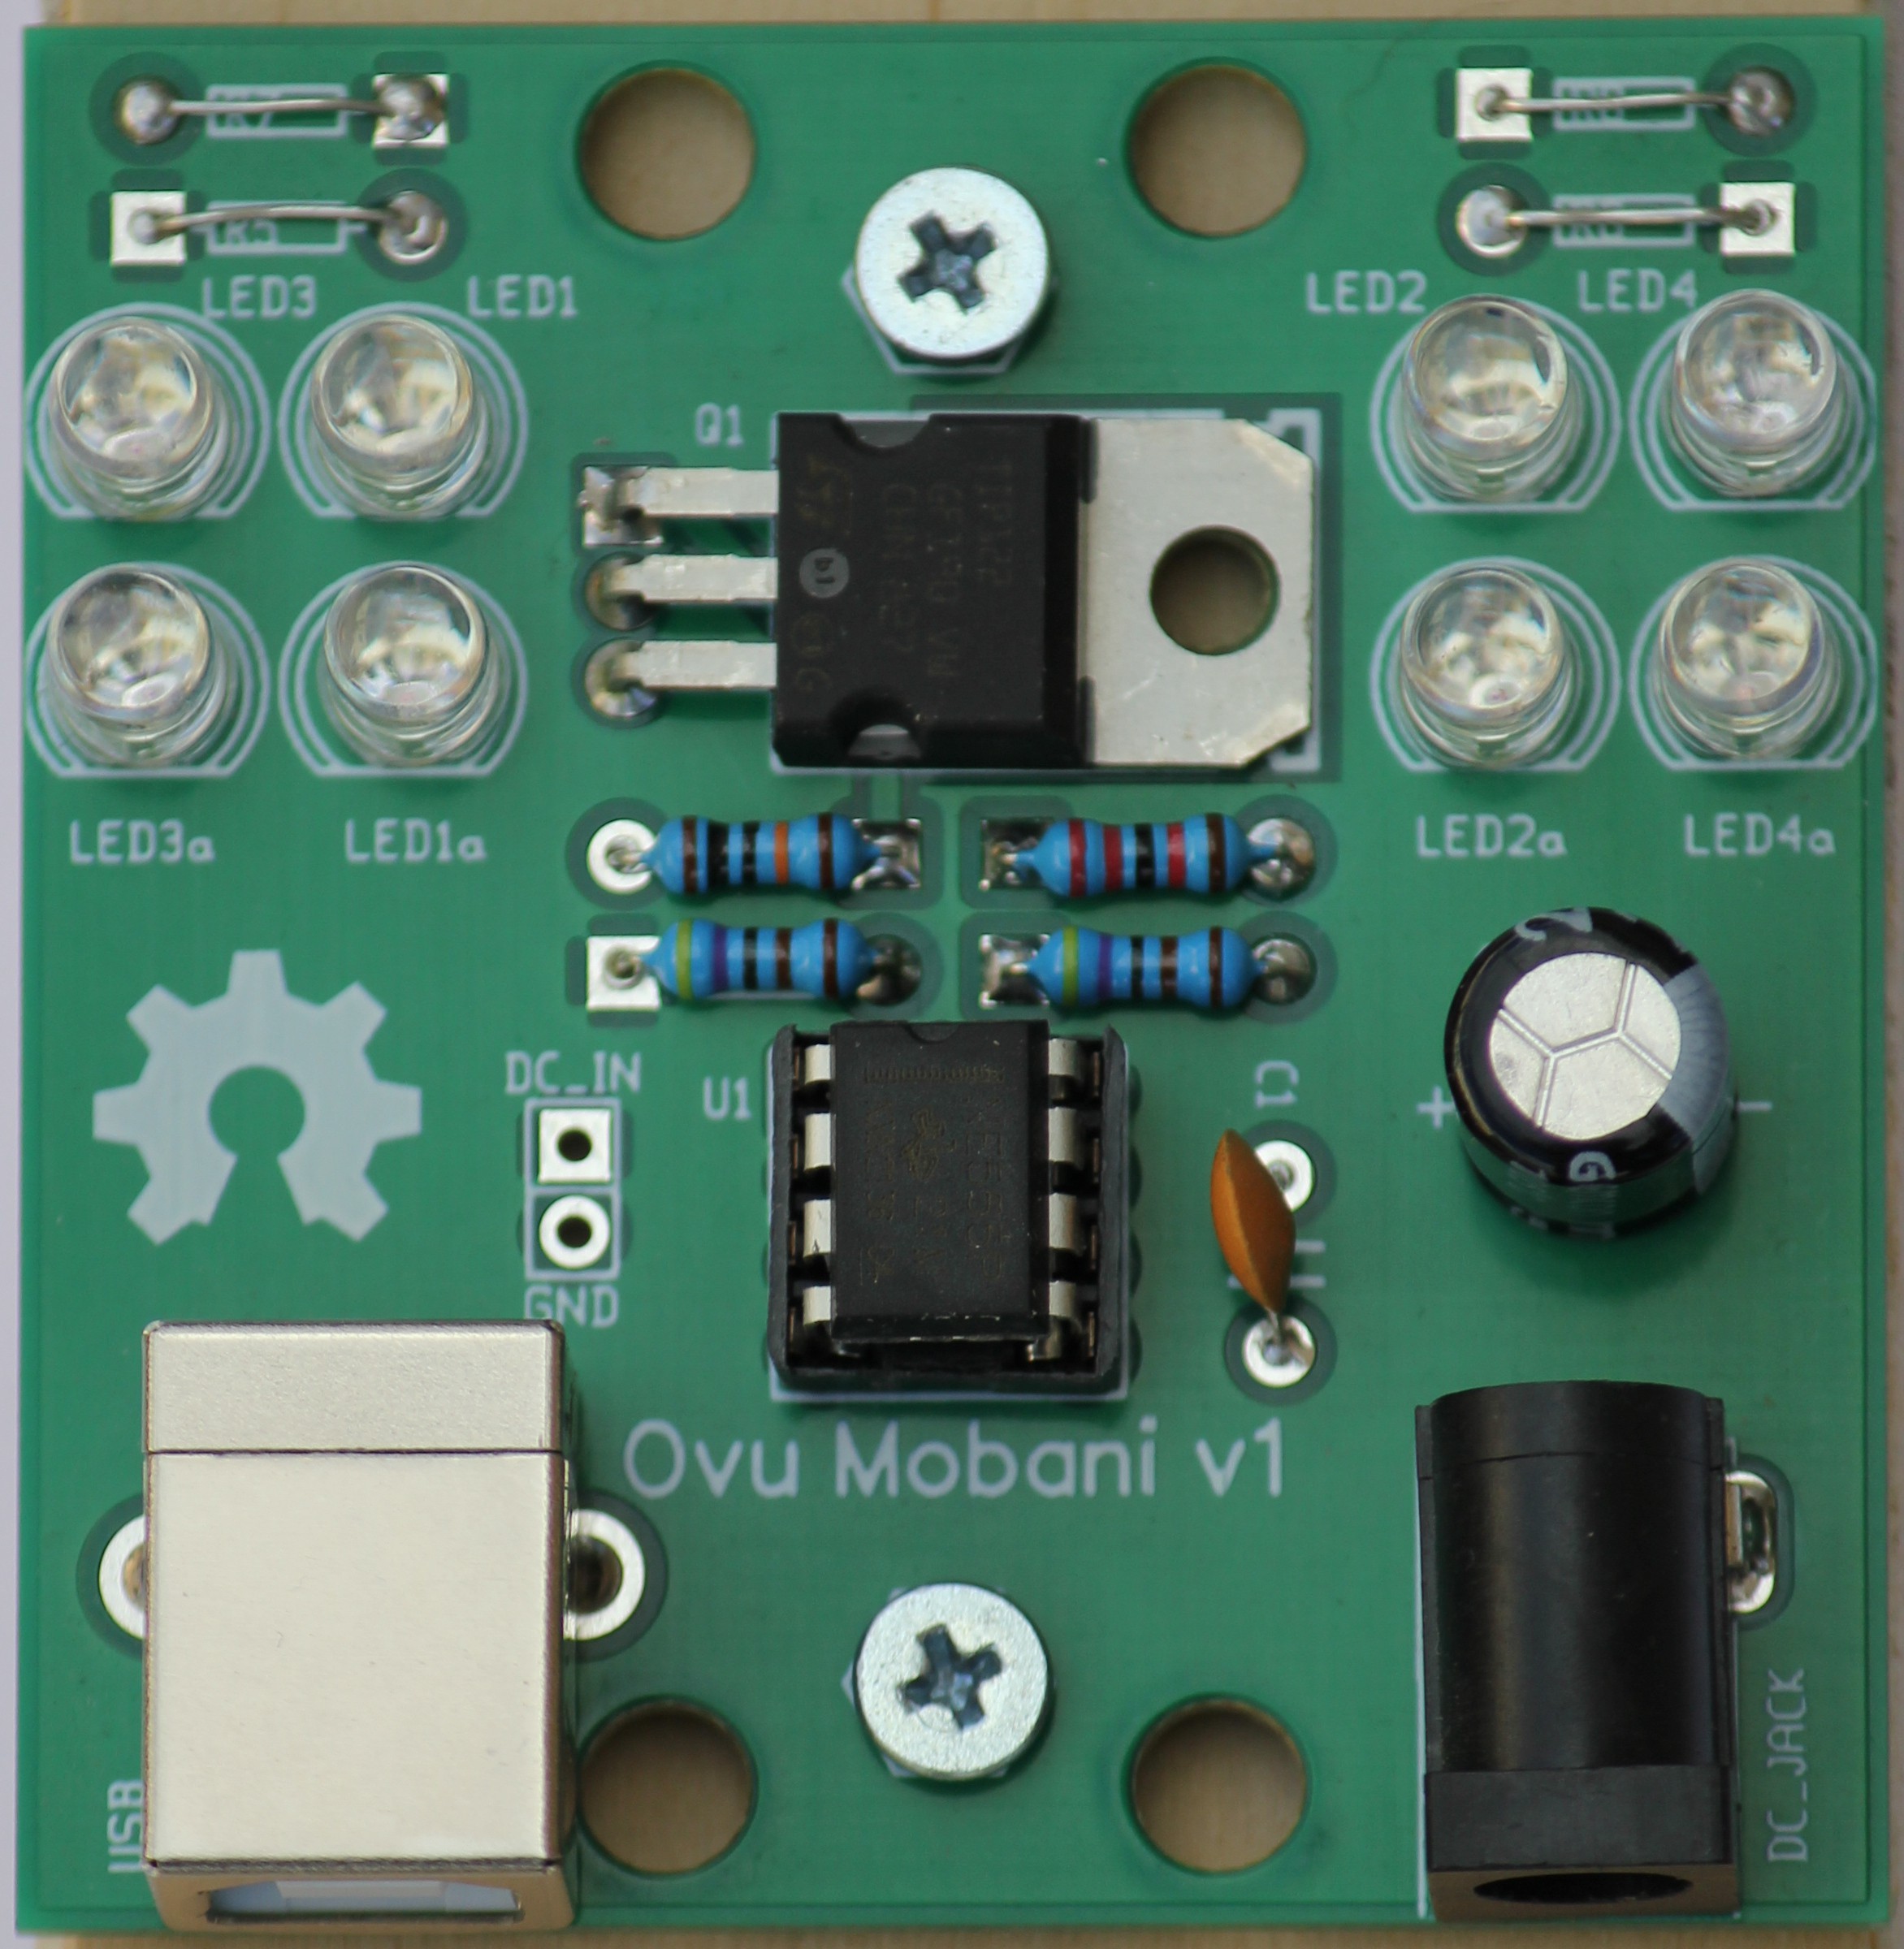
A triangle wave generator was needed, and for this, the venerable 555 was put into service, making use of the waveform on the RC circuit comprised of a 220uF capacitor and a pair of 4k7 resistors, to provide a period of around 2 seconds and a ramp time of around one second (one hertz!!)
The voltage on a 220uF capacitor was used across a voltage divider made up of a 100k resistor and a resistor somewhere between 22k and 47k. Lower values of the second resistor make for a brighter glow when the LEDs come on.
The voltage divider is used to drive the base of a TIP122 darlington transistor to provide just enough current to run an array of LEDS to backlight the tribal mask. The TIP122 was chosen as it is relatively inexpensive, commonly available, and has sufficient Beta to drive the required number of LEDs for the purpose of mask backlighting without unduly impacting on the RC timing circuit of the 555.
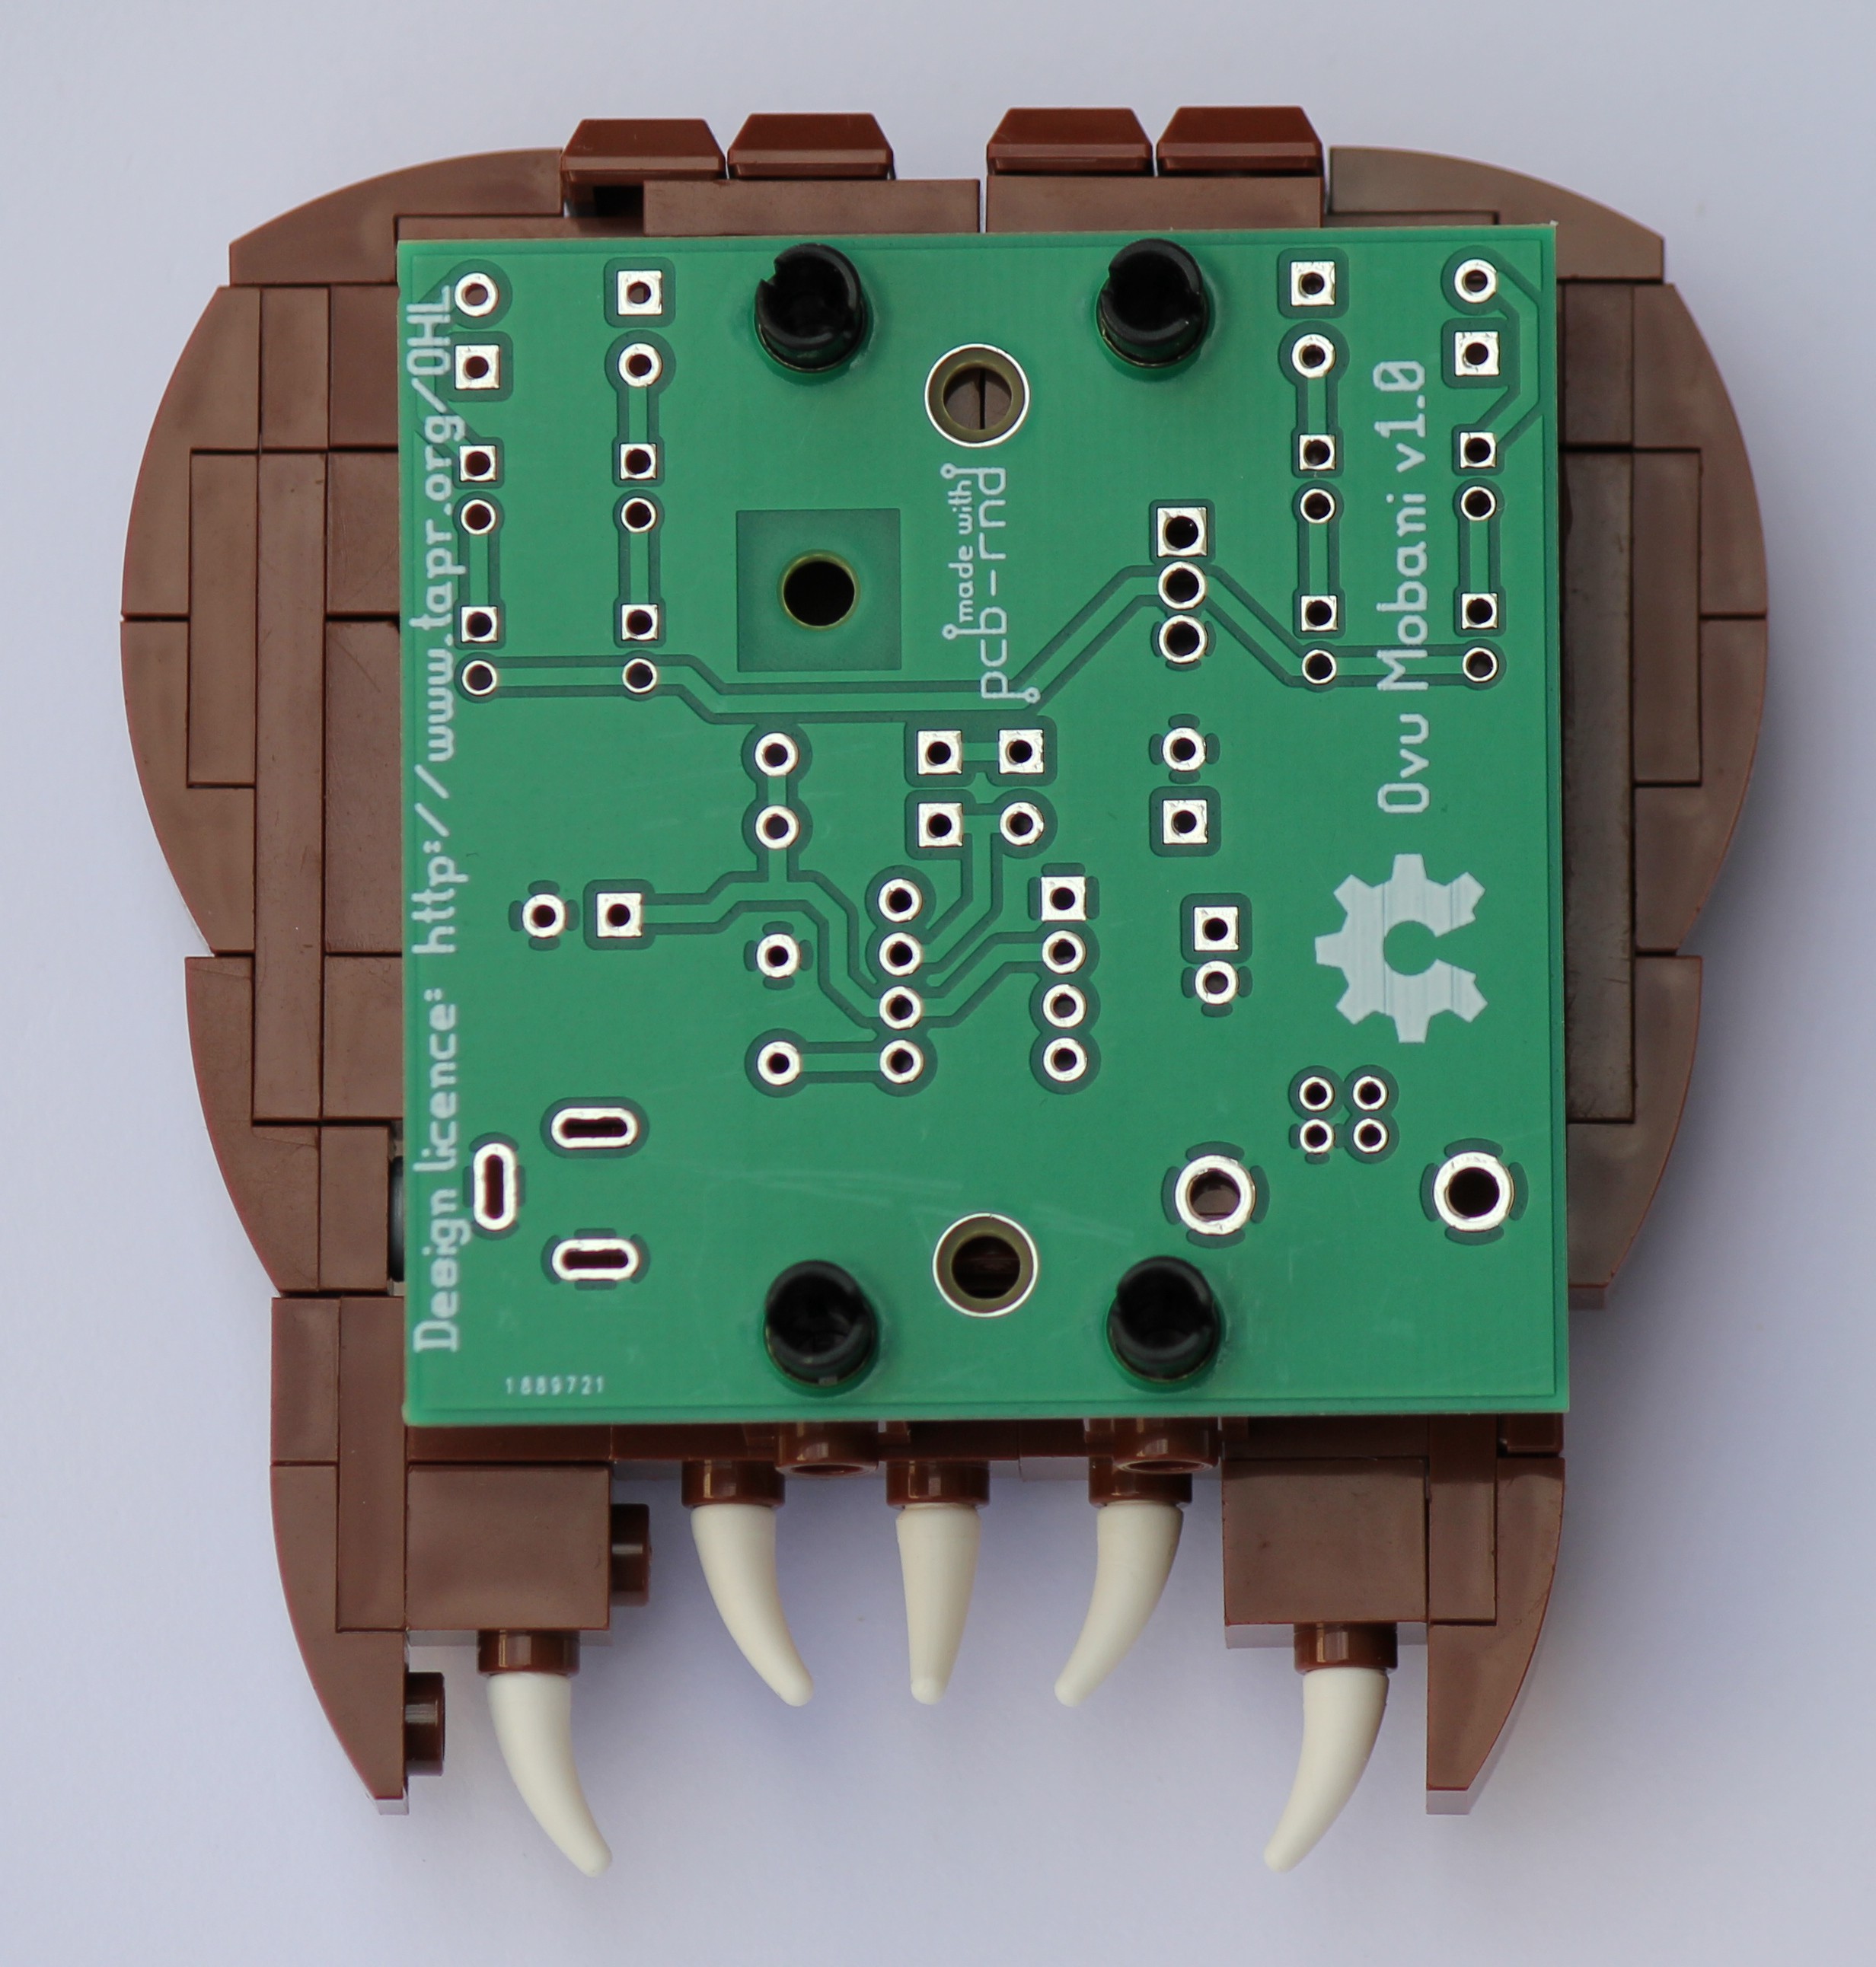
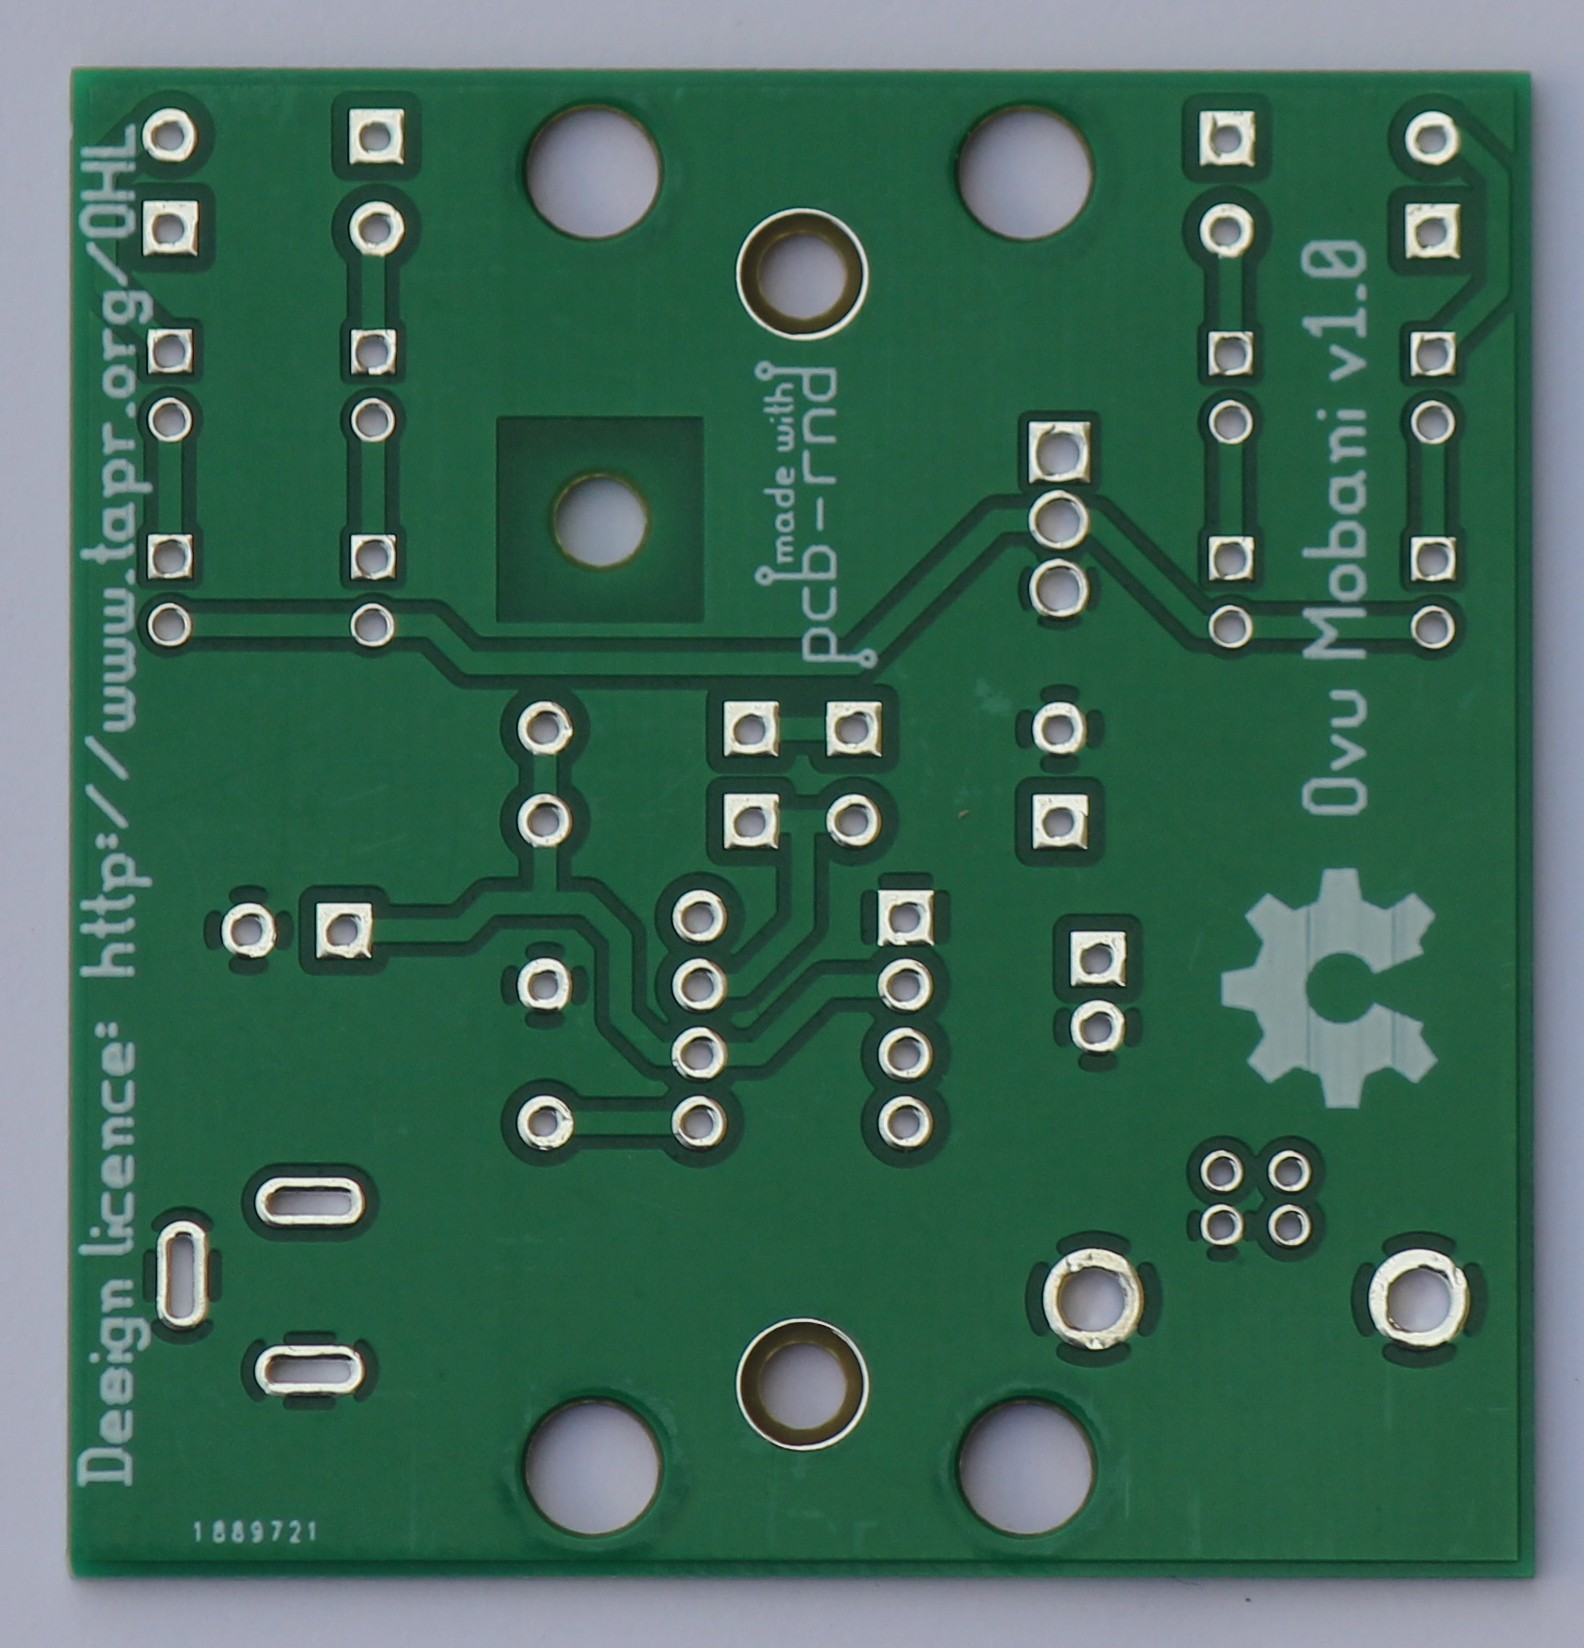
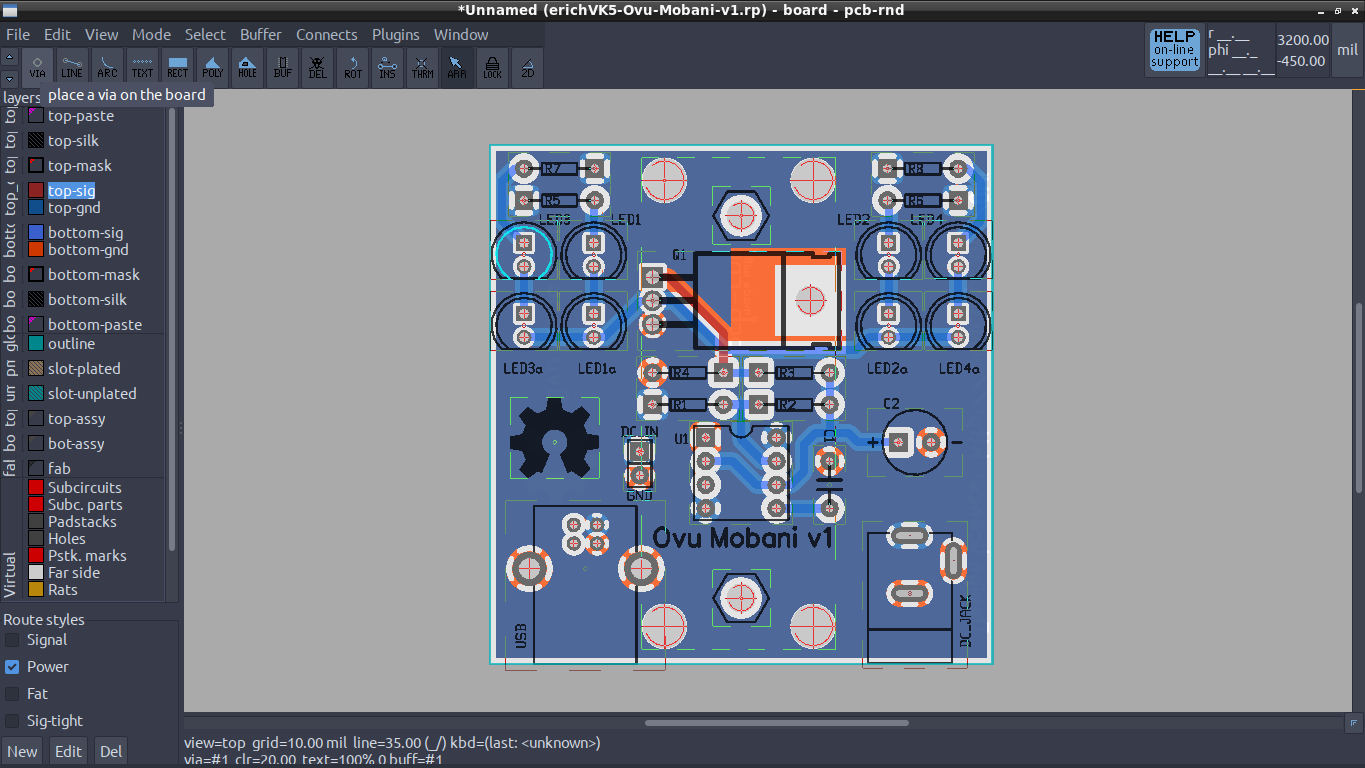
After laying out the schematic in sch-rnd (see screenshot), the schematic was imported into pcb-rnd to layout the board (see screenshot).
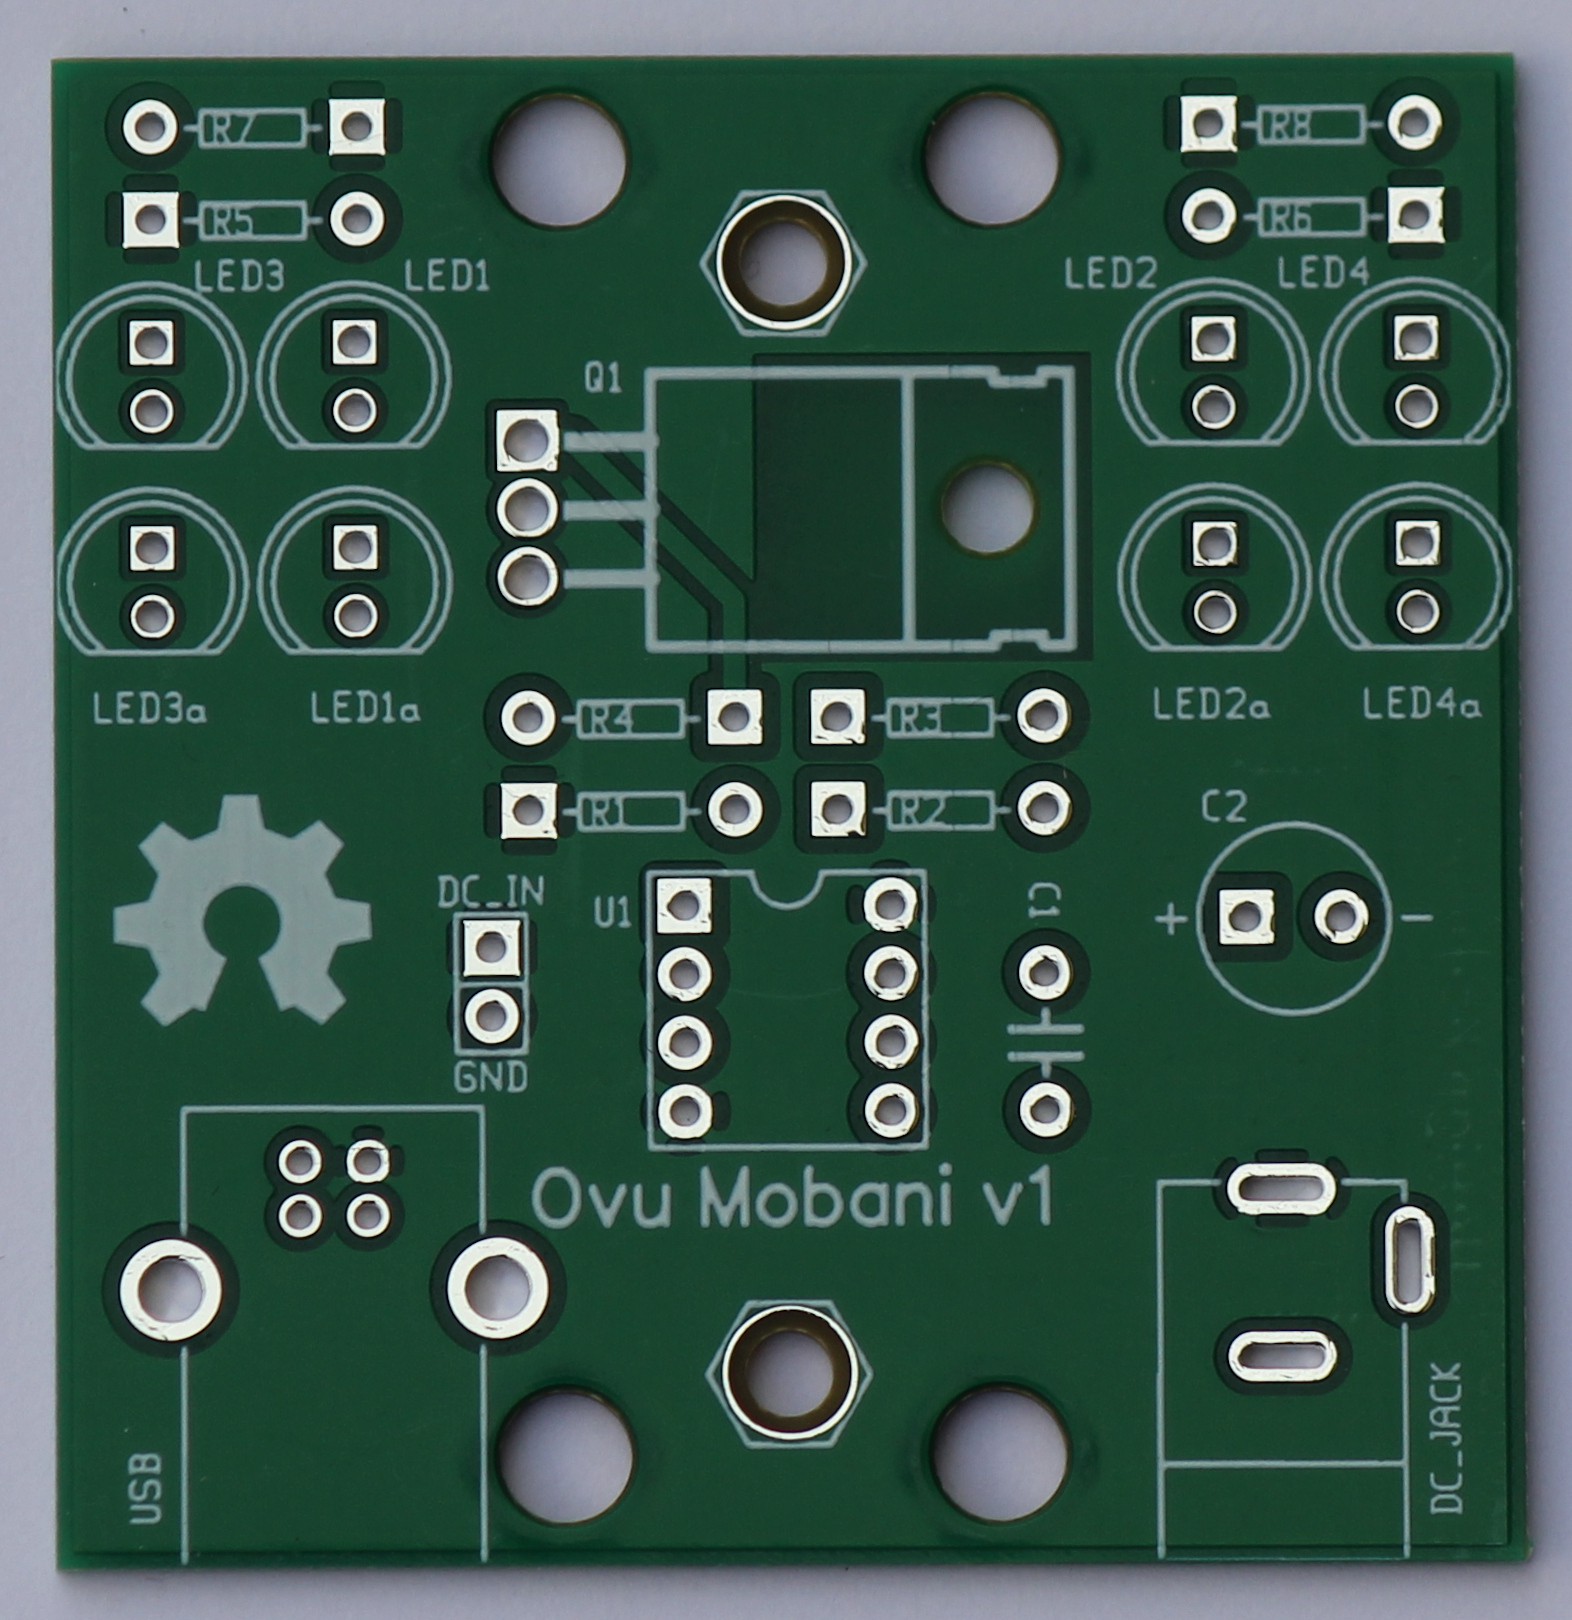
The board was designed to run with 5V from a USB type B terminated cable for simplicity, but has provision for 2.54mm spaced pair of pins if a header is preferred, and there is also a footprint for a standard 2.1mm DC jack as an alternative as well.
Gerbers were exported from pcb-rnd and used to order the boards from SEEED. The very same Gerbers have been uploaded in a zip file (see also photos of boards as shipped).
The board's dimensions were designed with typical tourist tribal masks in mind, and the LED arrays are spaced to suit typical eye spacings on these masks. Larger or smaller masks can of course be accommodated with flying leads to the LEDs rather than through hole mounting.
When running with red LEDs at 5V, current limiting resistors can be safely omitted from the layout (see wire links in photos), as the current is small enough through each of the four strings to not have to worry about thermal runaway, and intrinsic resistance of the LEDs is sufficient to evenly distribute the available current.
If running fewer LED strings, or if running from a higher supply voltage, it would be prudent to use appropriate current limiting resistors.
Assembly simply involves placement of the four resistors, the 220uF and 100n capacitors, adding a power connector, a DIP8 socket for the 555, and the required number of LED strings +/- associated current limiting resistors, and then placement of the TIP122.
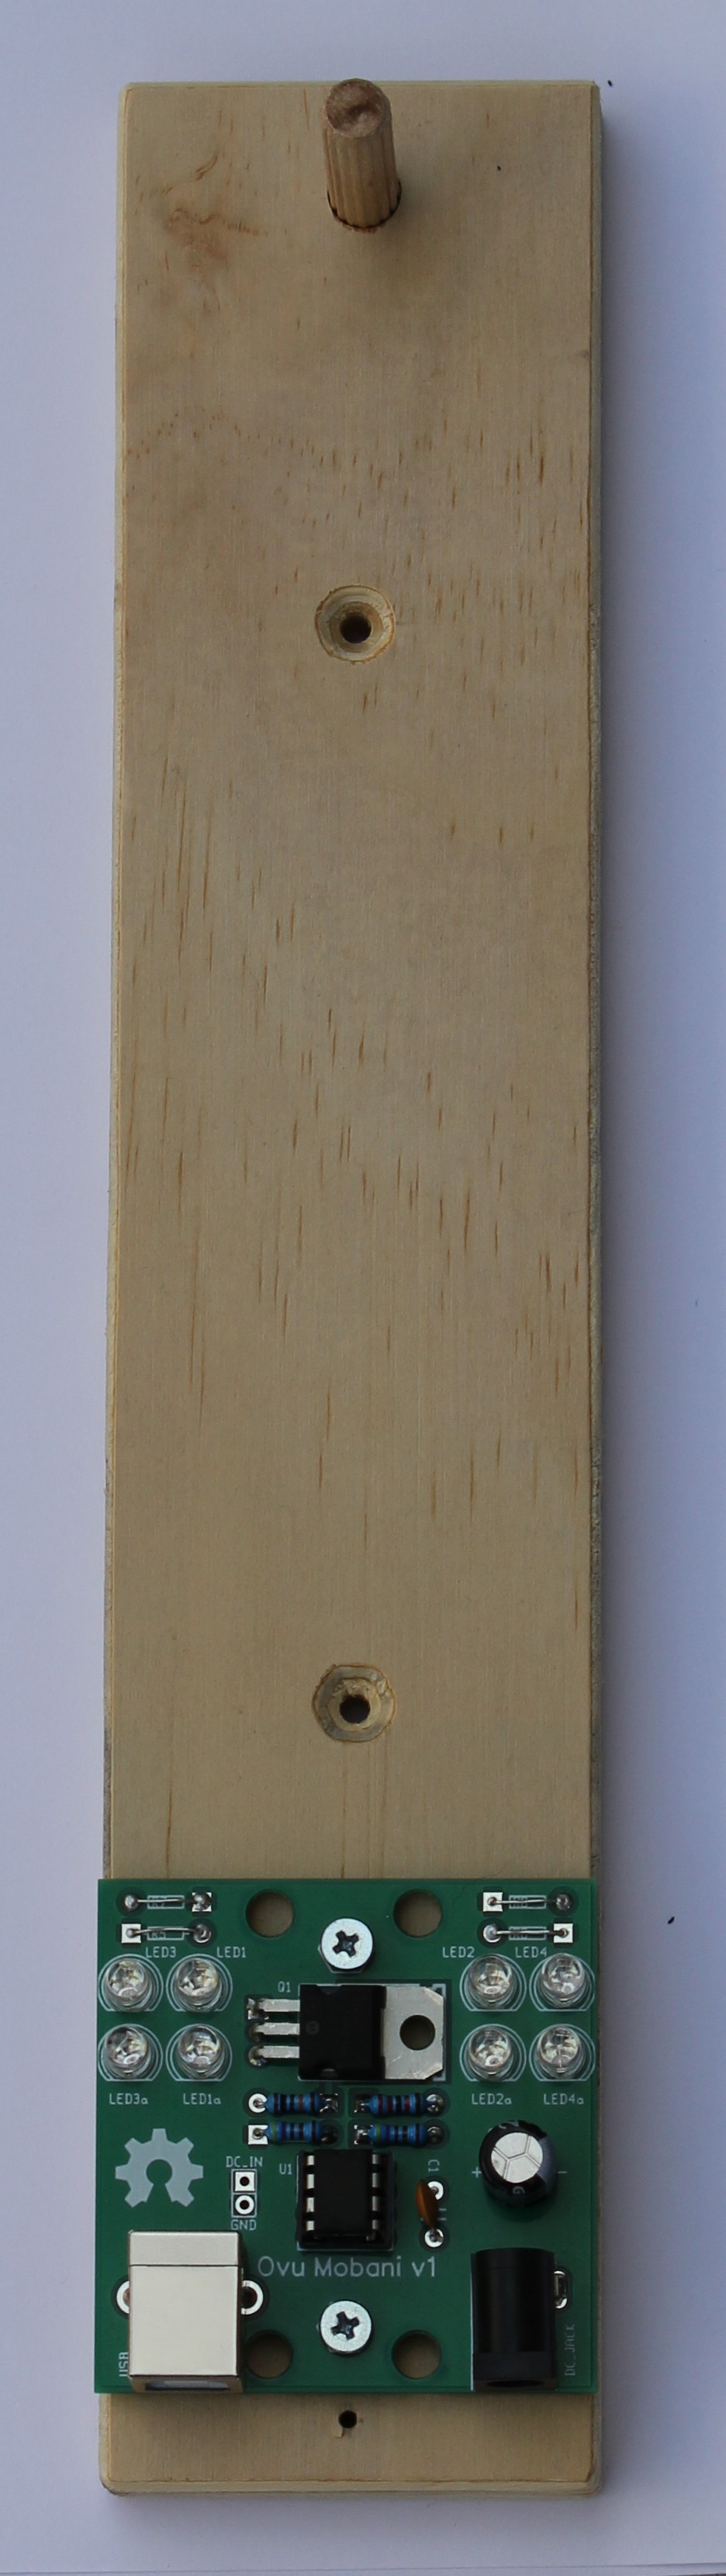
A simple piece of plywood was used with holes drilled for wall mounting screws, screw holes for board mounting, and a hole to accept a dowel from which the mask could be hung with its own provided hanging loop.
The video file shows the Ovu Mobani in action, with an approximately one second ramp up time for the LED backlight glow.


 Yann Guidon / YGDES
 Erik Bosman
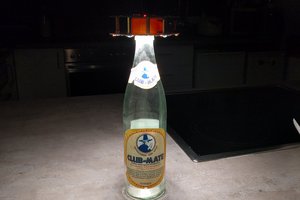
 Jana Marie
 Bharbour