David Lockley
Why create this?
I started this project for two reasons,
I wanted to try object detection for cats
I was interested in seeing if I could use object detection to tell my cats apart, I already have thousands of pictures of them on my dslr and iphone so why not use that data set to my advantage.
The apps bundled with existing products aren't very nice to deal with:
At home we already have a automatic cat door by sure petcare so i could probably just have bought one from them. But in recent years, Ive been frustrated with opening their app and other smart home apps only to find that i have been logged out.
The design process
So this isn't my first attempt at building a cat feeder. A few years ago, I created a prototype using Arduino. In that first version, I used a simple rotating circular door mechanism. However, it came with several issues: food would often get stuck at the edge of the door, and the weight of the food could sometimes force it open.

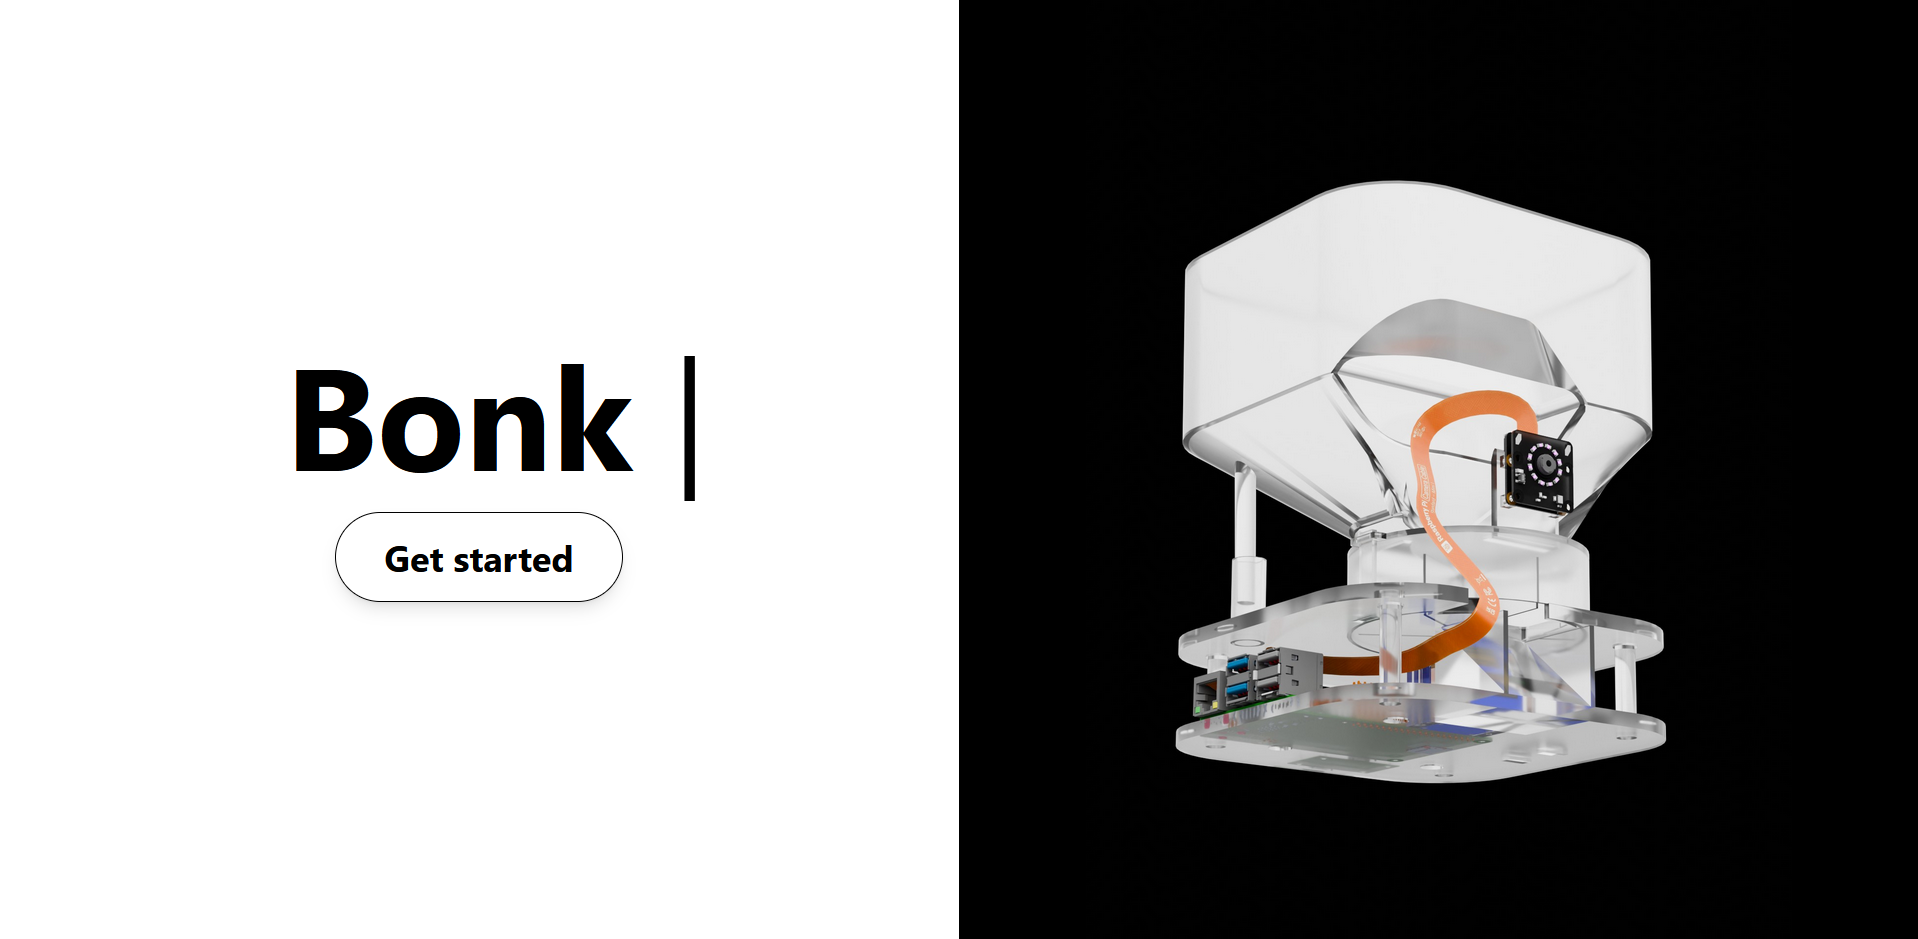
Now in my second attempt i wanted to make something proper however i had no good ideas, i designed a sliding door, circle sector door and a square rotating door. Later on while scrolling on AliExpress i found a xray view style image of a cat feeder. It uses a rotating impeller to move food from the hopper to the outlet and into the bowl. This felt like the best solution so its the one i went with.

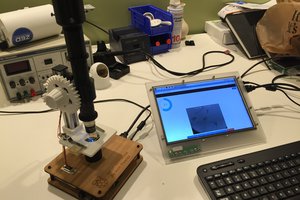
For the early concept renders, I started with a rough sketch of the design. Since gpt 4o image generation had just launched, I used it to bring the sketch to life, then refined the result in Photoshop. While the render looked good, it didnt account for internal components, so I used Blender to experiment with the layout. Blender isn't ideal for precise measurements, but its great for figuring out where i can place things.
Once I had a rough idea of where each component could go, I opened up Autodesk Inventor and started designing. The goal was to have a full assembly file so I could see how everything fit together before printing the parts. I went with a level based system, stacking 3d printed pieces to create different layers for the components, feeding system, and food storage. Things got complicated quickly, as some parts started interfering with each other. In the end, it wasn't as simple as just lifting off each modular section to take it apart.
Electronics

This is really a weak point for me, so i consulted my grandfather for help on how to to power the thing. I wanted to power everything using a single USB C cable, but that turned out to be tricky. I had read that you shouldn't connect servo power directly to the power rail on the Raspberry Pi 5, which made the setup more complicated. To solve this, I used a USB C breakout board and placed it between the Pi and the power source. From there, I connected a separate power and ground cable to supply the components. After my grandfather helped sketch out how everything should be wired, I ordered the parts from Amazon and a Swedish company called Electrokit.
I'm not very confident with soldering, so I used a mini breadboard to avoid it where possible. That said, some components like the ring light still needed to be soldered.
Putting it all together

I used a Bambu Lab A1 to print all the parts. A few pieces had to be reprinted due to alignment issues, but overall the process went smoothly since most of the design challenges were already solved in the assembly file. One thing I didn't account for was the camera cable, so I had to redesign that part to include a proper cutout.
Software and website
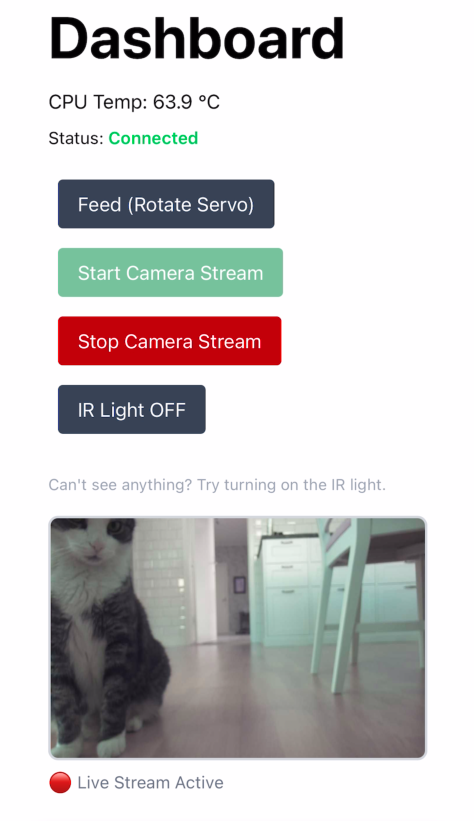
The entire website backend and frontend are hosted on a Raspberry Pi 5. The only hosting related cost is renting a DNS. The backend is written in python using the Flask library. It handles incoming network requests that control the hardware of the device like dispensing food or turning the ir light off. For the camera stream,...
Read more »
 jdelbe
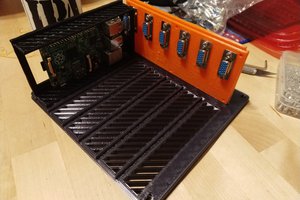
 Dave Pedu
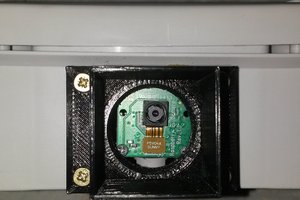
 Audrey Robinel