 Bret Bernhoft
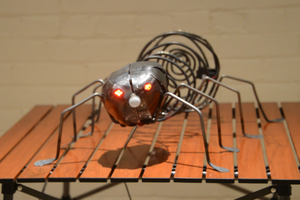
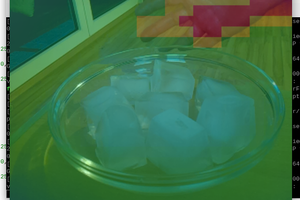
This project was originally relying on an AMG8833 IR thermal sensor to measure my body heat while sleeping. Due to technical difficulties beyond my current ability to resolve, I chose to go another route. Instead I am using numerous FSR pads to quantify my body weight over a prolonged period of time, probably 30-90 days.
With this said, some of the early photos in this project's gallery are of the AMG8833 sensor. These images are useful to help document this journey from start to finish, so they will not be removed.
 Ron Grimes
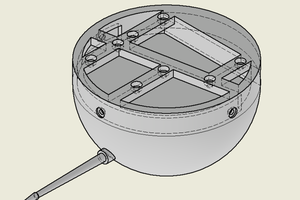
 Adam Wakelin
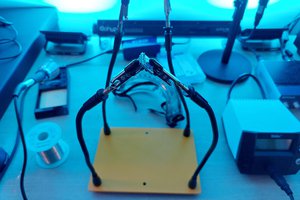
 Florian Wilhelm Dirnberger