 Shahbaz Hashmi Ansari
Greetings everyone, and welcome to my project tutorial. Today, I'll guide you through the process of creating an AI Pin.
Project Overview:
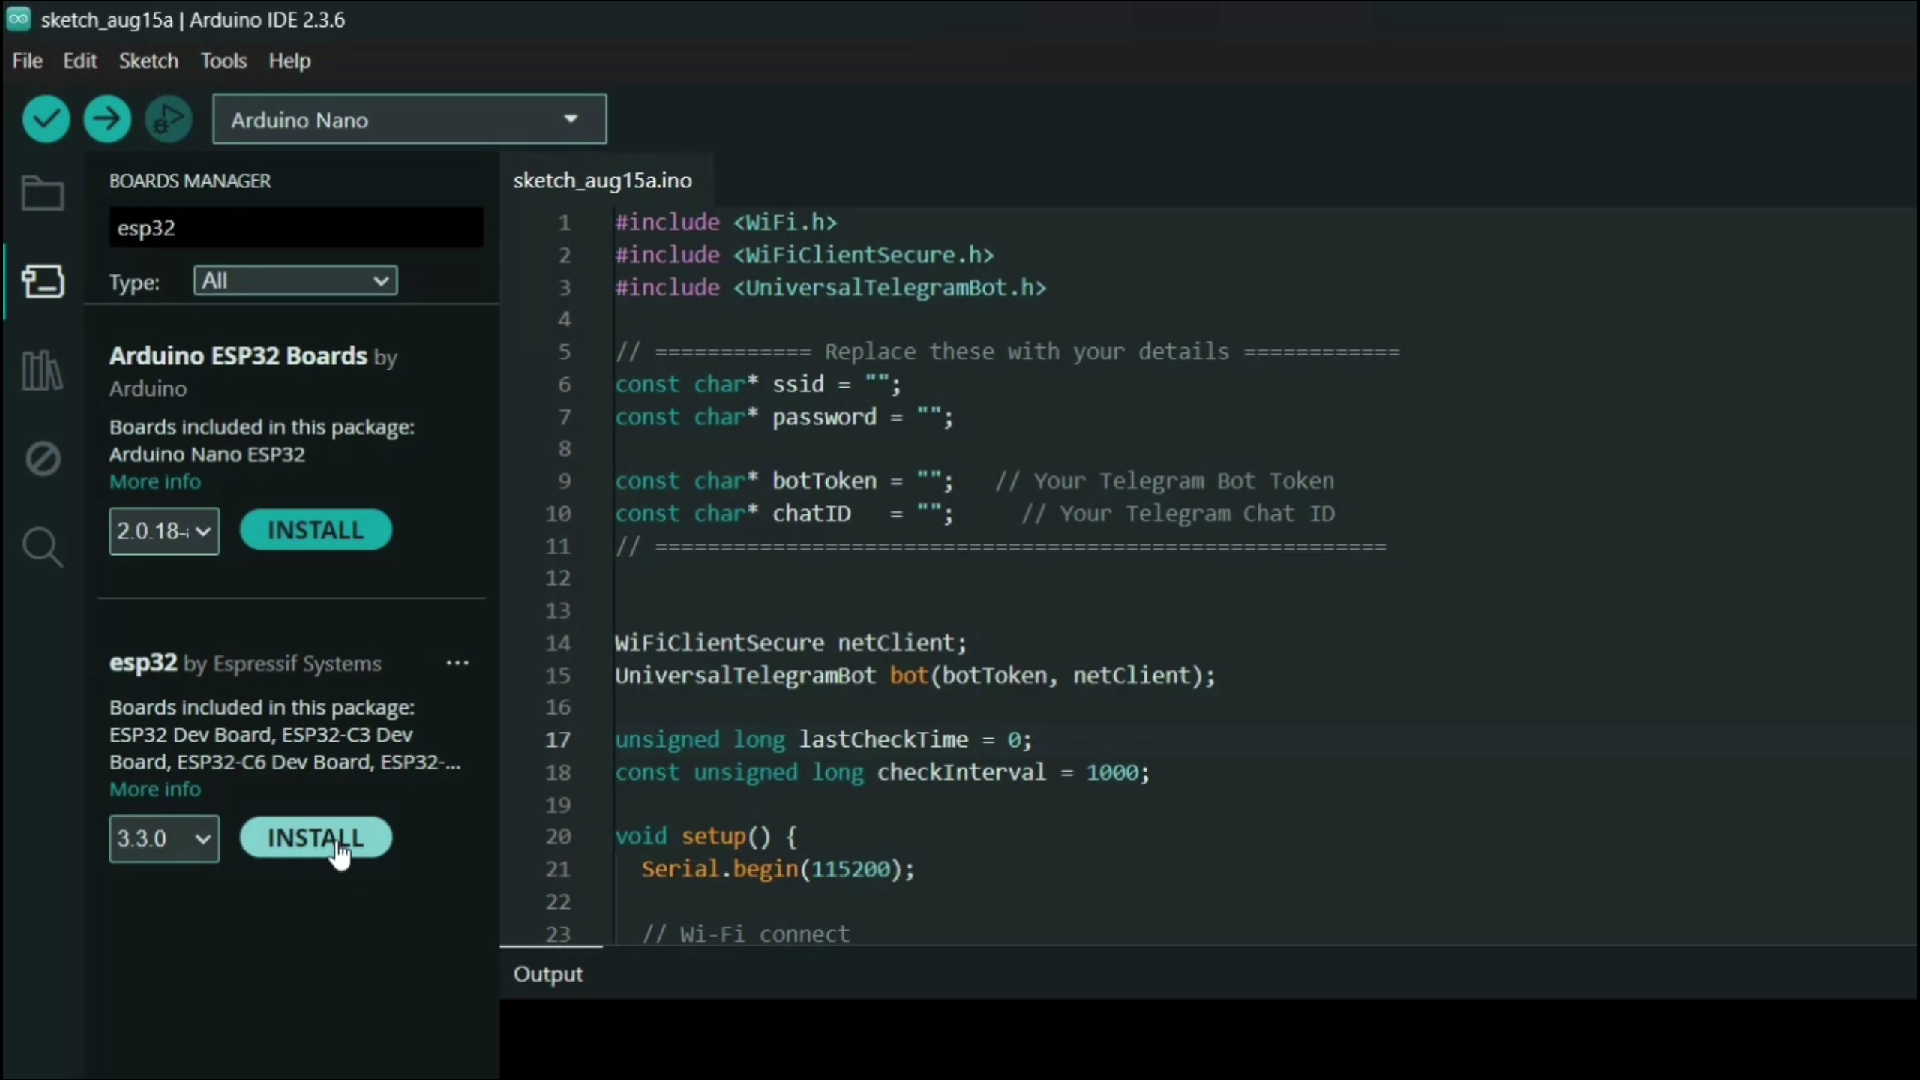
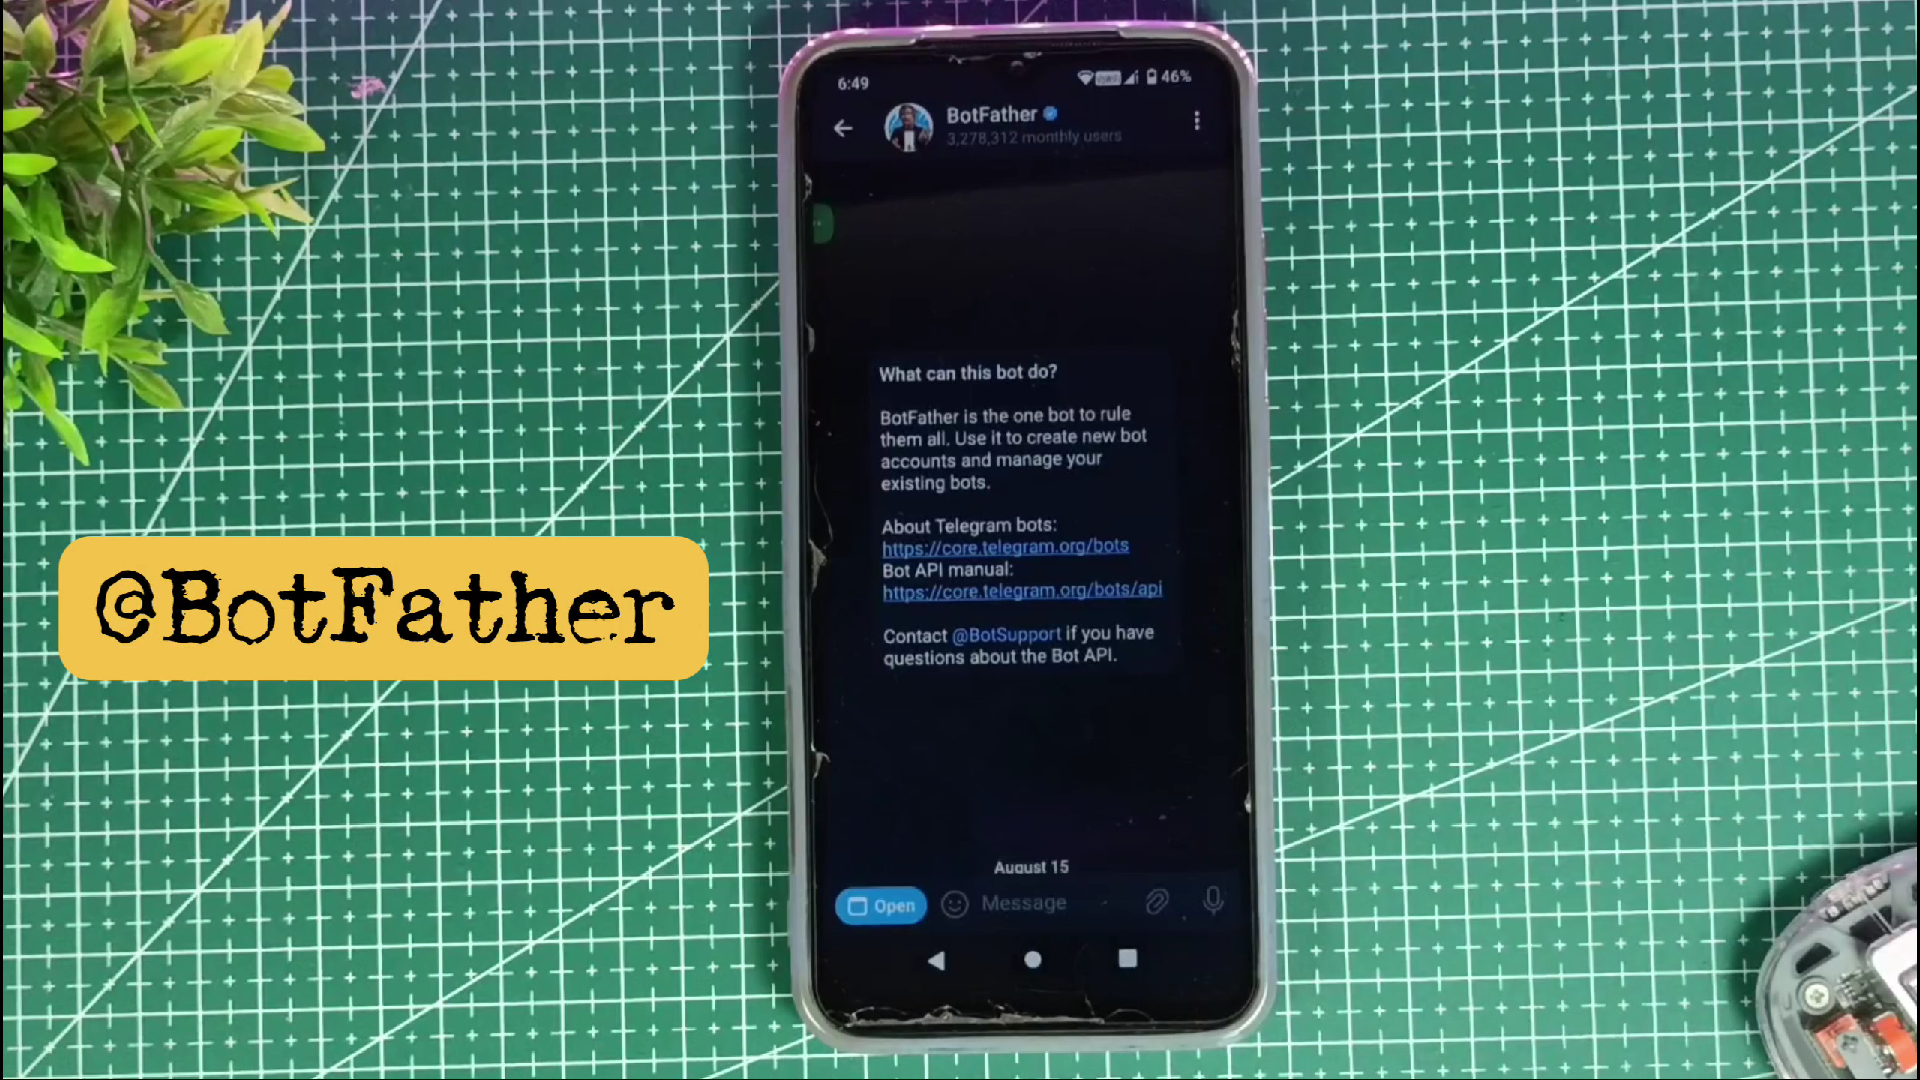
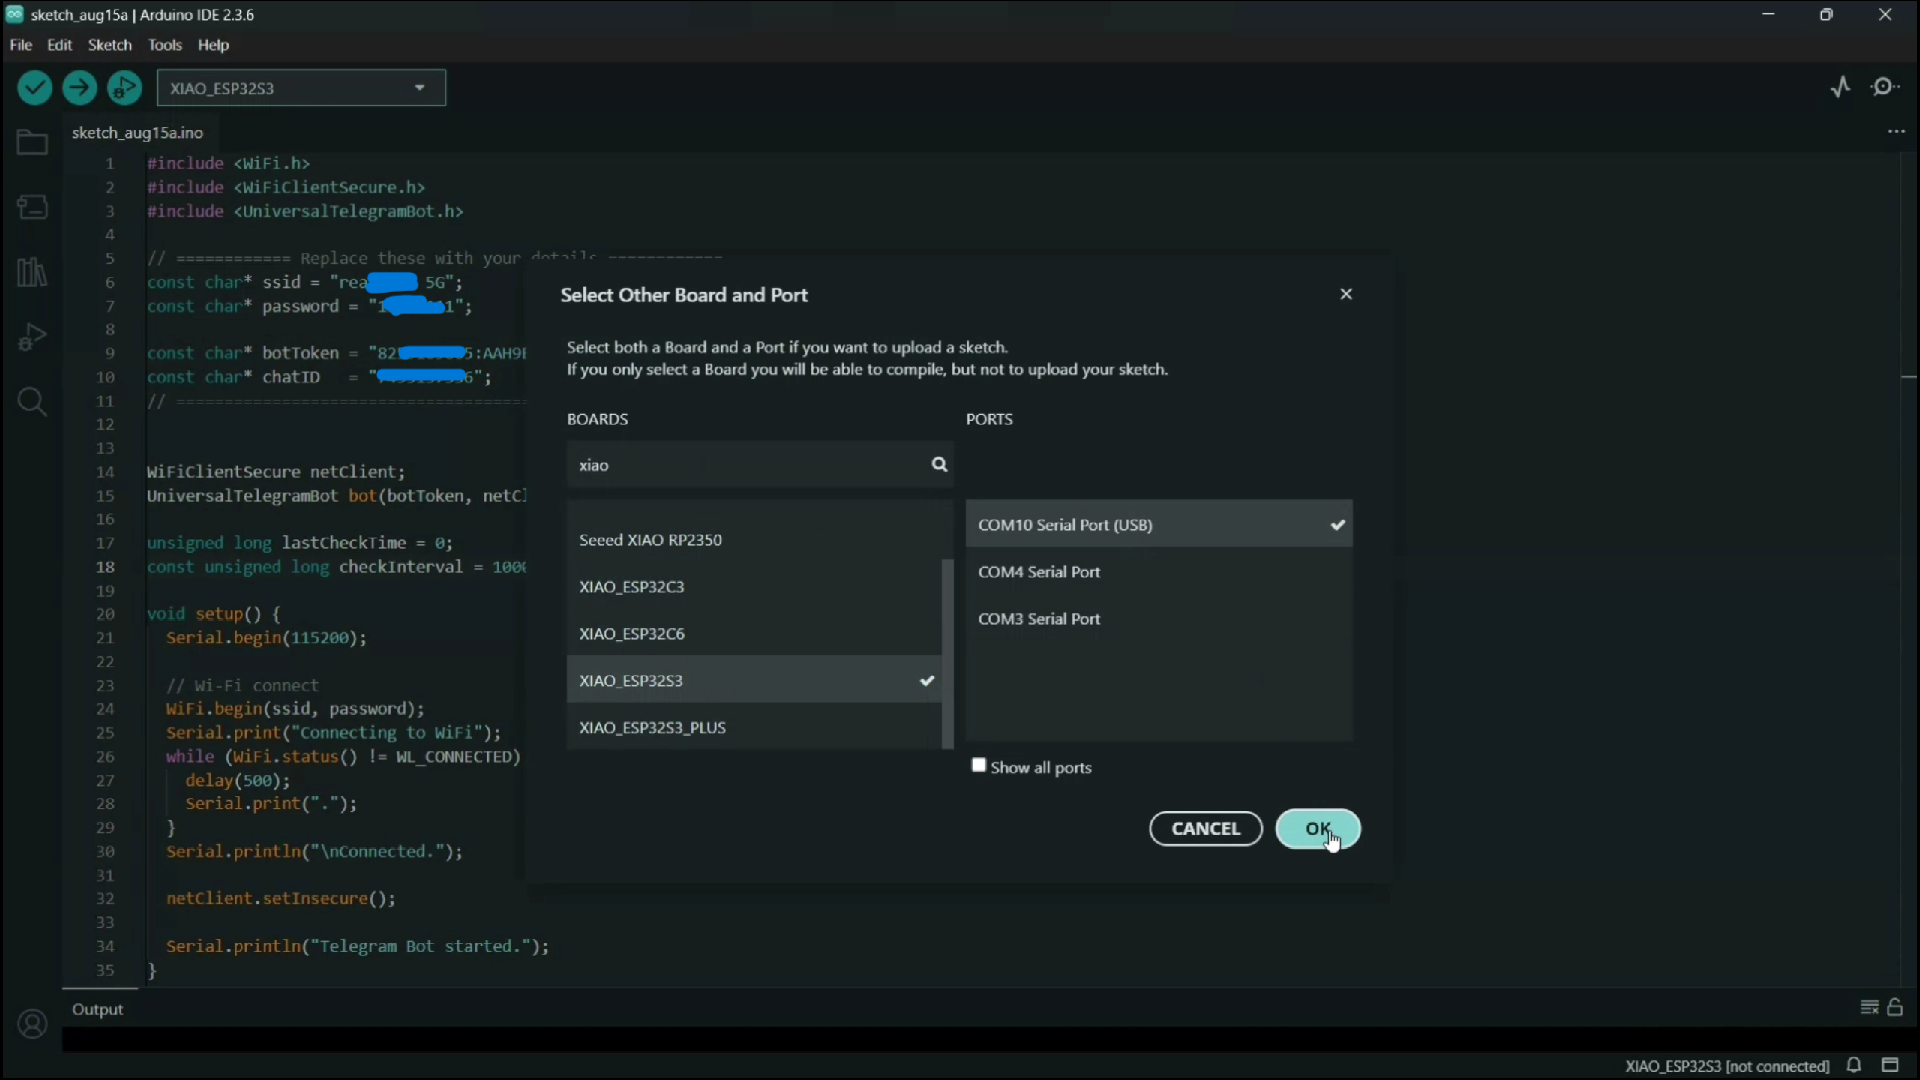
This project is built using the Seeed Studio XIAO ESP32S3 Sense board. It connects with a Telegram bot to receive commands and interact with the user. Once a query is sent, the device captures an image and forwards it along with the question to the Gemini AI API. The response is then delivered back to the user directly on Telegram. This is a great project for students, as it combines IoT and AI concepts, making it perfect for hands-on learning and even as a college project.
From a technical perspective, the ESP32S3 Sense is configured to use its onboard camera for capturing images. It connects to Wi-Fi, communicates with Telegram servers, and handles secure HTTPS requests to Google’s Gemini API. Base64 encoding is used to transfer image data along with the text query. The code manages camera frames, parses API responses using ArduinoJson, and sends AI-generated replies to Telegram. This setup demonstrates practical integration of hardware, networking, and AI services in a compact IoT system.
Although this prototype was built with off-the-shelf components, similar precision parts can be sourced from JLCMC to improve stability and durability.
Now, let's get started with our project!


 codersilver
 Florian Ellsäßer
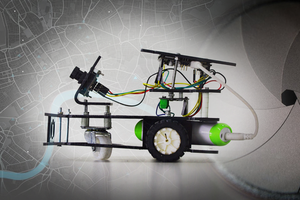
 4D Makers