anfroholic
-
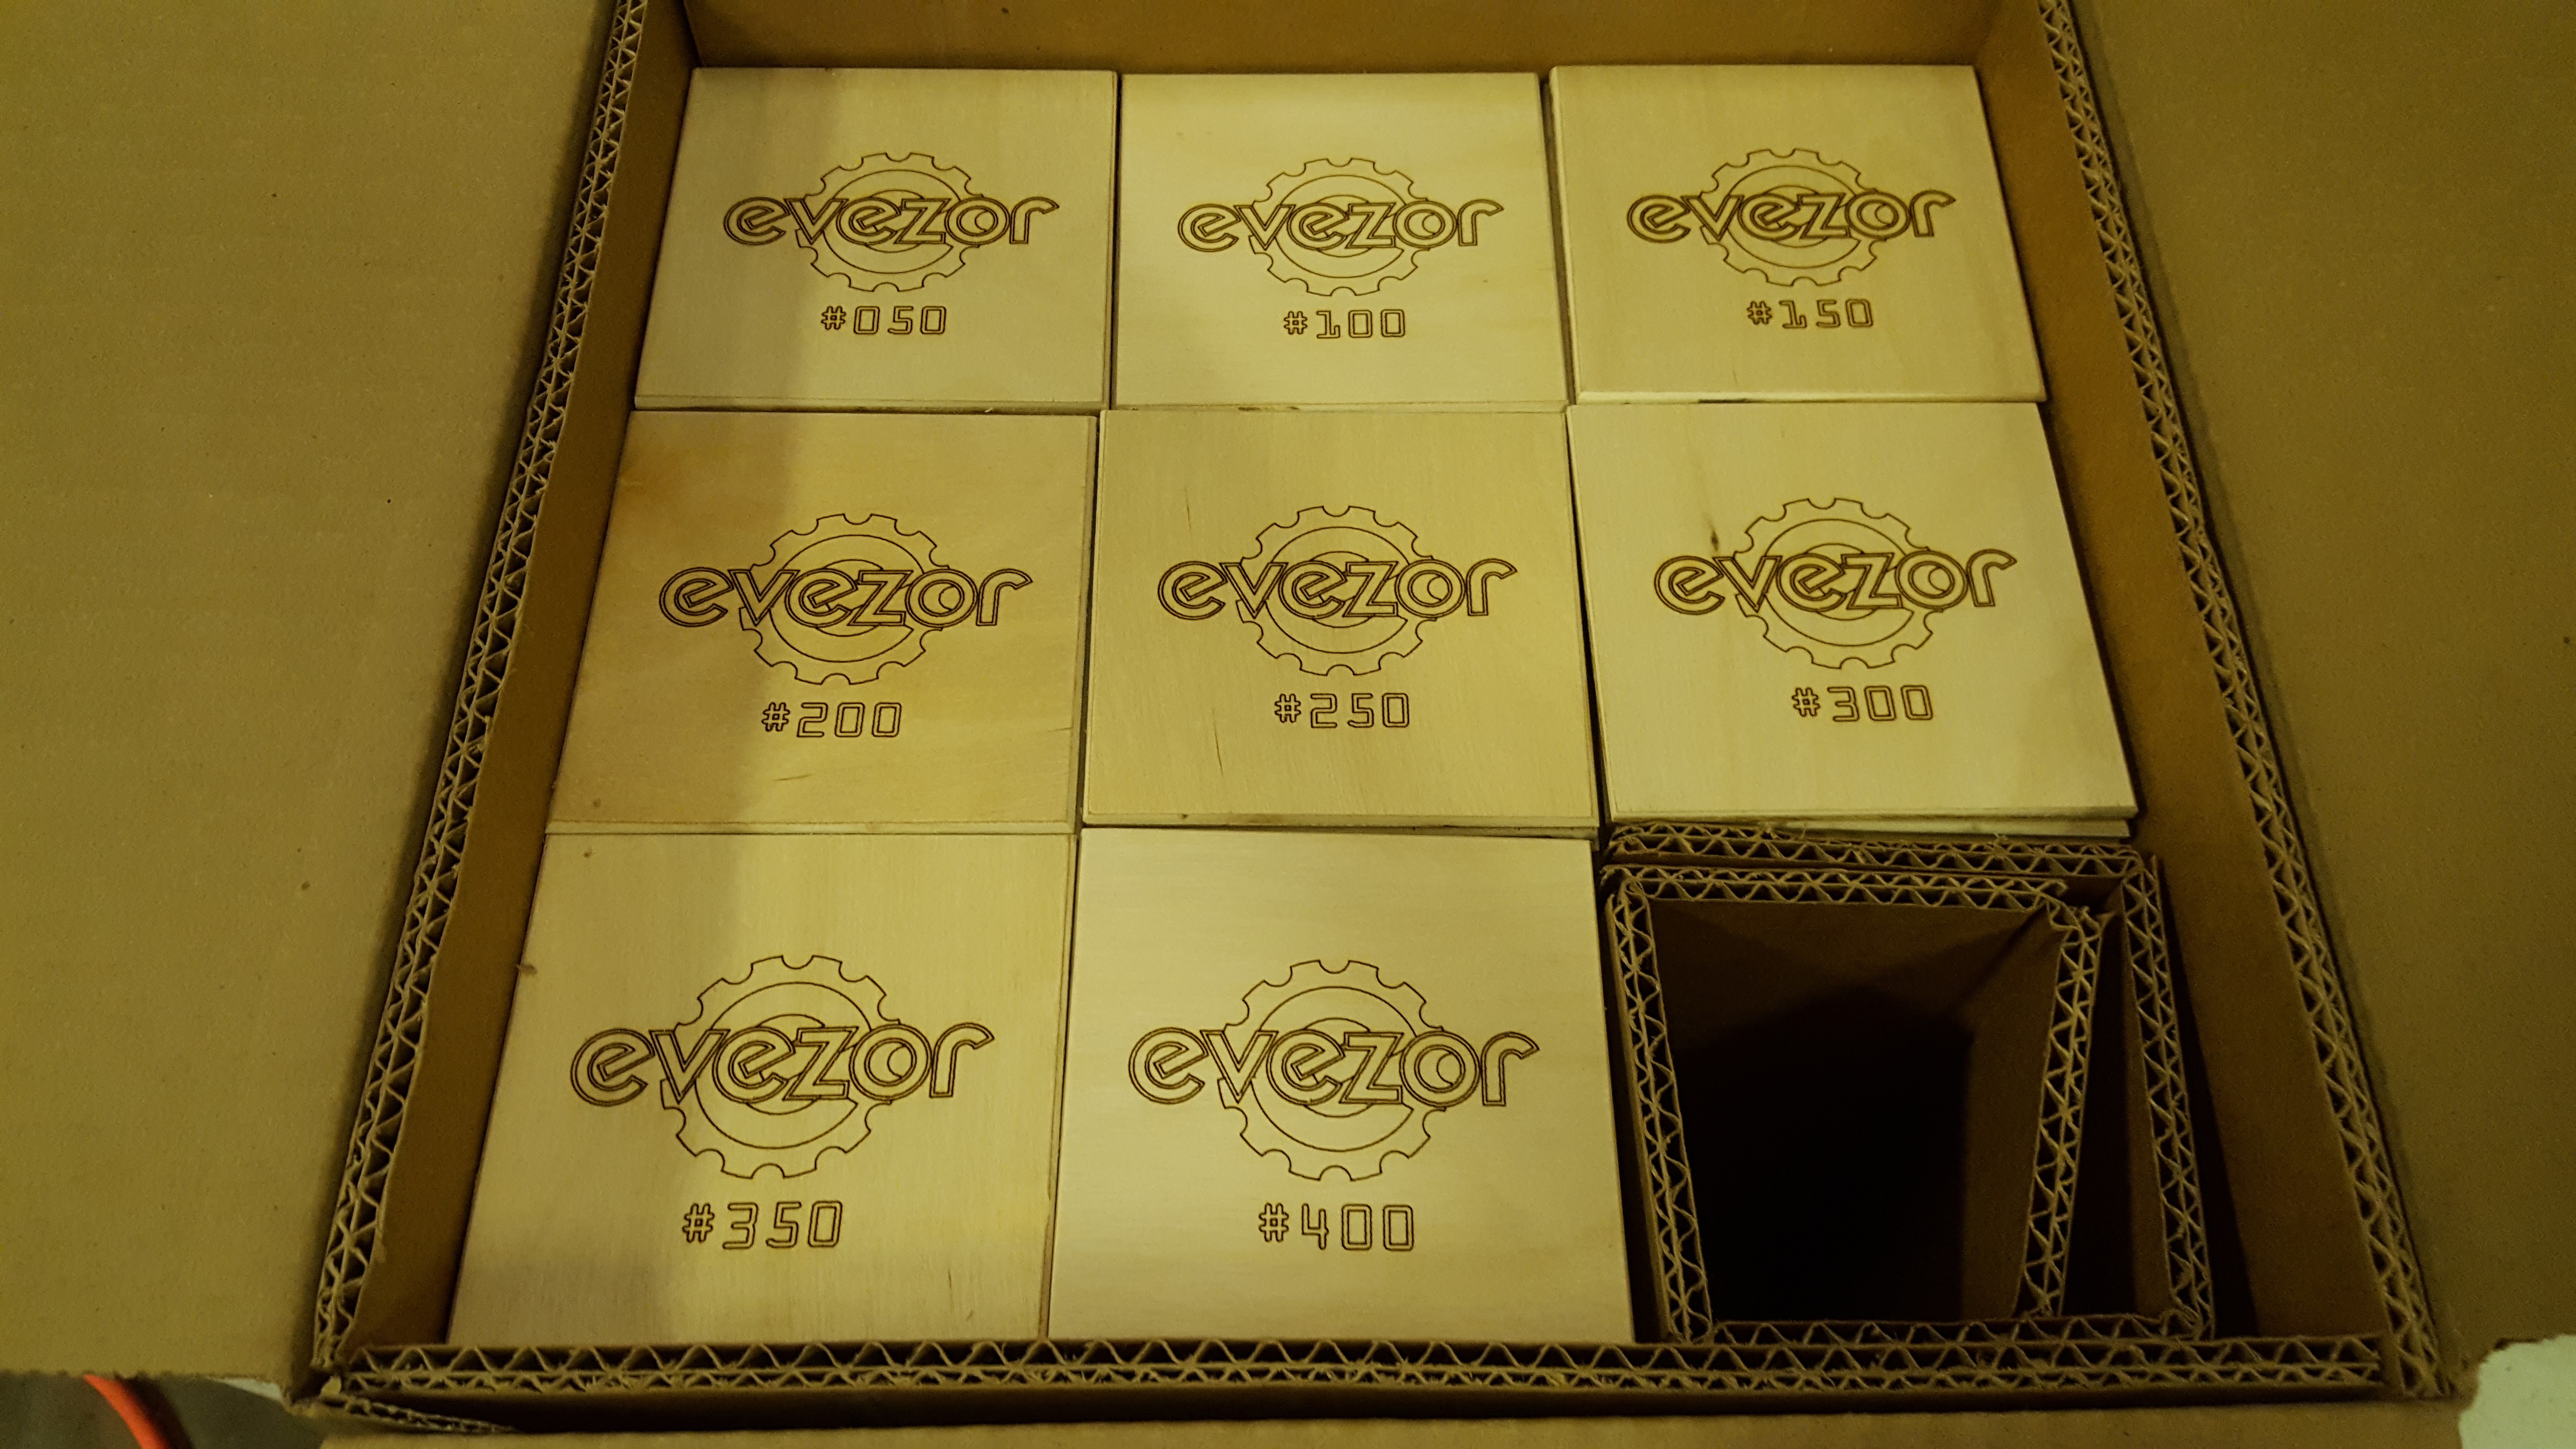
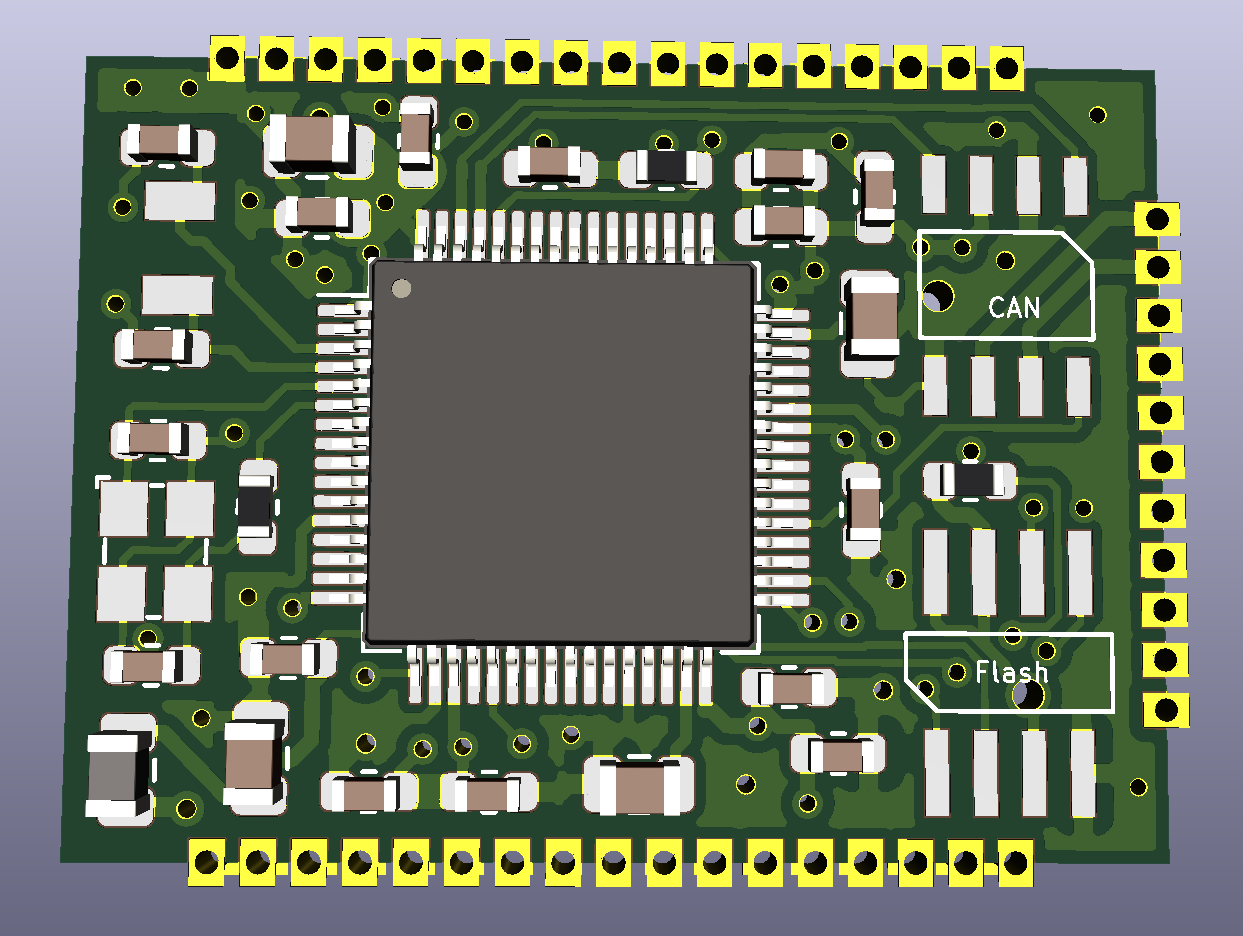
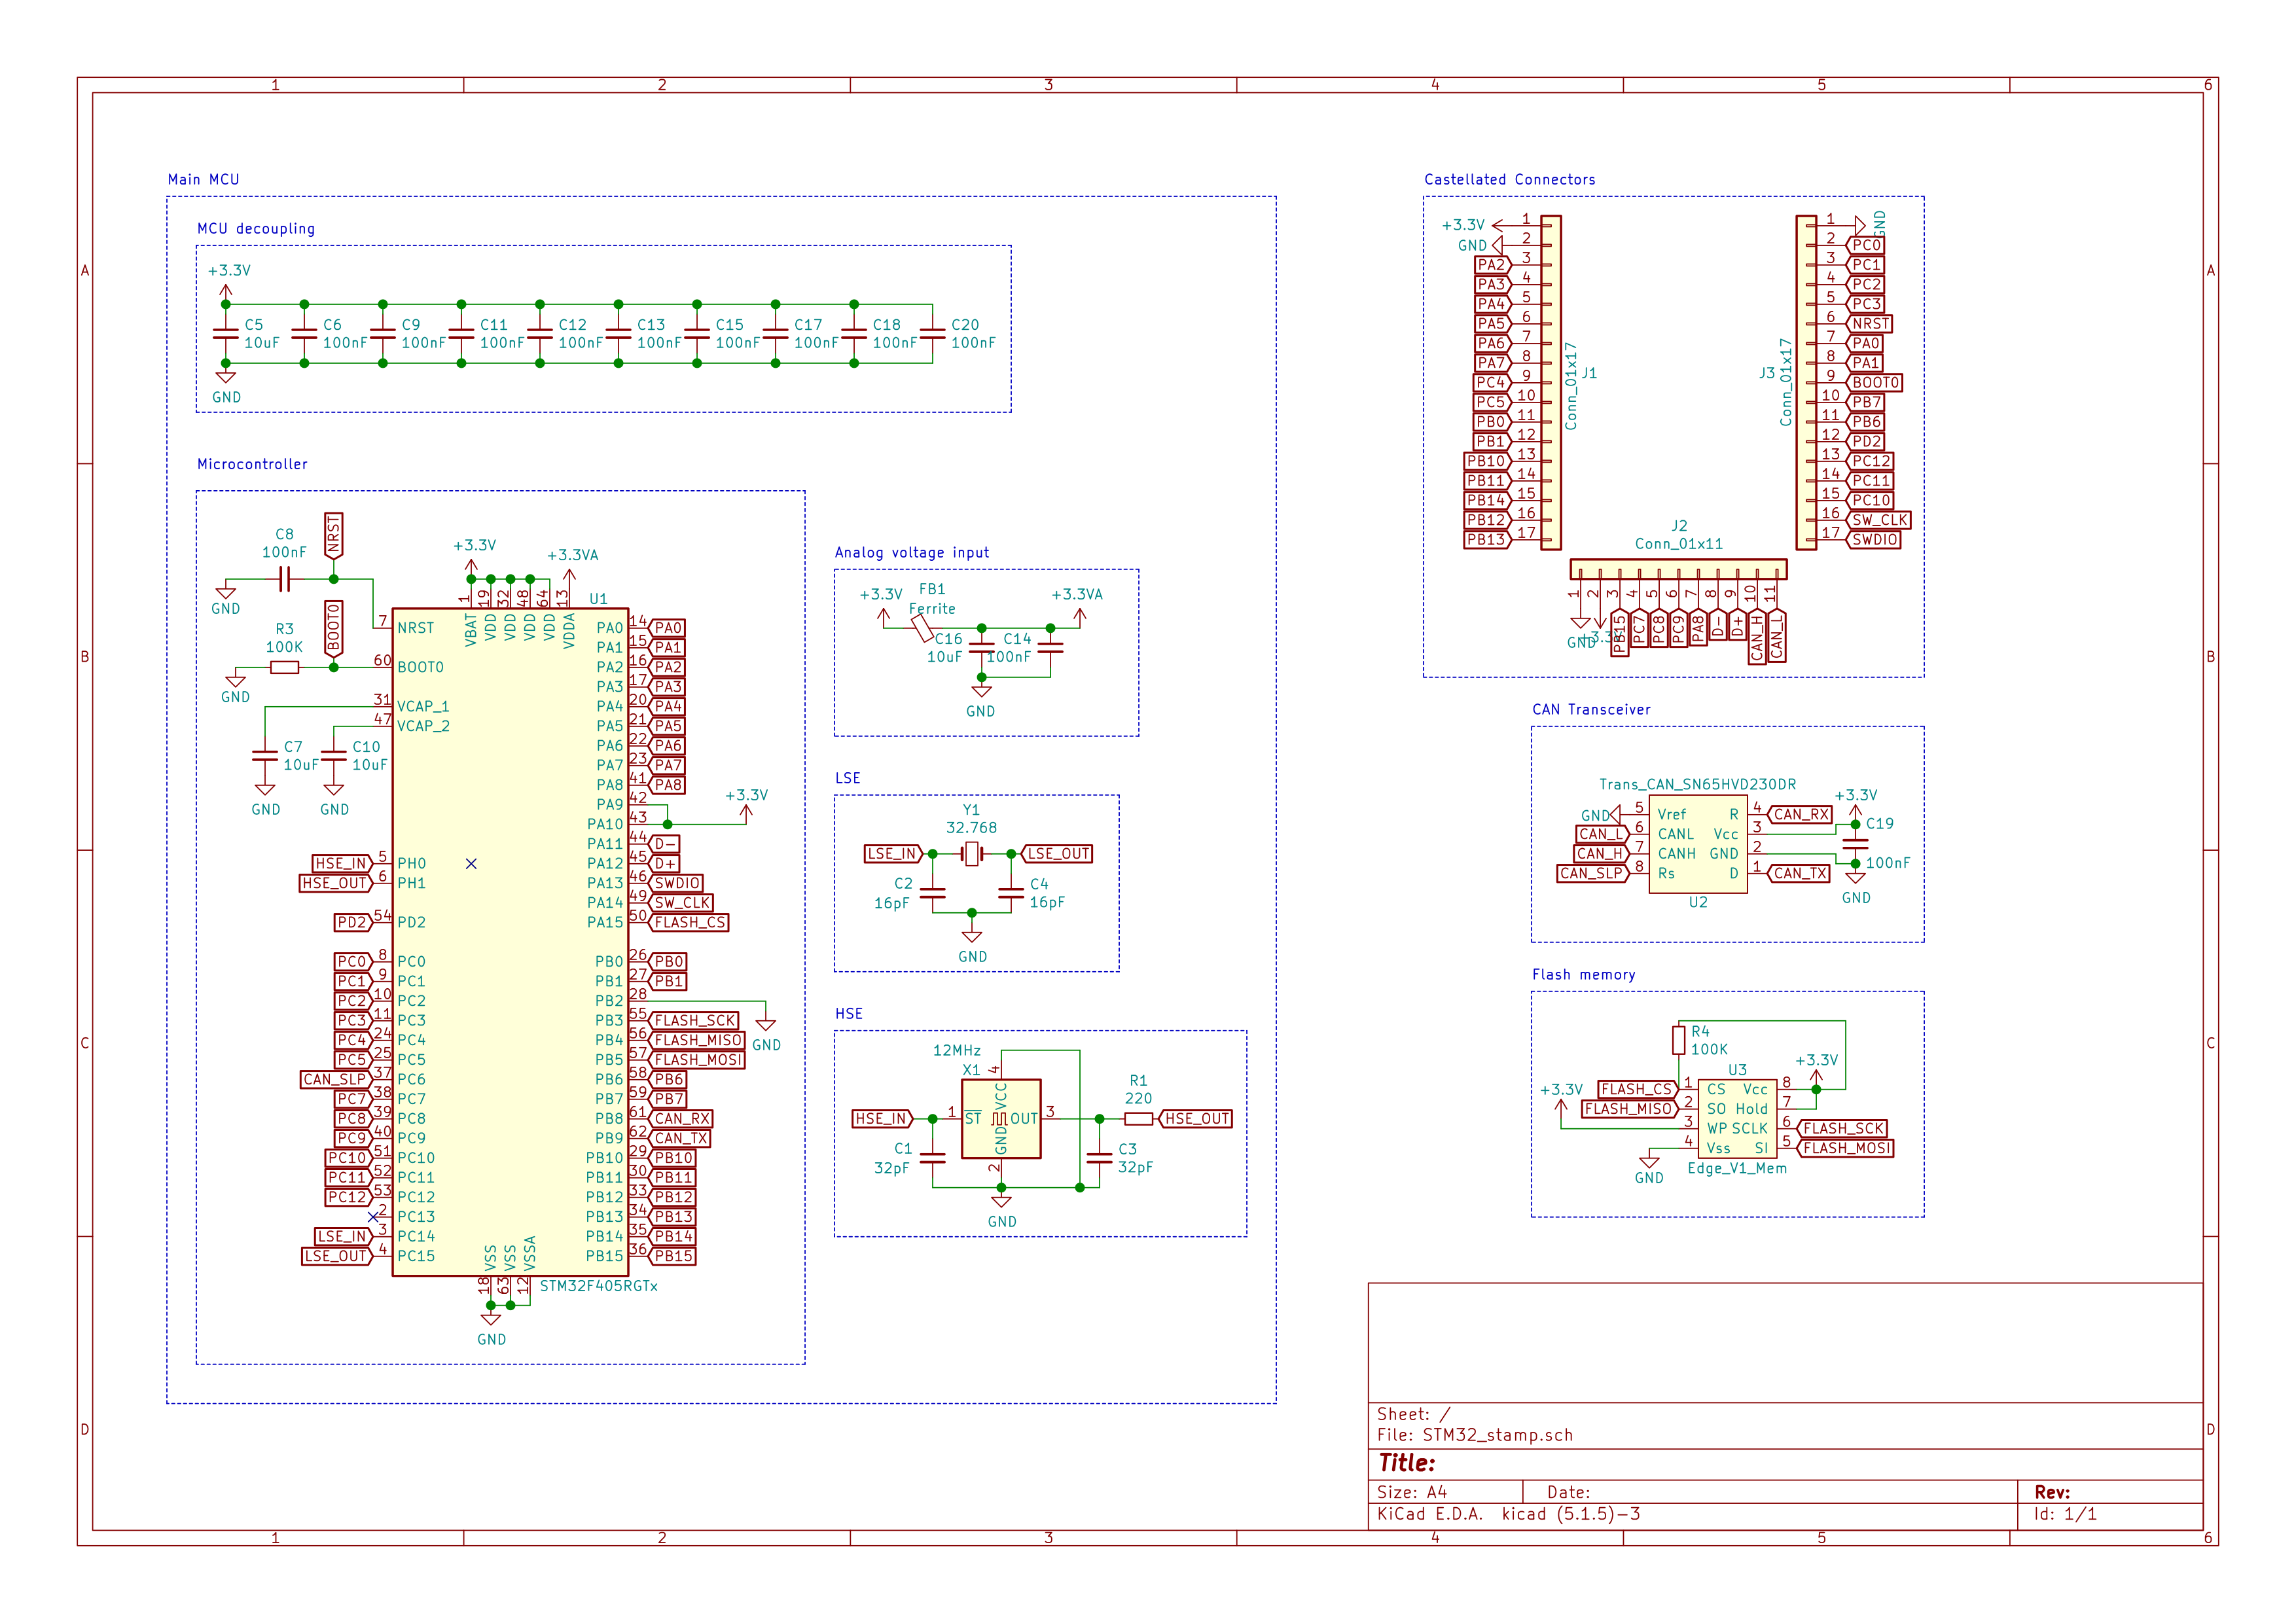
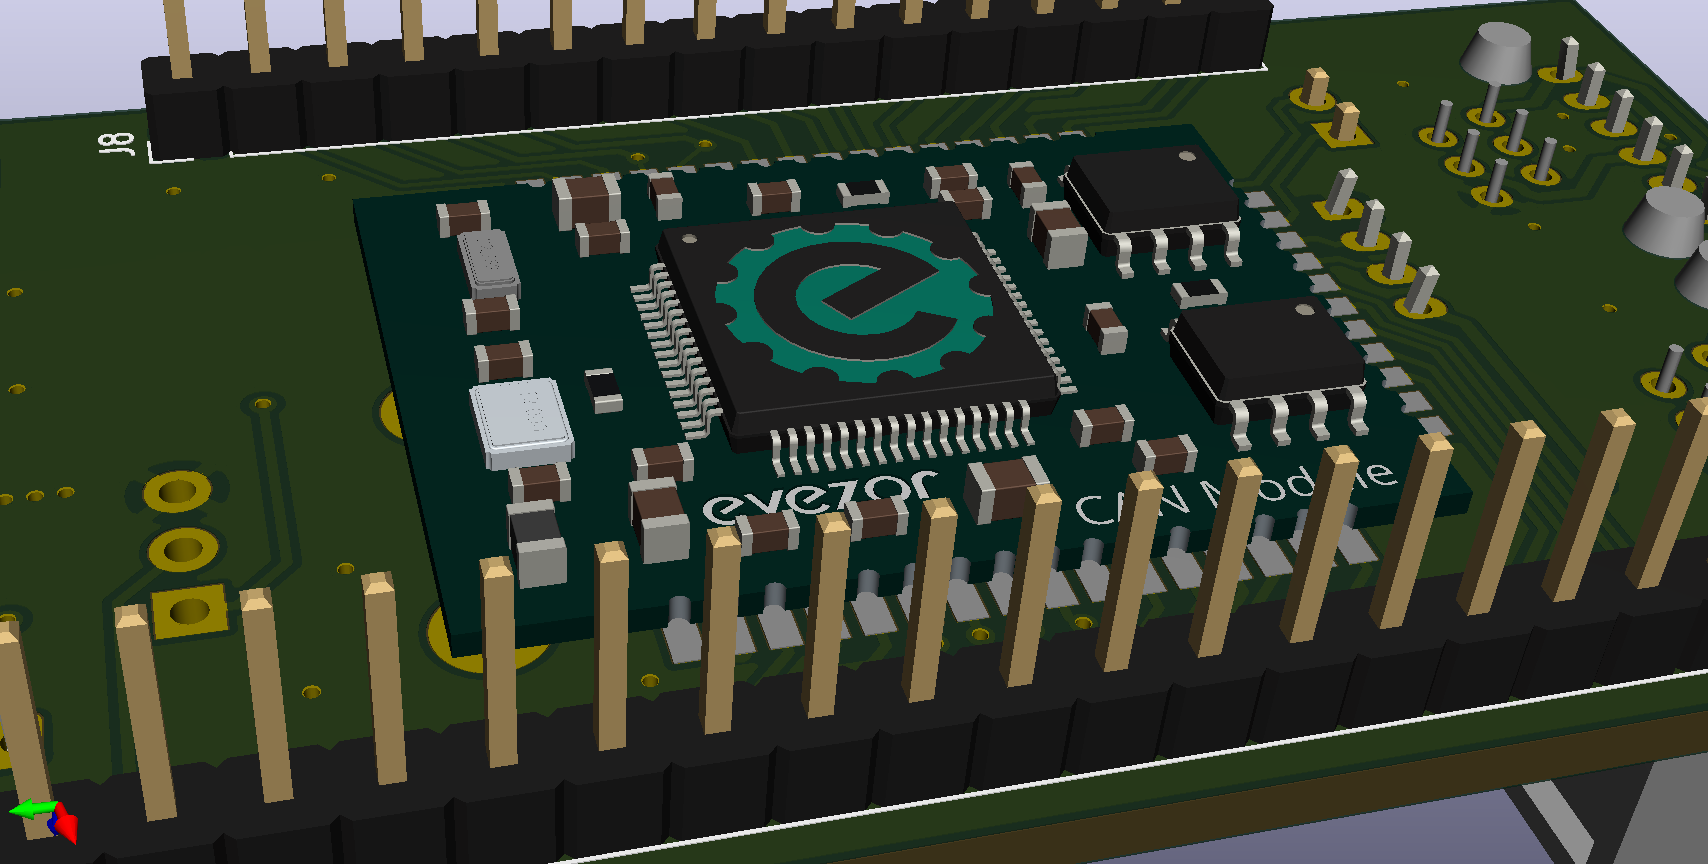
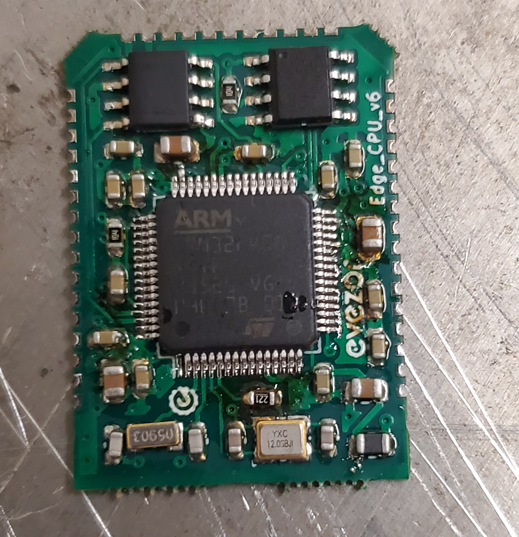
Day 4: Evezor Stamp STMF405 MCU
09/11/2023 at 22:59 • 0 commentsThe Evezor Stamp is a castellated carrier for the stmf405 chip with CAN networking and memory for Evezor's Edge network
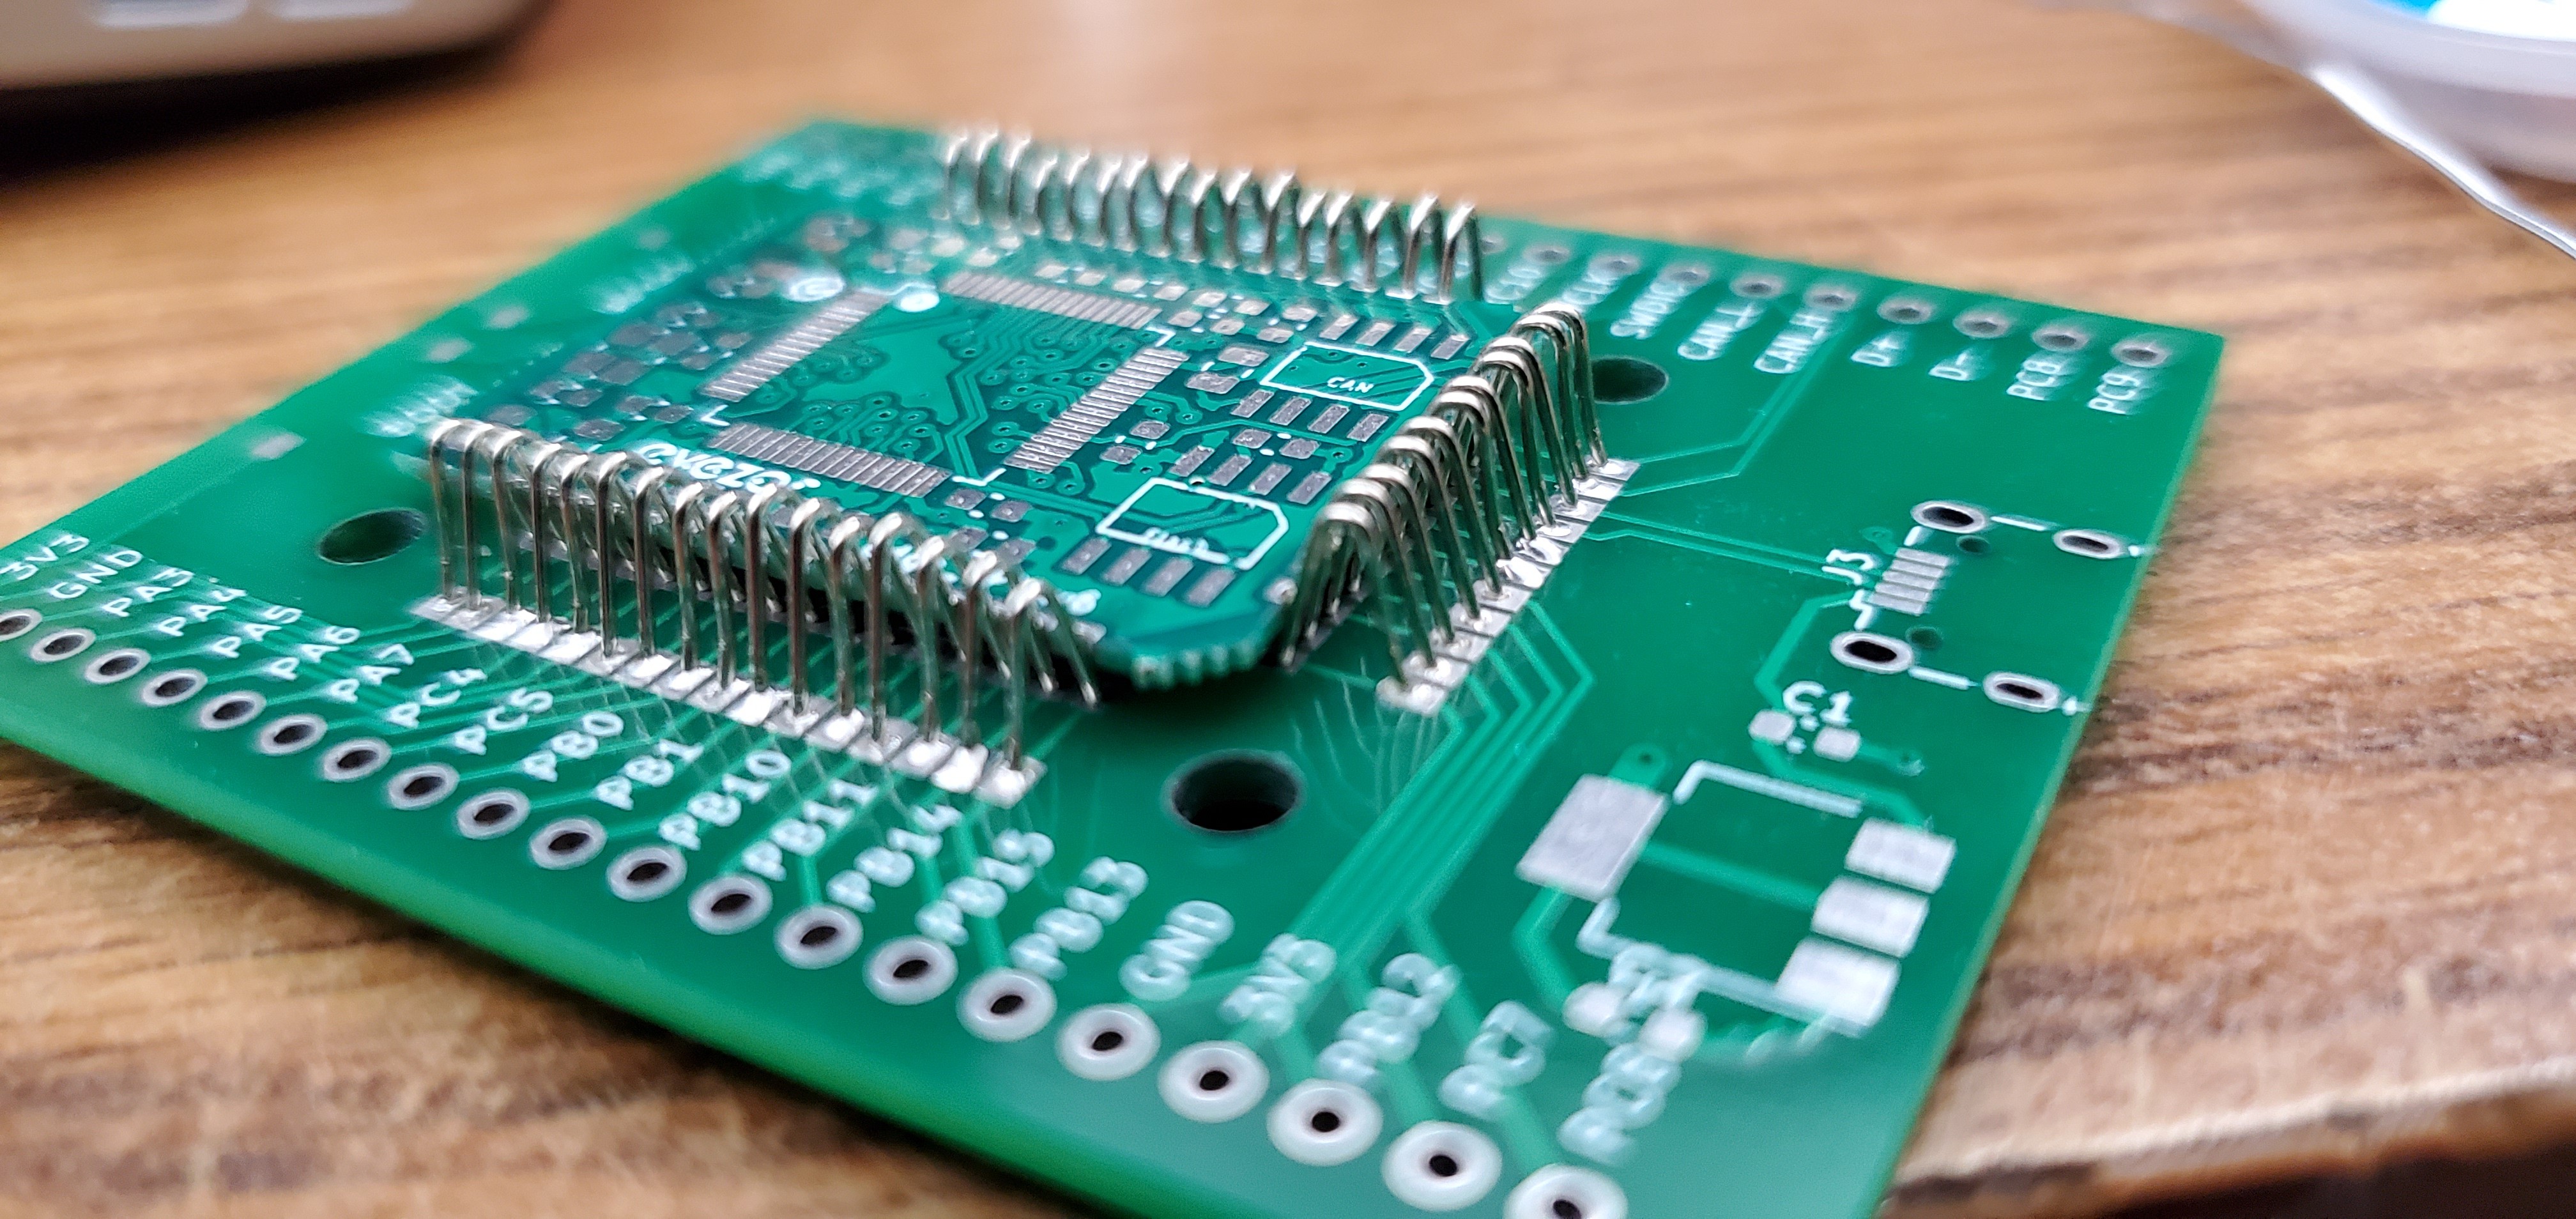
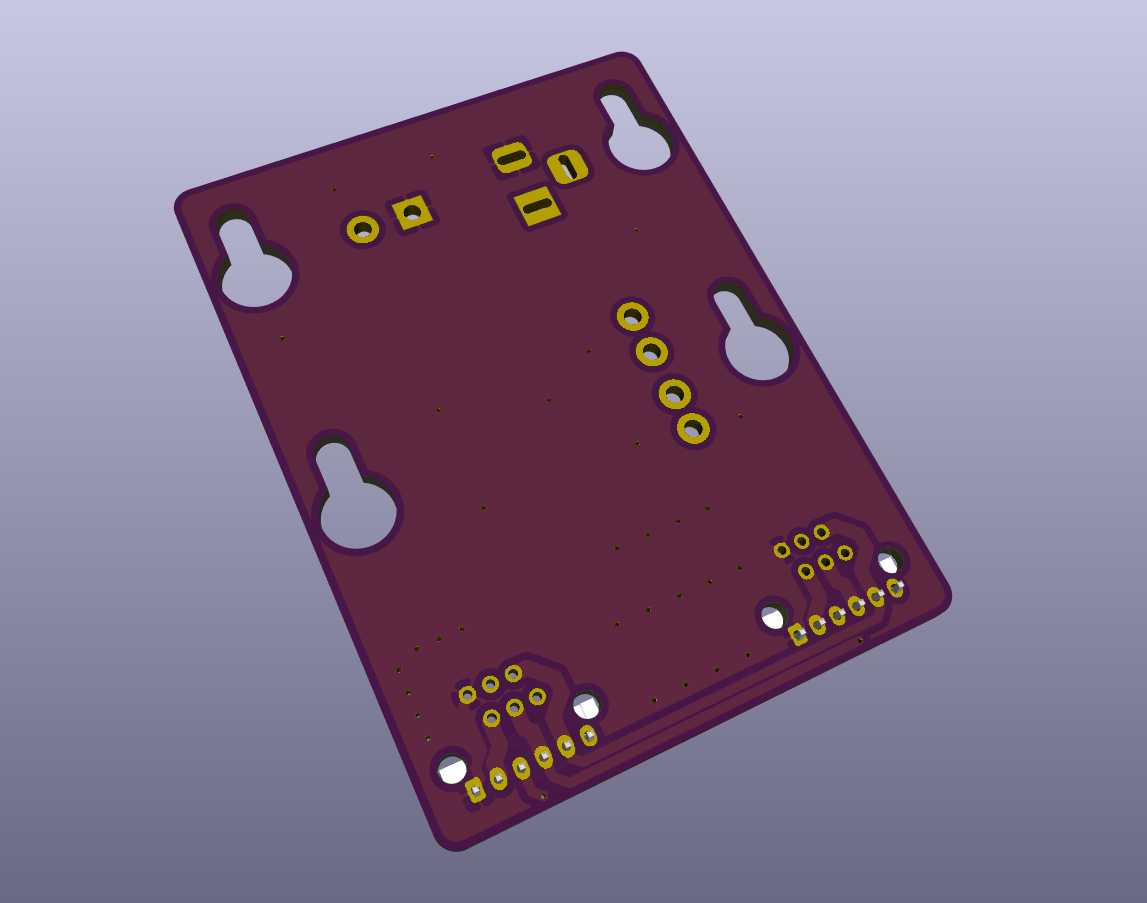
The intent was that I could have this made by a higher quality shop with better pick and place machines than I had at the time. This was originally designed early in the pandemic and then the STM chips became completely unavailable. It worked pretty good, but in the end I'm glad I changed chipsets for a number of reasons. For one, I think I would have not liked using these so much. The boards I designed for this had this module on the back. Don't do double sided stuff unless absolutely necessary. Additionally, changing chips right in the early stages provided me with the knowledge of the location of the boundaries between chips. This was and is good knowledge.
![]()
![]()
![]()
![]()
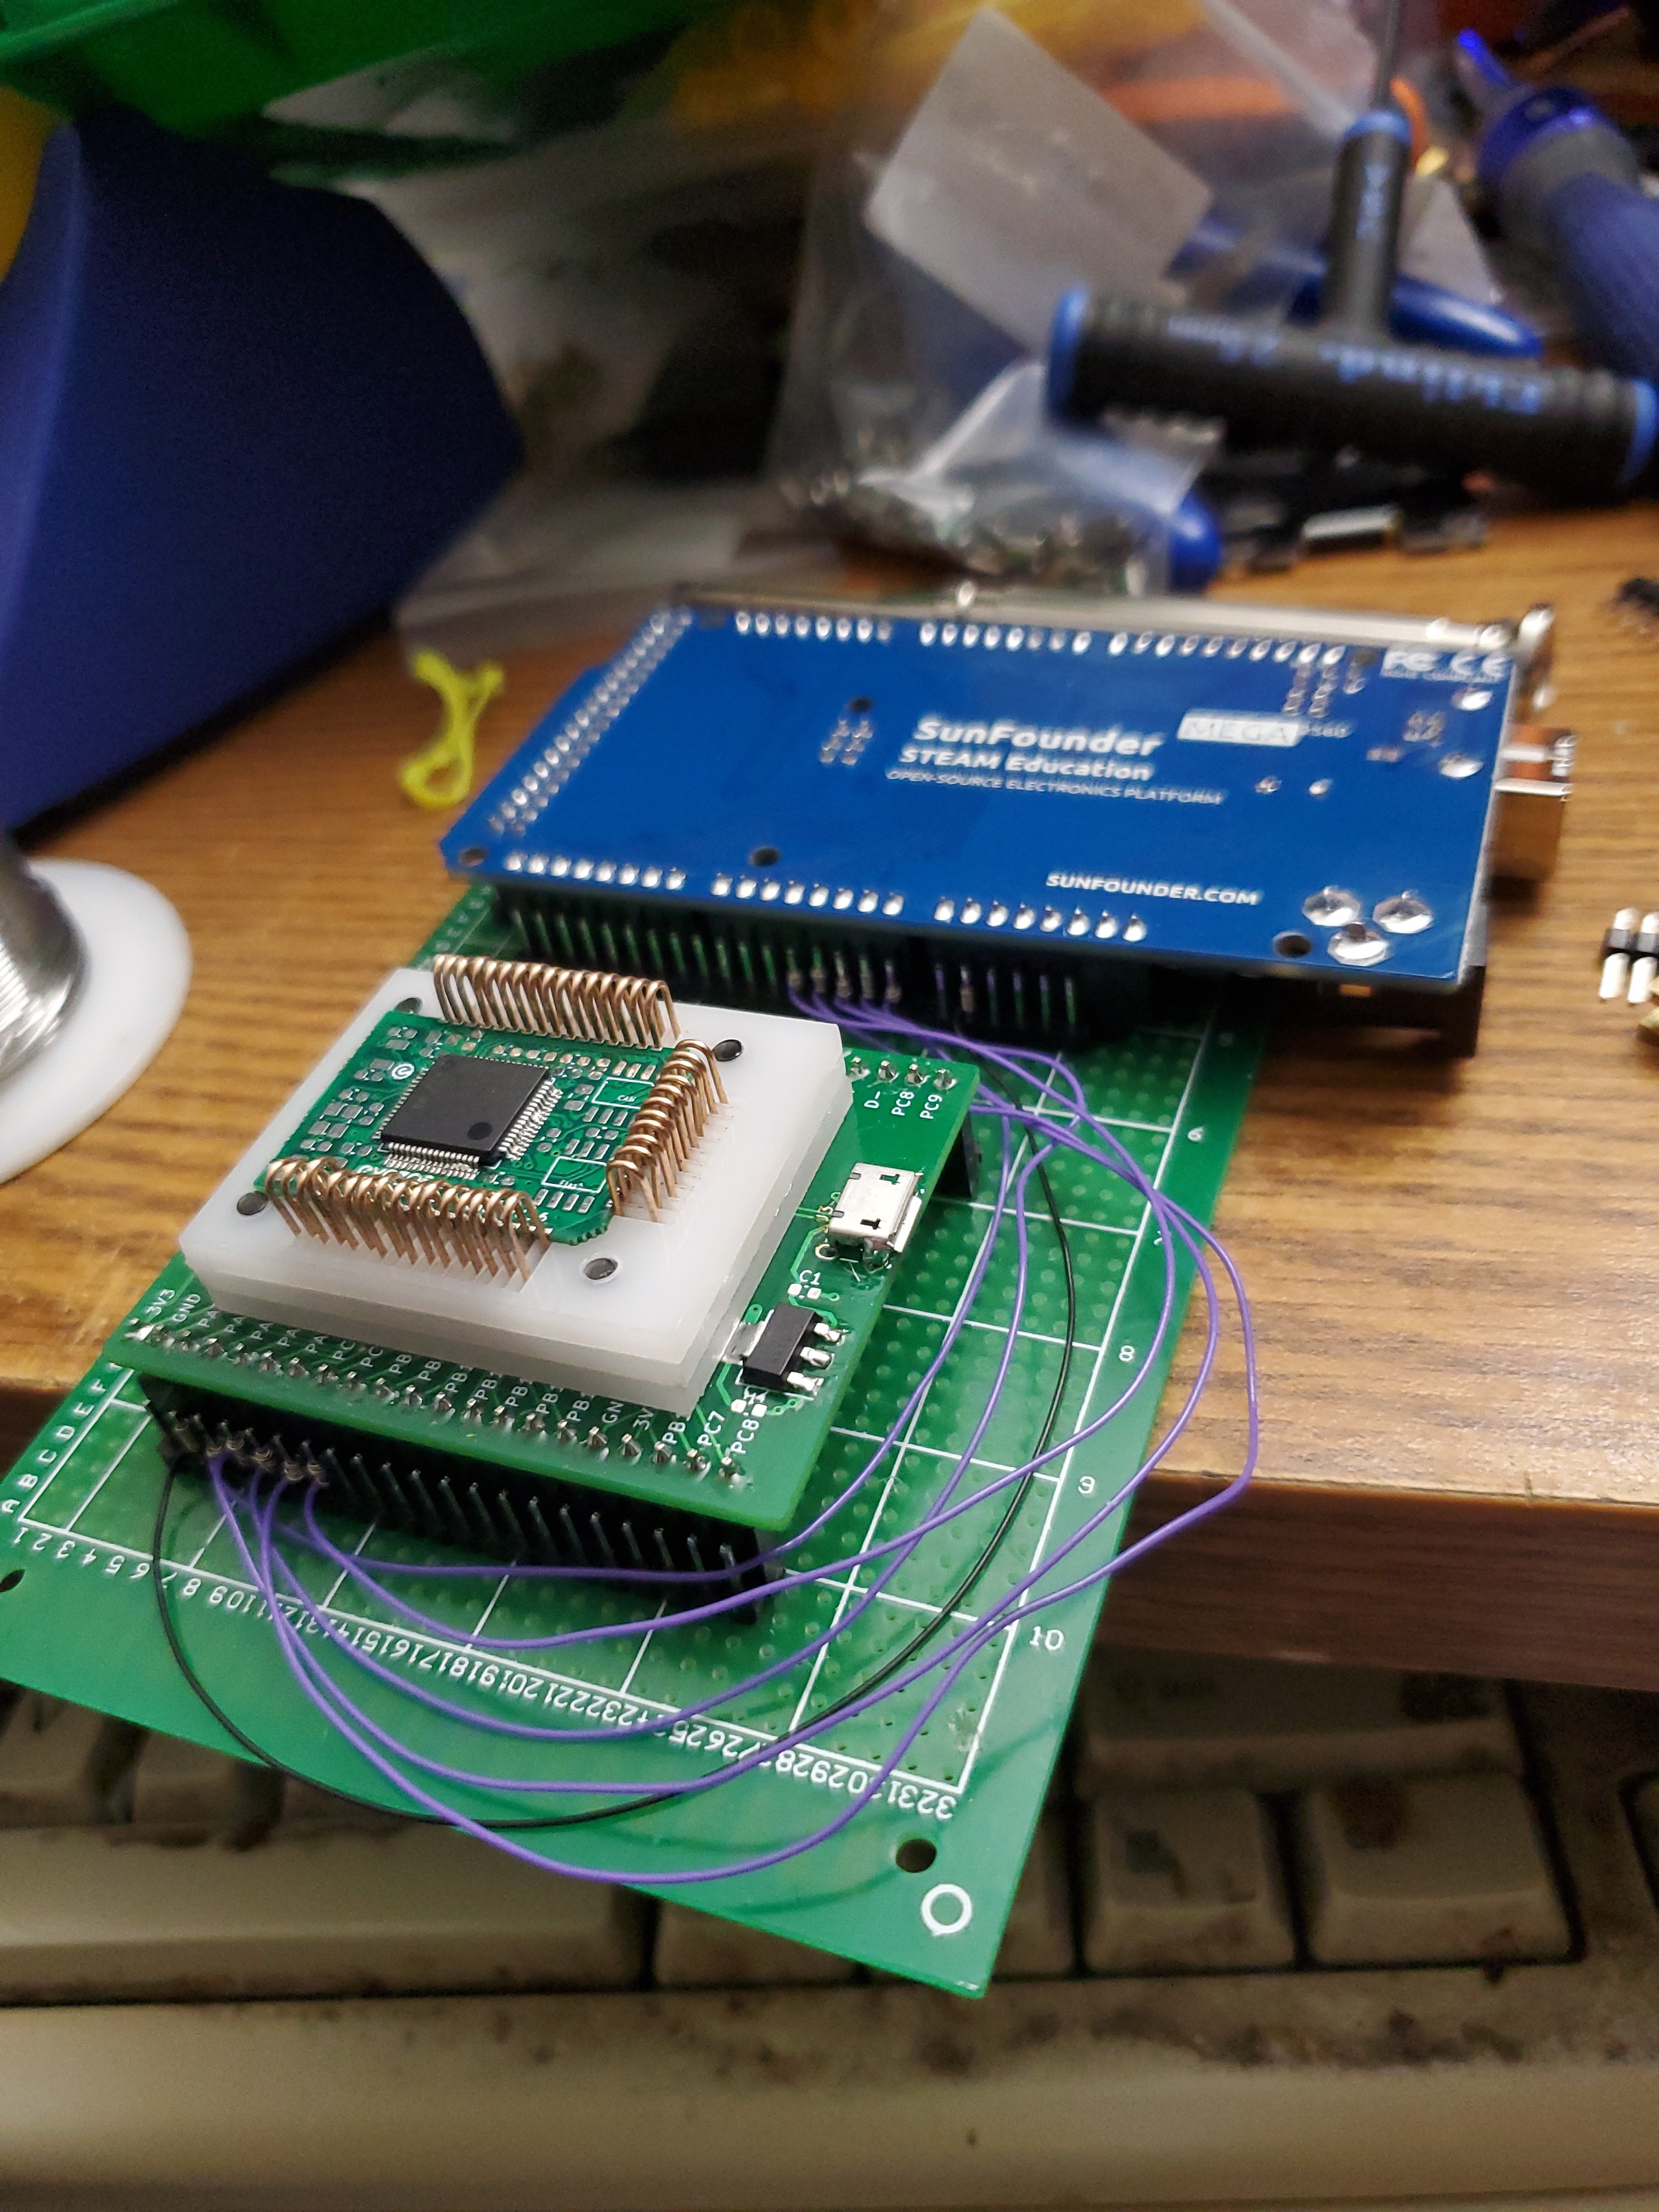
I also developed a test and programming jig. It worked ok as well.
![]()
![]()
Source files can be found here: https://github.com/evezor/Evezor-Stamp-STMF405
-
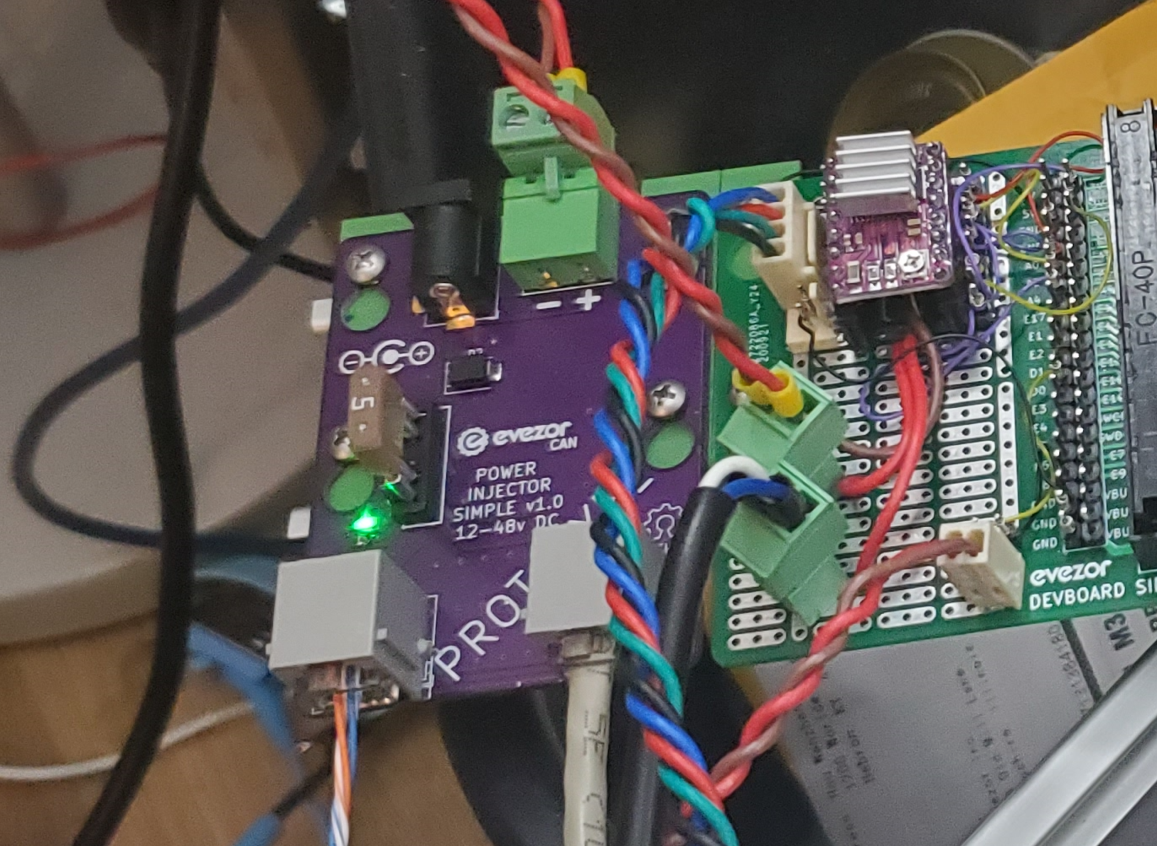
Day 3: Edge Network Power Input Board
09/11/2023 at 04:38 • 0 commentsThis board uses the Evezor Stamp STMF405 MCU
source: https://github.com/evezor/Evezor-Stamp-STMF405
Simple power input for Evezor Edge network boards
Source files can be found here: https://github.com/evezor/V0_power_input_simple
![]()
![]()
![]()
![]()
-
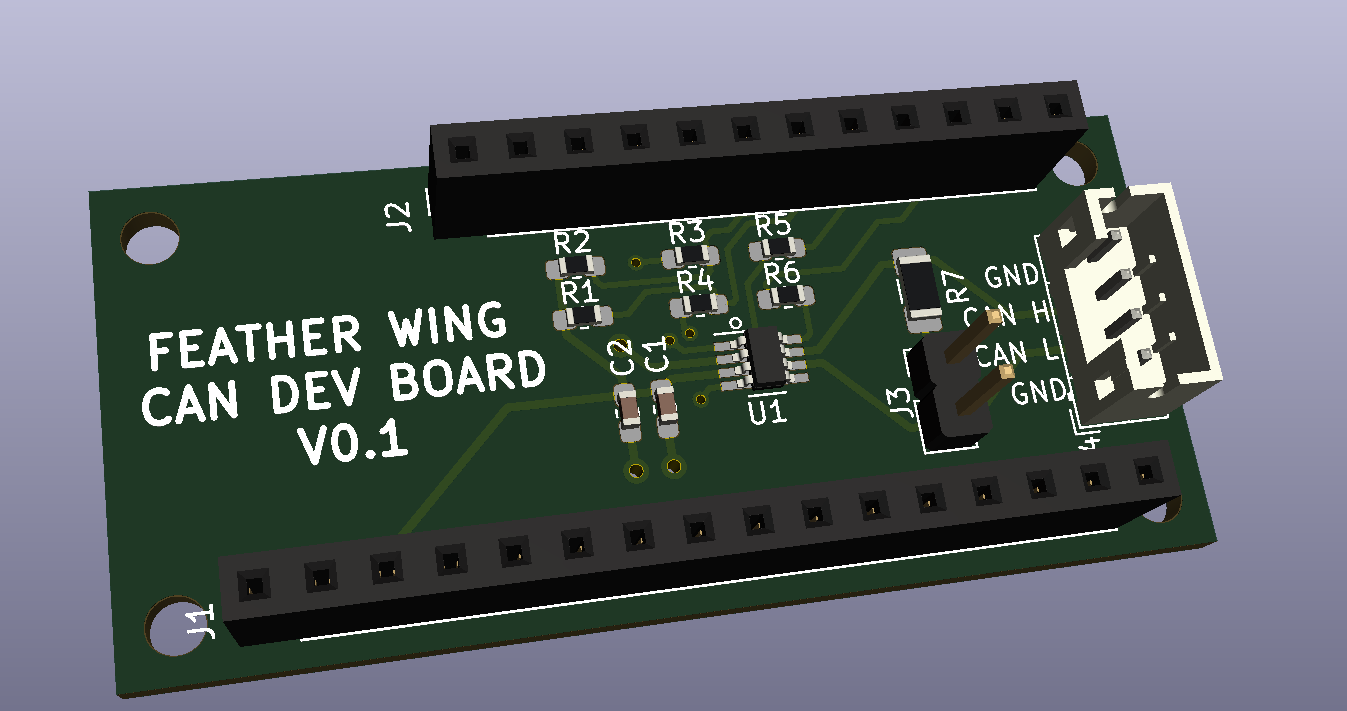
Day 2: CANBus Feather Wing Board
09/10/2023 at 05:54 • 0 commentsA feather wing supporting canbus to be used with the Adafruit Feather STM32F405 Express
https://www.adafruit.com/product/4382
![feather]()
source files can be found here: https://github.com/evezor/board-Canbus-Feather-Wing
-
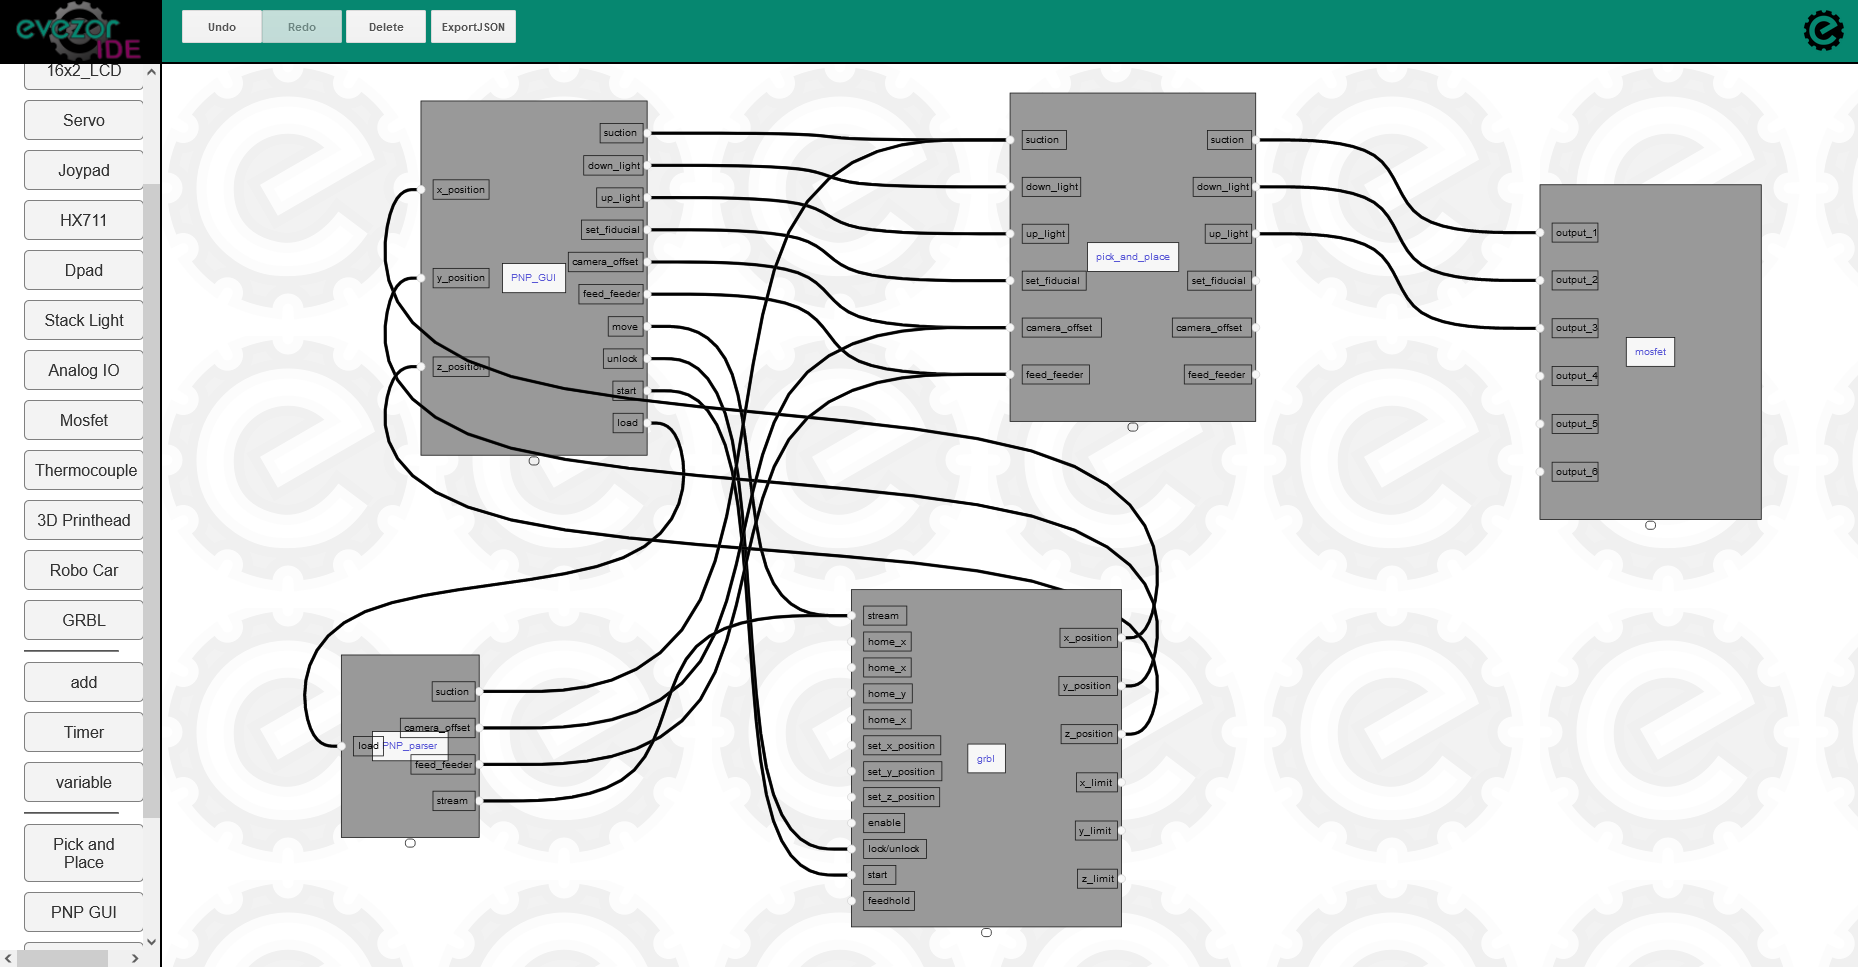
Day 1: V1 Firmware and IDE
09/10/2023 at 05:31 • 0 commentsAnd so it begins,
This is my Day 1 post. This is the firmware designed to run on the original STMF405 based Edge Boards (coming soon)
Basically you would drop a board on the canvas, export a .json file and when you had the same network of boards on the network the zorg board would pass out all the subscriptions.
![]()
Link to github repo for the IDE: https://github.com/evezor/EdgeIDE
Link to github repo for the firmware: https://github.com/evezor/Edge_Boards
Please note that these versions are now deprecated, but I believe it's still useful to share.Huge Thank you to James, Carl and Joe for your help getting this together!
-
A new leaf
09/09/2023 at 22:12 • 0 commentsI had put this project on the shelf for a few years and now I'm back heading in a new direction.
We still have awesome robots, but the focus has changed more towards networking and connectivity.
Deatils coming soon!!
---------- more ----------When I looked to find a machine that could not only complete a task one day, but could be retooled for something new the next week. I've built many 3D printers, lathes and other machines so I knew most of the tried (cartesian, corexy, delta) designs wouldn't give me what I wanted. The SCARA class machines seemed like they could fit the bill and I think I was right.
Having used many machines, from hobby built 3d printers, to mini mills and lathes and large CNC machining centers I had a good feel for the performance I was looking for. I wasn't looking to try and build the cheapest machine out there, but I was out to build a highly reliable and accurate machine for the least cost possible. Fortunate enough to have the right tools I opted for all steel construction with a welded frame.
While the machine worked quite well, I was left wanting. As created it could only complete a single task. In addition I wasn't very pleased with the reach, payload, resolution and ease of programming achieved by the lite arm.
We have also released the full Source Files
Mass Production of 200 Coasters
project log: https://hackaday.io/project/20416/log/59872-mass-production-demo
This is one of my favorite drawings we did in our TSP Art series
project log: https://hackaday.io/project/20416/log/59419-tsp-art
TGIF, I sure could use a drink. How about an ice cold beer\
Here it is doing some motion tests
Source files coming soon in future updates as I get them in sharable order. You can see an assortment of projects we've created here. In spelling order 2.5D milling, 3D Contour milling, Welding, 3D Printing, Hot Wire Foam Cutting, Pen Plotting, Glass Etching, Laser Engraving, PCB Milling and PCB Assembly and Plasma Cutting.
I attended the Hackaday Unconference in Chicago, it was a lot of fun.
Thank you Mike for sharing the letter our robot wrote for the coordinators. Hackaday post about the unconference
-
We're Back with 10 Robots!!
06/12/2020 at 10:24 • 0 commentsIt seems I wrote this a couple years ago and never hit the publish button. You'll see in my later posts that this project was shelved for a while but now it's back!
I've posted more pictures and details on our blog here https://evezor.com/?p=1142
I also posted a video documenting some of our progress. It shows off our new toolhead, the ten robots, and a collaborative programming demo -
Mass Production Demo
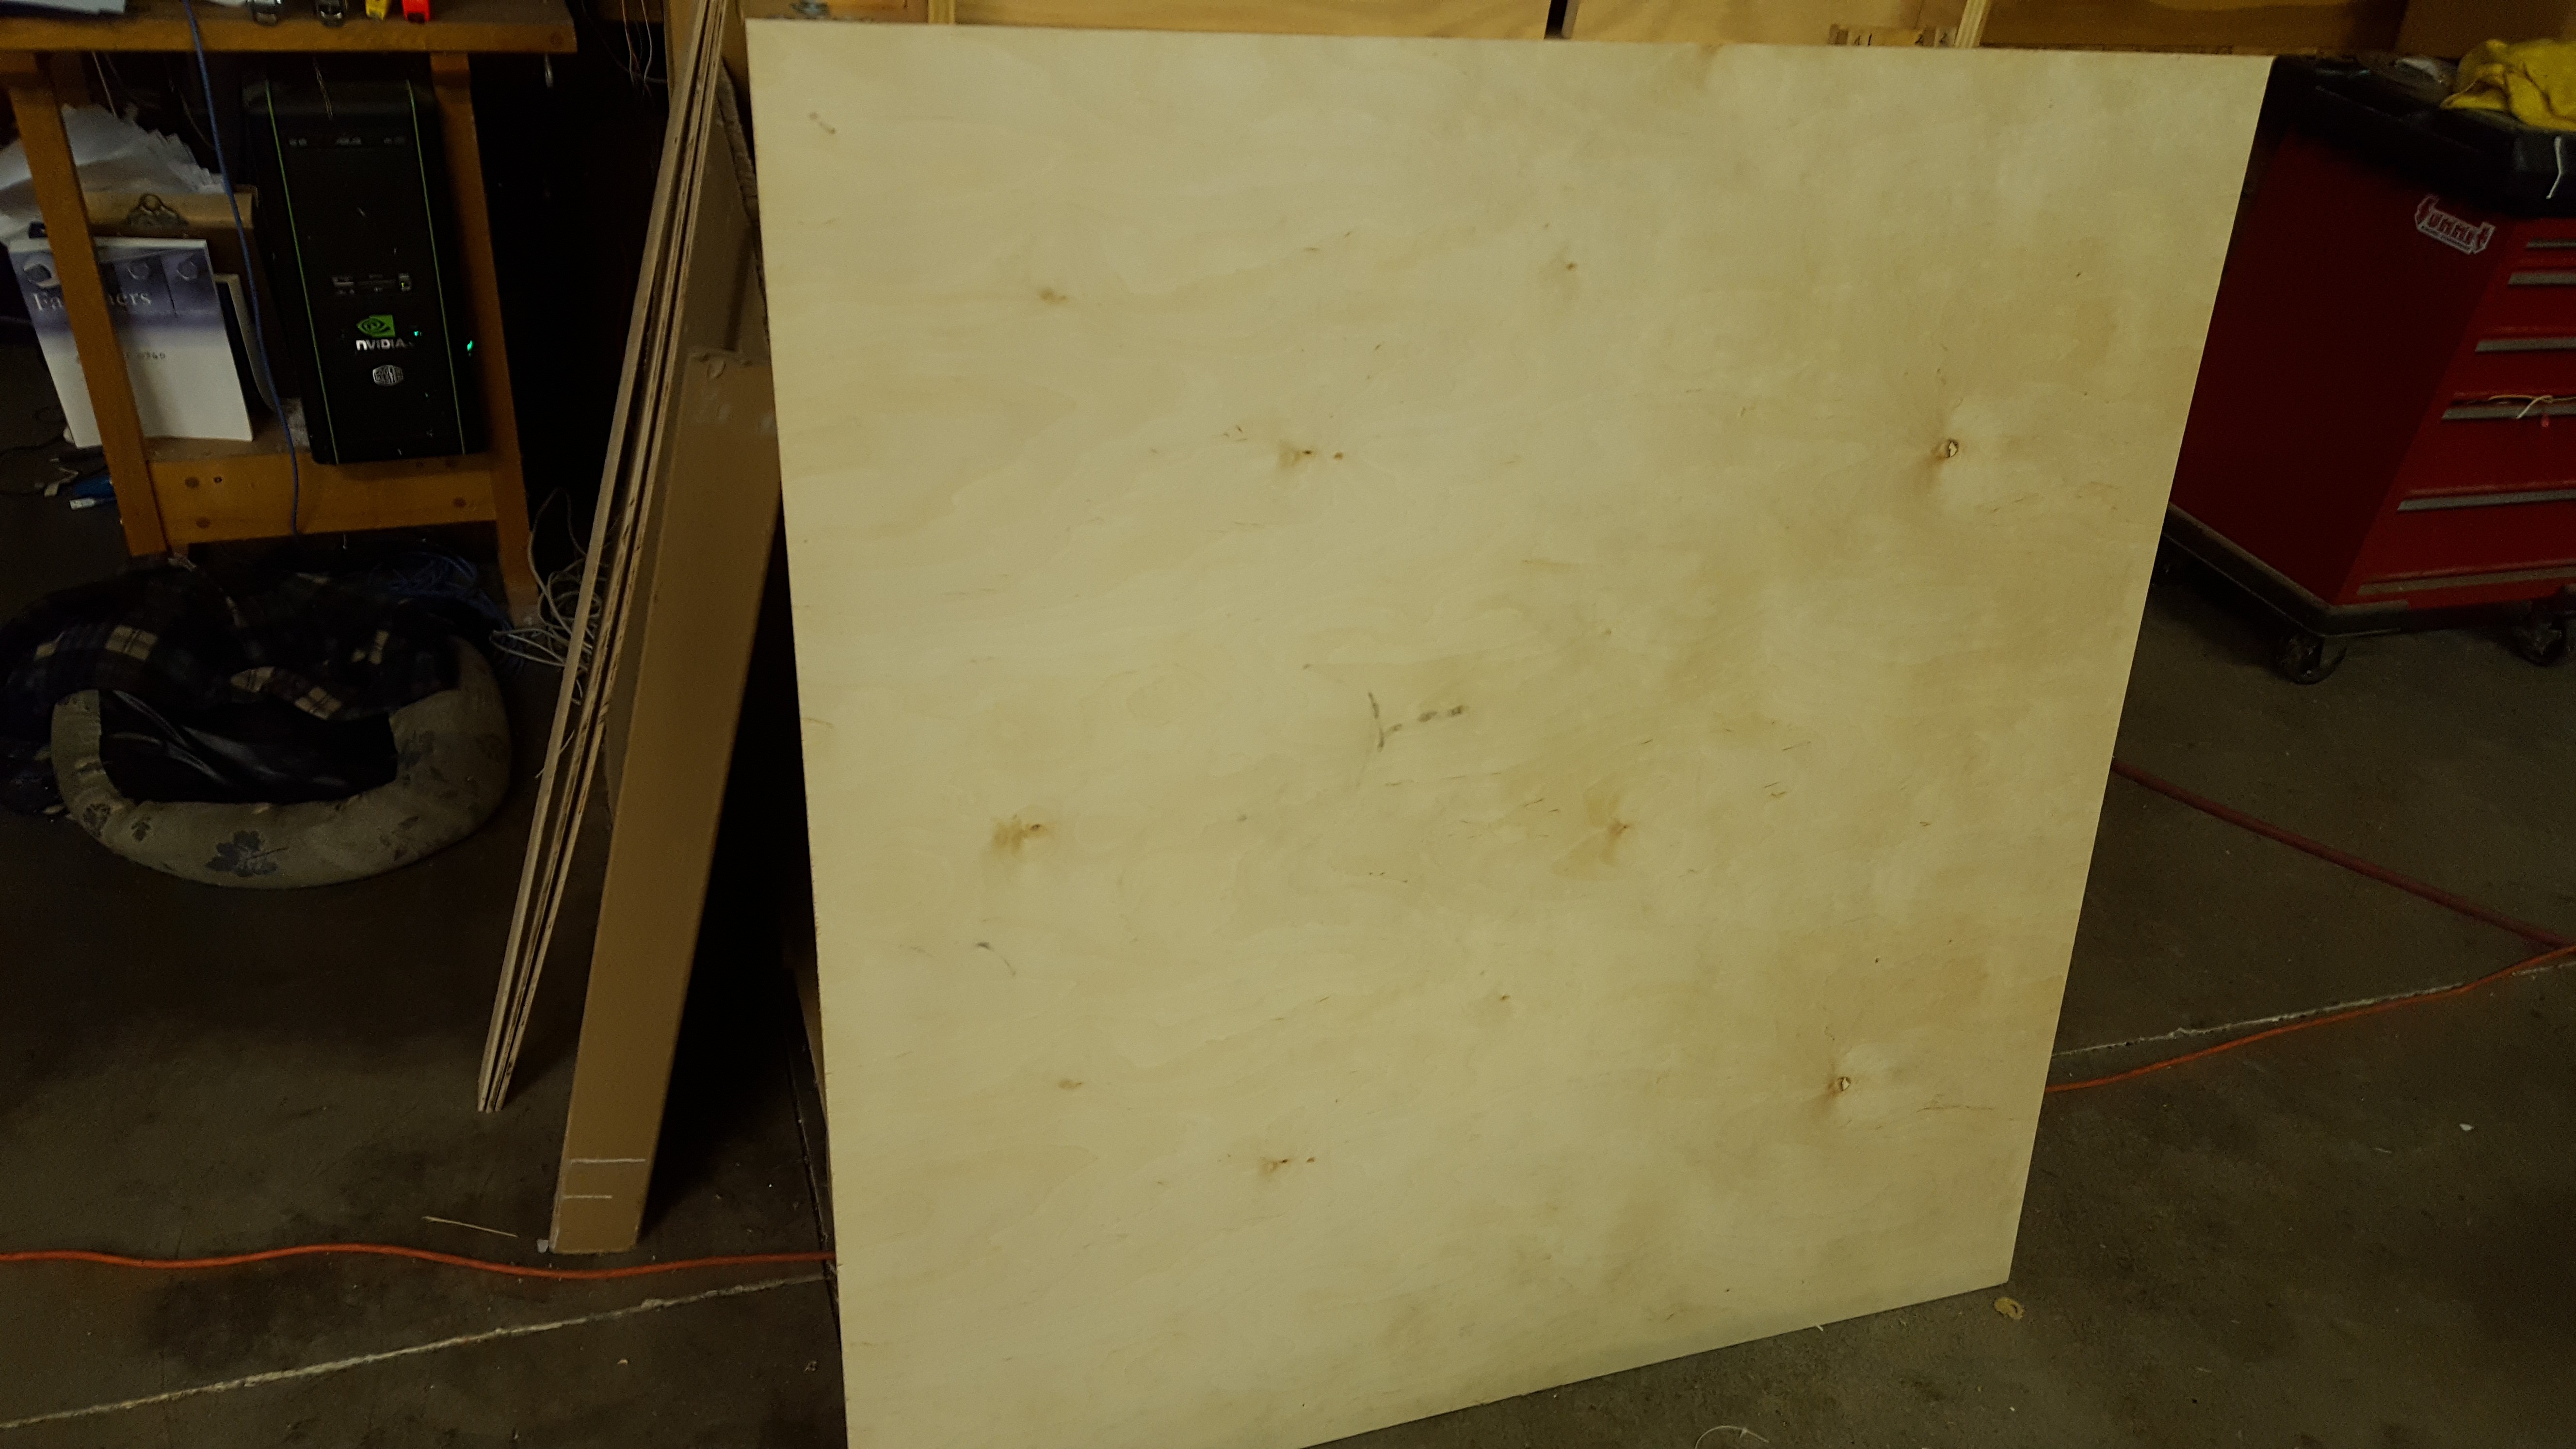
05/20/2017 at 23:11 • 0 commentsLet's automate the production of 200 coasters with no human intervention.
![]()
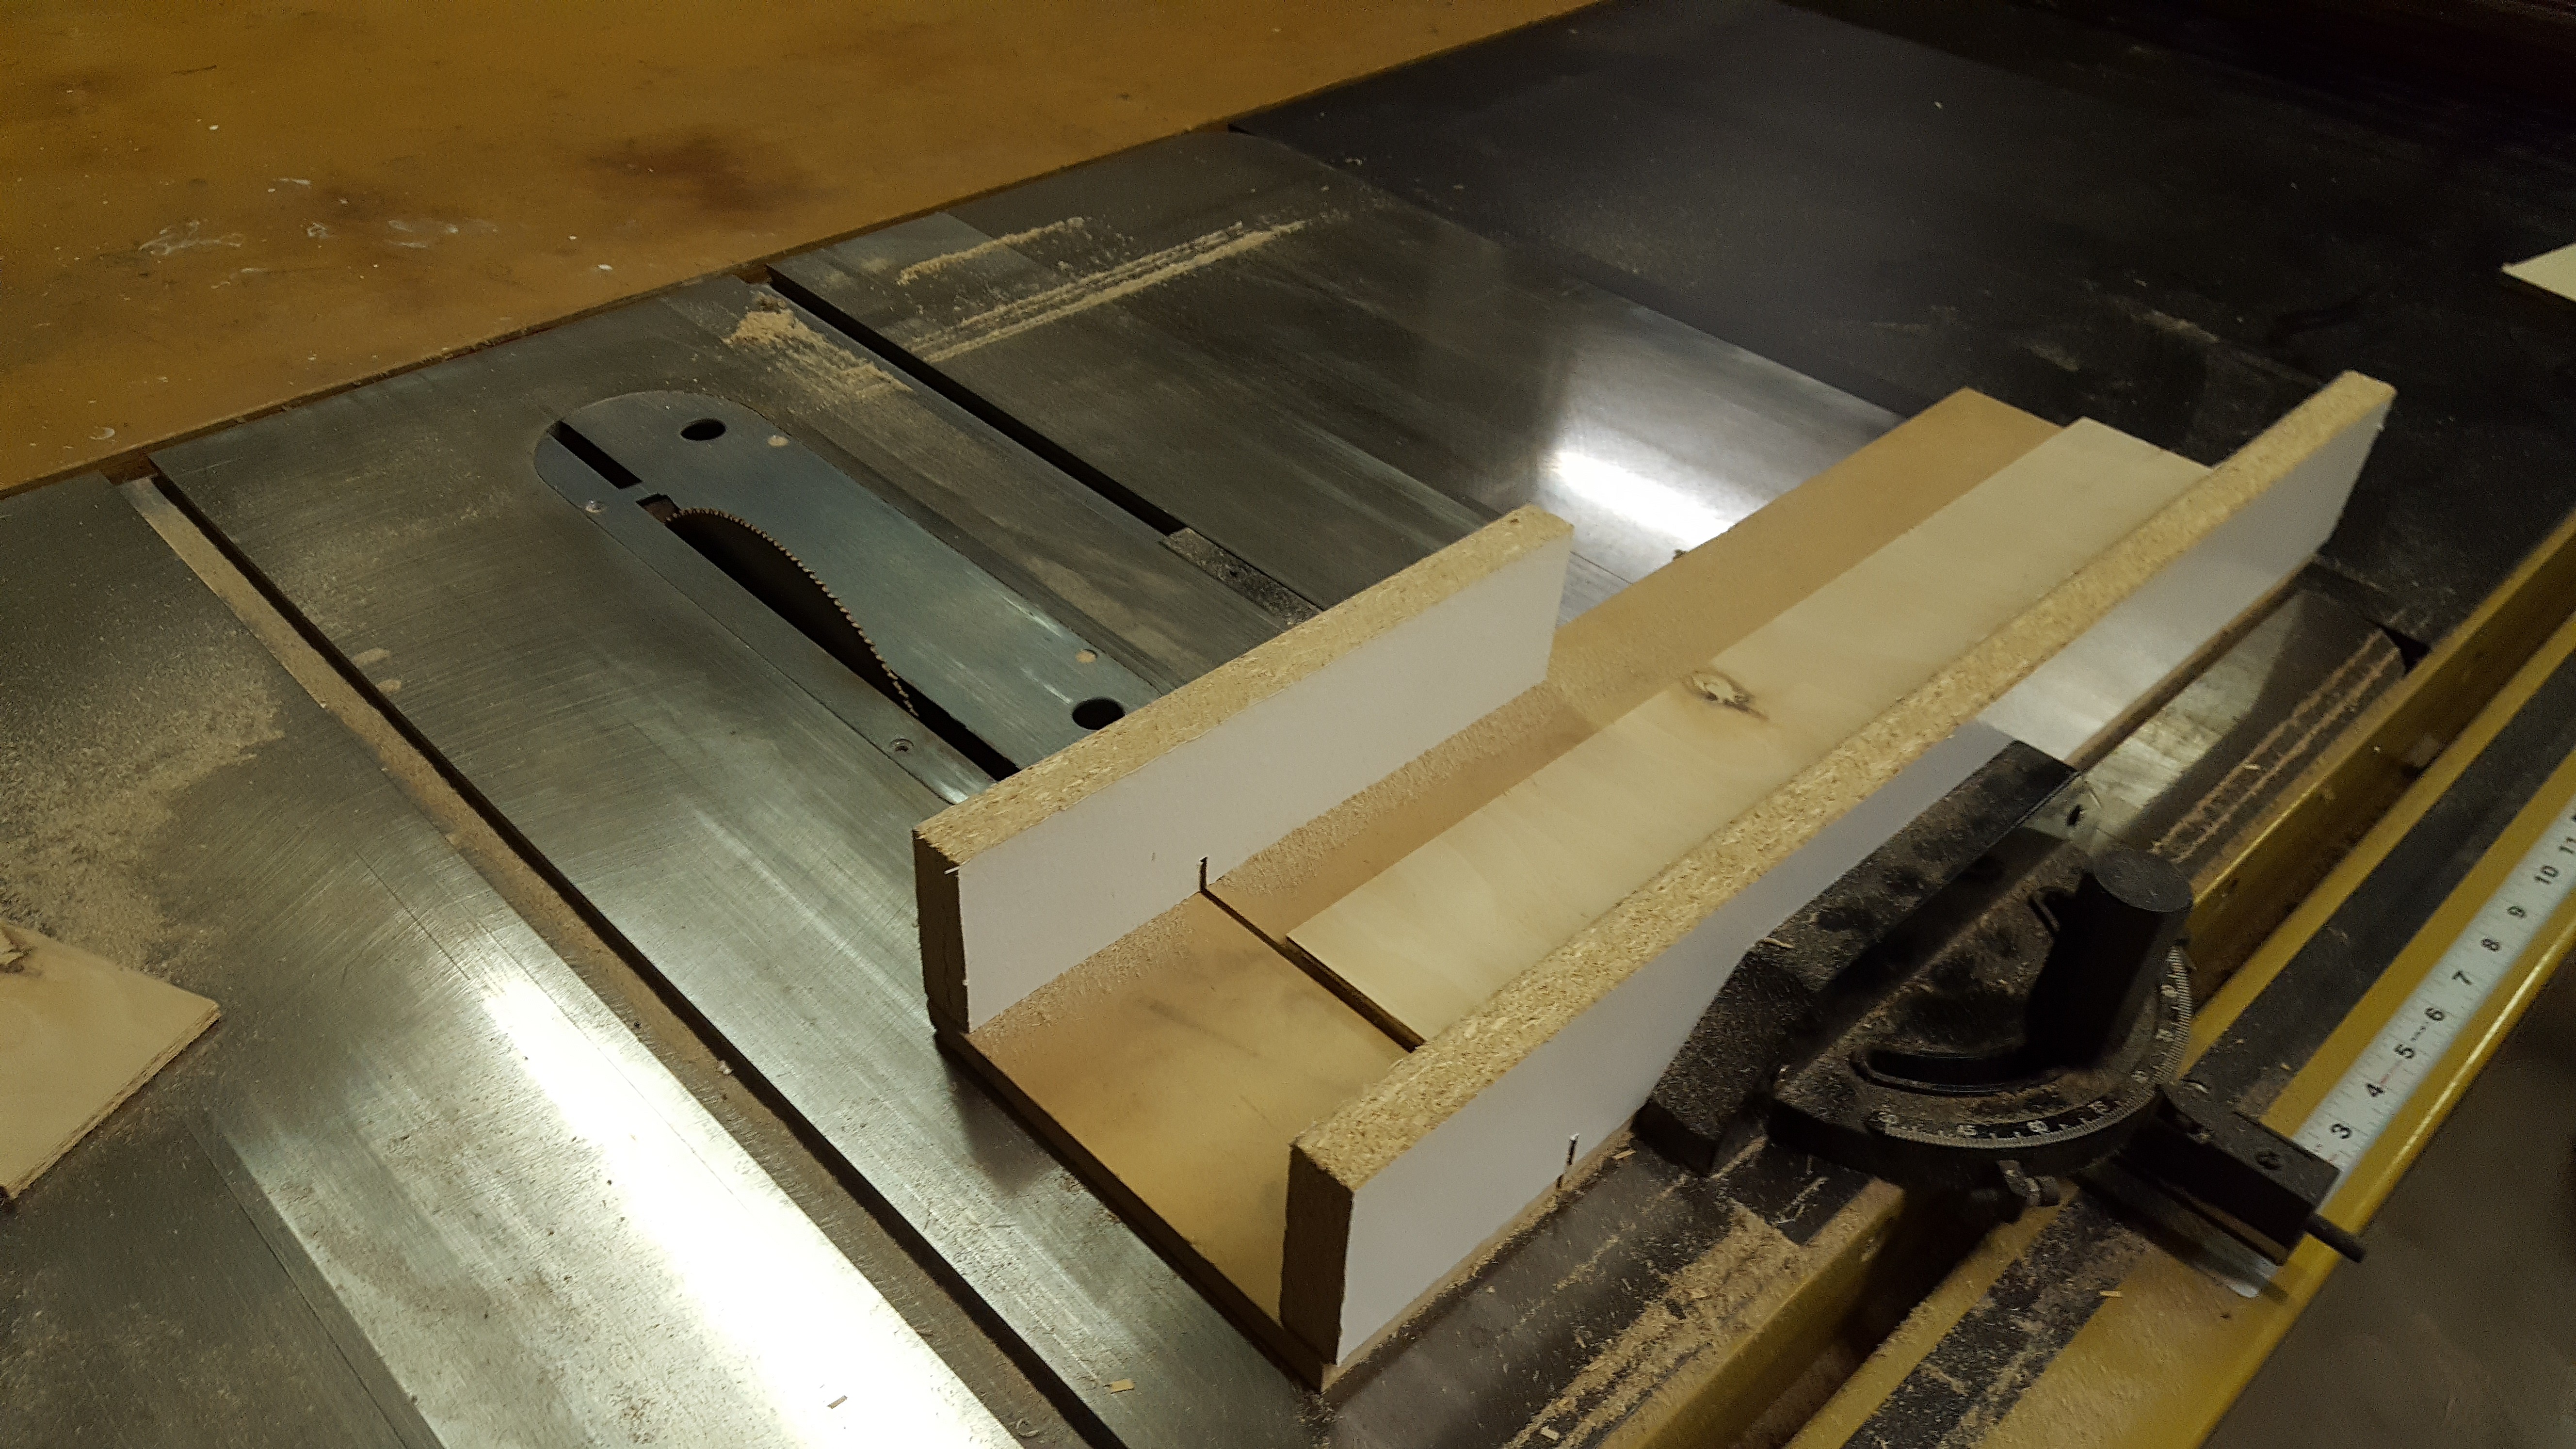
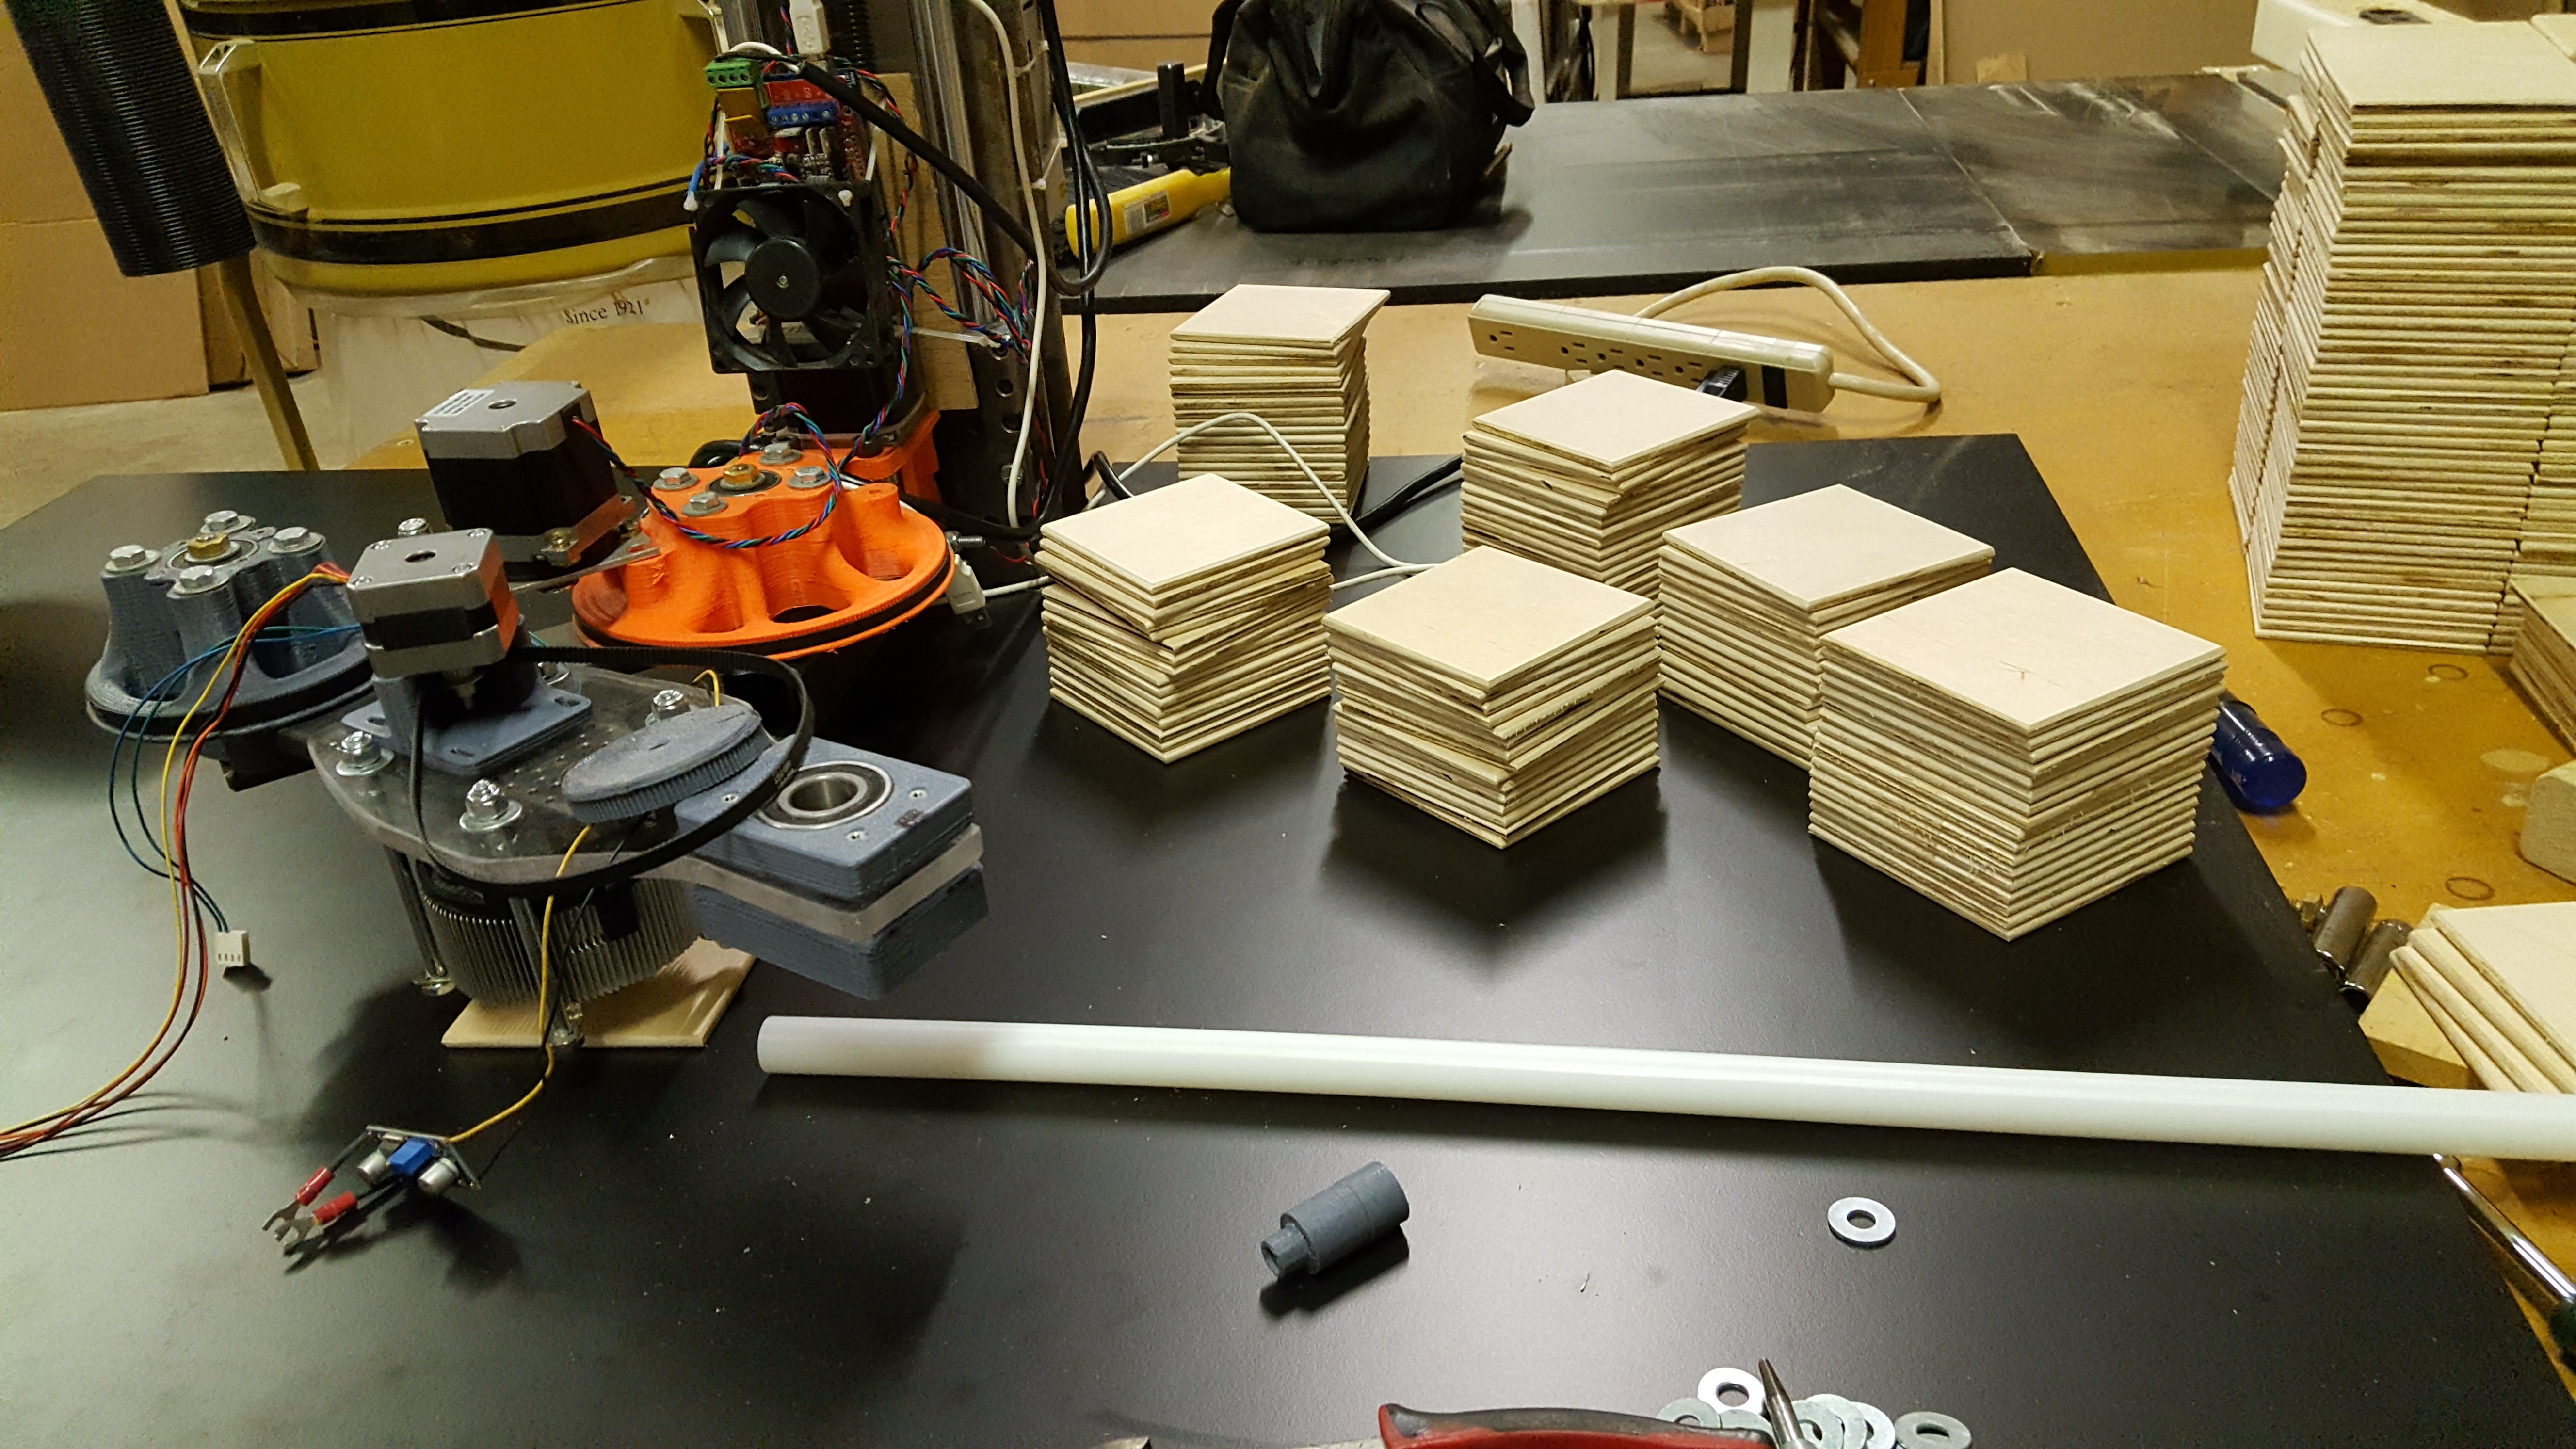
Coasters were cut from a standard sheet of 1/8" birch plywood.
I set up the table saw fence and cut them all into strips![]()
I made a small crosscut sled that was set to make squares when aligned with the edge. It made cutting them all very easy.![]()
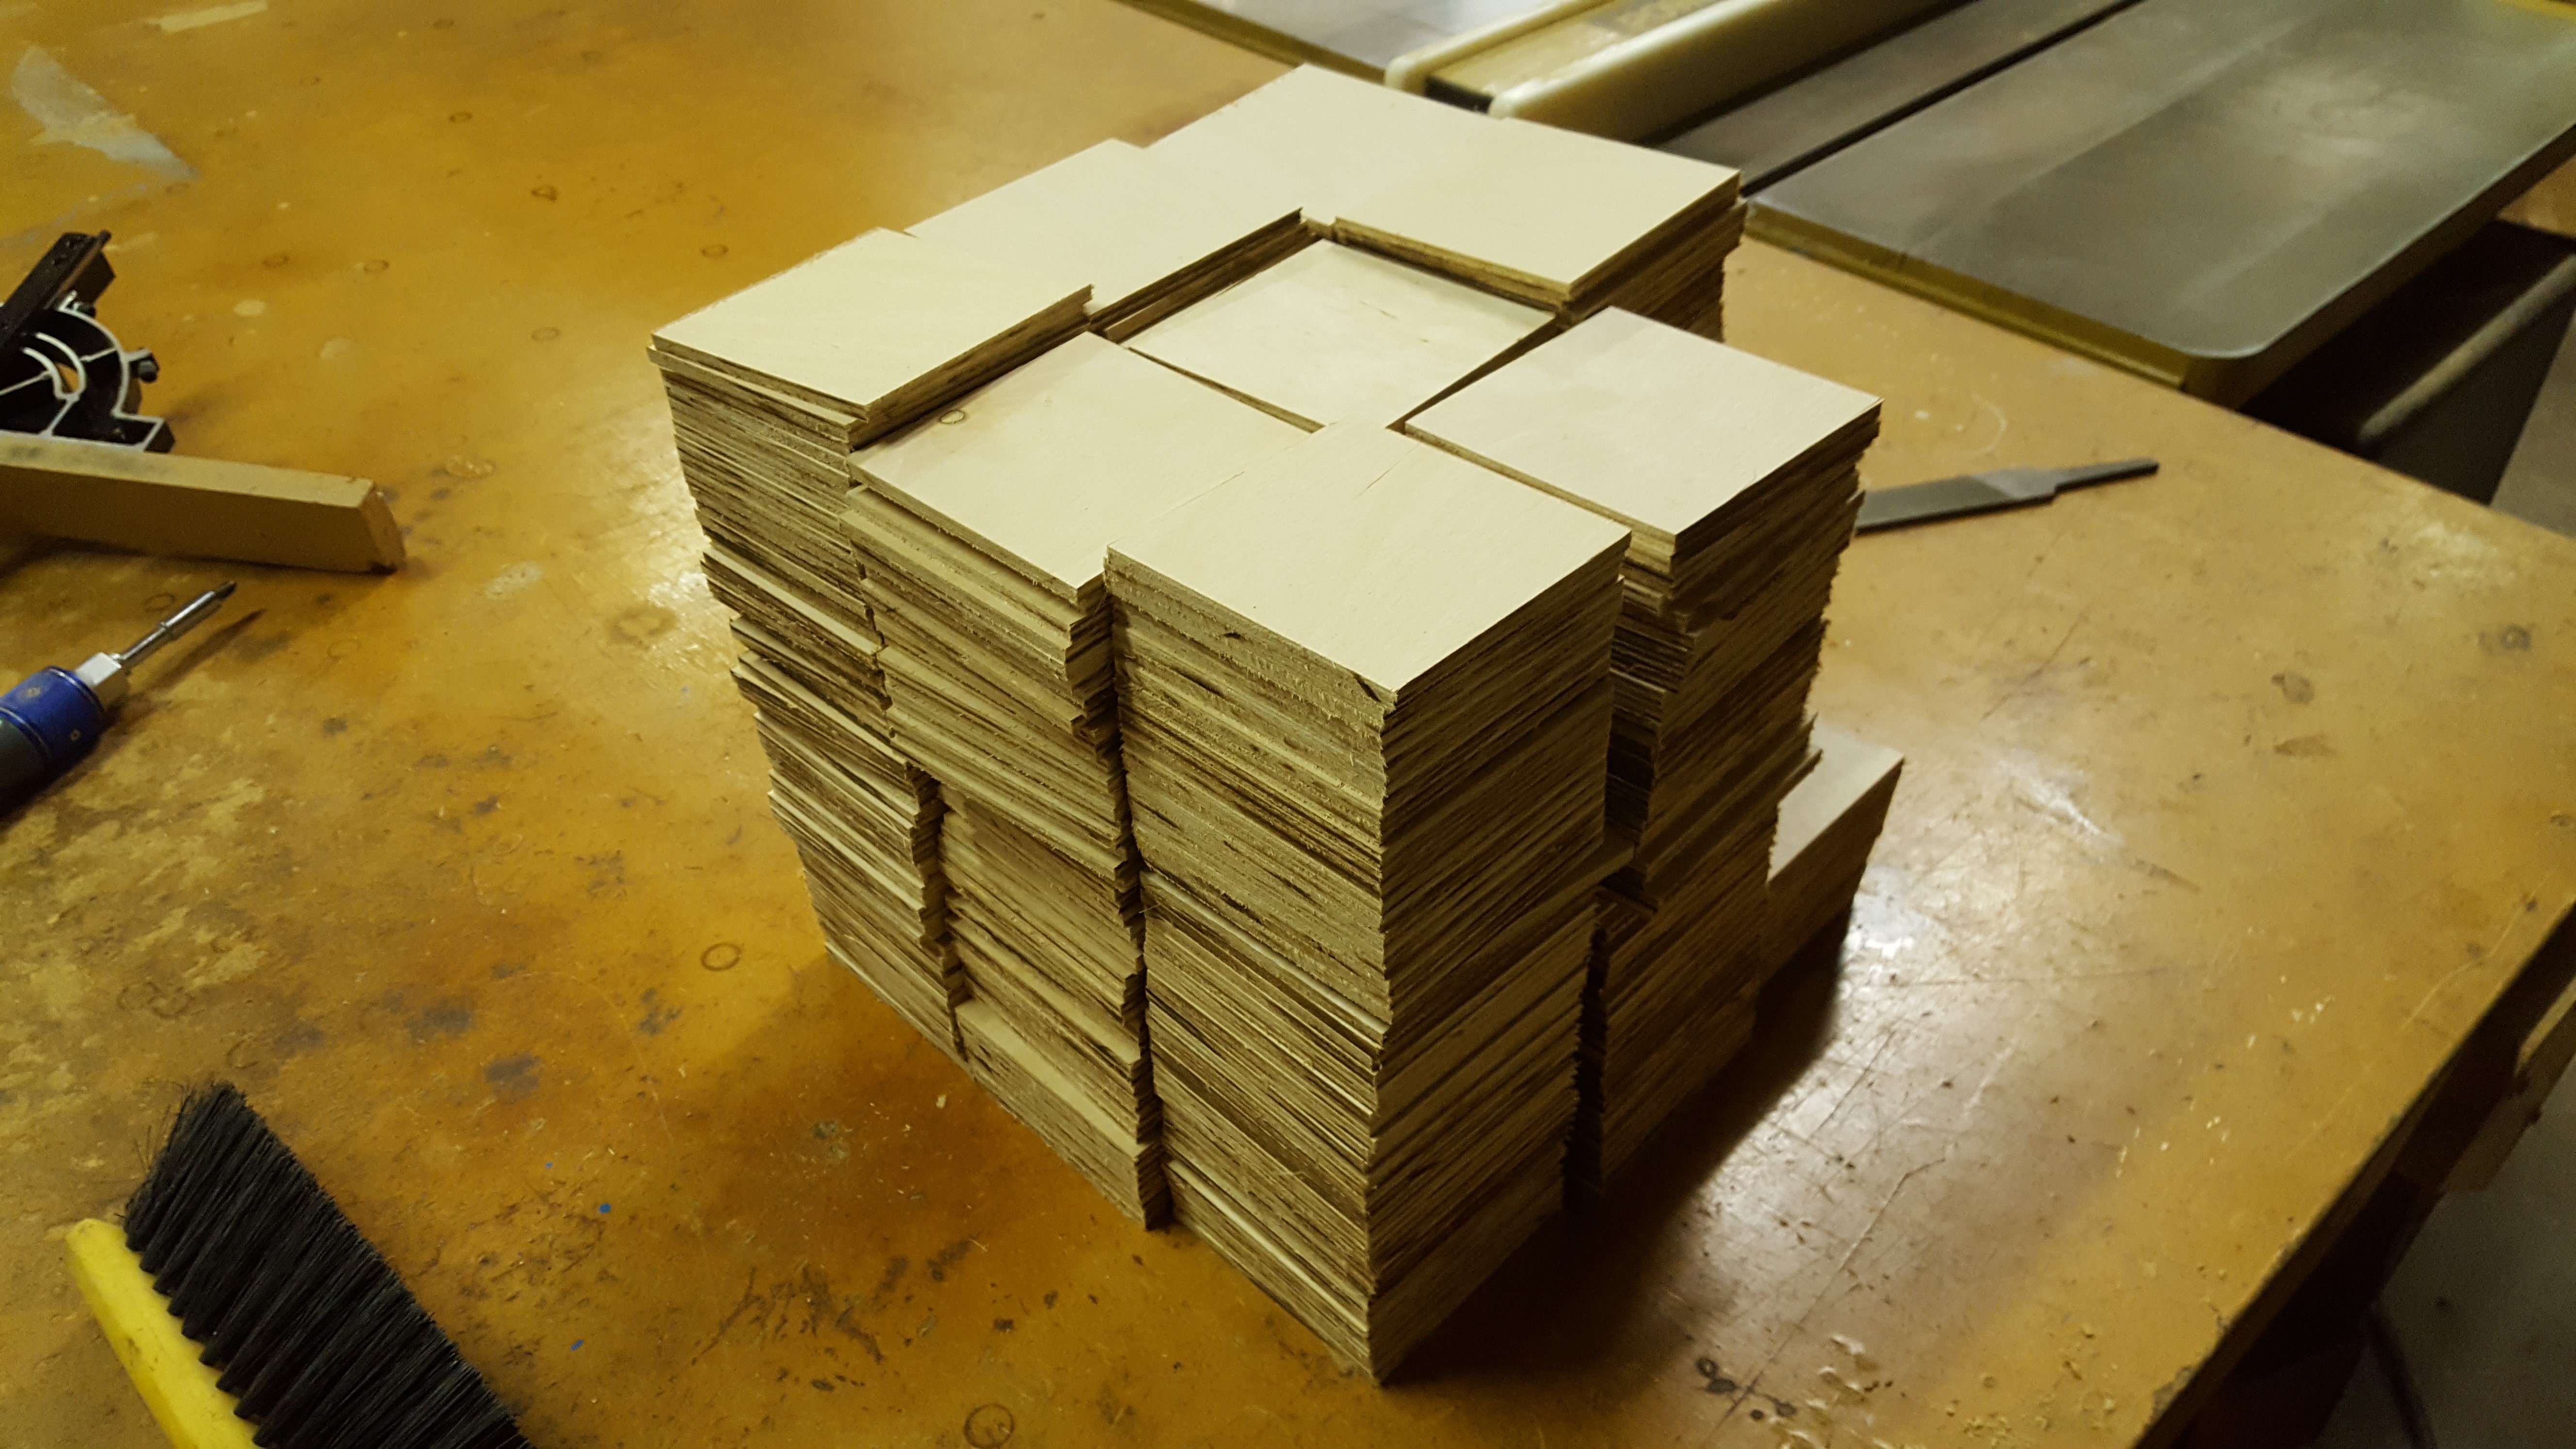
![]()
All cut. That was a lot more coasters than I expected when I started.
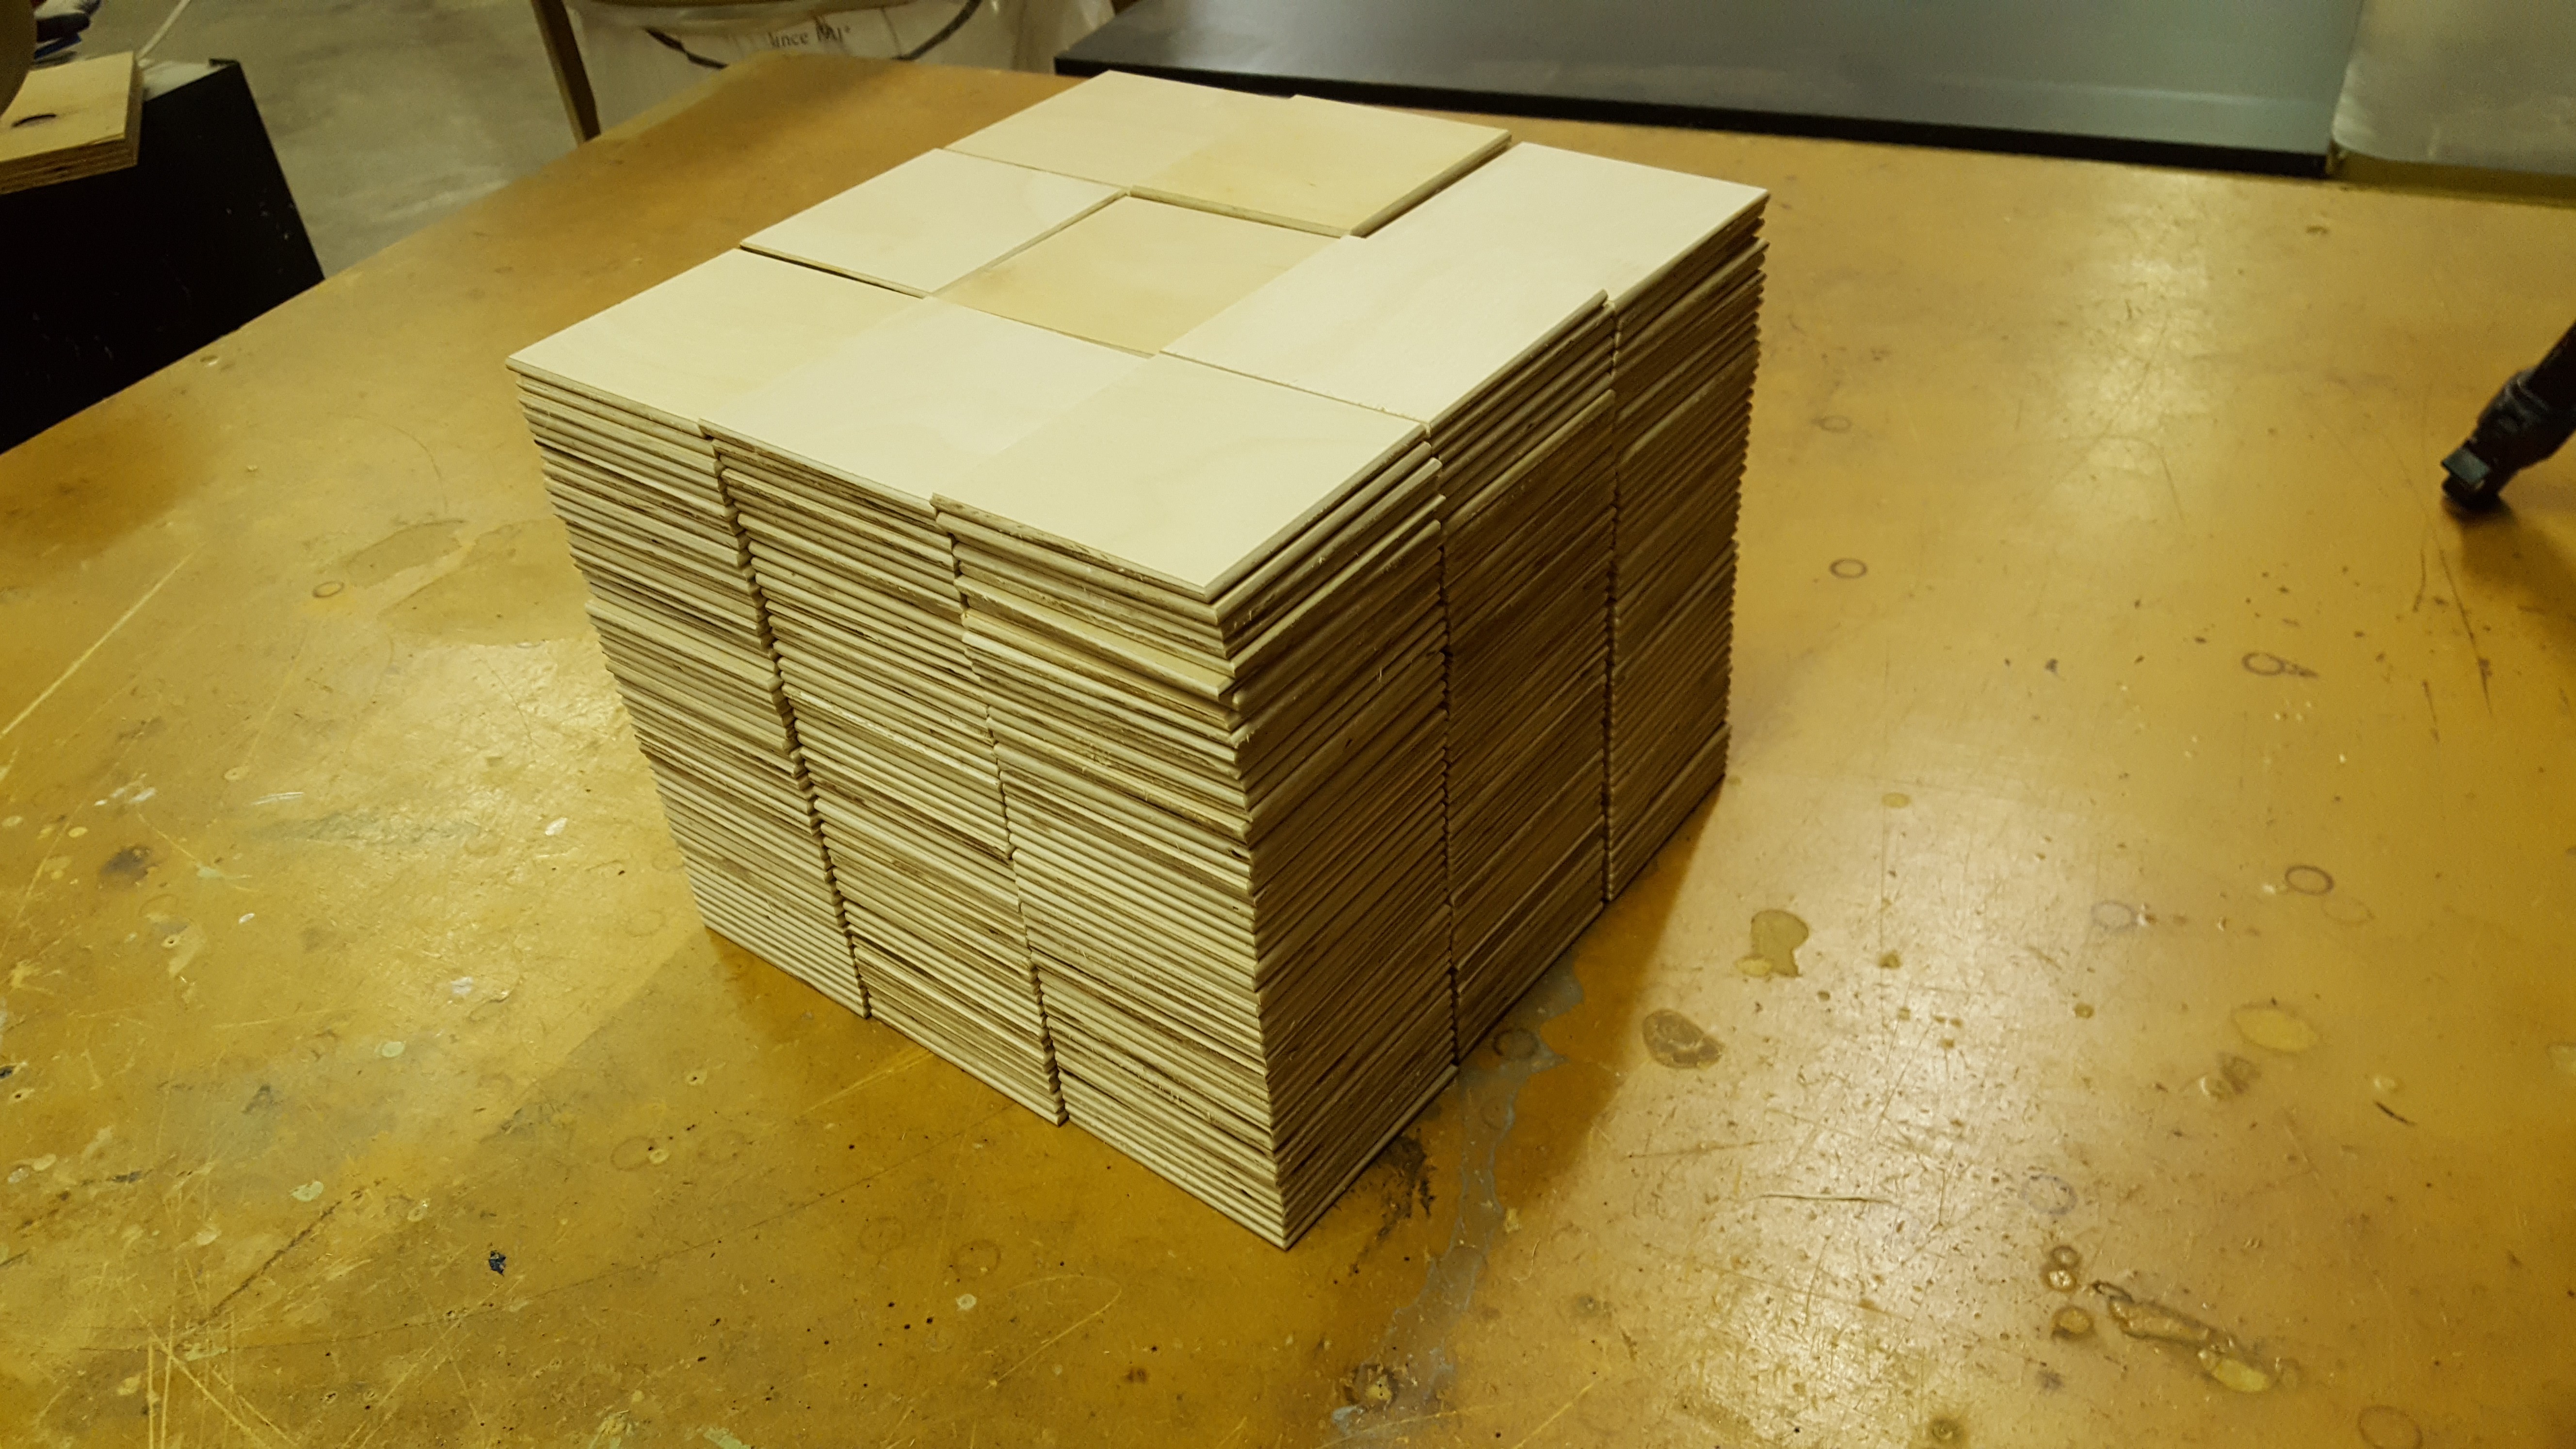
All edges have been deburred and are ready to be engraved.![]()
This is the fixture I made for the arm to drop the coasters into to be engraved.![]()
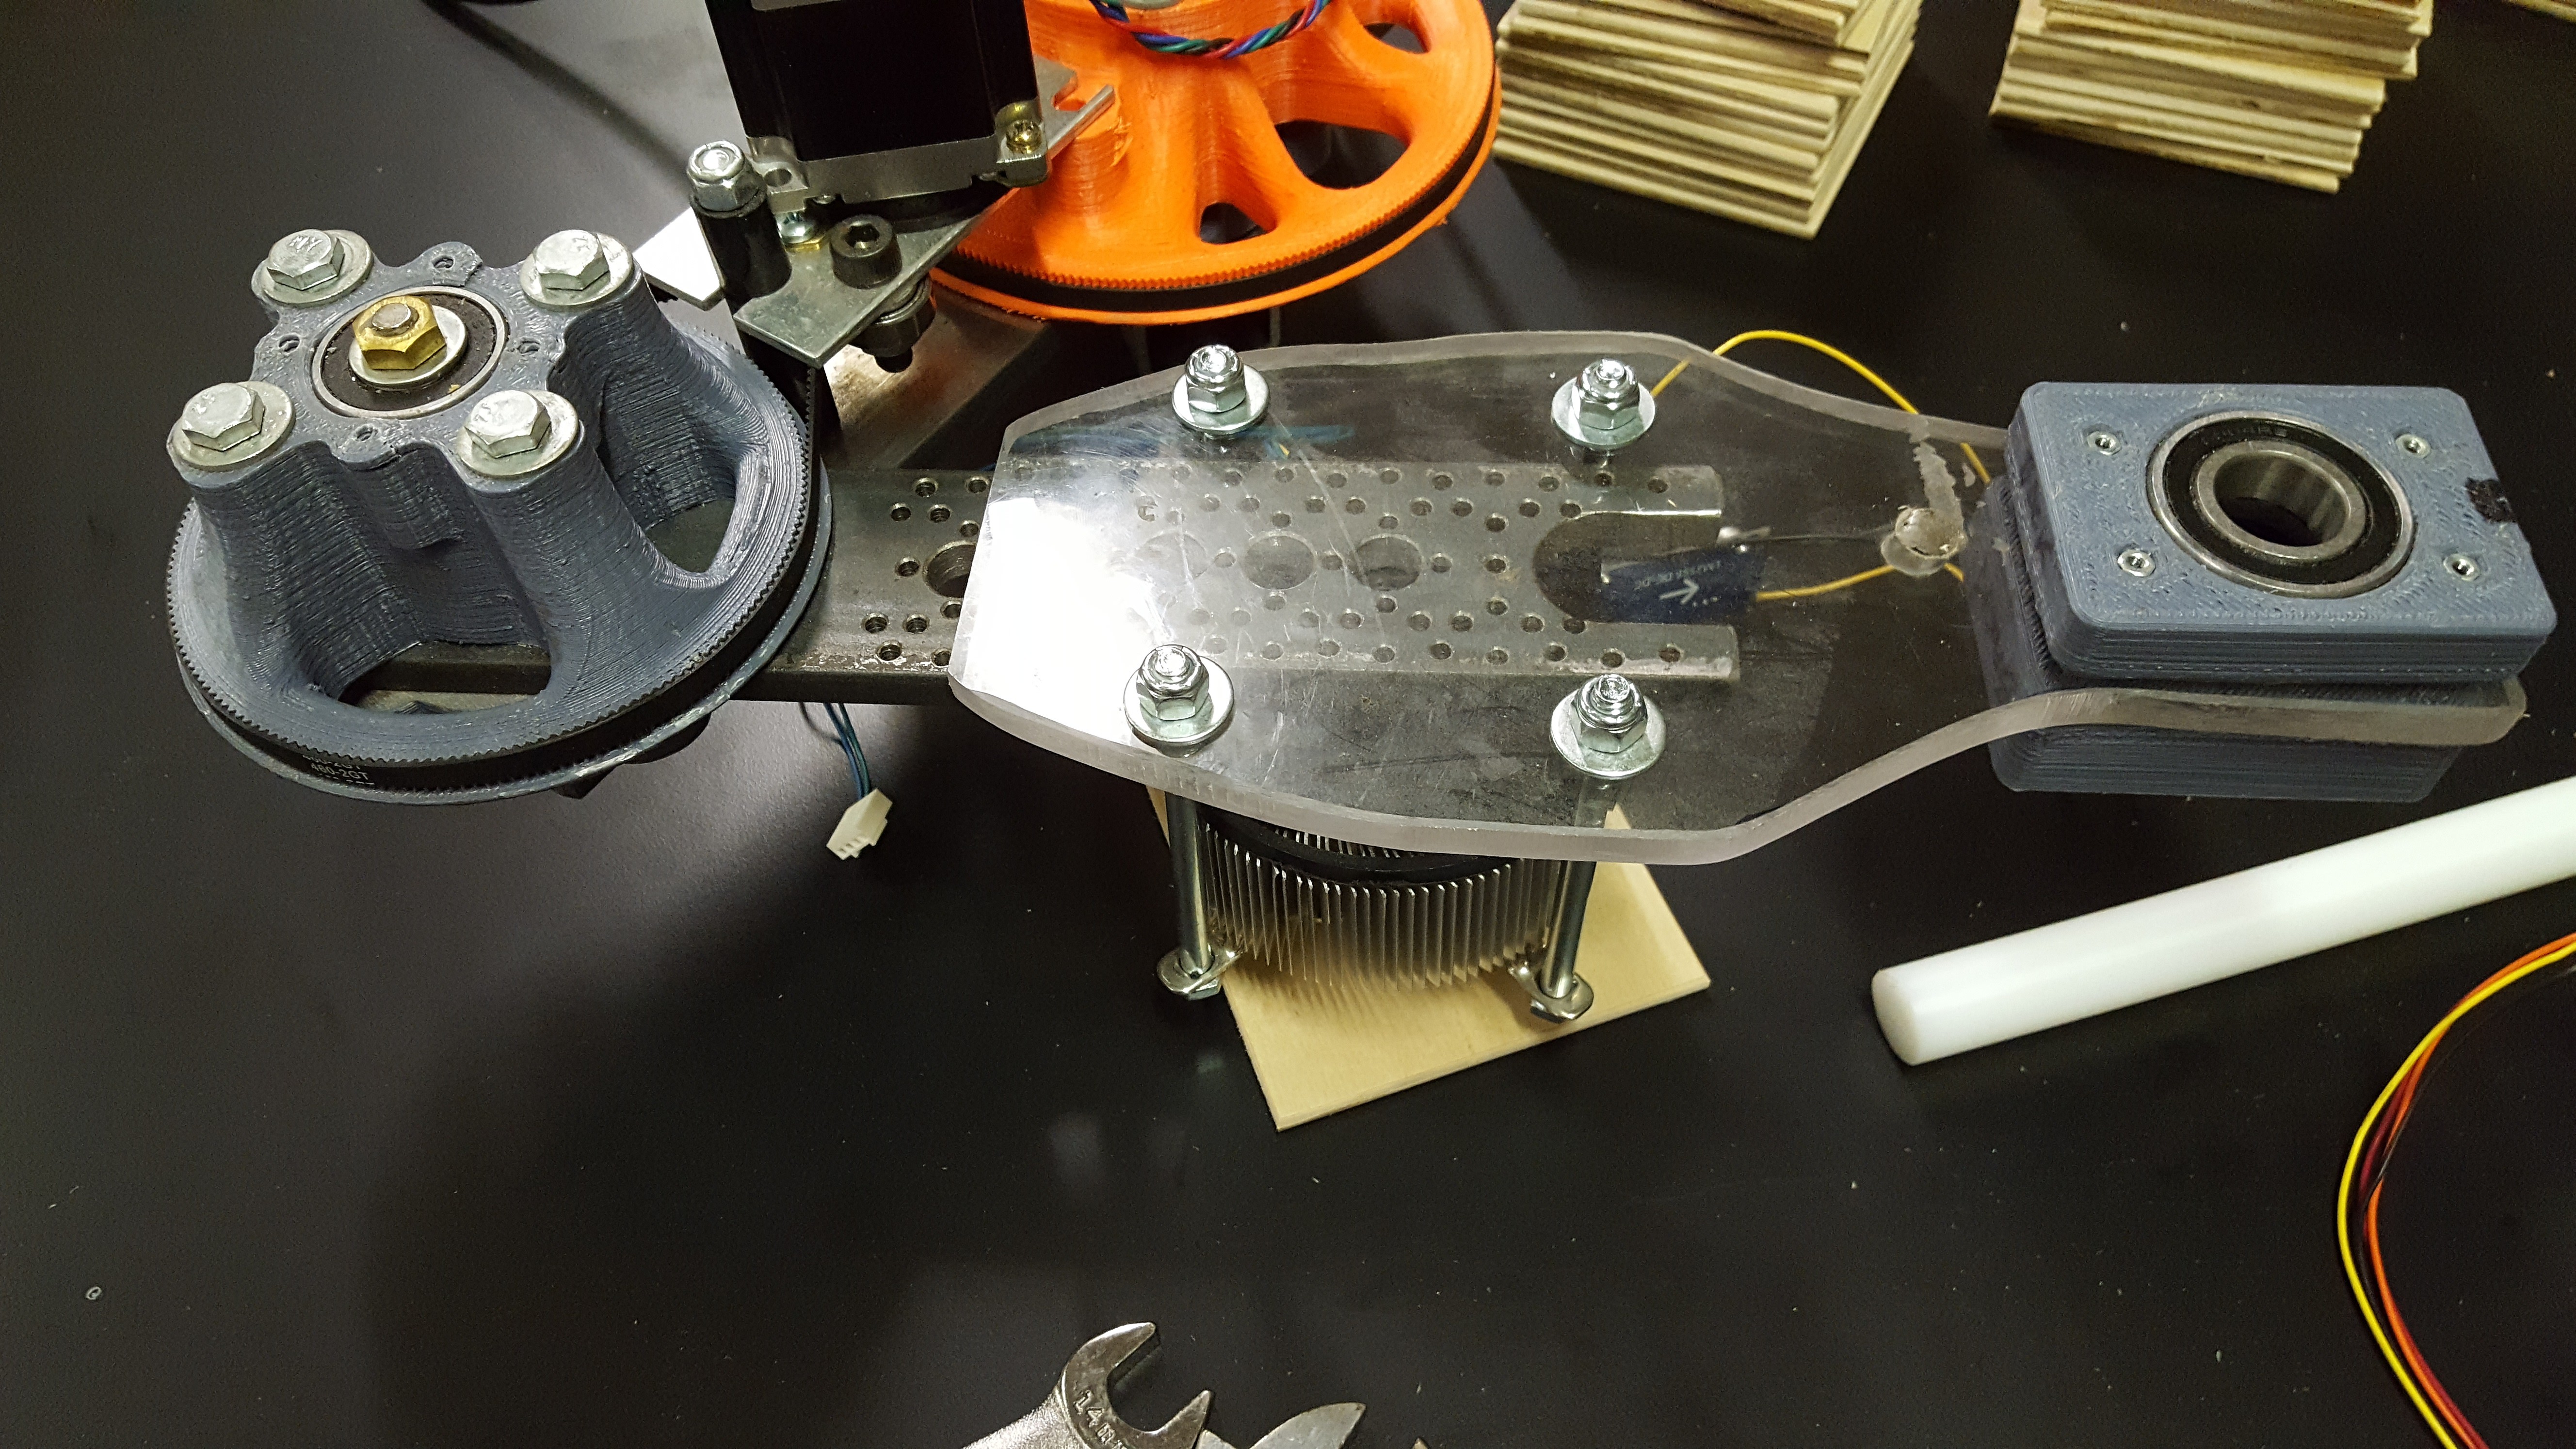
I drilled holes in the CPU cooler mounts and the piece of polycarbonate I would be using to make this toolhead.![]()
Measuring the distances for the 4th axis that would later hold the vacuum gripper that will pick and place the coasters.![]()
All measured and cutting off the pieces that are not needed.![]()
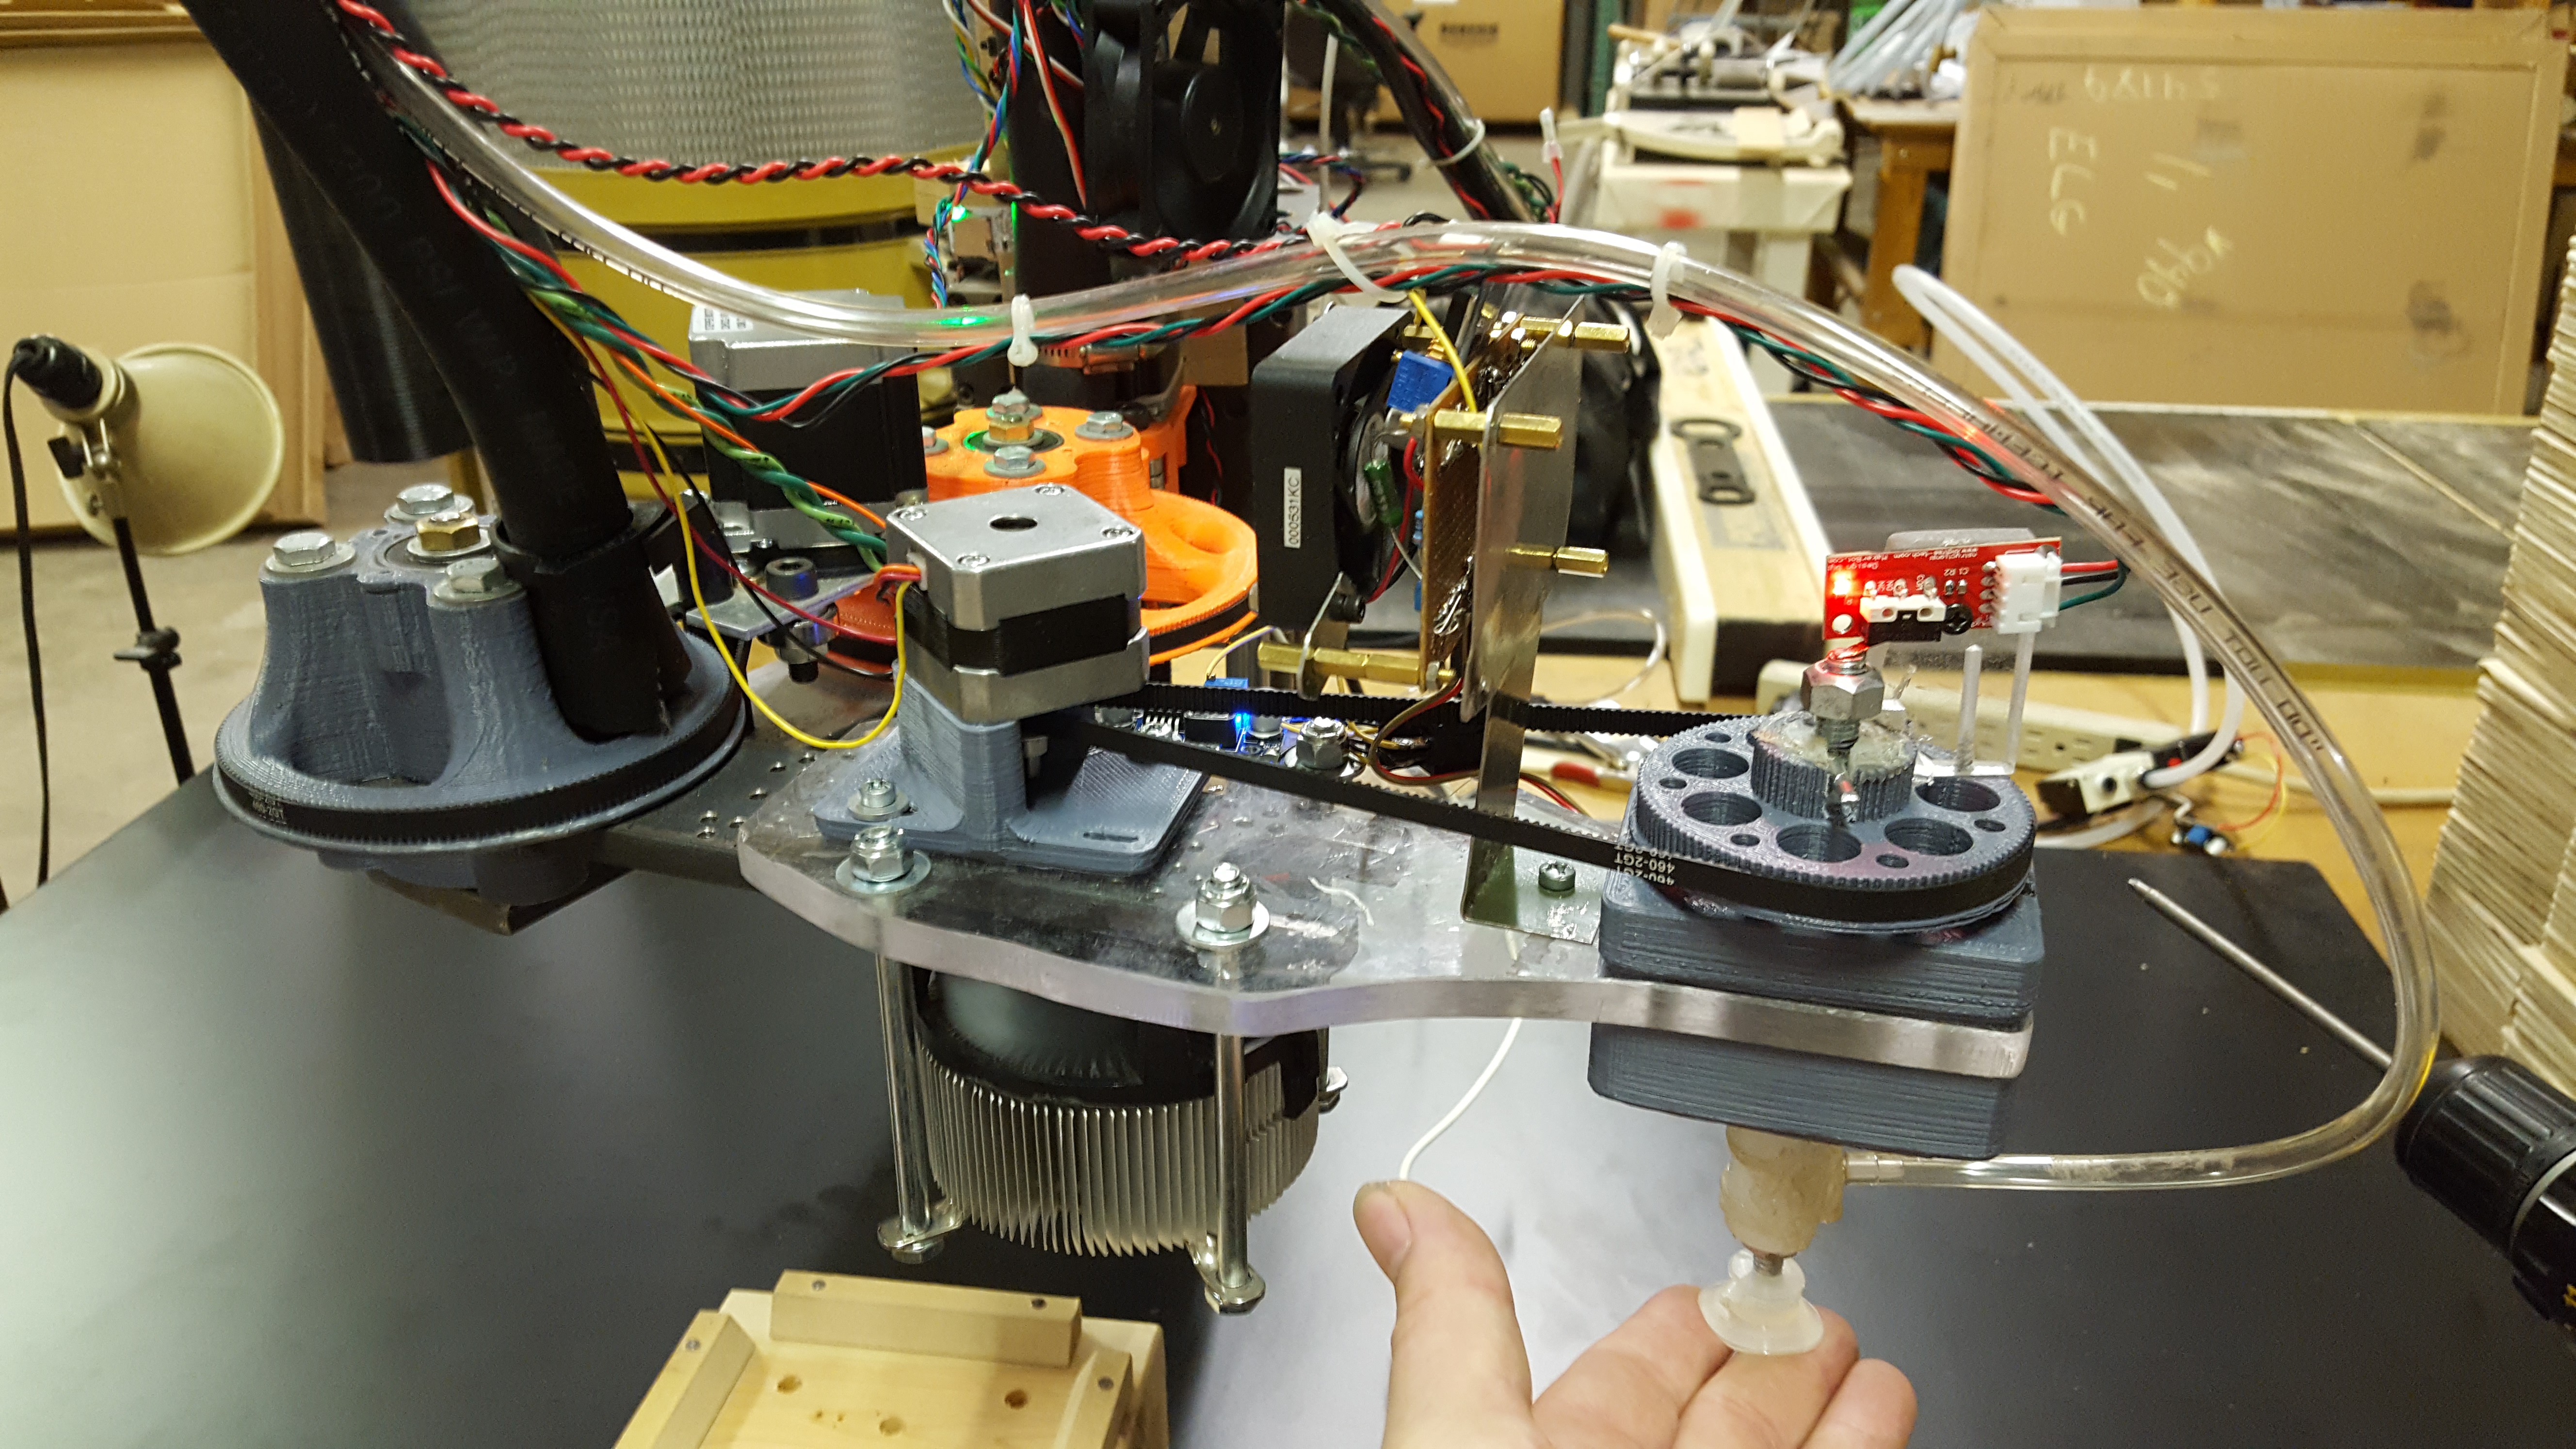
Doing my first dry fit. I think this will work well.![]()
Measuring and attaching the 4th axis motor.![]()
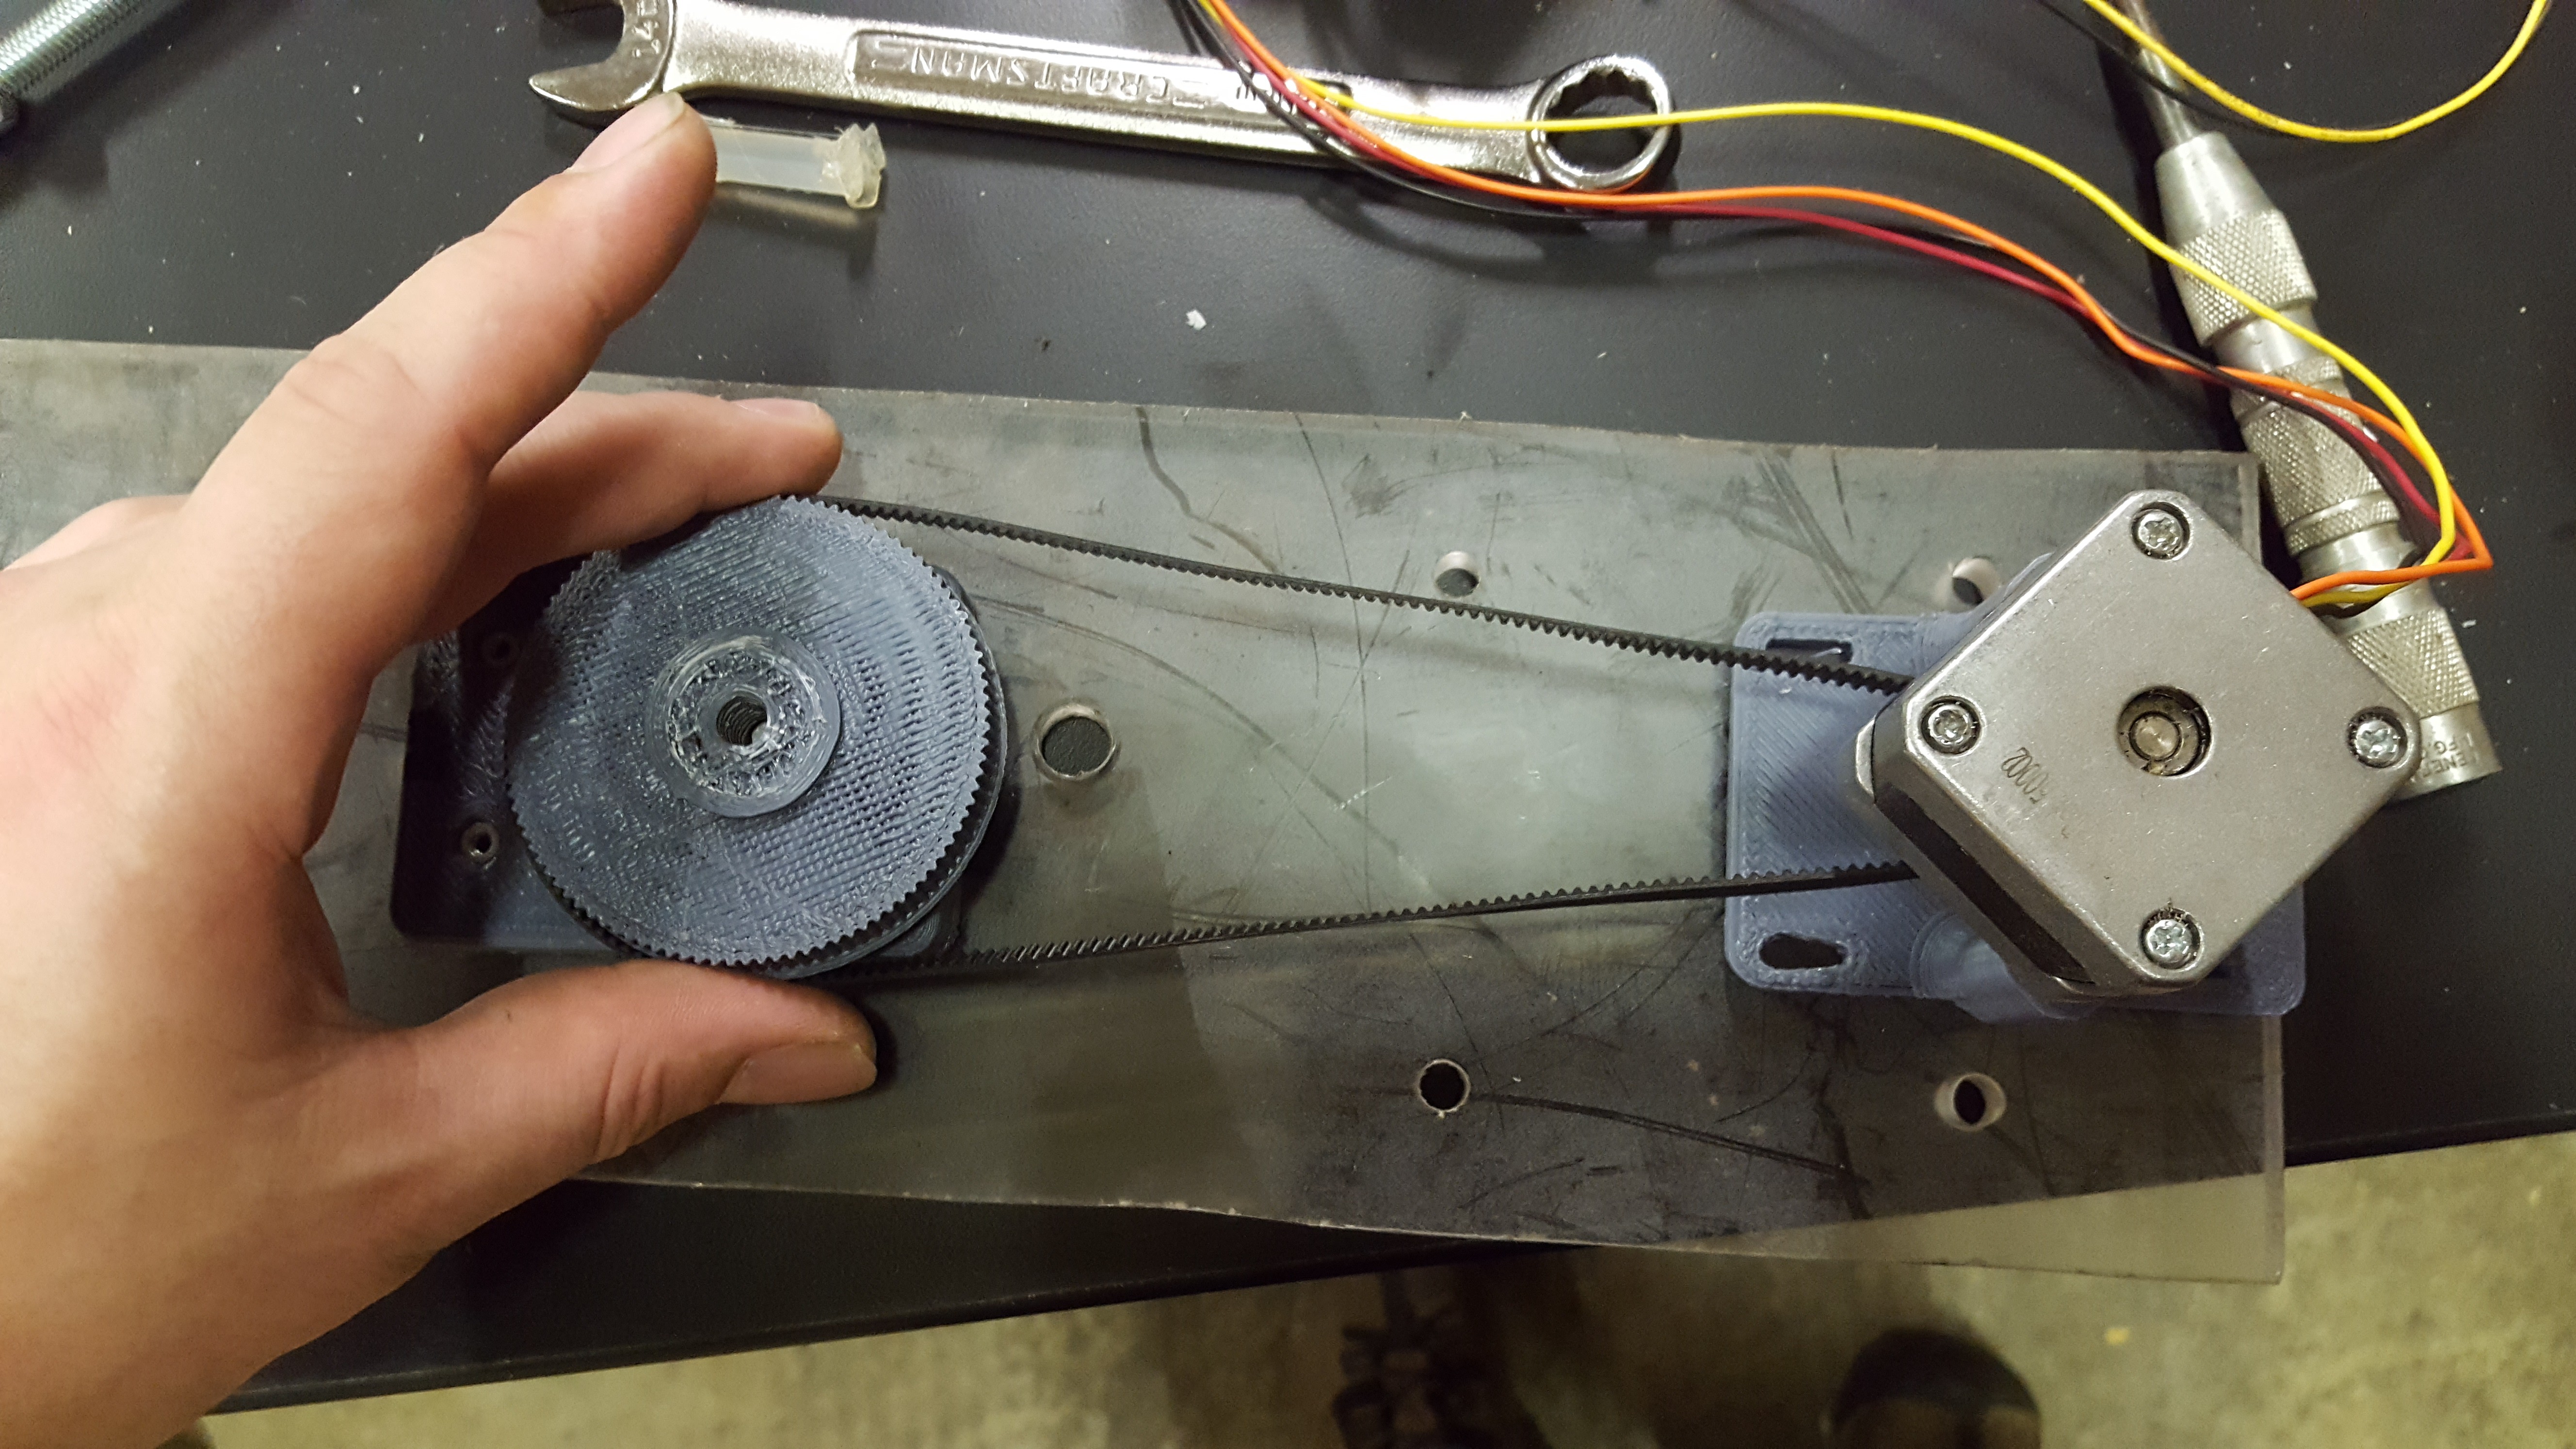
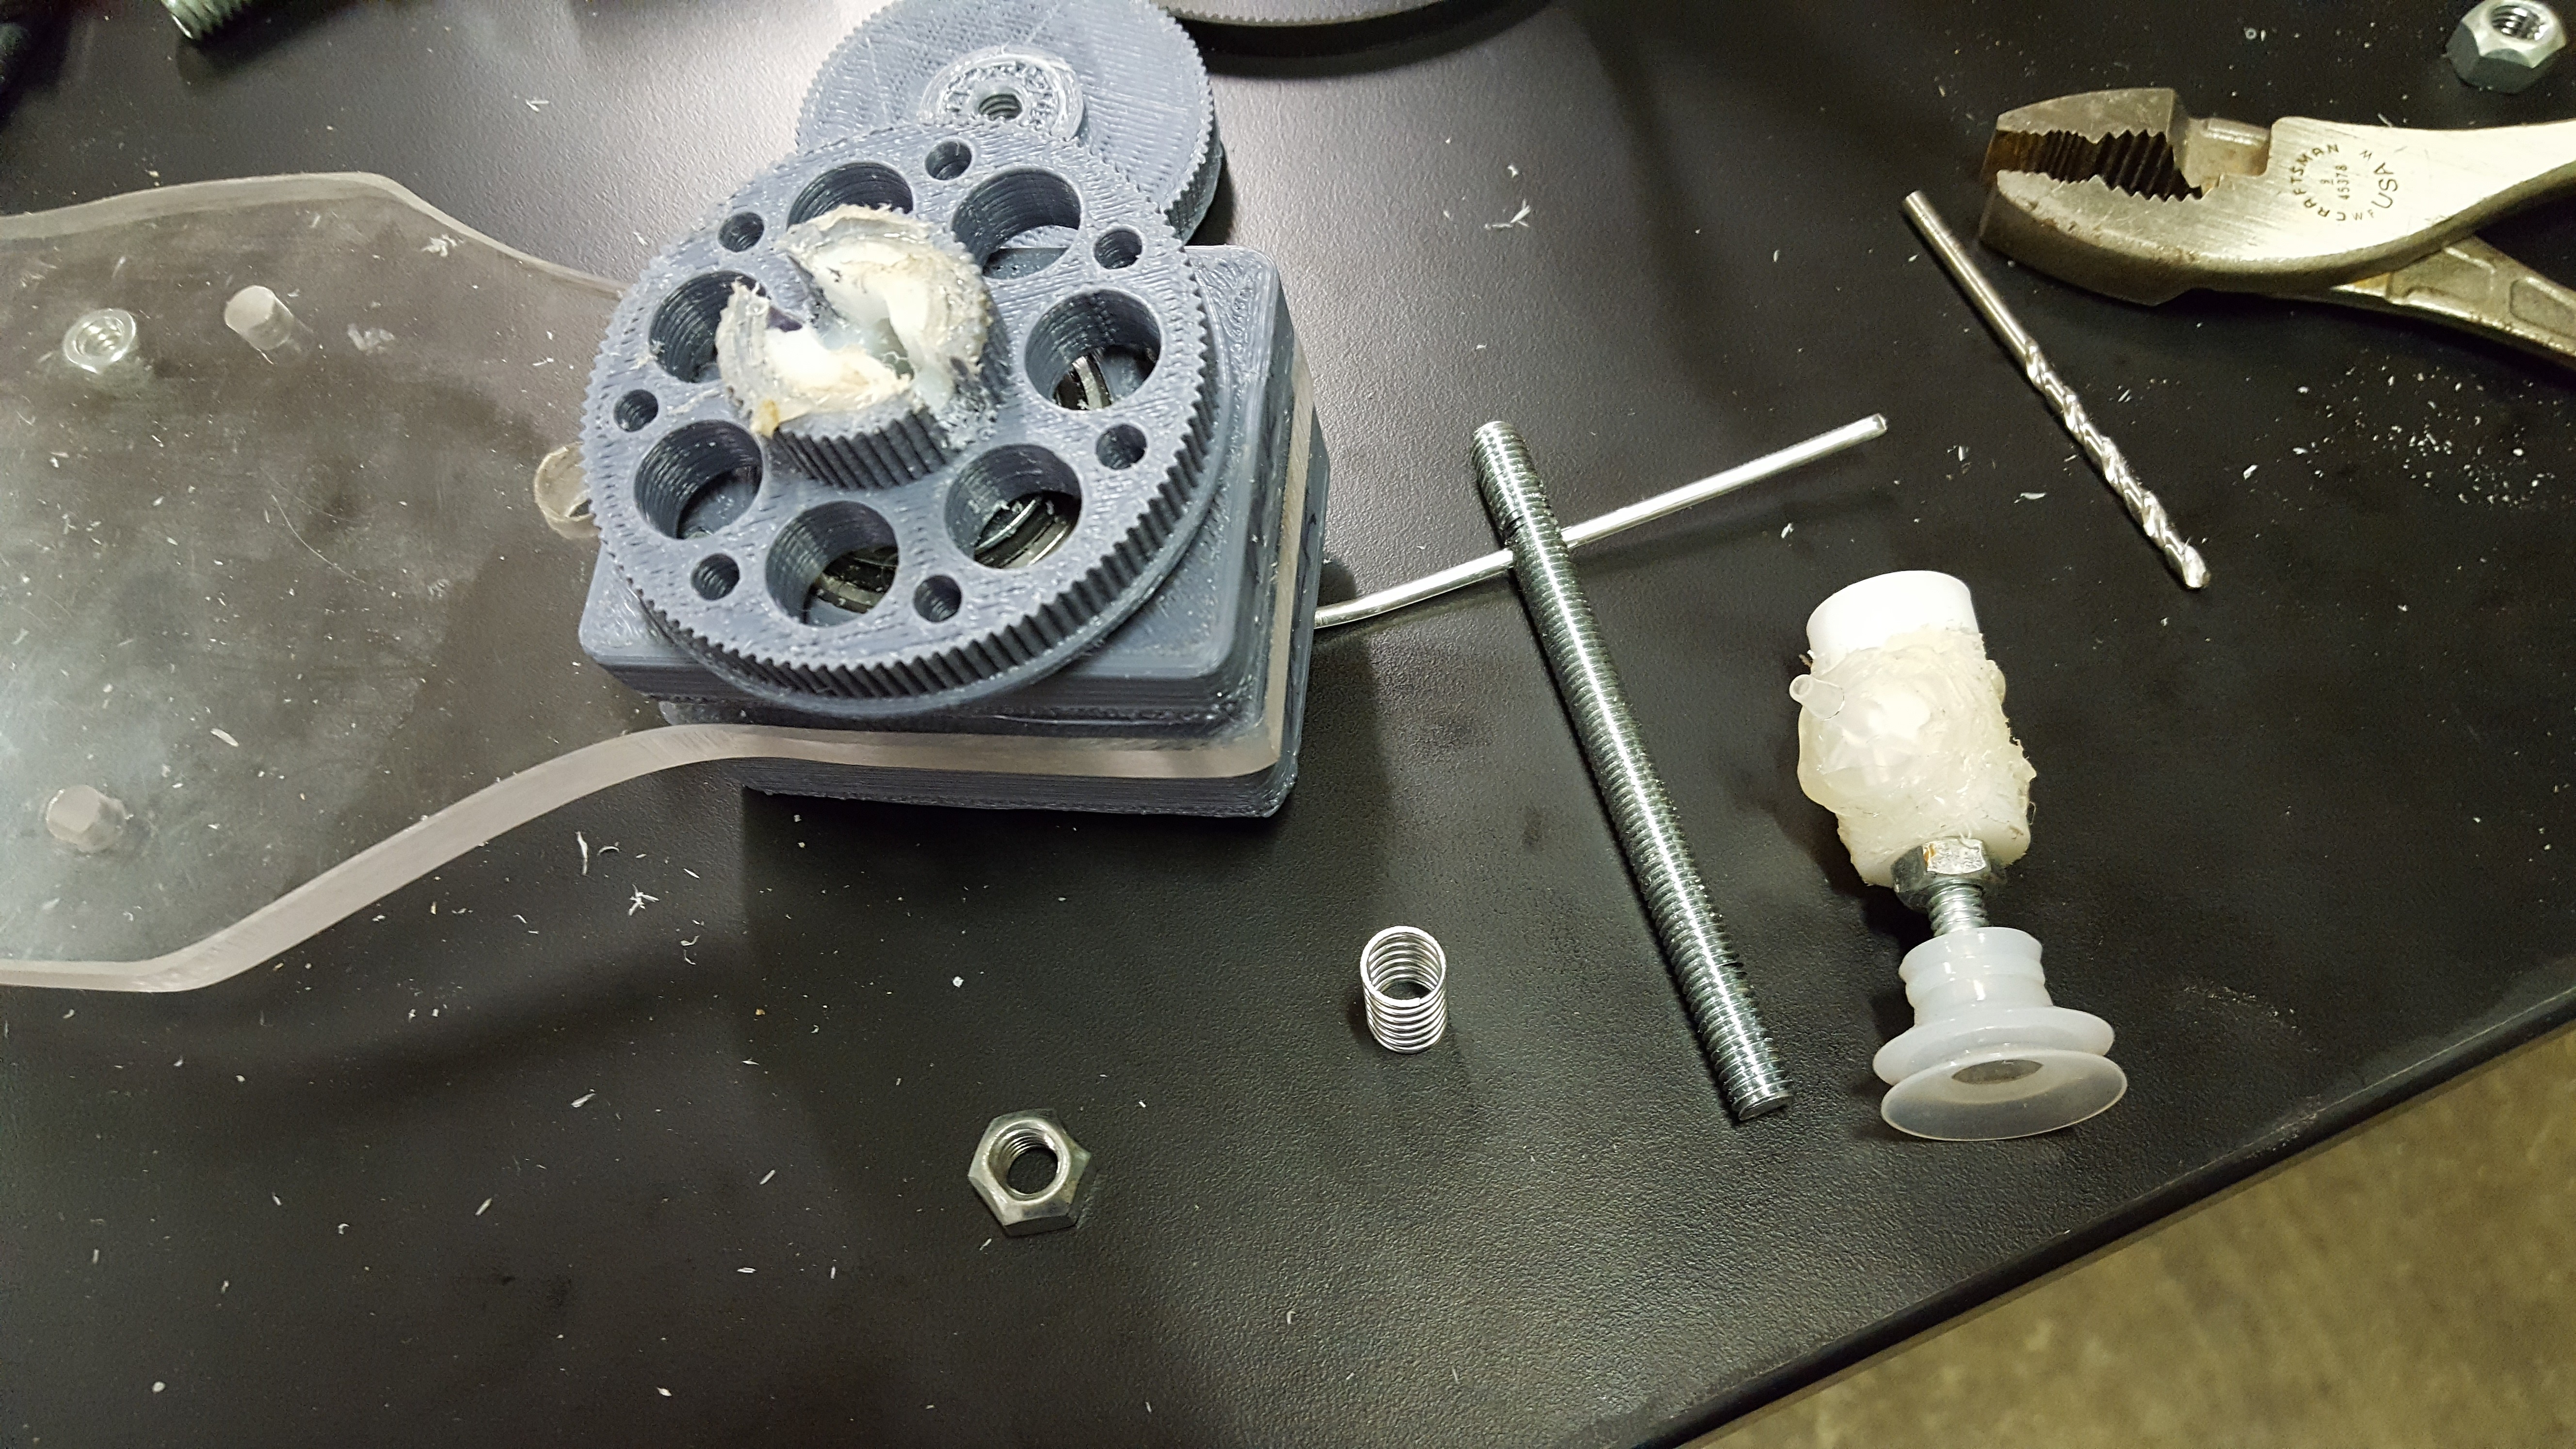
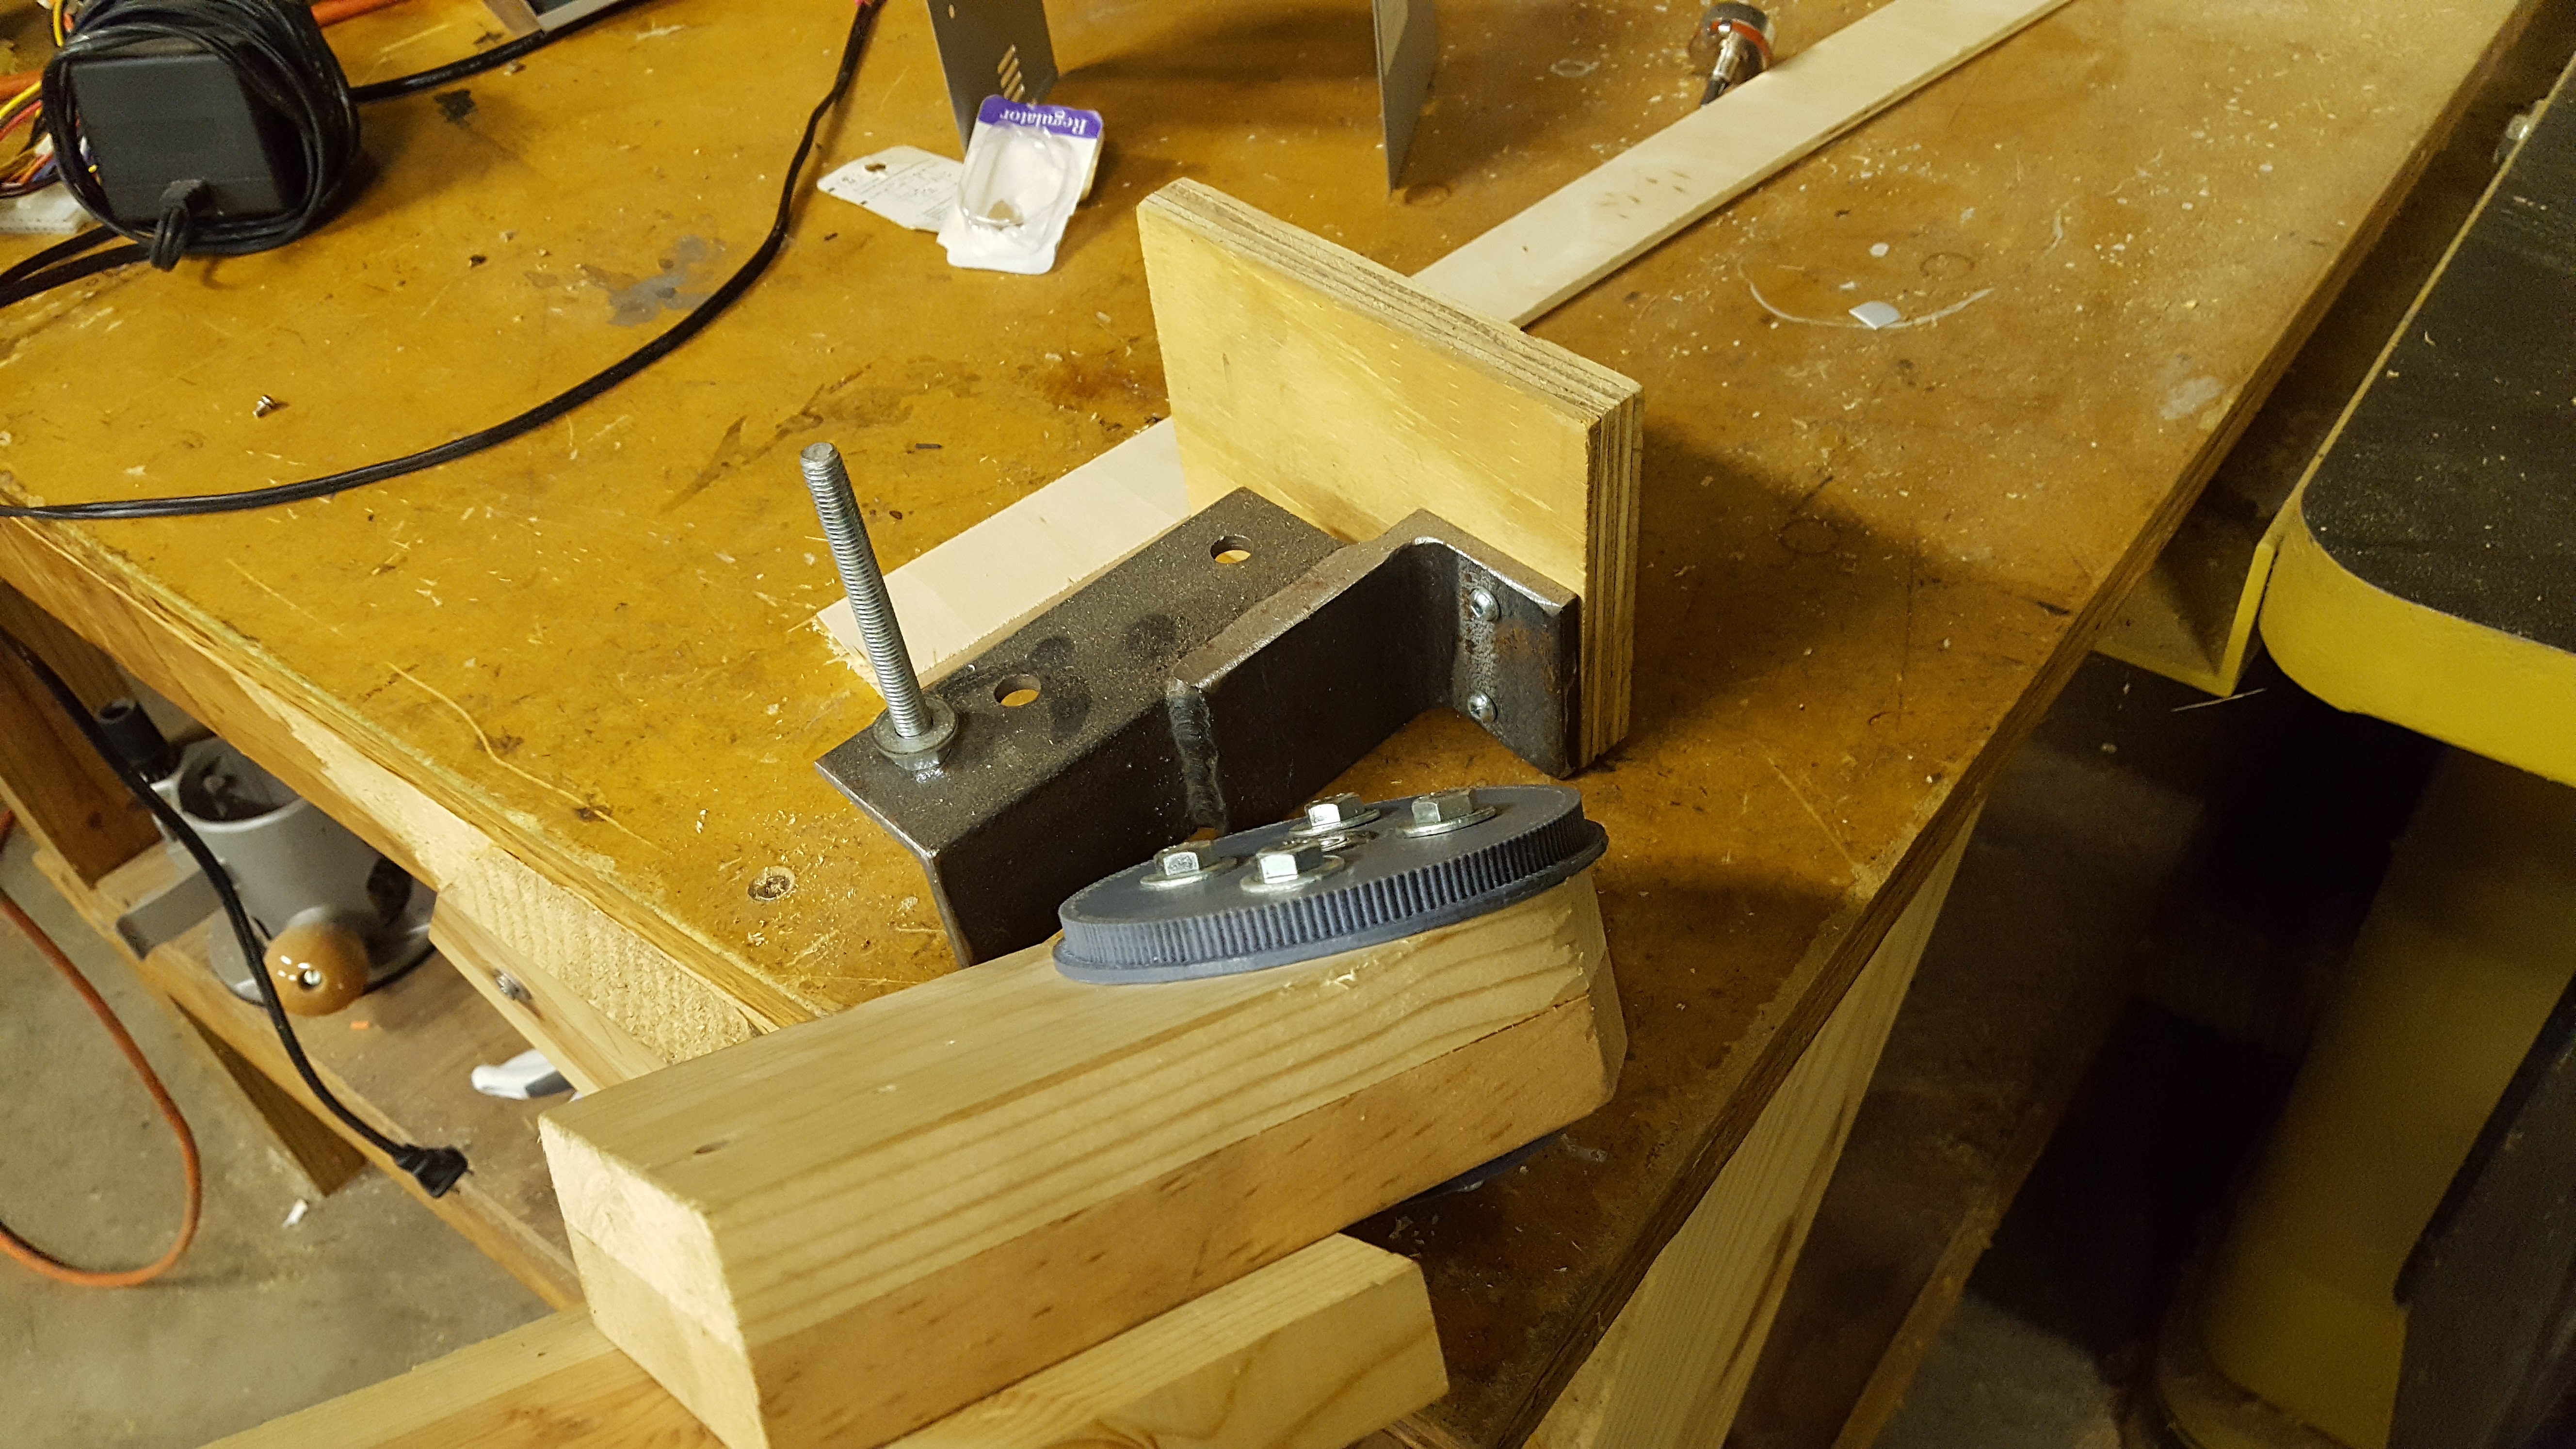
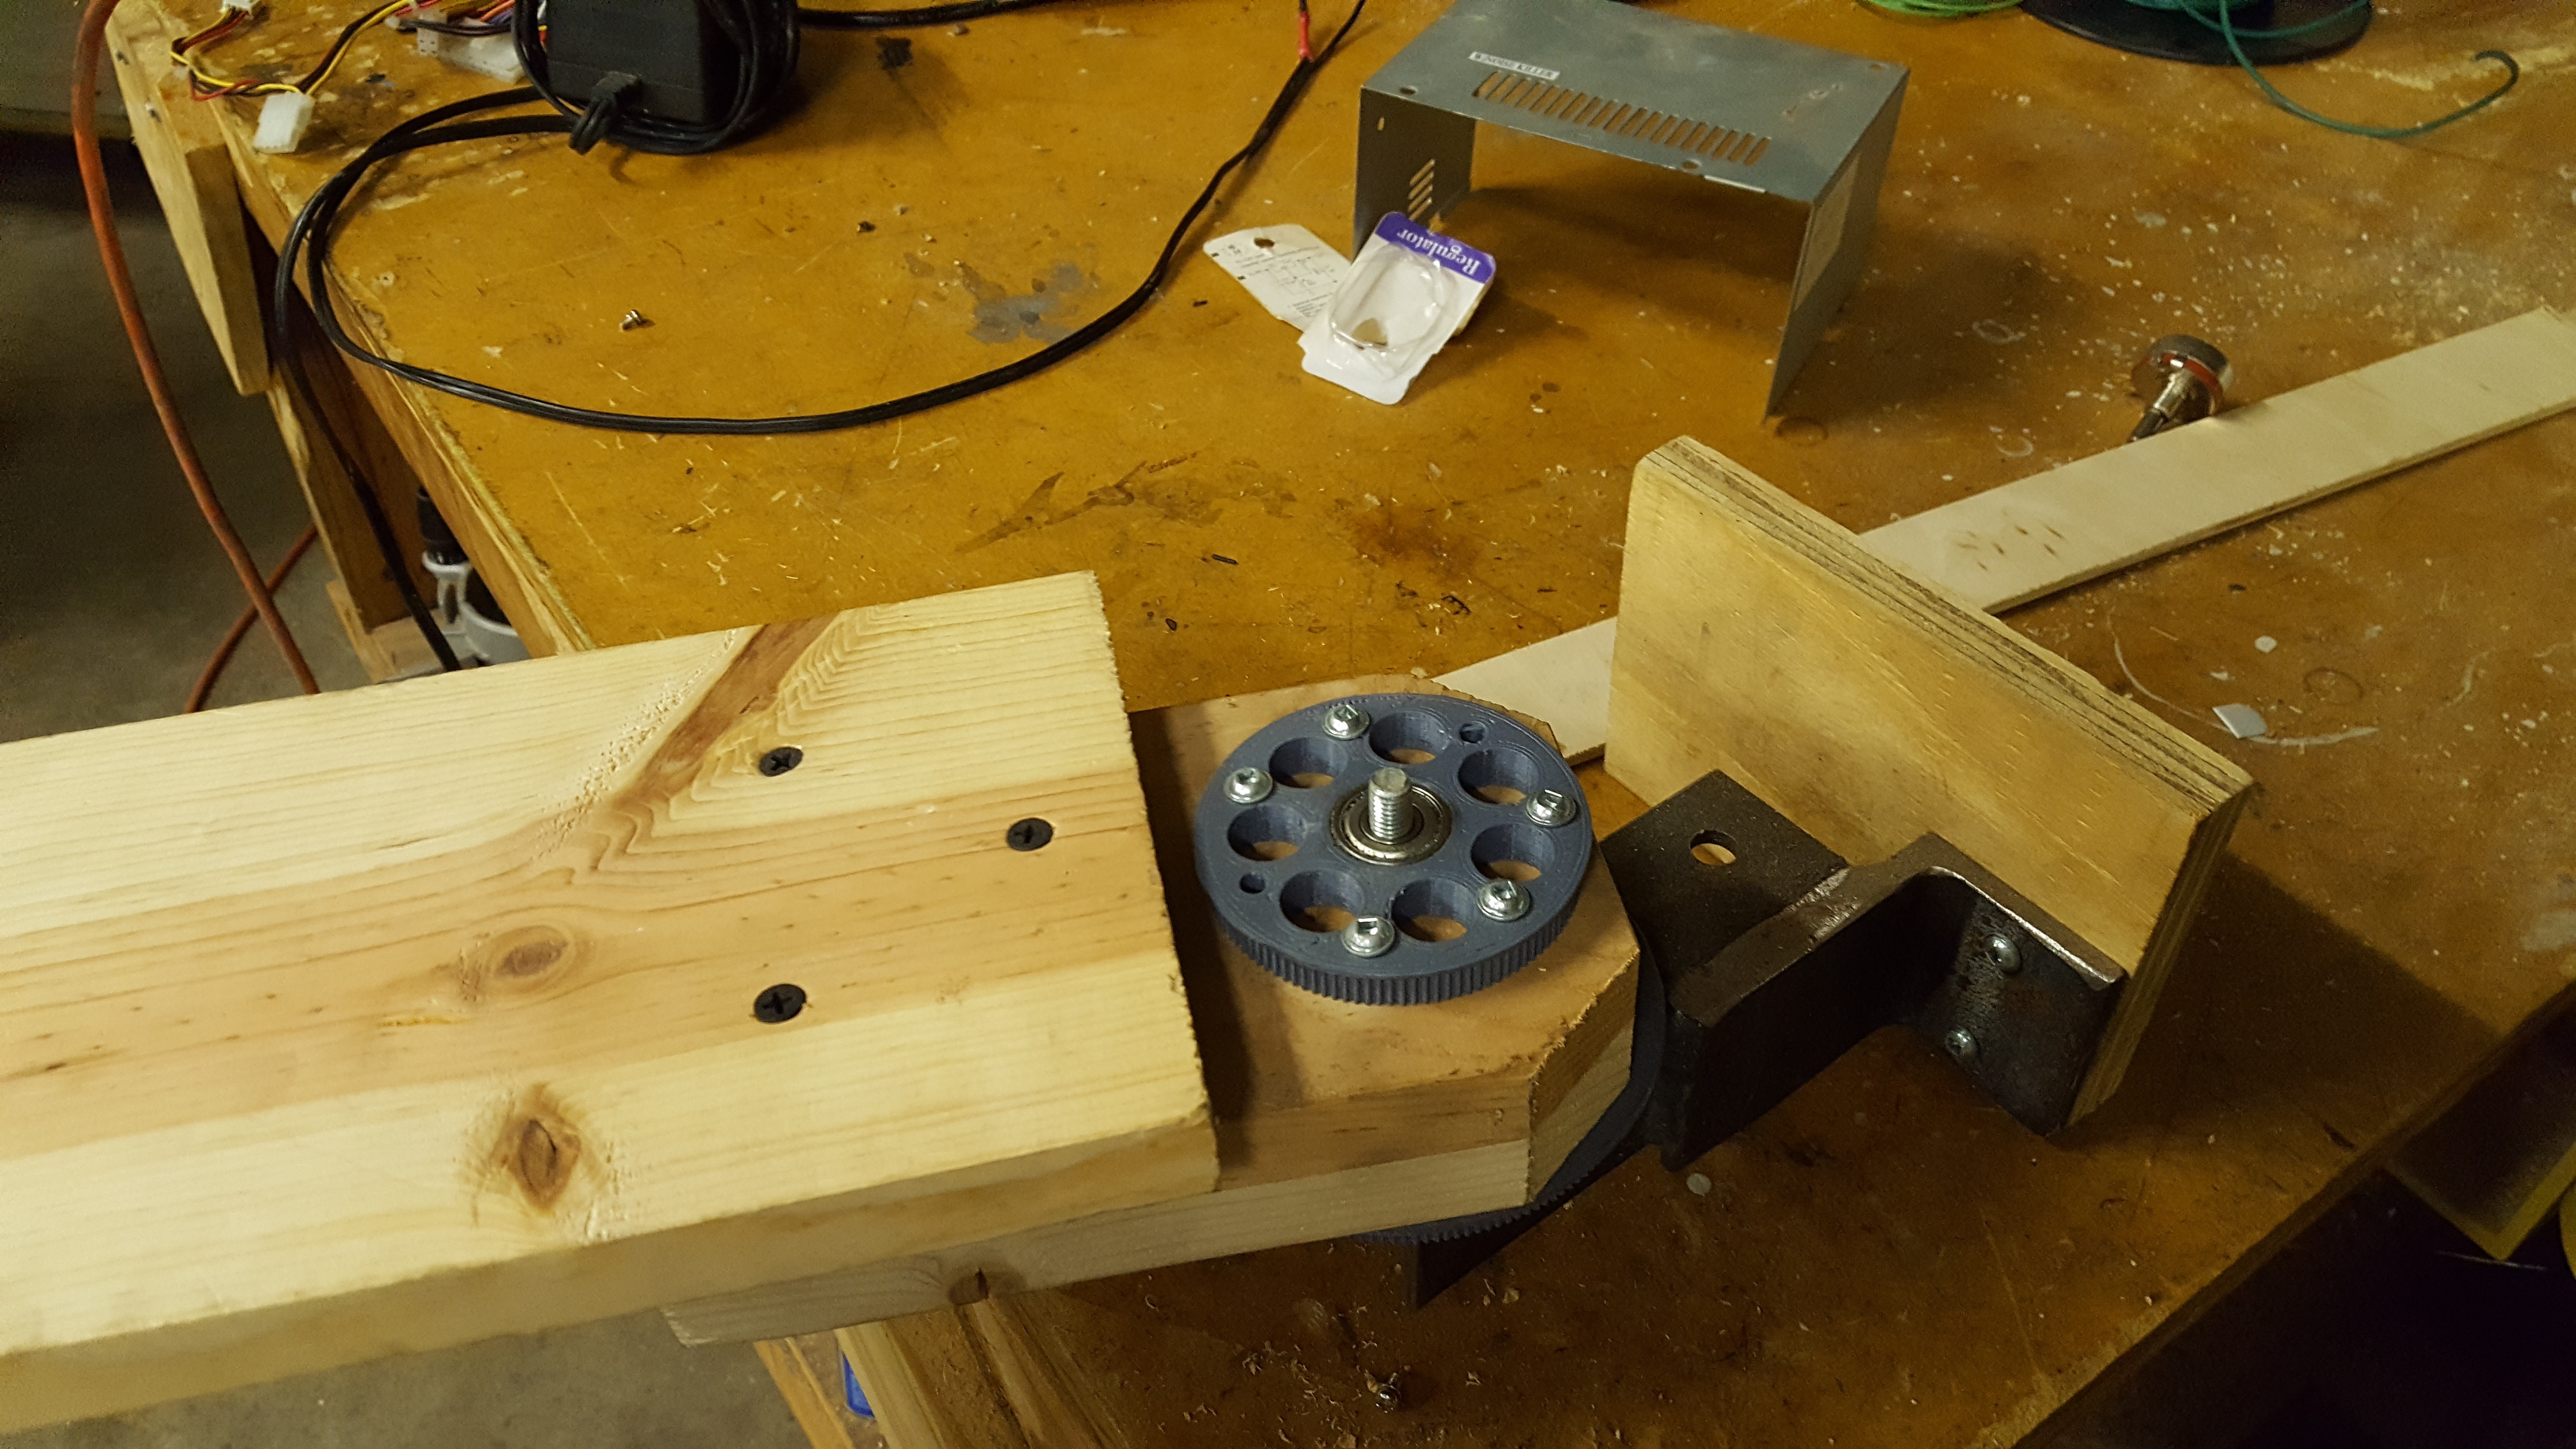
I retrofitted an old pulley I used for a previous project after I![]()
accidentally broke the smaller pulley you see above and behind. In the
end it was a good thing, I had to use the other pulley anyway.
The suction cup is spring loaded to know when it's hit the top of a![]()
pile. Whenever possible I like to program my robots like a drunk
walking down a hallway ;)
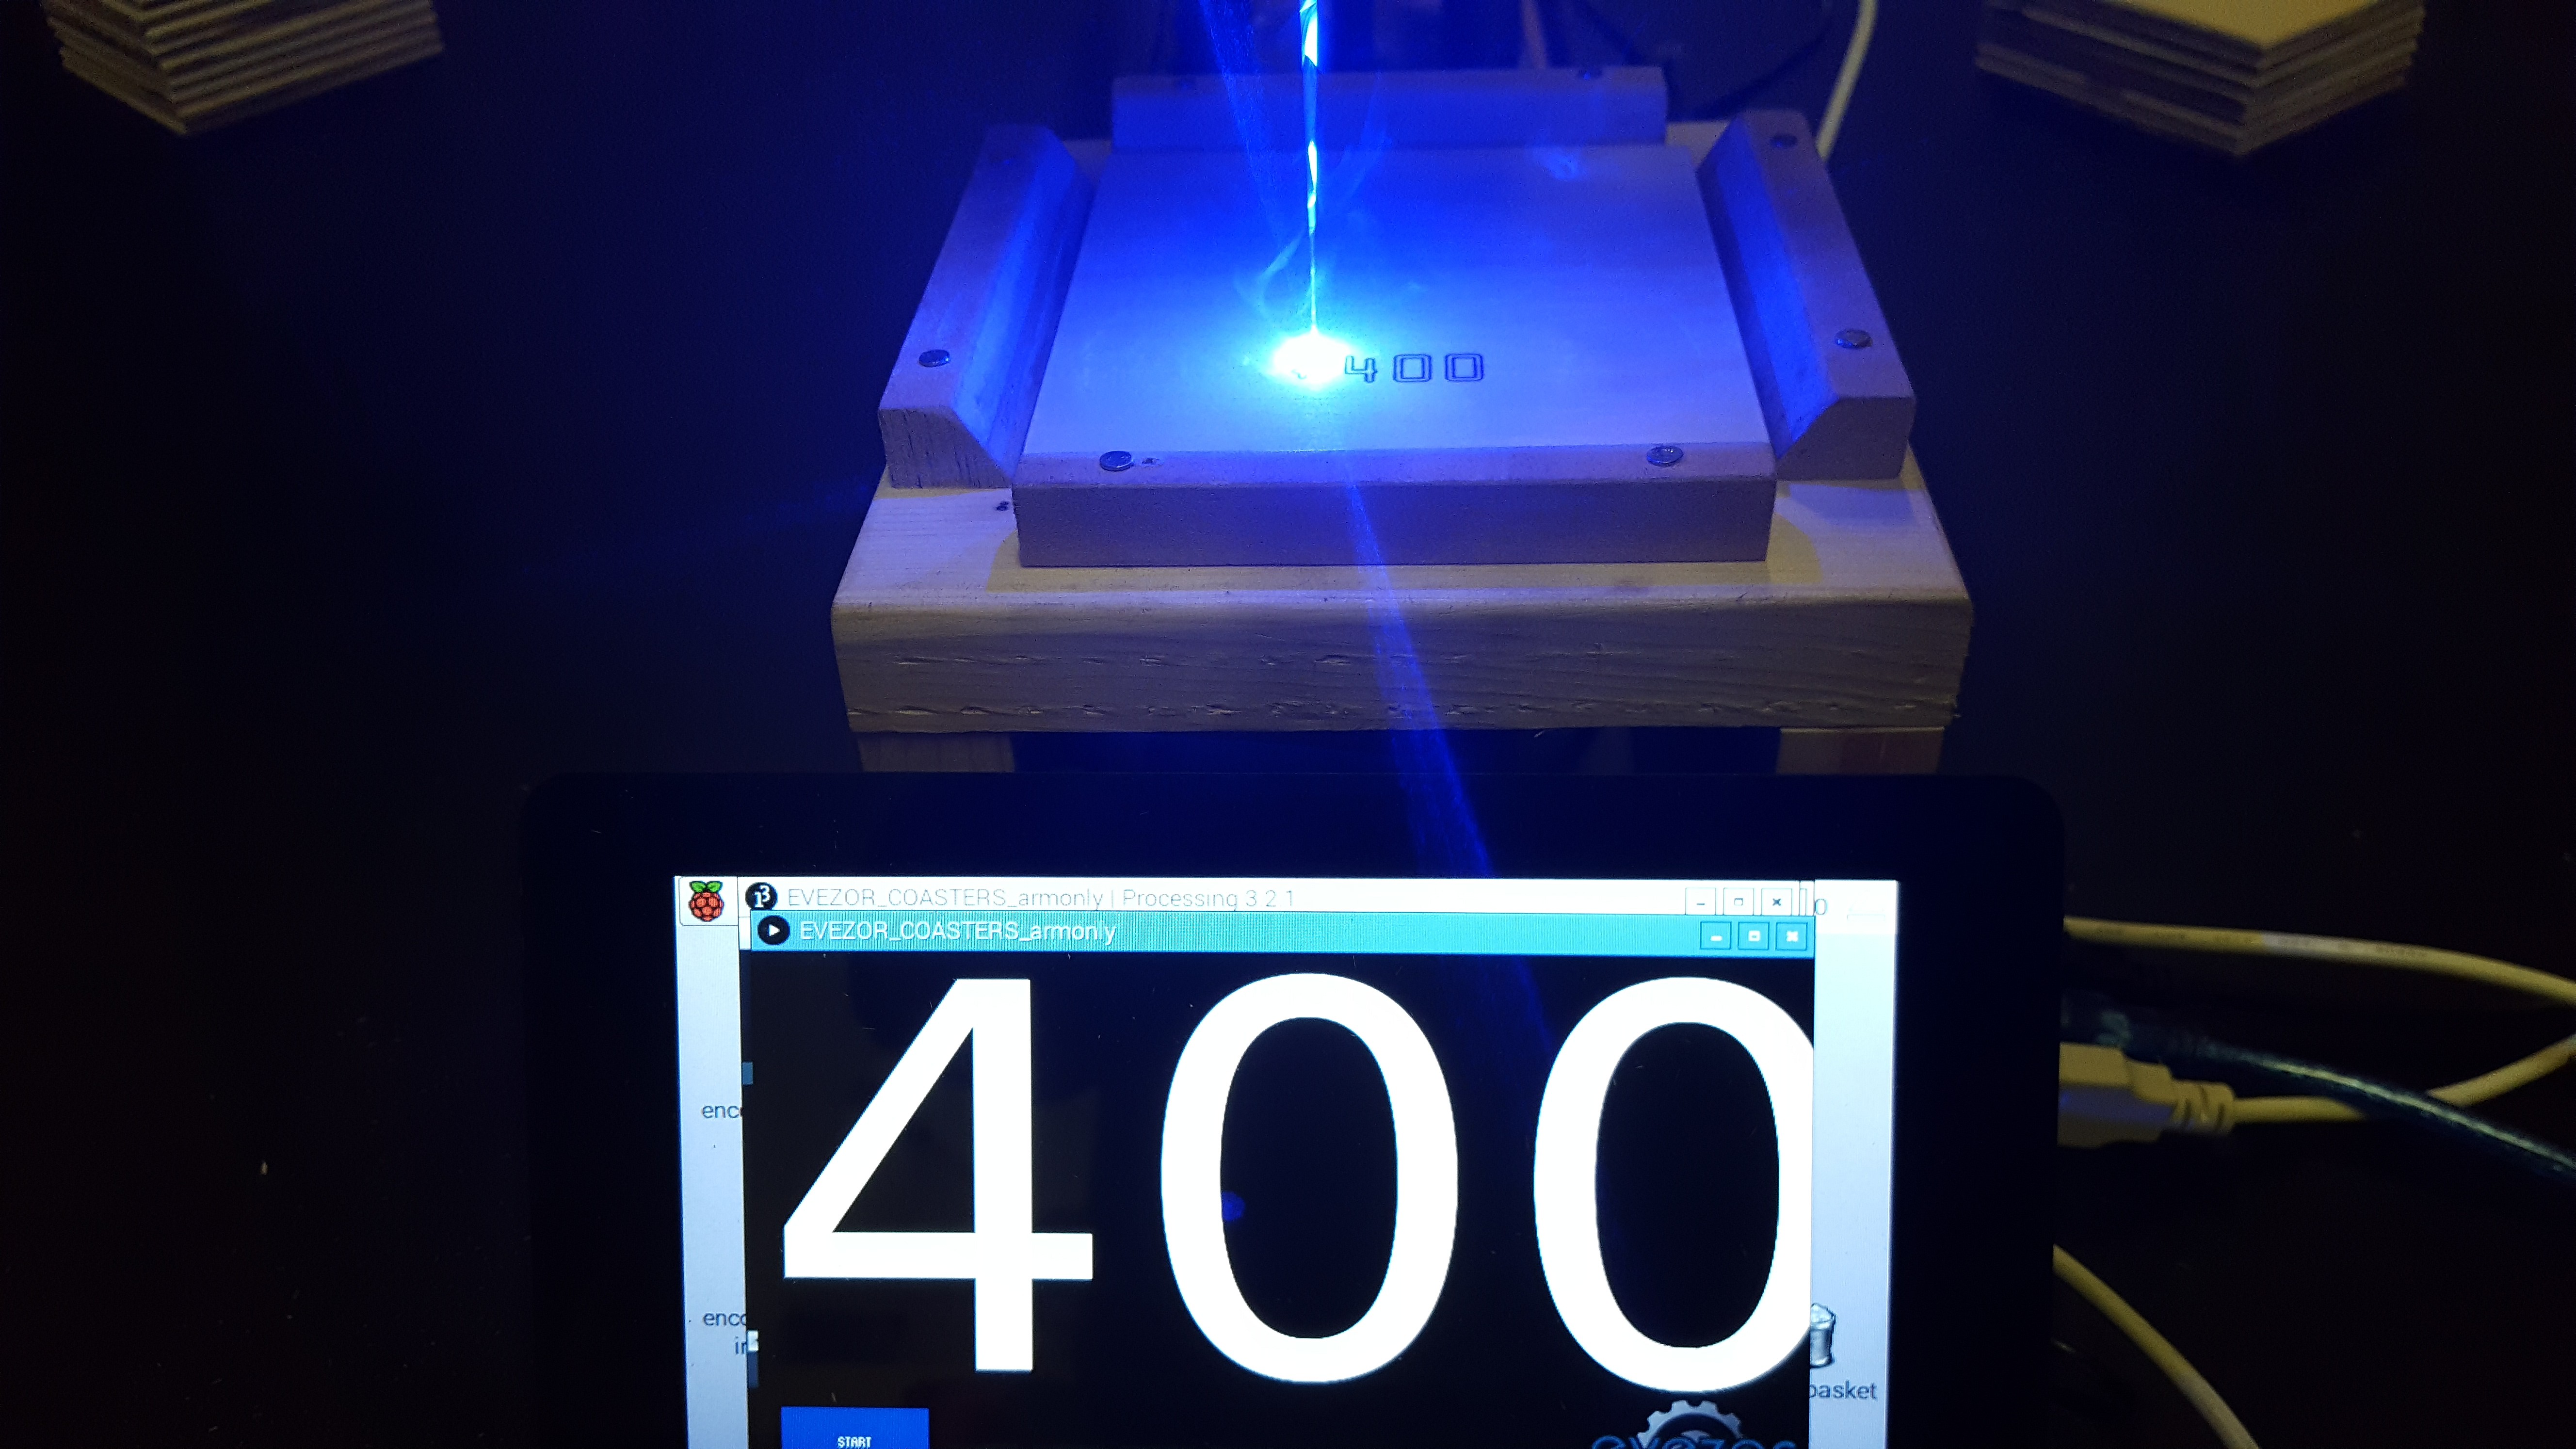
Bringing in the Raspberries :)![]()
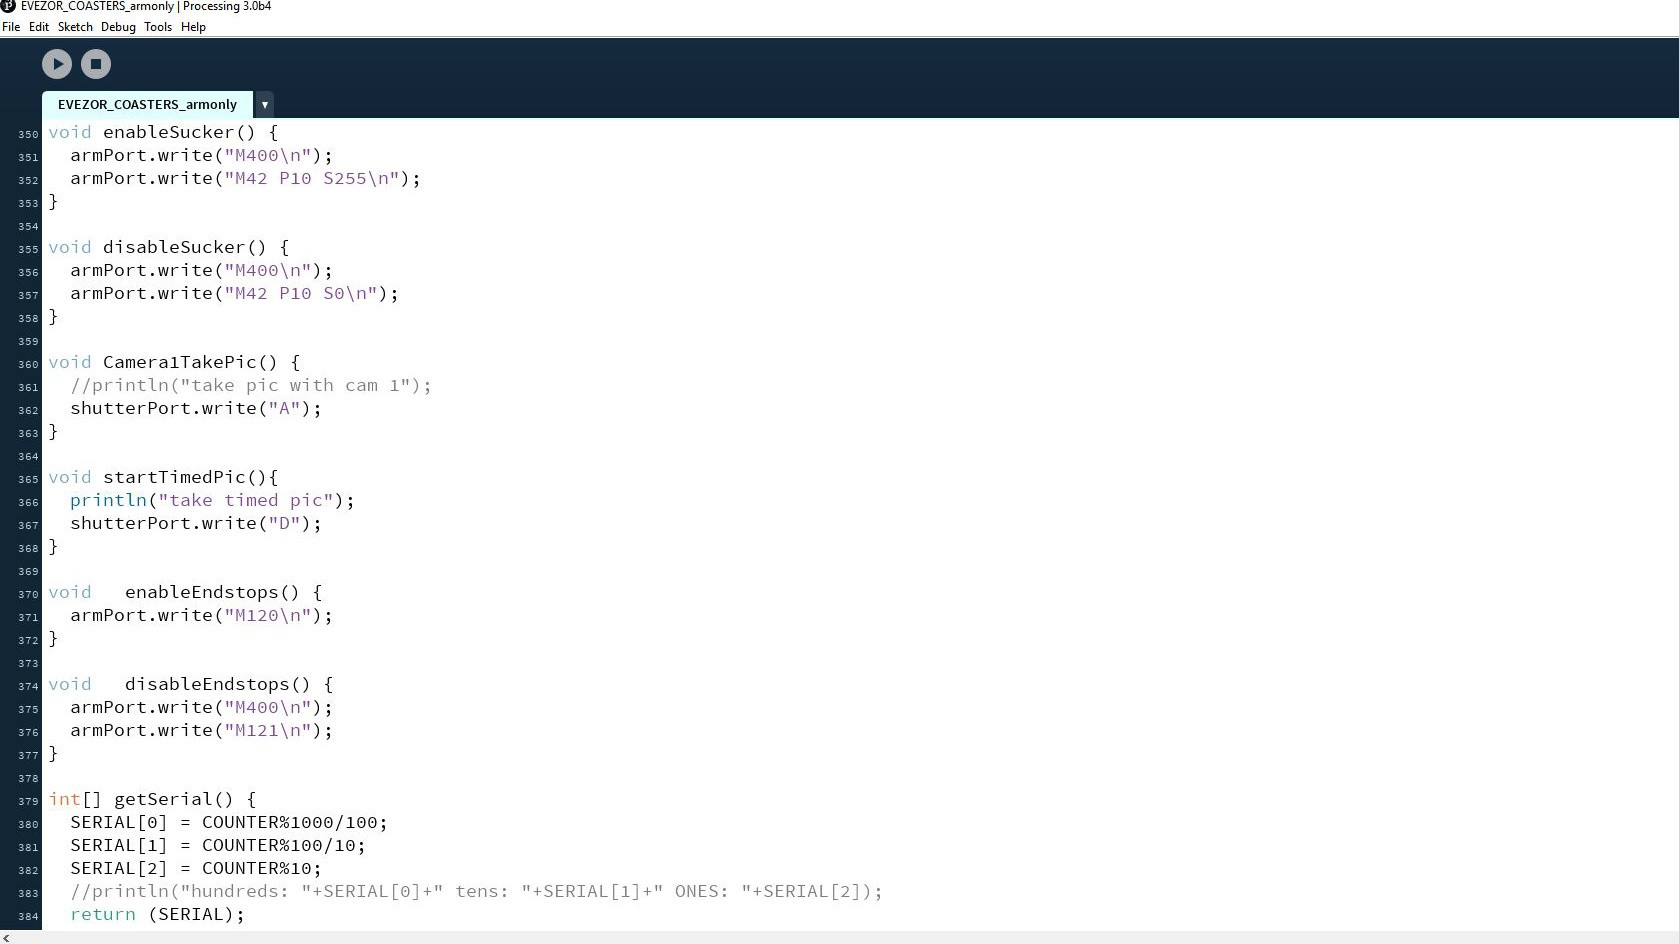
This is pretty much the most important part of the Processing script that ran the whole job.![]()
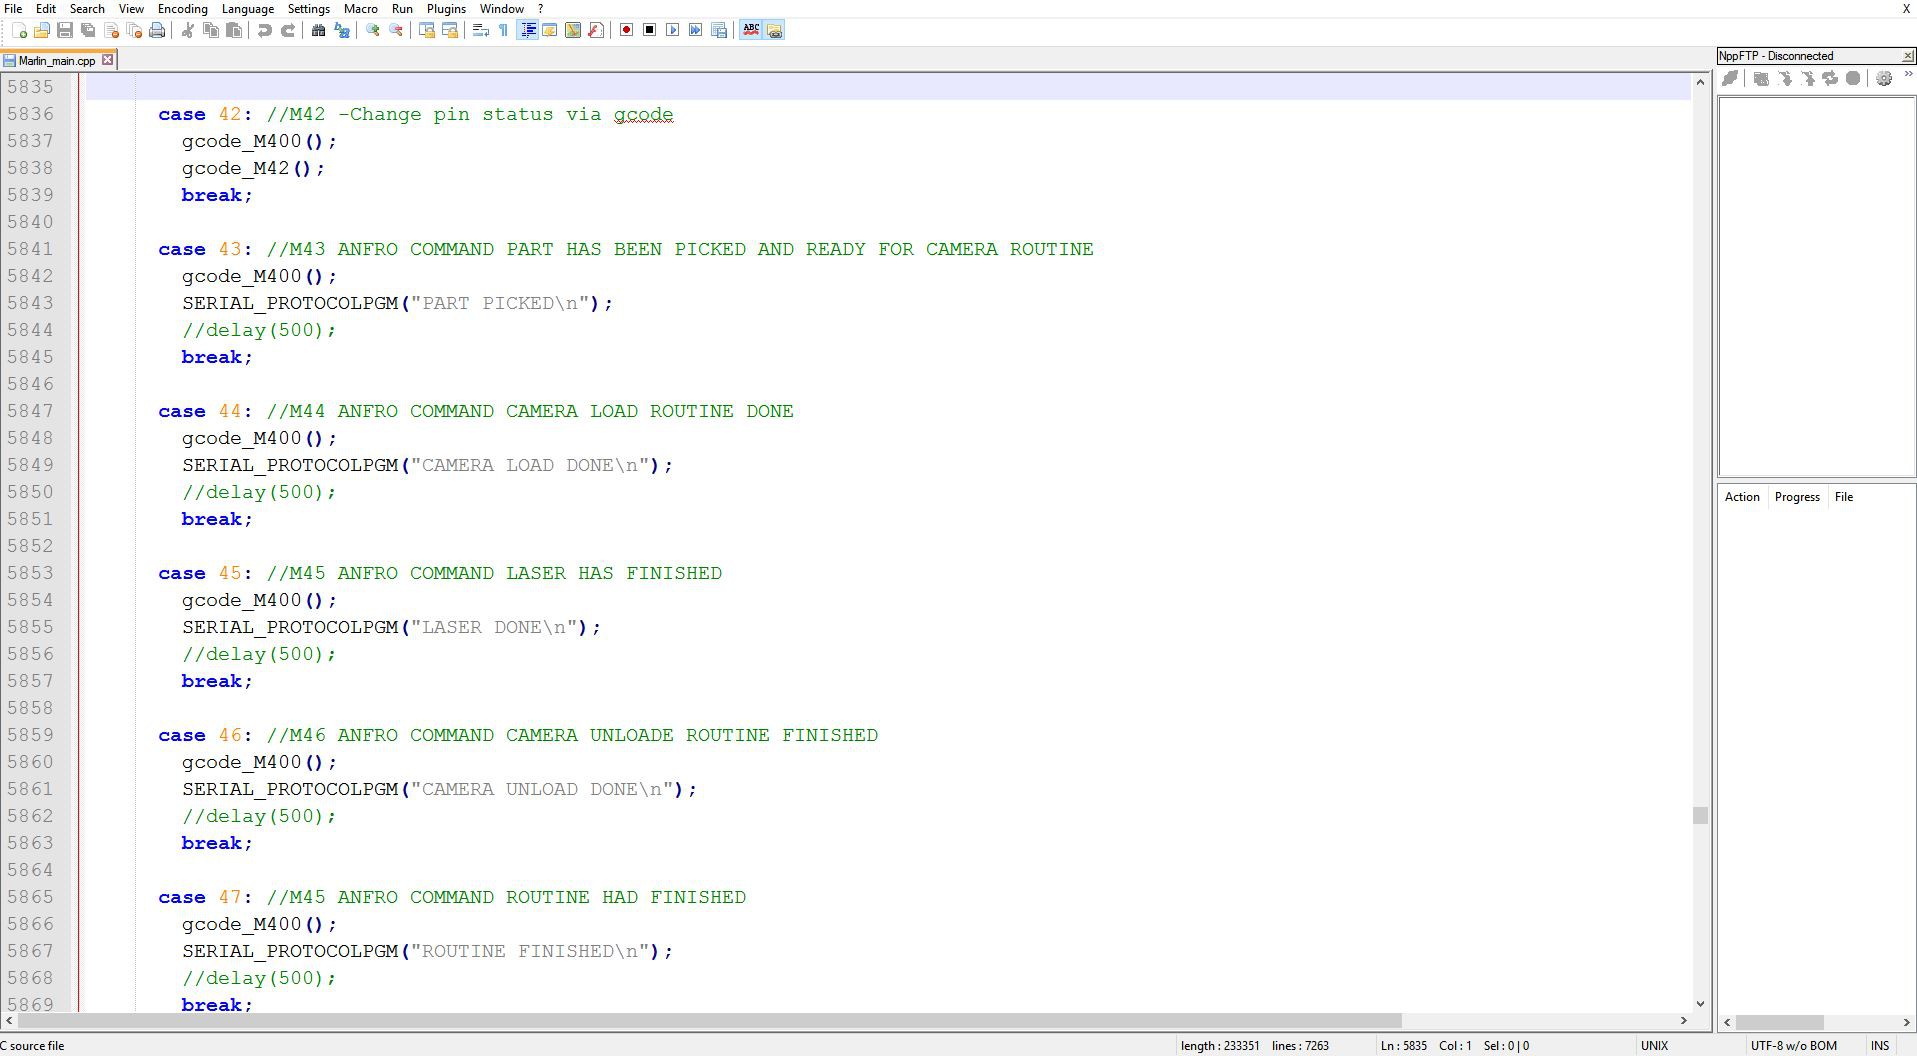
The arm was running Marlin at this point and I made some special M![]()
codes that would send strings out the serial port on command. The
M400() calls finish every move that's in the buffer and the
SERIAL_PROTOCOLPGM("XXXXX") commands send a string to the Raspberry Pi
which is running the whole job.
![]()
This was actually the first prototype for the evezor arm. I call them NOtotypes (the minimum viable prototype that will test critical aspects of a part) It failed miserably but I learned what I needed to look for when designing the next iteration.
Same pieces I just had it on upside down.![]()
The sled is complete with 608zz ball bearings as wheels.![]()
I built the track the sled would run down.![]()
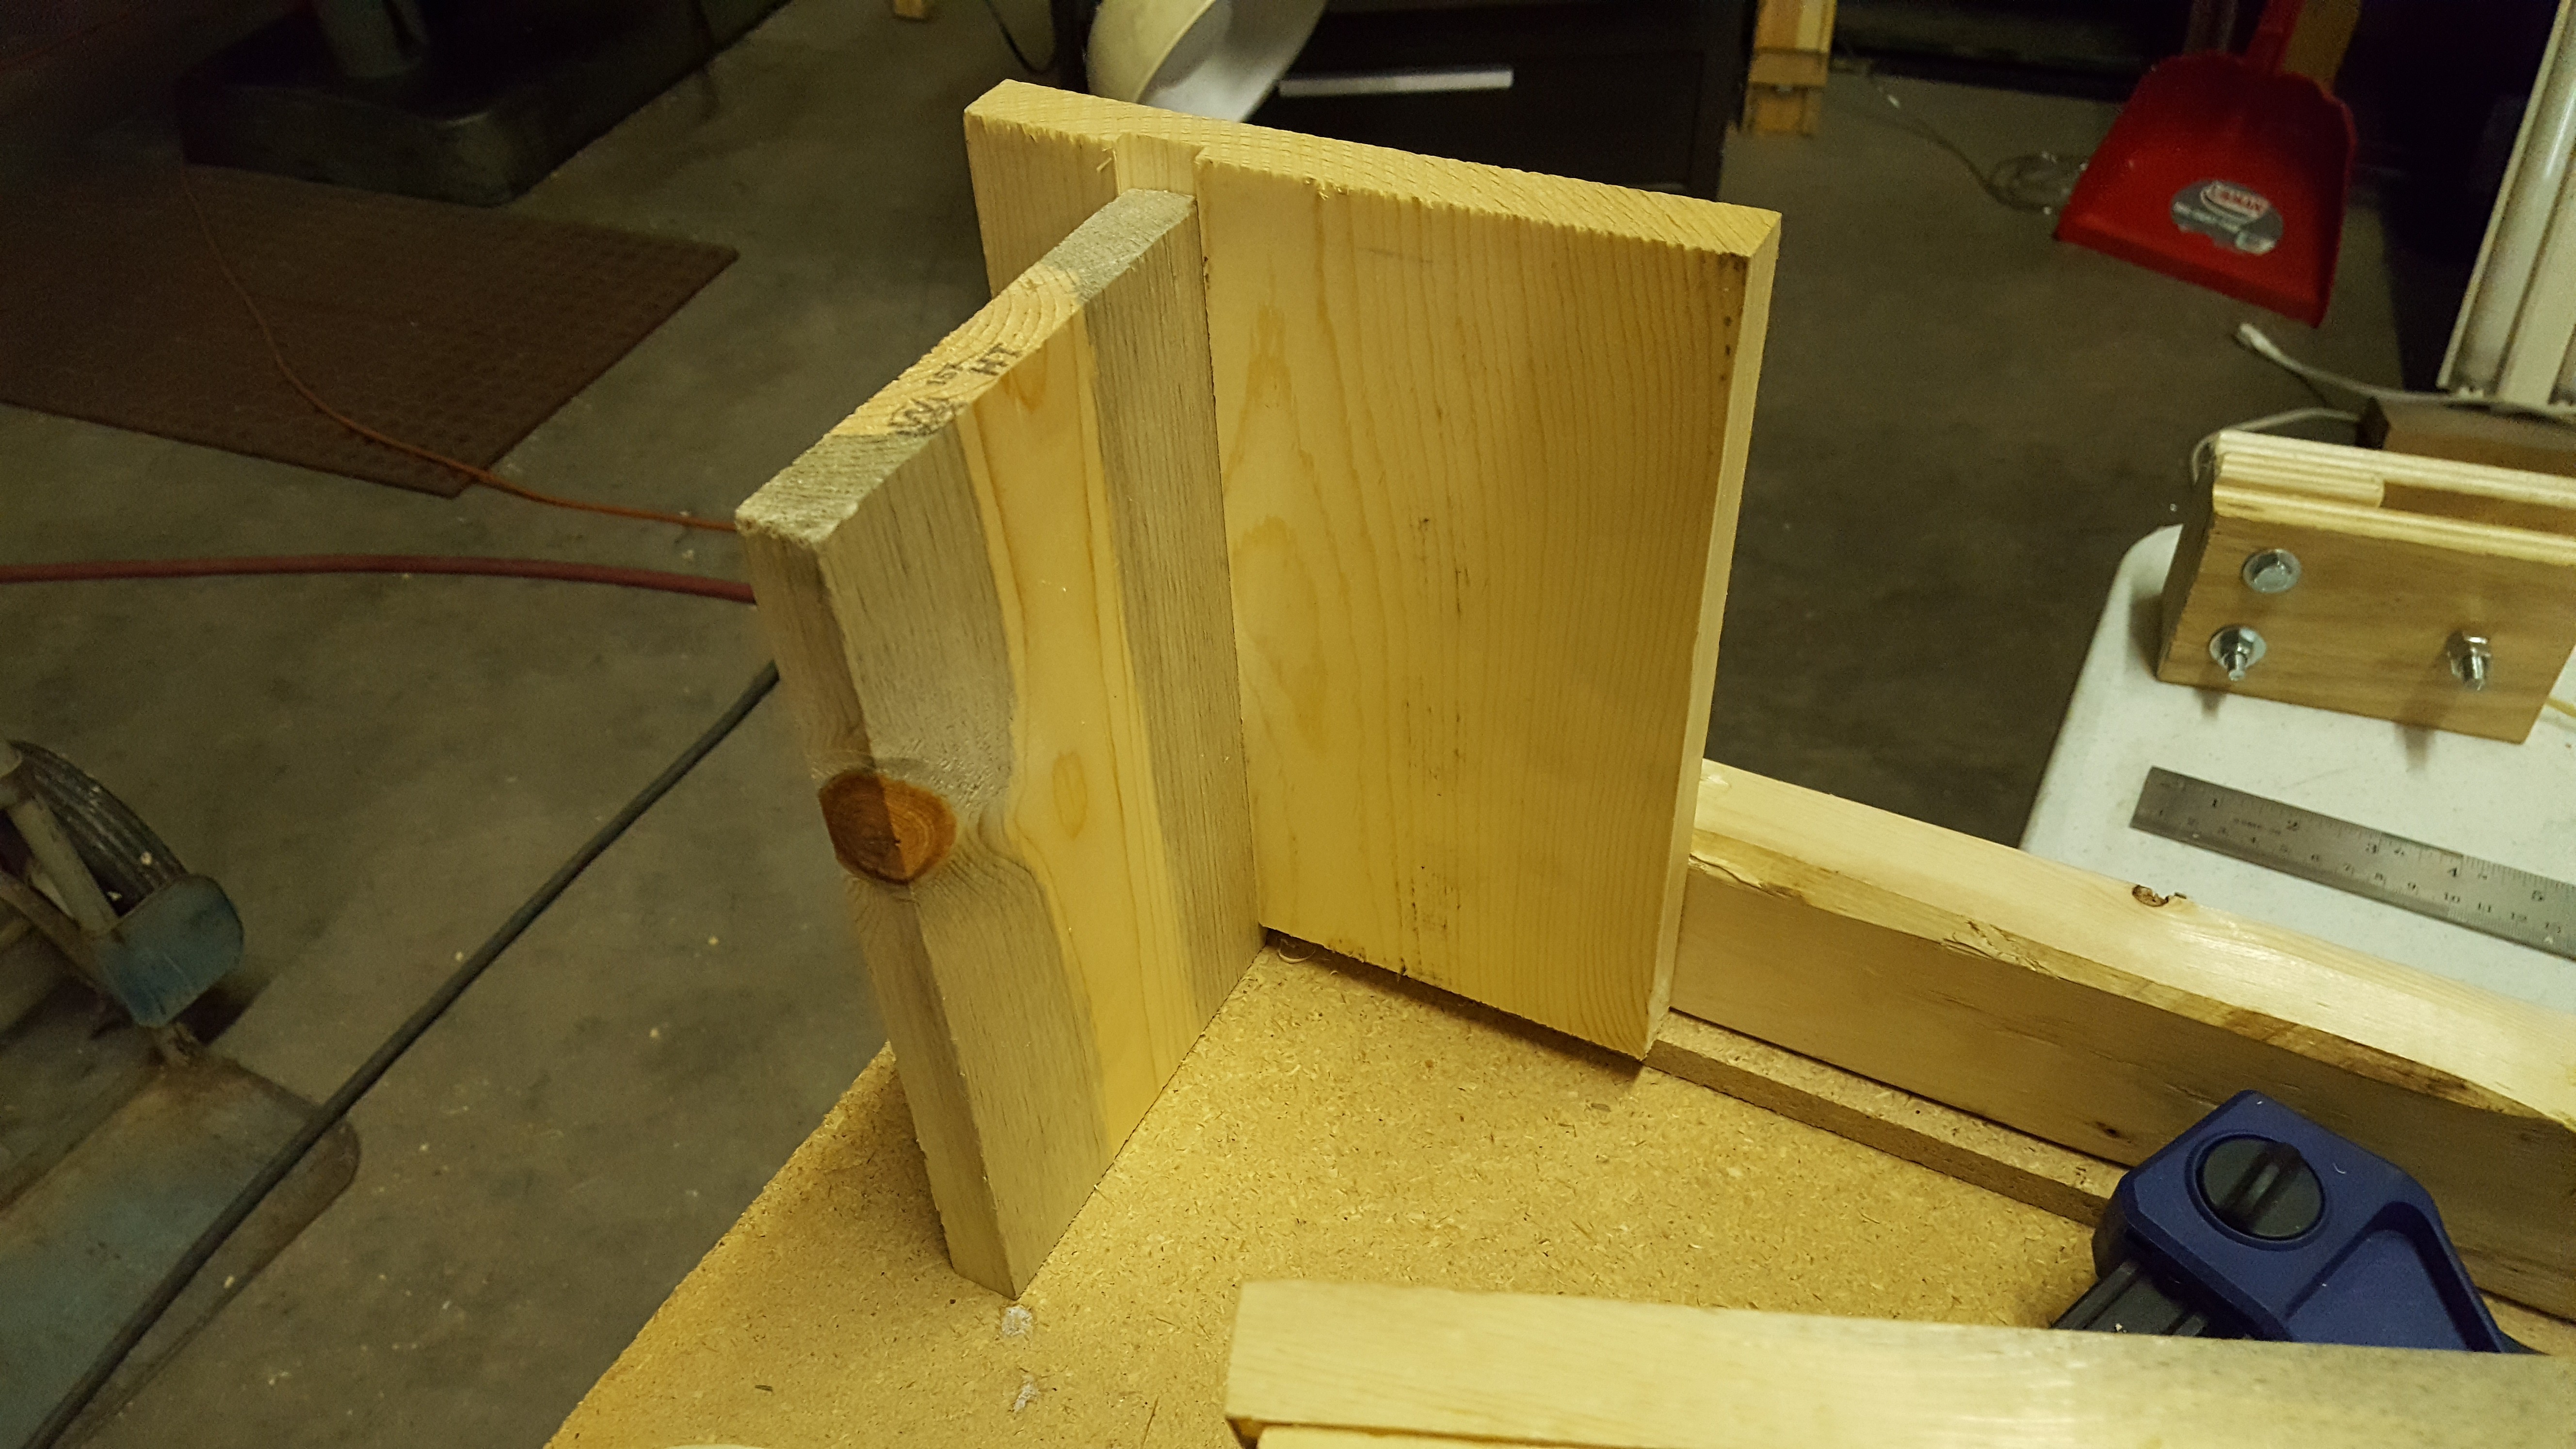
![]() The sled would be actuated with a belt so the mounts had to be fairly strong, so I made a dado joint.
Such class ;)
The sled would be actuated with a belt so the mounts had to be fairly strong, so I made a dado joint.
Such class ;)
![]()
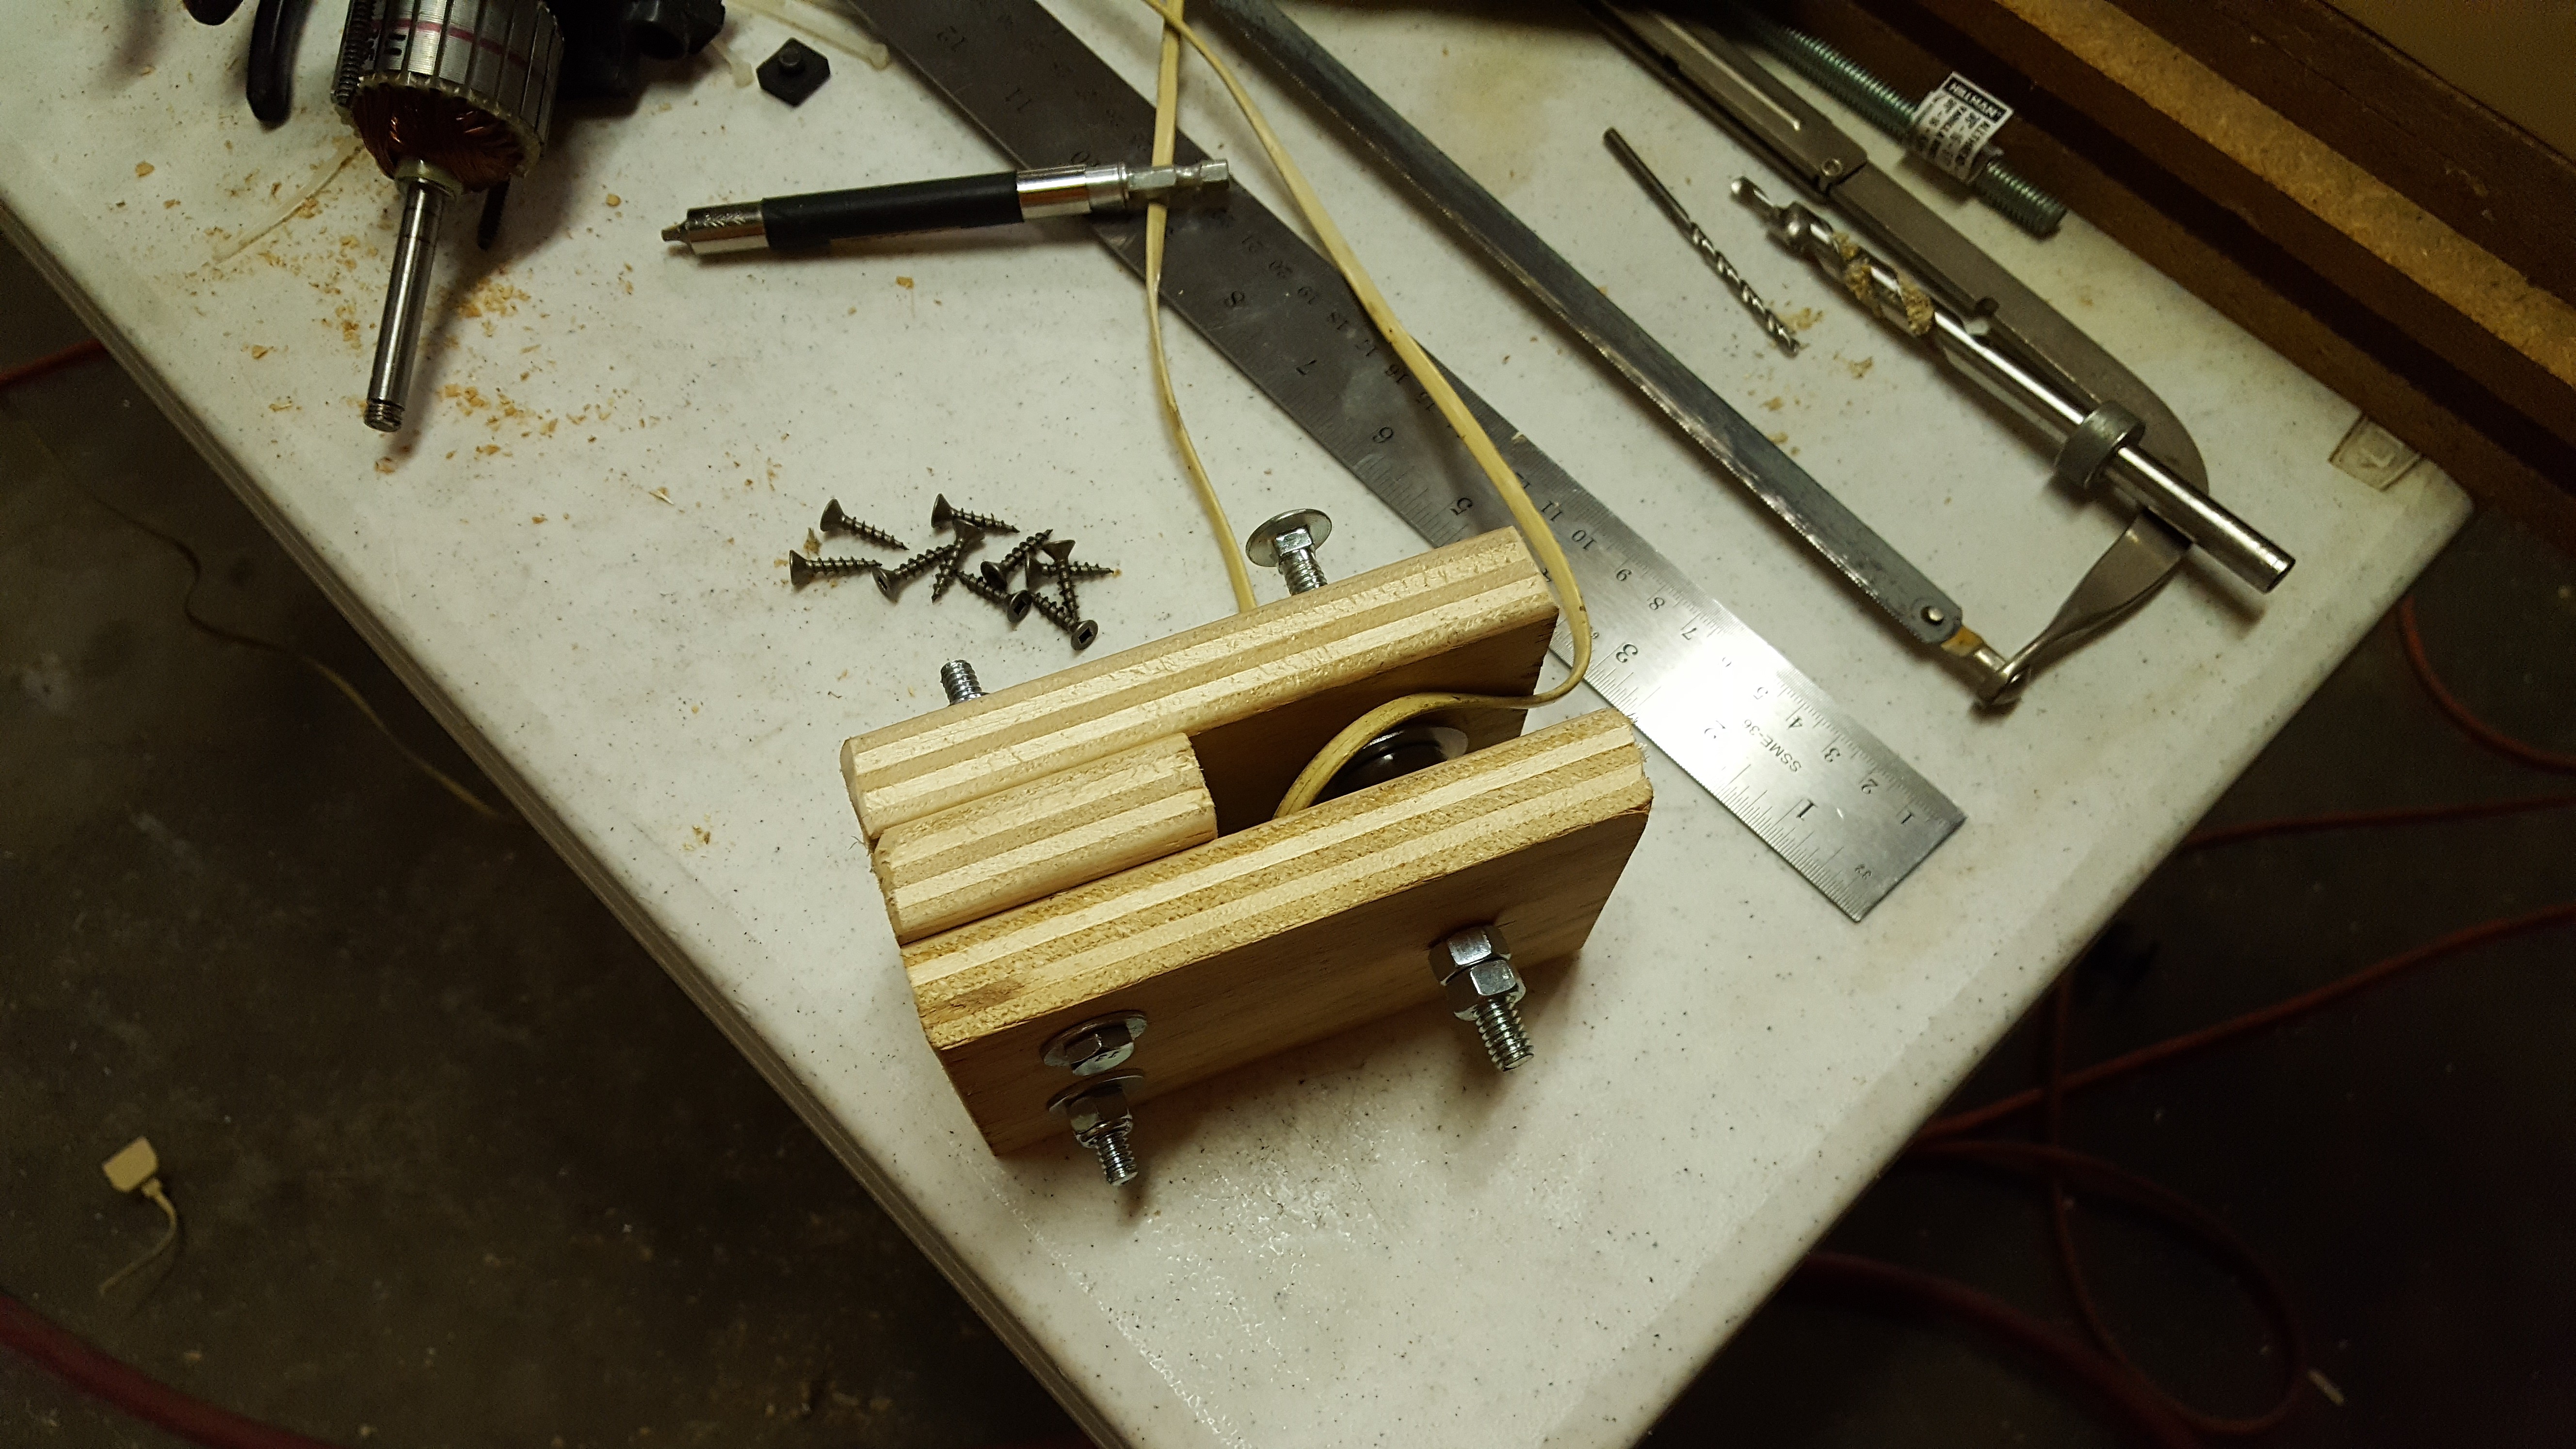
This is the idler pulley. I looked around the shop for different materials for the belt and it turned out telephone wire performed the best. Who would have thought?
This is the idler pulley. I looked around the shop for different![]()
materials for the belt and it turned out telephone wire performed the
best. Who would have thought?
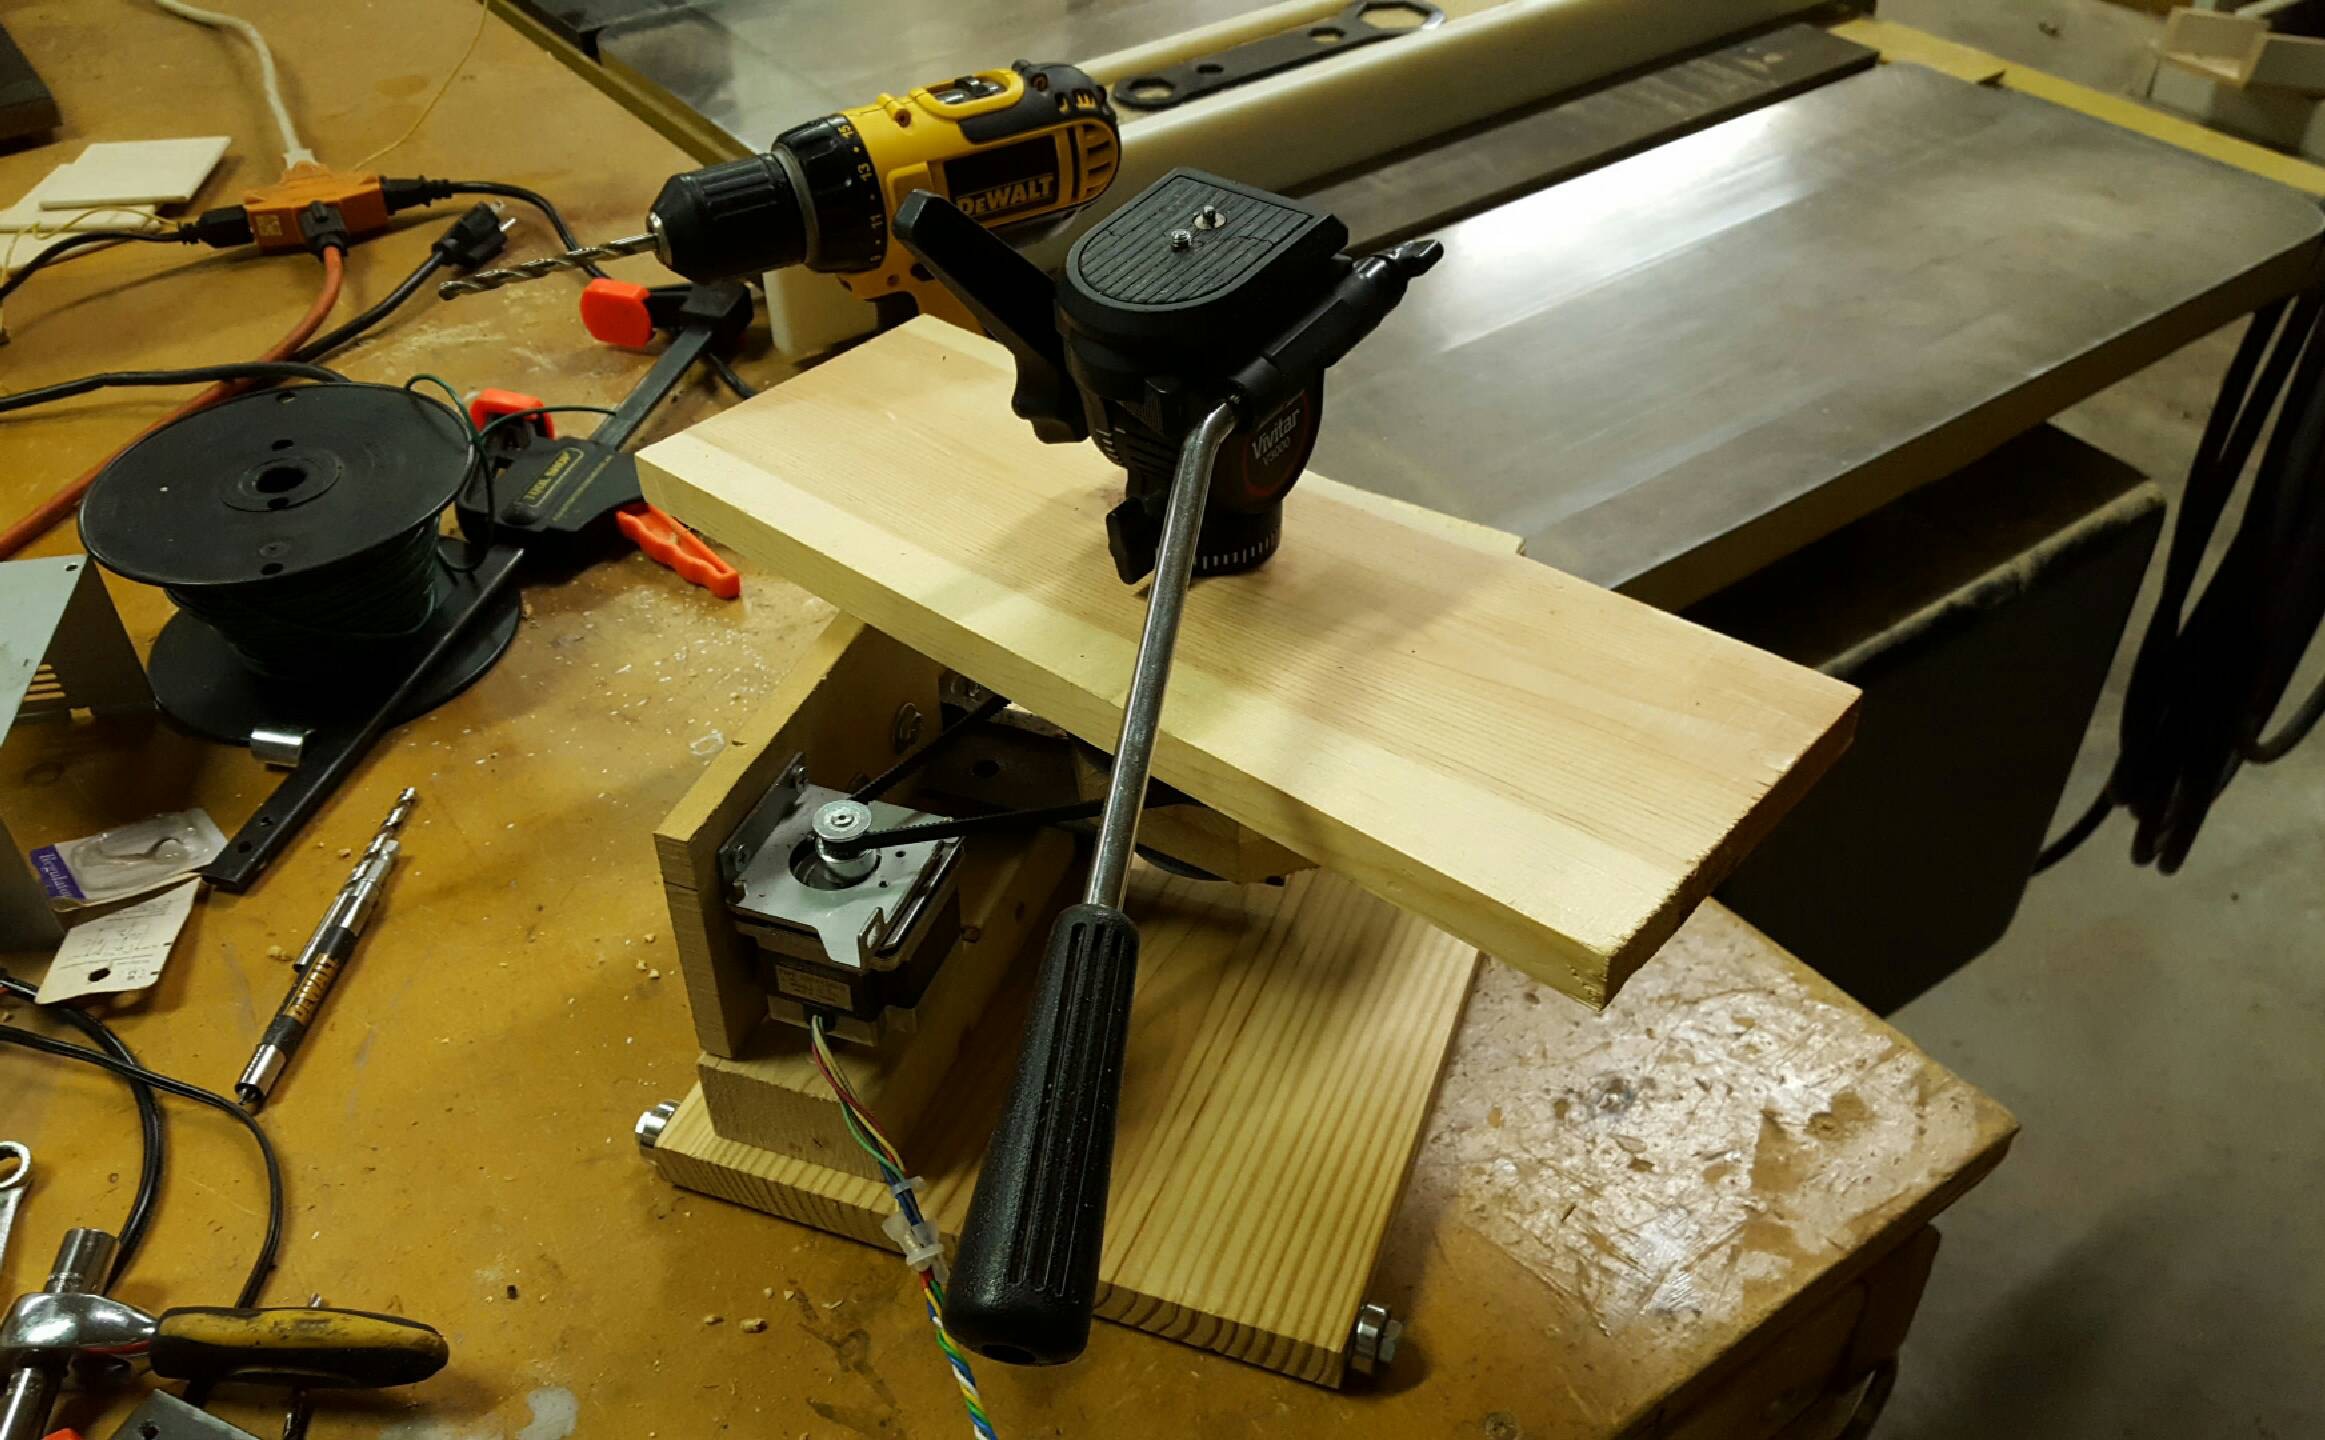
Mounted and you can see the RAMPS board that performs the motion control for the slider.![]()
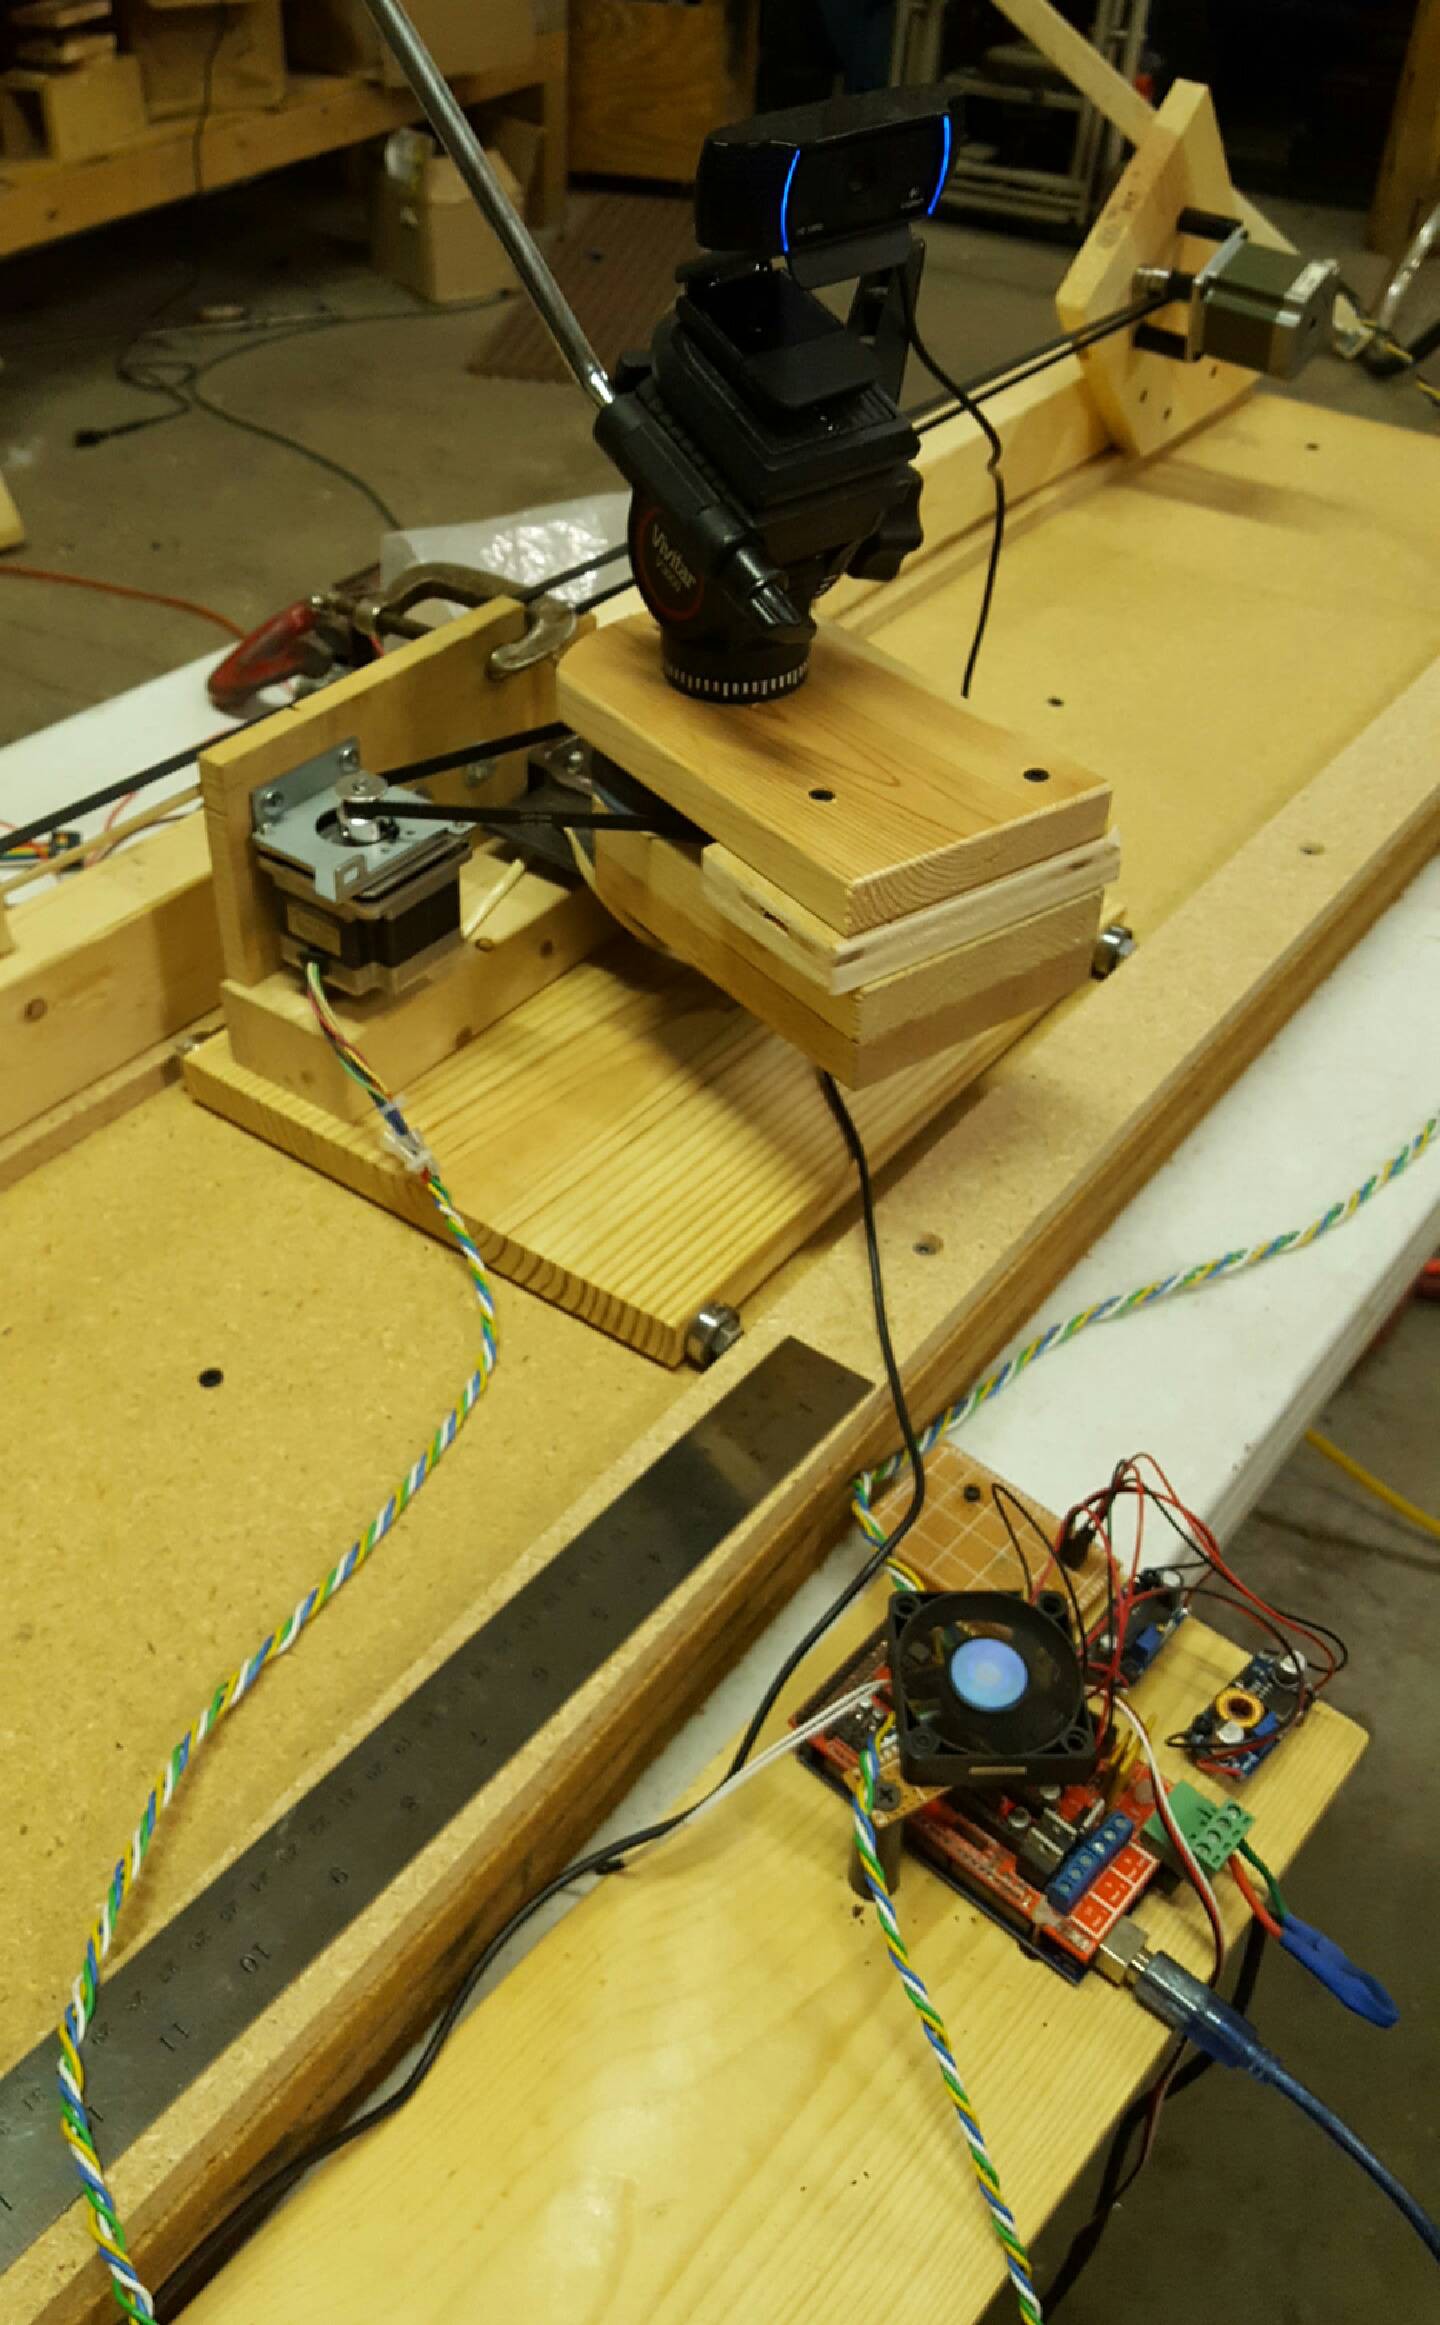
A shot of the slider all assembled. Sorry I didn't get a good shot of the stepper mount on the far side.![]()
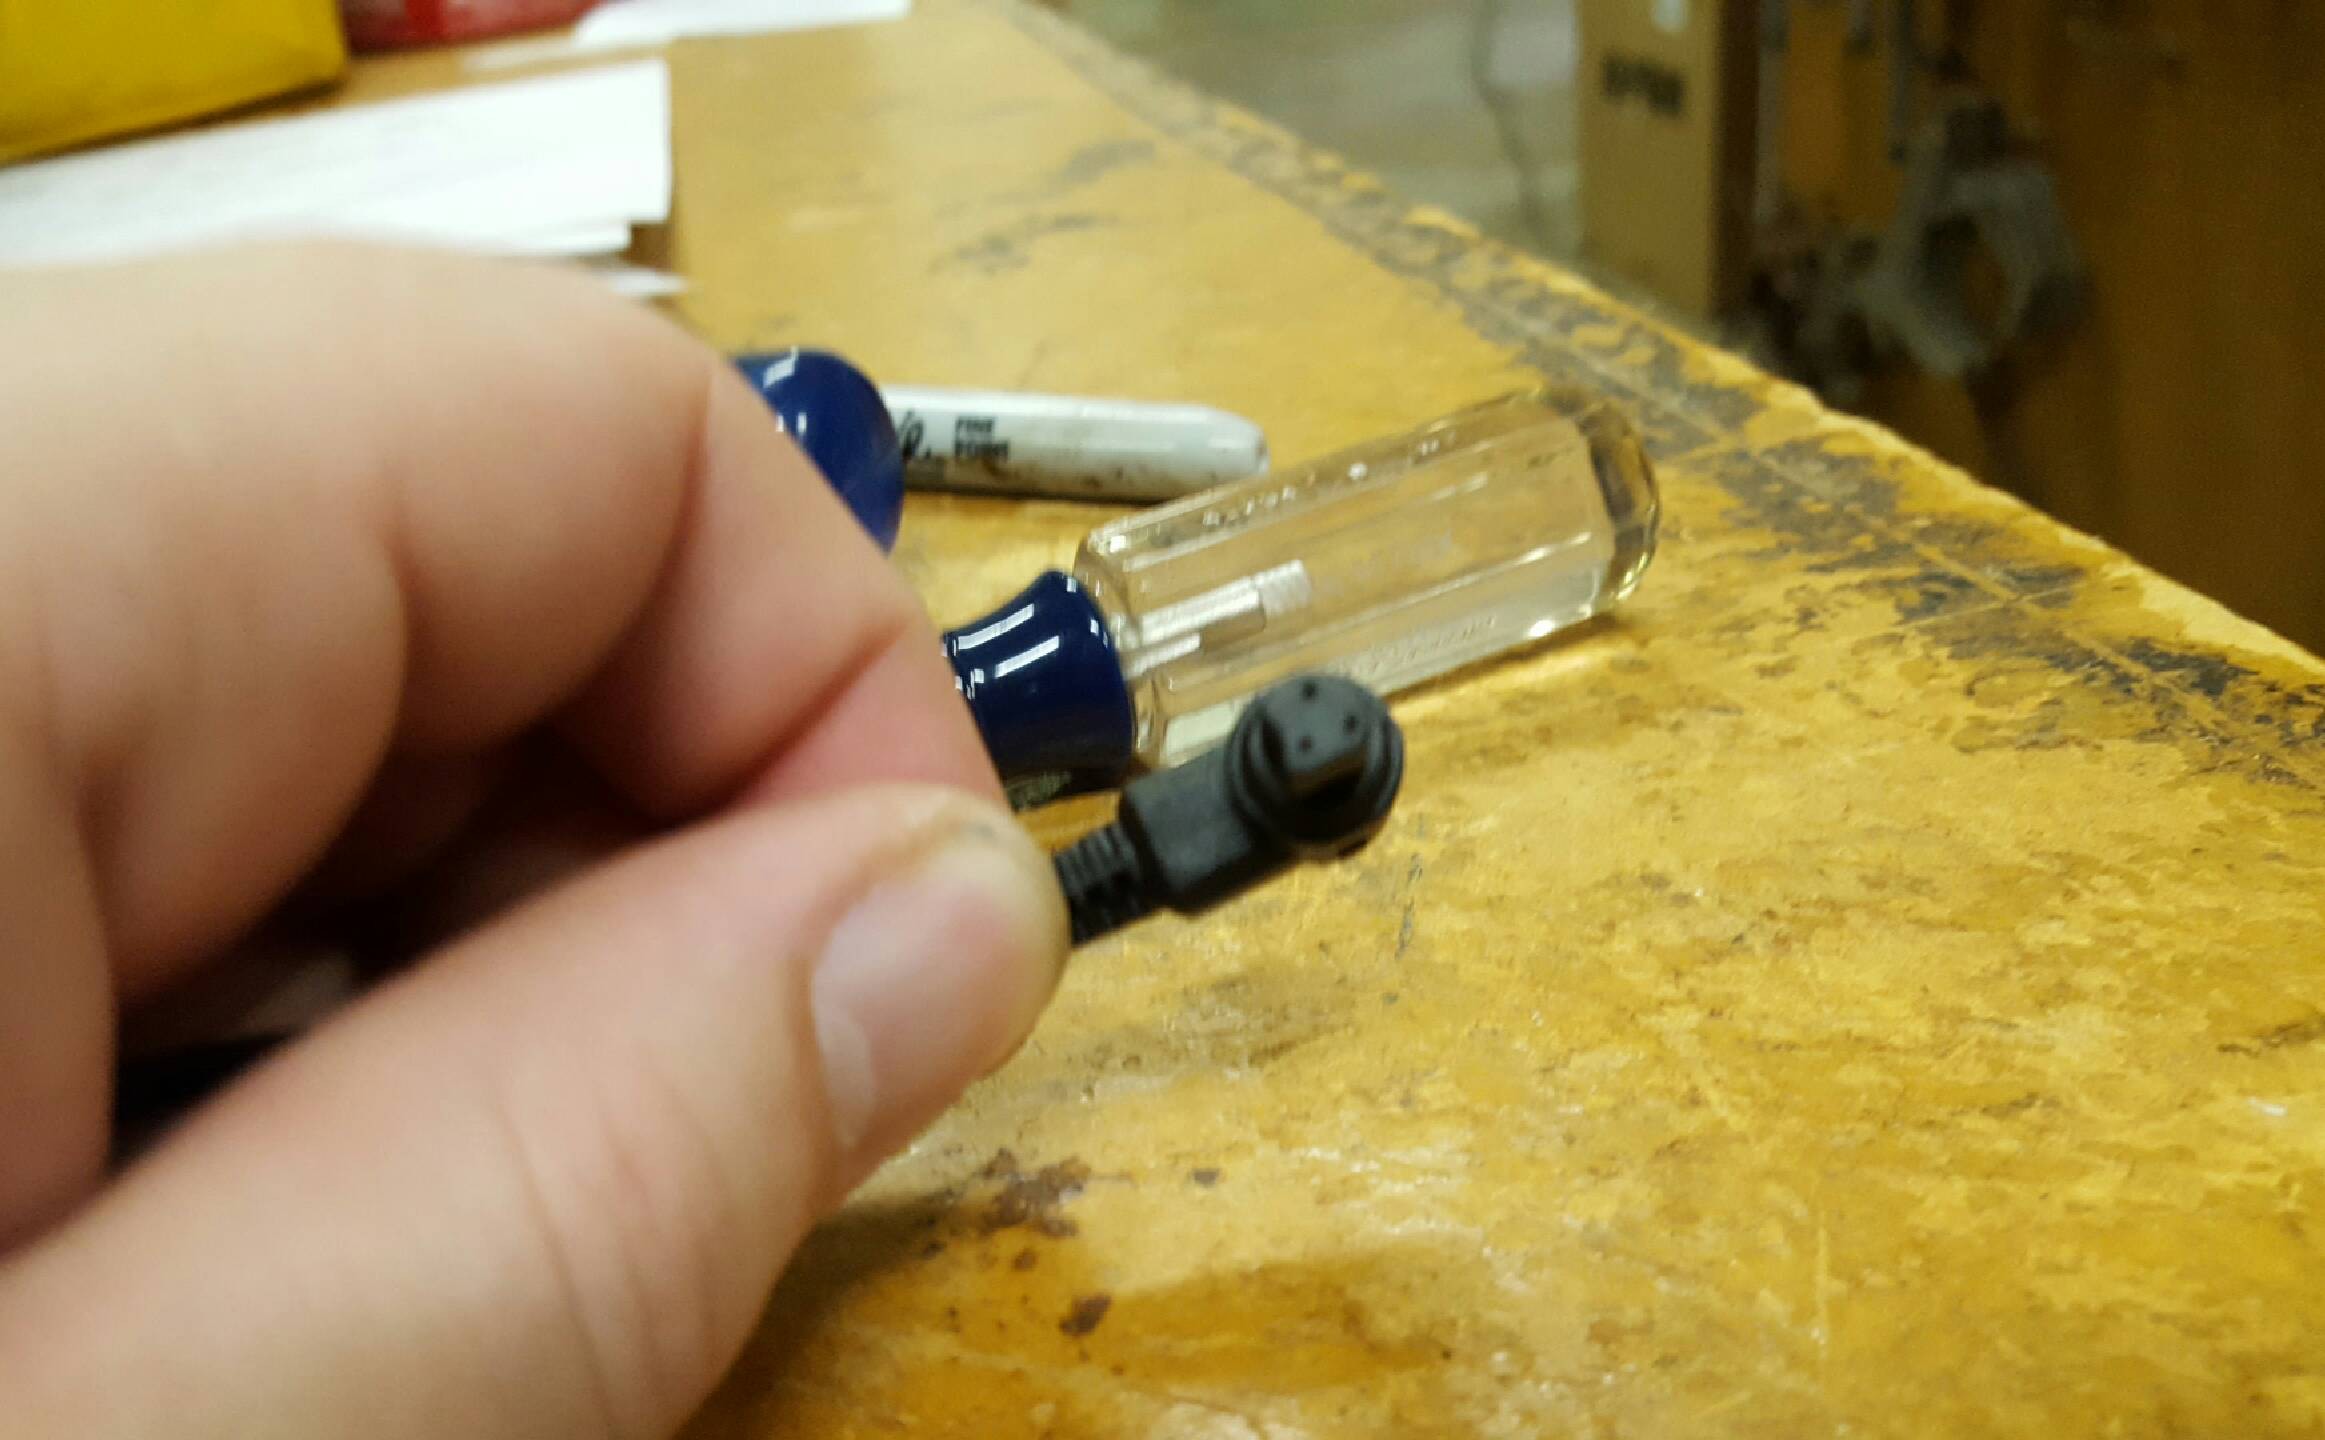
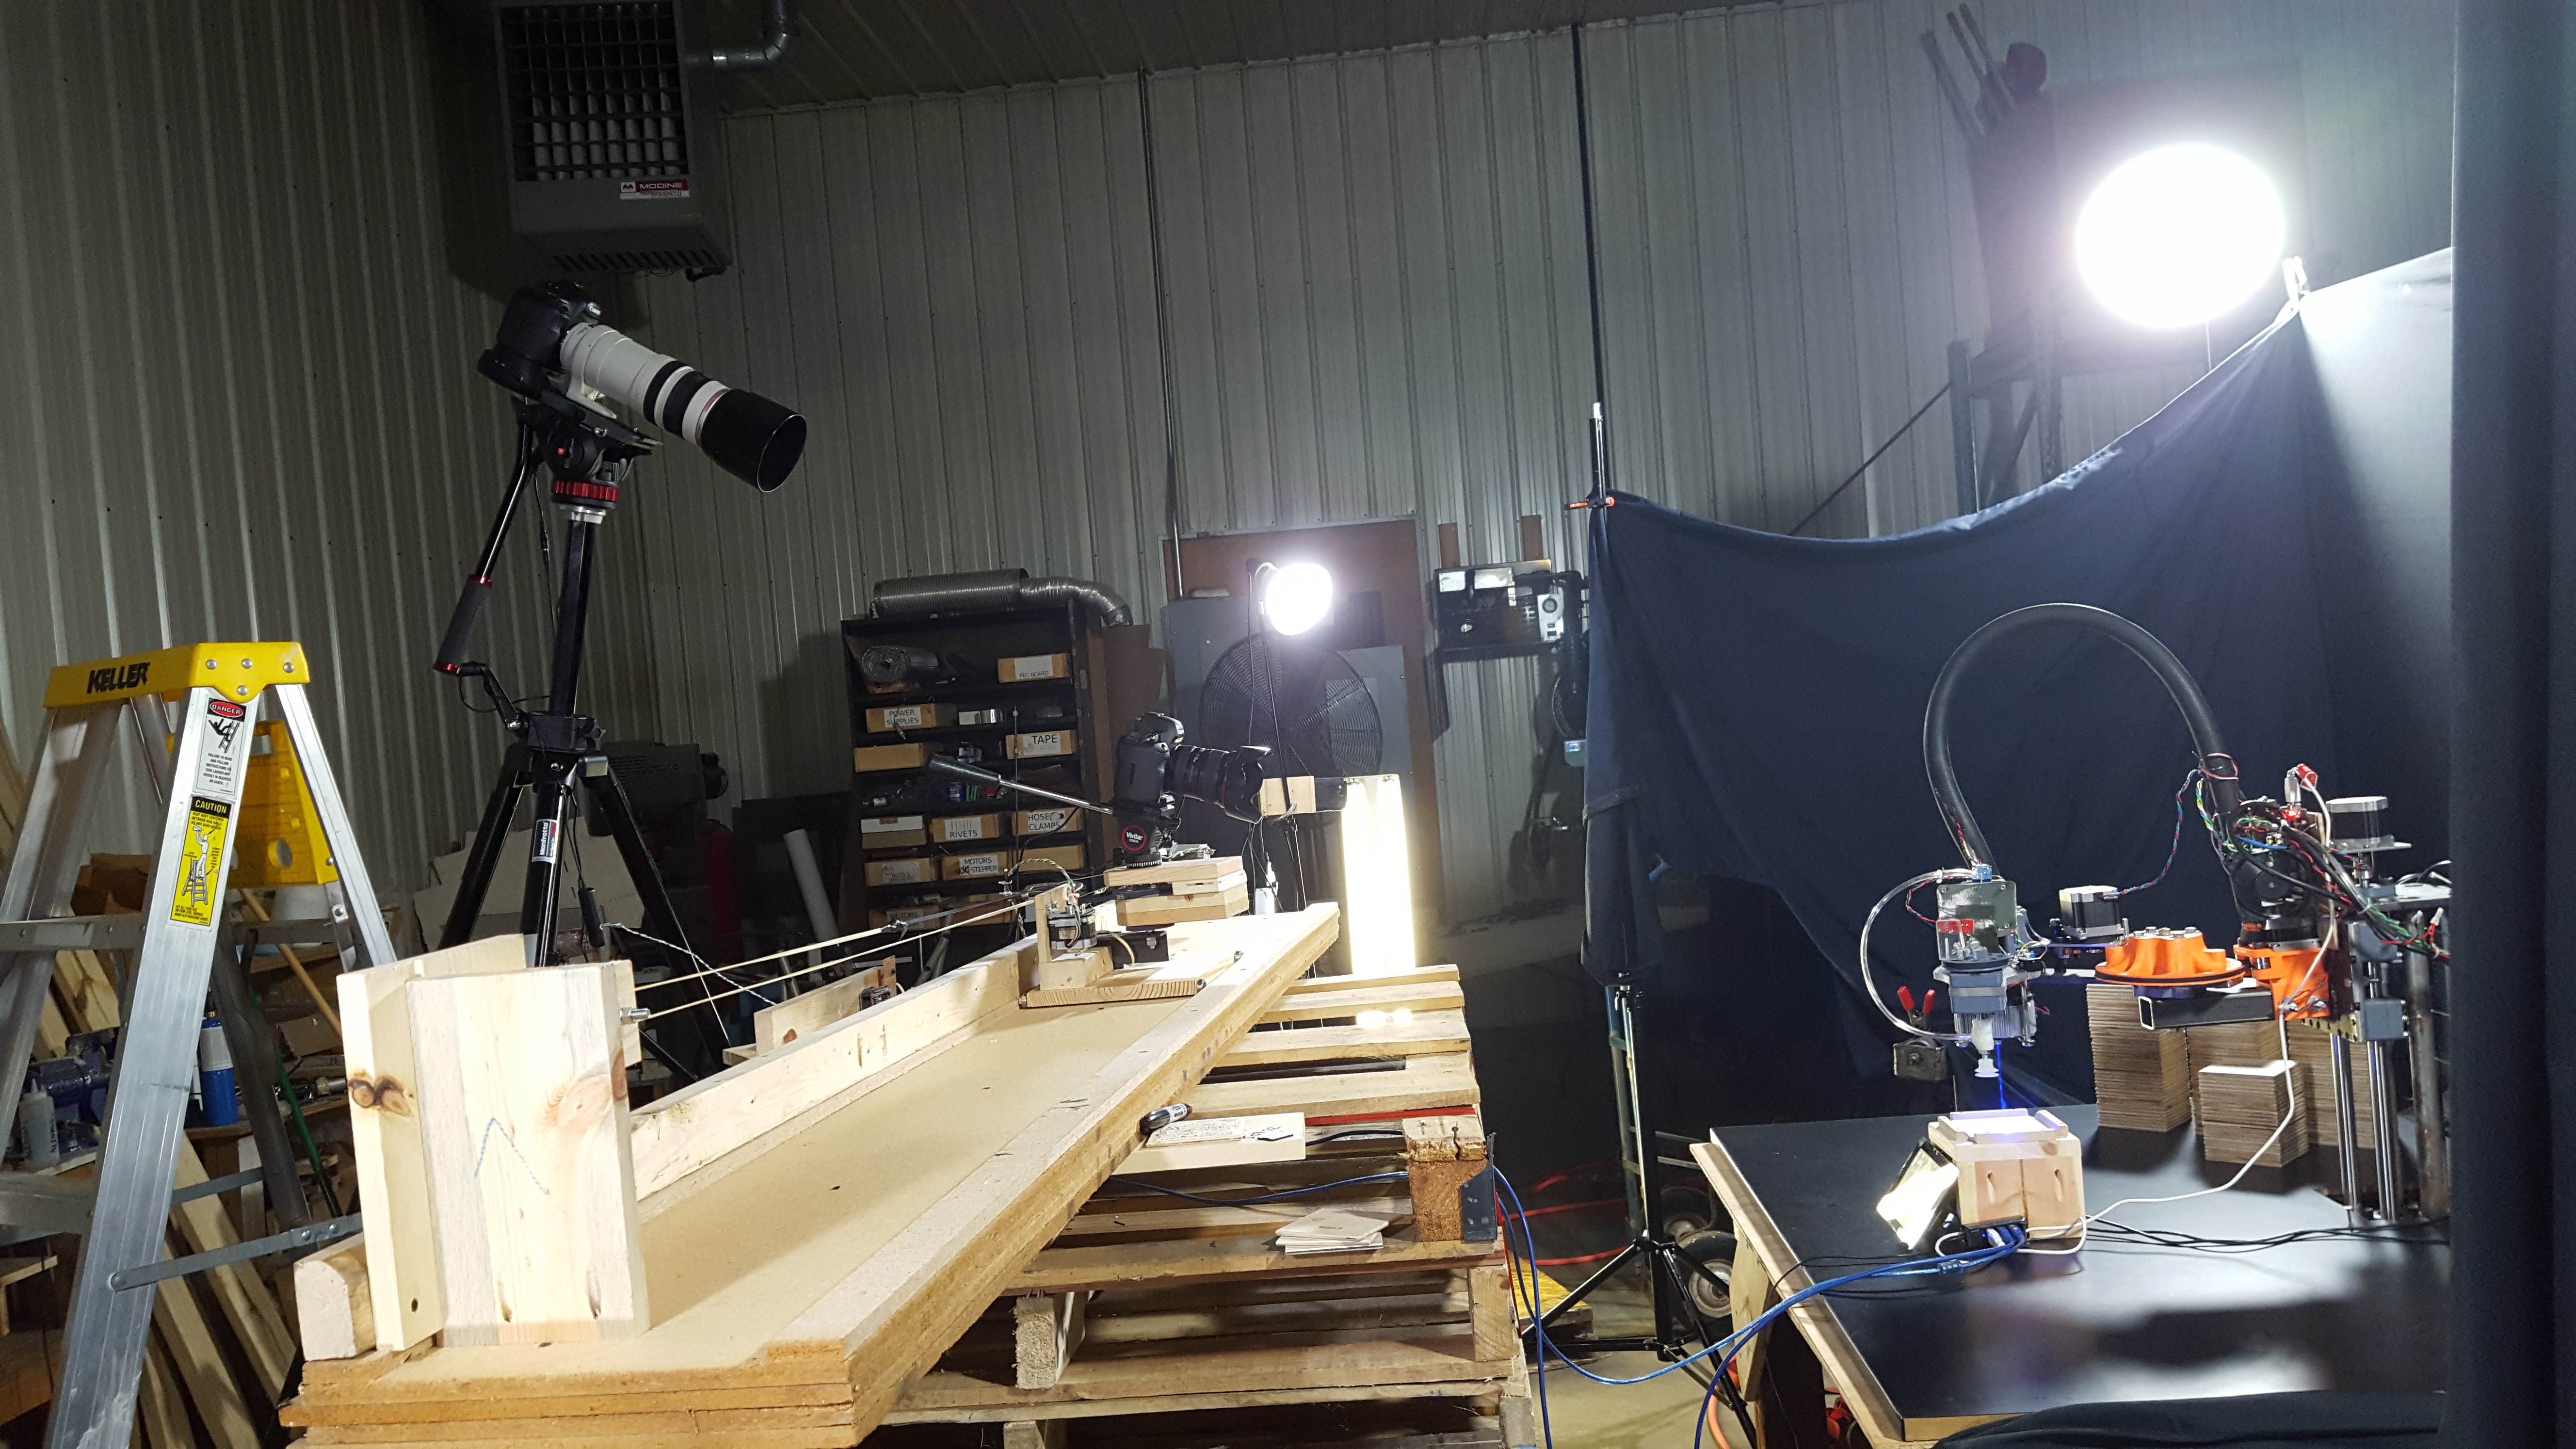
On to the camera controller. This was a picture I sent to my![]()
Photographer (Thank you World Touch Productions for all your help!!) to
make sure I got the right connectors for the shutter controllers.
![]()
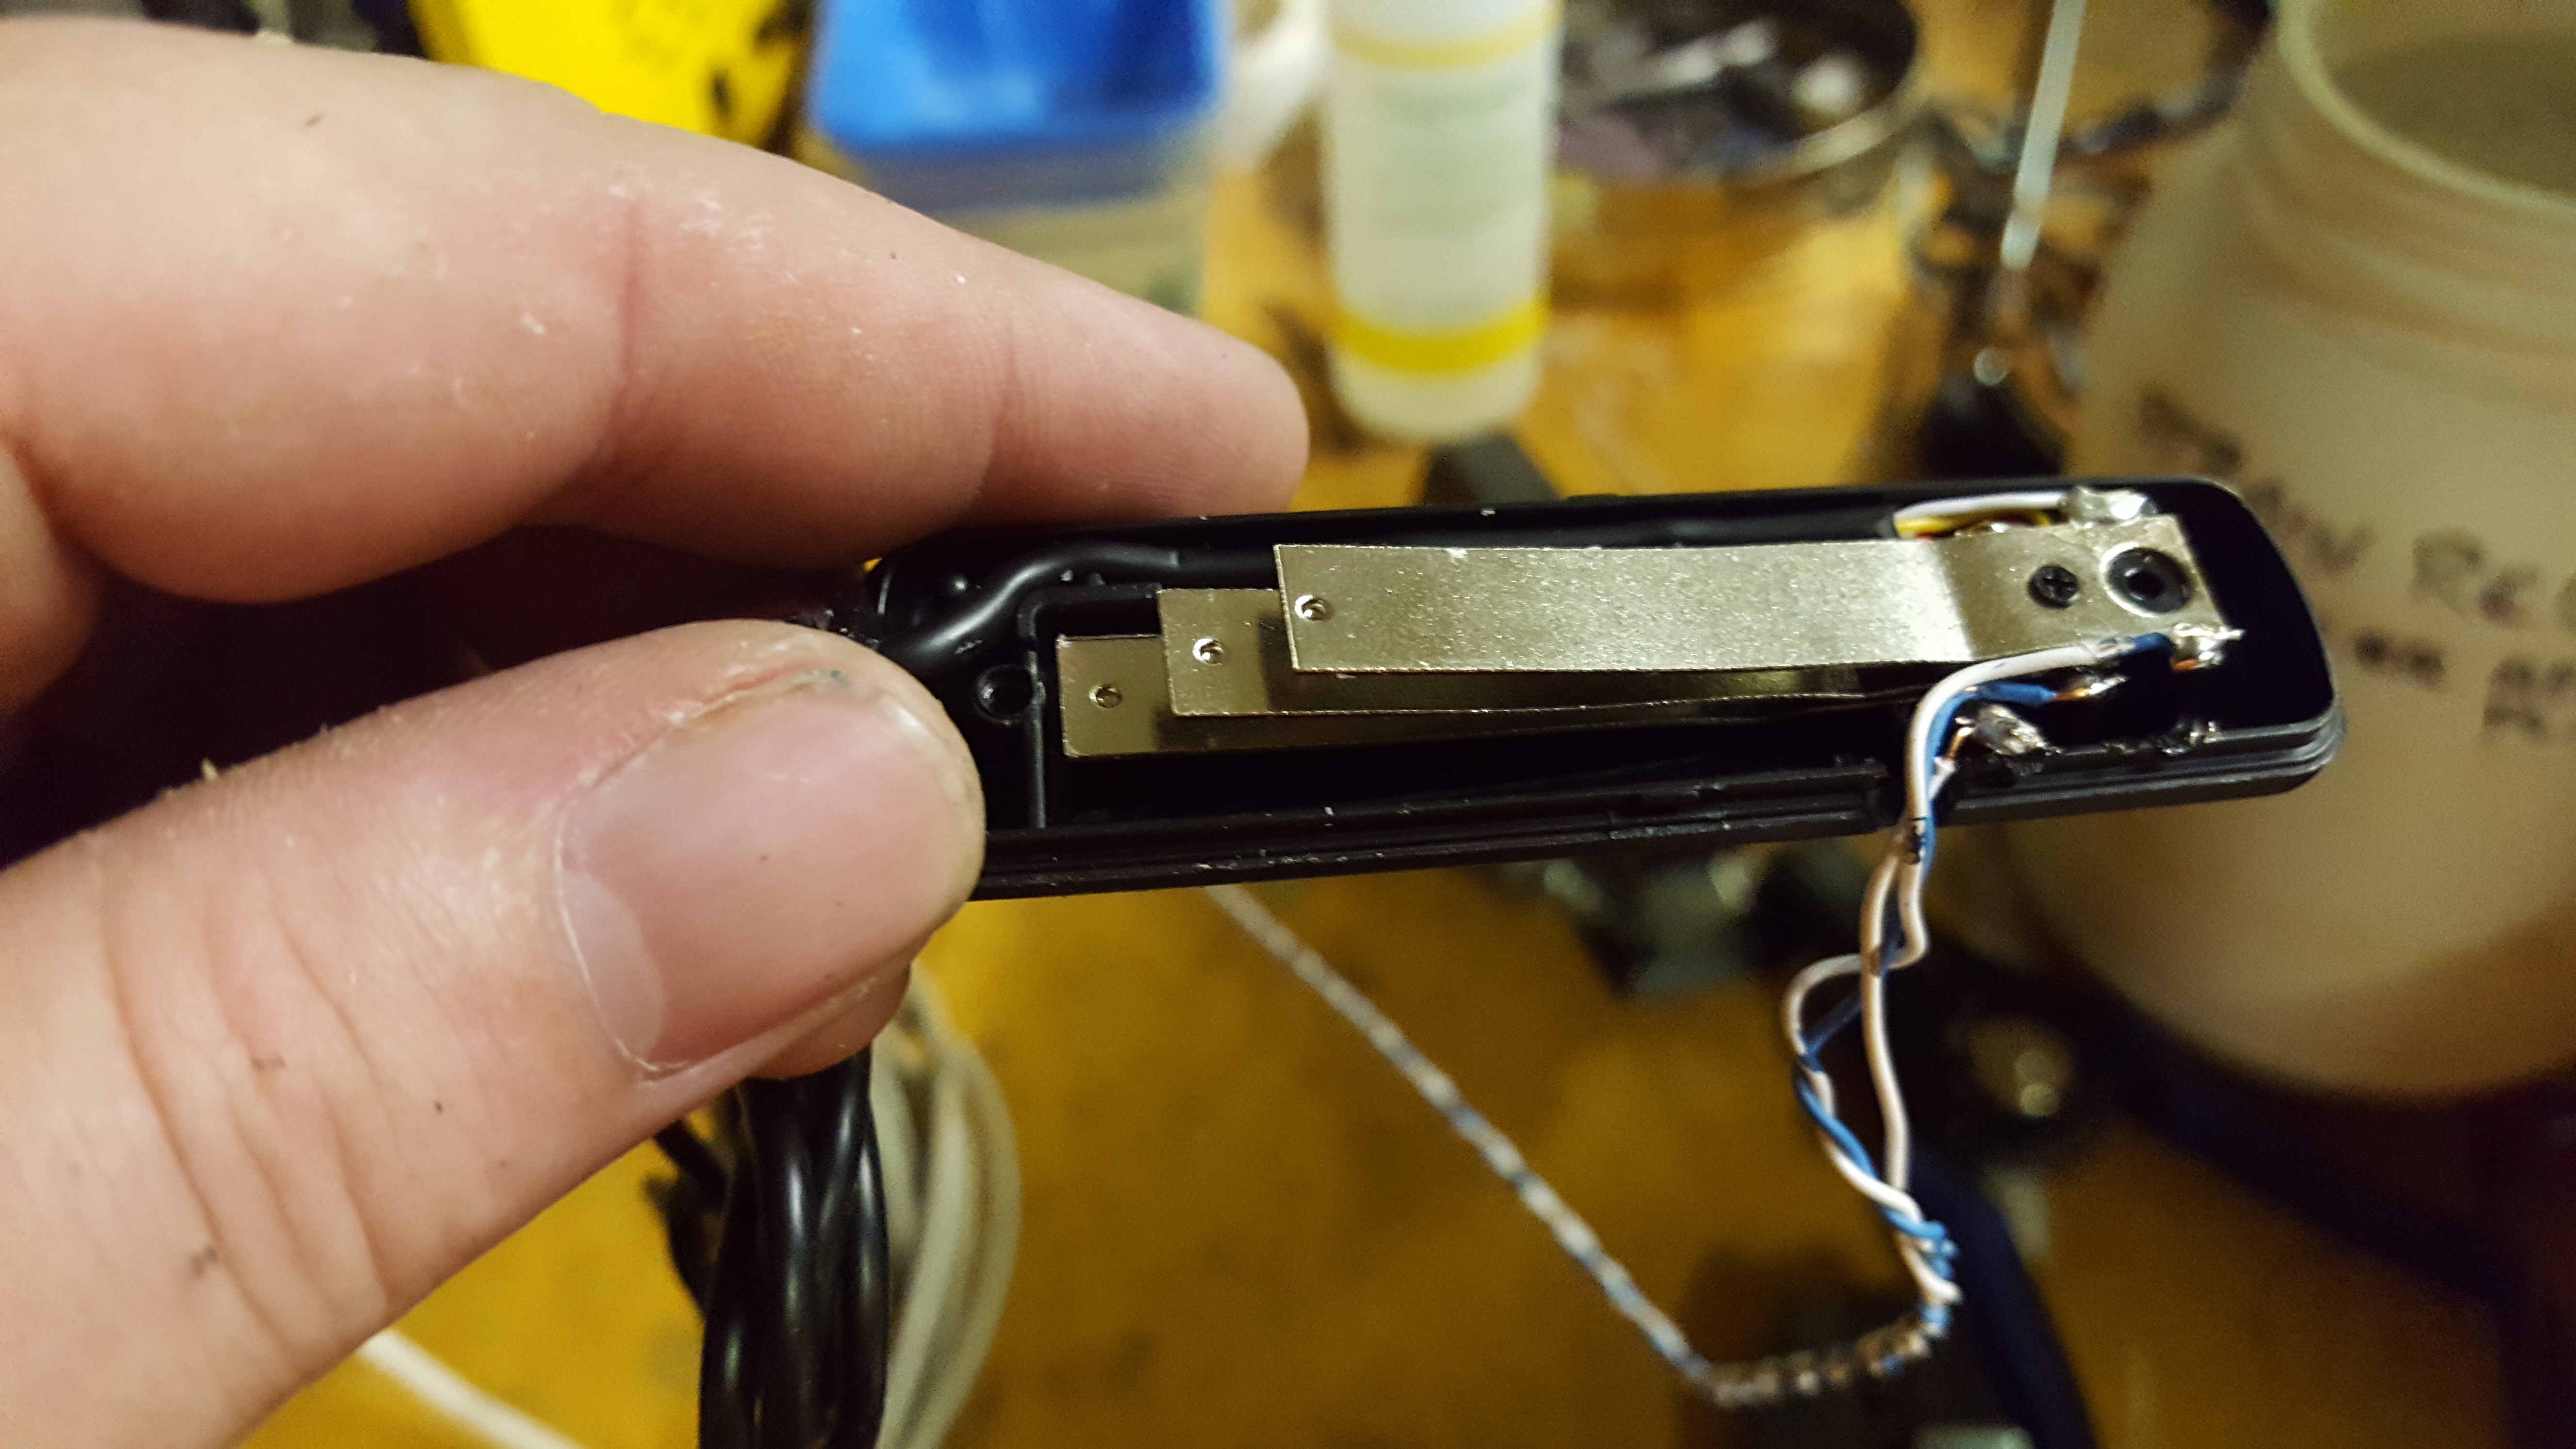
Whenever possible I prefer not to cut wires. So I soldered the wires directly to the switches. The top contact is ground, the middle contact is for the auto-focus and the bottom contact is for the shutter.
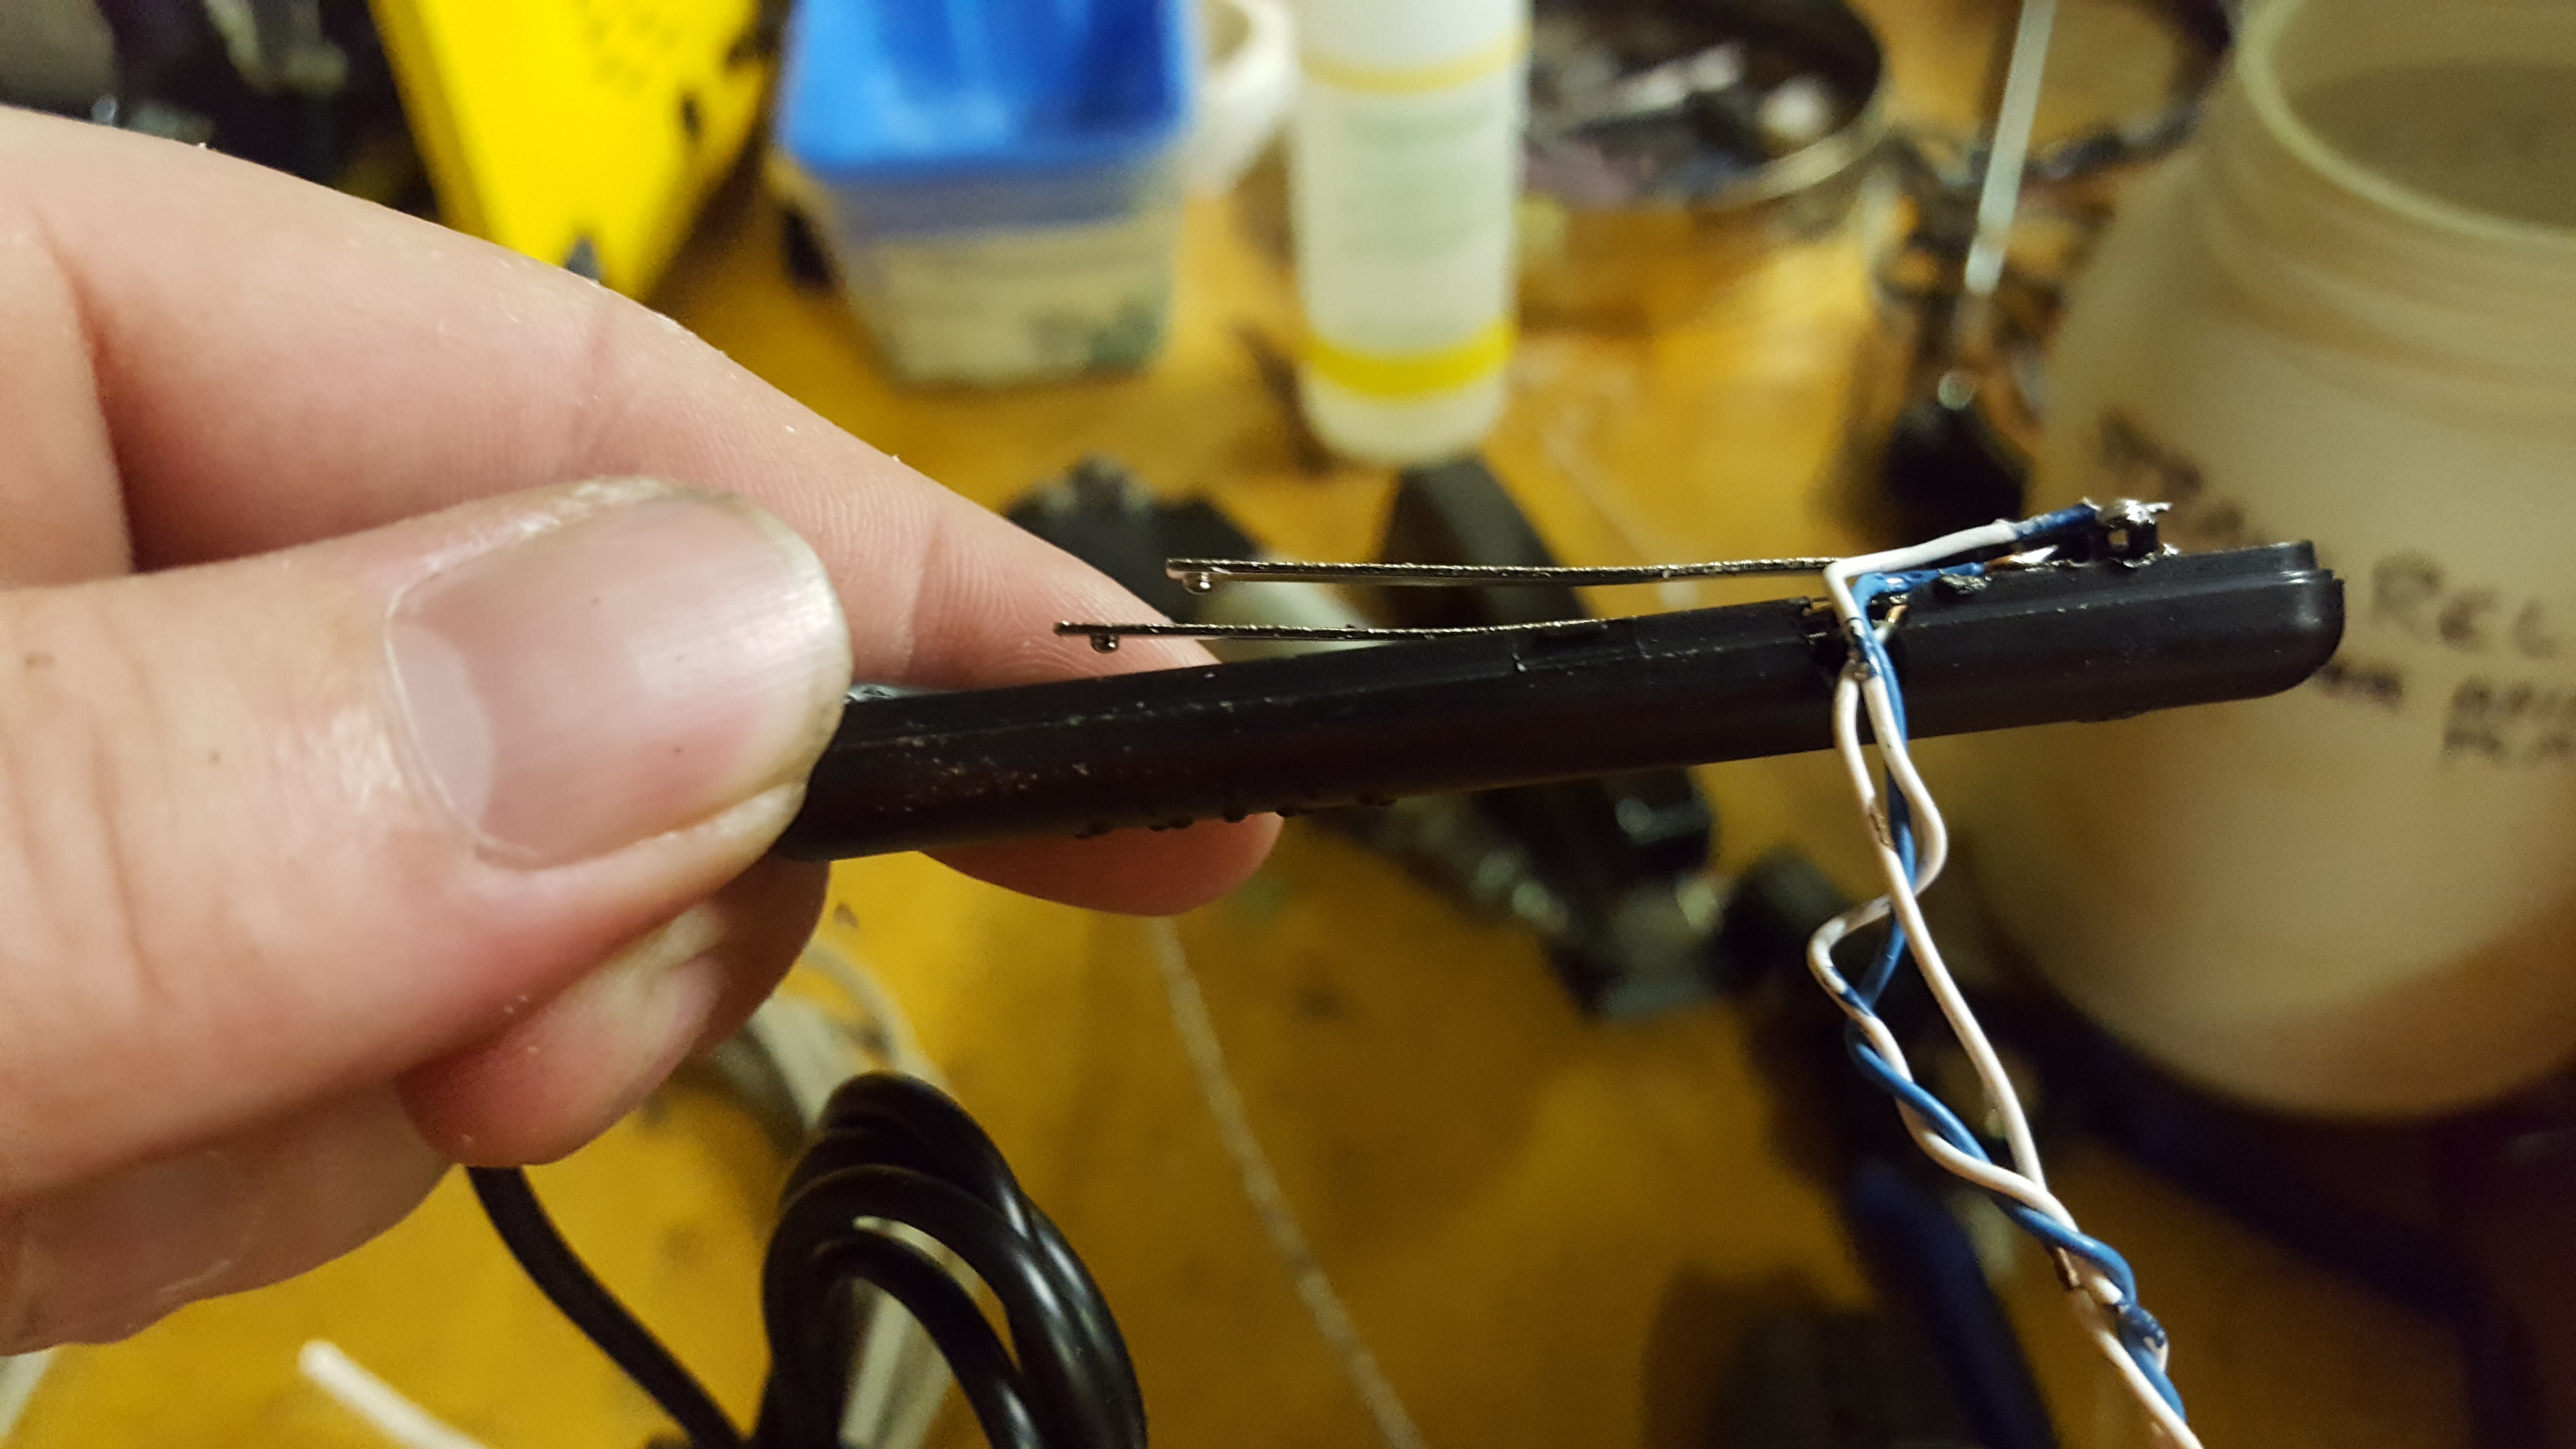
![]() I carved out the side so the wires could fit through and I could reattach the tops.
I carved out the side so the wires could fit through and I could reattach the tops.
All wired up to it's own Arduino and a relay board. This is the shutter controller.![]()
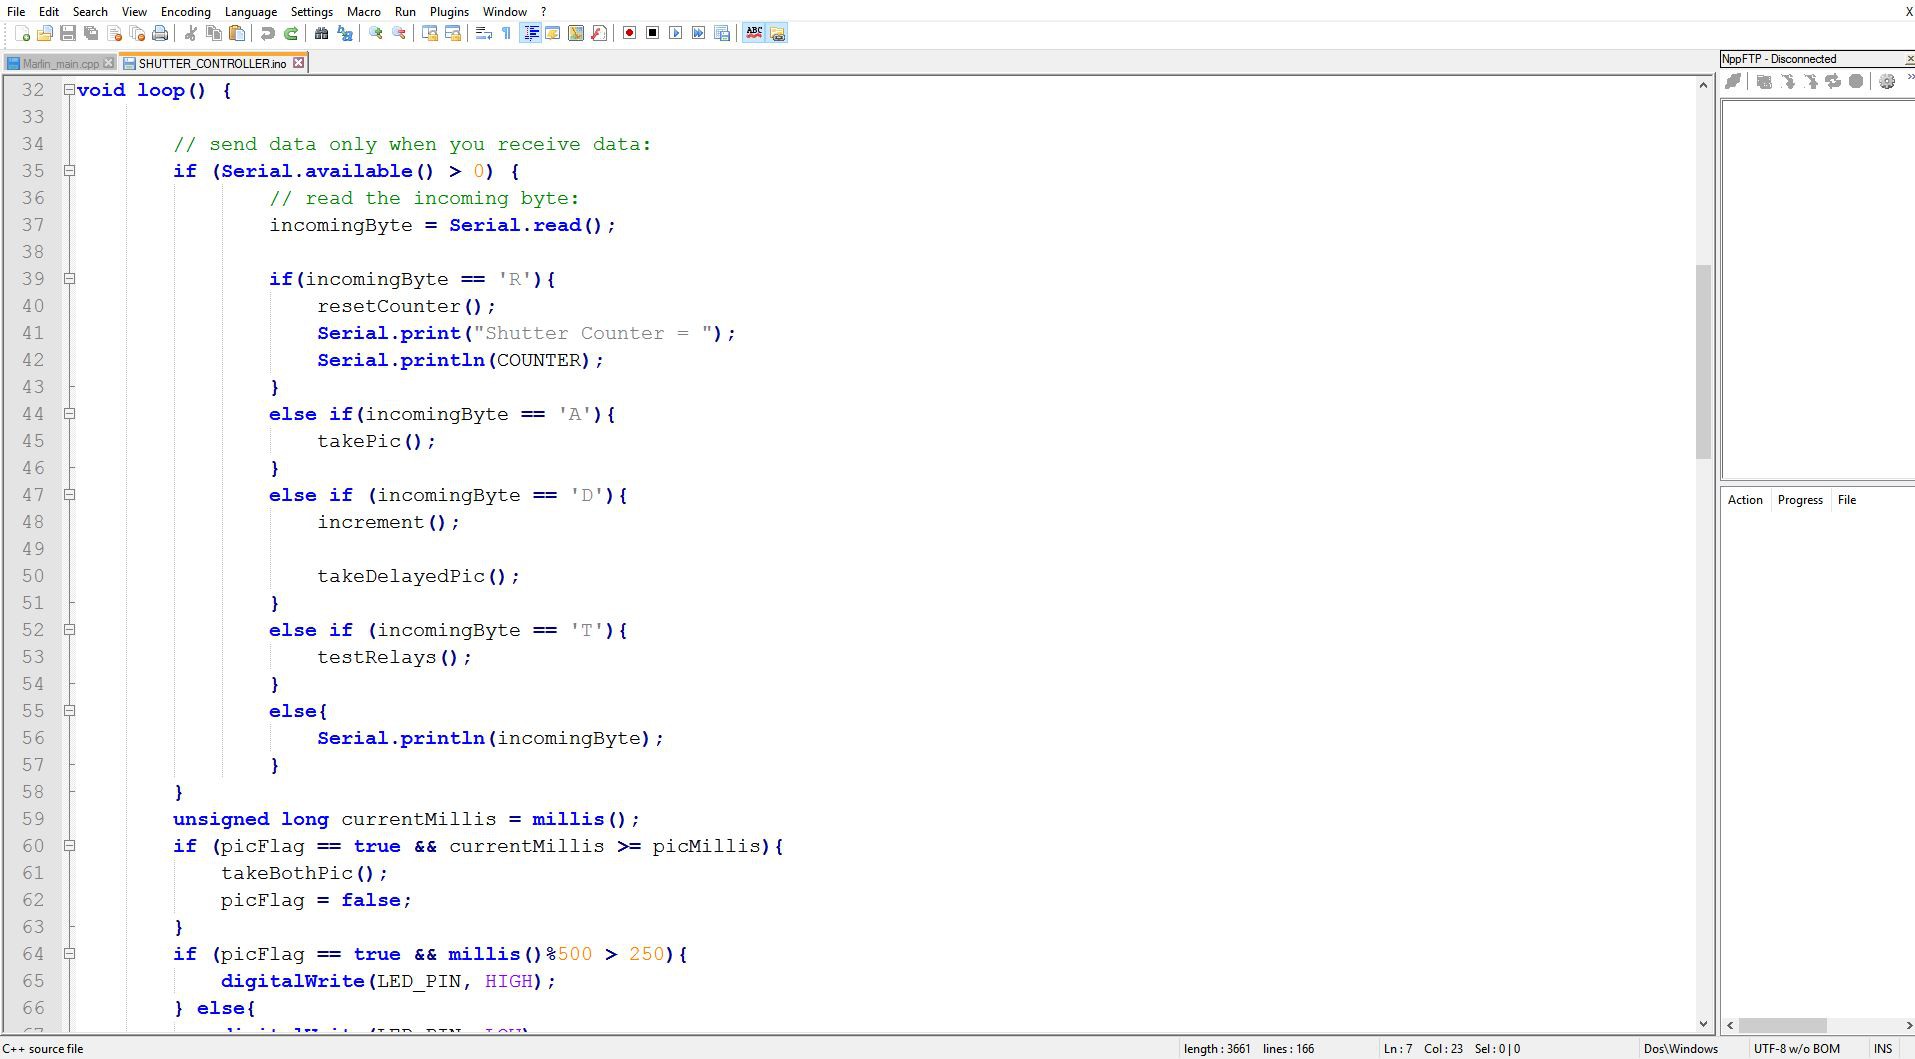
More code for the Arduino controlling the camera shutters.![]()
![]() LIGHTS!
LIGHTS!
![]() CAMERA!!
CAMERA!!
ACTION!!
For those curious the toolpaths were created with Inkscape![]()
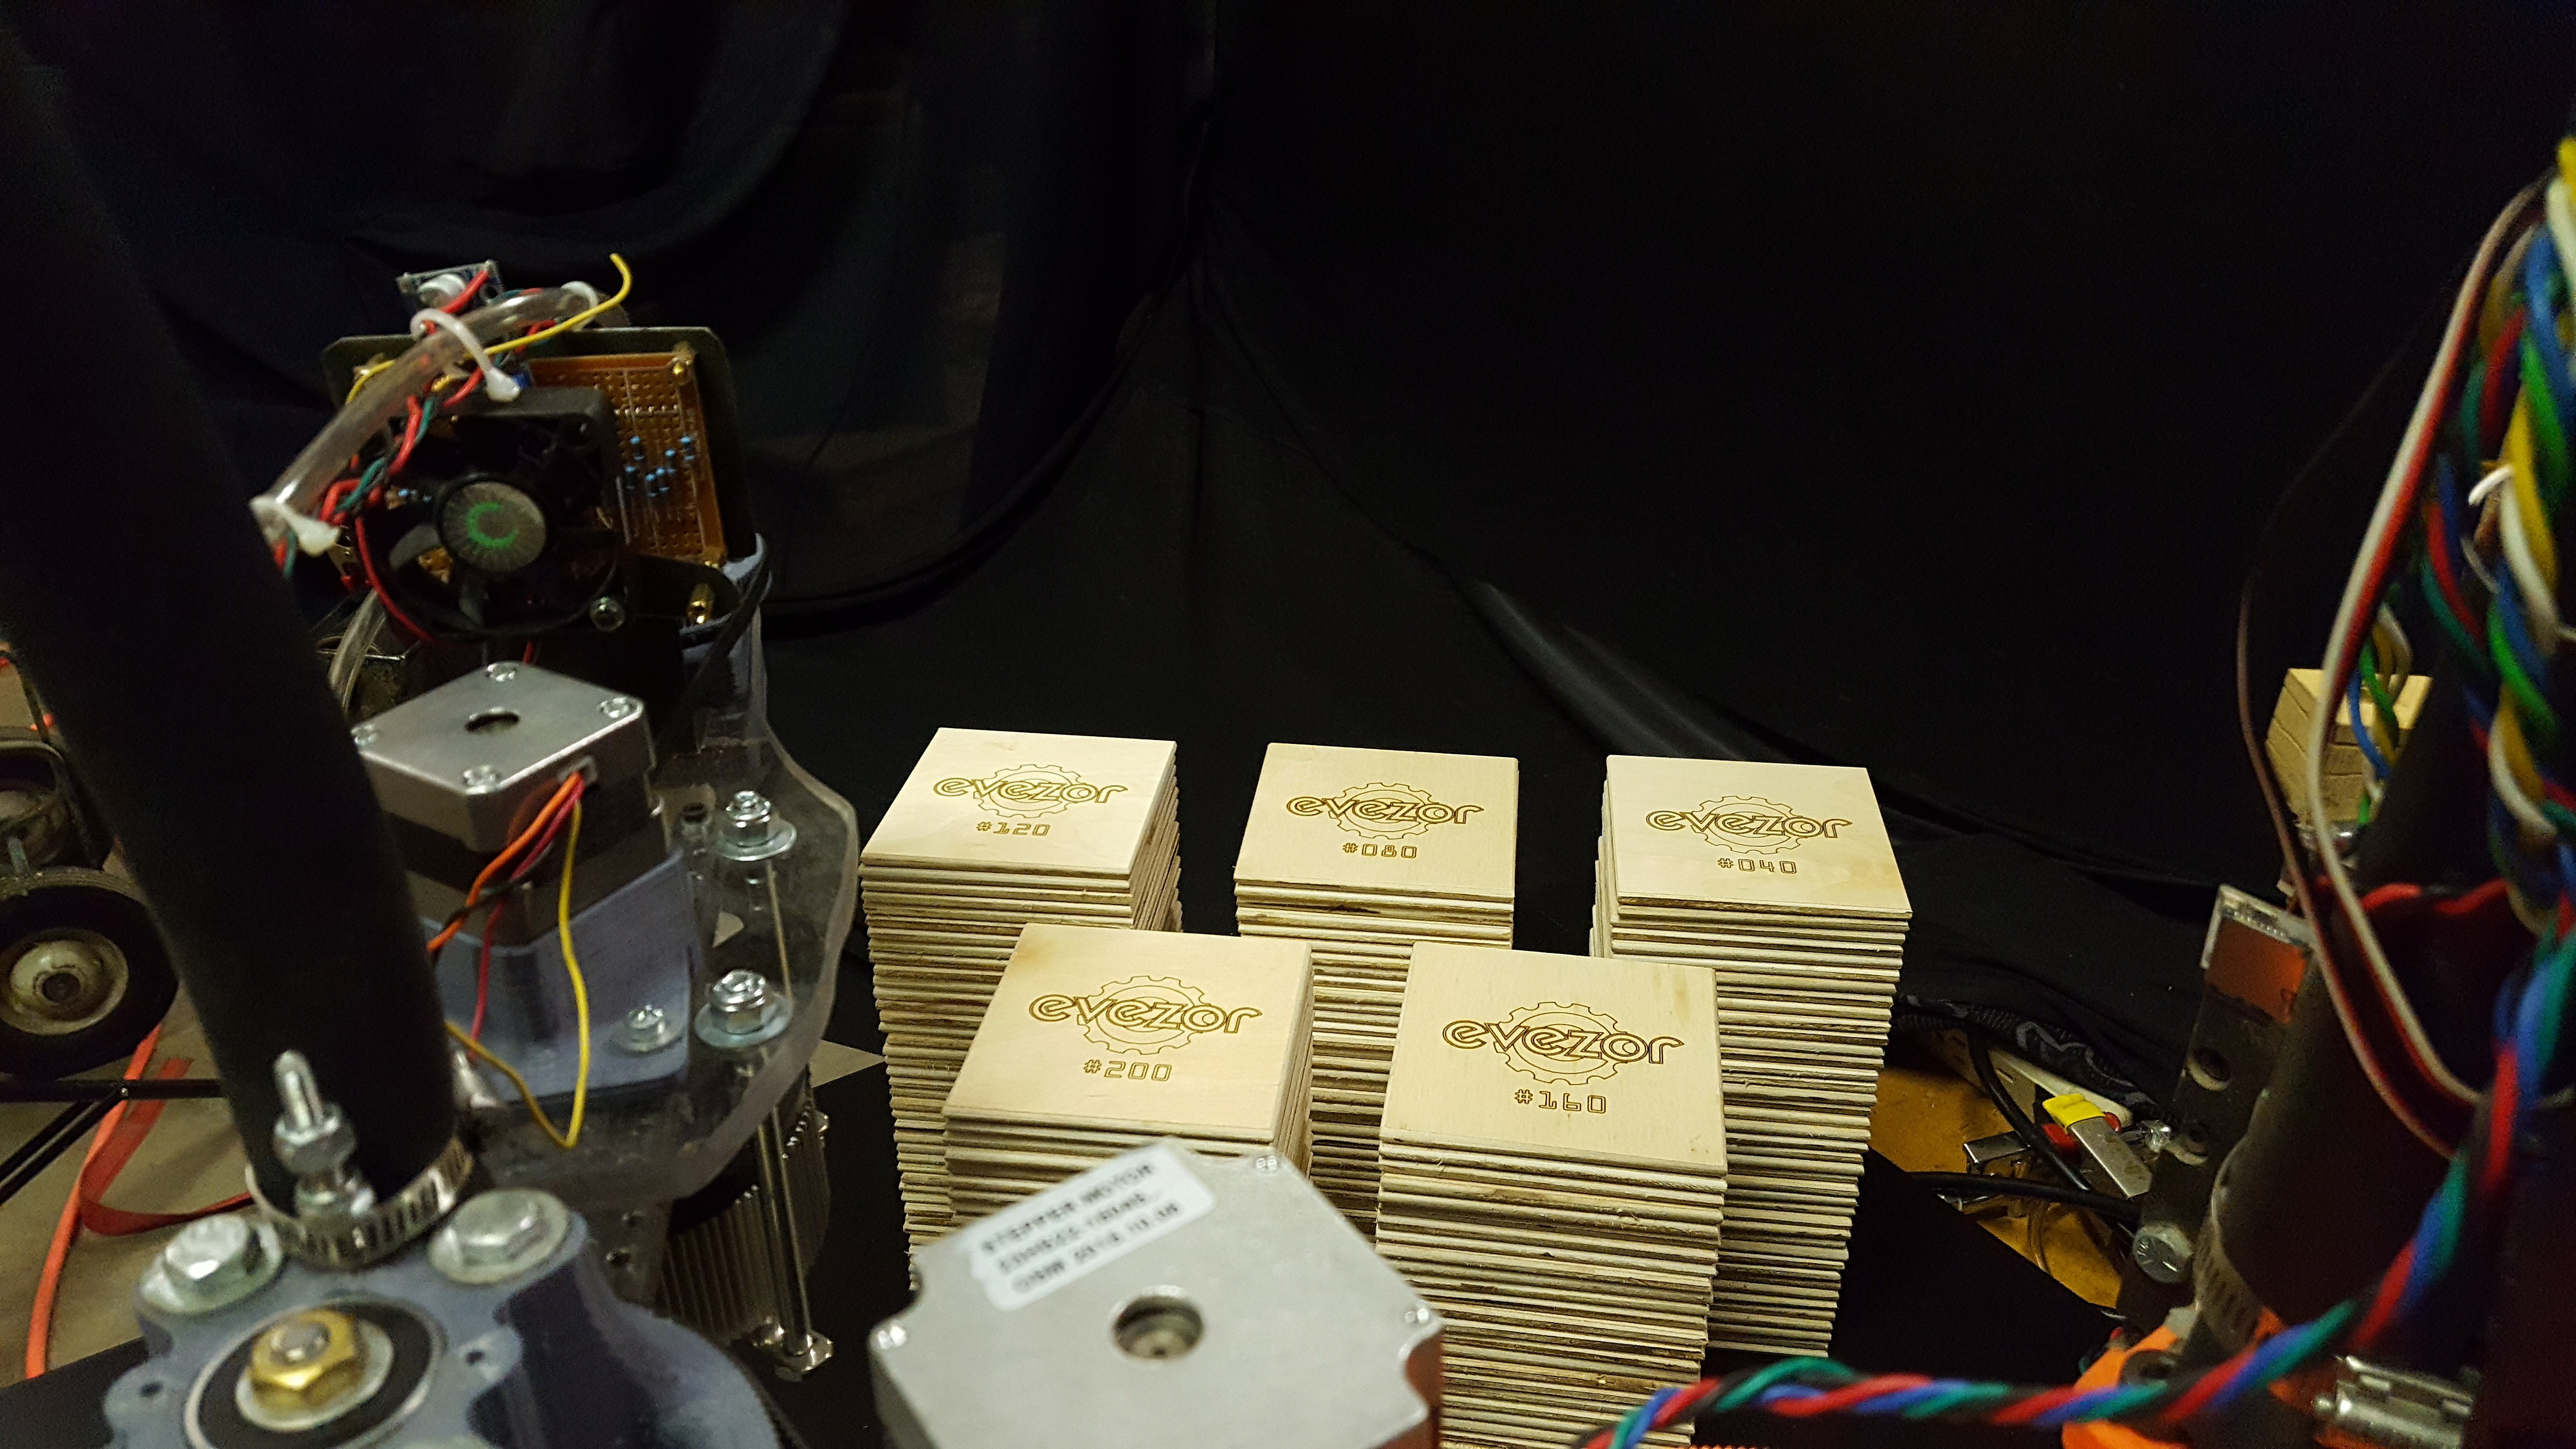
We made it! All done!![]()
200 coasters all piled up.![]()
200 coasters all piled up.![]()
![]() Now we're really done!!
Now we're really done!!
This is a 12"x12"x12" box. This was a lot of coasters! See the video version and full source files for this project at http://evezor.com/coasters![]()
-
TSP Art
05/11/2017 at 22:22 • 0 commentsHere I drew some pictures with a ballpoint pen.
TSP (Traveling Salesman Problem) Art is created by turning an image into dots, then using a traveling salesman algorithm to connect the dots. Light and dark regions are created by differing point densities.
-
PCB Fab and Assembly
05/09/2017 at 03:41 • 0 commentsHere we mill traces and place surface mount LEDs and resistors.
Traces were milled with a 1mm endmill with a standard 110V rotary tool.
The components were 0603 and were picked and placed with a vacuum tool powered by compressed air.
-
Laser Engraving
05/08/2017 at 21:28 • 0 commentsWe got the laser out again and did some engraving.
The toolpath was created in Inkscape. I could have had Inkscape make a more efficient toolpath but just got rapid movements working and wanted to see how well they were working.
Evezor Robotics and Automation Platform
A Networked set Robotic Arms, Motion platforms, sensors and more. Easily programmed with a drag and drop interface.


 The sled would be actuated with a belt so the mounts had to be fairly strong, so I made a dado joint.
Such class ;)
The sled would be actuated with a belt so the mounts had to be fairly strong, so I made a dado joint.
Such class ;)


 LIGHTS!
 CAMERA!!


 Now we're really done!!