 Next Builder
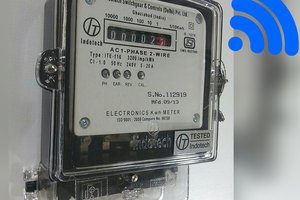
In villages and towns where electricity cut-offs are a daily challenge, one of the first things to go down is the Wi-Fi router. This means no internet for online classes, no work calls, no streaming, and no communication with the outside world. For students like me, it was more than an inconvenience—it was a barrier.
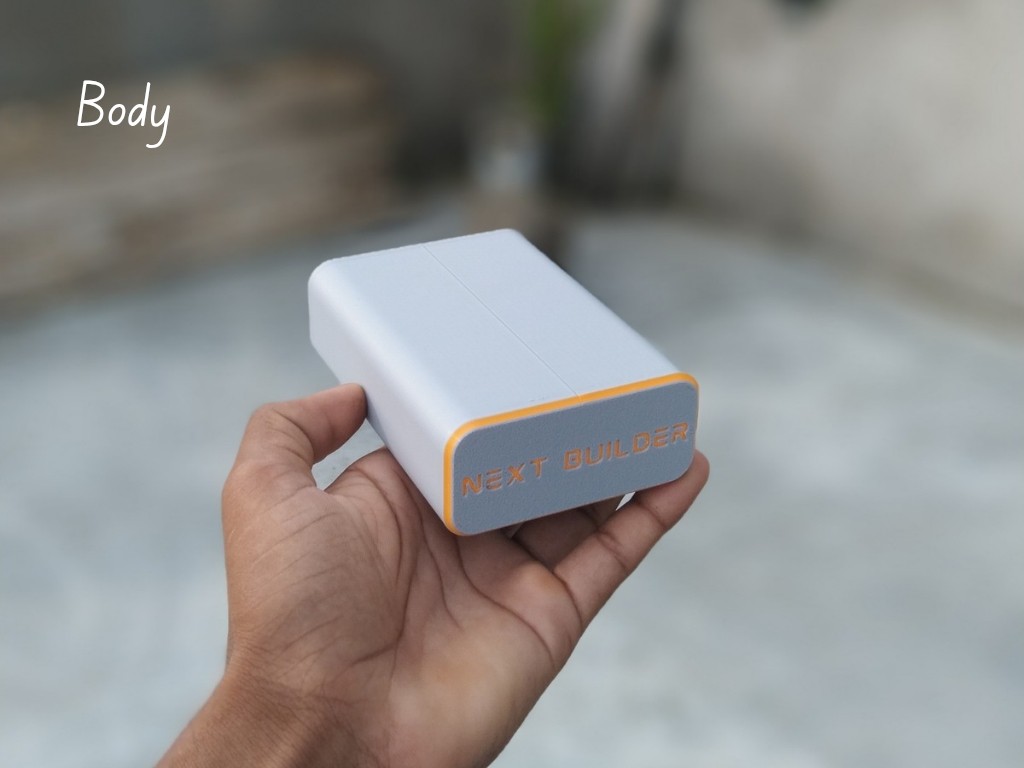
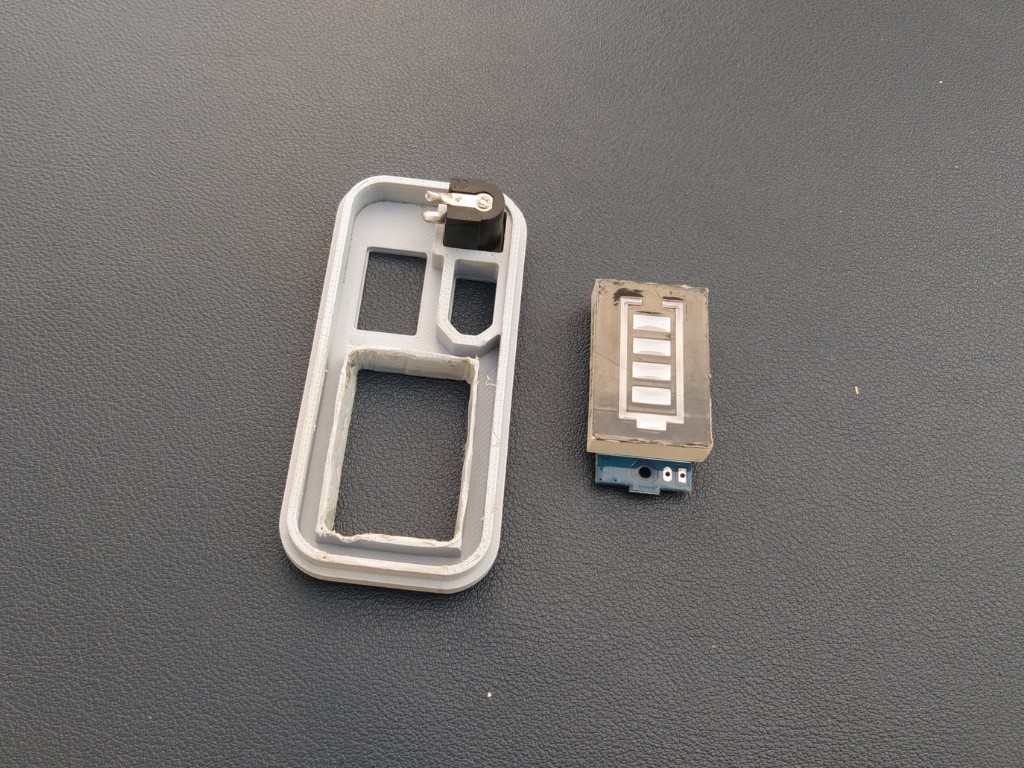
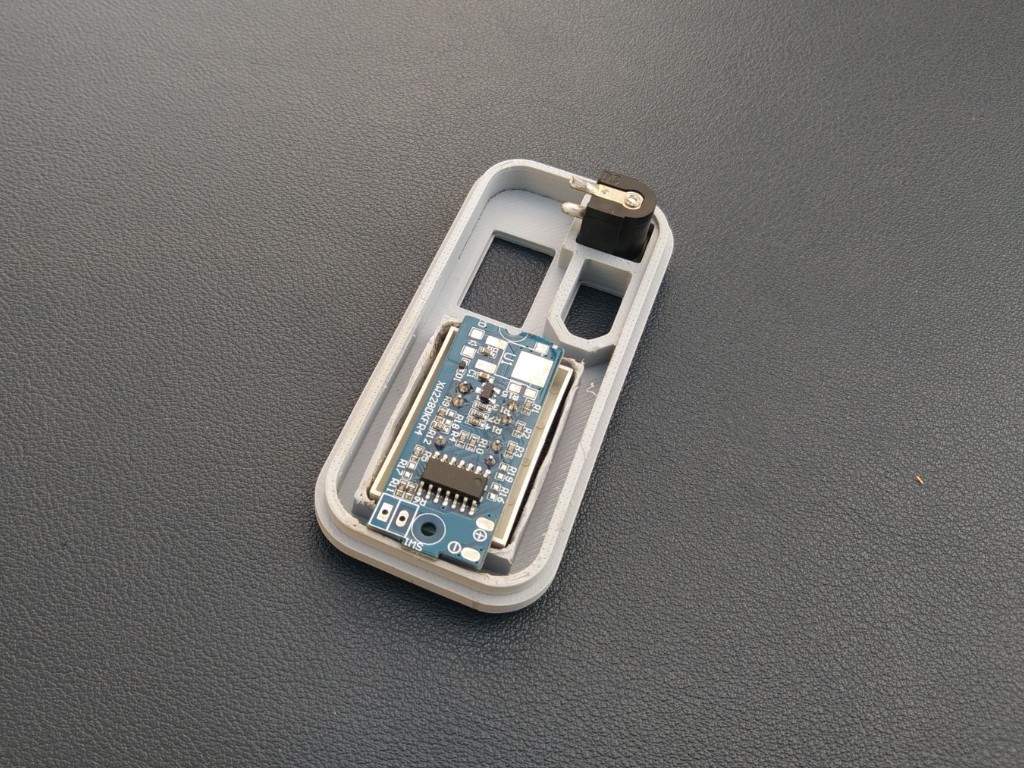
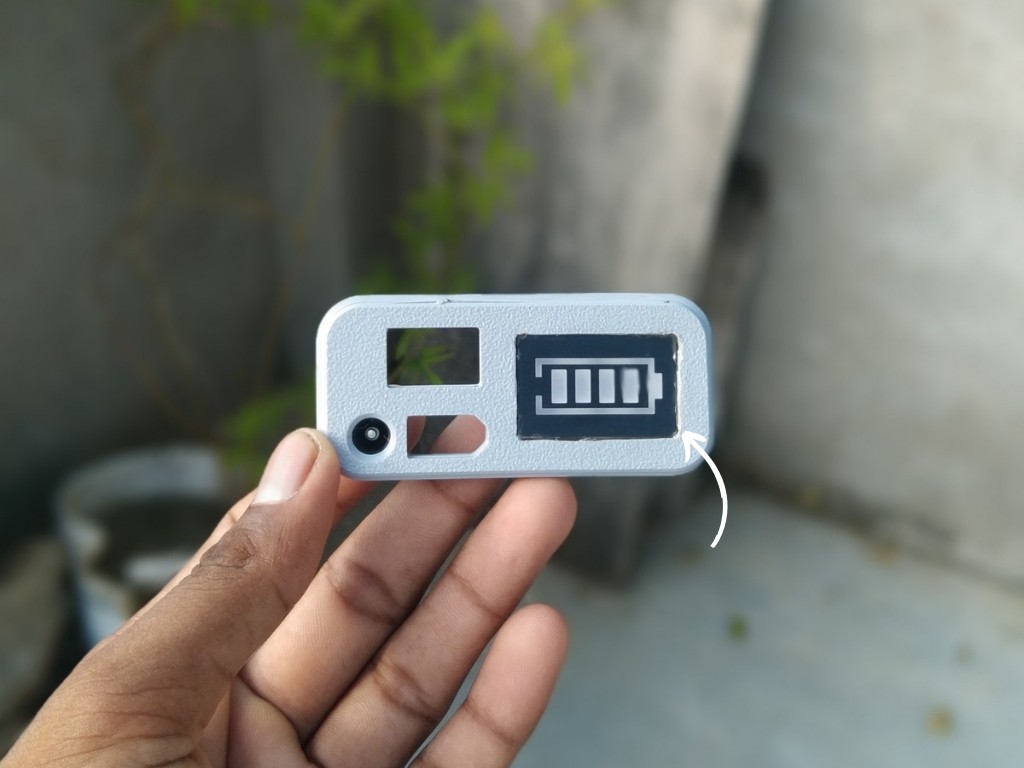
That’s why I designed a Mini UPS as a tool for routers. It’s not just another electronic build—it’s a problem-solving tool, compact and efficient, that ensures your router keeps running during power failures. While big inverters power everything in a home, this tool is built with one focused purpose: keeping the internet alive.
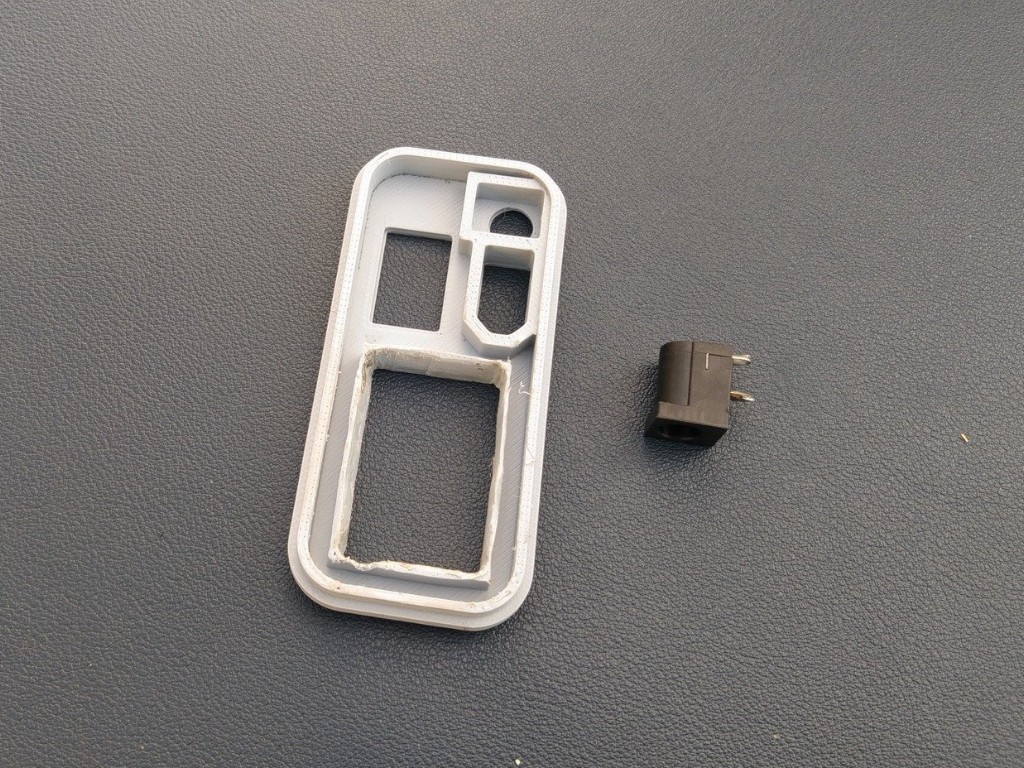
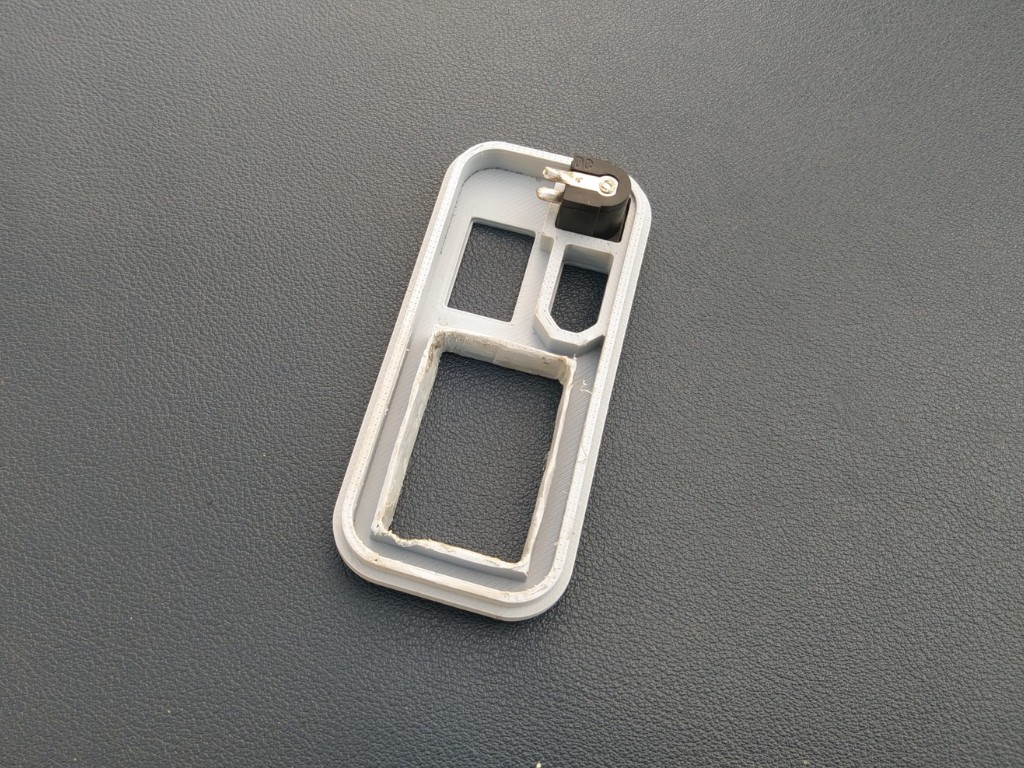
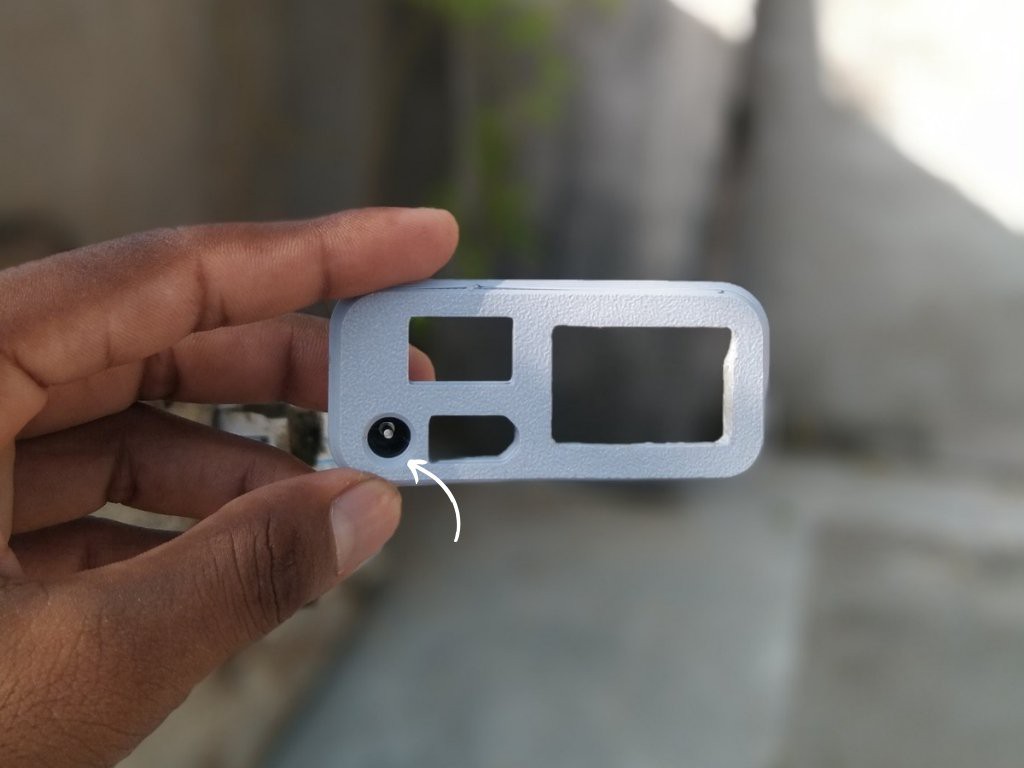
Using Autodesk Fusion 360, I created a professional-grade enclosure that neatly fits all the electronics while keeping the build compact and durable. The design is practical, easy to assemble, and affordable—making it accessible to students, makers, and anyone who depends on uninterrupted connectivity.
It solves a real-world problem with simplicity and reliability. It proves that sometimes the best tools are not the biggest or most complex—they’re the ones that quietly save the day when you need them most.

 Tony
Tony
 Blutorrent420
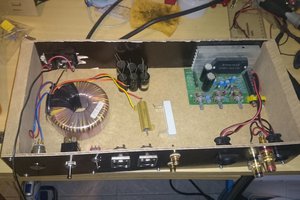
 adri1 B