CiferTech
Hey everyone, Cifer here!
You know that feeling when a project you built just won’t leave your head? That was RF-Clown for me.
The first version worked great — compact, powerful, and fun to build — but I knew it could go further. So I tore it apart, redesigned everything, and ended up with something way more capable.
Meet RF-Clown v2, my biggest upgrade yet.
🧩 Why I Rebuilt It
Version 1 was solid — it had one button, a few LEDs, and did its job well. But it was limited in range, control, and user feedback. I wanted something smarter, stronger, and a bit more futuristic.
The goal for v2 was simple:
- Boost performance with more radios and better antennas.
- Upgrade the interface with an OLED display and real navigation.
- Keep it open-source so anyone can build, tweak, or improve it.
Like most of my projects, you can find the documentation, PCB, and code on my GitHub, and if you’d like to support my builds, you can join my Patreon — it really helps keep these projects alive.
⚙️ What Changed
🧱 Still Rock-Solid Foundations
ESP32-WROOM-32U remains the main MCU — perfect for Wi-Fi and BLE features I plan to integrate later.
- ESP32-WROOM-32U remains the main MCU — perfect for Wi-Fi and BLE features I plan to integrate later.
- TP4056 handles battery charging for the single-cell setup.
- CP2102 makes programming plug-and-play, no hassle.
- LF33 regulator supplies a clean 3.3 V line for all components.
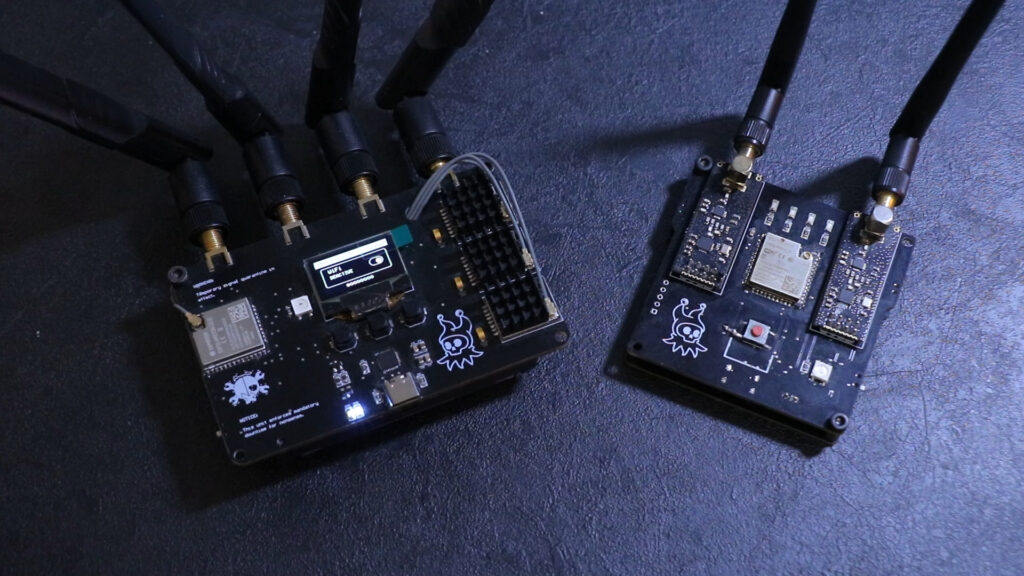
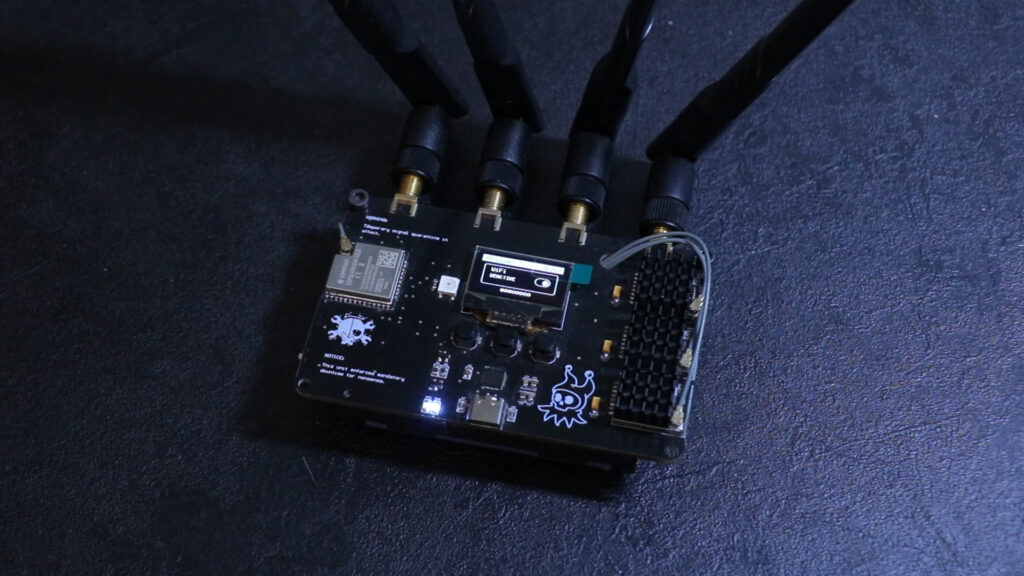
🚀 The Big Upgrades
Three × GT24 Mini (NRF24 compatible) transceivers instead of two — inspired by my NRFBox project. Having three radios improves coverage and performance dramatically.
- Four IPEX extension cables link the radios and ESP32 to external antennas, giving much more flexibility.
- Eight 8 dBi antennas for a clean balance between size and gain.
- OLED display + three tactile switches for menu navigation — and yes, it’s simple, but so satisfying.
- One NeoPixel replaces multiple LEDs for a cleaner look and dynamic feedback.
Of course, with these upgrades comes a slightly larger build, but it’s still portable enough to fit in a bag — and that’s a trade-off I’ll gladly take.
🔧 Building the Hardware
The PCB layout was tight. Three radios, external antenna lines, battery circuit, and the ESP32 — all had to fit without causing noise or interference.
Thermal management was another challenge. With three NRF24s pushing hard, temperatures can climb fast.
So I added small heatsinks to the radio modules, which helped stabilize performance.
Here’s a quick spec snapshot:
Core MCU: ESP32-WROOM-32U Radios: 3× GT24 Mini (NRF24 compatible) Display: 0.96” OLED Indicator: 1× NeoPixel Battery: 1-cell LiPo (TP4056 charger) Voltage Regulator: LF33 3.3 V Antennas: 8 dBi External via IPEX
The design may not be ultra-compact anymore, but it’s far more capable and robust — built for performance first.
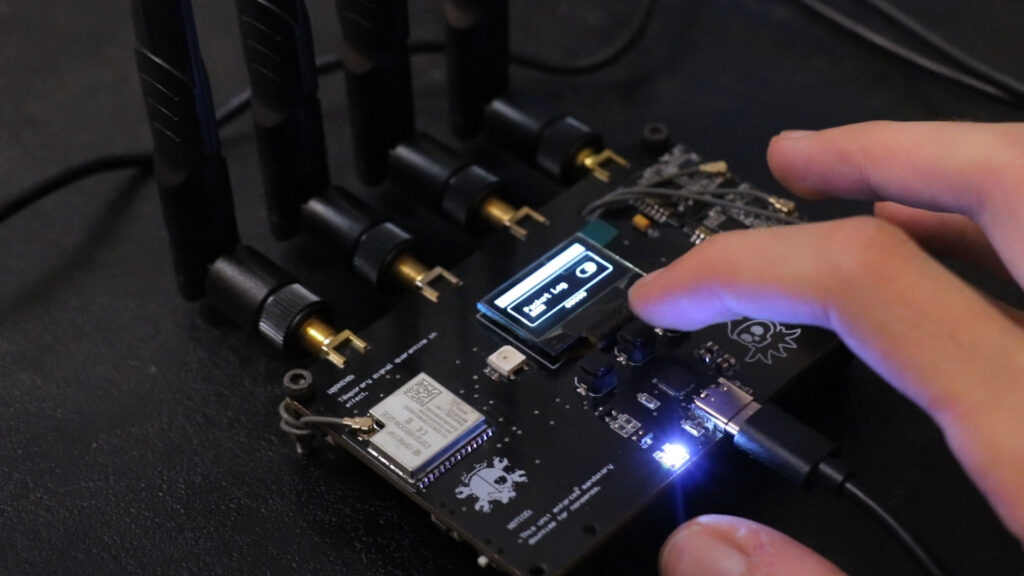
🧠 Firmware & Menu System
Firmware-wise, I moved from the “one-button madness” of version 1 to a more structured, menu-based system.
Three buttons now let you scroll, select, and navigate through modes — and the OLED display gives you instant visual feedback.
The NeoPixel acts as a status indicator:
- Green for active,
- Blue for standby,
- Red for errors or overheating.
This setup feels like a mini control panel on your thumb — clean, functional, and intuitive.
🔬 Testing the Beast
Time for the fun part.
In the previous video, I tested RF-Clown v1 in different ways — including with BLE speakers (you can check that video if you haven’t already).
For this version, I went a step further.
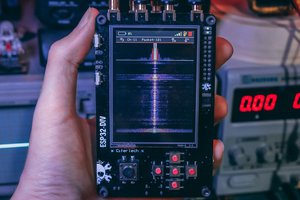
📷 Test 1 — Wi-Fi Camera
I connected a small Wi-Fi-based camera and monitored the live feed.
When I activated RF-Clown v2, the video froze instantly. After deactivation, it returned to normal.
💻 Test 2 — Laptop
Next, I tested it with my laptop. Once activated, the system couldn’t even scan for access points — everything...
Read more »