 Roni Bandini
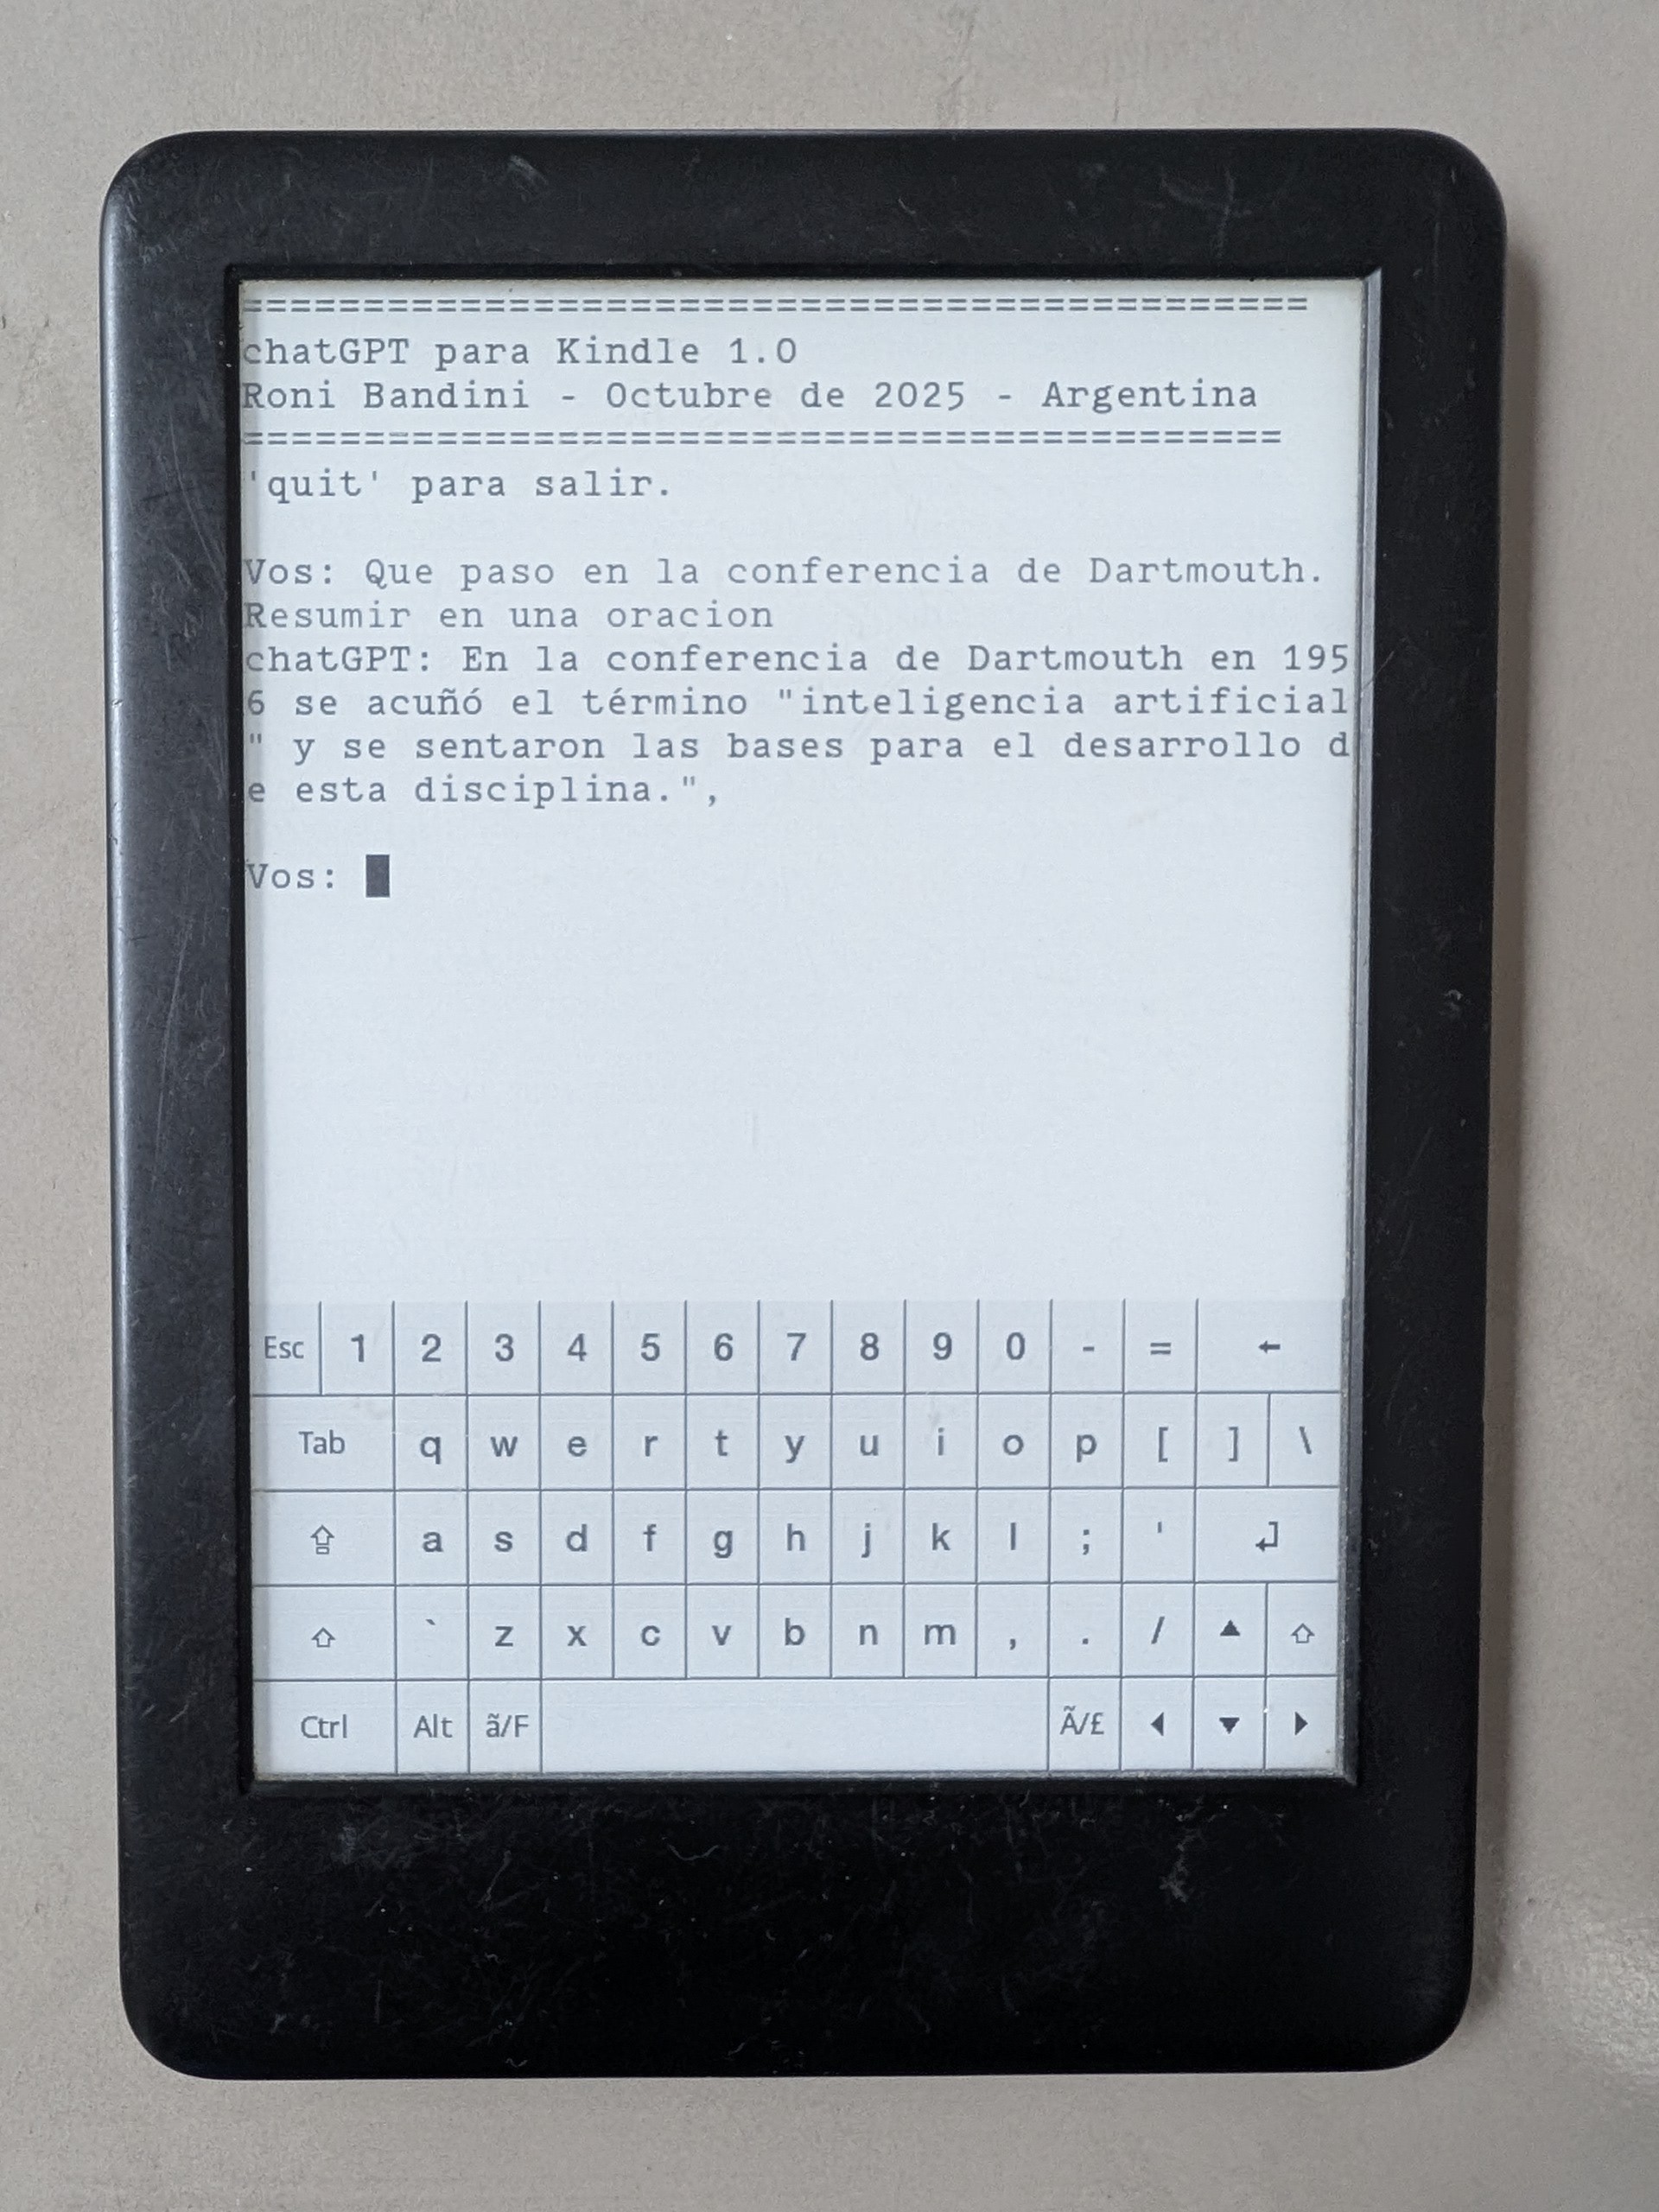
Once jailbroken, the Kindle reveals its true nature: a Linux tablet with an E-Ink touchscreen. I then decided to dedicate a few hours on Sunday to develop a version of chatGPT capable of running on the Kindle itself by calling openAI api.
The procedure is neither simple nor quick, but the majority of the time is spent on the jailbreak process. Beyond the jailbreak, it's valid to question the utility or the point of having chatGPT on a Kindle. Perhaps there is none. Perhaps it's just about testing the OpenAI API, exploring Bourne Shell, and remembering the VI editor. Perhaps it’s a way of reclaiming sovereignty over our devices, proving that we can be something other than a compliant user.
Requirements
- Kindle Paperwhite. Mine's a 2018, 10th-generation model with just 4GB. Newer models are even better.
- A USB cable capable of data transfer.
- A Windows or Mac computer.
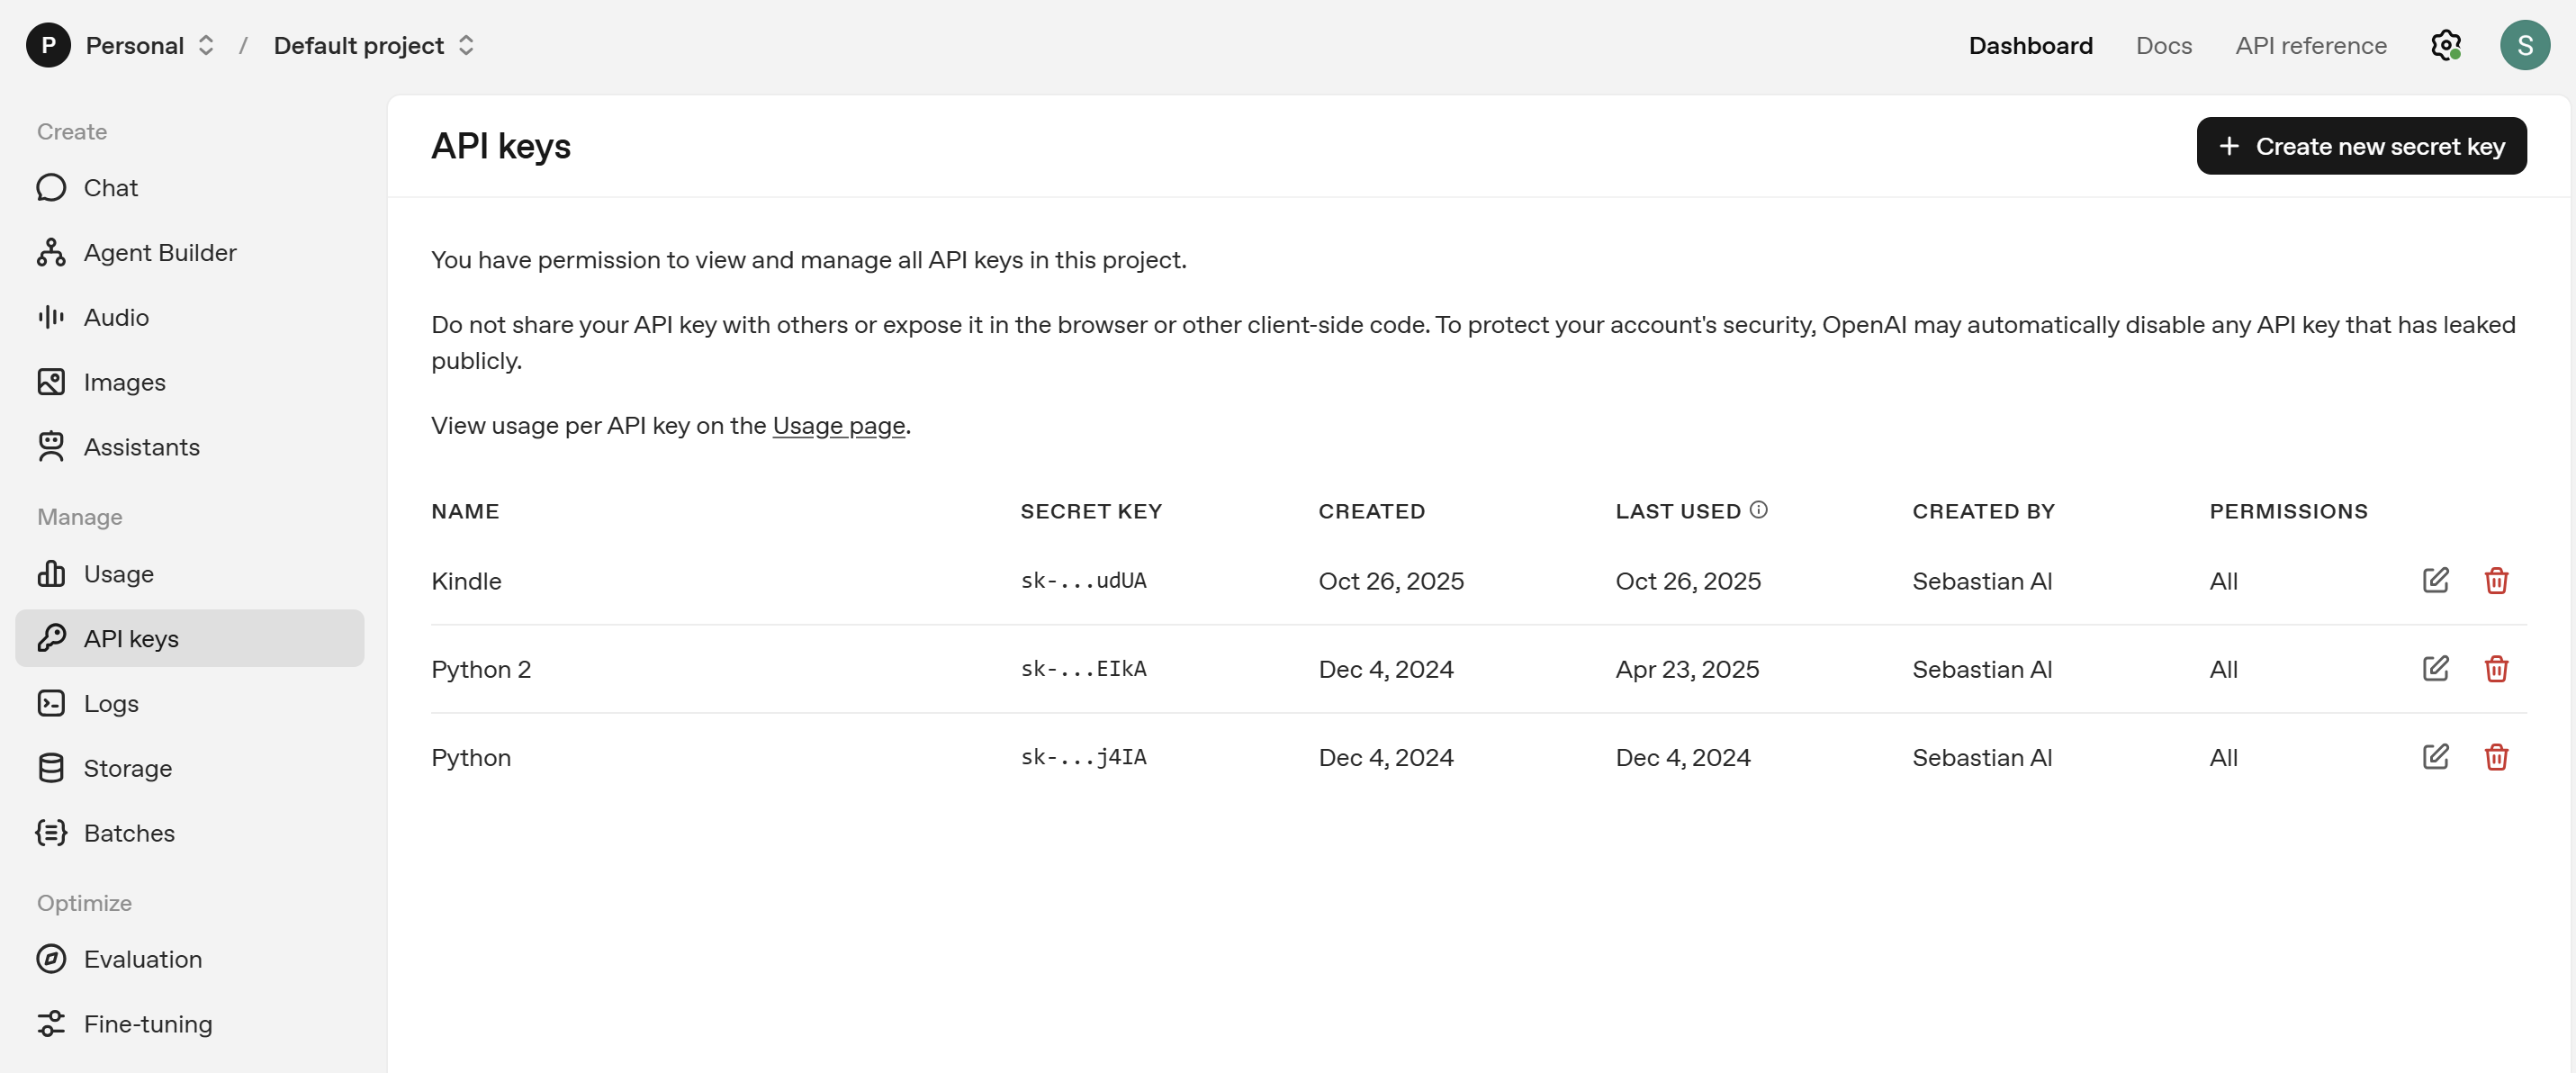
- An OpenAI API key. You'll need to go to https://platform.openai.com/api-keys and generate the key.
⚠️ Important Note
It's important to note that this jailbreak works with the current software versions, but Amazon is highly likely to block it soon. To keep this window of opportunity open, it might be wise to disable your Kindle's Wi-Fi and prevent it from updating.
Jailbreak
The procedure to liberate the Kindle, prevent subsequent updates from overwriting your changes, and enable the Kindle to install external applications is tedious, but not overly complicated. You can find the necessary steps and files on this website: https://kindlemodding.org/jailbreaking/index.html
Once your Kindle is jailbroken and KUAL is installed, follow these steps:
- Install Kterm: Get the necessary files from https://github.com/bfabiszewski/kterm
- Download the kindlegpt.sh script and edit the OpenAI API key within it.
- Copy the script to the Kindle at the following location: /mnt/us/extensions/kterm/chatgpt.sh
- Open KUAL and start kterm.
Run chmod +x chatgpt.sh

Start with bash kindlegpt.sh
To exit chatGPT, use the command quit. You can also exit Kterm by pressing two buttons on the screen simultaneously. After the first execution, you can re-run the command quickly by using the up arrow key to recall the last command executed.
Want to remember a little VI?
If the Bash script execution fails, it's likely due to Windows characters corrupting the sh code.
To fix this, follow these steps:
• Install and open Start Telnet on your Kindle.
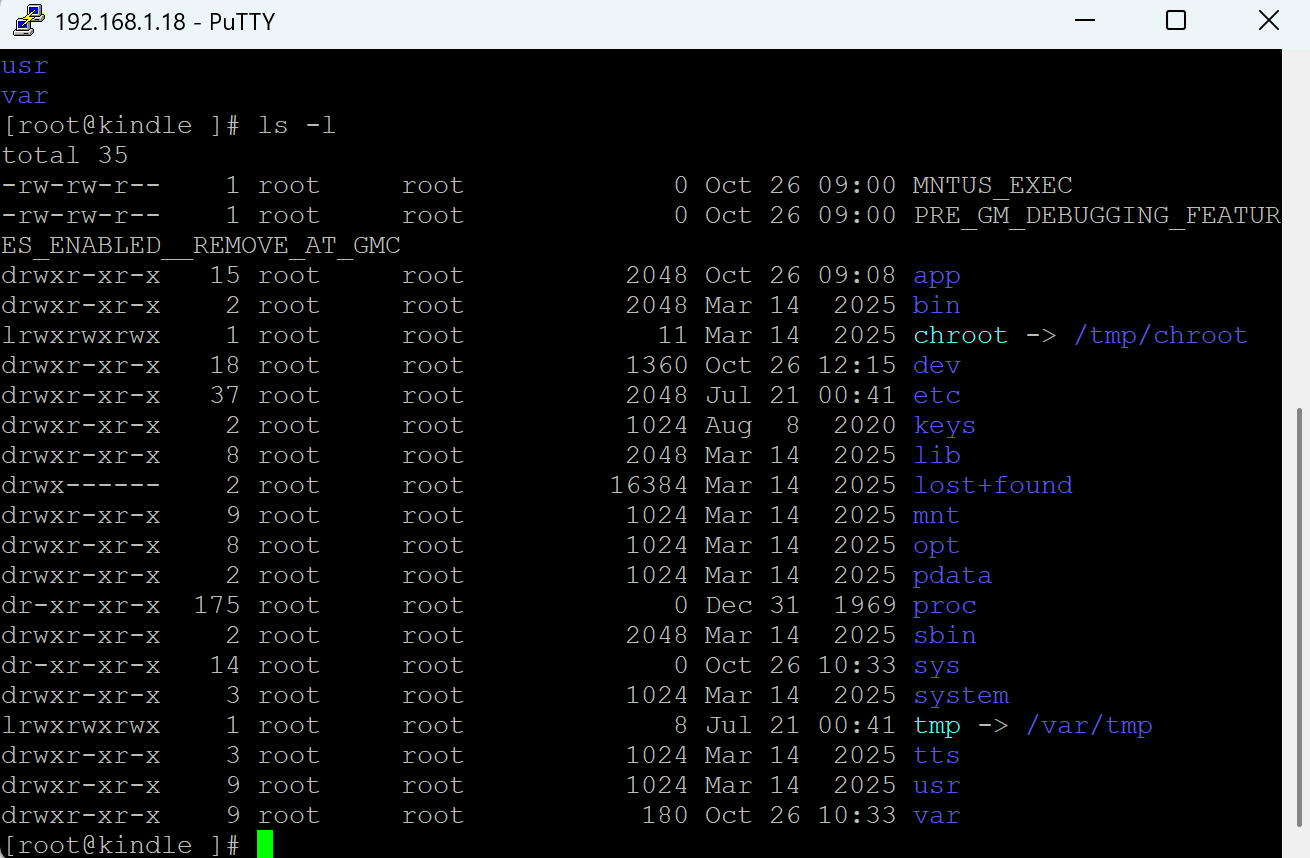
• Connect to the Kindle's IP address on port 23 using Putty or any other terminal software.
• Navigate to the script directory: cd mnt/us/extensions/kterm
• Open the script using the Vi editor (Nano is not installed): vi kindlegpt.sh
• Copy and paste the content of kindlegpt.sh. Verify that no adjustment is needed at the beginning of the file, as the first lines sometimes aren't copied correctly.
• To save and exit in Vi, press the Escape key, then type :wq and press Enter.
• Ensure the script is executable: chmod +x kindlegpt.sh
• Execute the script: bash chatgpt.sh
Demo
Final Notes
The biggest complexity was working with the Kindle's set of restrictions. With no Python, I had to resort to the BusyBox Bourne shell, and with no jq or similar tools, I had to juggle to parse the JSON from the OpenAI response.
For their part, the formatting errors that Windows introduced into the .sh script led me to the VI editor with the vintage ESC :wq and ESC q!.
Improvements
Have the response appear typed out (streaming), store the session chat history, and above all, simplify the installation procedure.

 Quackieduckie
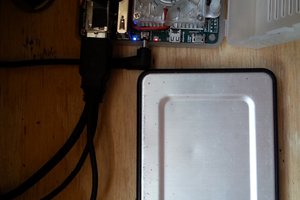
 tlankford01
 Andrew Green
 Enki
Enki