 Next Builder
-
11Testing
![]()
![]()
![]()
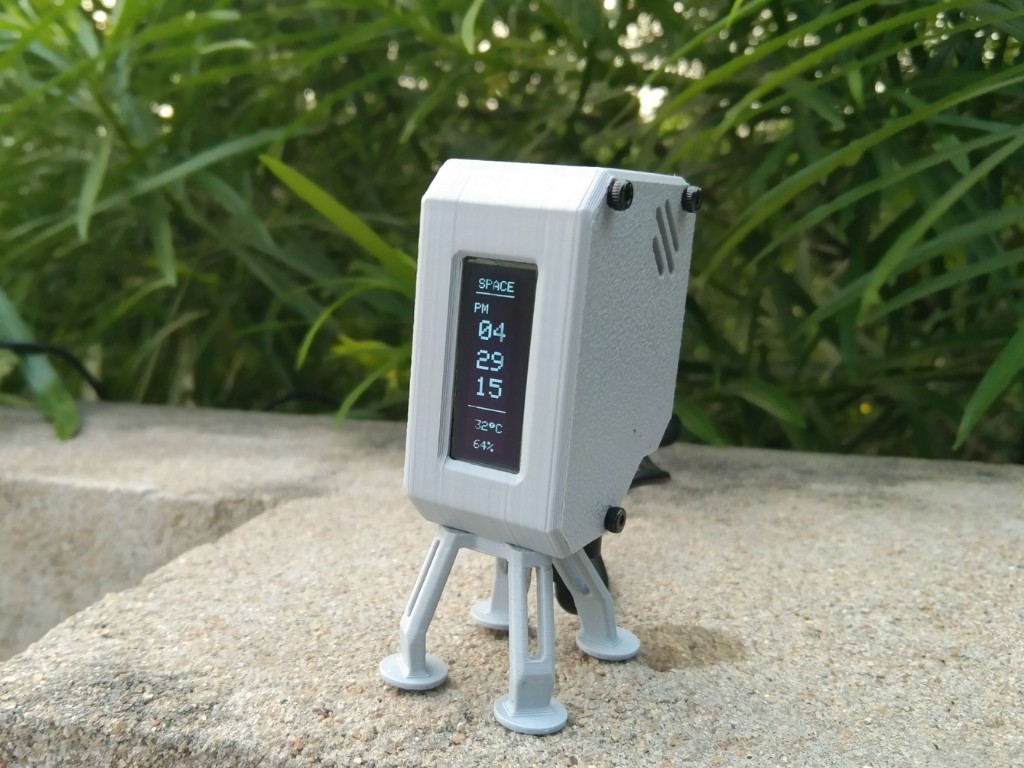
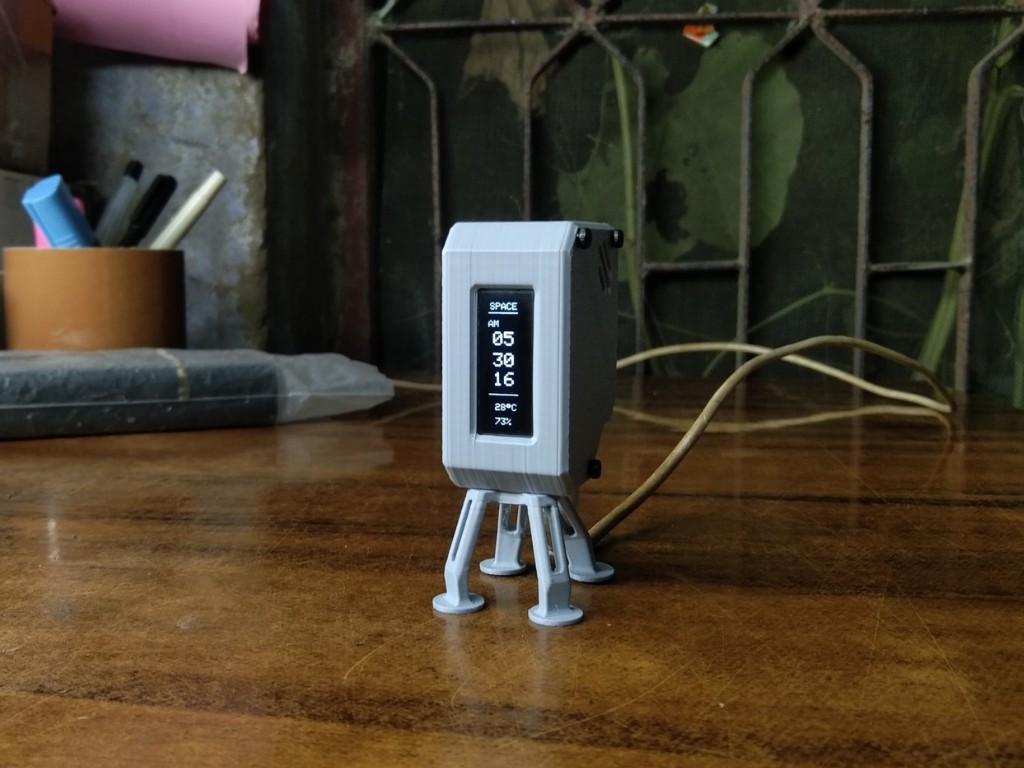
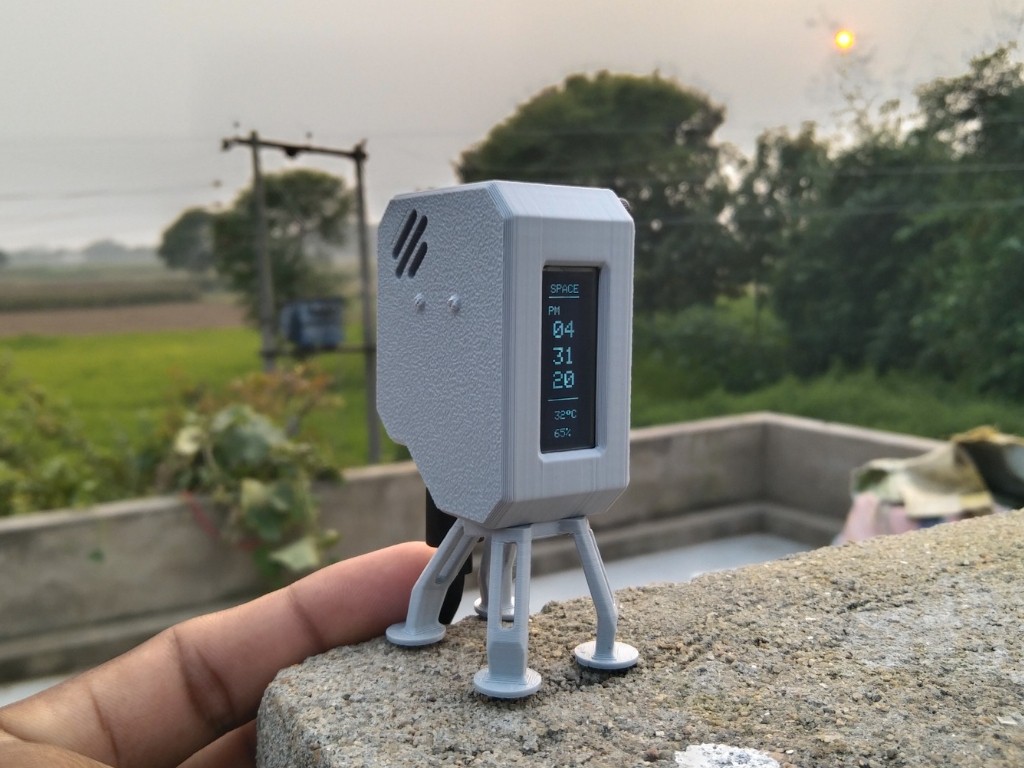
Once the code is uploaded, give your microcontroller 1–2 minutes to connect to your Wi-Fi network. After a successful connection, it will automatically synchronize the current time from the NTP server and start fetching real-time temperature and humidity data from the sensor.
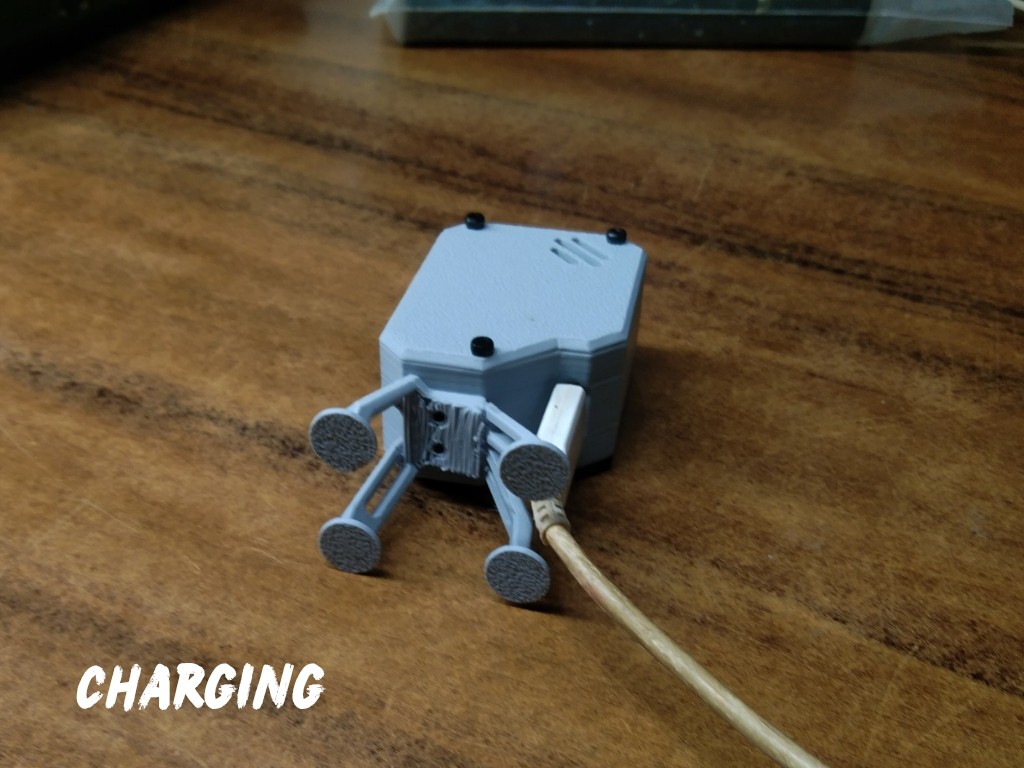
While the USB-C cable is connected, the internal battery will also charge simultaneously, so your Orbit Clock can run both on USB power and battery backup.
At this stage, your Orbit Clock is fully functional, charging, and ready for daily use, providing precise time and environmental information in a sleek, compact design.
-
12Conclusion
![]()
The OrbitClock brings the charm of space technology to your desk. Its spacecraft-inspired design, glowing OLED display, and real-time temperature and humidity readings make it more than just a clock — it’s a mini space instrument.
With the DFRobot Beetle ESP32-C3, Wi-Fi NTP synchronization ensures precise local time, and the onboard SHTC3 sensor provides accurate environmental data. The USB-C connection keeps the battery charged for uninterrupted operation.
OrbitClock combines smart design, real-time data, and sleek electronics into a functional and visually striking desktop gadget.
Happy Making 🤞🏻
OrbitClock – a Tiny Space IoT Environmental Clock
OrbitClock blends futuristic design with IoT tech. It shows real-time NTP time and environmental data in a sleek satellite-style form.
Discussions
Become a Hackaday.io Member
Create an account to leave a comment. Already have an account? Log In.
I'm 12 years old and my interests are 3D printing, space, and electronics. This is my dad's account, but we both use it to find fun projects. I'm going to try to make your project. Thanks for sharing.
Are you sure? yes | no