 Michael Perrone
-
1Bill of materials
To replicate this experiment, you will need the following materials. The frame design is flexible, provided it is sturdy and contains no conductive or magnetic materials near the drop zone.
Materials:
- 2x Neodymium Ring Magnets
- Spectra Fishing Line
- 2x Ceramic Bearings (Non-magnetic)
- 14x 1x4” Boards (cut to approx. 52” length)
- Wooden Dowels (for joinery)
- Wood glue or epoxy
- 1x ¼-20 x 1.5” Stainless Steel Screw or you may use Nylon Screw and Nylon Bolt
- 3D Printed Components (files attached)
Tools:
- Drill & Bits
- 3D Printer
- Metal Detector (Optional, for site verification)
-
2Assemble the Frame
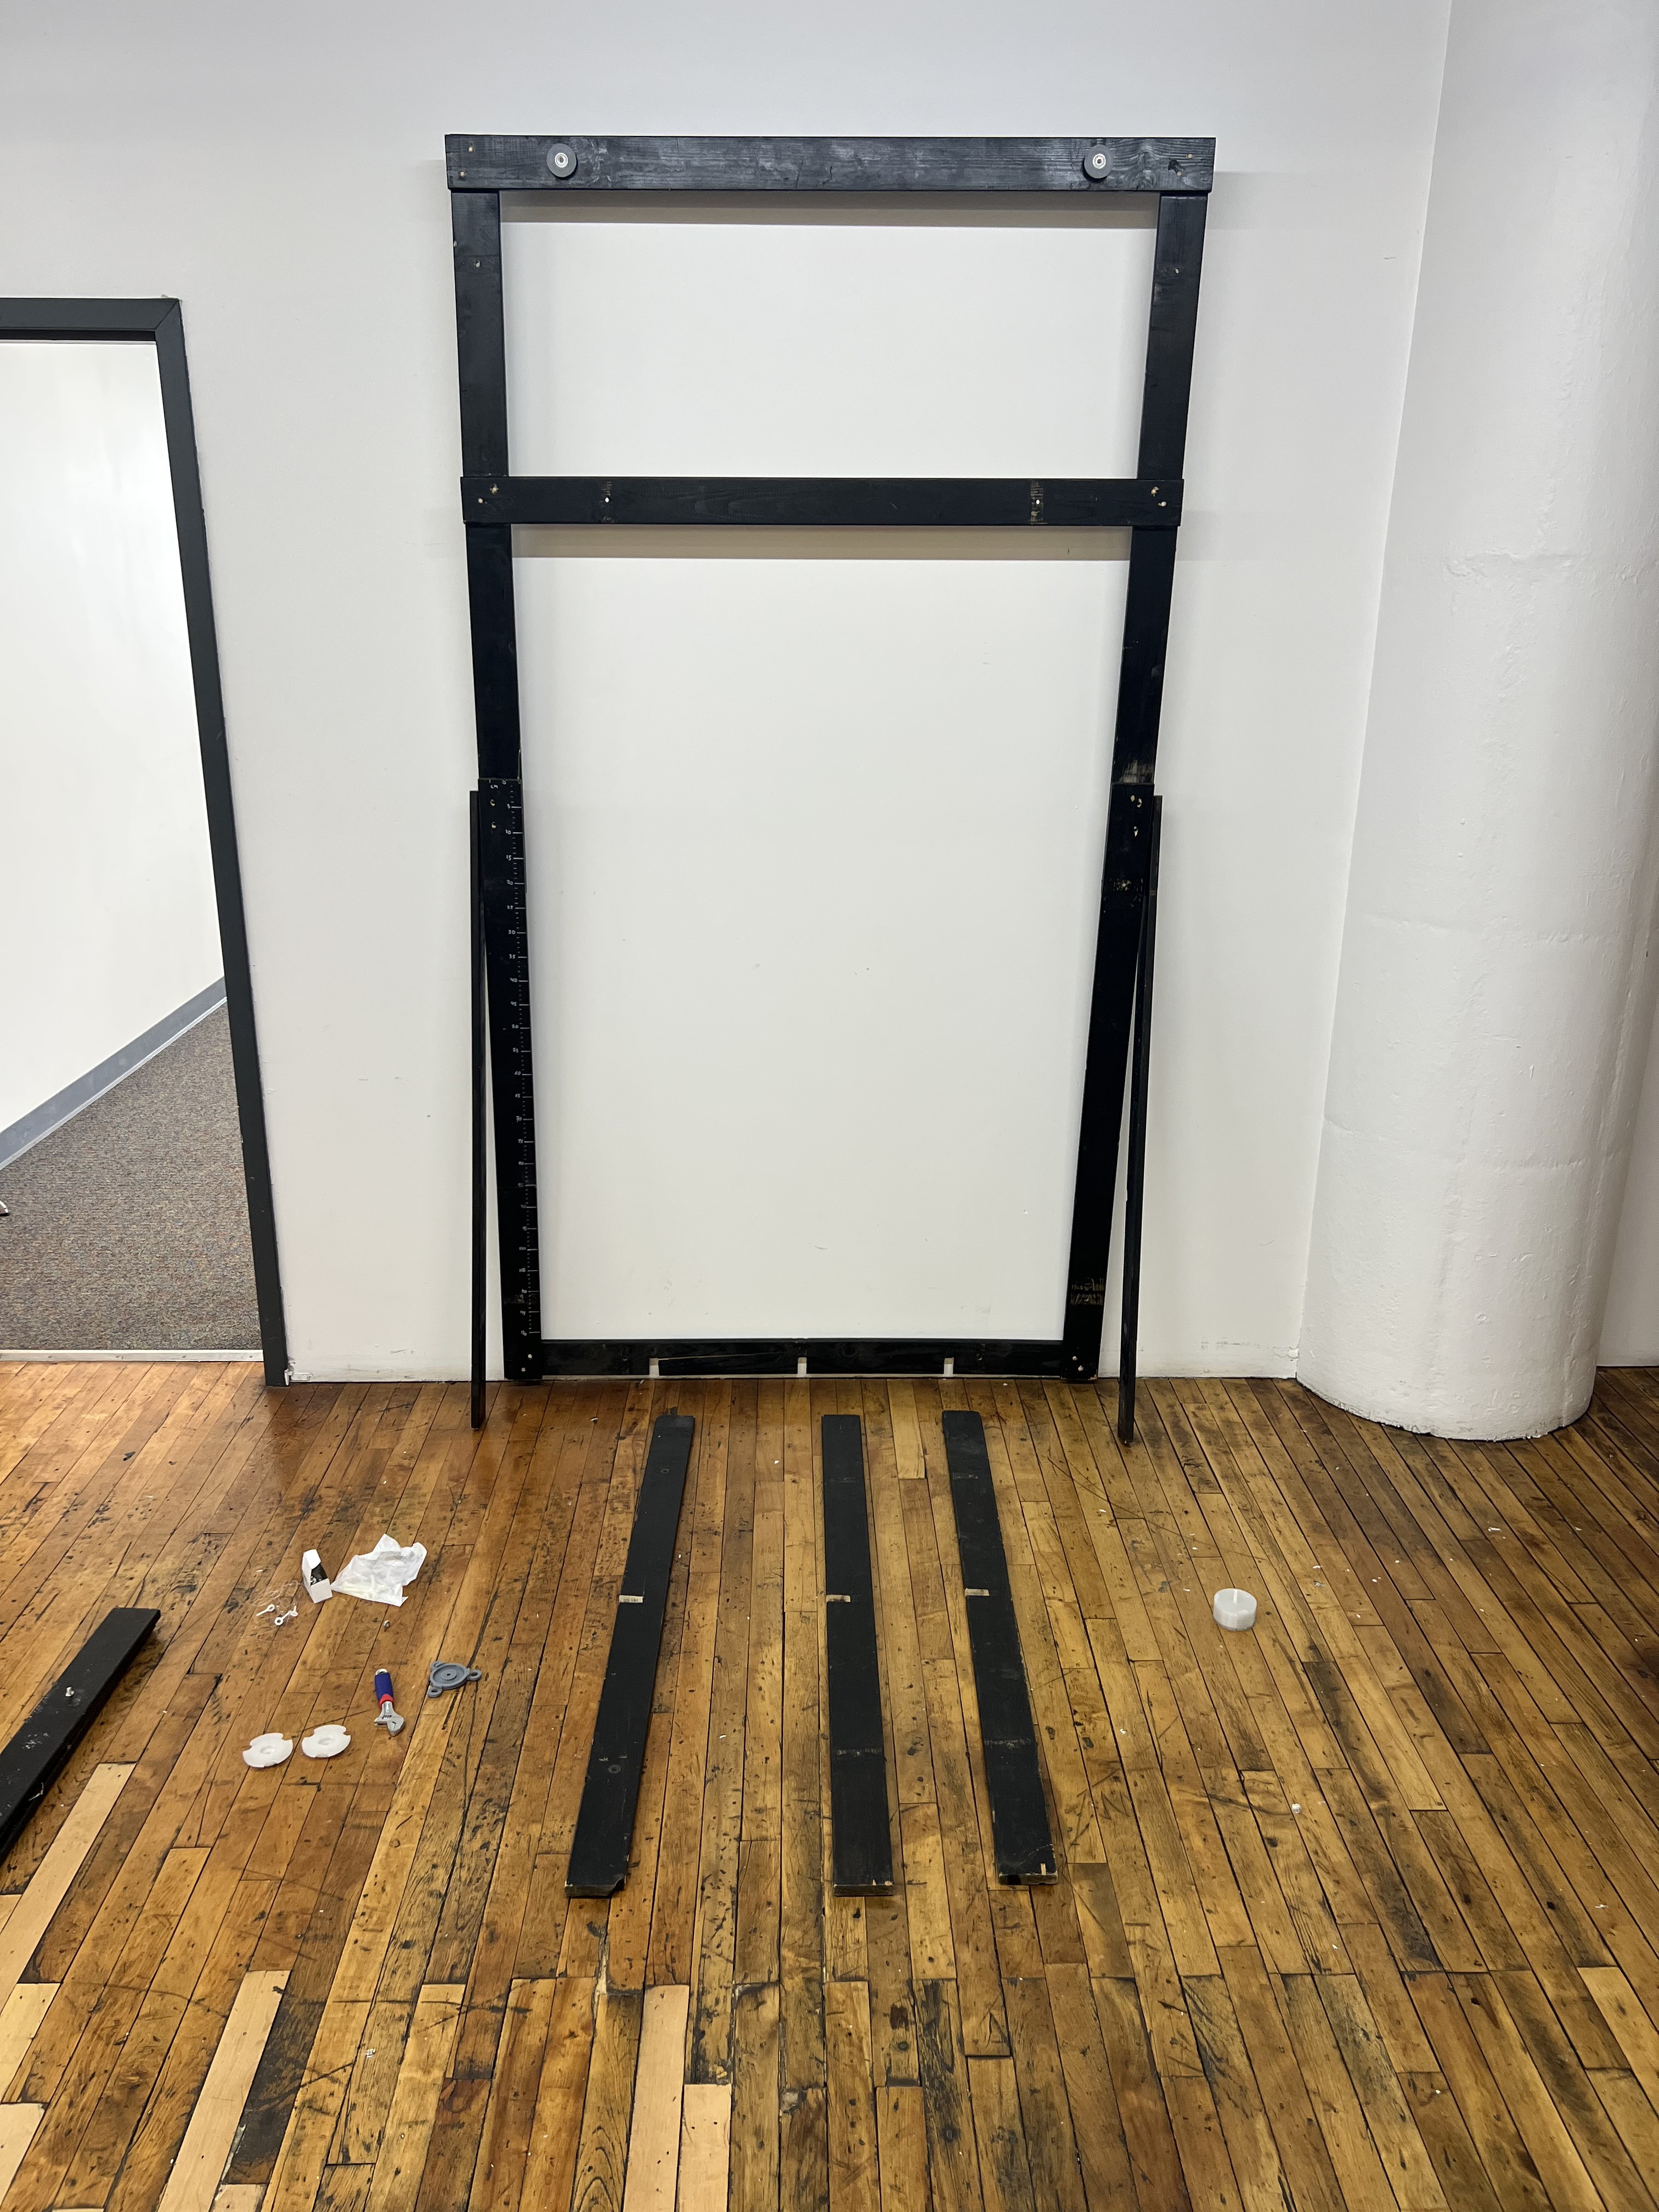
We constructed a tall rectangular frame (two boards high, one board wide) with a cross-beam near the top to support the pulley system. The exact dimensions can be modified, but the goal is to create a stable structure that leans at approximately
10 degrees to allow the weight to hang freely without hitting the supports.
Prepare the Base: Cut three grooves into the bottom of one of the 1x4 boards. These grooves should be as wide as the board's thickness and go halfway through the depth. This board will serve as the anchor for the base.
Construct the Uprights: Arrange 6 of the 1x4s to form the vertical structure (see images). For each connection point, drill two holes through both boards, apply wood glue, and press-fit wooden dowels to secure them. Allow the glue to cure fully according to the manufacturer's instructions.
Install Bearings: On the top crossbar, drill two holes to accept the mounting dowels for your ceramic bearings. Ensure these are horizontal to minimize friction. Press-fit the dowels and mount the bearings.
![]()
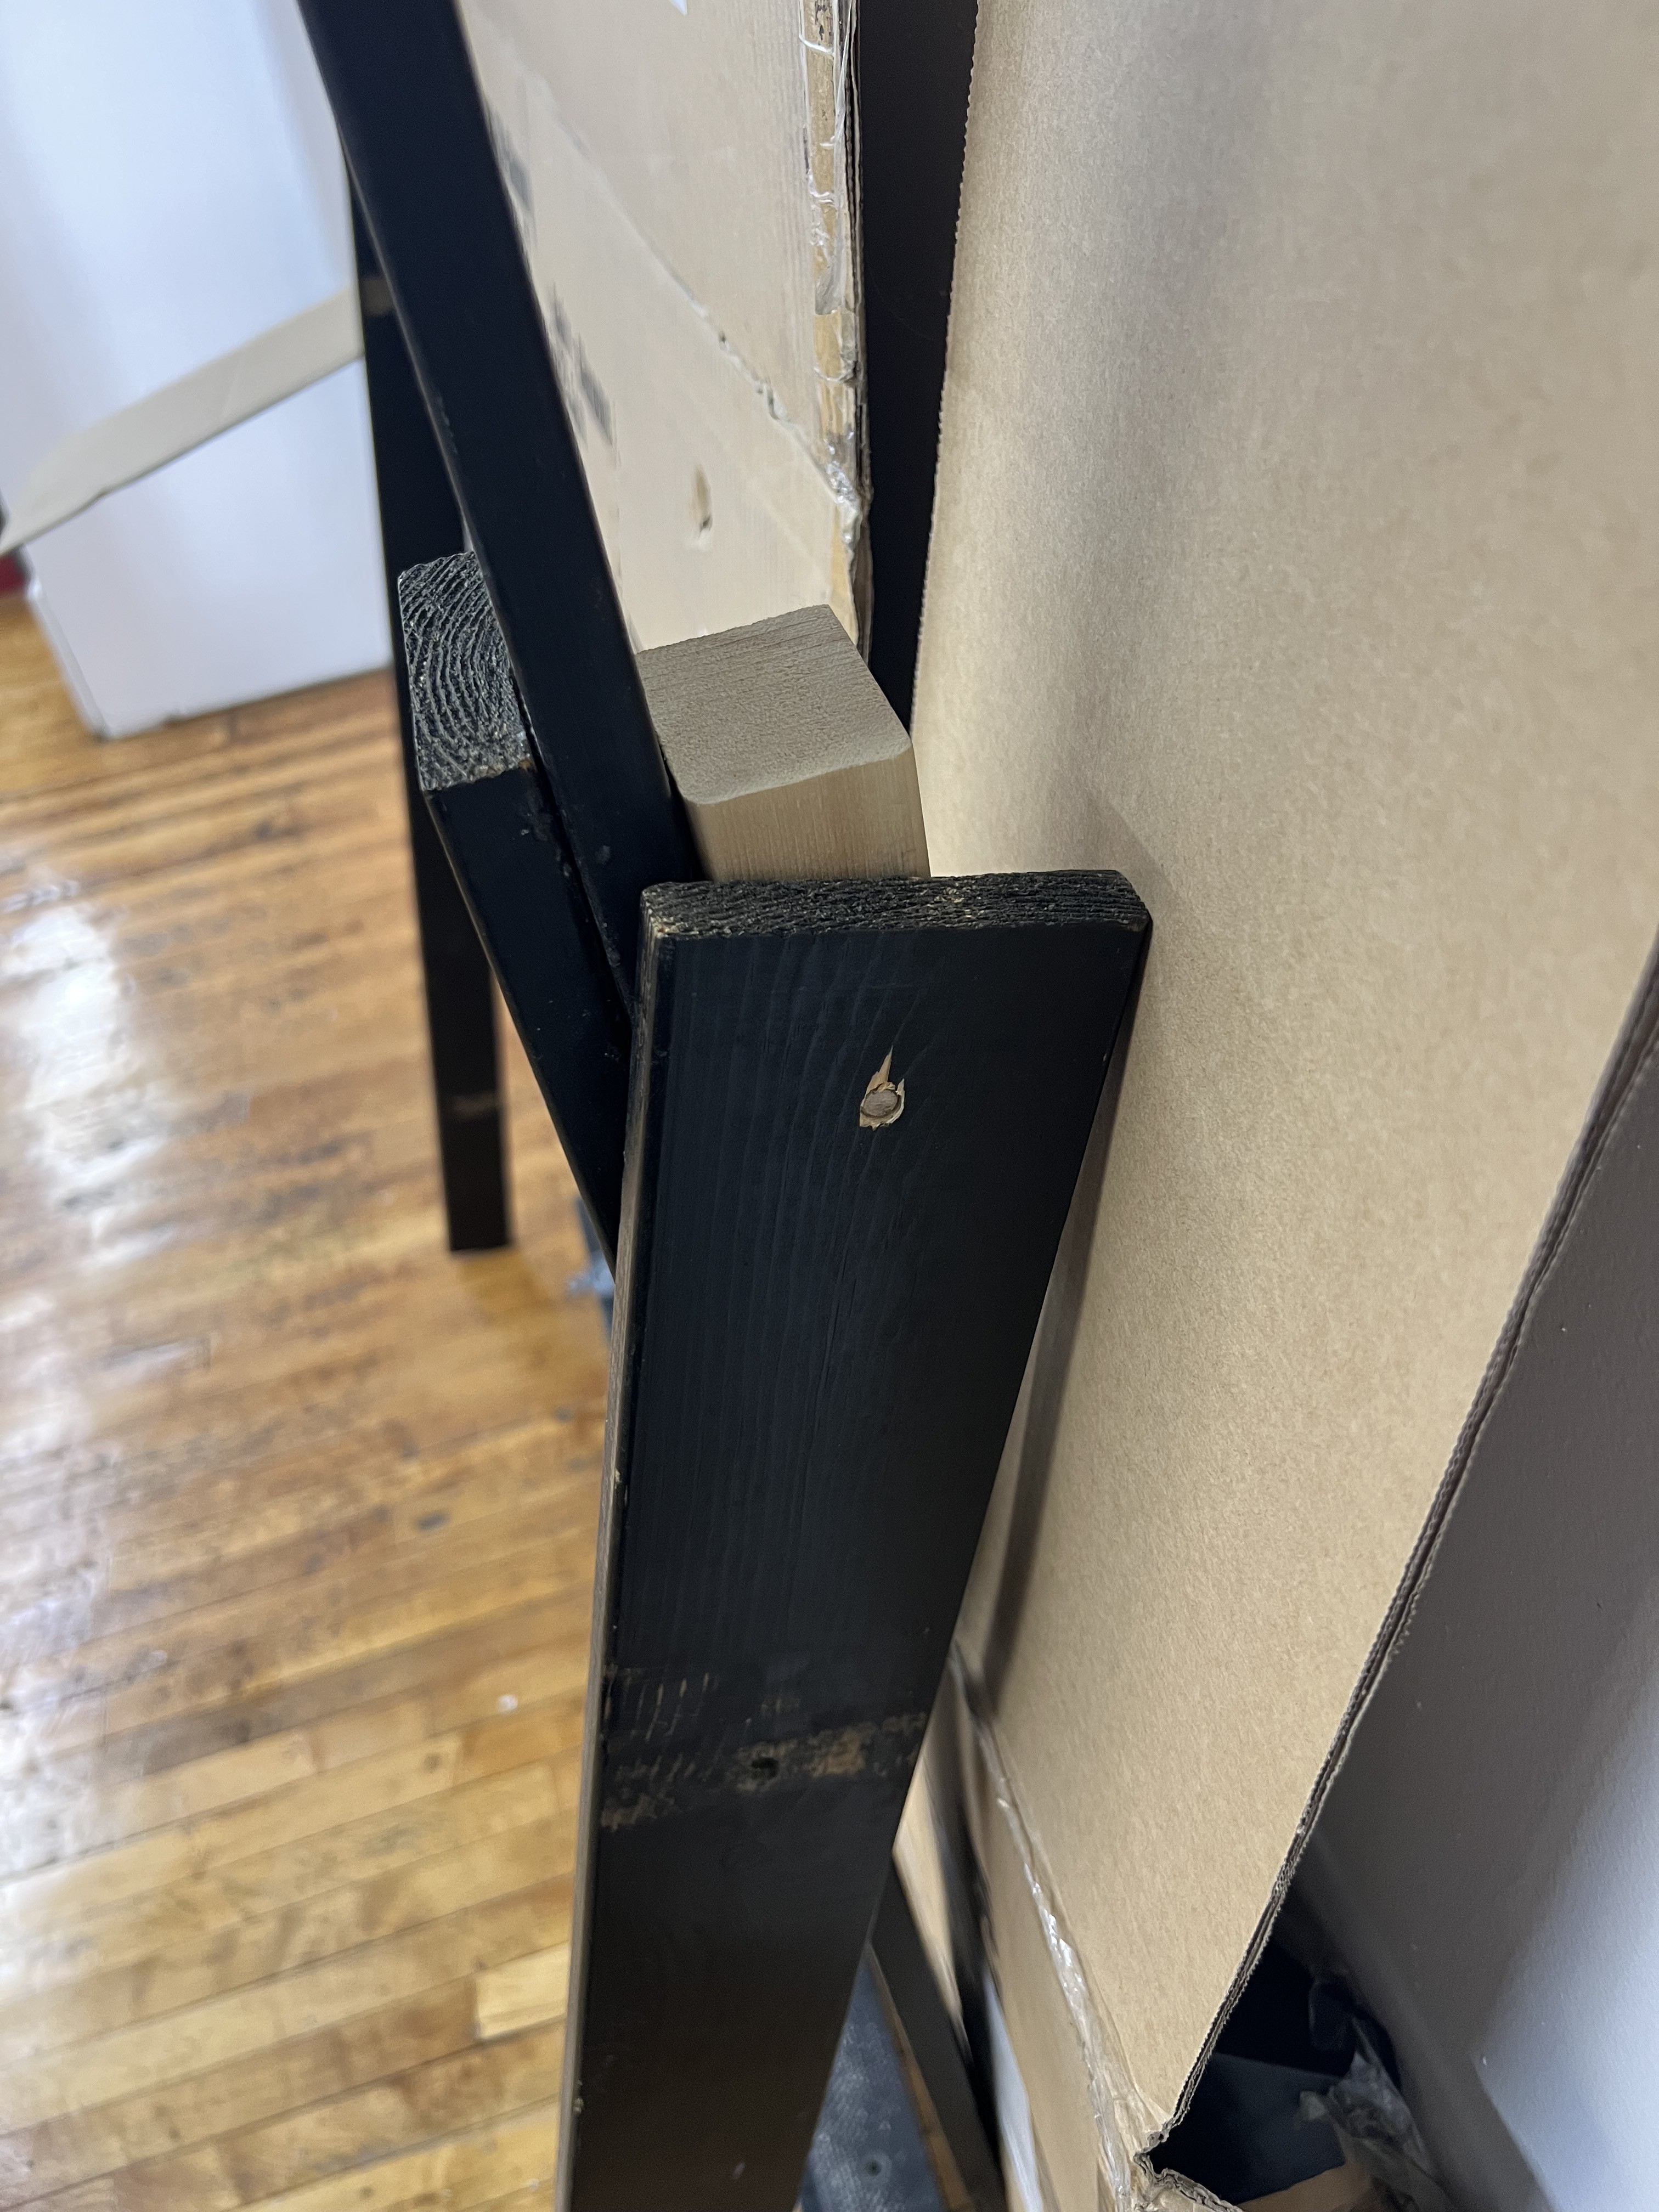
Create the Tilt Mechanism:
- Cut notches in the middle of 3 additional boards to mate with the base notches.
- Attach a wood block to the back of the frame using dowels.
- Connect a final 1x4 to the side of this block using a dowel without glue, creating a hinge that allows the leg to swing freely.
![]()
Final Assembly: Slot the three base boards into the bottom of the frame and lean the frame back on the swinging support legs until it sits at a stable ~10-degree angle.
-
3Magnet Assembly
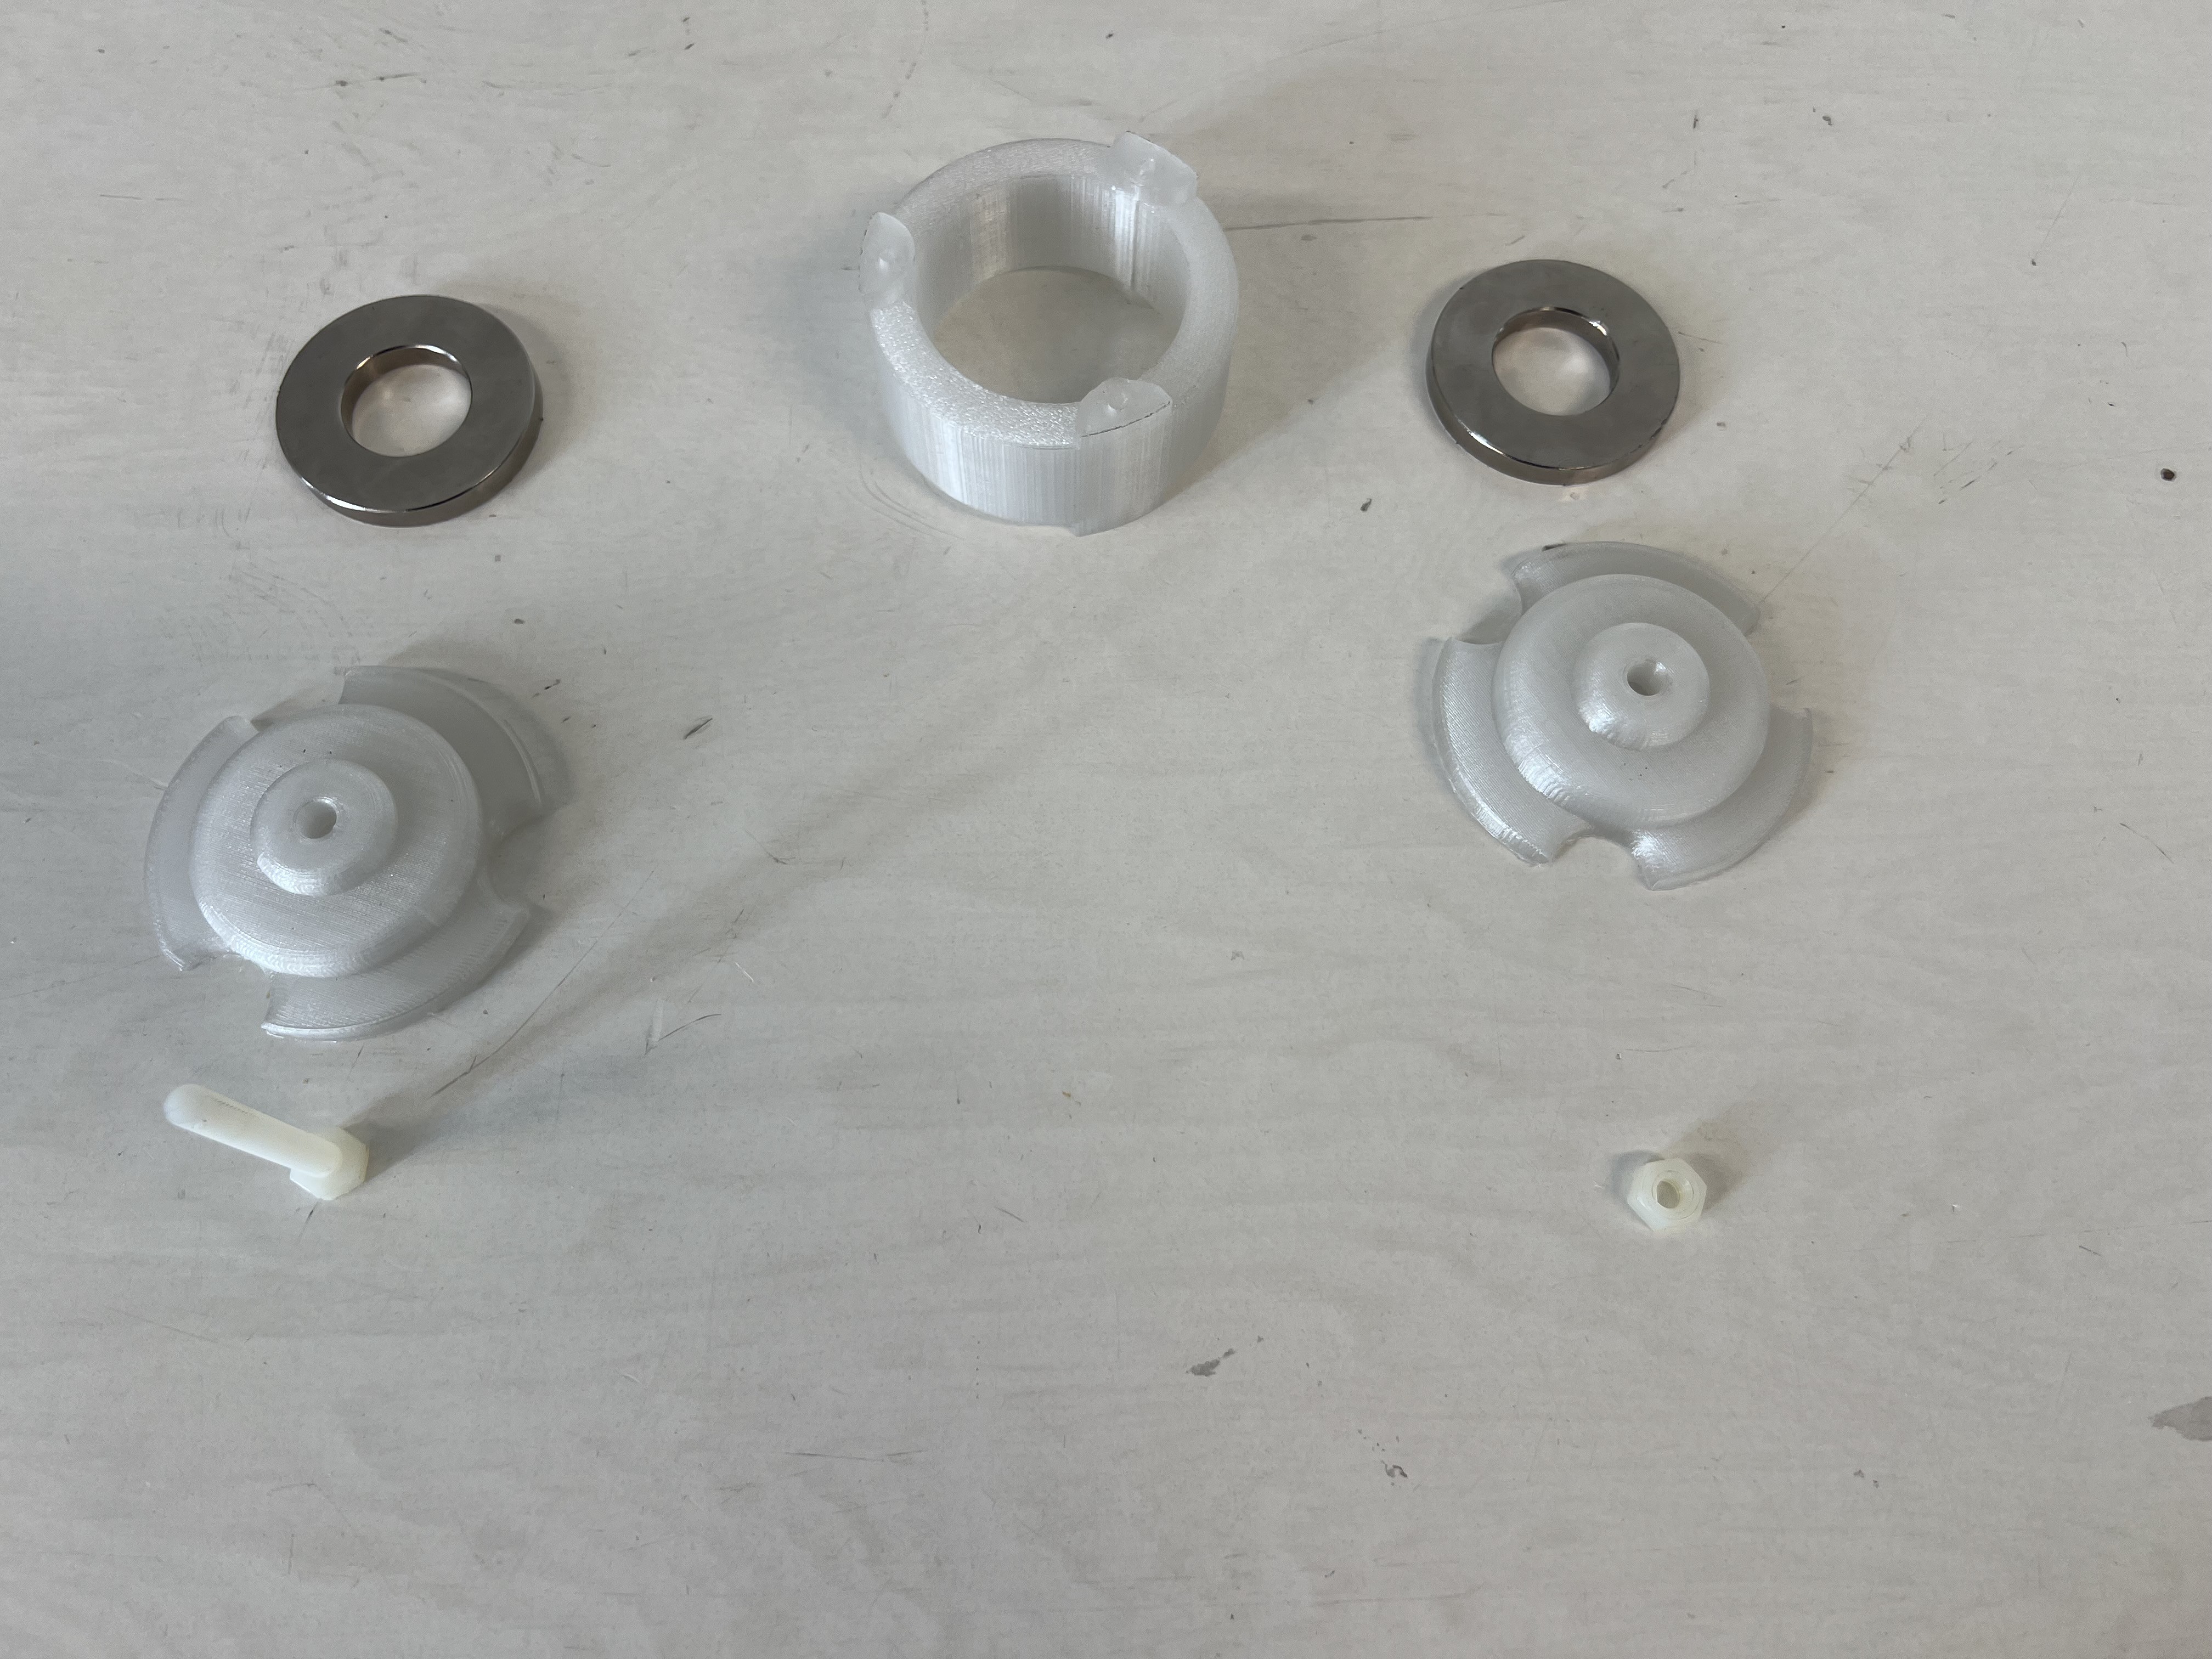
- Insert the two neodymium ring magnets into the 3D printed casing.
- Orient them in either Attracting or Repelling mode.
- Secure the casing using the ¼-20 screw and bolt. Ensure the nut is tight enough to prevent the magnets from shifting during the drop.
![]()
-
4Connecting to Pulley
- Tie fishing line through the three holes in the 3D printed magnet pieces.
- Run it along the pulleys.
- Tie to a bottle with water or other counterweight.
-
5Swap Orientation
To test the opposing condition, you must physically remove and flip the magnets.
- Unscrew the bolt and open the casing.
- Flip one magnet to change the polarity (Attracting, Repelling).
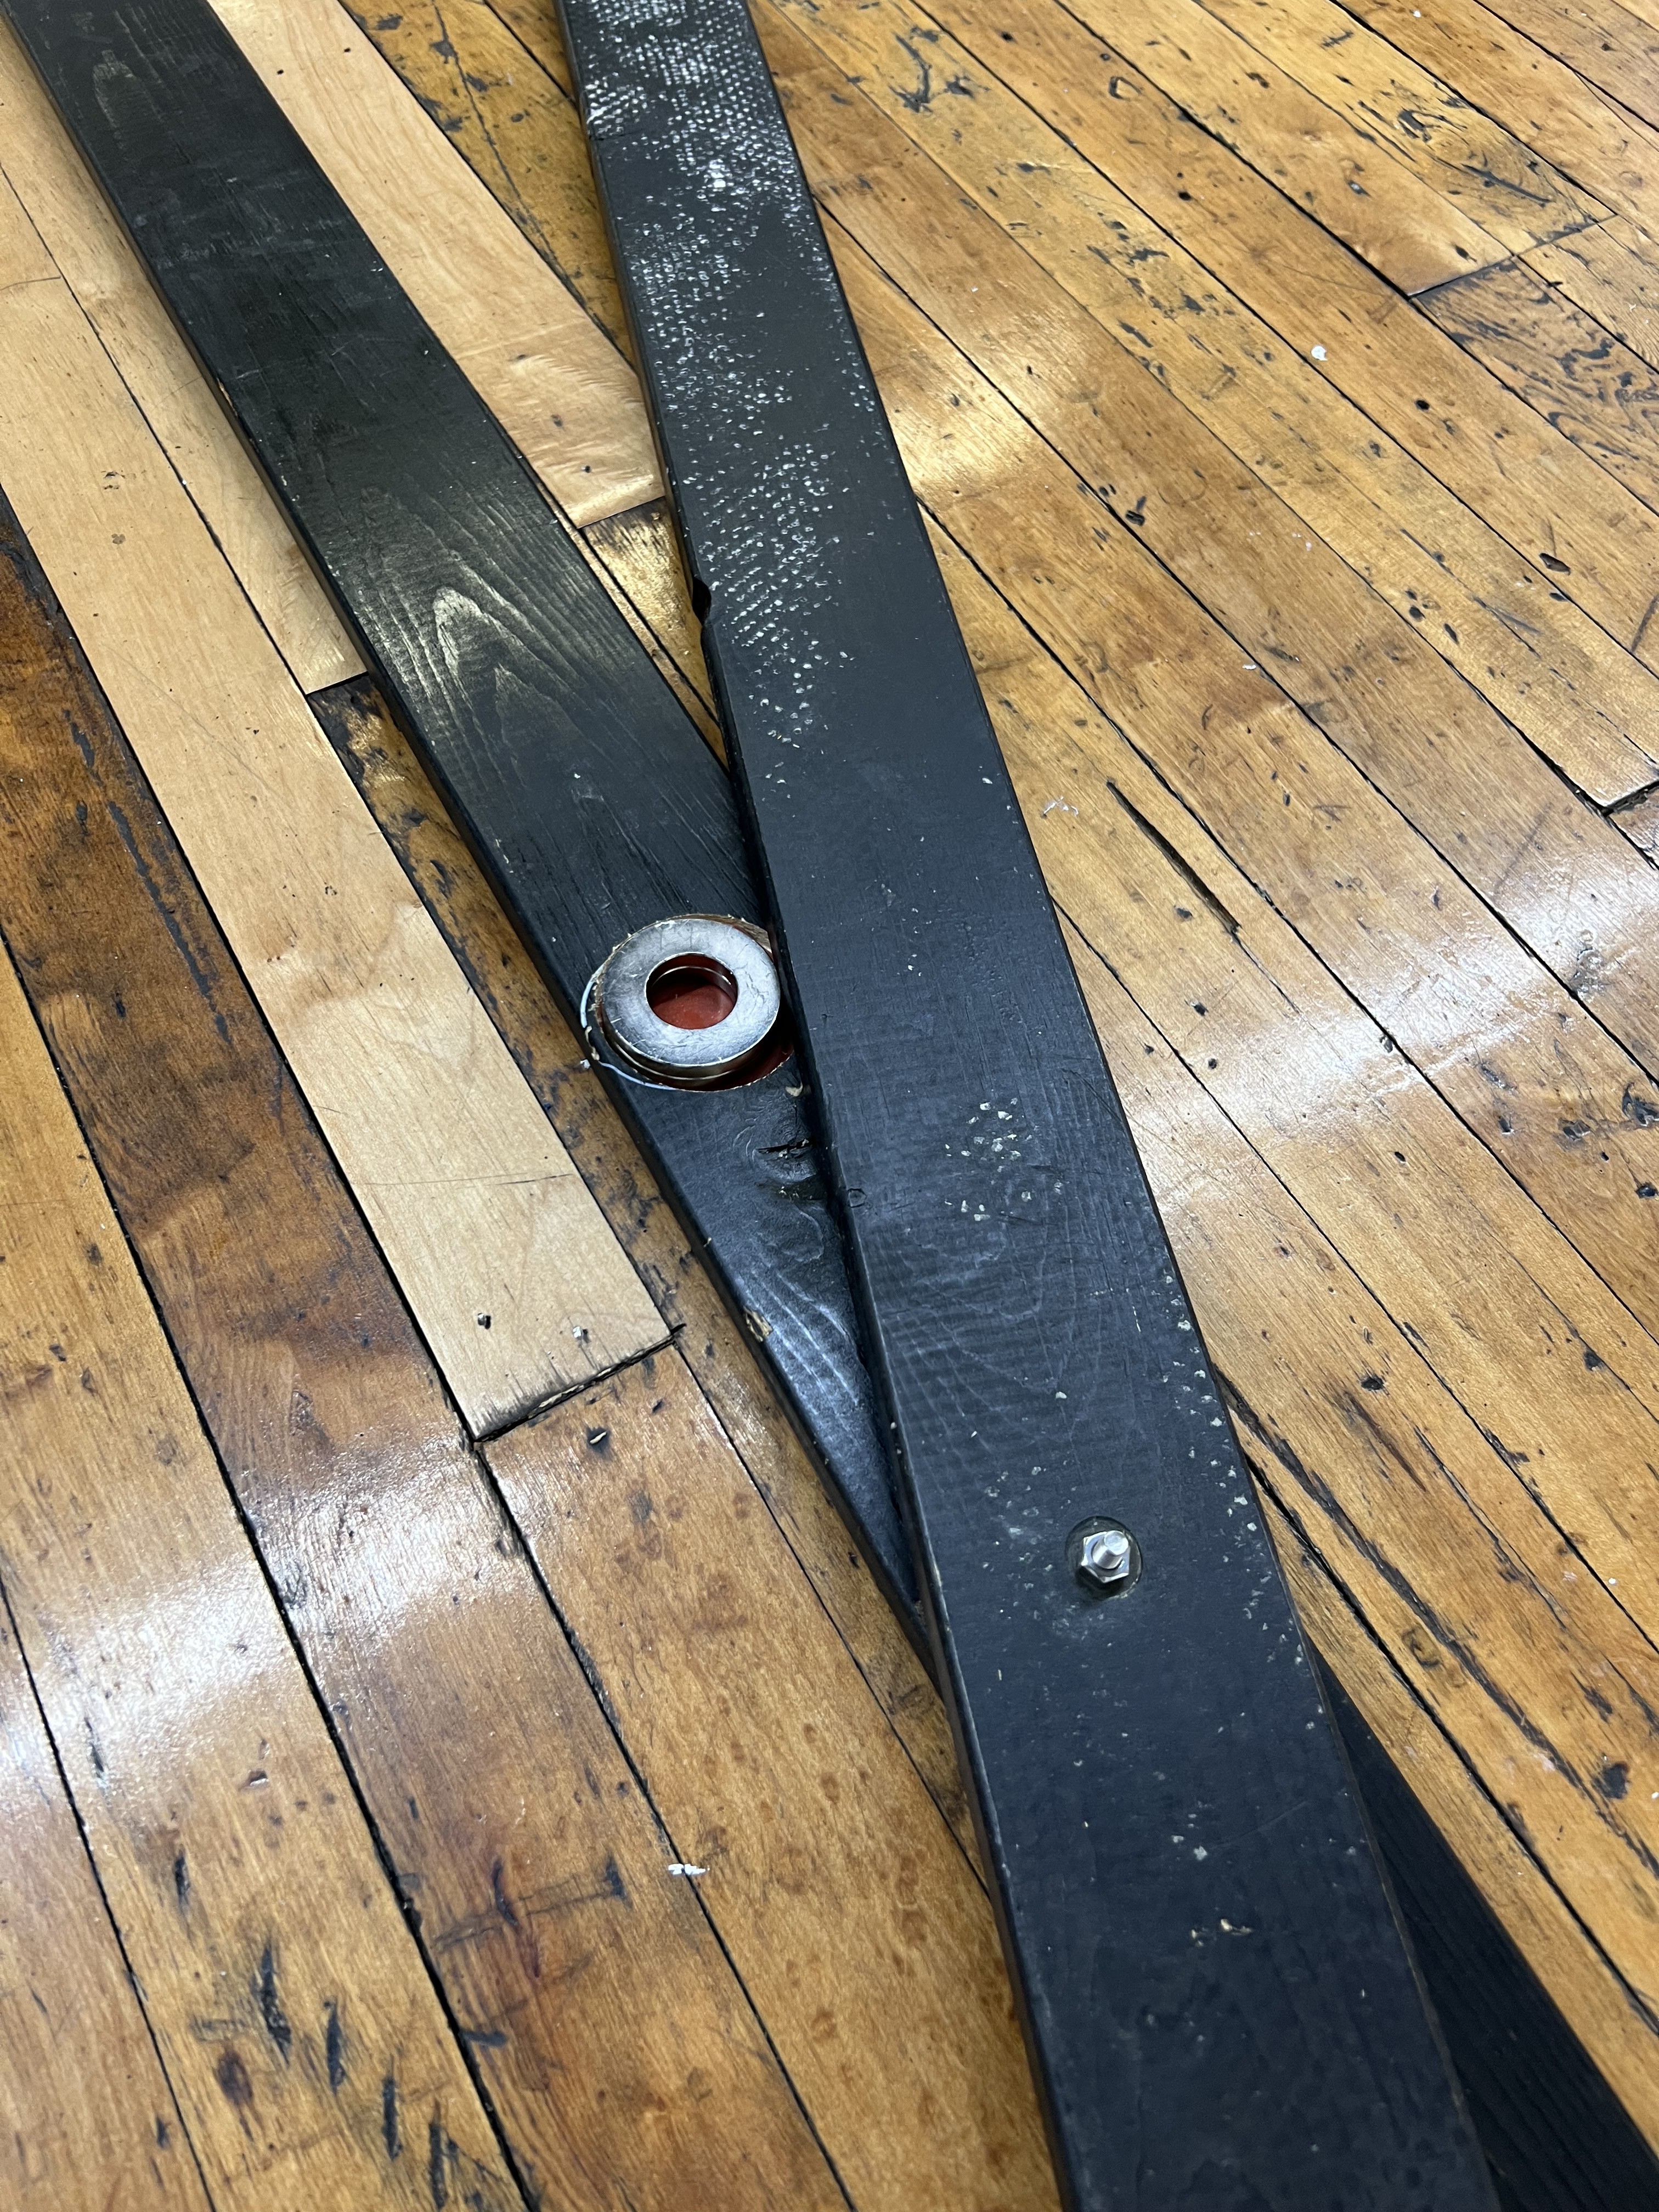
Tip: When in Attracting mode, the magnets can be difficult to separate. We designed a simple Lever Tool to pry them apart safely.
![]()
Boyd Bushman Experimental Improvements
Boyd Bushman performed a legendary experiment at Lockheed Martin decades ago. Now you can do the same experiment at home
Discussions
Become a Hackaday.io Member
Create an account to leave a comment. Already have an account? Log In.