rex
rexI started out with a simple idea: make an open-source UV index measurement device that could fit on my keychain. There are a few other projects already out there that have the same functionality (see blog for links). This project scales the idea down, both in size and cost.
The initial concept looked like this.
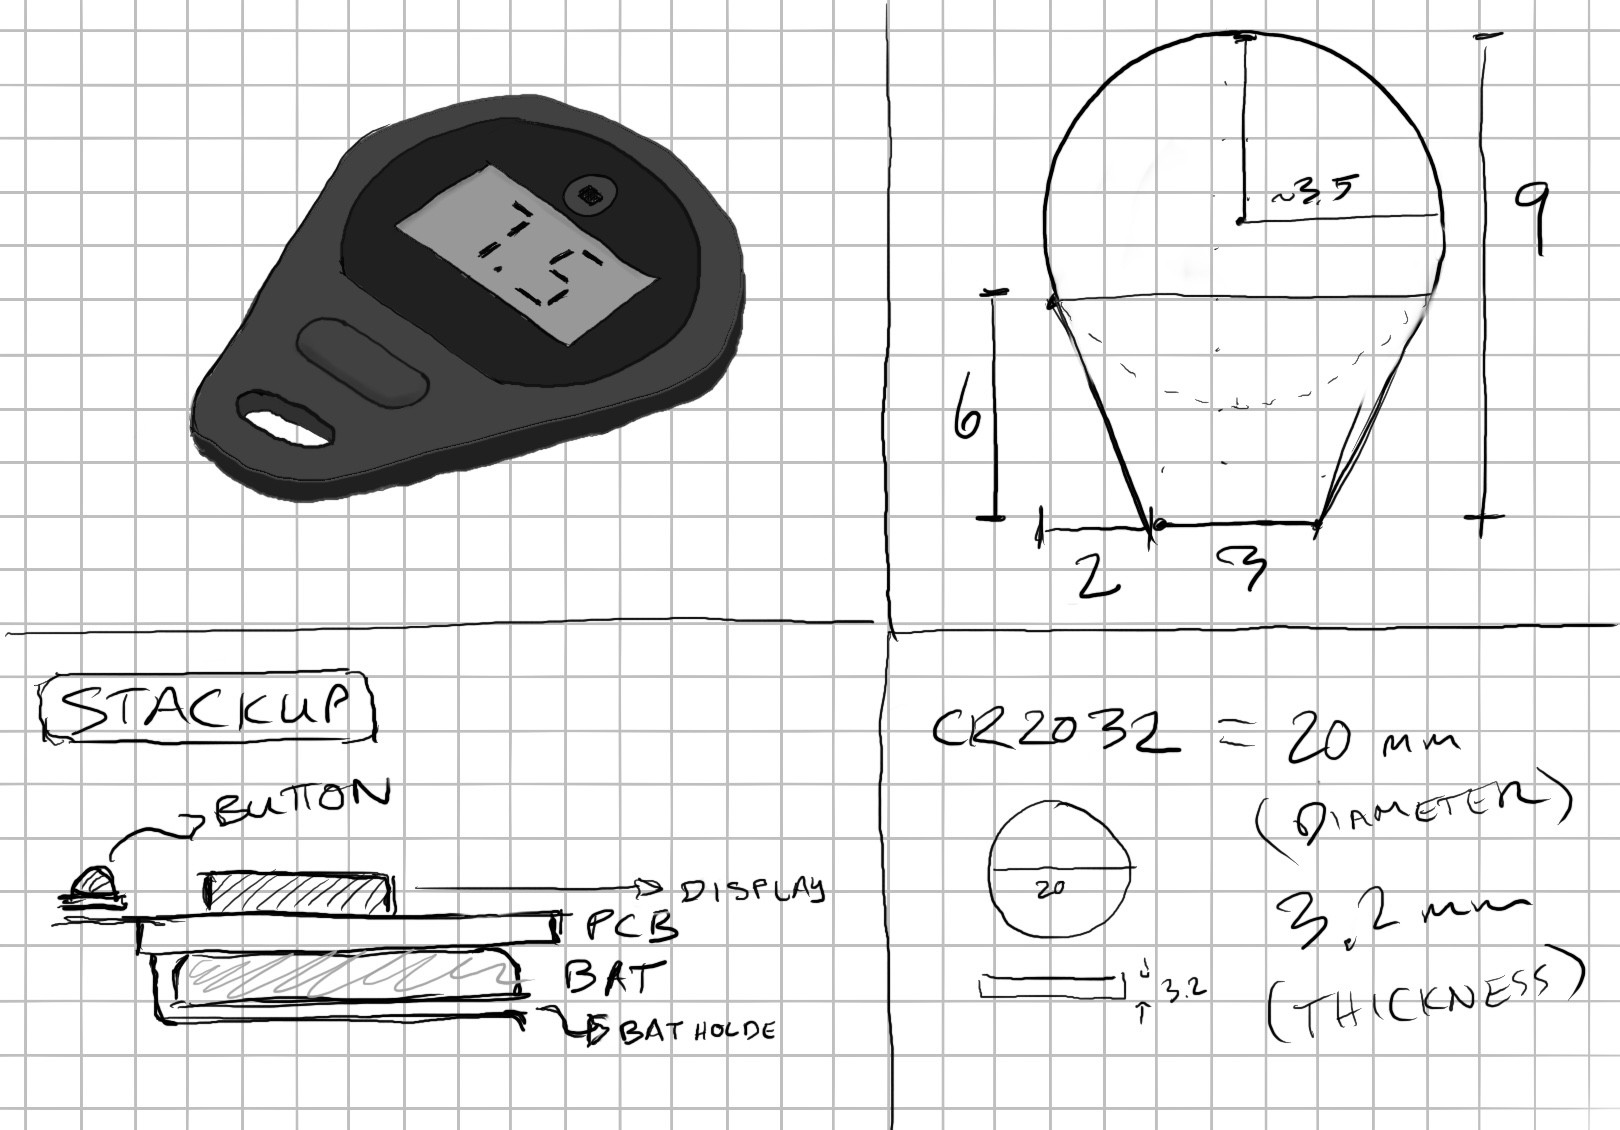
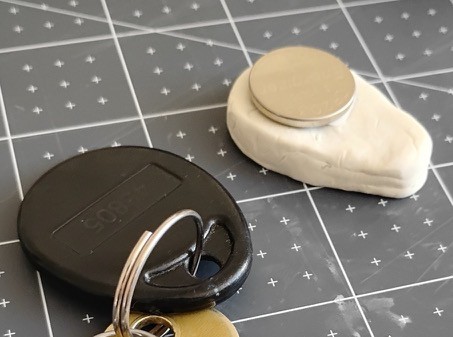
First thing I did was make a clay dummy for size:
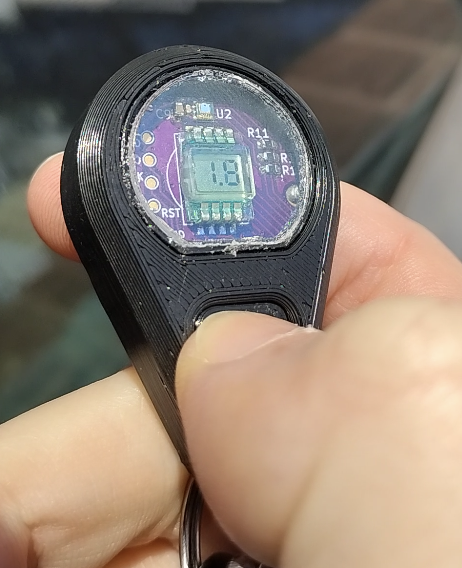
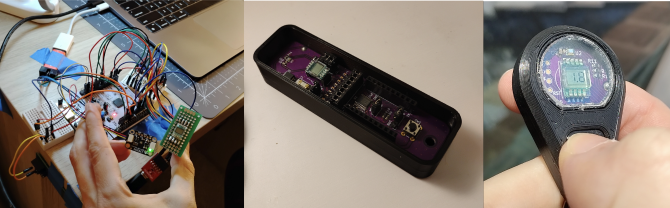
The first working version looked like this:
Then the second version, more portable:
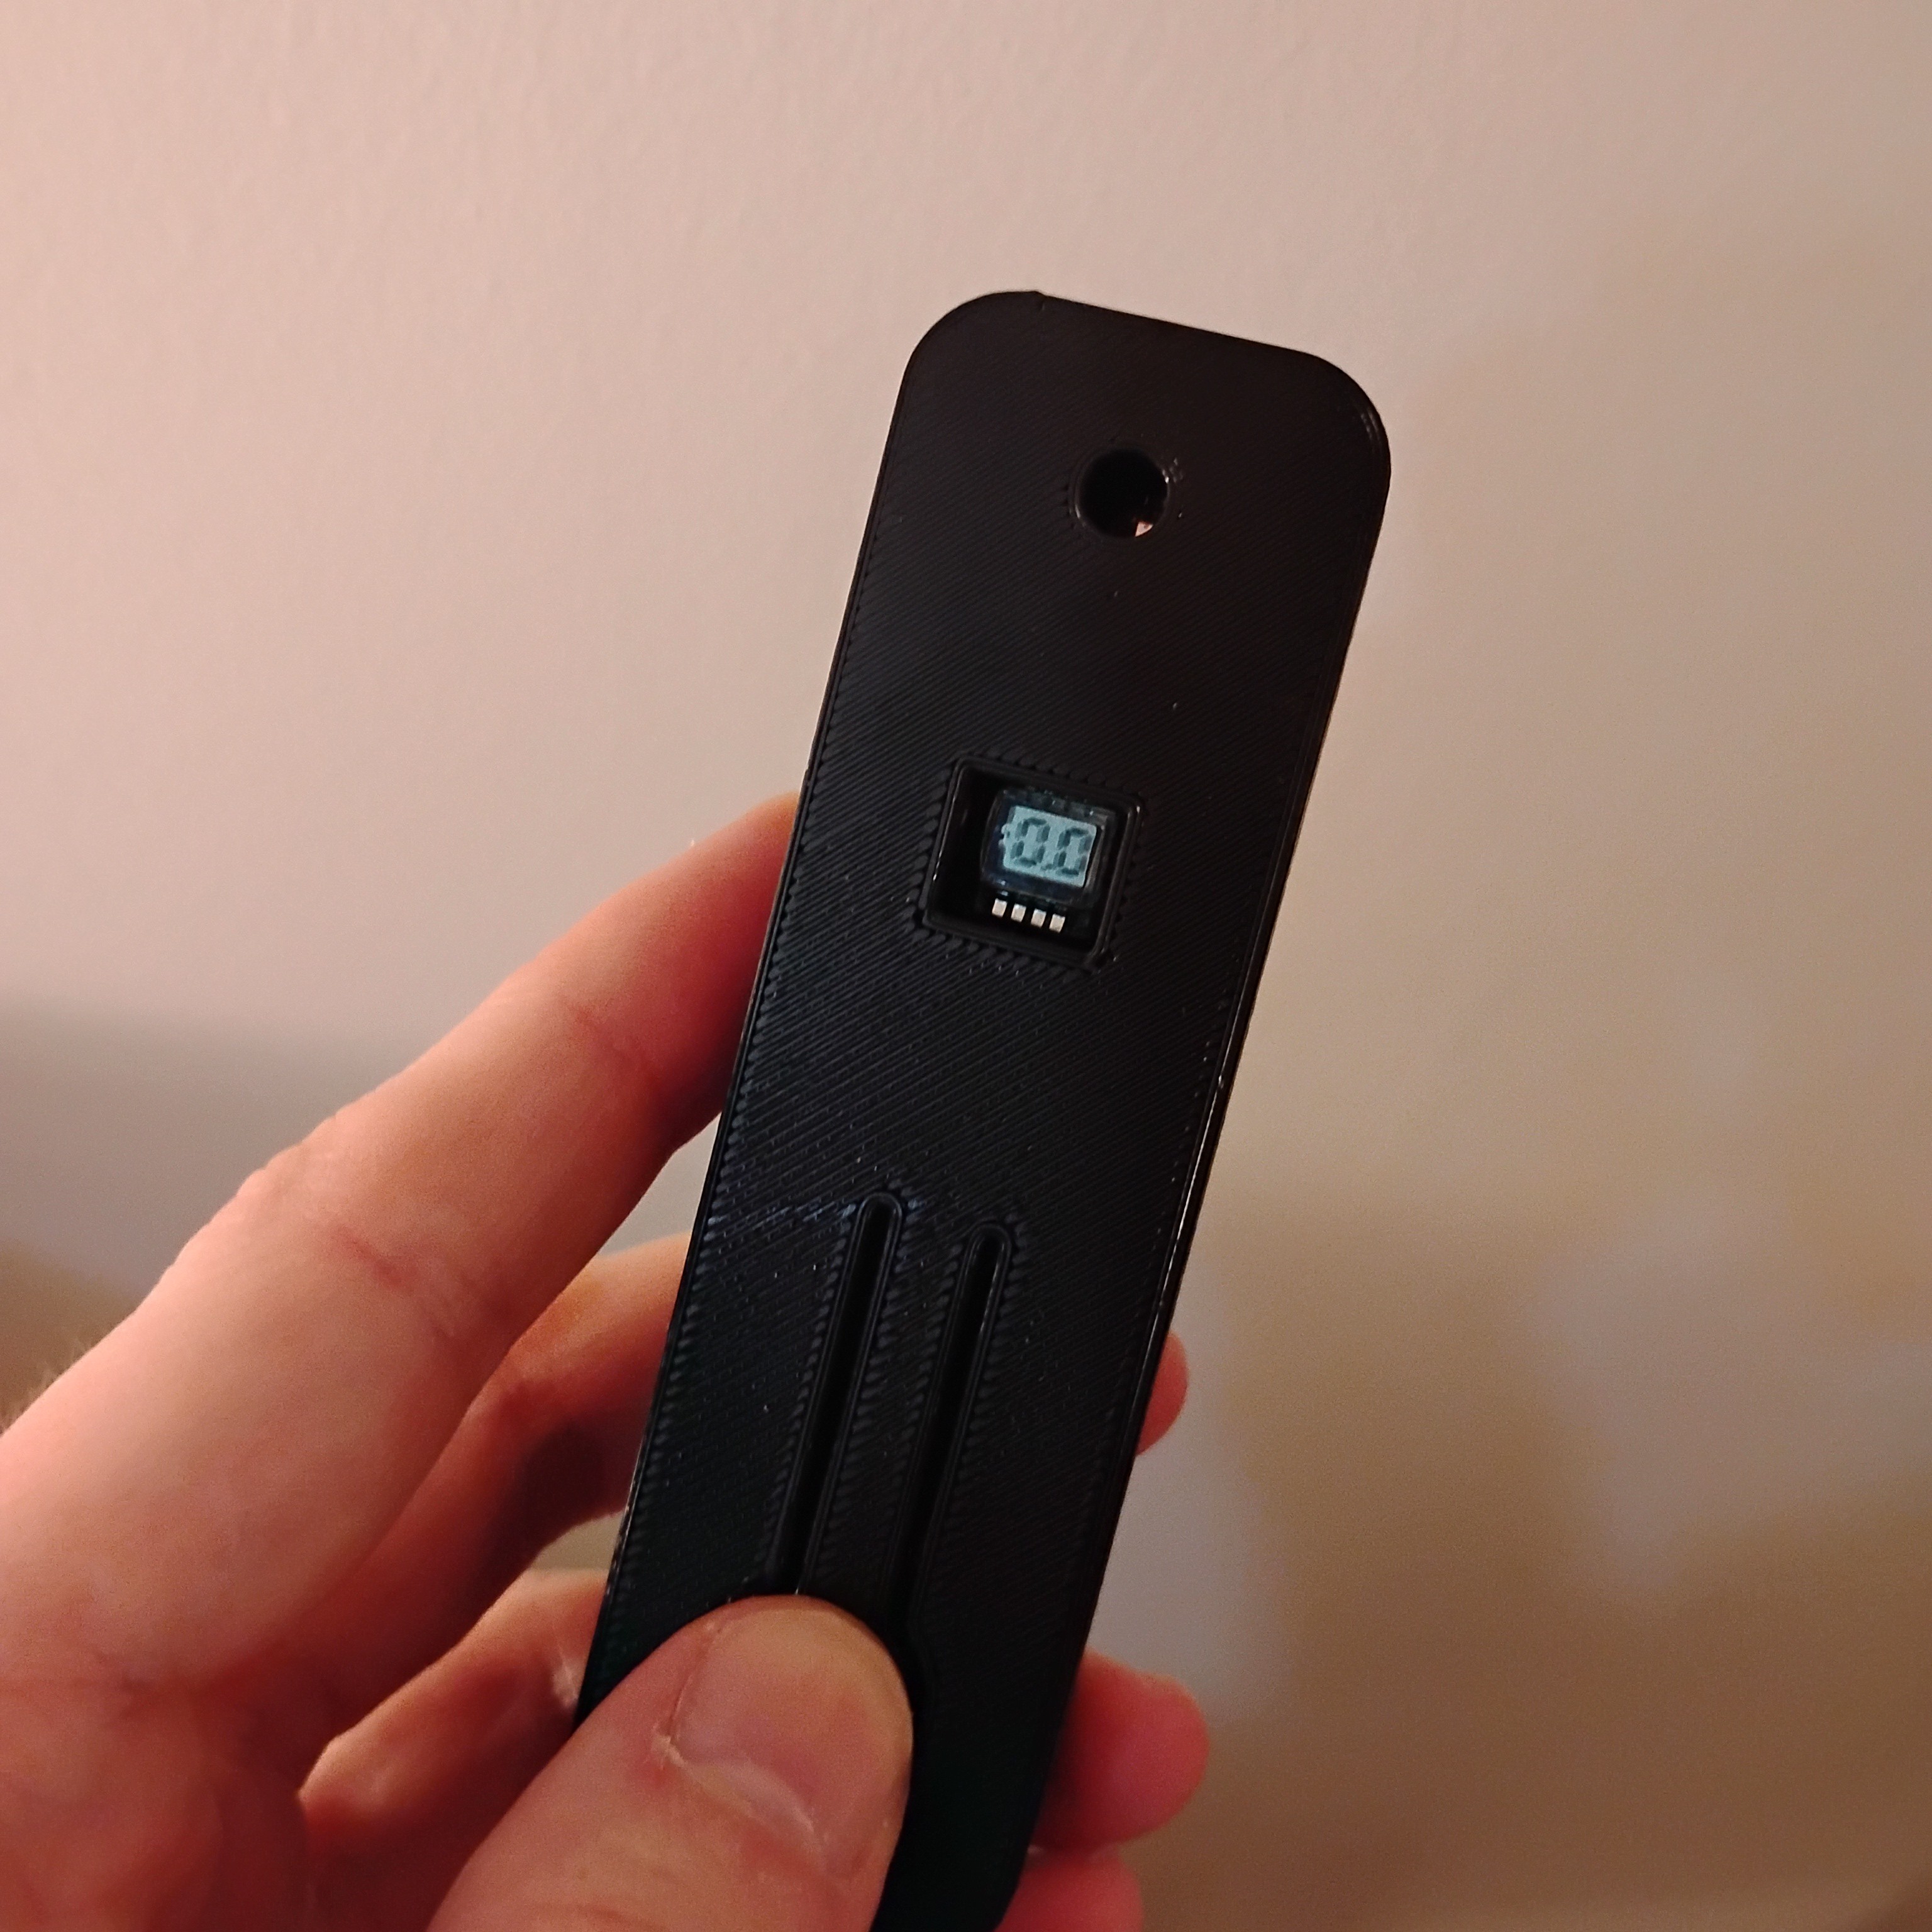
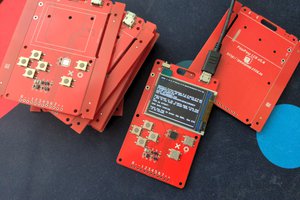
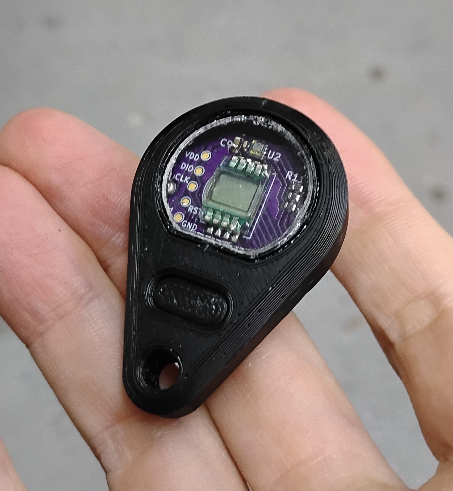
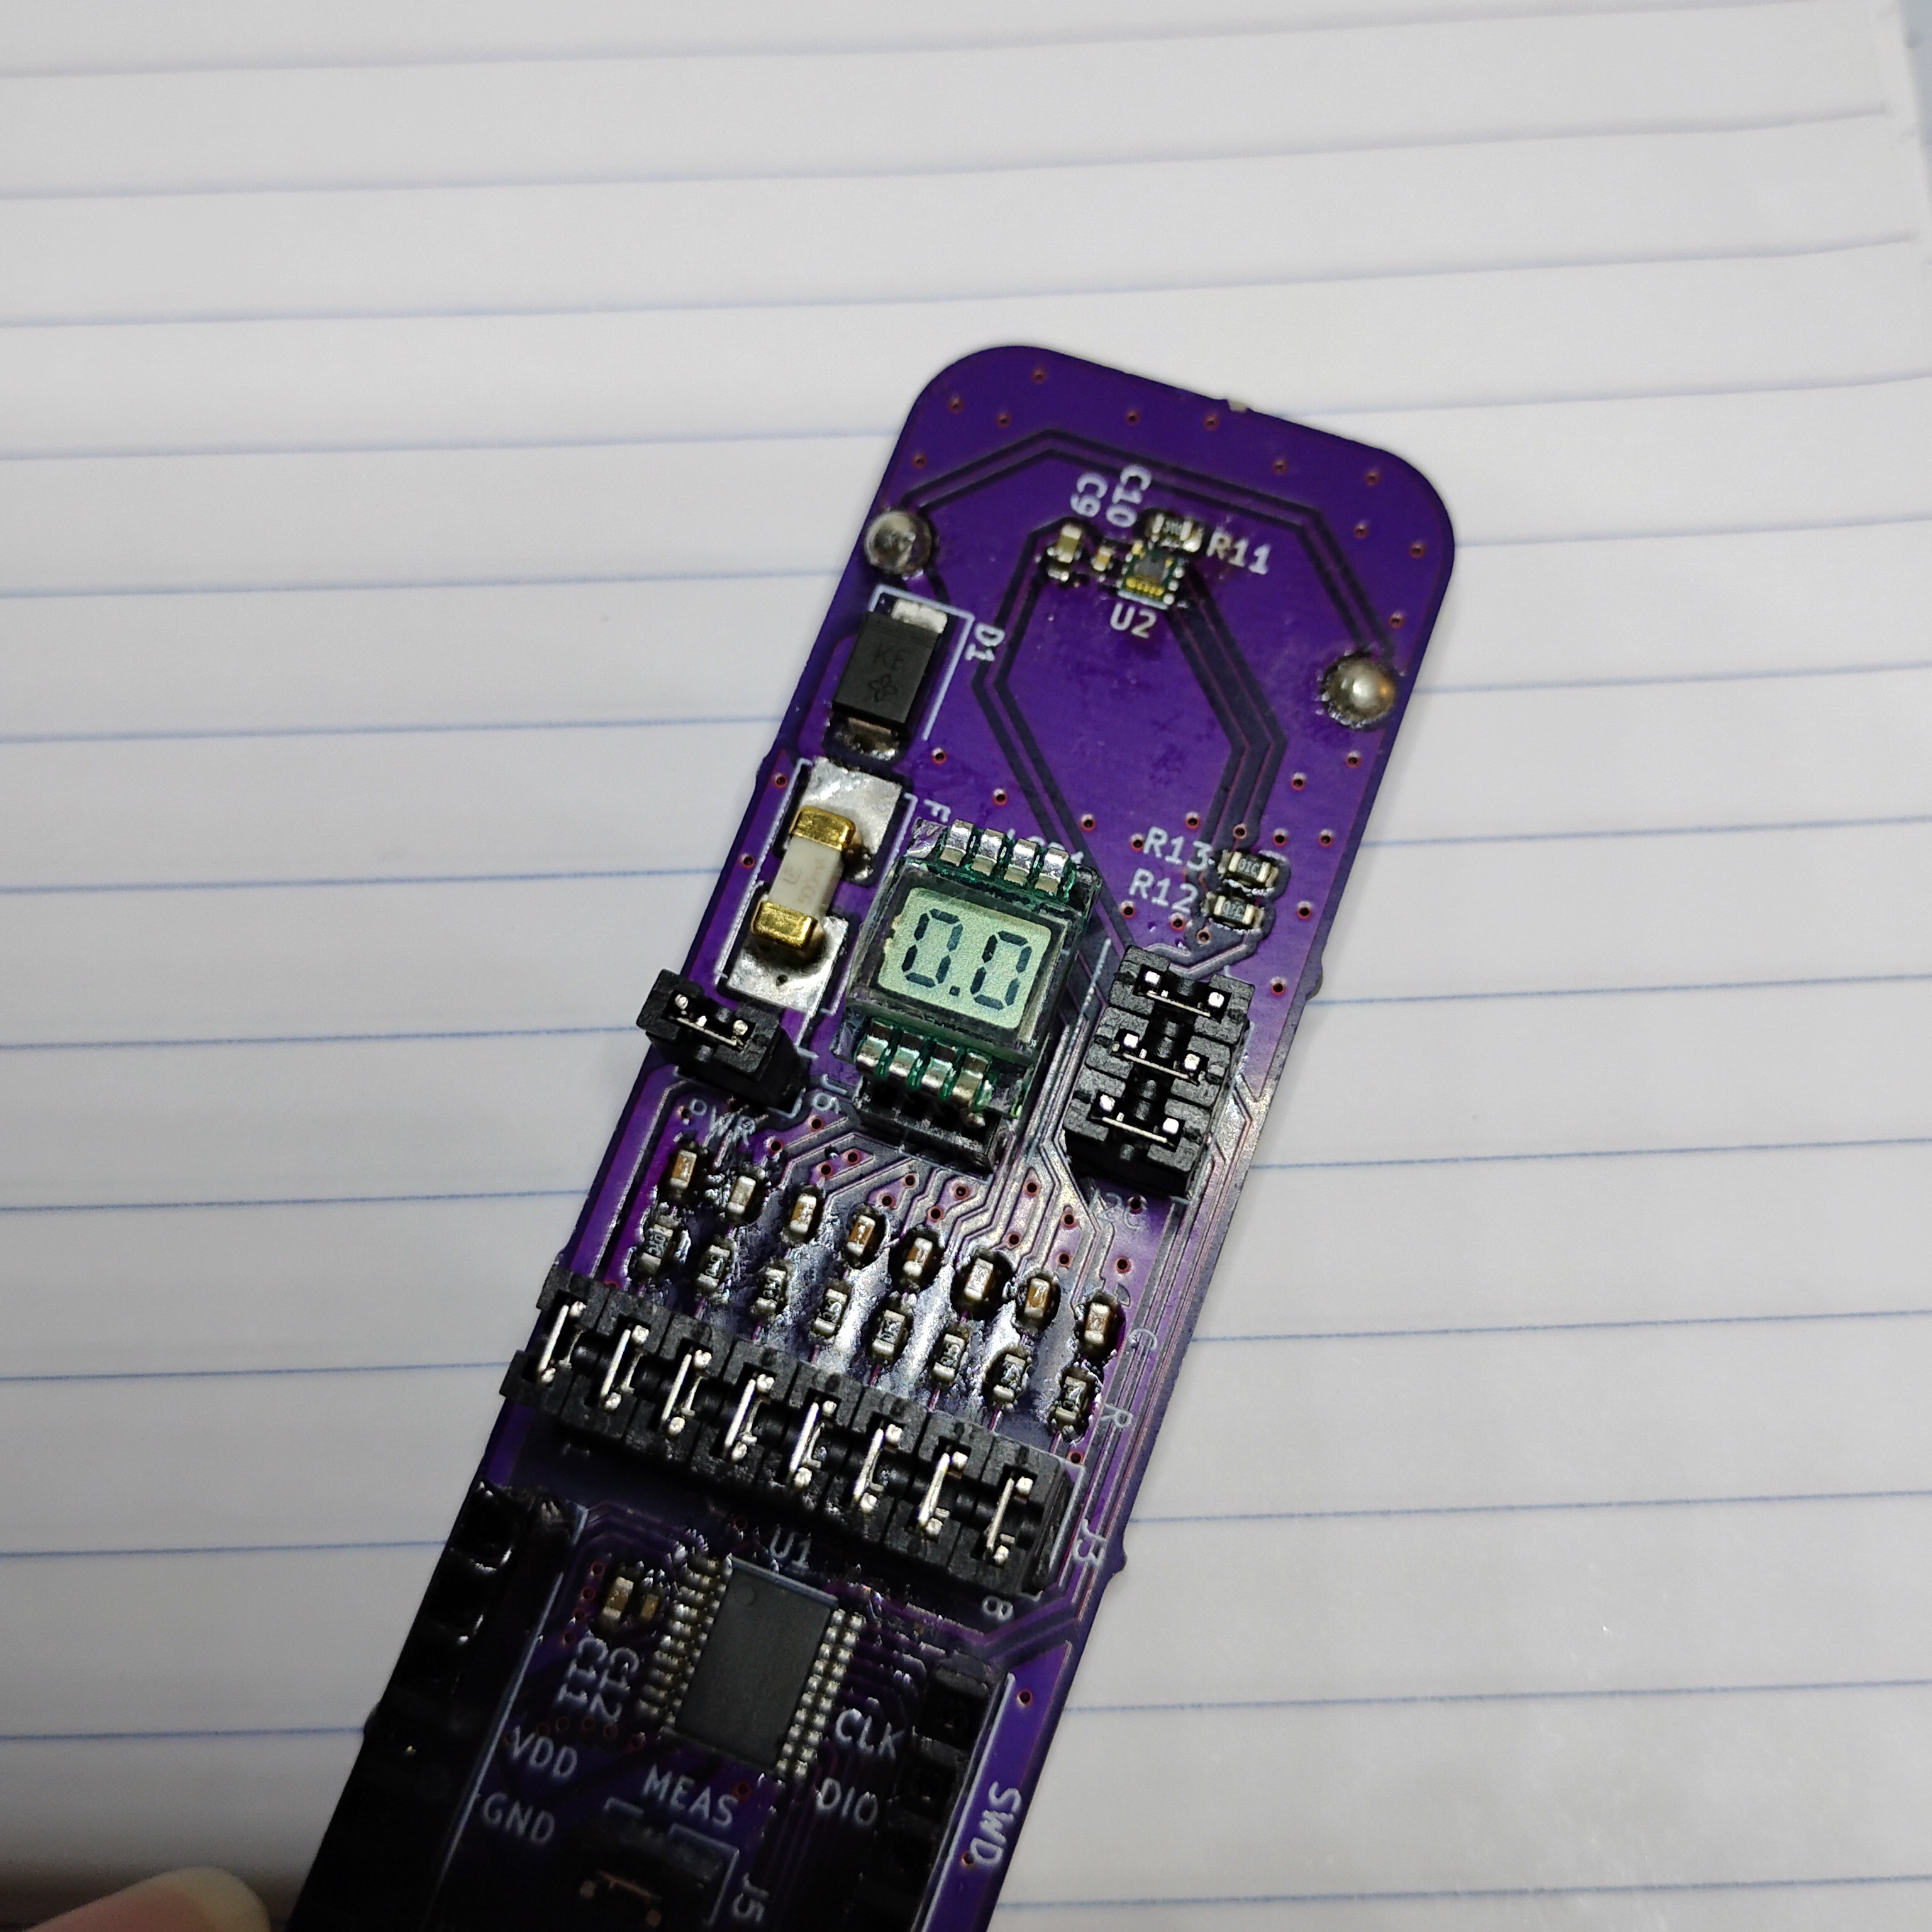
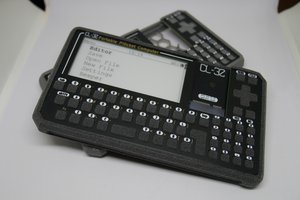
And the latest version, roughly the size of the clay dummy, small enough to fit on a keychain:
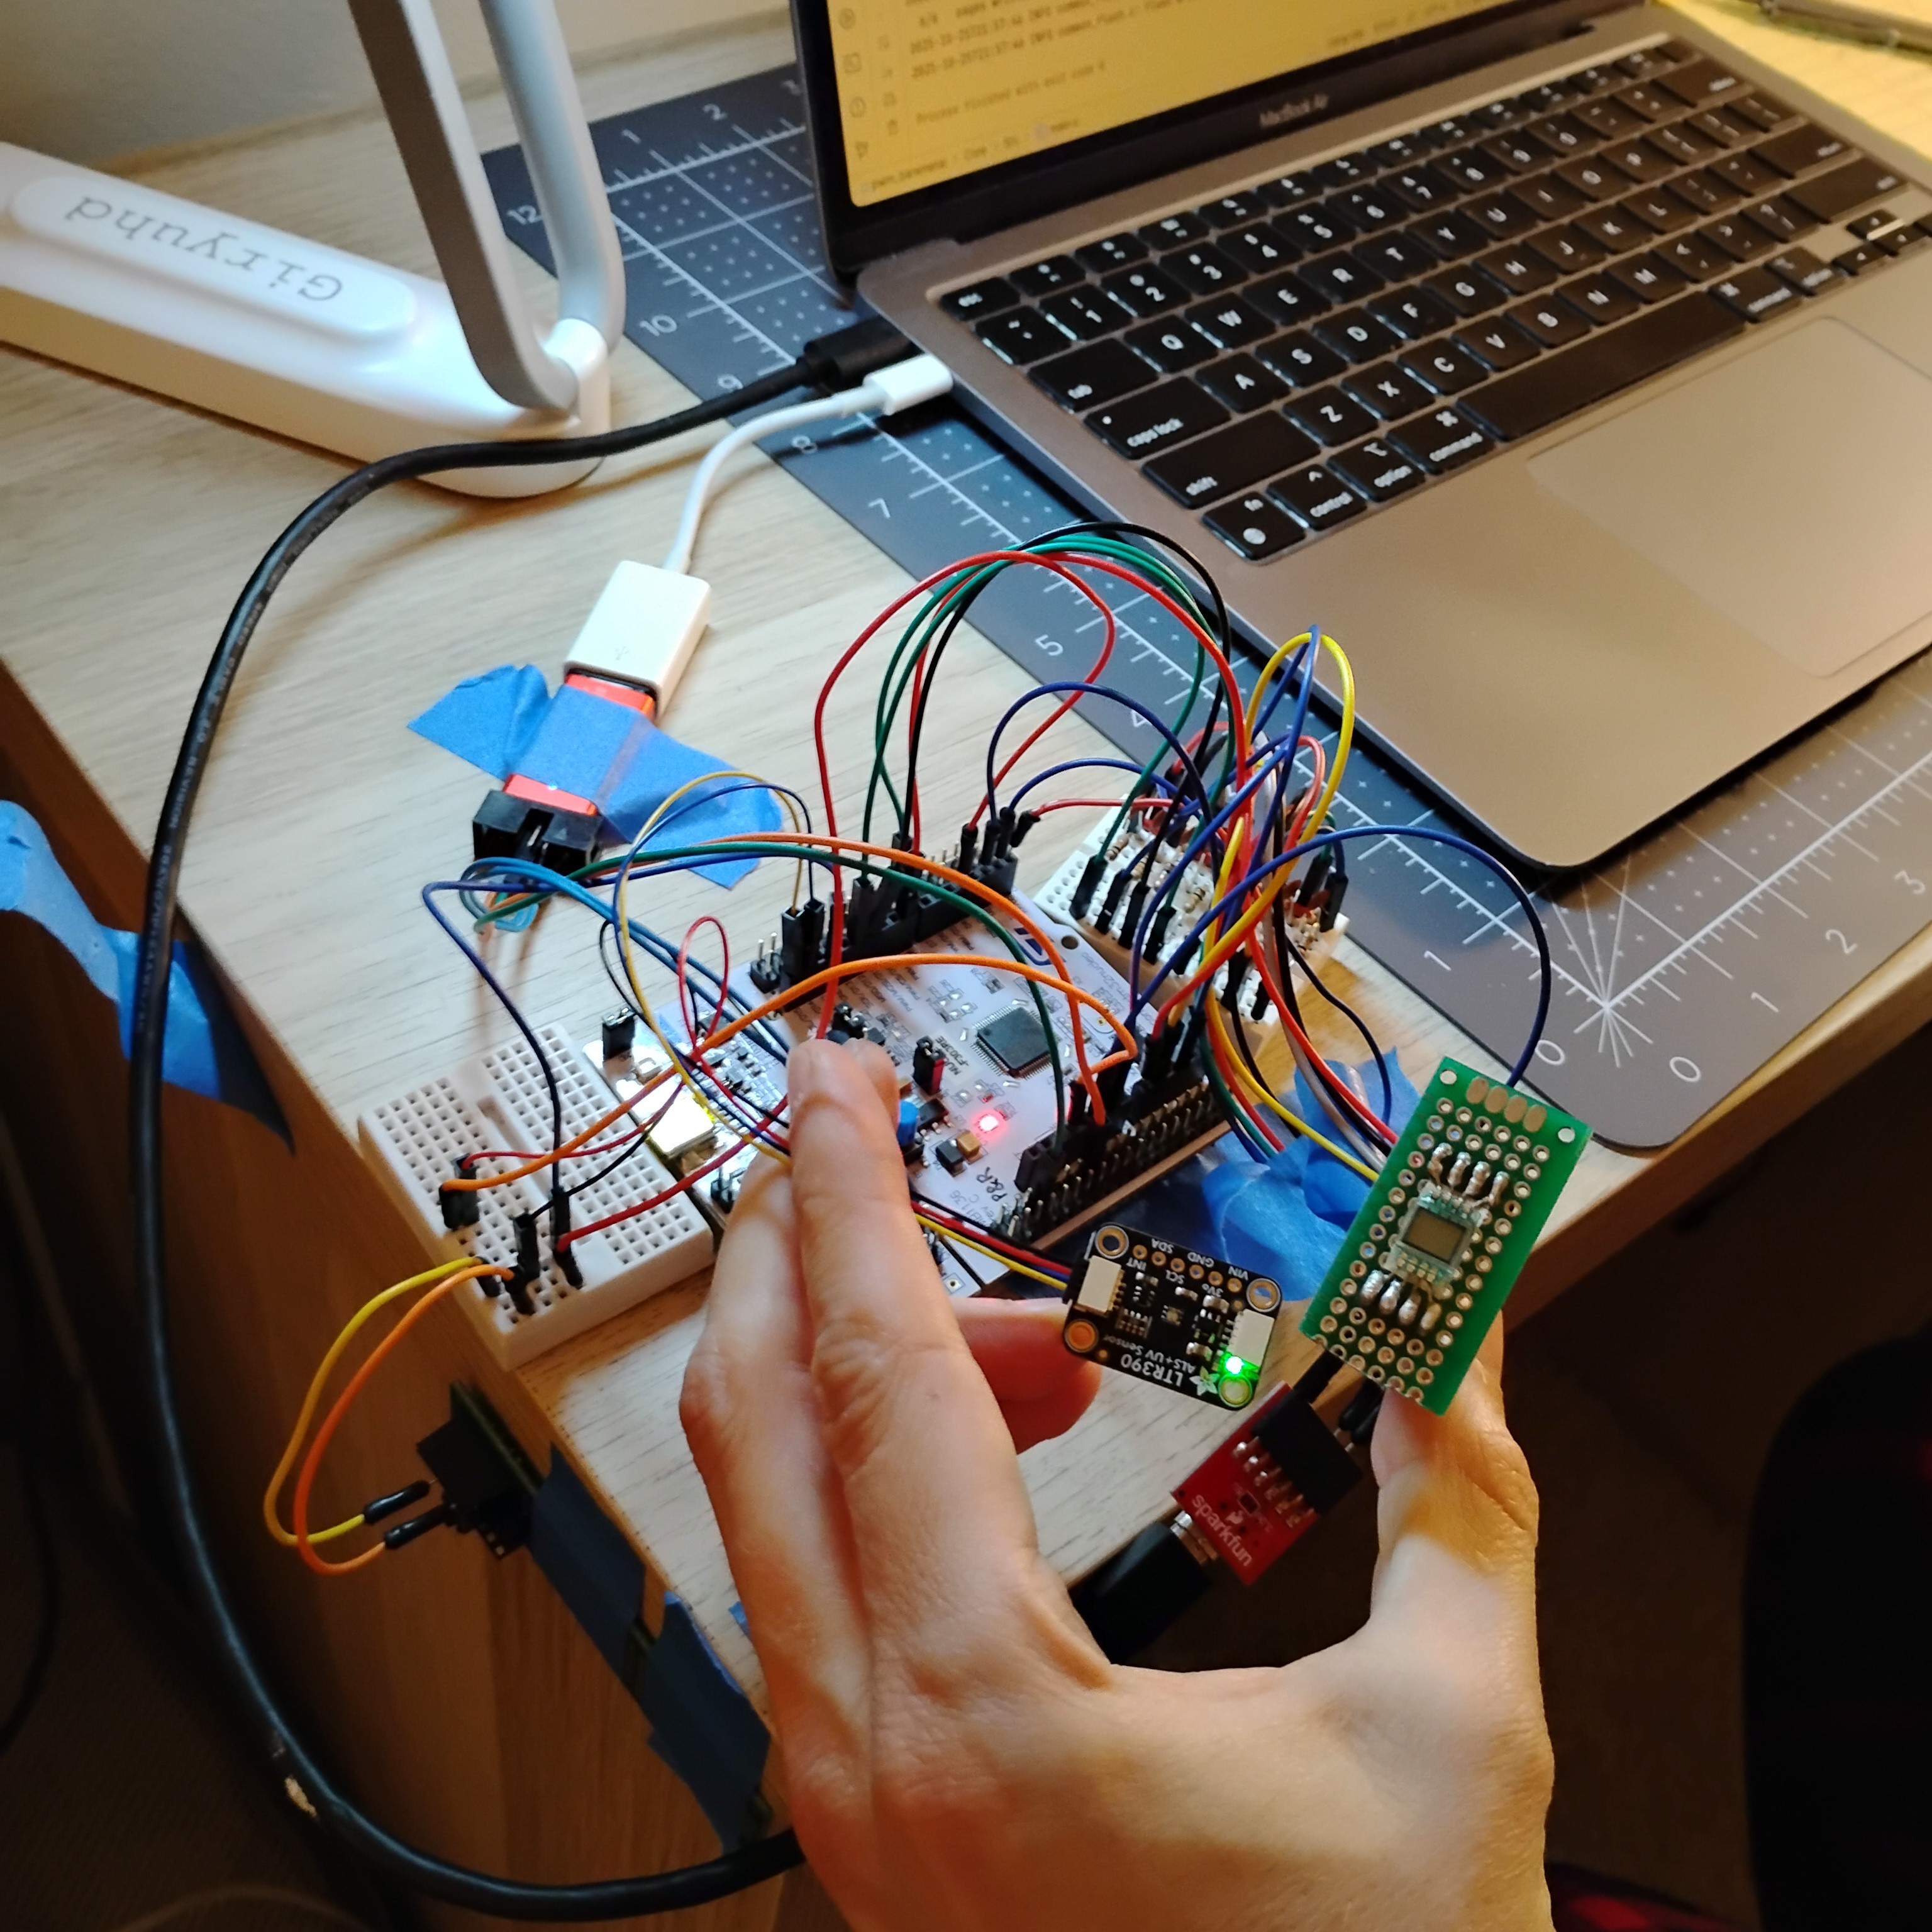
The block diagram looks like this.
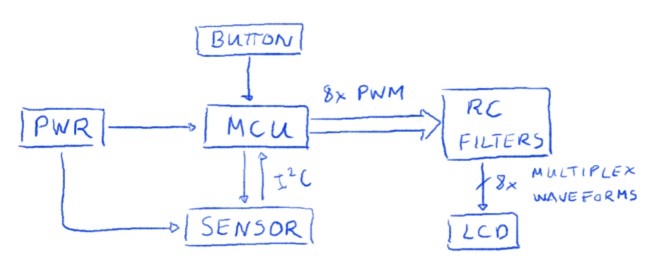
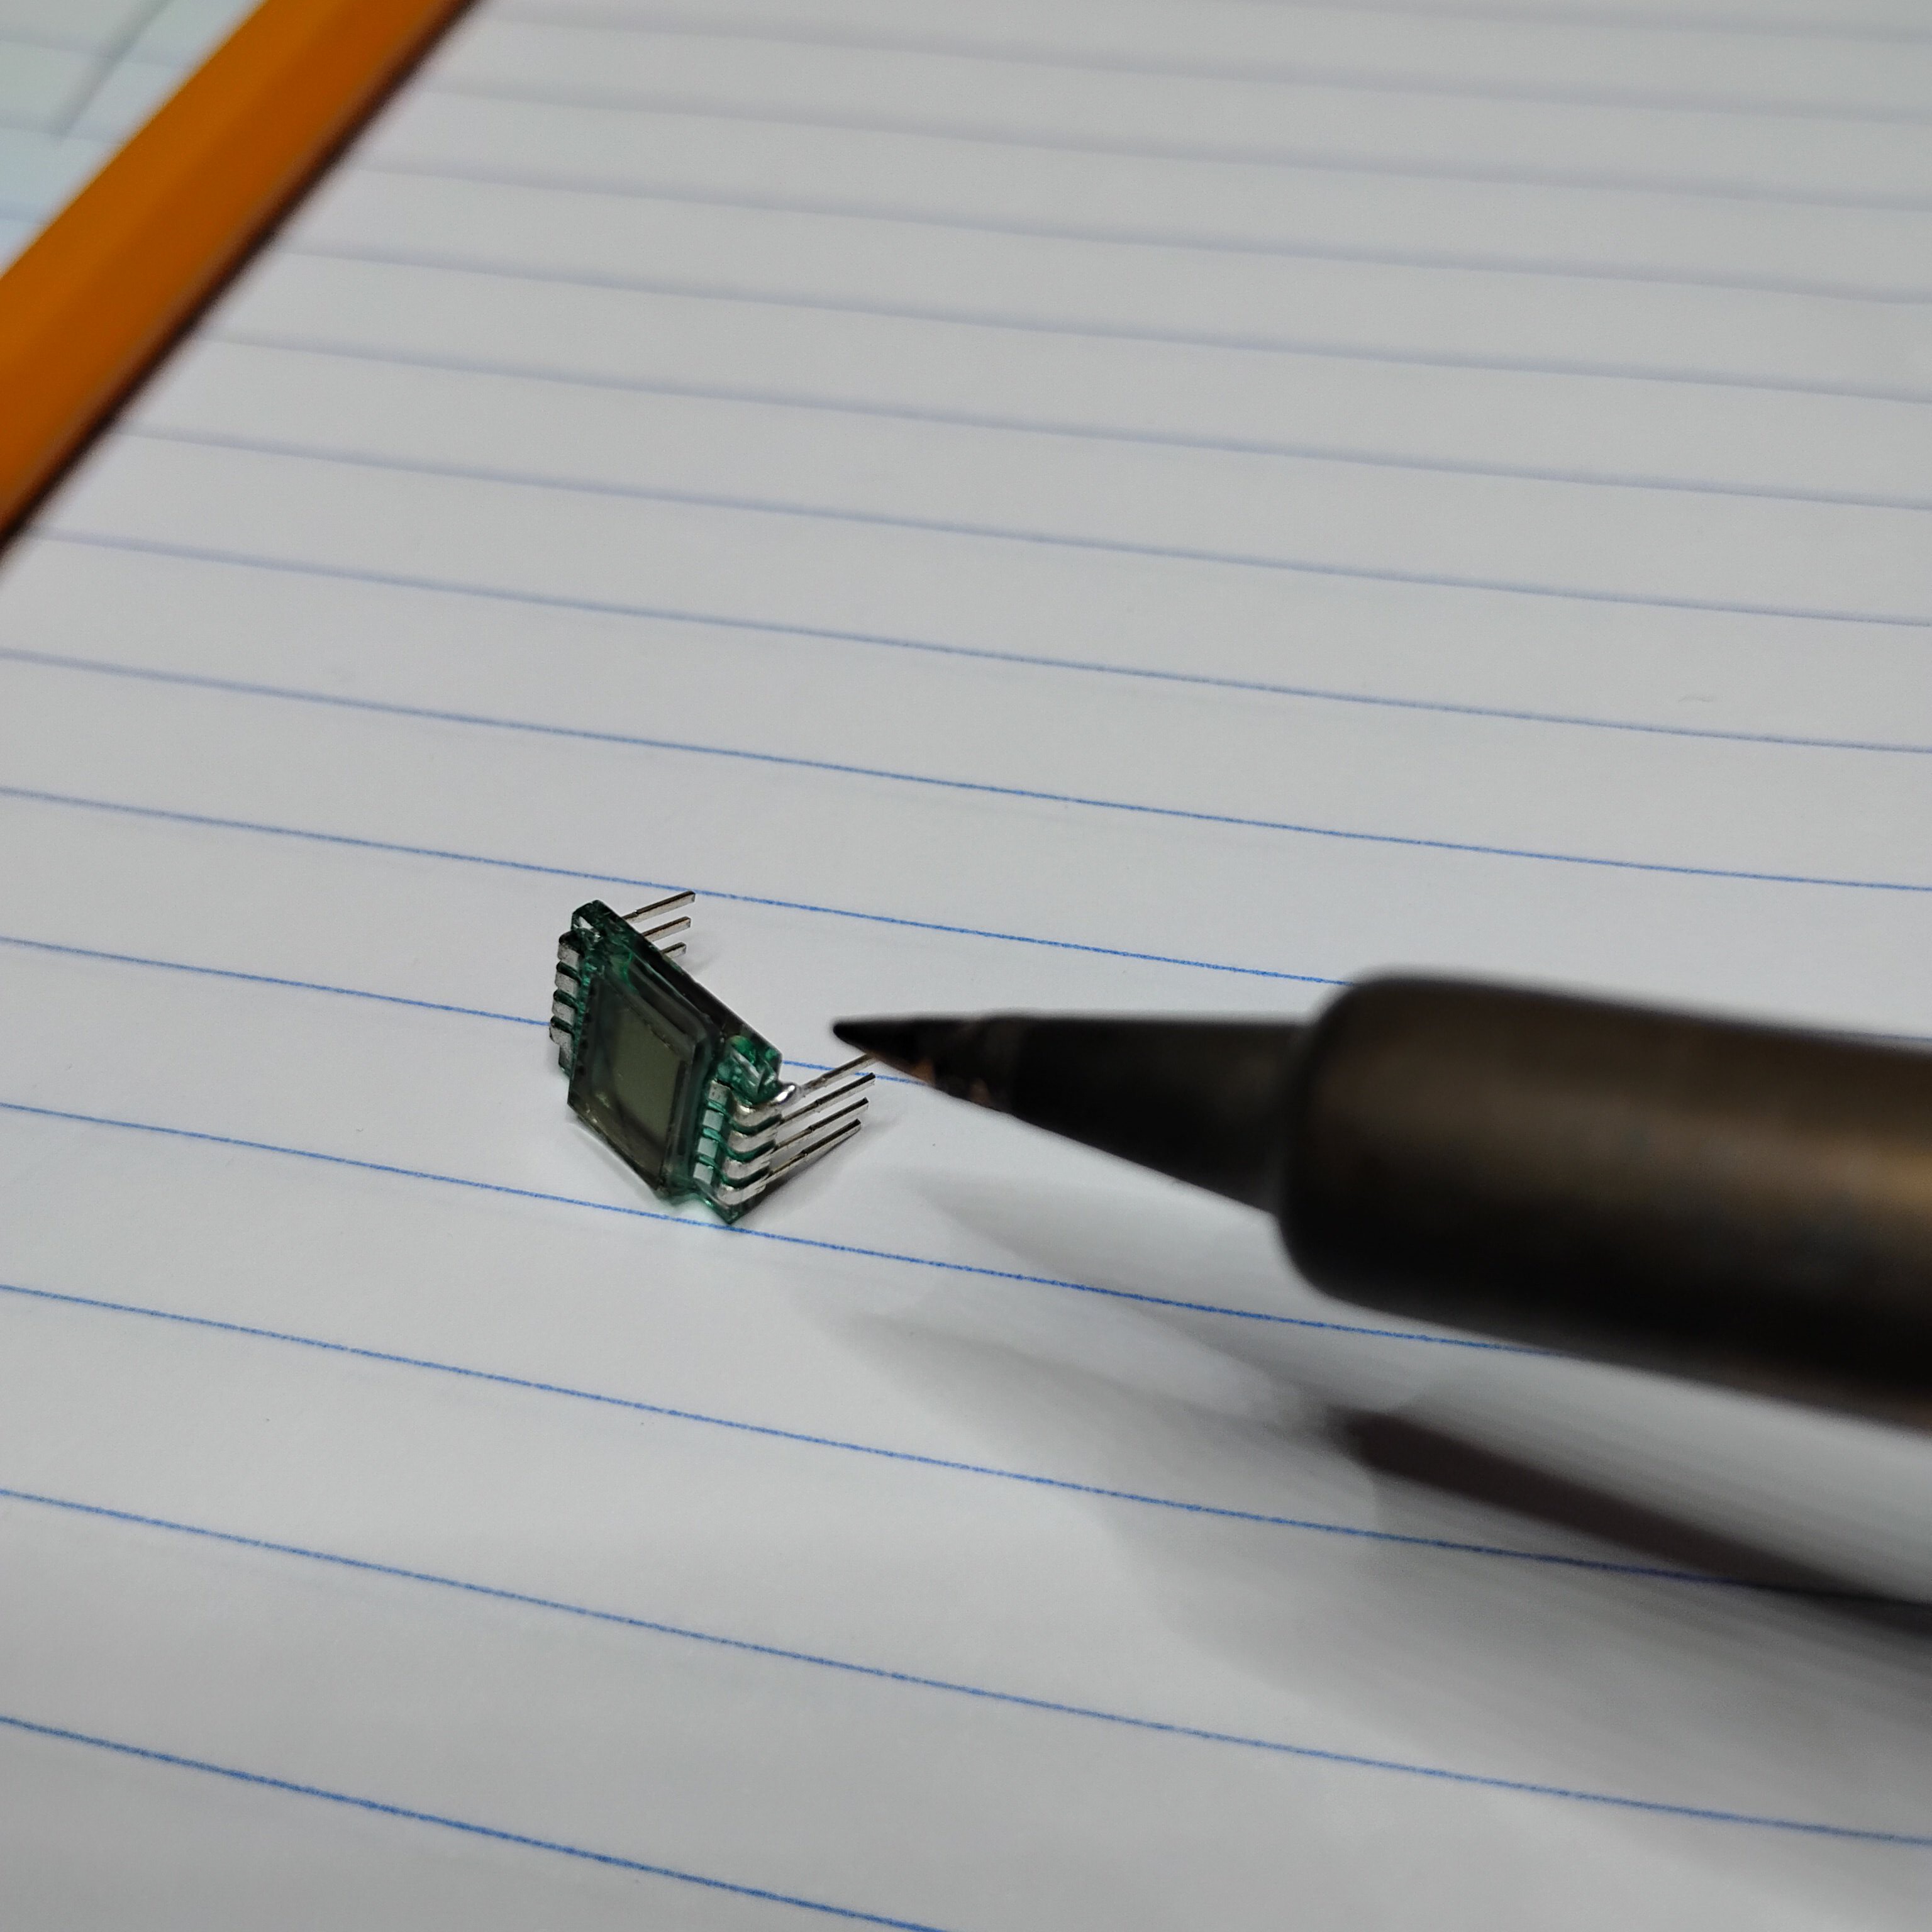
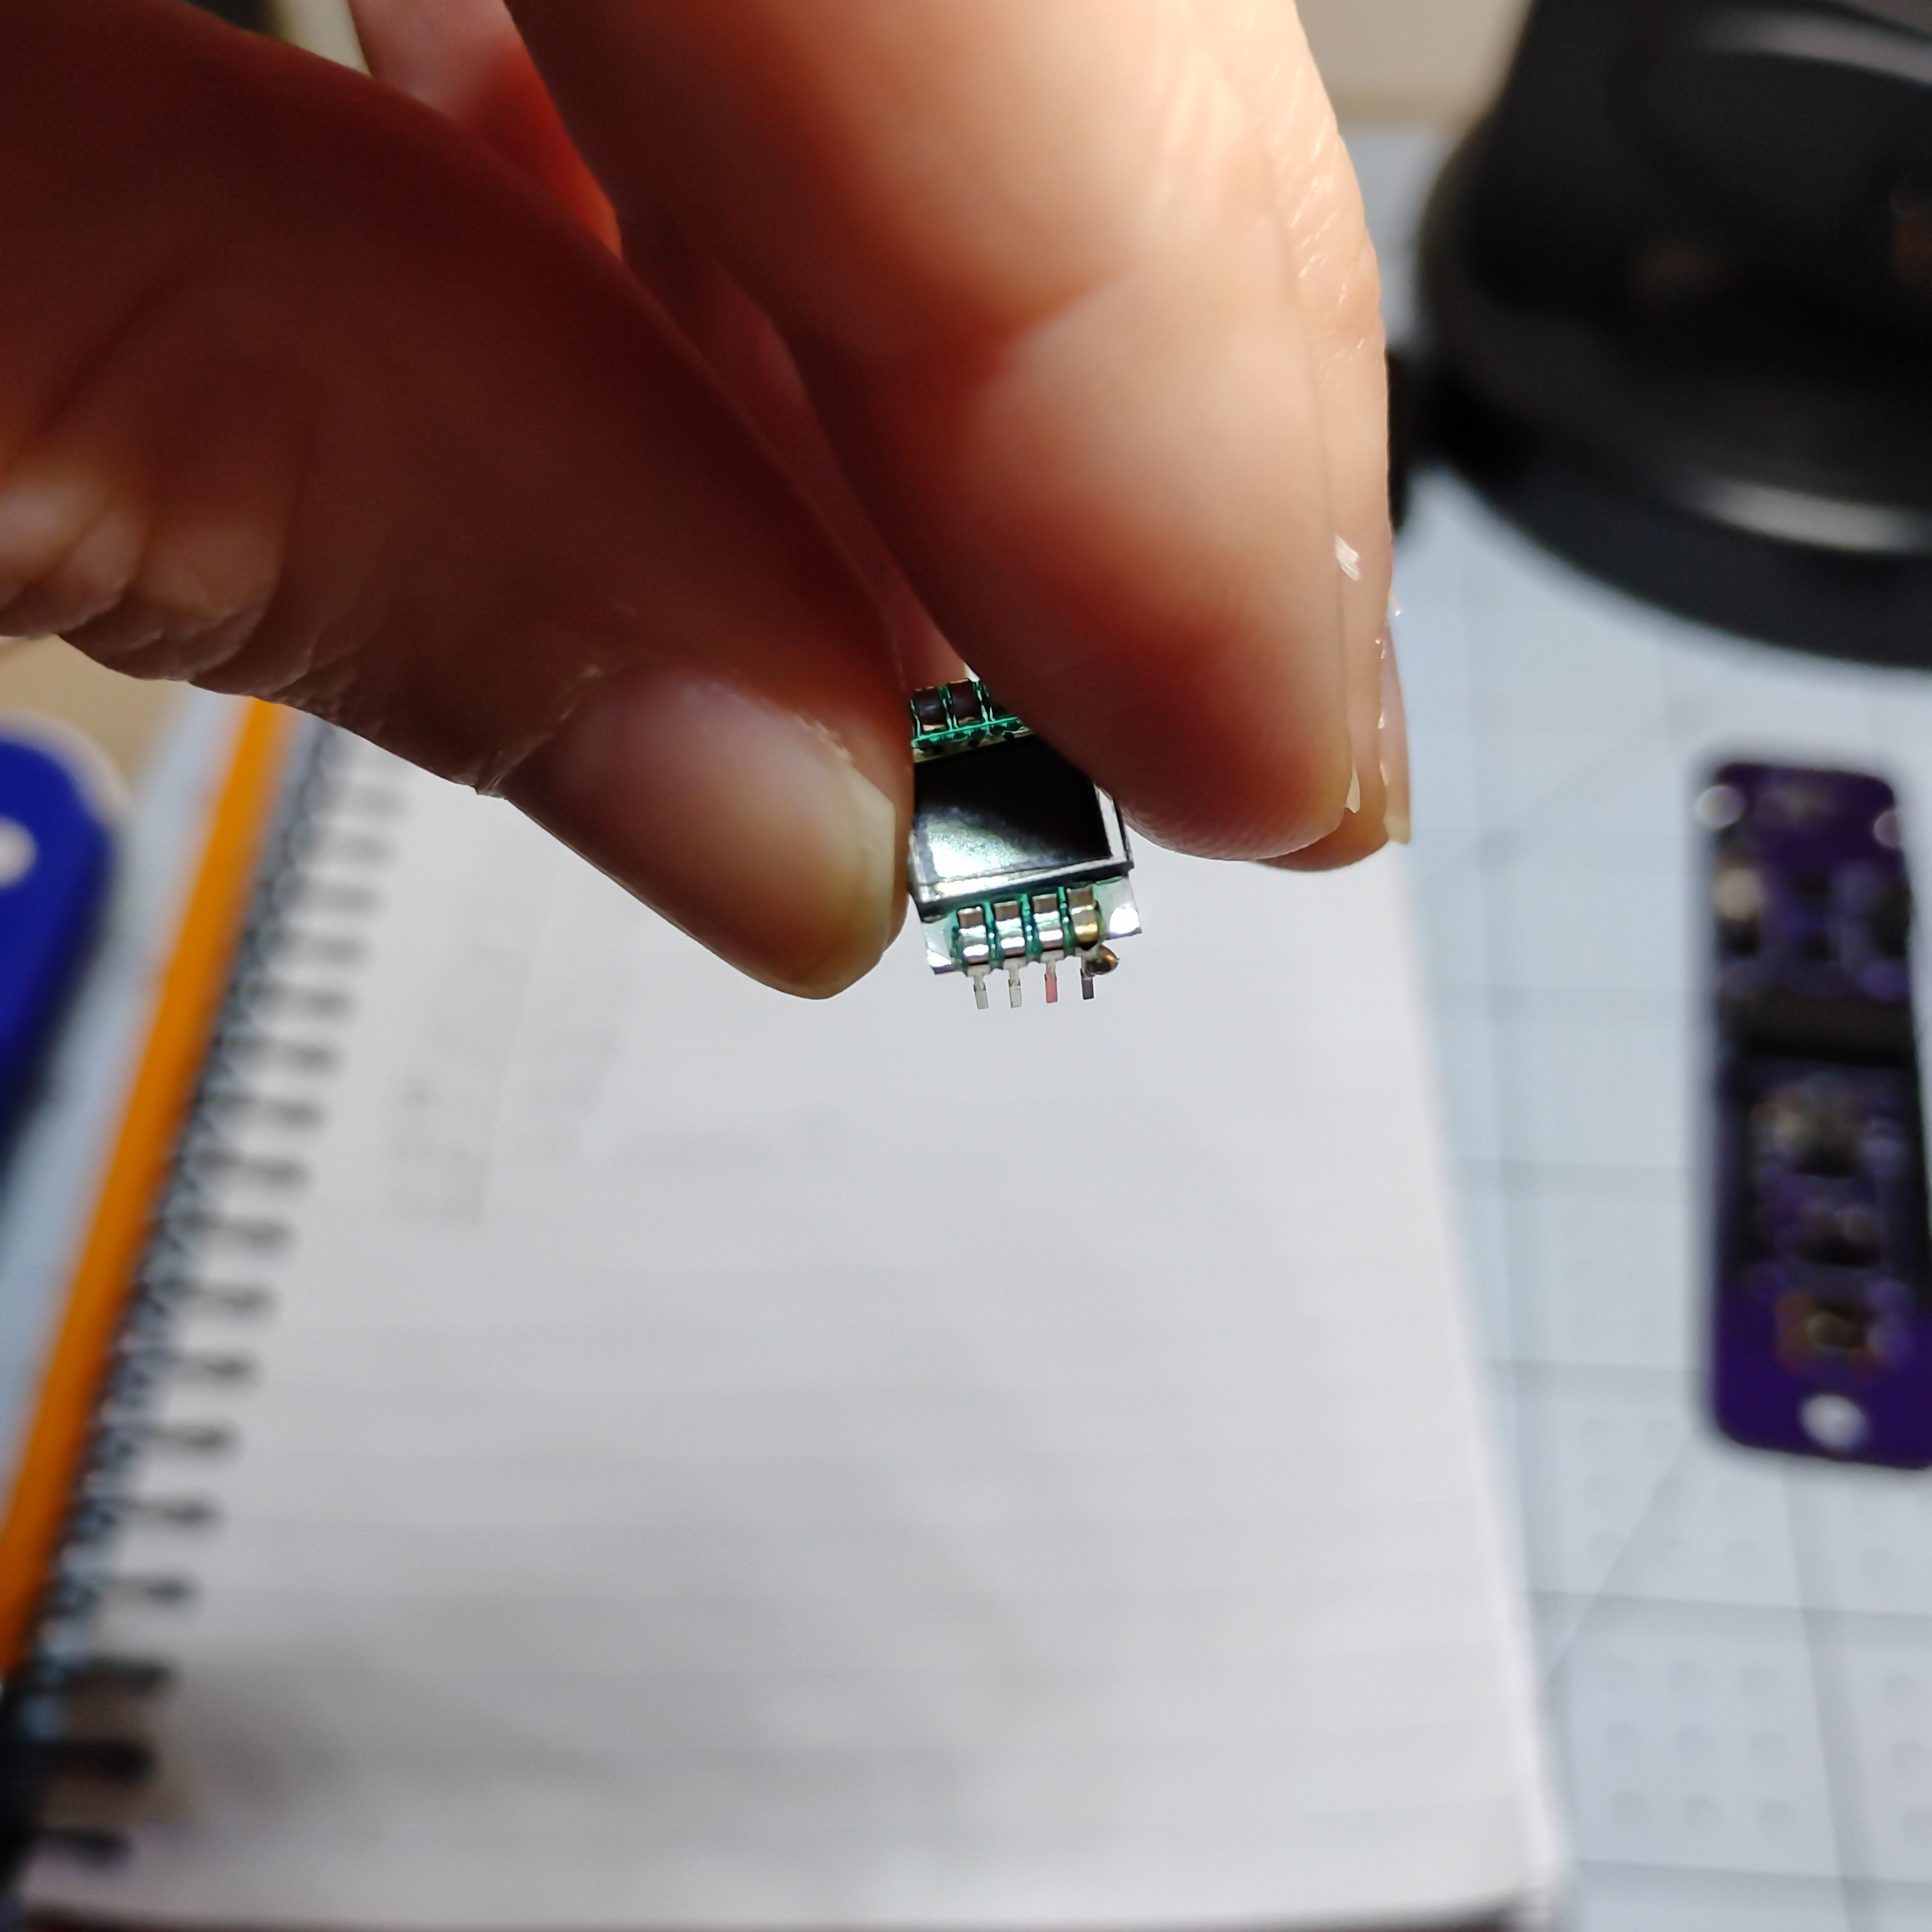
The core strategy to keep down cost was to drive a bare LCD (aka multiplexed LCD) with PWM-generated waveforms. This obviated the need for more sophisticated silicon, since this LCD itself is only 8 pins. A bigger LCD would make this strategy much more difficult.
That little LCD cost 0.4 USD, by the way. Pretty neat.
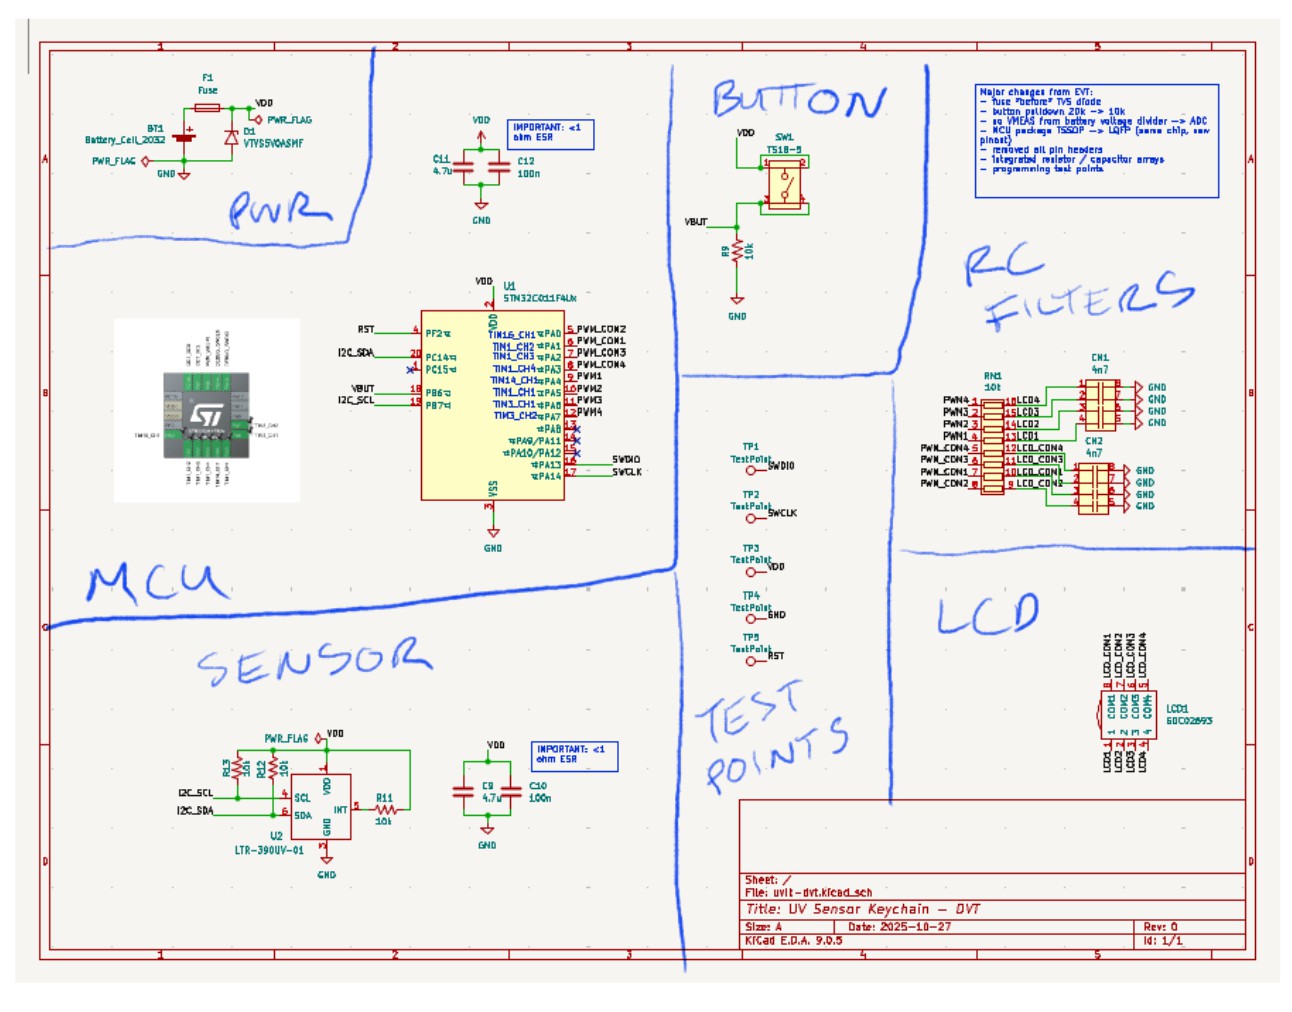
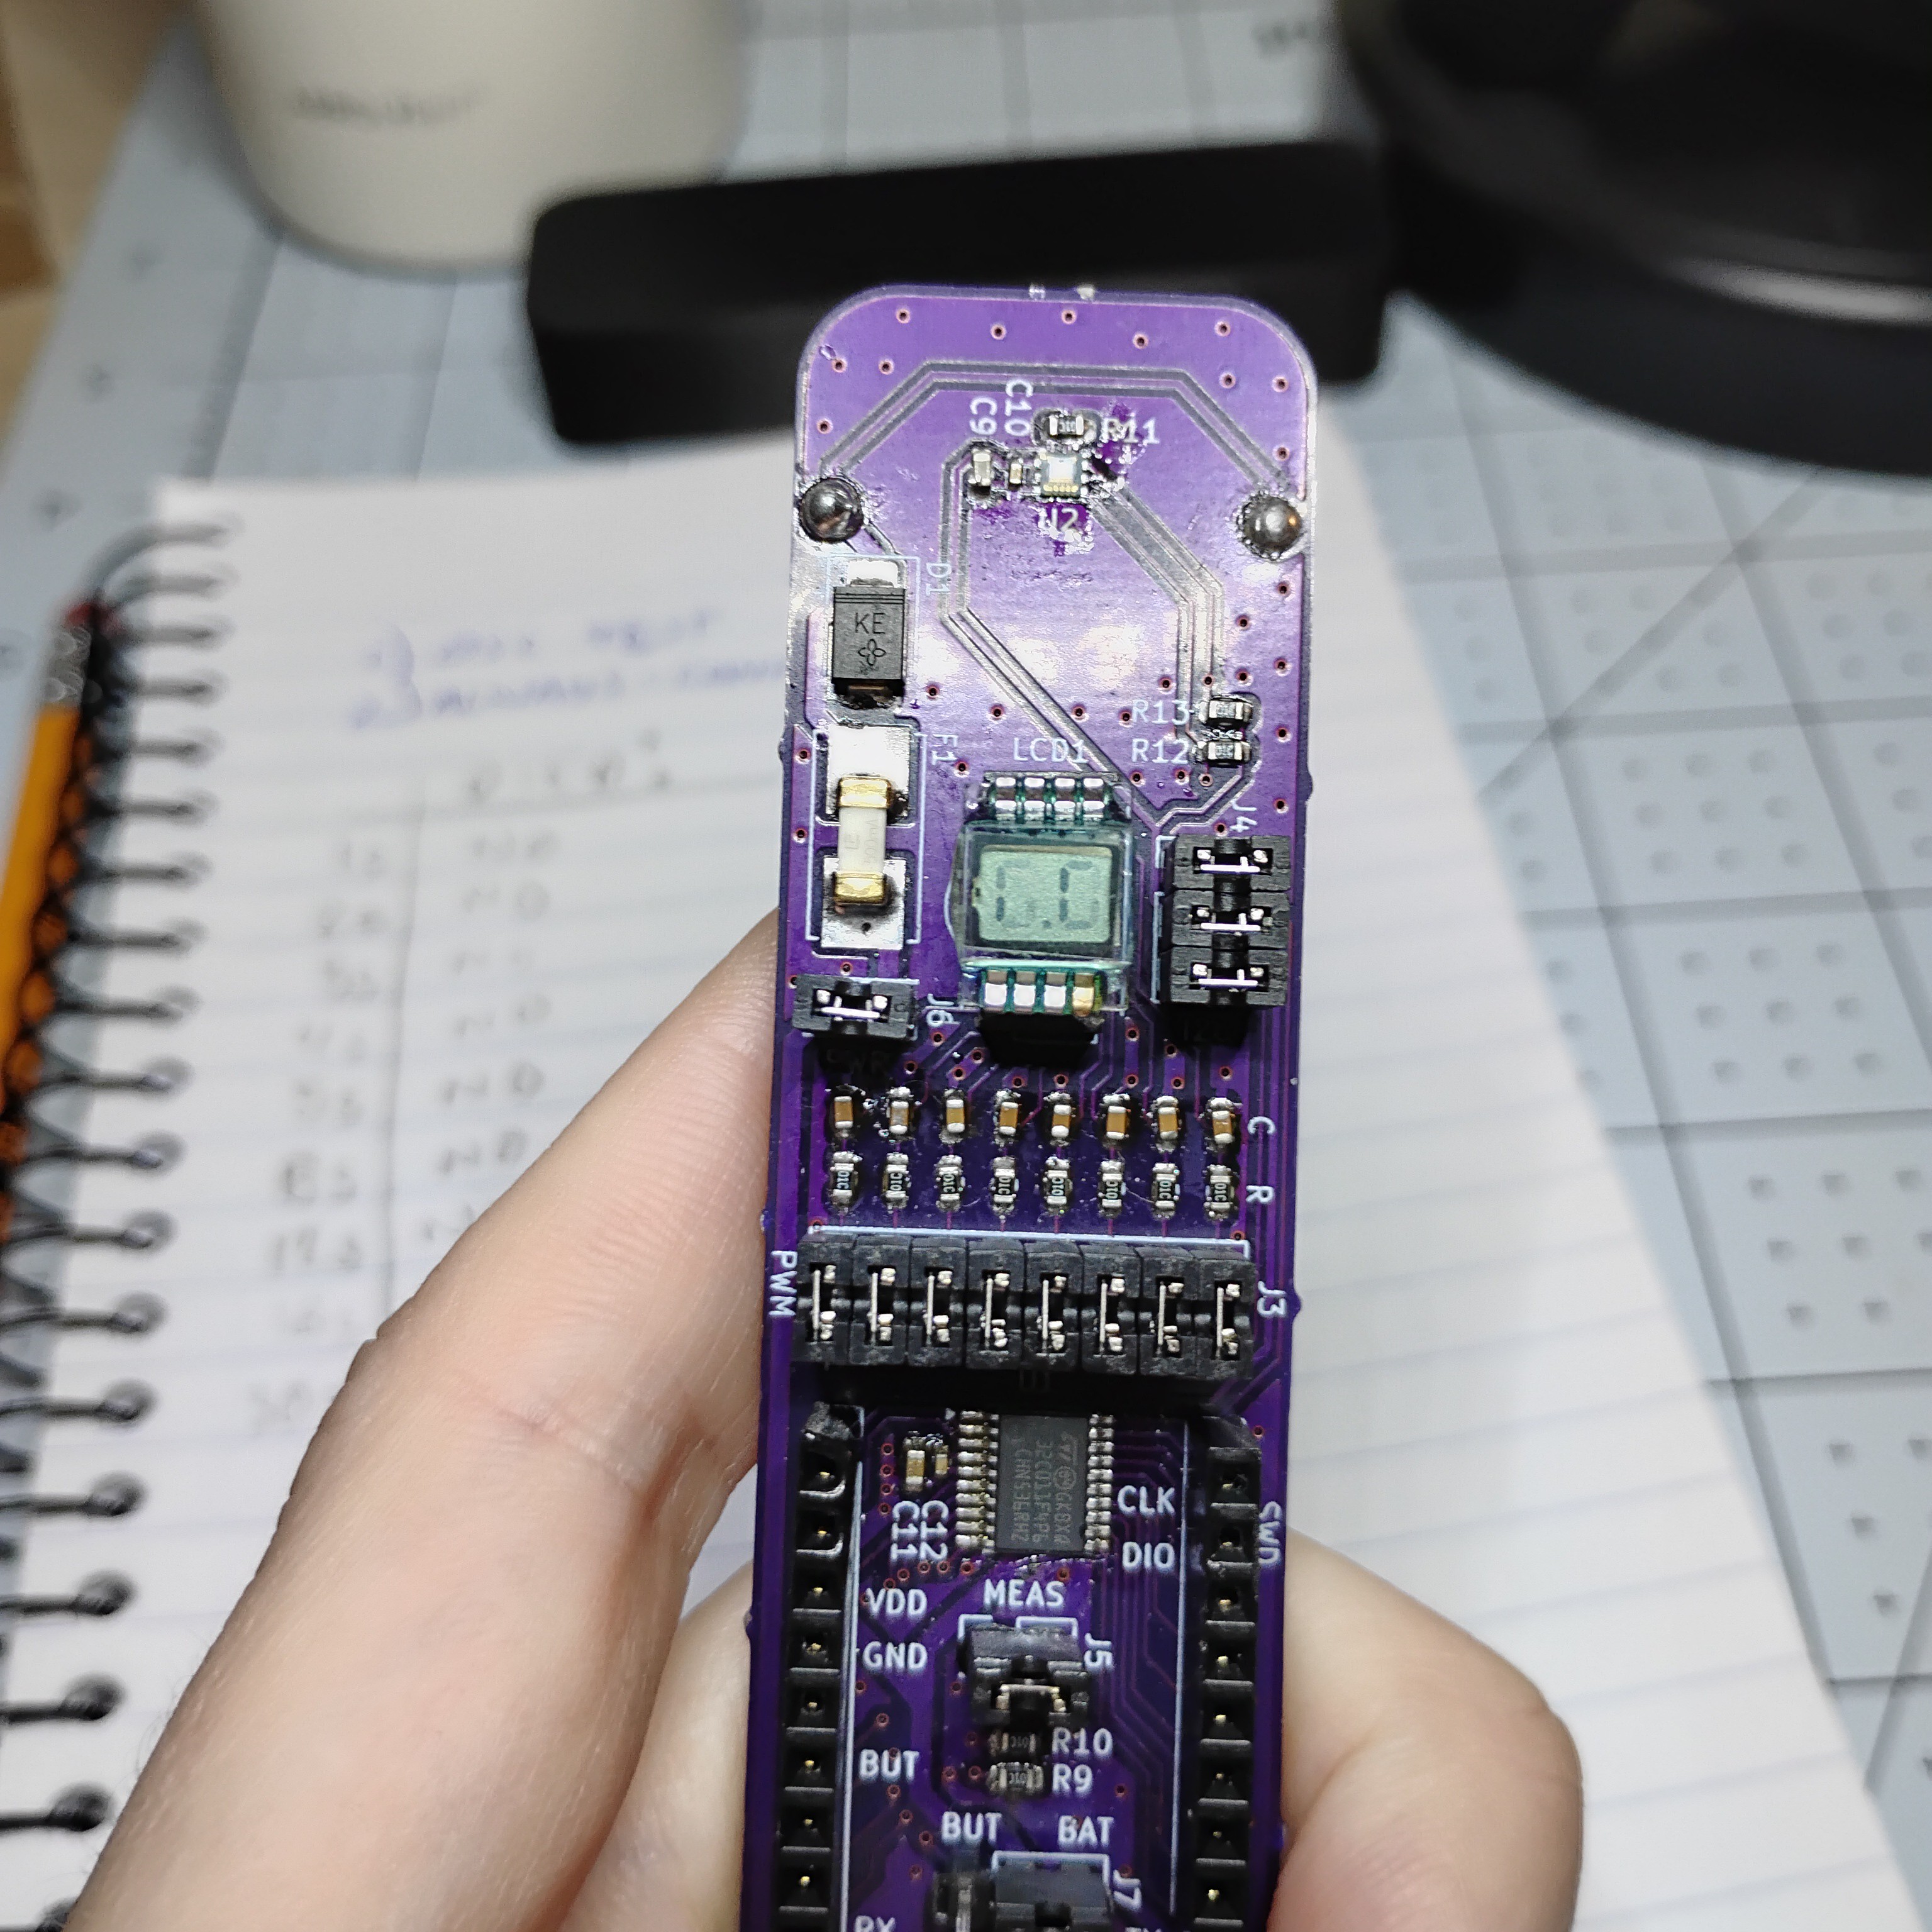
And the detailed schematic as follows:
The layout itself was fairly straightforward, 2-layer PCB.
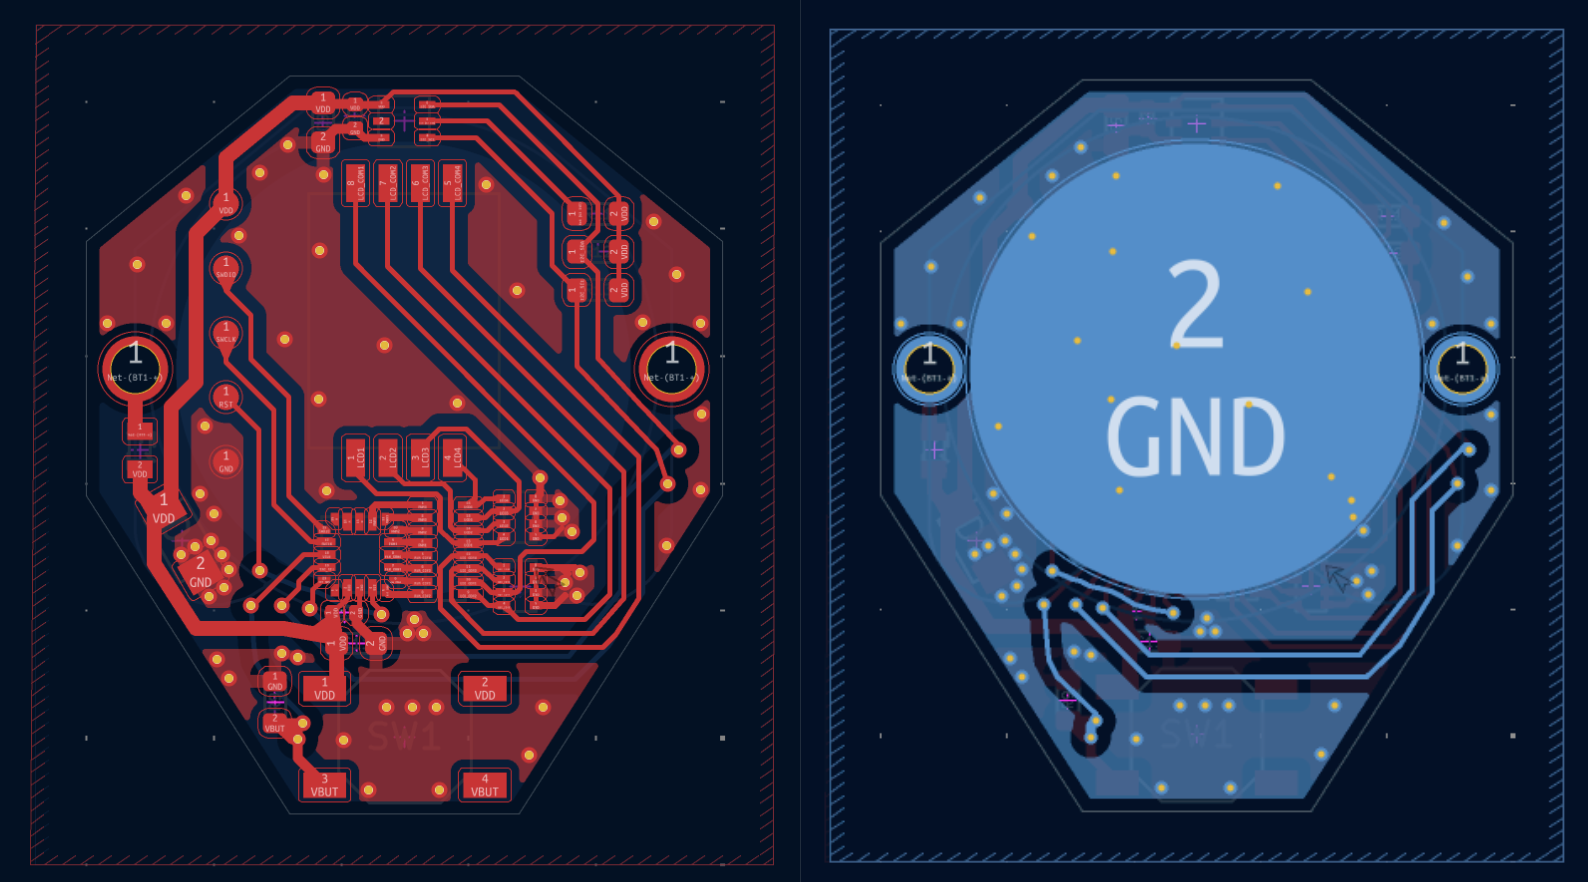
What made it tricky was not being able to route signal vias near the MCU because of the battery pad. A 4-layer would have made it easy, for not too much more money, but so it goes.
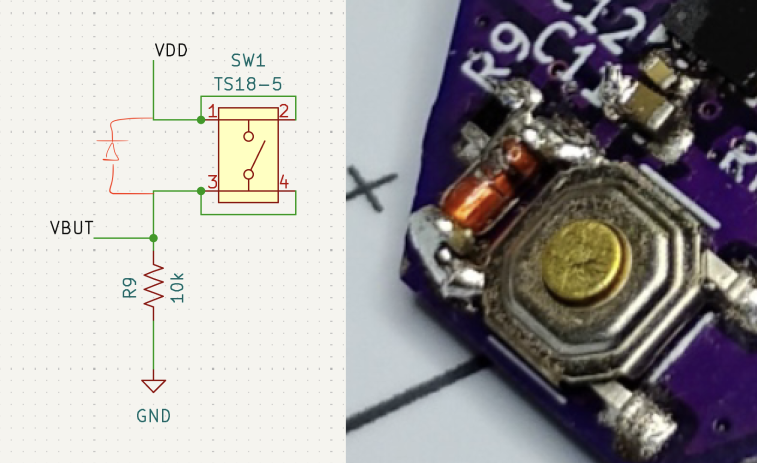
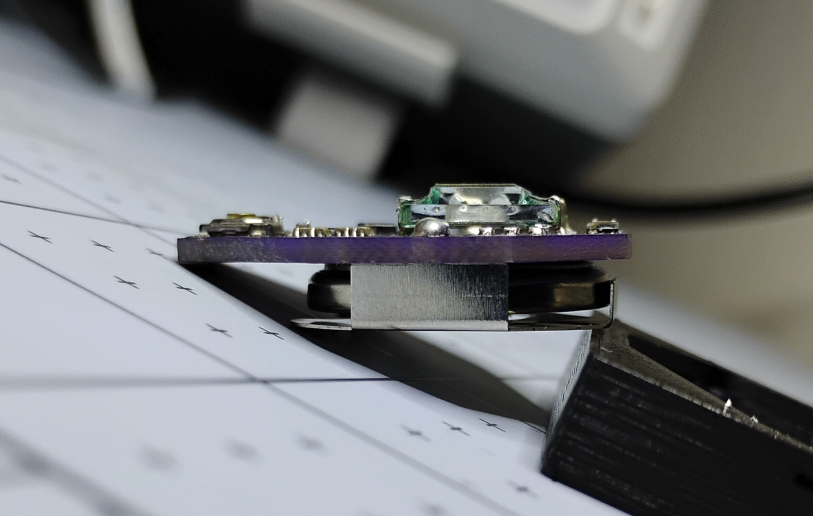
The assembly went alright for the most part, except I forgot to protect the button pin from ESD! This was pretty simple to fix with a diode from IO to VDD:
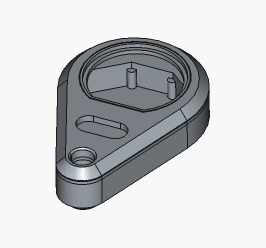
For the enclosure, I enjoyed learning how to use FreeCAD for this project. Here was the assembly in A2Plus:
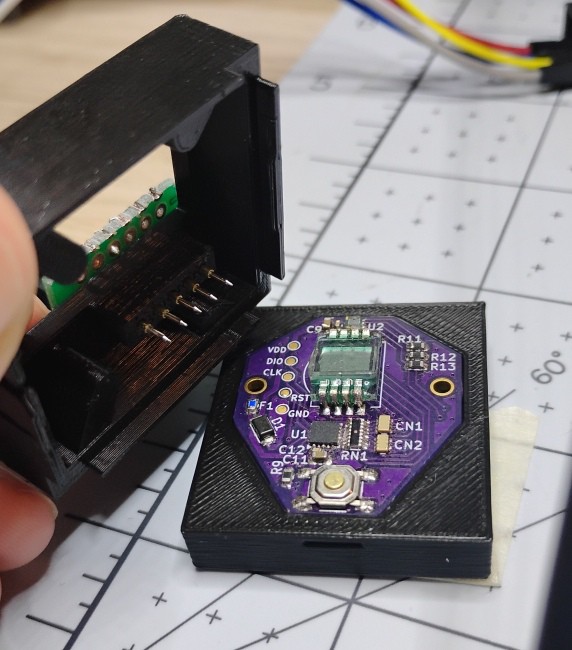
One interesting challenge was designing a programming fixture to line up some pogo pins against the pads.
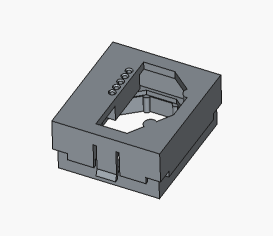
I learned not to solder the pins near the 3D print's PLA! I melted a bit it while soldering, which made it harder to align them to the PCB.
I was happy to finish this project after about 4 months of iteration. Now time to relax.
If you like this idea, let me know! I'd love to make it better (smaller, cheaper, longer lasting).


 moosepr
 deʃhipu
 Matias N.