rex
rex-
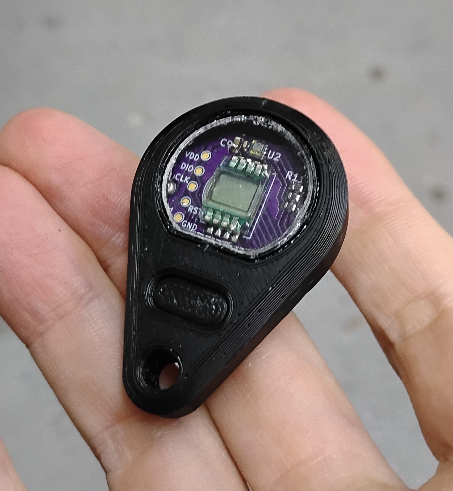
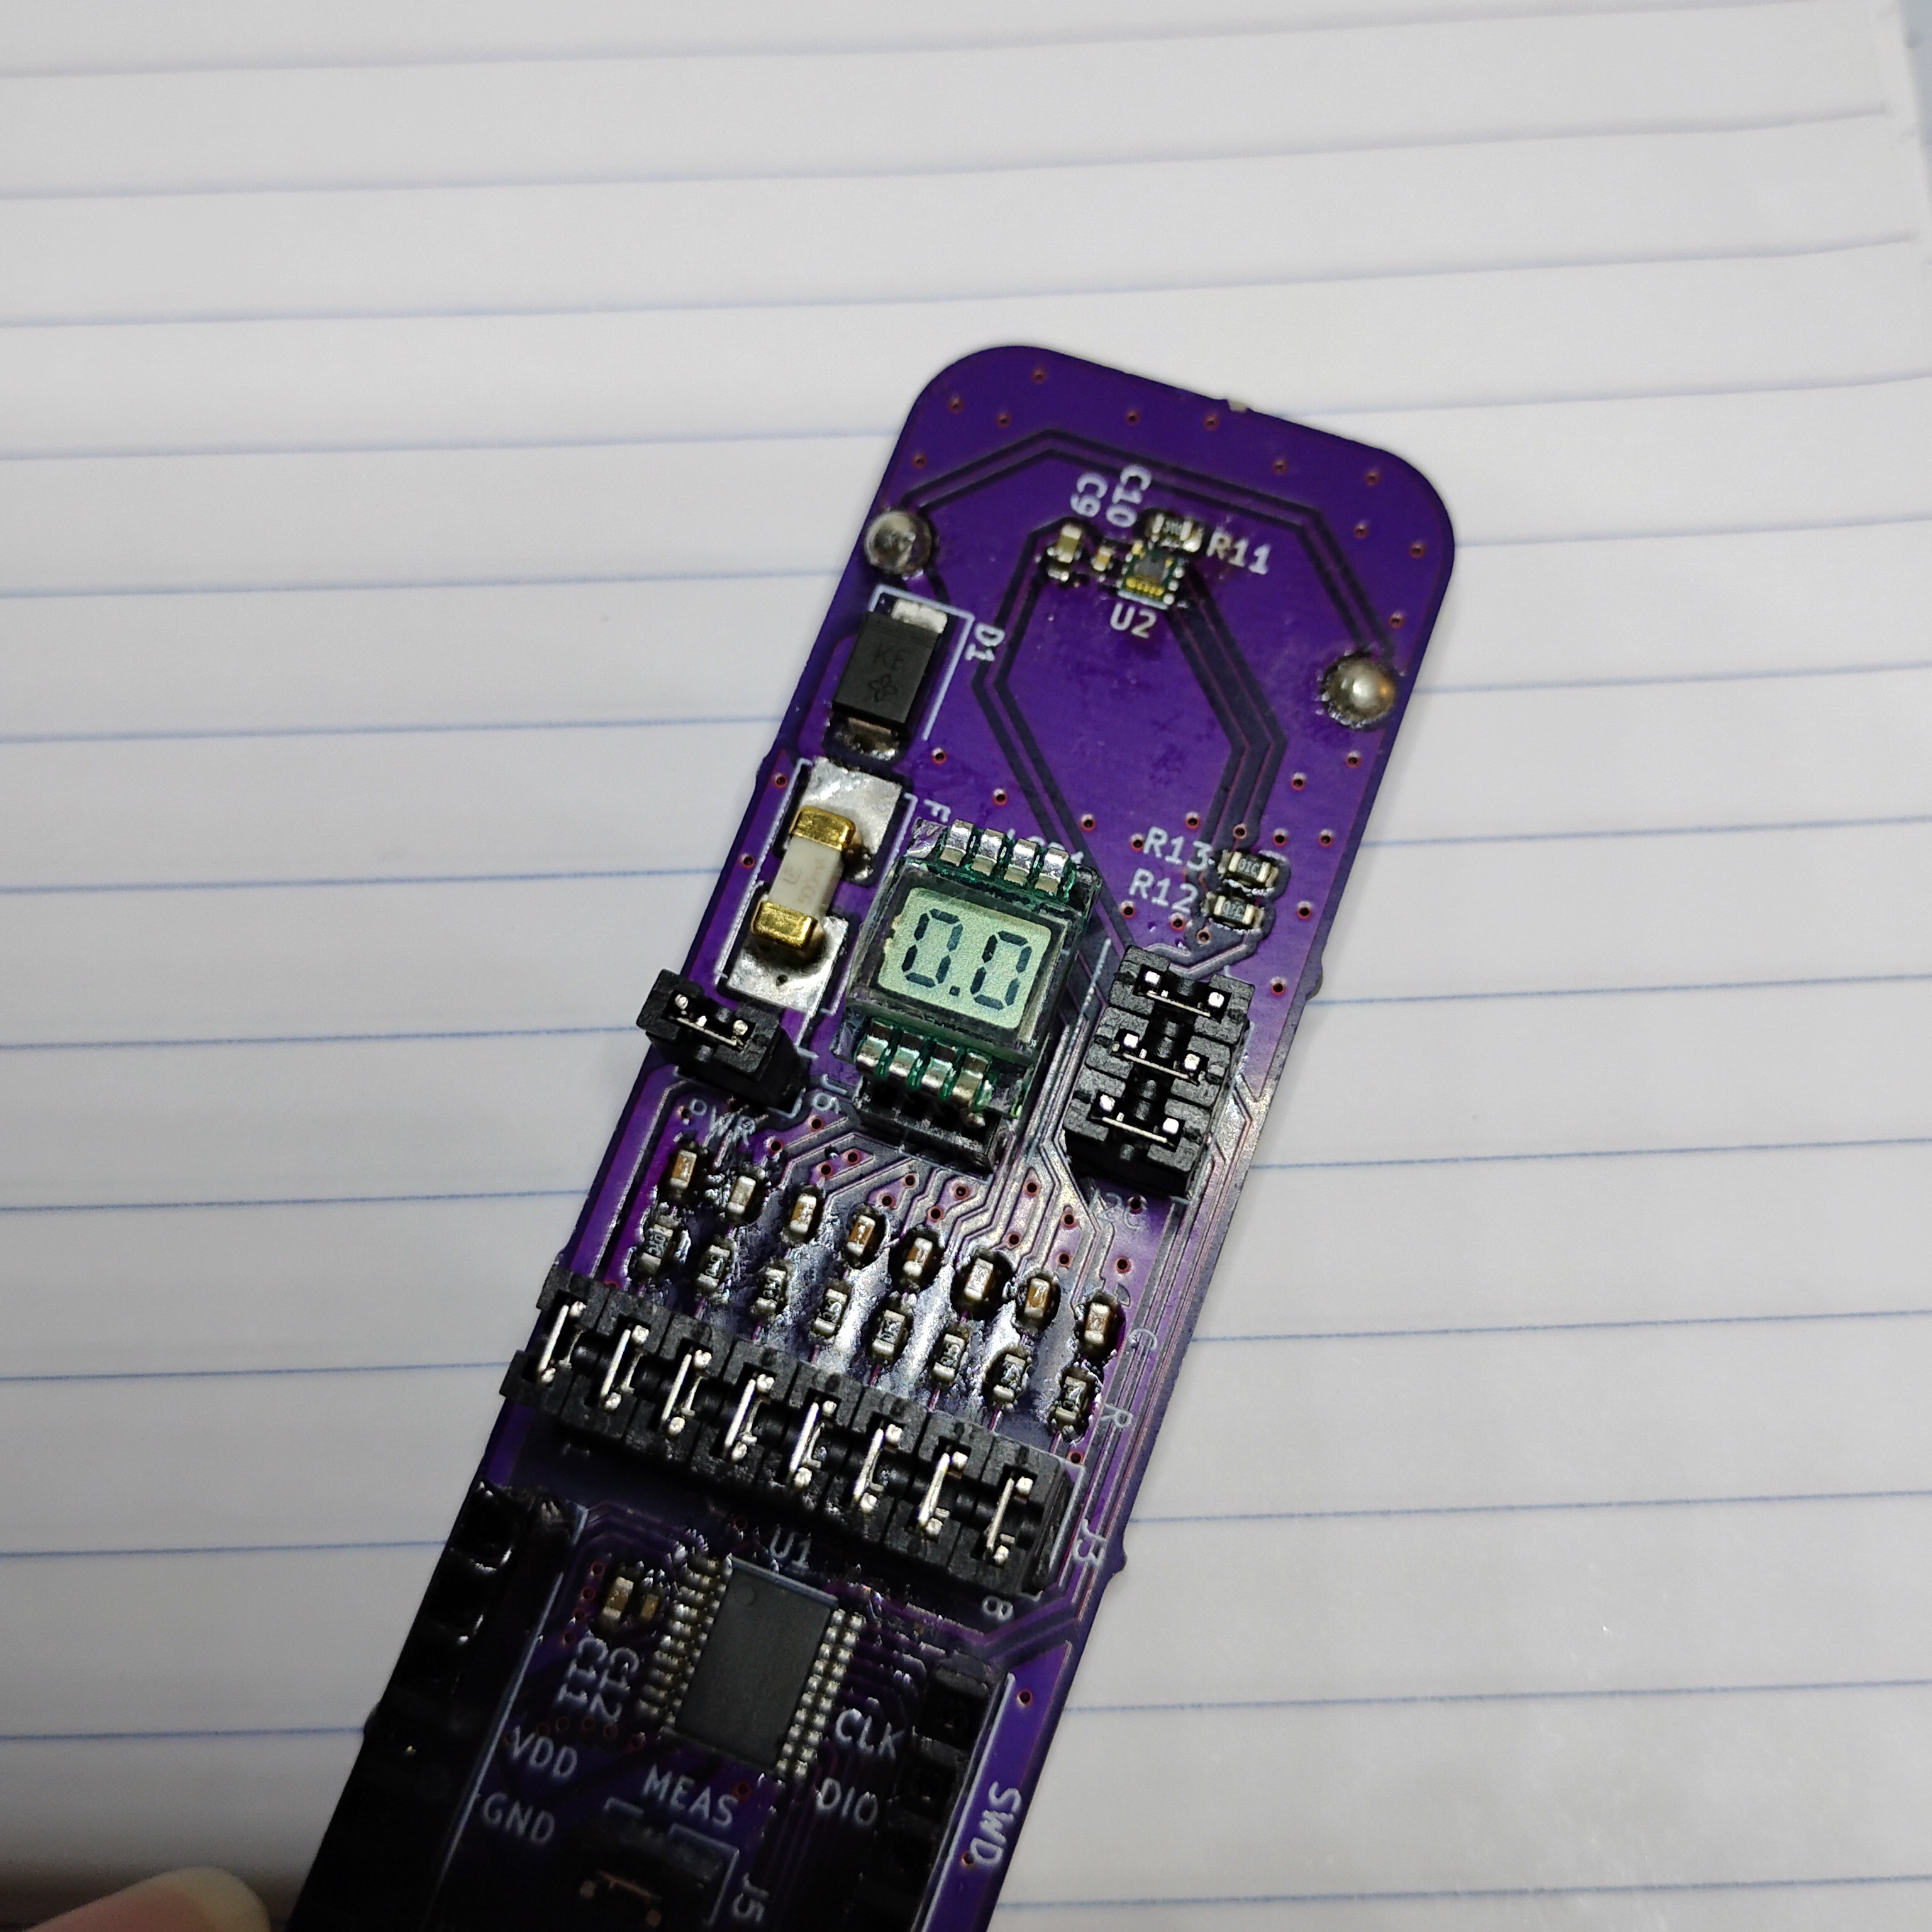
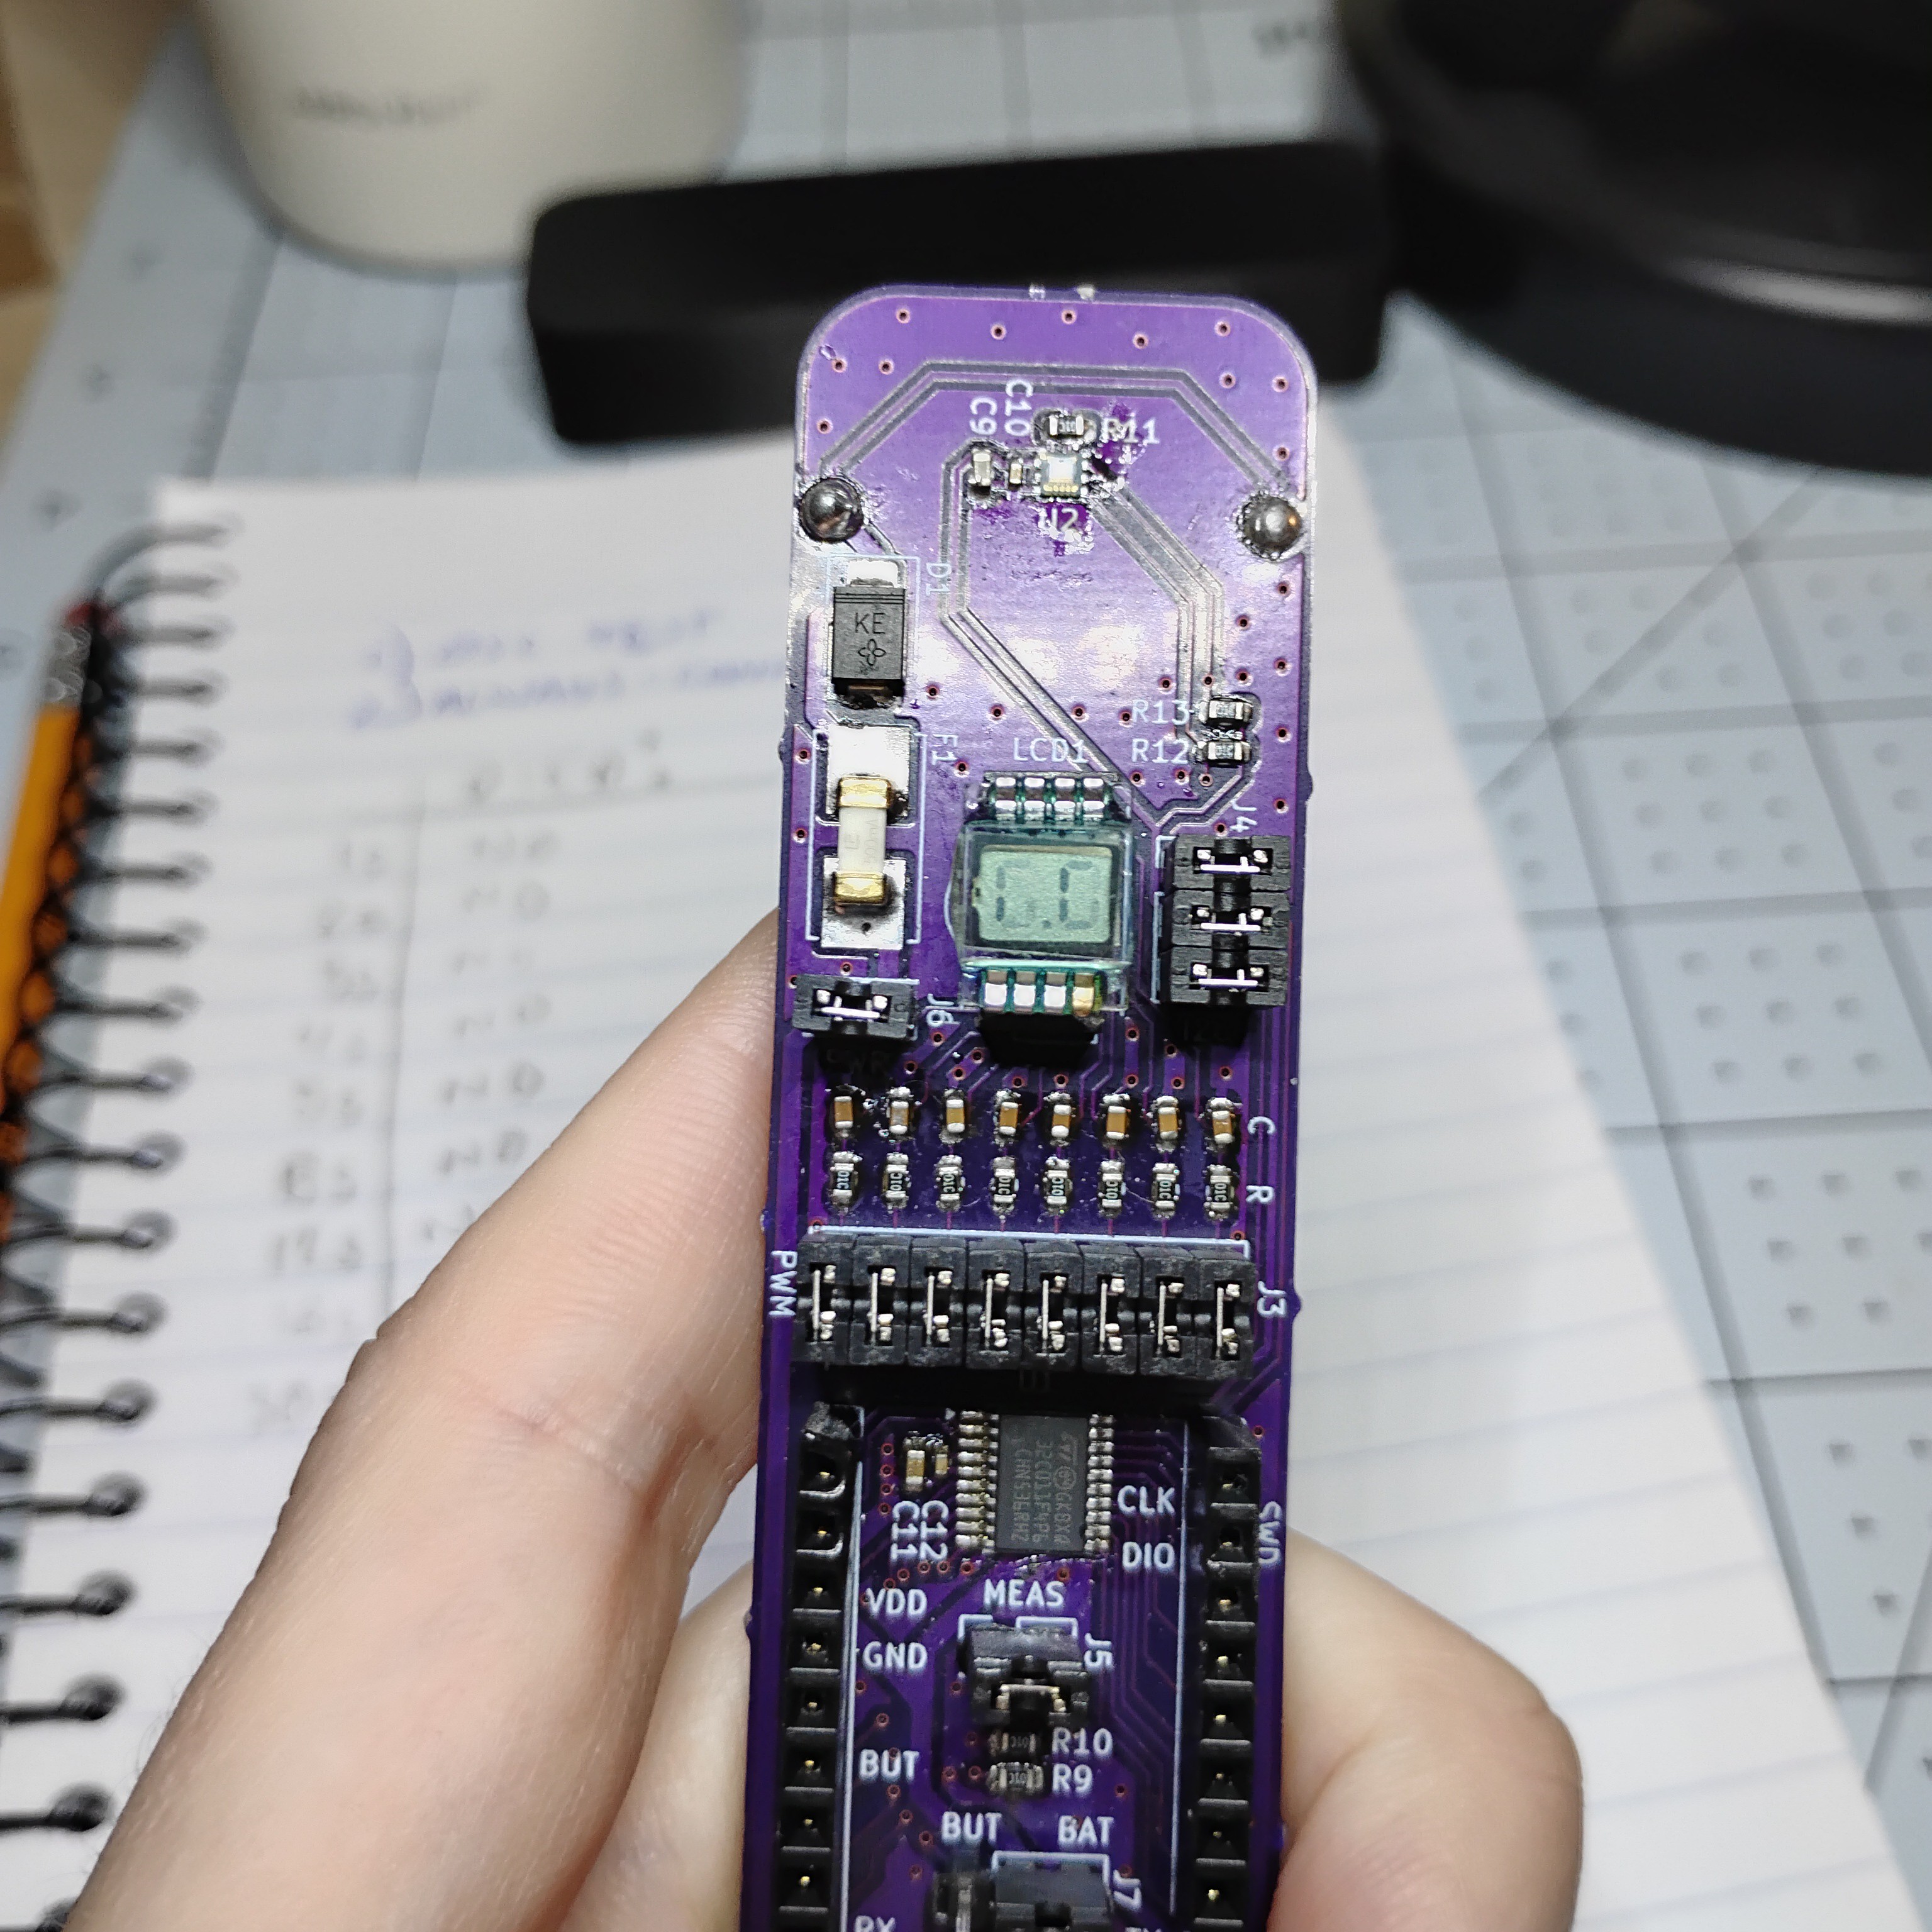
Smallest prototype yet
01/28/2026 at 06:30 • 0 commentsI just finished assembling the next version of the keychain, finally living up to its name. It's keychain-sized, perhaps a *bit* on the chunky side, but small enough to keep in the little "pocket pocket" above the main pocket of my jeans, you know, where people put spare change and keys and stuff. It fits in there along with the rest of my keychain, which is great for use outdoors.
![]()
![]()
![]()
There were many surprises with this version, like the challenge of building a fixture for programming it (since the test pads are so small), as well as the challenges of building an enclosure with a window. It's a little rough around the edges, so I'm thinking of ways to make it look a bit cleaner.... not that it matters much, but I keep comparing it to the seamless construction of my Casio F91-W, with is slightly beveled window and delicate printing. Perhaps an unfair comparison, but if anyone knows how to get that level of fidelity on a mini device enclosure, please let me know.
At any rate, the hard part is over. Now I get to see if it's actually useful. I'll loop back with what I learn later. For the time being, I'm excited to put this project out of my mind for a while... it was a lot more than I expected!
-
Testing LCD damage from soldering
12/27/2025 at 01:24 • 0 commentsOne of the challenges with scaling down this project is soldering the LCD. LCDs are commonly soldered to a PCB using through-hole technology because reflowing the entire LCD through an oven would damage it.
But given that I'm building a tiny PCB, I do not have a ton of room to do through-hole soldering: I needed this device to be on only one side of the PCD, i.e. SMD soldered.
Which brought up the question: could I damage the LCD by soldering so close to the glass?
I ran a quick test to see how much heat the LCD could handle before being damaged. The result: I could only *temporarily* damage the LCD after holding one of the pins at 300ºC for about 30 seconds. Any damage I could observed seemed to have disappeared after ~ 30 seconds.So the takeaway: it's pretty safe to hold a hot soldering iron right up against the LCD glass while soldering, as long as it's for less than ~ 10 seconds or so. I could not see any noticeable damage at 5 seconds, for instance.
Results
I placed the soldering iron with solder on it right up against the corner of the pin where it touches the LCD glass.
![]()
![]()
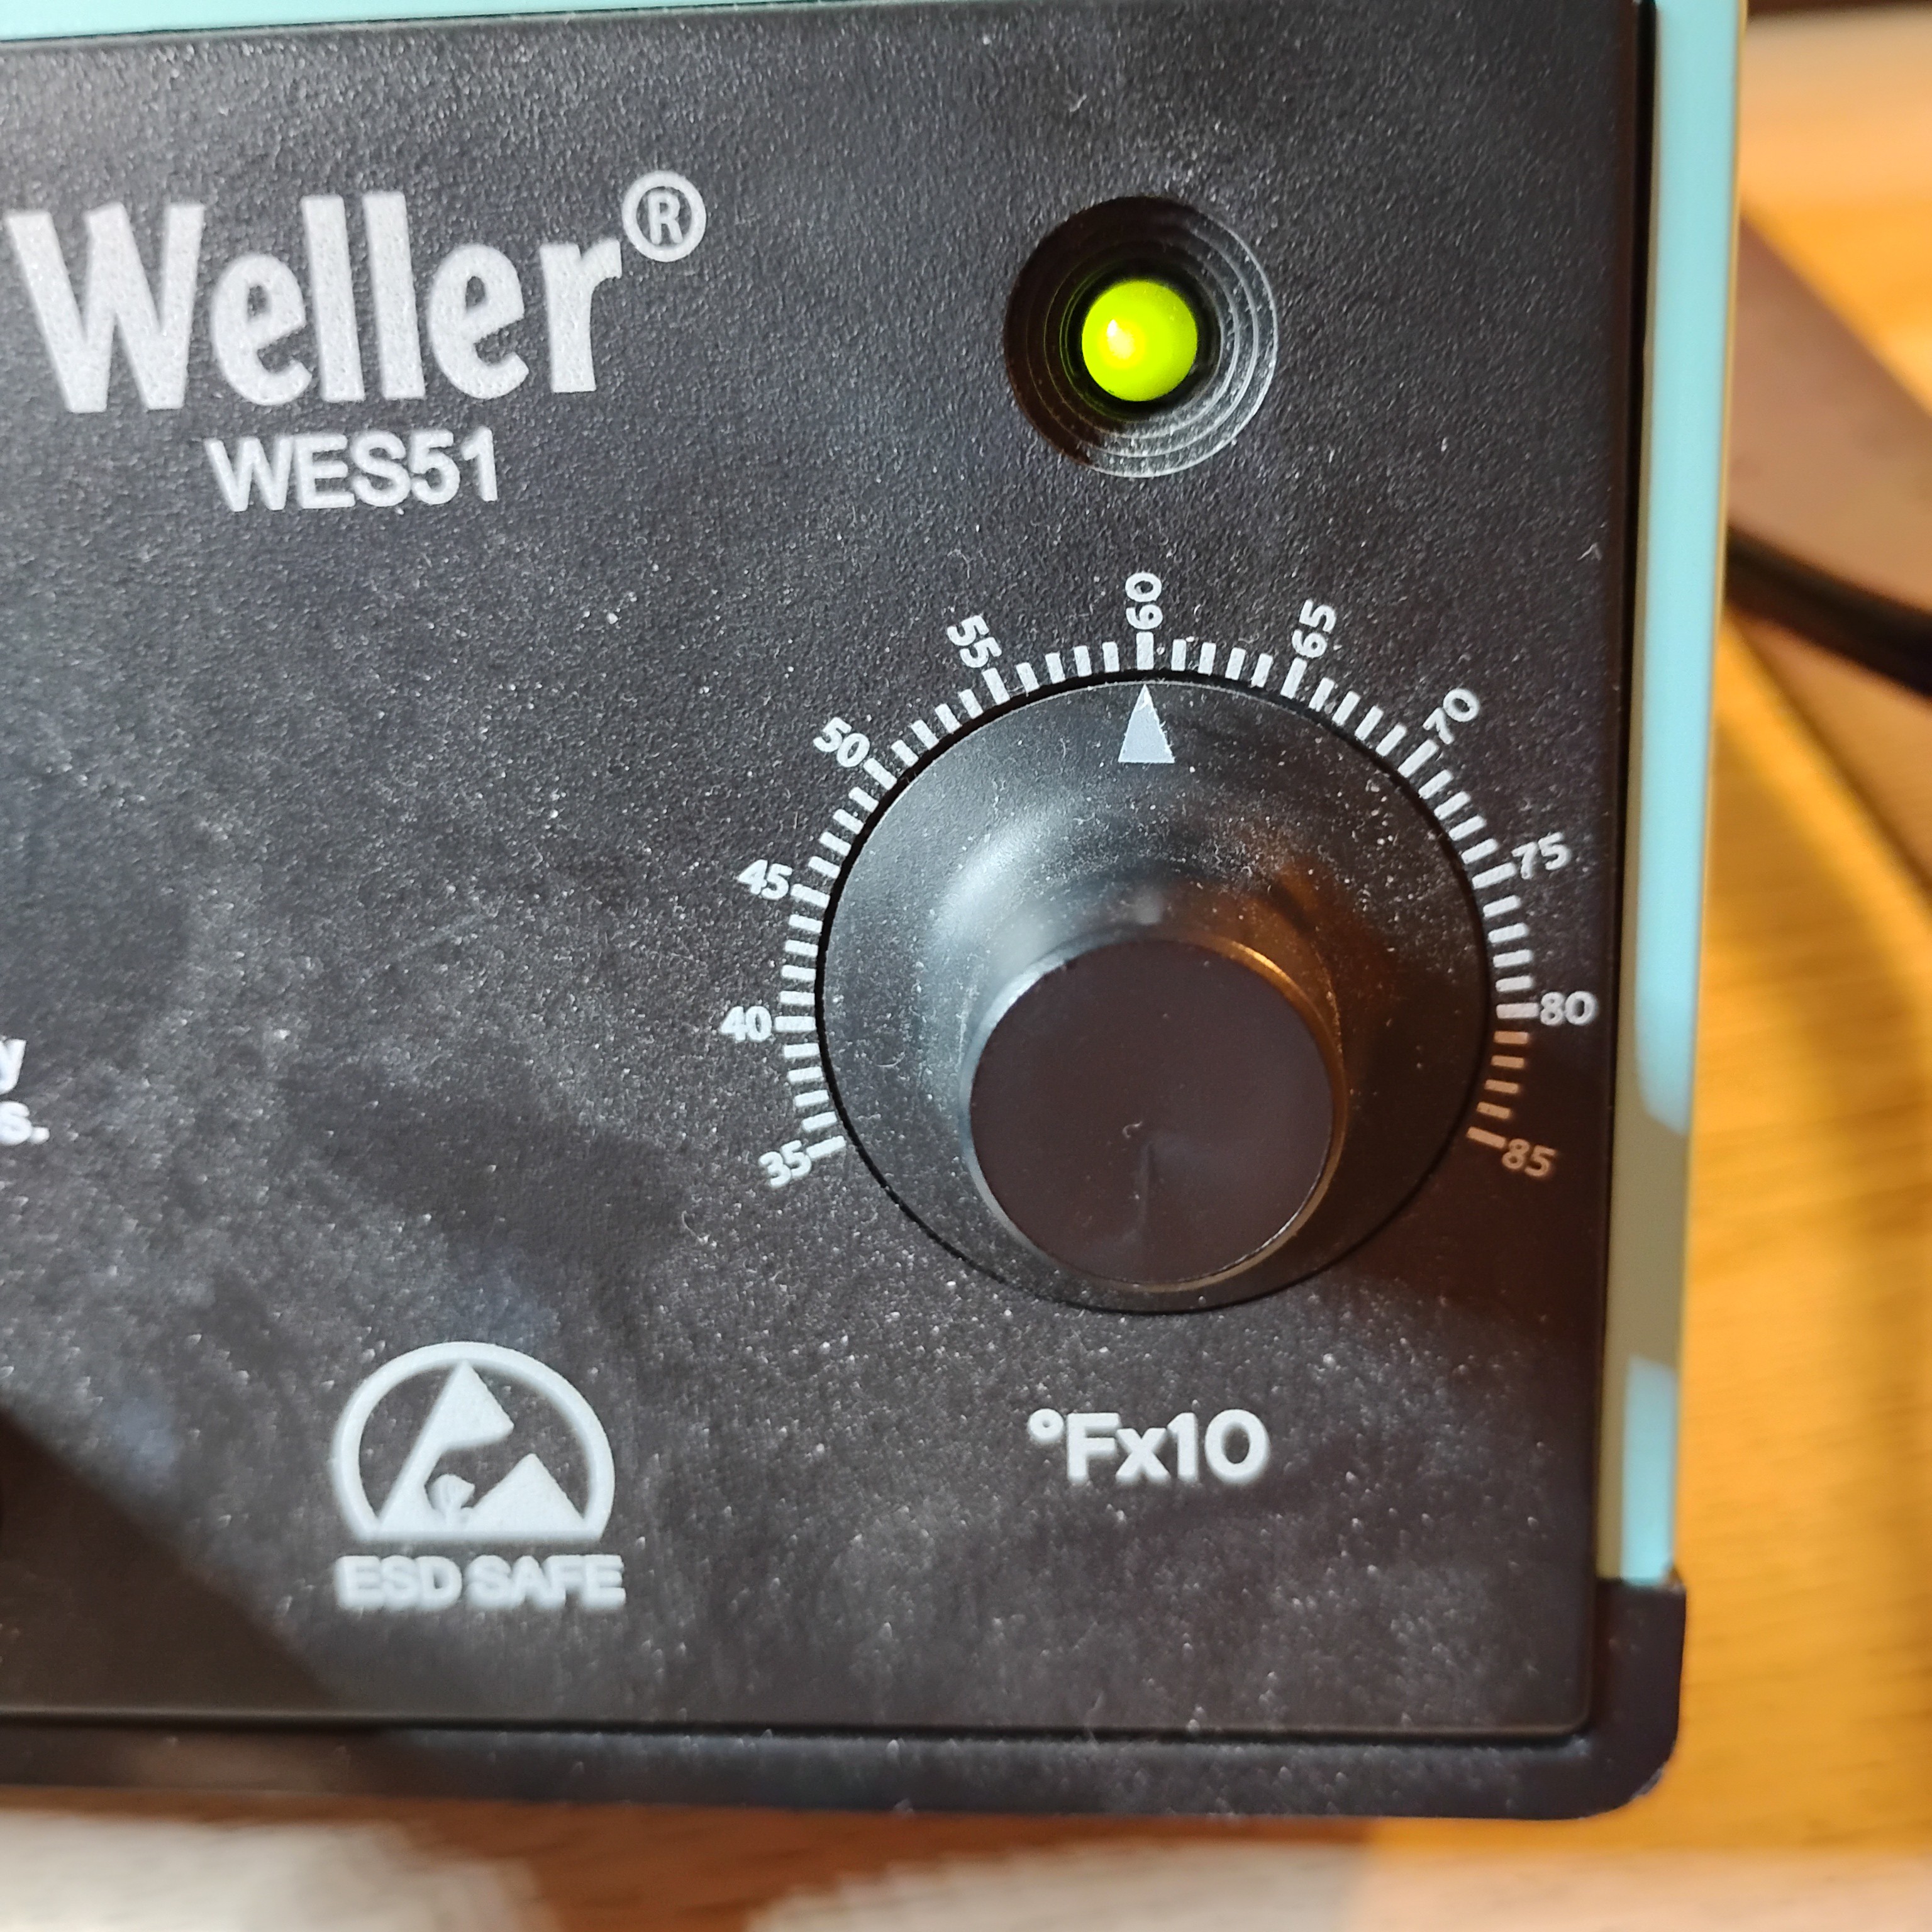
And the soldering iron setting:
![]()
After each "test," I determined if the LCD was damaged by plugging it back into the device and running the display:
![]()
I did a variety of times. You can see what the LCD looks like when it has been damaged. It looks like some of the segments are faded.
In all instances, this damage appears to have been temporary. After 30 seconds, I could not see any fading like this again.
-
First prototype and lessons
12/27/2025 at 01:06 • 0 commentsI just "finished" the first portable prototype for this project: basically a scaled-up version of what I want. It's a bit bulky to really bring everywhere, but it achieves the basics: coin-cell battery operable, ESD safe, measures UV index correctly, display works as expected.
The main challenge with this first versions was the enclosure. I didn't get the tolerances right the first go-around, so it took some back-and-forth with the 3d printer to get it right. It's still not a perfect fit, as the pin headers push the lid up about 1mm above flush.
The other challenge was having to re-solder the ICs everytime I burnt the board with ESD / over-voltage. I'm still not 100% which one it was, but whatever the cause, keeping VDD connected to the TVS diode seems to have fixed it. I went through 4 ICs before I got this right. Lesson: always ensure your over-voltage protection is connected to power rails! Even during testing, when jumpers are disconnected!
Portable UV sensor
Check UV levels on the go. Uses STM32 MCU, LTR390 sensor, CR2032 battery, and a 2.5 digit LCD