David Tucker
-
Linear Guide
11/01/2026 at 21:54 • 0 commentsI picked up the FoxAlien Linear Rail upgrade kit for my XE-Pro. I've made a project of installing the rail. While doing this, I thought I would take some time to upgrade a few things on the machine.
![]()
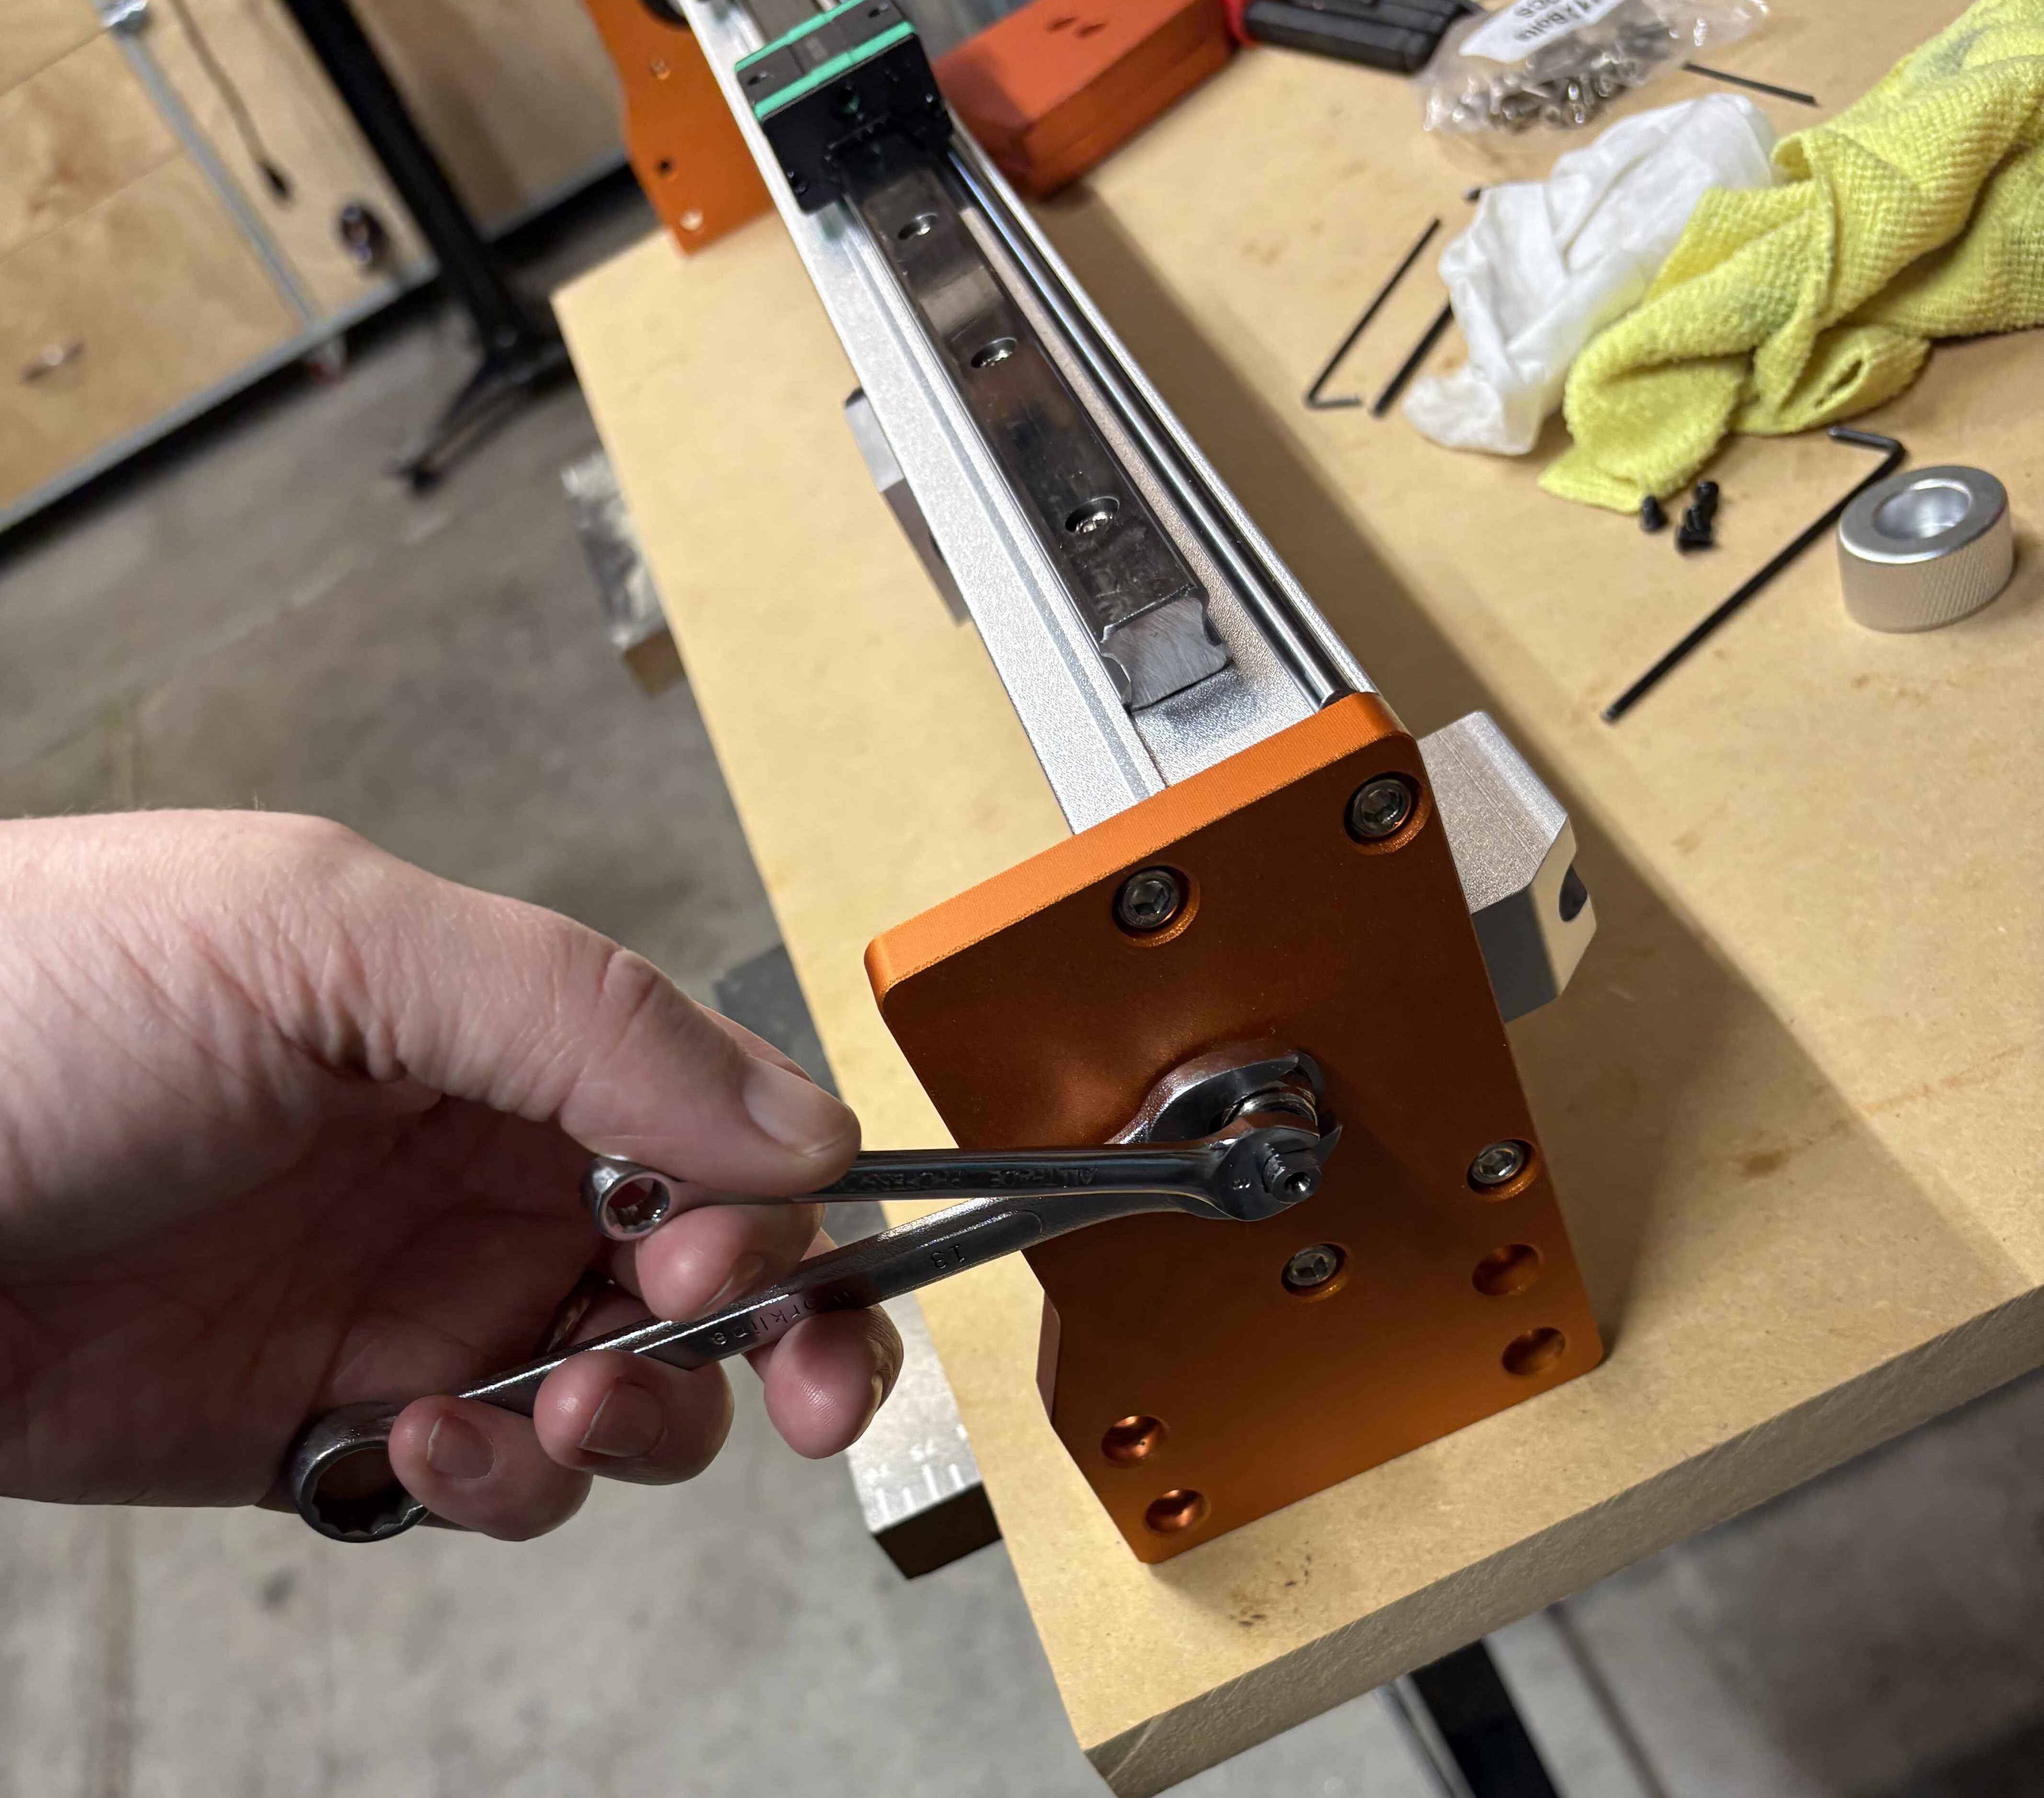
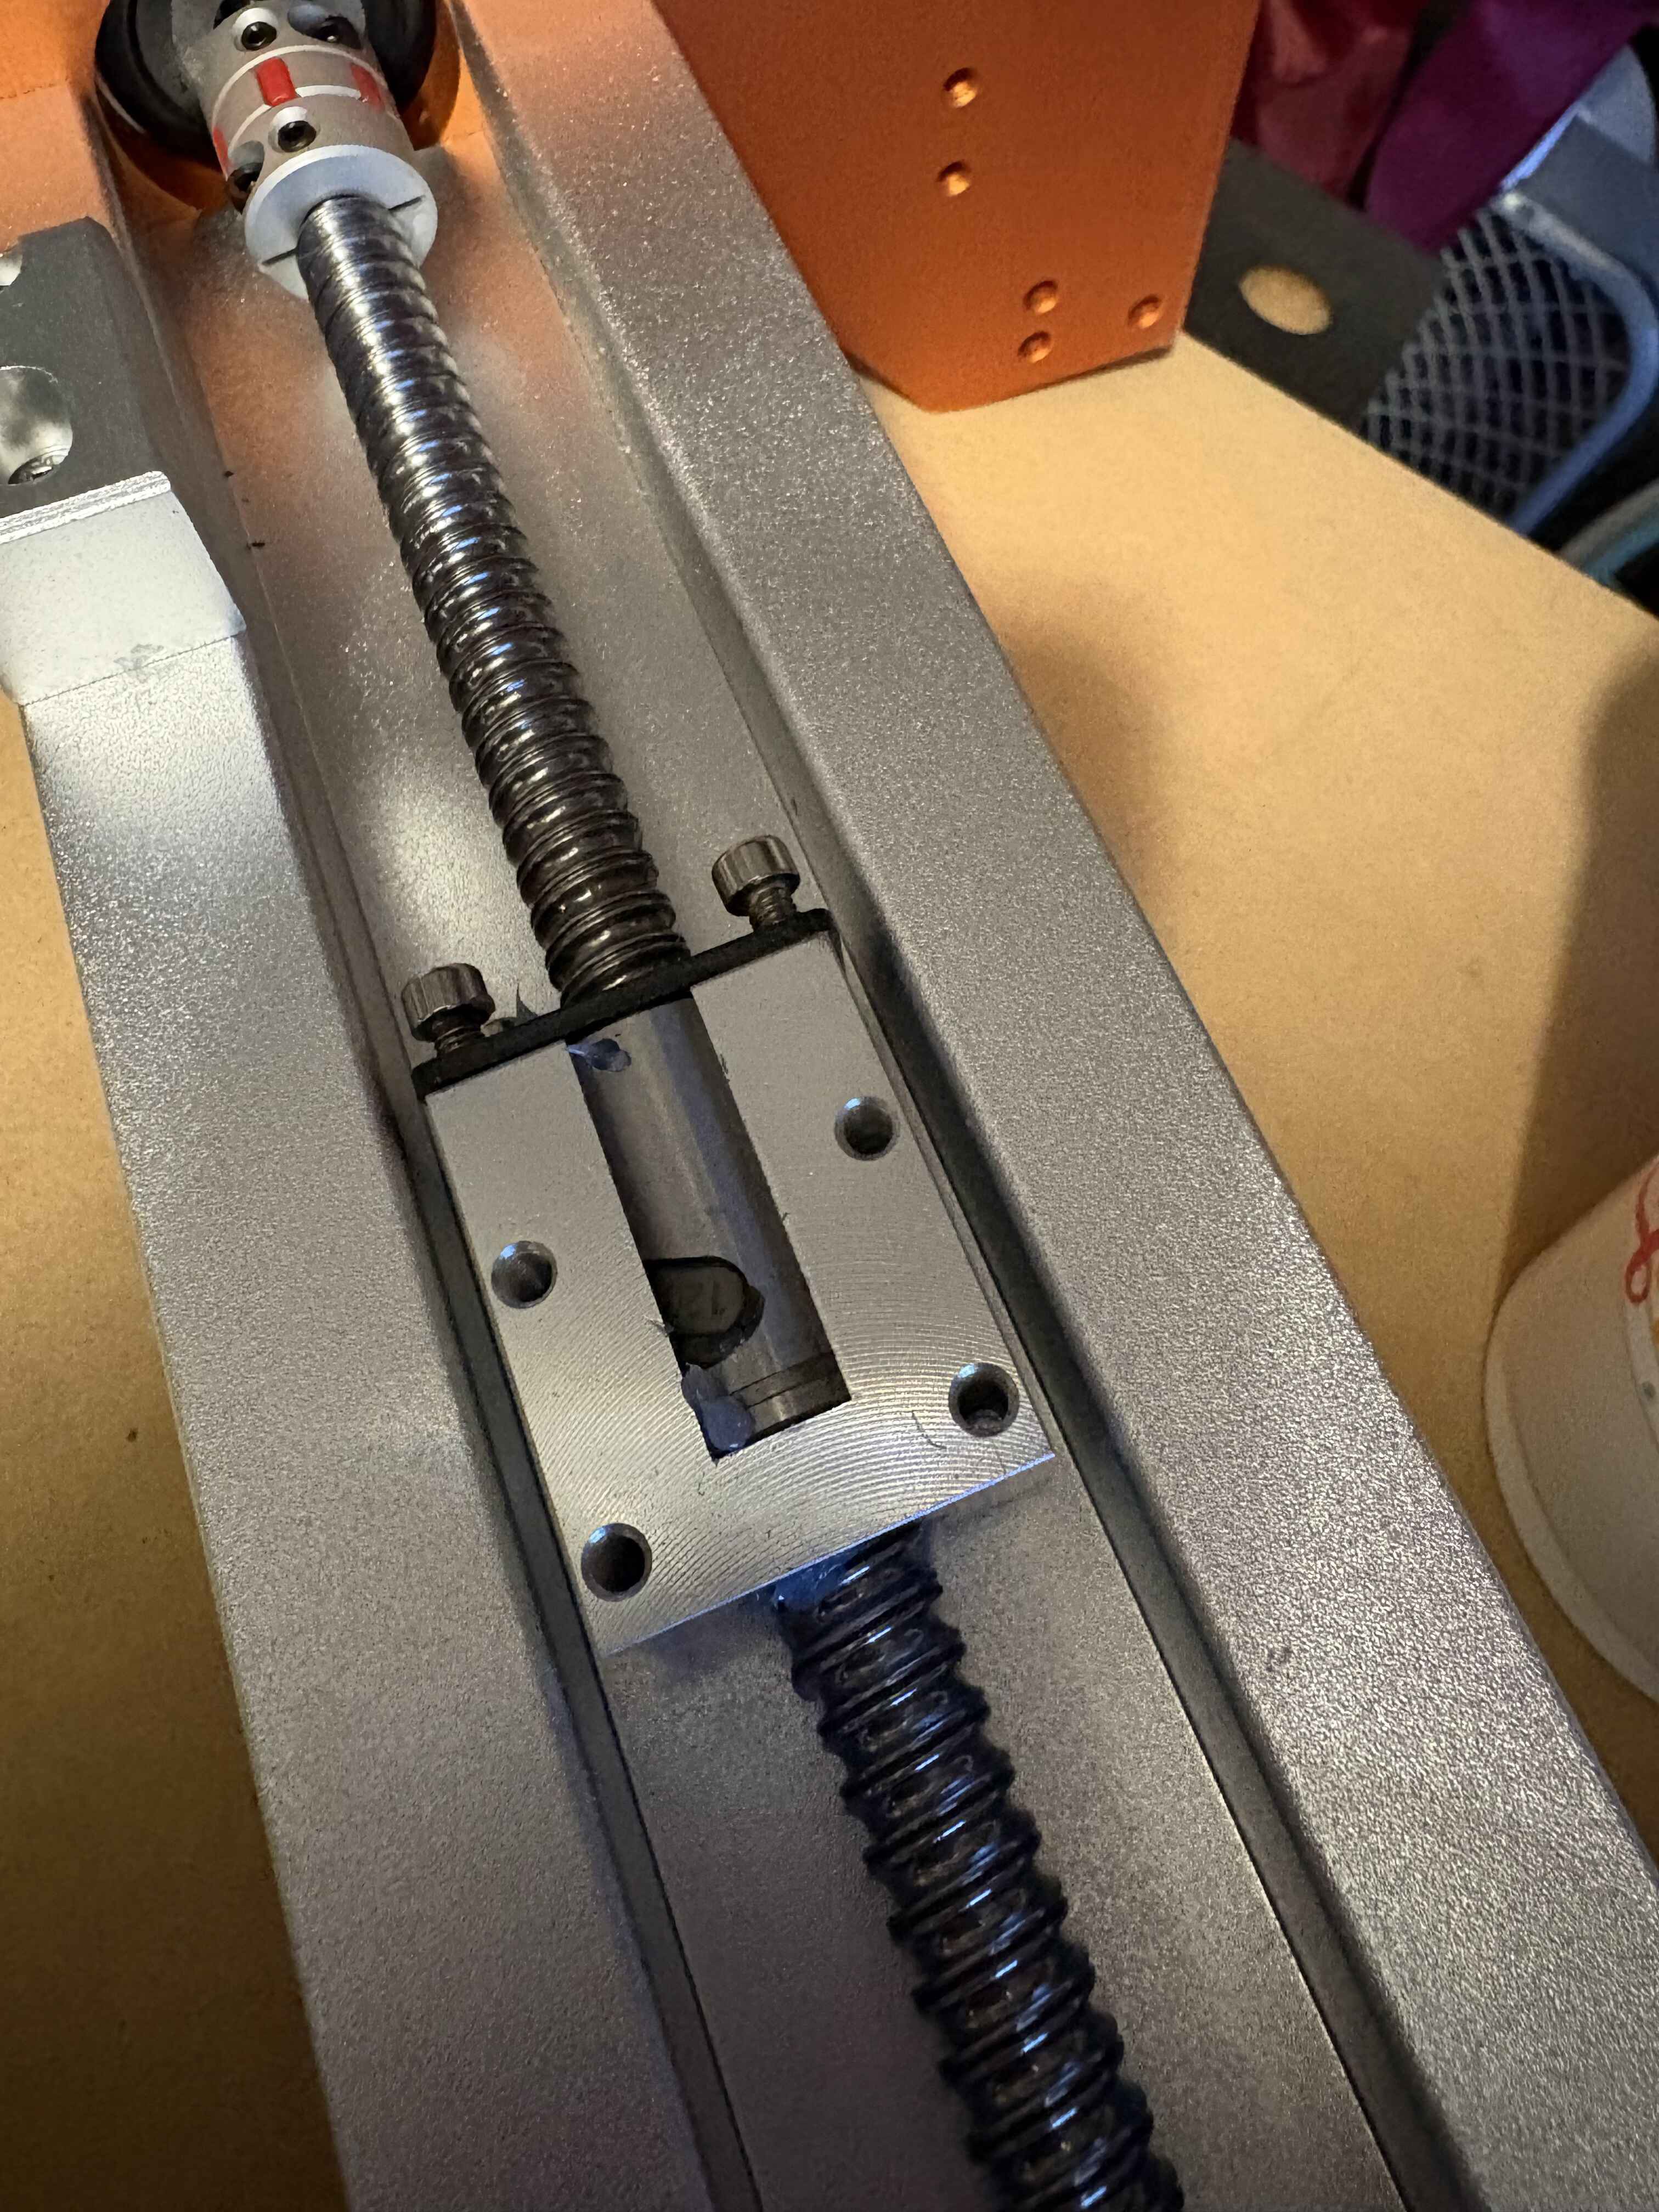
First up is the bearing at the end of the ball screw. This machine has 2 bearings in tension at the far end. The motor is not directly tied to the screw, but uses a loose coupler. I found that some of these bearings were not properly tensioned. By removing the knob you can access a nut that allows you to adjust the tension. Using a 6 mm wrench to hold the shaft and a 13 mm wrench to snug up the nut. I tightened it till the nut just touched the bearing, and then gave it a 1/4 turn.
![]()
![]()
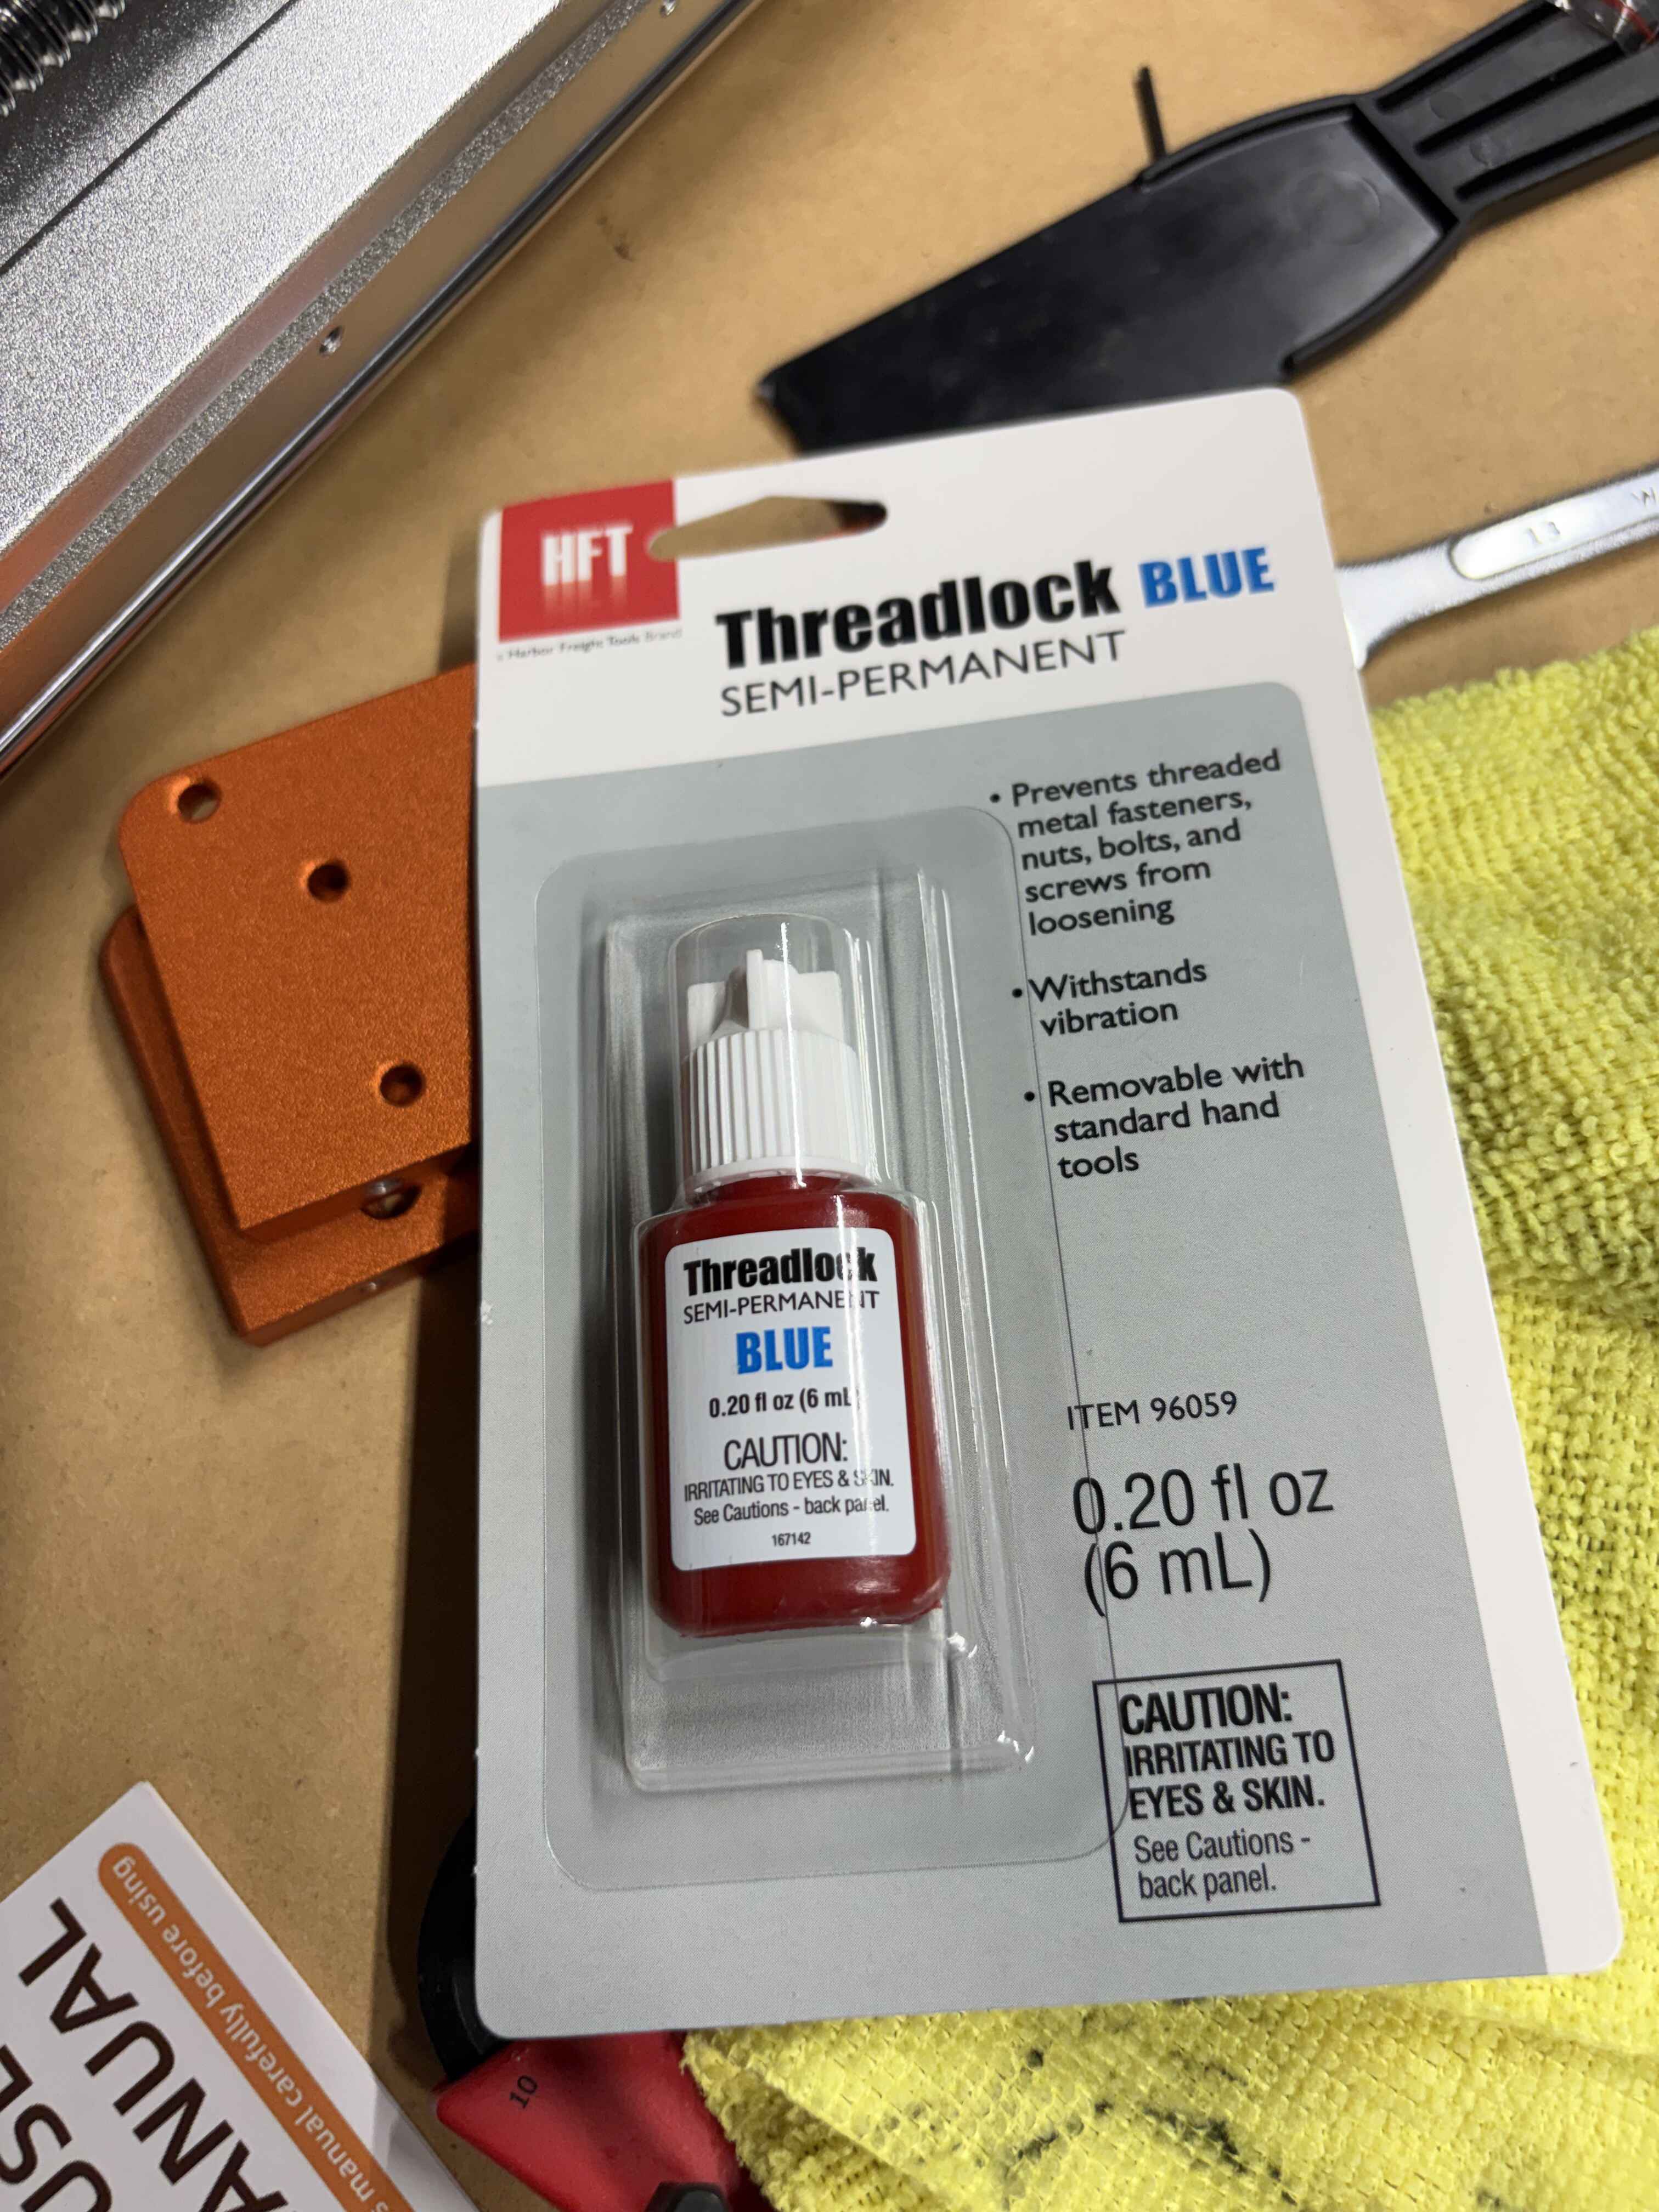
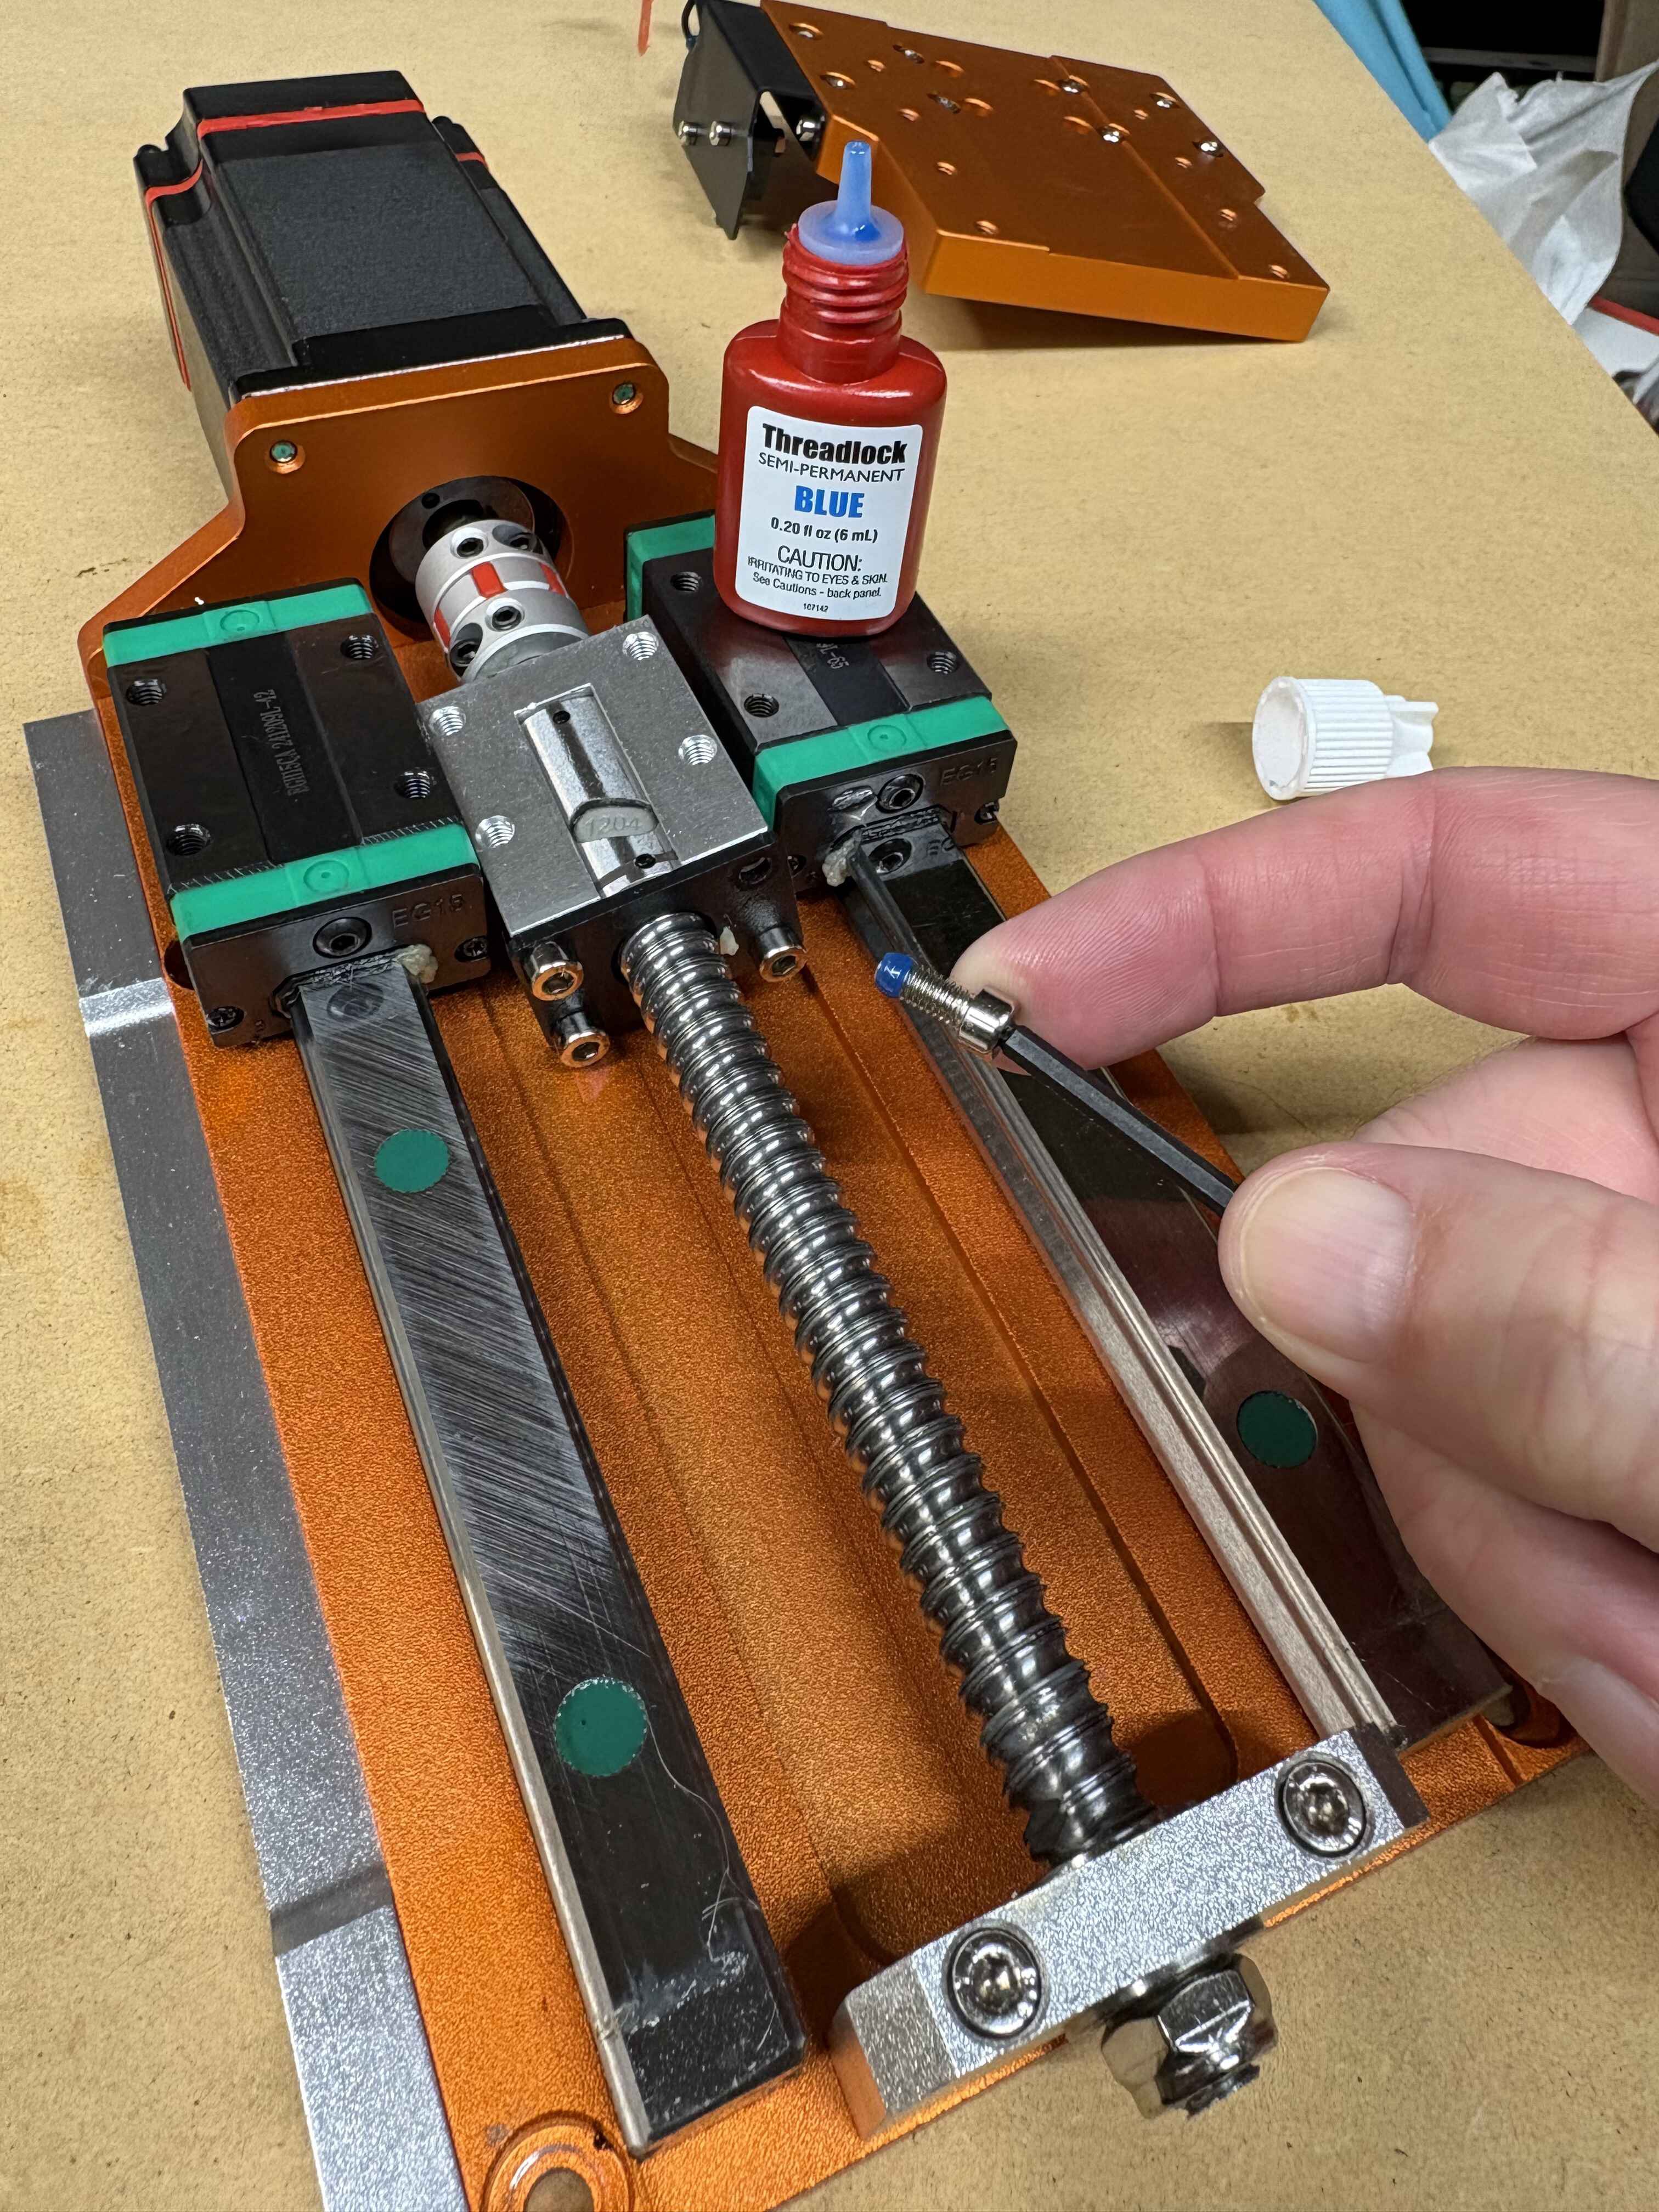
I'm going through and adding blue loctite to all the screws that do not need to be undone during servicing. And making sure to double check the tightness of everything. Several screws had already worked themselves loose, so hopefully this prevents that.
![]()
![]()
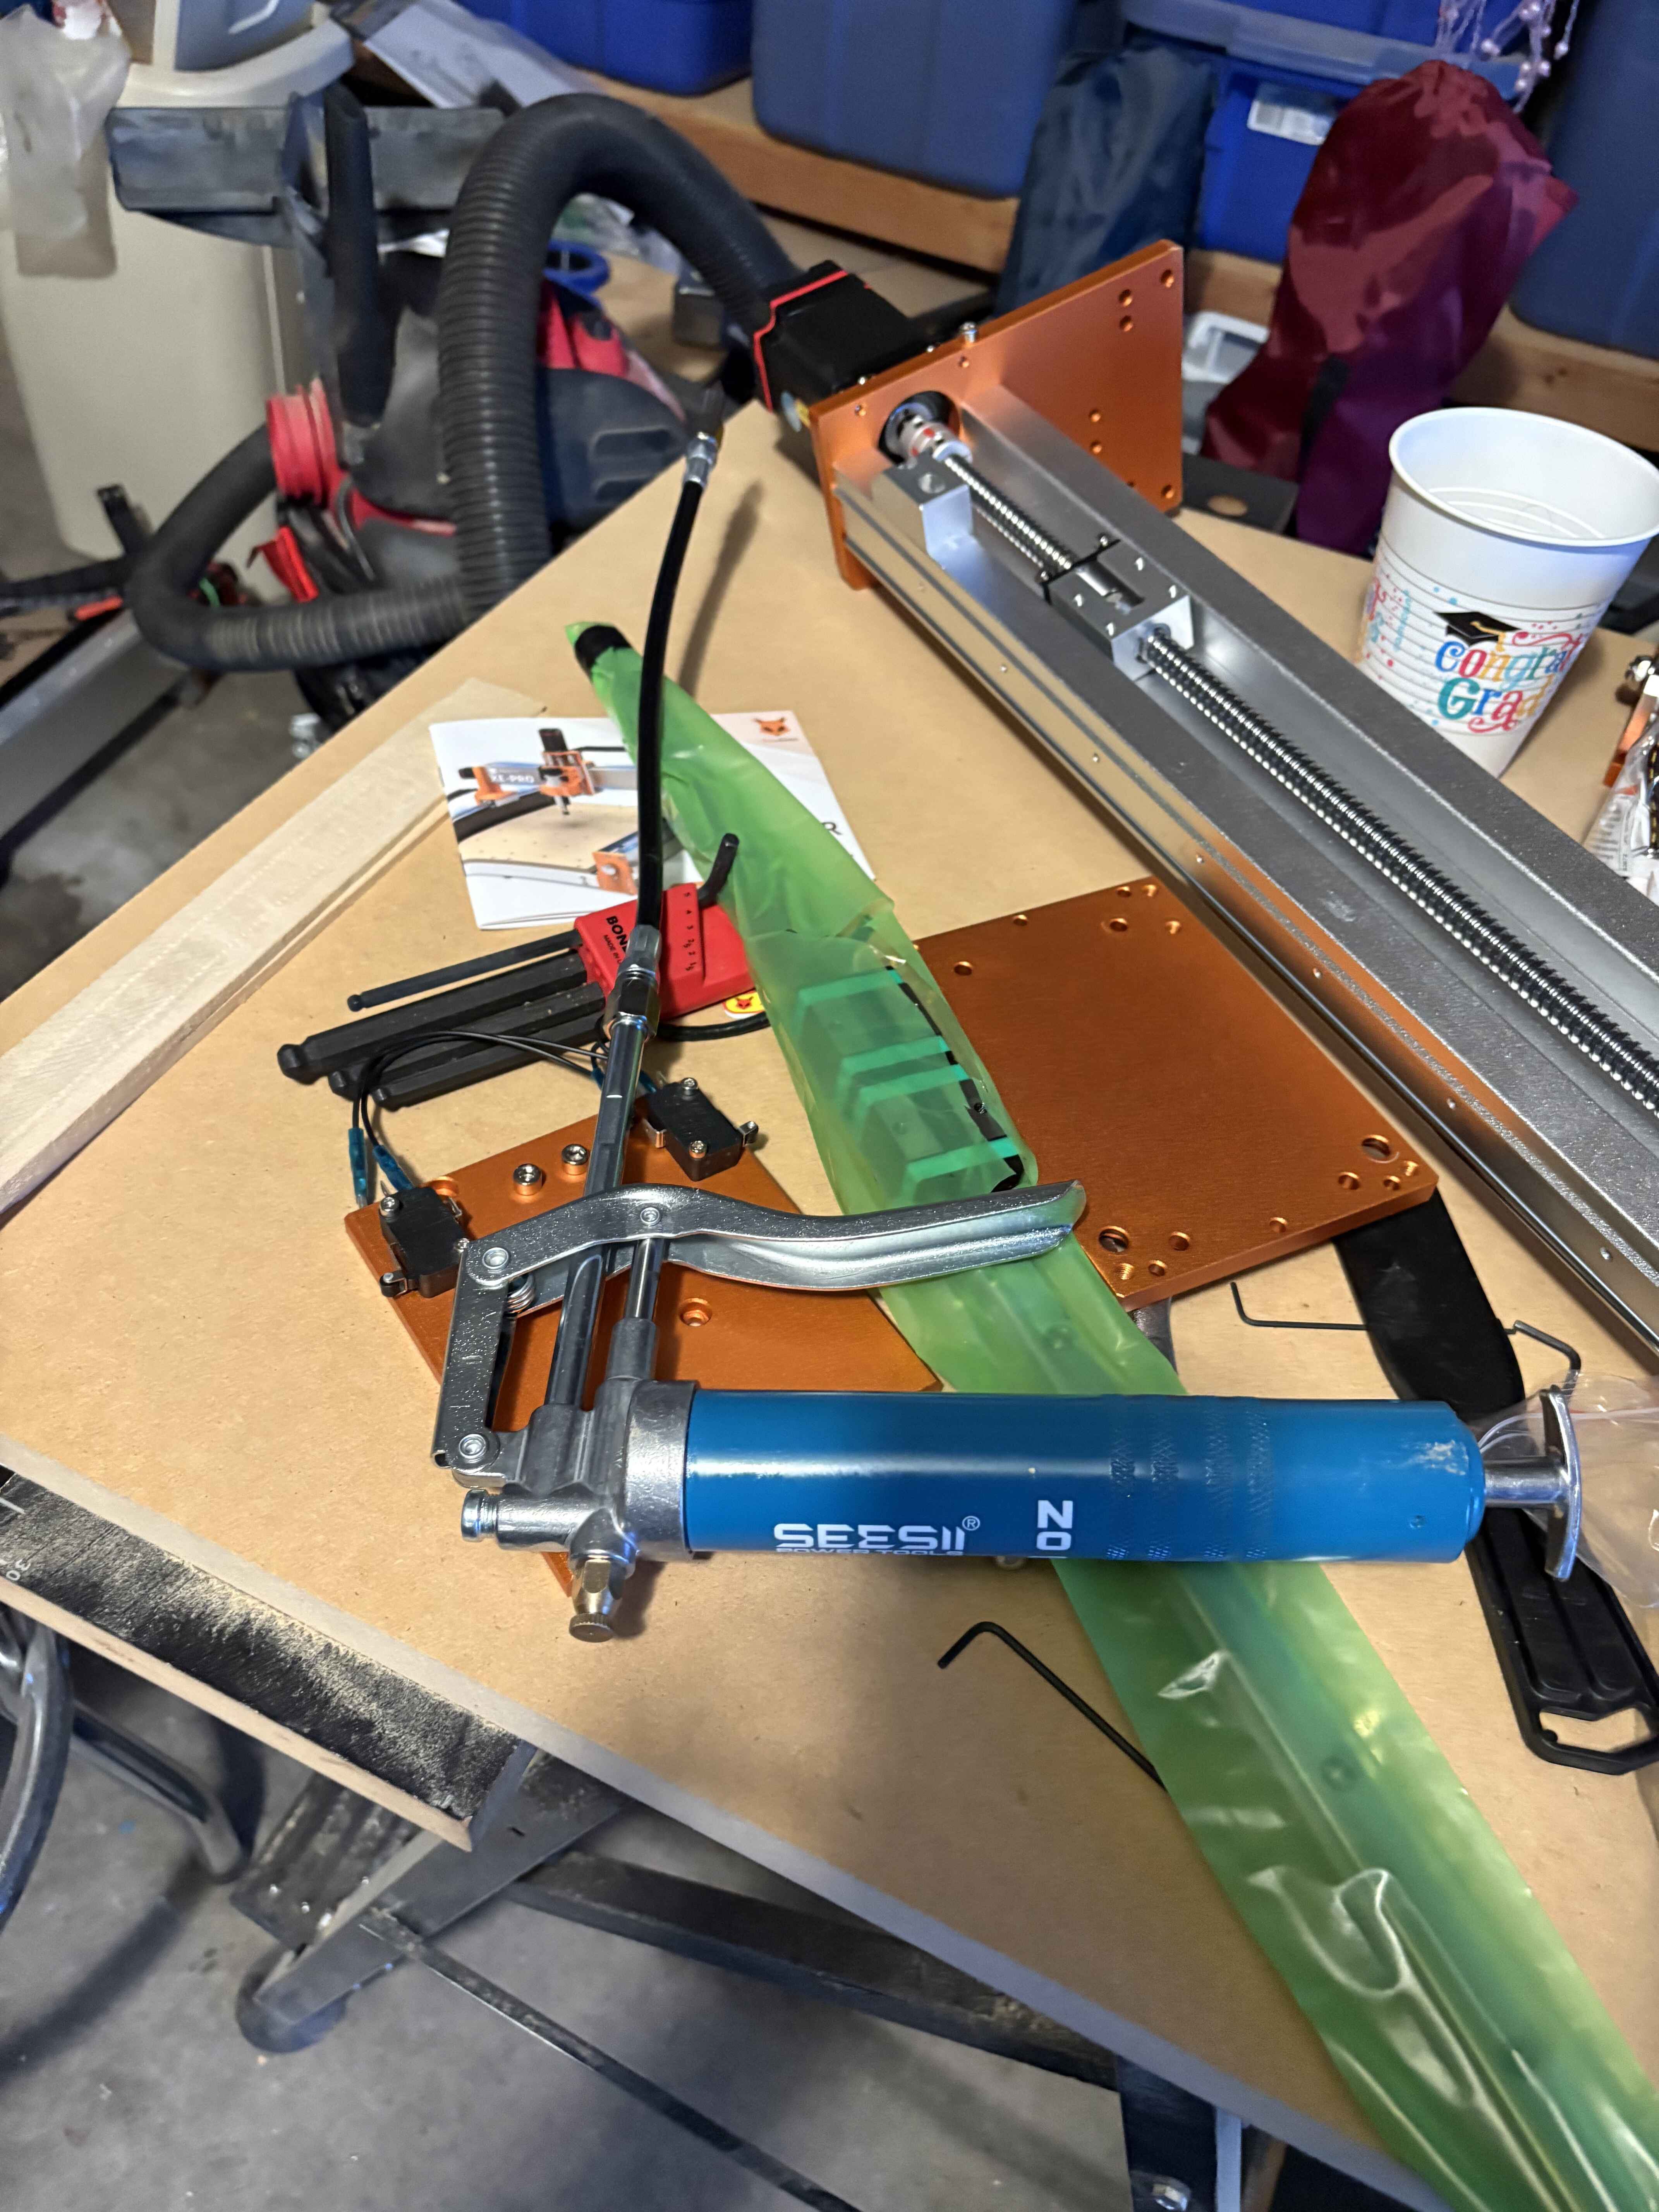
I have gone through and greased every ball nut and linear rail nut. I did some research on what the best lubrication is, and settled on SuperLube MultiPurpose Synthetic Grease (NLGI 1). I picked up a small 3 oz grease gun, and found that the conical tip works to grease all the points. The blocks have a small M4 screw you can remove to add grease. And the ball nut has 2 very small black dots that you can pump grease in through. Do all points.
-
Starting up again
10/26/2026 at 03:56 • 0 commentsI've been down in the weather for a while, but things are getting up again. It is time to get back into the garage and work again.
![]()
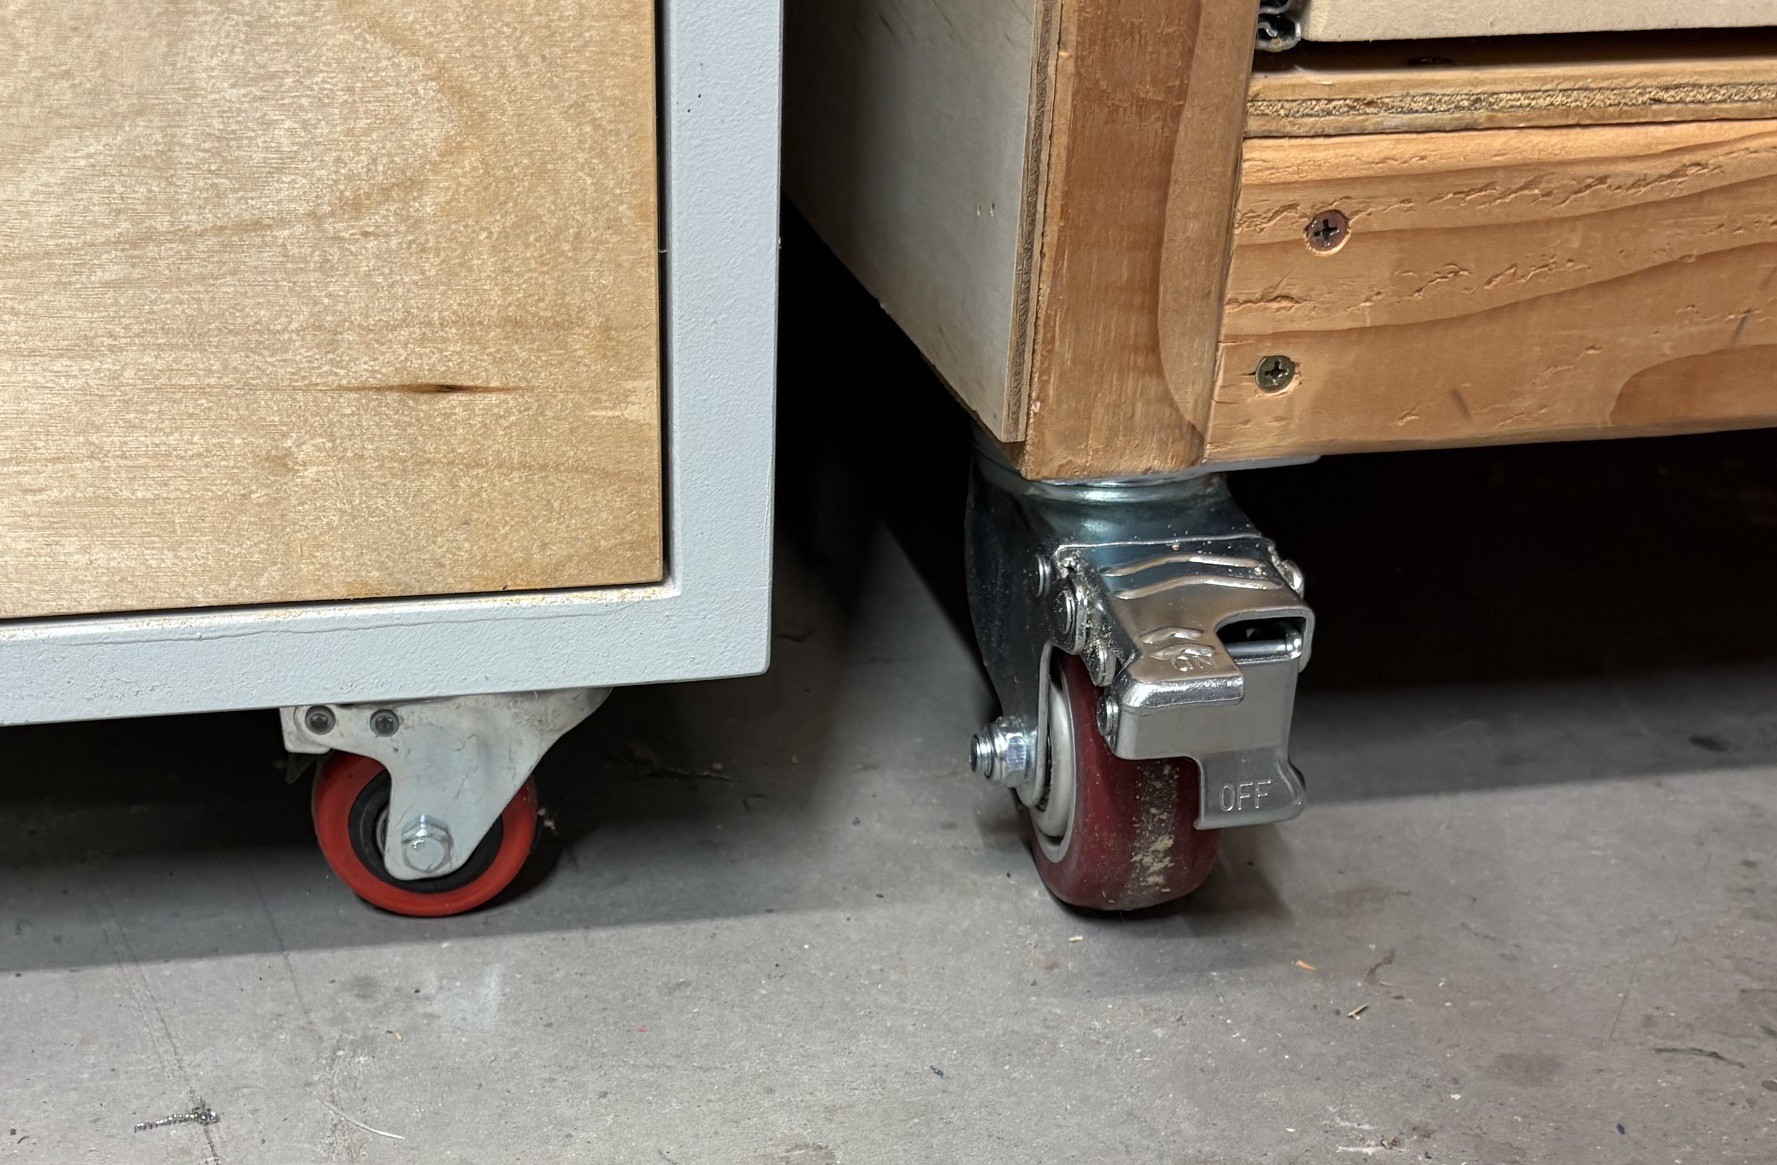
I've swapped out the 2" casters for 3" casters on my cart. That seems to help a lot with being able to move the workbench around.
I have ordered a pile of parts.
- A new palm router to replace the 300 Watt motor.
- A linear rail kit to help stiffen up the system
- A second set of limit switches, to being preparing for auto squaring on the Y axis (that probably requires a new controll board)
In addition I have a lot of small things to take care of
- There are several cables that get tangled up when the drawer is pulled out. I've got some bungie coords to help pull them in the right direction
- There are several cables that need to be tied in better to the frame
- I want to improve the dust collection
- I want to hook up the vent for the laser
- I want to come up with some jigs for mounting things.
- I want to get the laser bed up and running.
- I need to add a lock to the drawer.
-
This n That
01/24/2026 at 18:18 • 0 commentsI picked up a honeycomb bed that is large enough to cover the full range of motion of the CNC.
![]()
It came with a very thin sheet of aluminum to protect the bed. I had hoped this would be strong enough to hold its own shape, but it is about as thin as a coke can. I've temporarily taped it to the bottom, but this is not a great long term solution.
![]()
I think for the long term, I'm going to make a wooden base to put the aluminum on. Then I will make some small risers to lift the honeycomb up so smoke can escape. If I make it right, it should be able to be registered for repeatable placement.
![]()
I also picked up a large inline fan to act as a fume extractor. Once I get this fully enclosed, I will use this to remove the smoke from cutting and send it outside where I won't have to breath it in.
-
A place of my own
01/24/2026 at 18:13 • 0 commentsI love my new CNC, but my shop is very small (basically 3 feet deep in the back of the garage). I decided to move it down under my workbench, on a roll out shelf. This lets me get easy access, while keeping my bench for other projects.
![]()
I added a little nook to put the controller. And eventually I will fully enclose this to keep the dust down, and to keep the laser light enclosed as well.
![]()
-
First Steps
12/31/2025 at 04:36 • 0 comments![]()
I came into a little money and opted to get a new FoxAlien XE-Pro CNC machine, to replace my home made MultiBot CNC. My home made machine has been great, but it had a few flaws. First, being half plastic, it tended to warp and come out of shape over time. Every time I needed to use it, I had to tighten up all the screws, and retention the lead screw nuts. And second, it was not as ridged as I would have liked.
The new machine is a touch larger (400x400mm square) and much stiffer and heavier. It also can be upgraded to linear rails, that should further increase the rigidity. It also has much larger NEMA 23 closed loop steppers, so it can handle a much larger spindle in the future. It should be able to handle a little aluminum.
![]()
I got my NEJE laser module mounted up and wired into the controller. My first project was a custom cutting board etching. I think it turned out well
![]()