 Arnov Sharma
-
1CASA OS
![]()
![]()
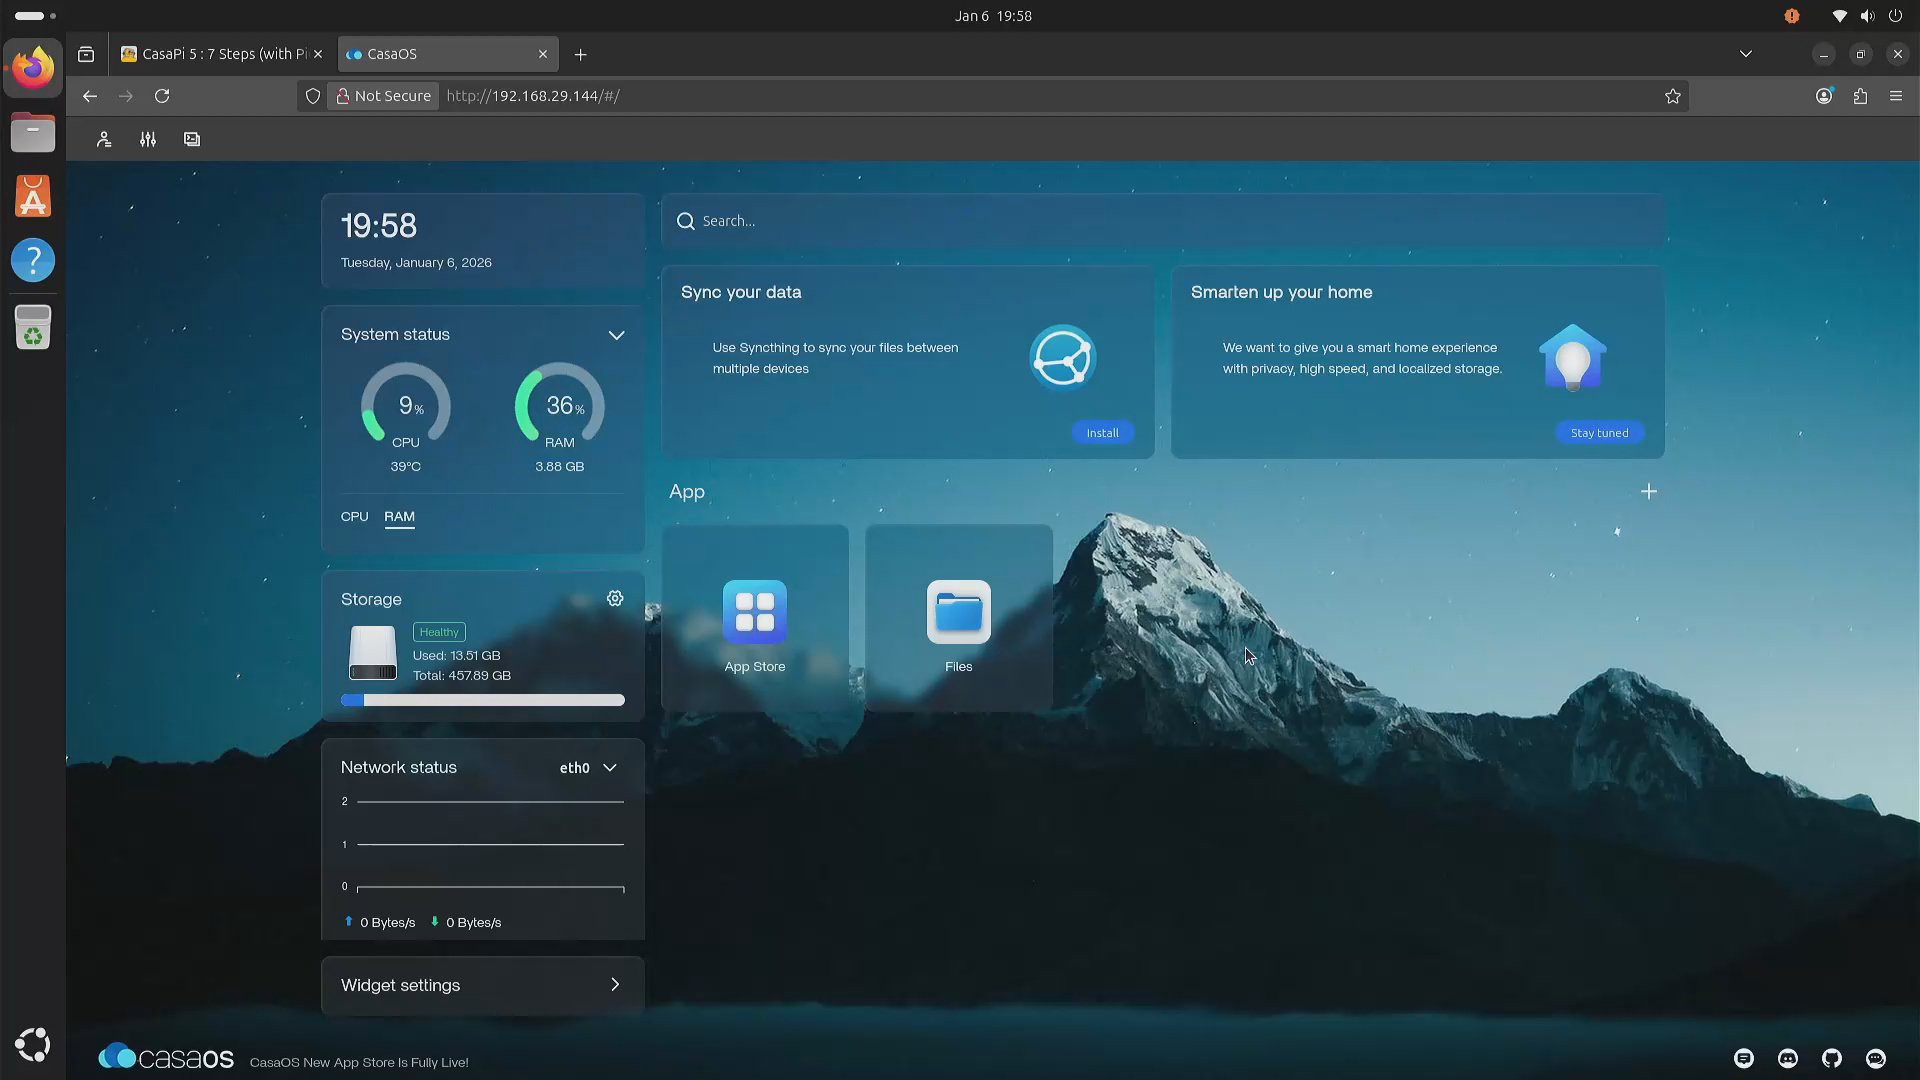
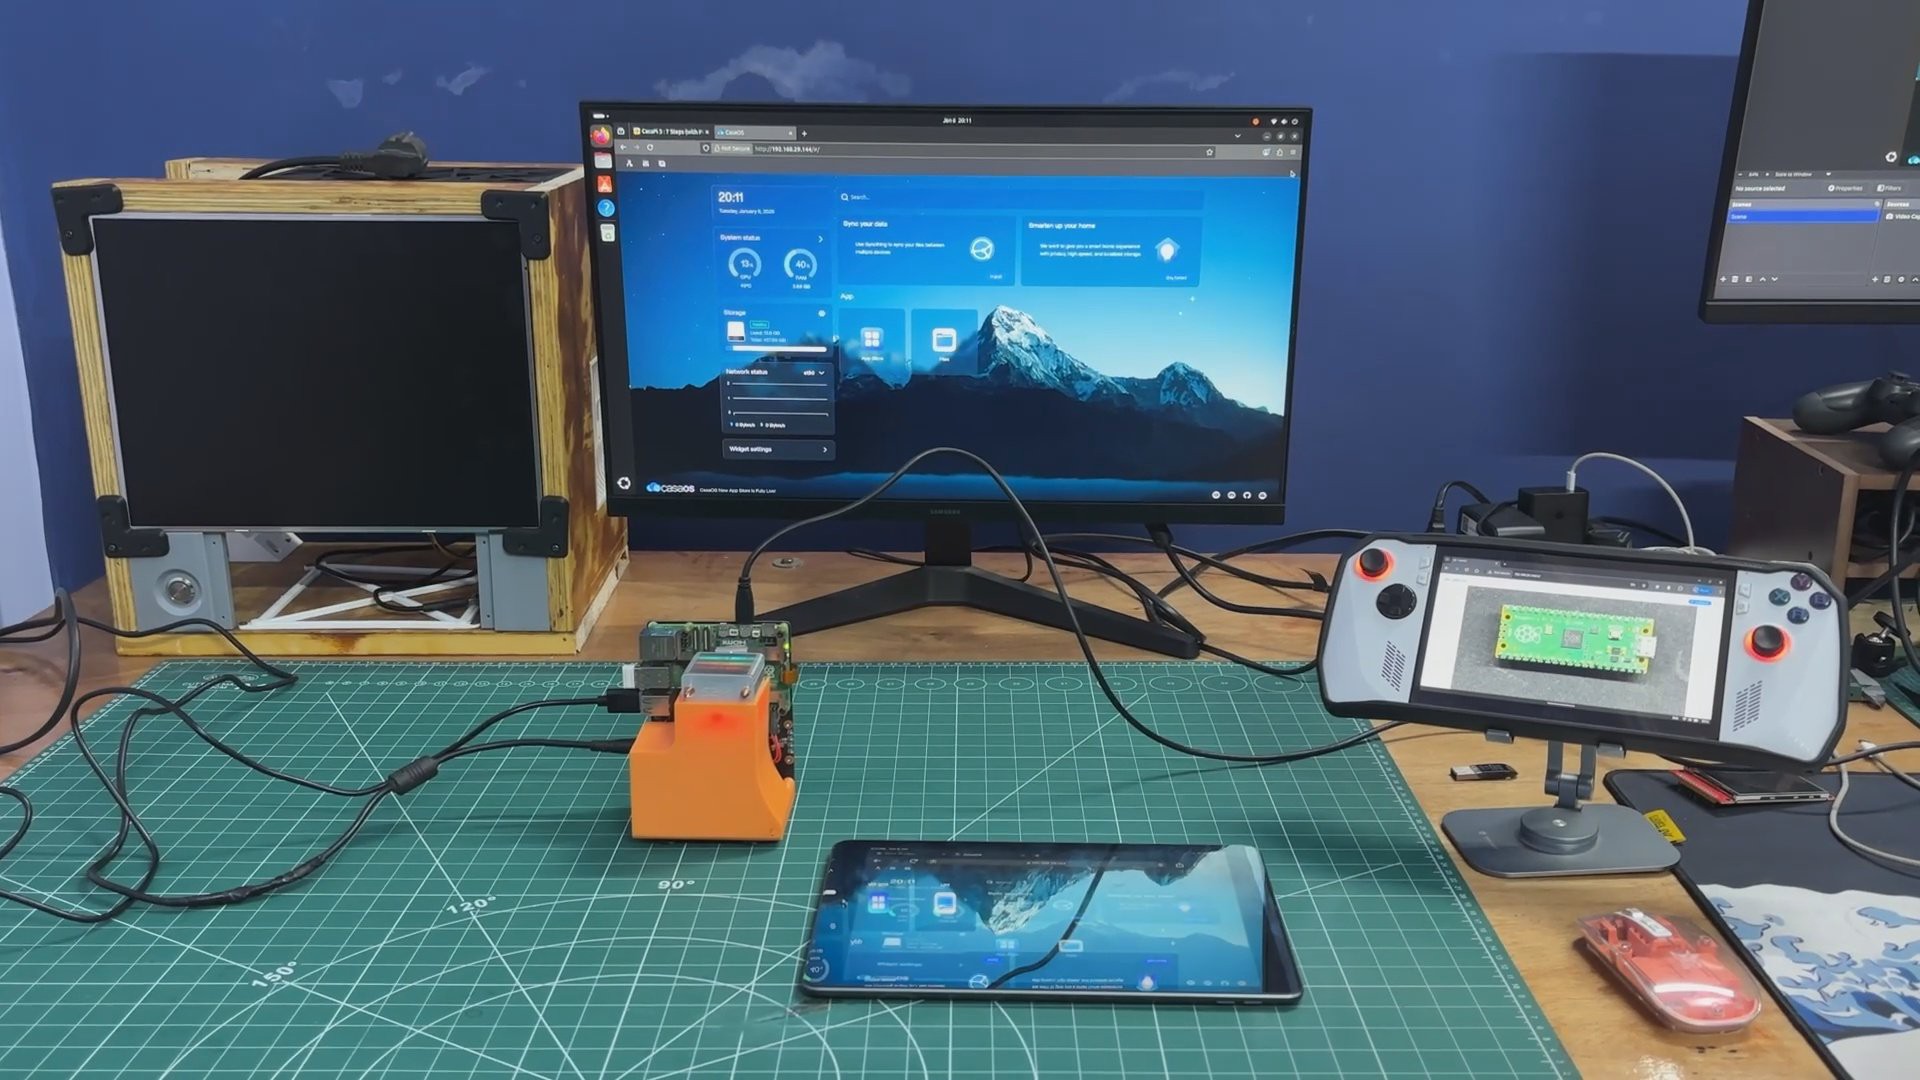
To power Pi NAS, I chose Debian 12 as the base operating system, layered with CasaOS, a lightweight and intuitive platform designed for personal cloud and home server environments. CasaOS simplifies NAS management by offering a clean web-based interface and one-click installation for popular Docker apps like Plex, Jellyfin, and Nextcloud.
It’s open-source, easy to set up, and ideal for users who want powerful functionality without the complexity of traditional NAS systems. With support for shared folders, remote access, and elegant file management, CasaOS turns any Linux-based device into a versatile and user-friendly storage hub.
-
2SETTING UP CASA OS
Installing CASA OS is a super straightforward process.
- To begin, we run the following command to update the system and ensure that our operating system is up-to-date.
sudo apt update && sudo apt upgrade -y
- Next, we install dependencies such as curl and other required tools if they are not already present.
sudo apt install curl wget -y
- Next, we begin the installation script: CasaOS has a simple one-liner script for installation.
curl -fsSL https://get.casaos.io | sudo bash
After installing CasaOS, we are able to access it using a web browser using the IP address provided by the installer.
- We open a web browser on any device connected to the same network as our Debian server, using the IP address provided by the installation.
- We follow the instructions displayed on the screen to finish the initial setup and create our CasaOS account.
By following the above steps, CasaOS is installed on our Pi NAS system; we can now use the App Store to explore and install a range of self-hosted applications with a single click, manage our files with simplicity using the file browser, and monitor our system resources with the built-in widgets.
-
3NAS BODY ASSEMBLY
![]()
![]()
![]()
![]()
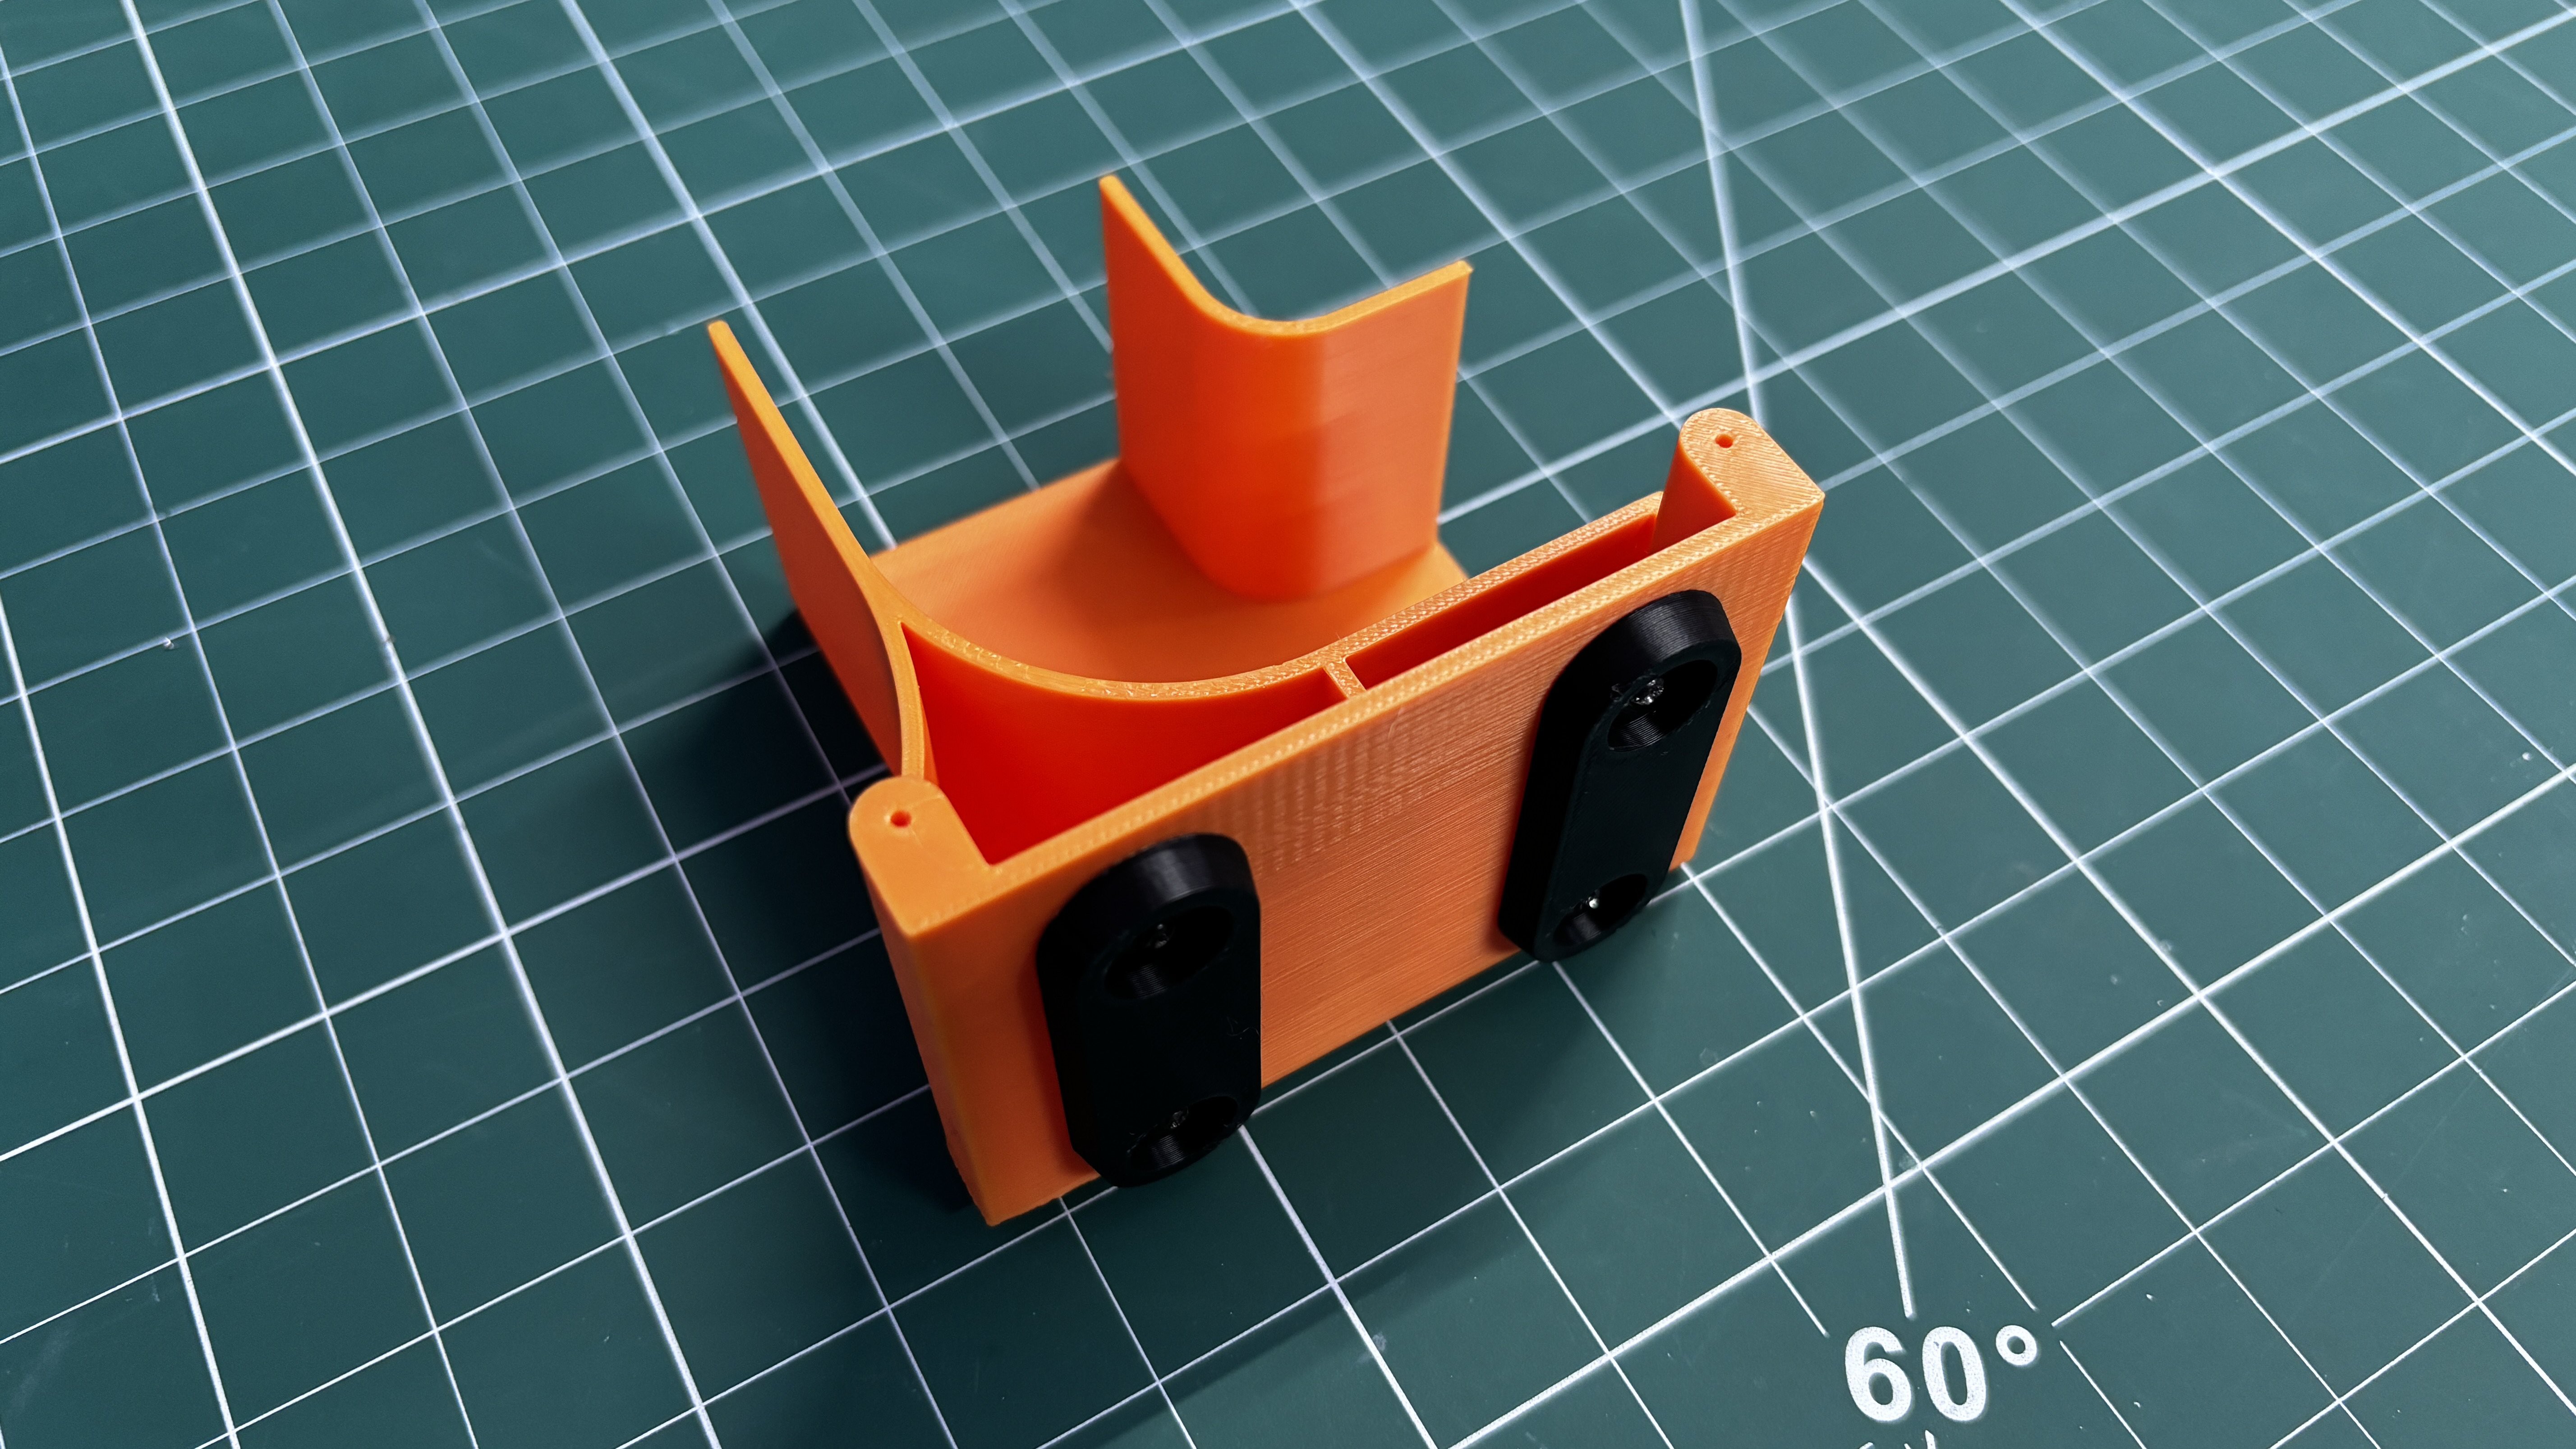
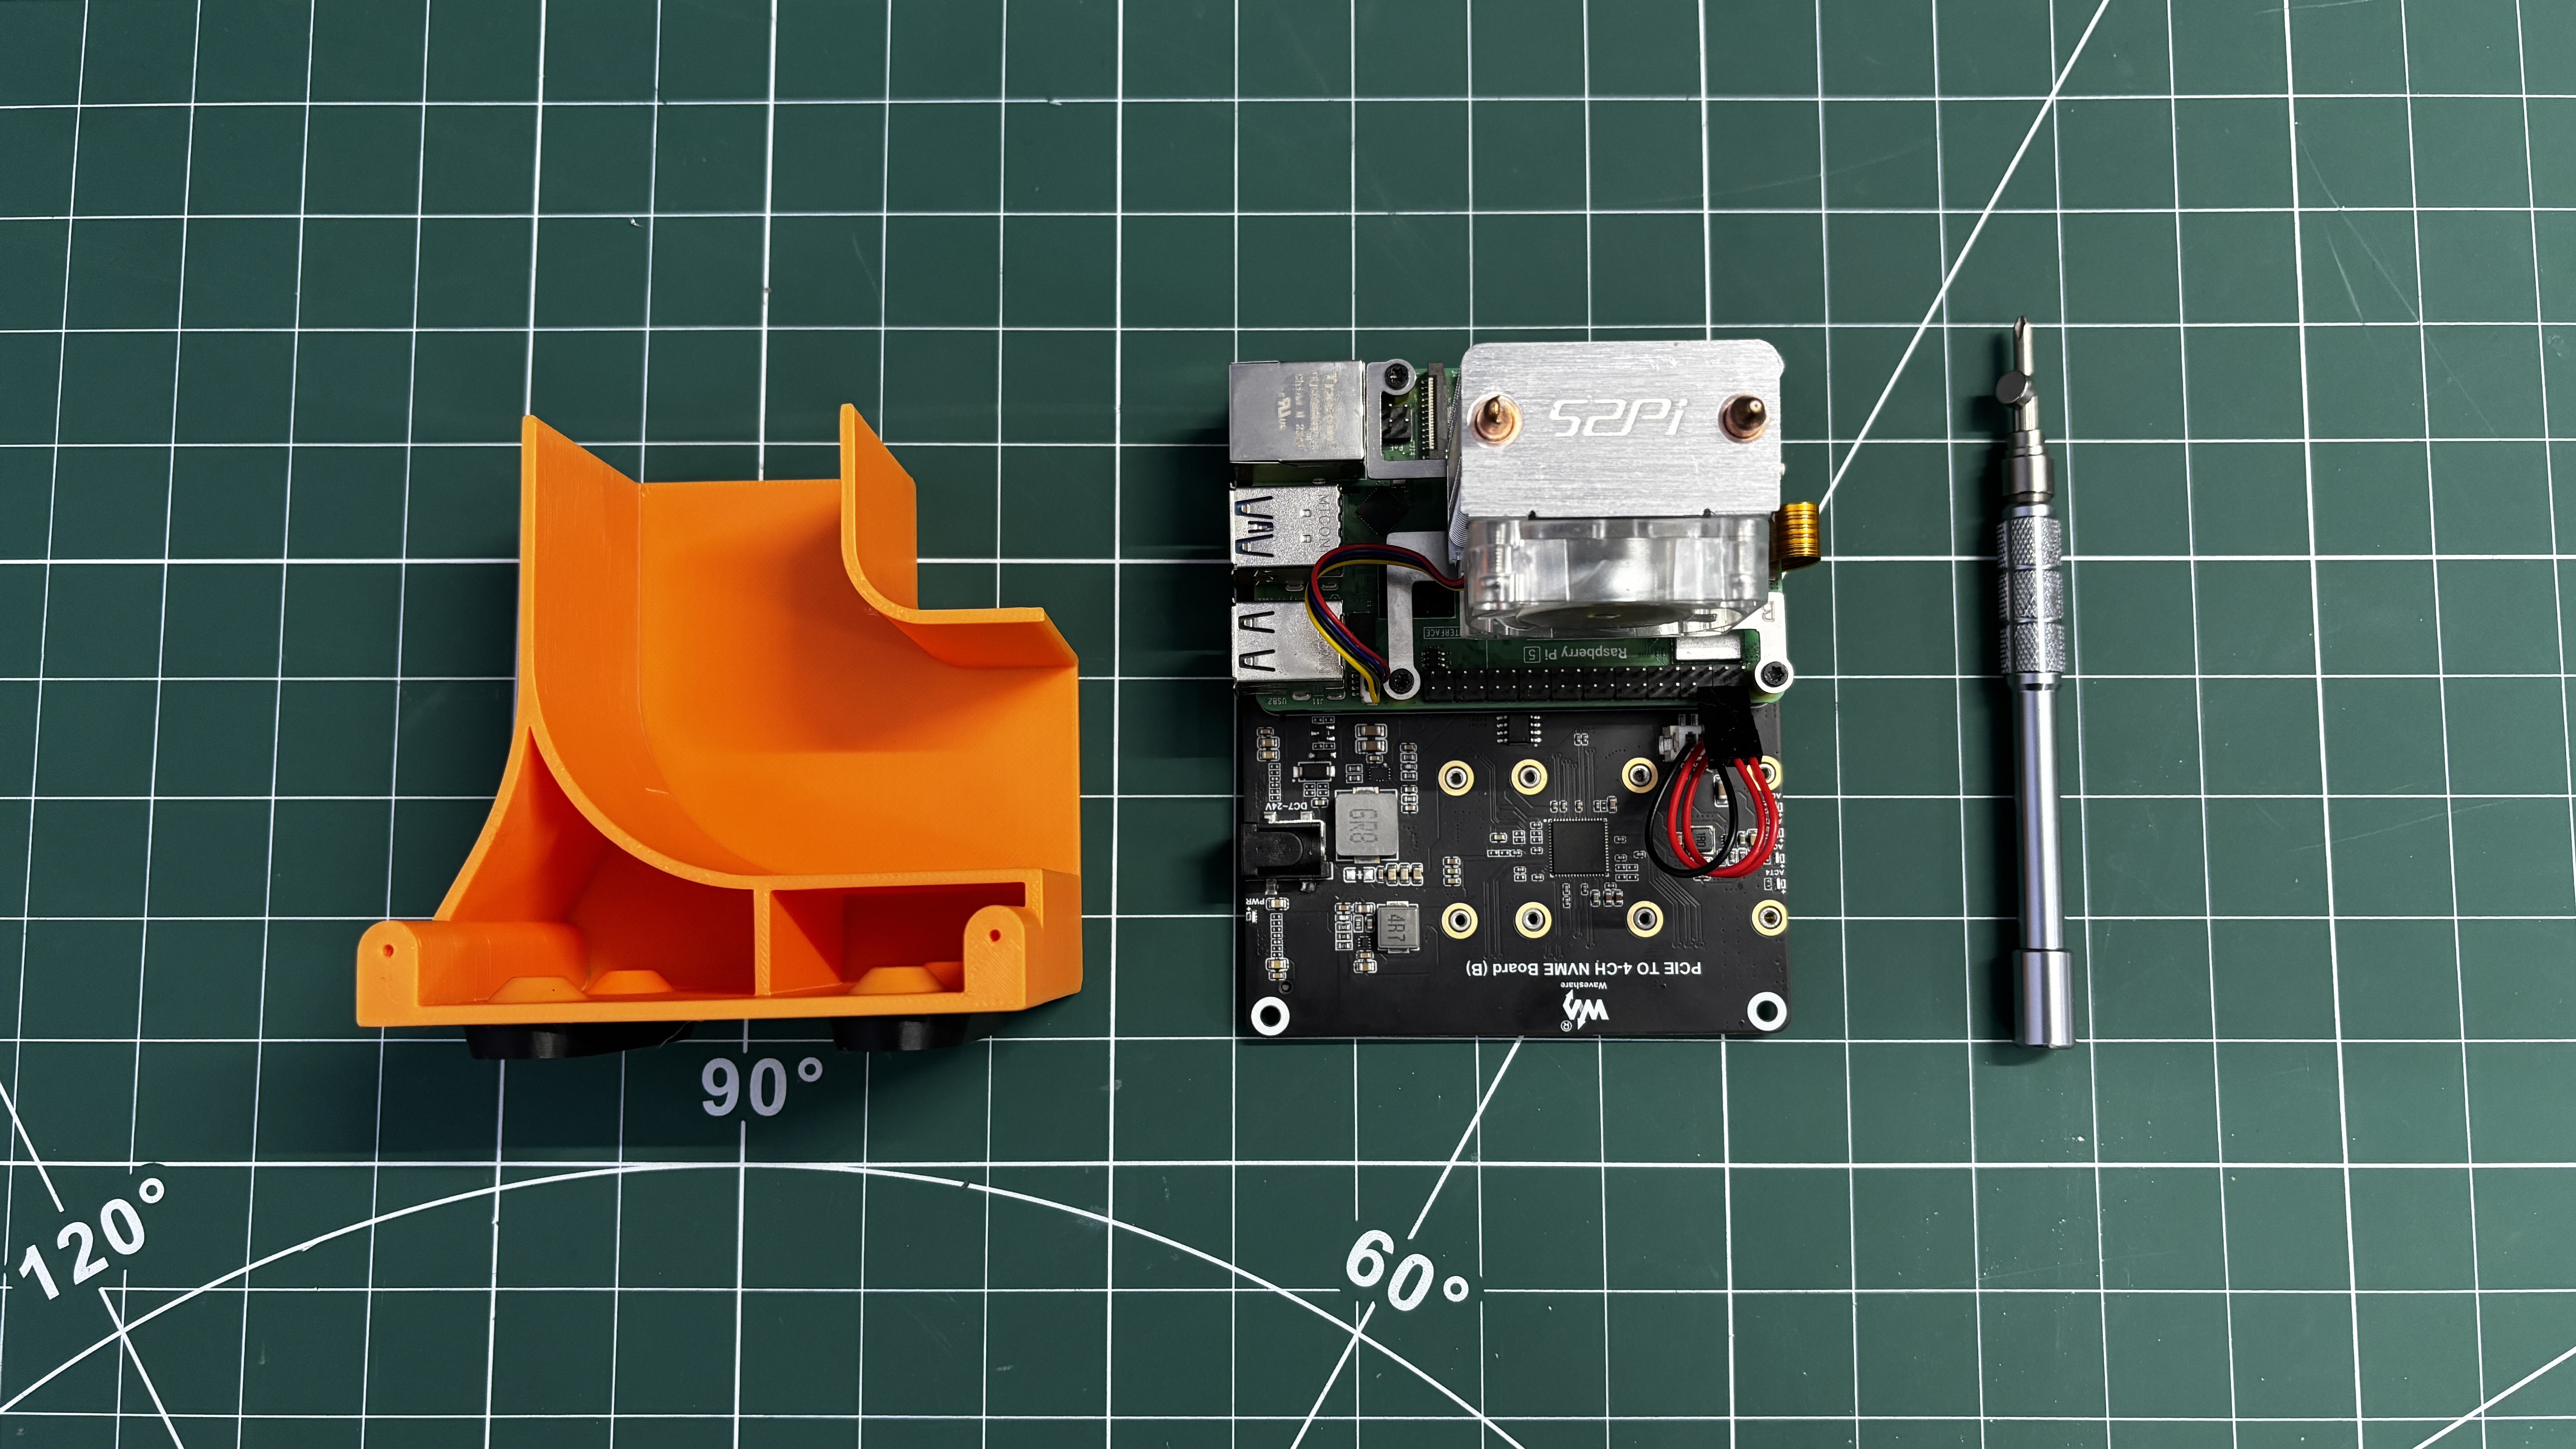
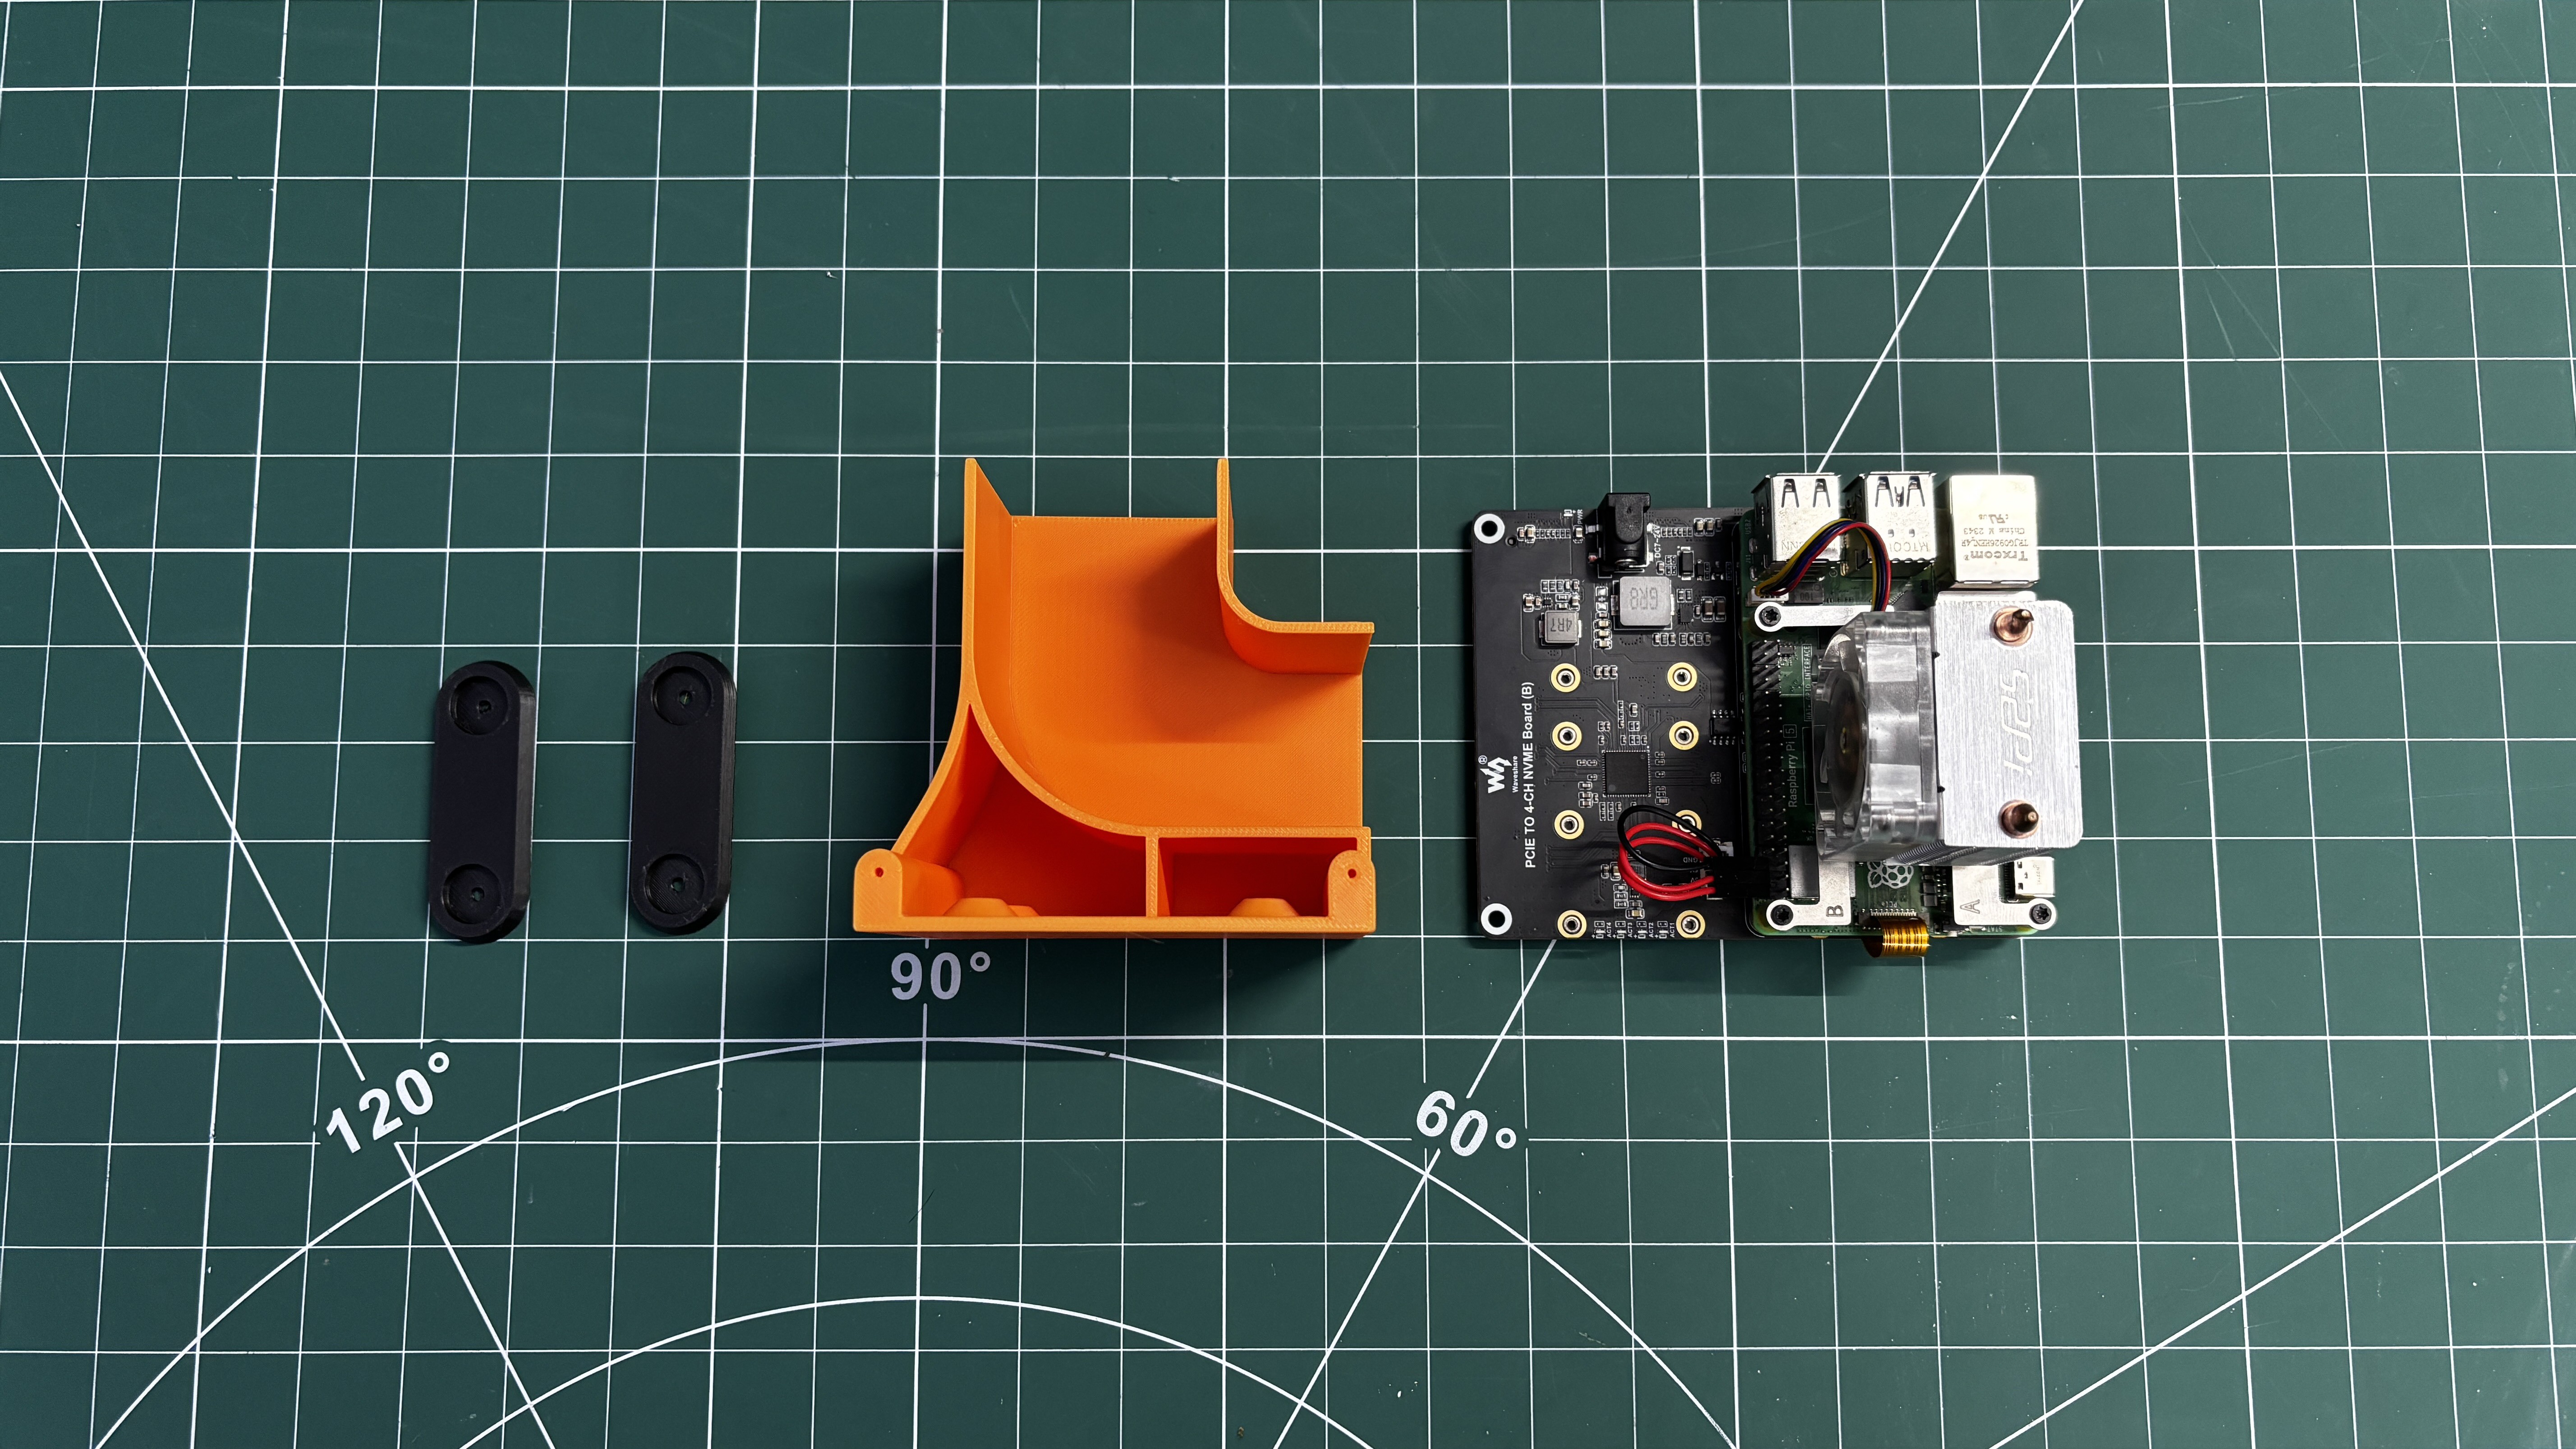
- For the body assembly process, we begin by attaching both holder parts on the bottom side of the enclosure using M2 screws, two for each part.
- Next, we align the mounting holes of the NVMe board with the mounting holes of the enclosure and then use two M2 screws to secure both of them together.
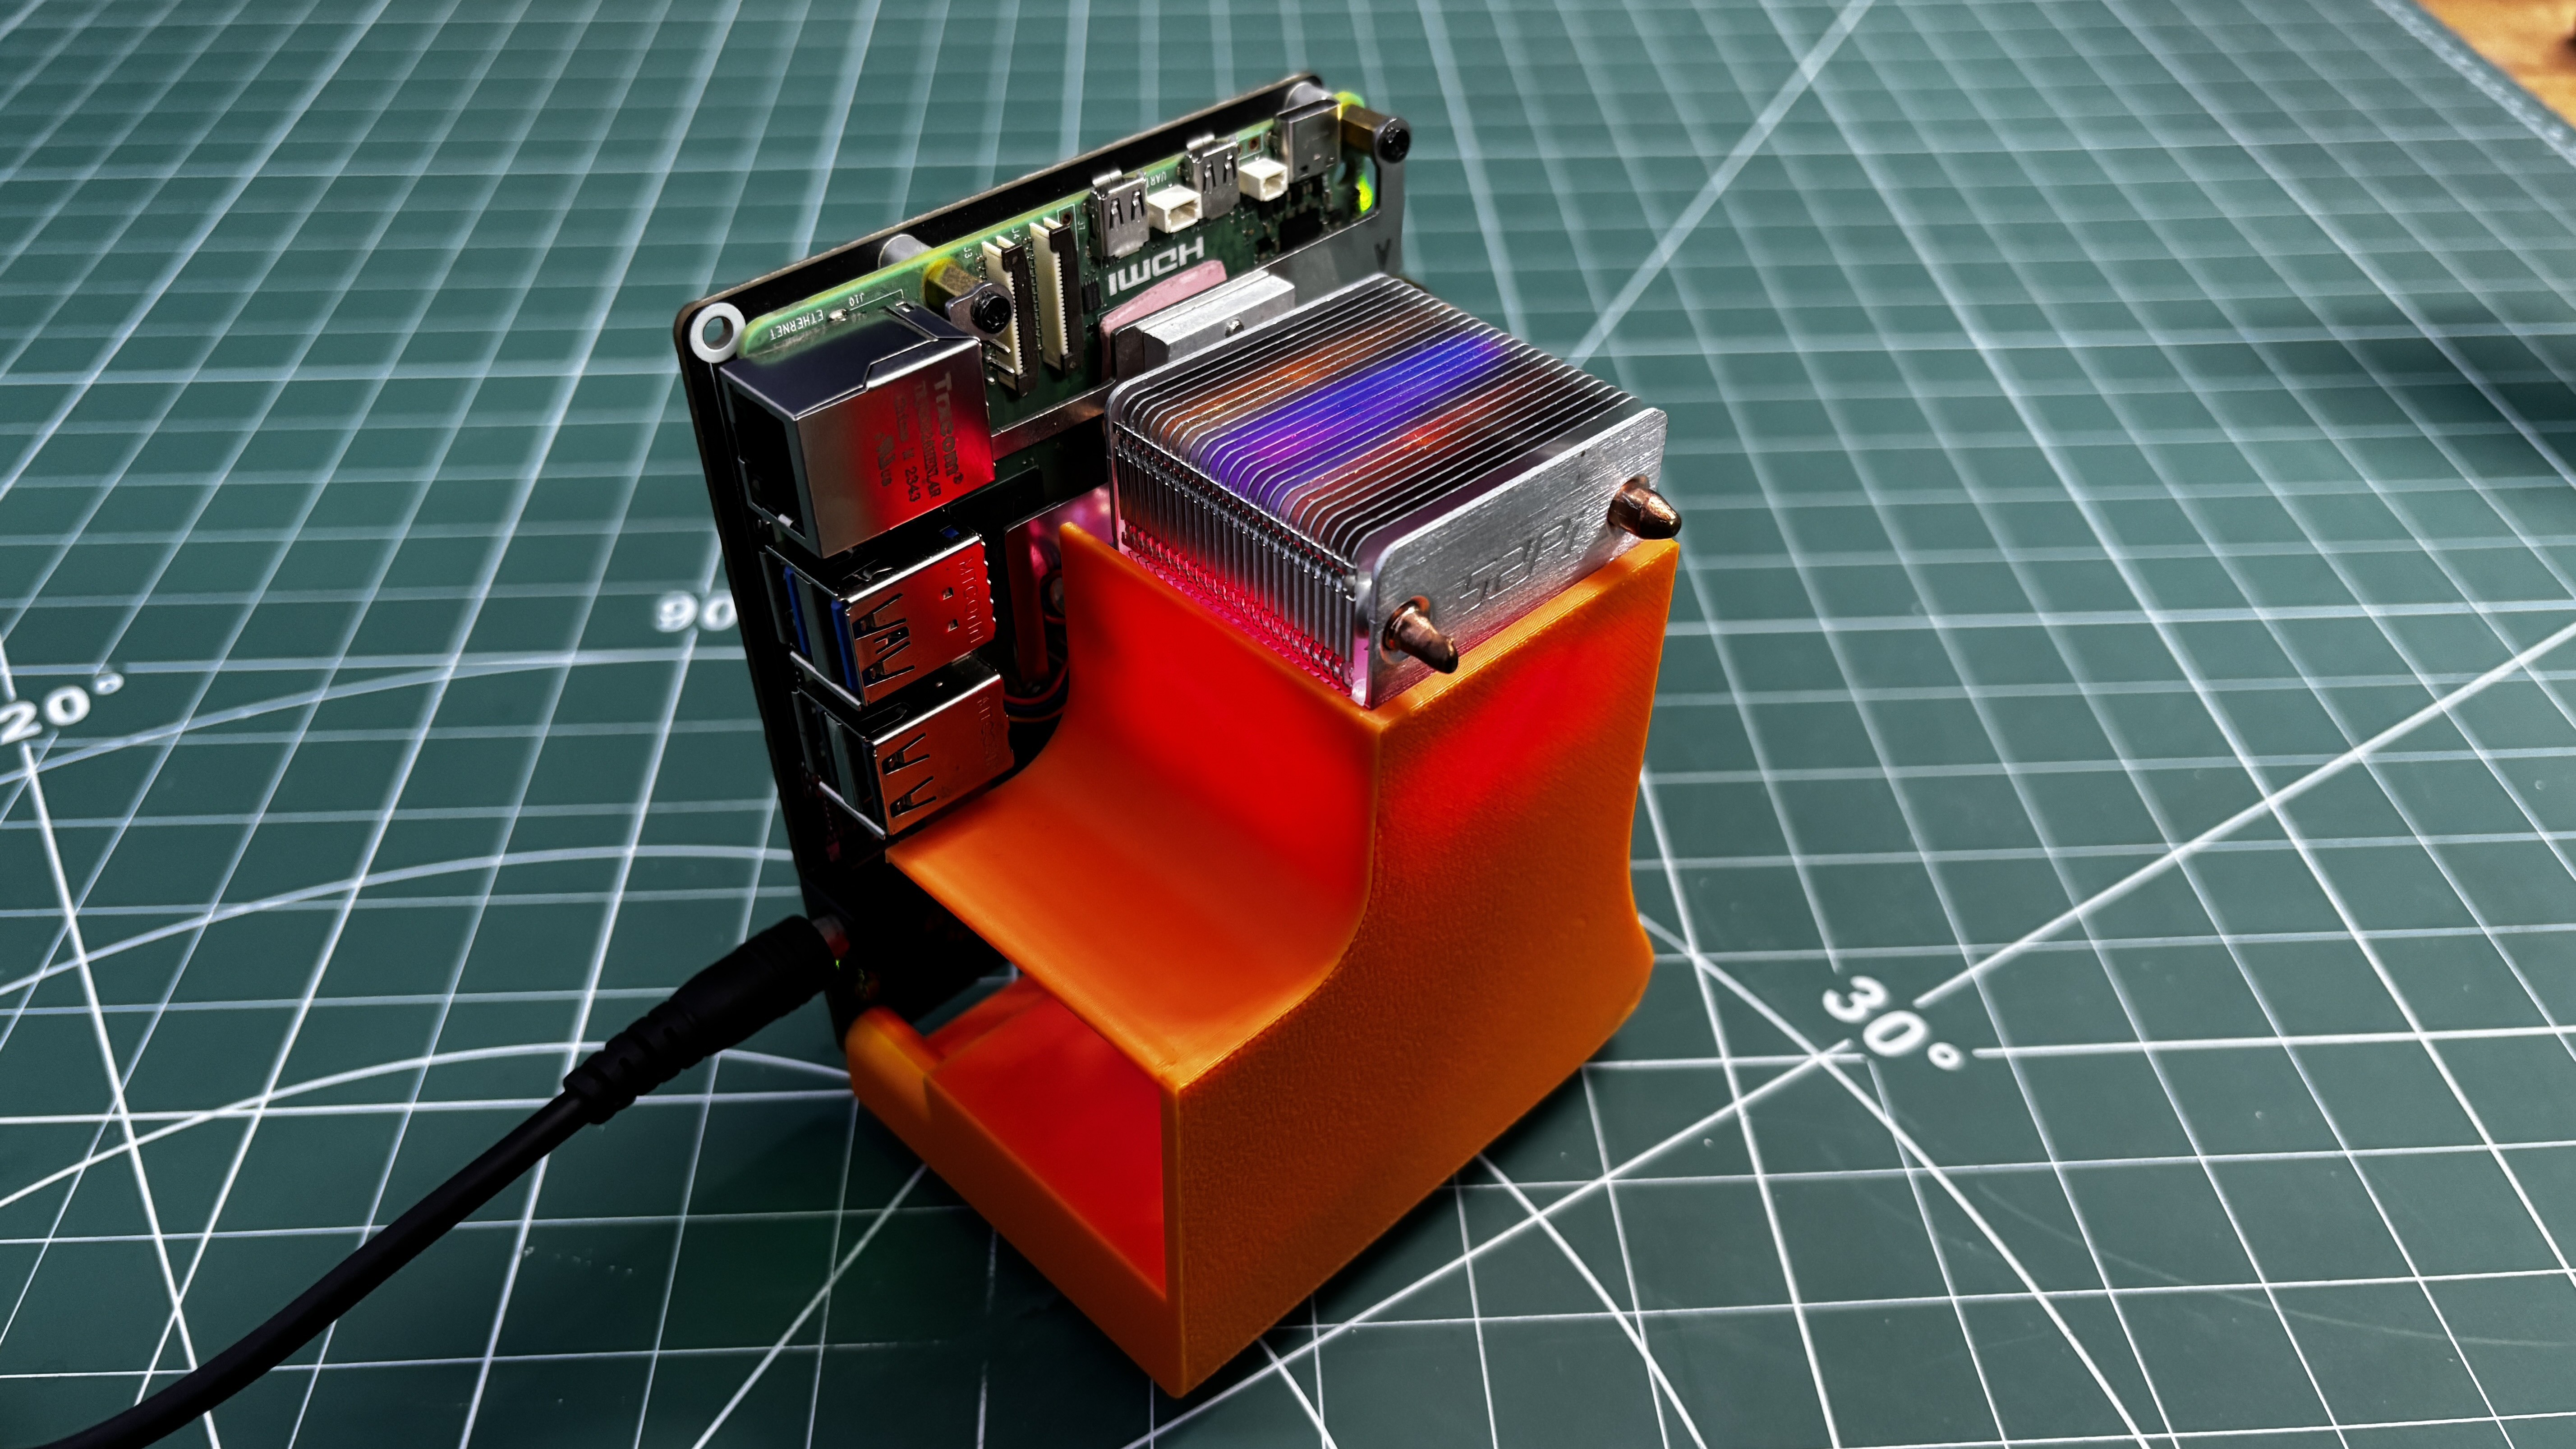
Doing this completes the assembly process, and our Pi NAS is now ready.
-
4RESULT
![]()
![]()
![]()
![]()
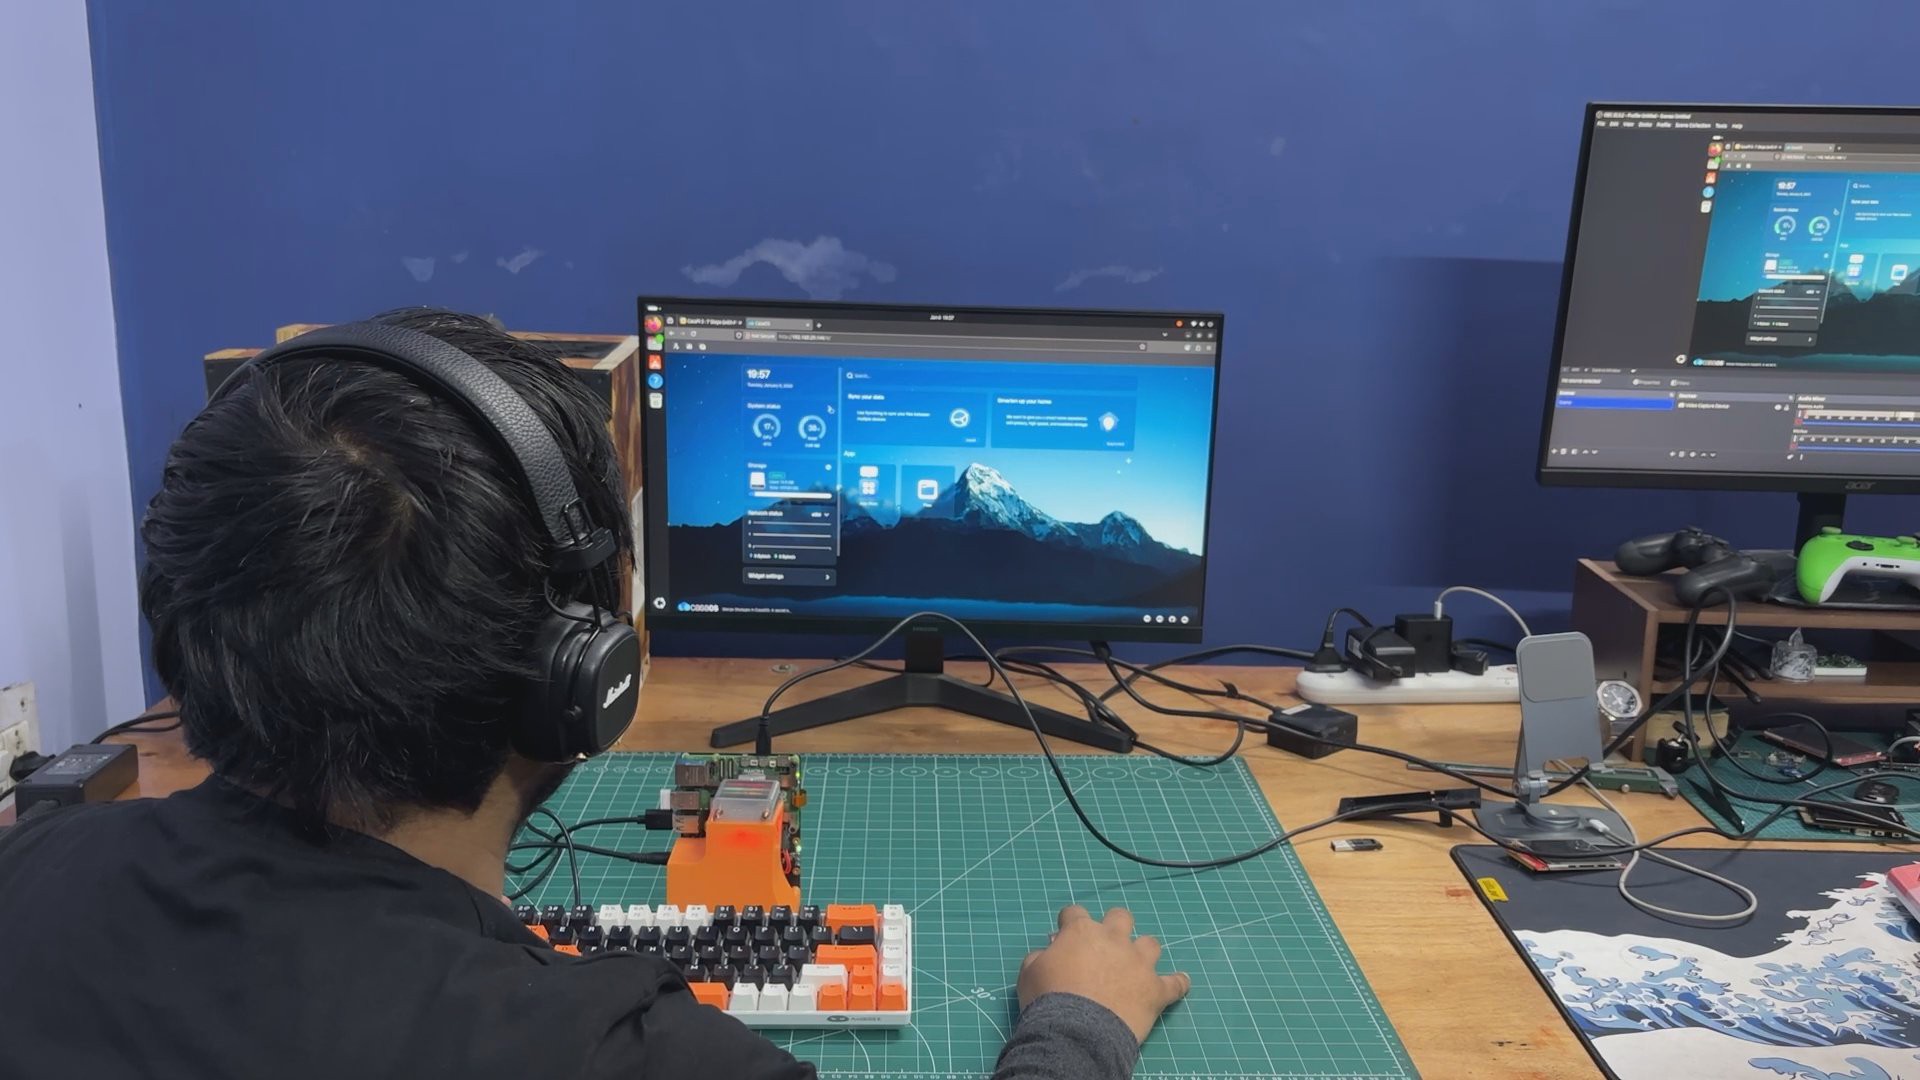
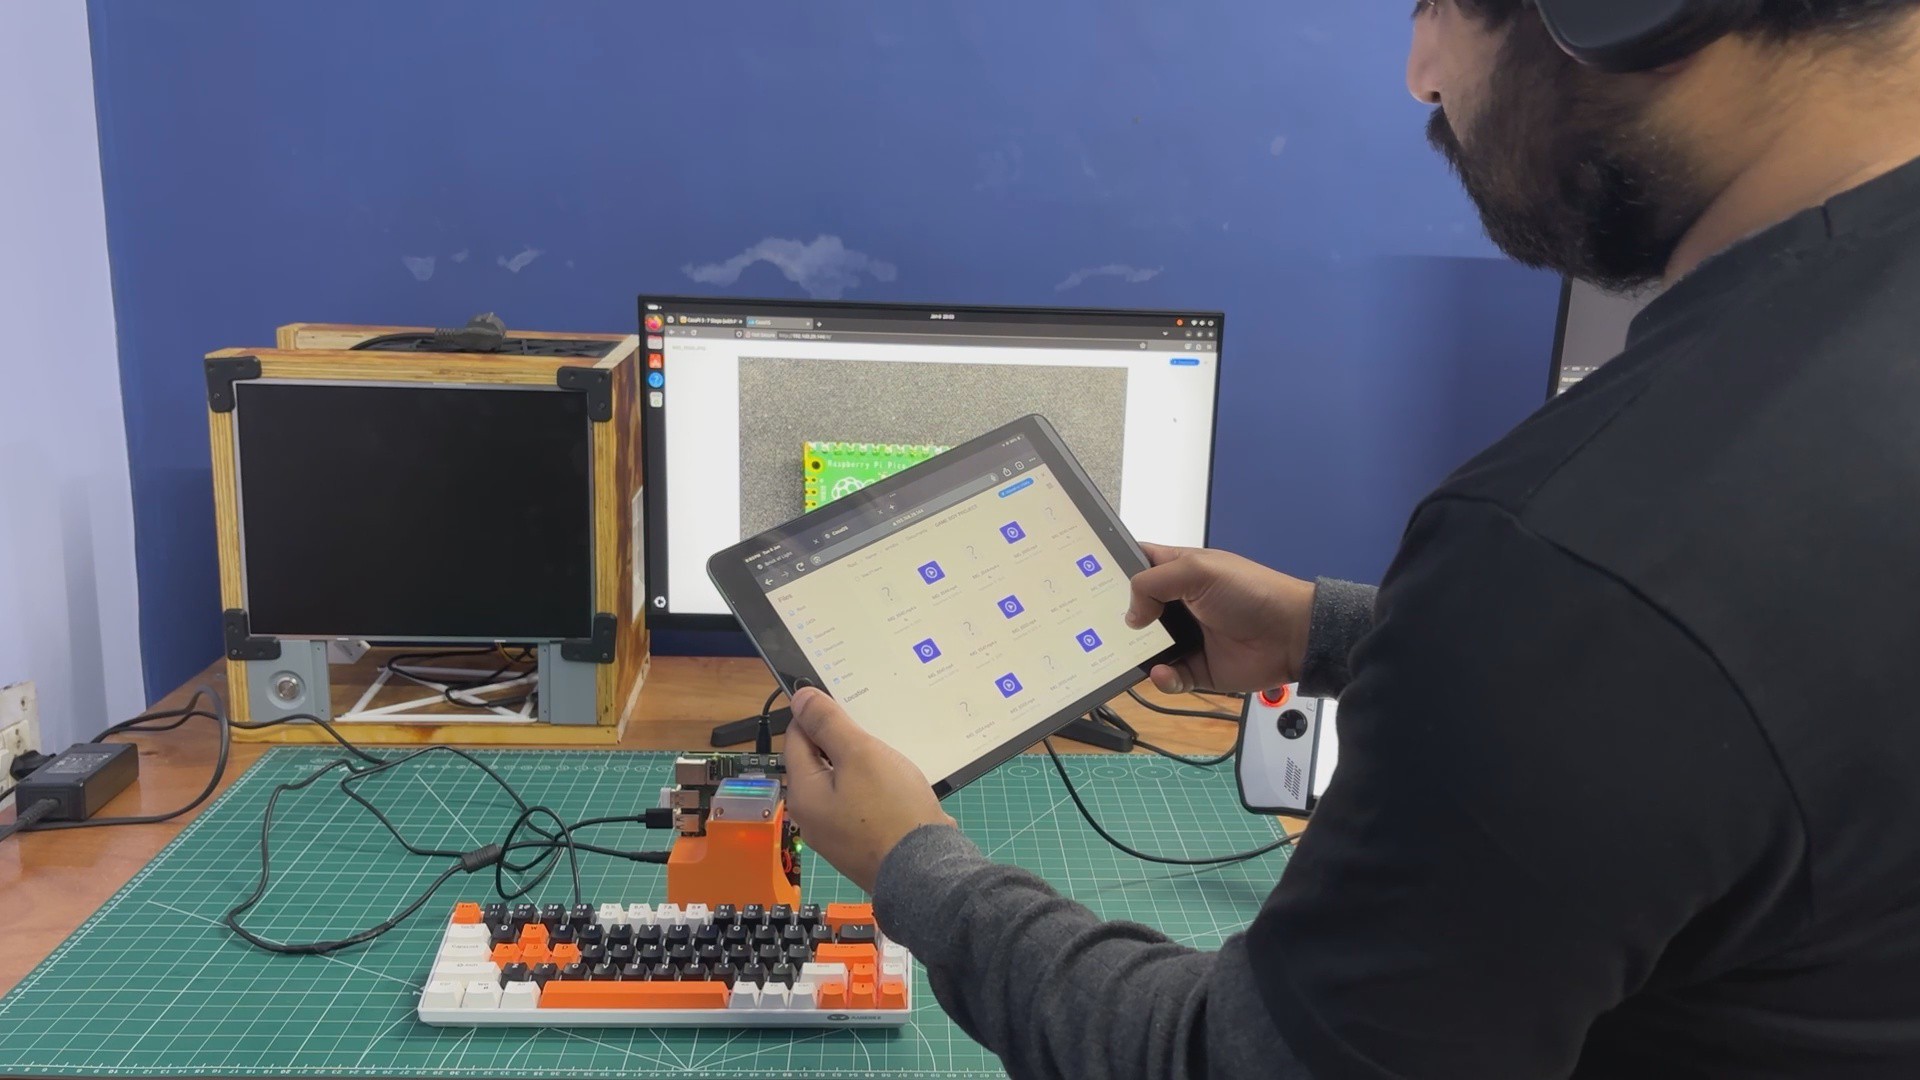
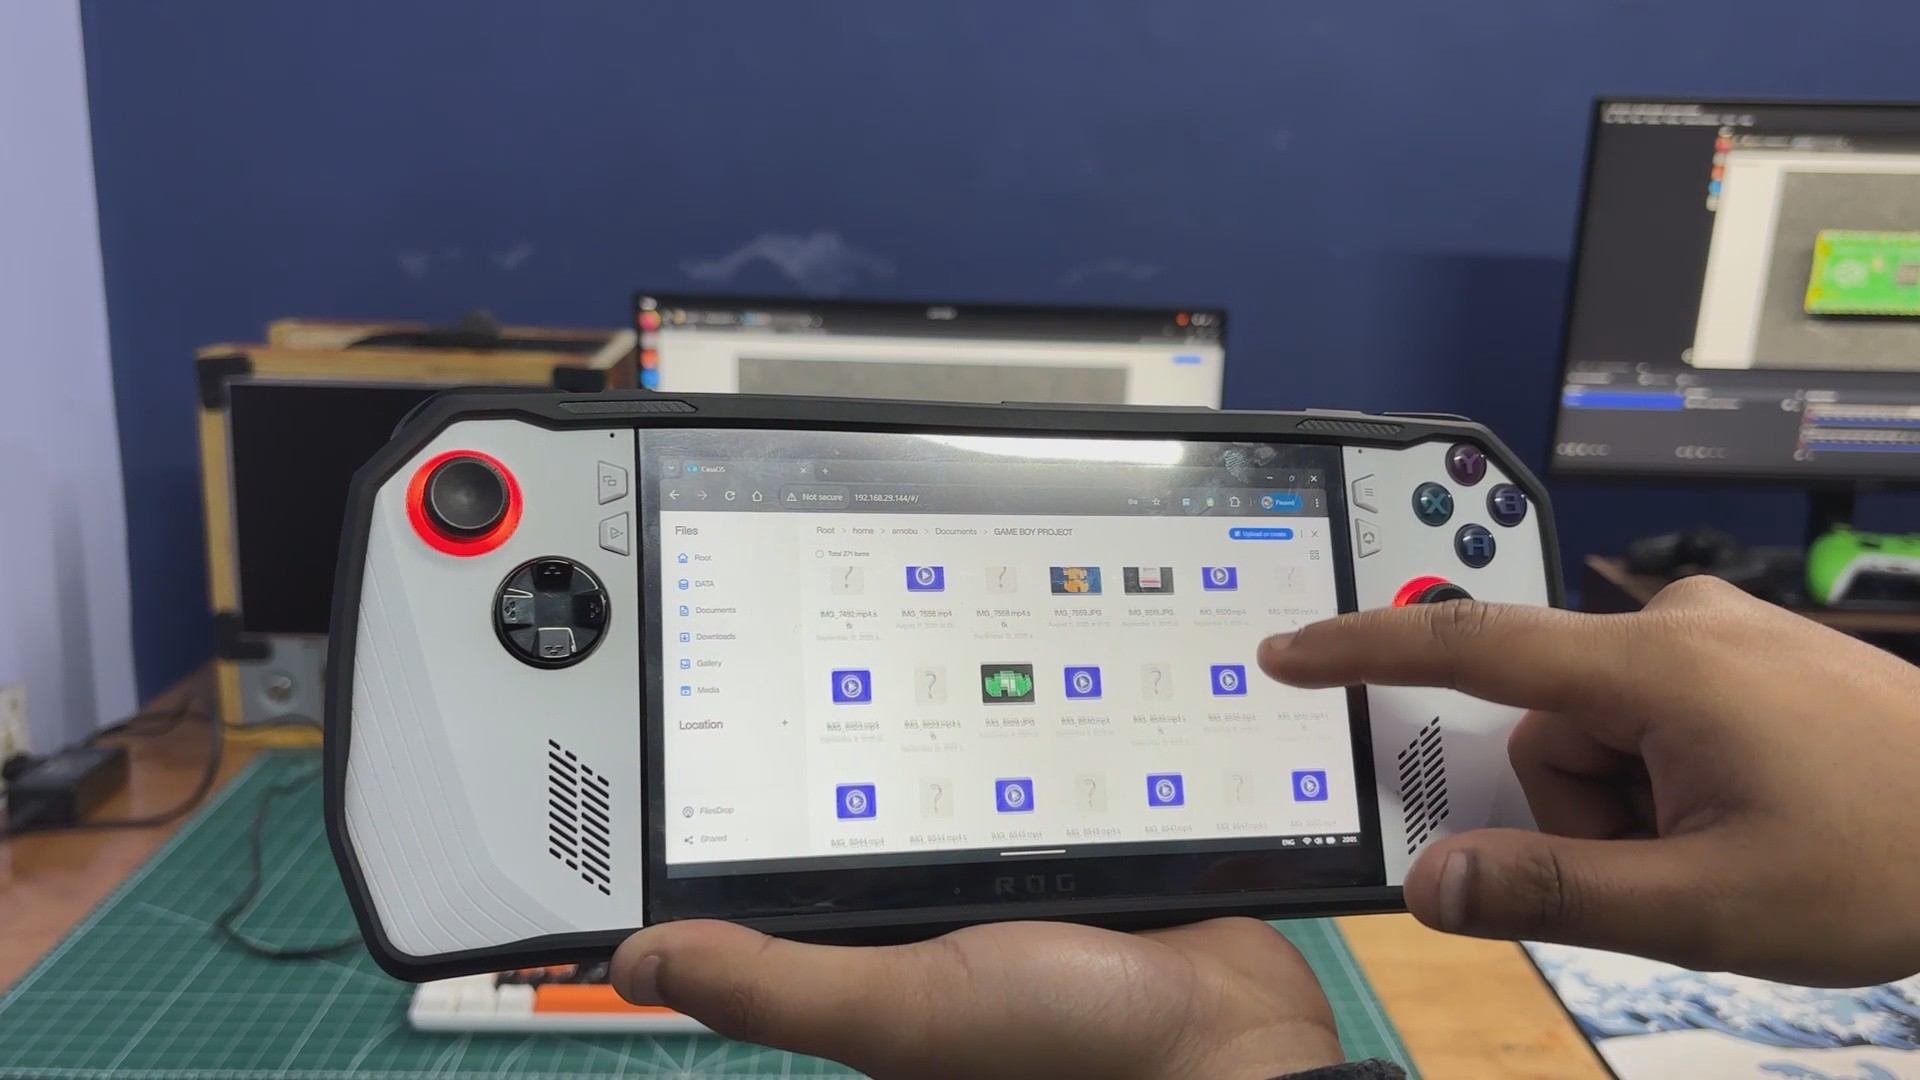
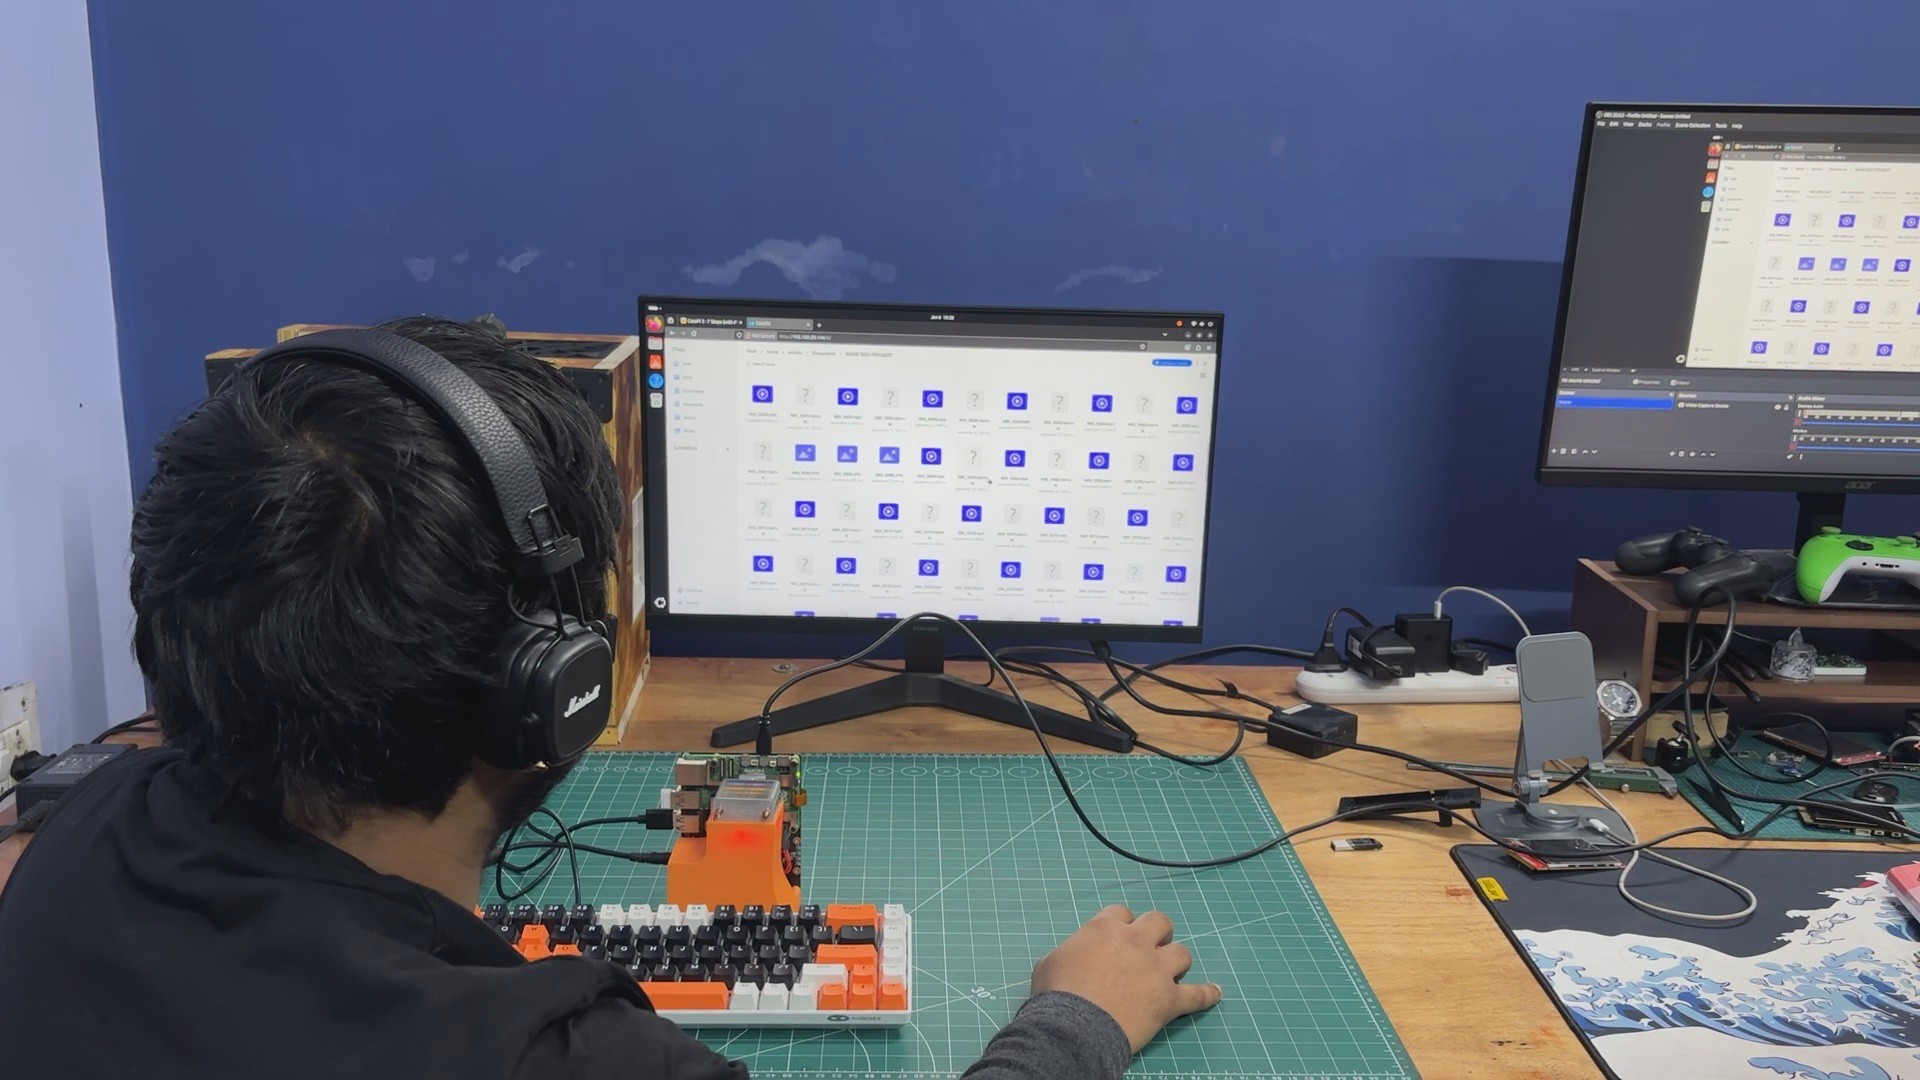
To begin using the NAS, we connected a keyboard and mouse to the Raspberry Pi 5 and powered the NVMe board using a 12V 4A adapter, along with a monitor for initial setup. After booting into the Debian environment, the system became fully operational. In reality, once everything is configured, you don’t even need a keyboard, mouse, or display—simply powering the system on is enough. CasaOS starts automatically in the background, and using our login credentials, we can access the NAS from any device on the local network.
Once connected, we were able to access all the data stored on the NVMe SSD, including photos, videos, important work documents, and even a collection of old retro game ROMs I’ve gathered over the years.
The main idea behind this NAS setup was to create a central storage system that allows me to easily access old project files without searching through scattered drives.
For this proof of concept, I’m using a 500GB NVMe SSD, but I’ve already ordered a 1TB SSD, which I’ll be installing as soon as the project grows. I don’t have a lot of storage right now, but I’m slowly expanding the hardware.
The best part of this build is how it solves a major inconvenience I had before. My project files, videos, and media were stored on a separate external SSD, and whenever I needed something, I had to plug it in manually, search for the file, and transfer it. With Pi NAS, the entire process is now seamless; everything is available on the network, instantly accessible from any device, without plugging or unplugging anything.
Please let me know if you require any additional assistance; all the documents, files, and installation details about CASA OS are included in the article.
Special thanks to Waveshare for providing hardware used in this project!
Thanks for reaching this far, and I will be back with a new project pretty soon.
Peace.
Discussions
Become a Hackaday.io Member
Create an account to leave a comment. Already have an account? Log In.