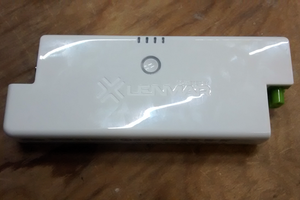
 Peter
PeterFeatures
General
- Max. current 0.5 A (limited by the DCDC-converter Purecrea MT3608)
- Short circuit proof
- Adjustable rail voltage between 5 V and 20 V
- With 1000 mA LiPo battery, Operating time
- Small HOe or N-scale locomotive (50 mA): 5 h
- Small HO locomotive (100 mA): 2.5 h
- Medium HO locomotive (250 mA): 1 h
- Charging time about 2 h (micro USB charger, 500 mA)
- Display shows
- PWM duty cycle 0 .. 100 % (DC) or speed 0 .. 126 (DCC)
- Direction
- Current consumption
- Rail voltage
- Battery voltage
- Menu
DC-Mode
- PWM frequencies: 250 Hz, 500 Hz, 1 kHz, 2 kHz, 4 kHz, 8 kHz, and 16 kHz
- Brake mode (fast/slow decay mode)
DCC-Mode
- 4 locomotive slots (address range 0 .. 9999), similar to the DCC-EX reminders
- Speed 0 .. 126
- Direction
- Light (F0), bell (F1), airhorn (F2), mute (F8)
- 8 programmable functions (out of F0 .. F28)
Bluetooth Remote Control (Throttle)
- Use your smart phone as a additional remote throttle
- DCC-EX commandsover BLE
- [JMRI Engine Driver Throttle](https://enginedriver.mstevetodd.com/)
DCC-EX serial (USB CDC)
- DCC-EX commands over serial line (USB CDC)
How to Use the Pocket Power Pack
It could not be simpler. Connect the power to the rails and turn the knob. Change direction with the arrow buttons ← →.
Choose the menu line with the ↓ ↑ buttons, select the option with the button A, B, C, or D.


 Dan Julio
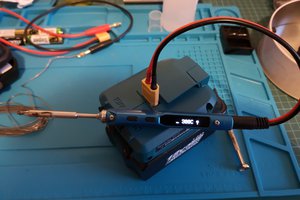
 Tom
Tom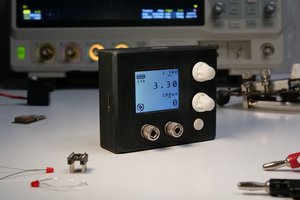
 Simen Sollihøgda