 Quackieduckie
Update 06.05.2026
New version has been in the archive for a while and uses a standardized font that is easily readable and improved refresh speed, this will probably be the final version for the orange pi.
In parallel I have been working on an stm32 version together with @jacopops. This version is currently able to run indefinitely on a solar powered internal battery and supports low power bluetooth keyboards as well as other optimizations that will be shown later on.
Update 10.04.2026
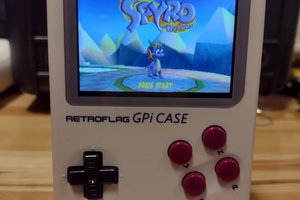
I've uploaded a new version to github which includes a more universal font that's easily readable and renders faster, In the future I might implement a font selector as well. Image is being uploaded to the internet archive as well, should be finished later in the day. Font and typing performance can be seen here:
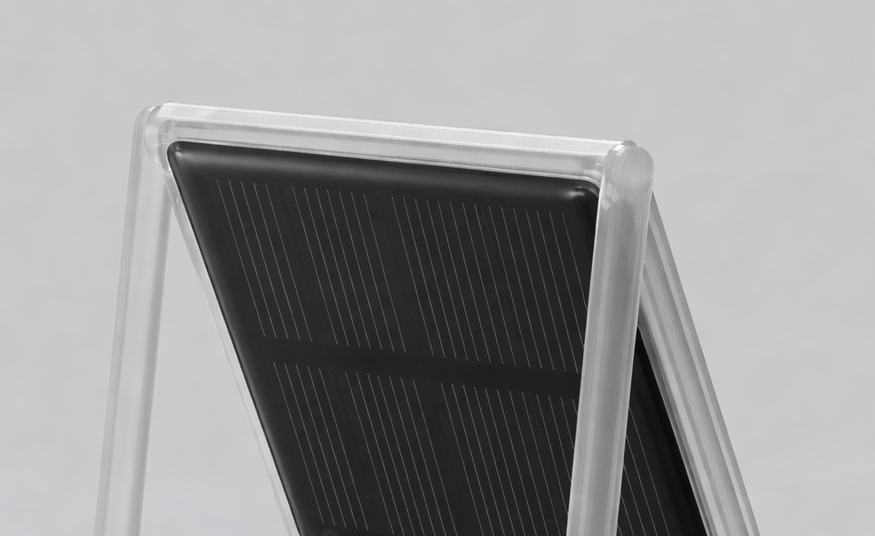
A weekend project of mine, I really like the trend of distraction free, digital typewriters, however most of them will set you back between 150-300$.
The etyper is probably the cheapest in its class, costing about 15$ for a WeActStudio 4.2" eink screen and 23$ for an Orange Pi Zero 2W running armbian, plus about 2$ for printing cost.
If you're looking for a raspberry pi Zero 2W version a fork of this project exists here:
https://github.com/T-KONES/rpi-etyper
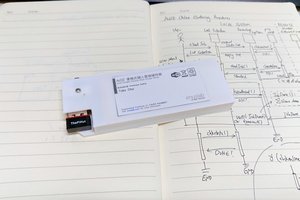
It's a bring your own keyboard device, for now it only works with wired usb-c keyboards.
The case is designed to be printed in place and does not require any supports.
You will need 8 × M2x12mm screws and nuts. For mounting the Pi, either cut 4 of the screws down to 6mm using pliers, or use 4 × M2x6mm screws instead. The remaining longer screws are used to secure the screen
That's pretty much it, the case is foldable and height adjustable, I will have an animation for it coming up in the future.
The full armbian image for you to flash via dd or etcher can be found here. There's also the the codebase that can be found here, as a normal user you won't need that though. It has been created with Claude/Cursor but is fairly stable.
For now the commands are as follows at boot:
- Ctrl + S – Save document
- Ctrl + N – Save current document and create new document
- Ctrl + Left – Switch to previous document
- Ctrl + Right – Switch to next document
- Ctrl + K – Select keyboard
- Ctrl + F – Toggle file server via Bluetooth (download docs in browser)
- Ctrl + R – Force full display refresh (cleans ghosting)
- Ctrl + Q – Sleep / wake toggle (saves power during sleep)
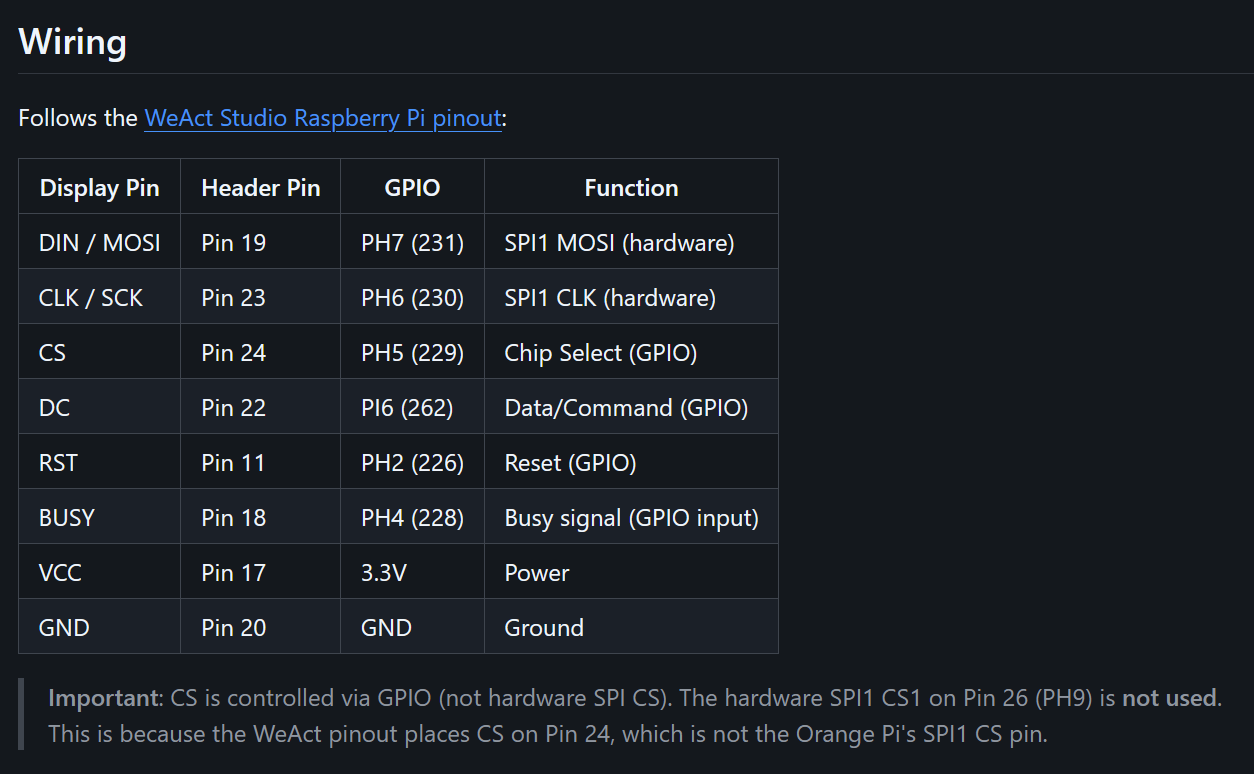
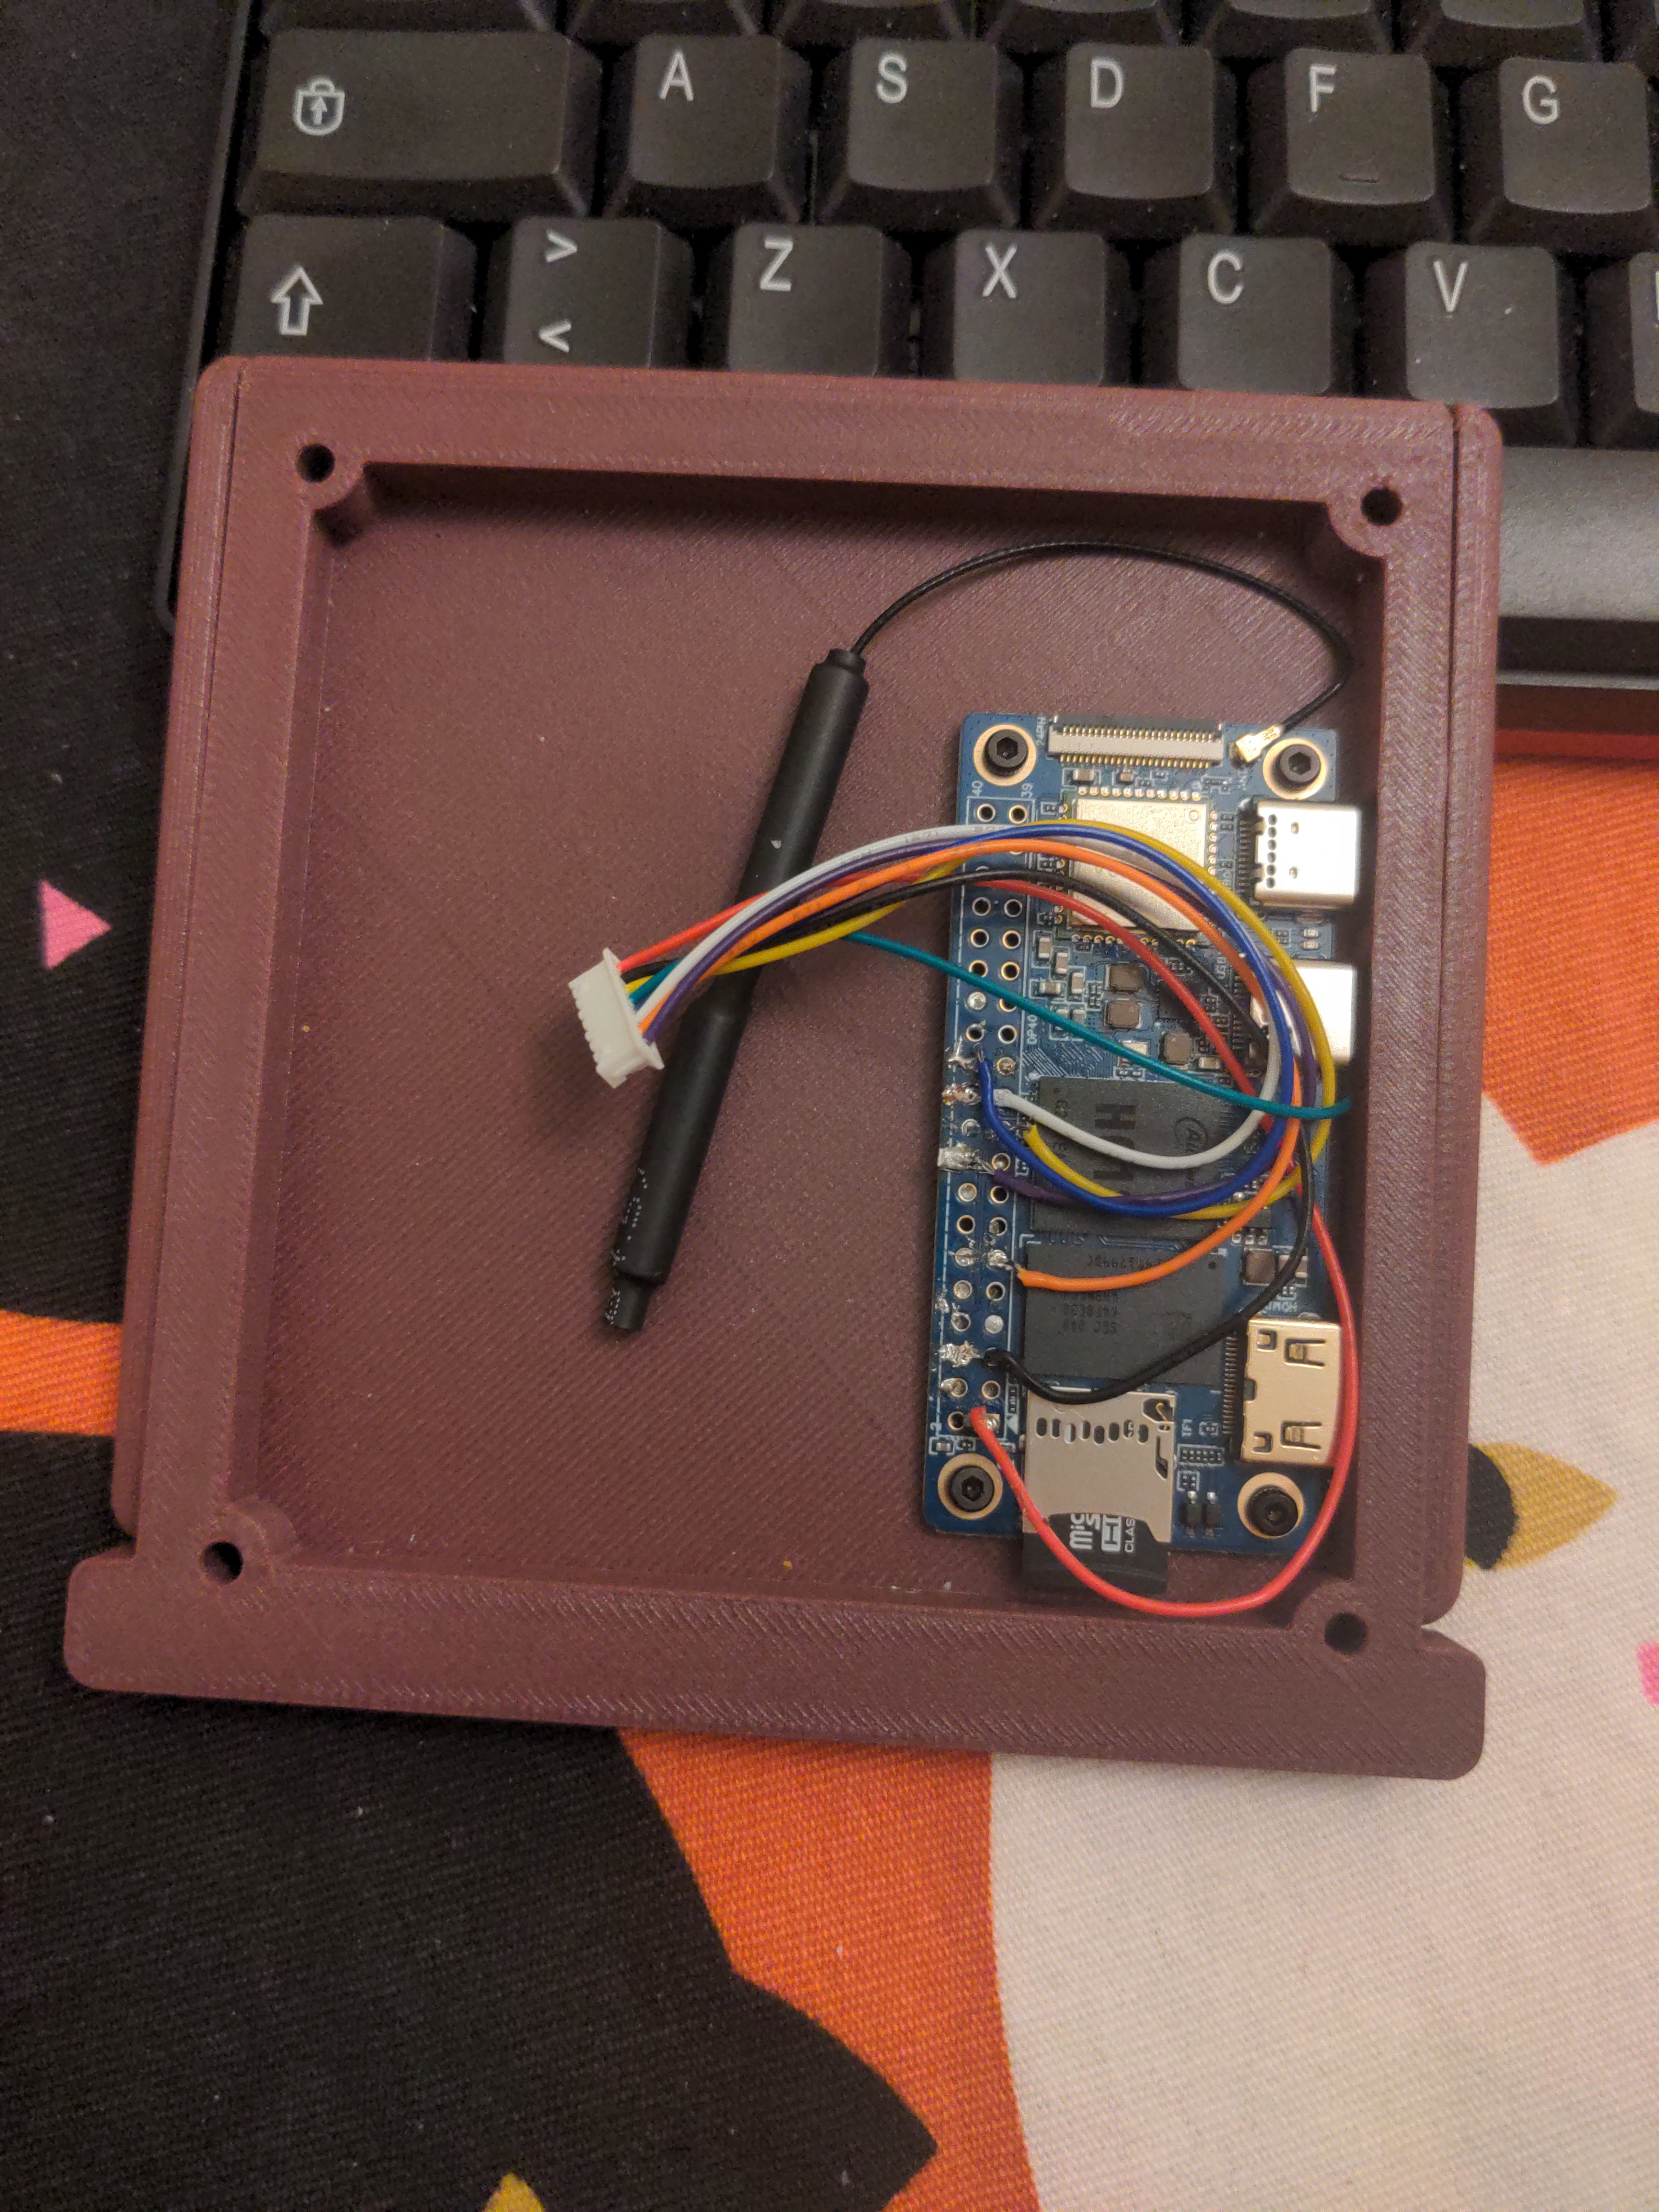
Here's the pin layout you'll need for connecting the display cable to the GPIO of the pi:
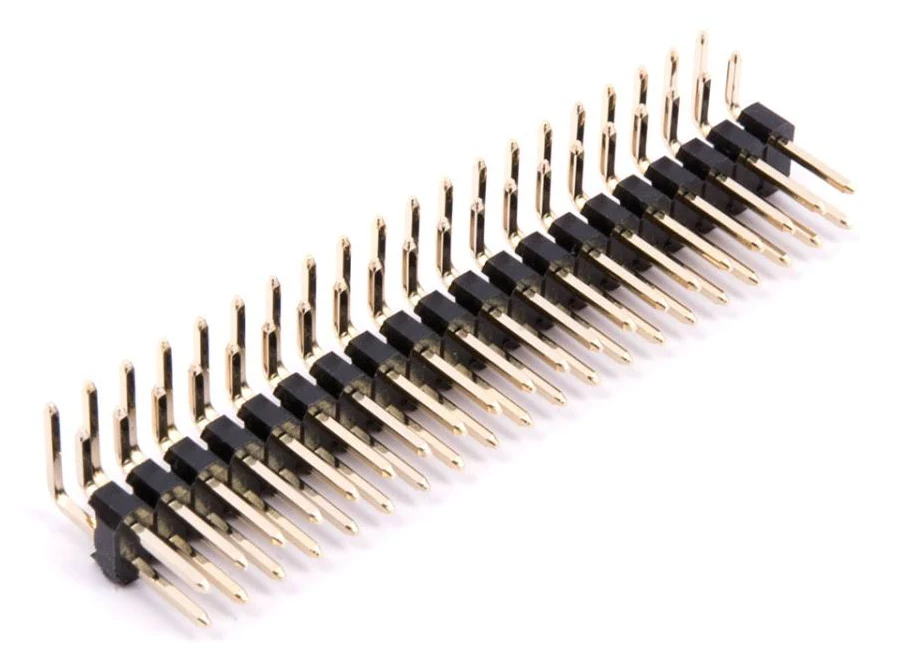
If soldering isn't your thing it occured to me later on that you could also just get a so called "Right Angle 2x20 40 Pin Male Header" and cut the straight pins to make it fit together with the gpio openings and the case. With this you don't need to cut the female connectors on the display cable and can just plug them in there instead.
-> This doesn't work unfortunately, maybe there are some header pins that sit more tight than mine but the ones I received still required soldering
``
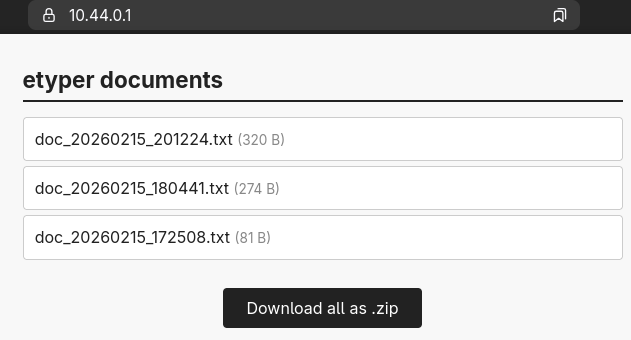
File Transfer (Ctrl+F)
Download your documents wirelessly via Bluetooth PAN (Personal Area Network). No WiFi required — the etyper creates its own network over Bluetooth.
How it works:
- Press Ctrl+F — Bluetooth powers on, the file server starts, and instructions appear on screen
- On your computer, open Bluetooth settings and pair with "etyper" (auto-accepts, no PIN needed)
- Once paired, open a browser and go to
https://10.44.0.1(accept the certificate warning) - Download individual documents or all at once as a
.zipfile - Press Ctrl+F again to stop — all paired devices are disconnected and Bluetooth powers off
Notes:
- Bluetooth is off by default and only activates during file transfer
- Auto-shuts down after 5 minutes if you forget to stop it
- Works best with desktop/laptop browsers...


 tobychui
 RodolpheH
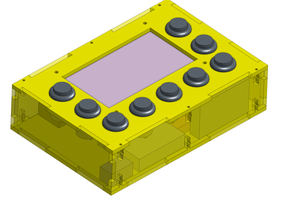
 Craig Hissett
If your eyes are as broken as me eyes, you'll feel difference between an e-paper display and a regular PC monitor with flesh and blood! I've got an Android BOOX e-book reader which I use for all sorts of reading stuff, as well as sometimes hacking in Termux or reading emails.
Me device is 7". I tried typing in it with a Keyboard while in X mode. In that mode, the refresh rate is like 10Hz. However, the ghosting is too heavy and you frequently have to full refresh the screen. Another big problem is that 7" is way too small for writing. That's why all these e-paper typers are fun to build, but far from practical.
In each new generation of e-paper displays, we see better and better refresh rate. I can notice the difference in me device which has Carta 1200 vs the one me brother has, which is Carta 1300. So I think in like 5 years or more, we can see real e-paper typewriters.