Close
0%
0%

DIY UPS for Home Assistant Green & Xfinity XB7 Mod

DIY 12V LiFePO4 UPS for Home Assistant Green and Xfinity XB7 modem. Victron BP-65 LVD, MOSFET ideal diode, 13.3V float, Shelly Plus Uni

Similar projects worth following
System Overview
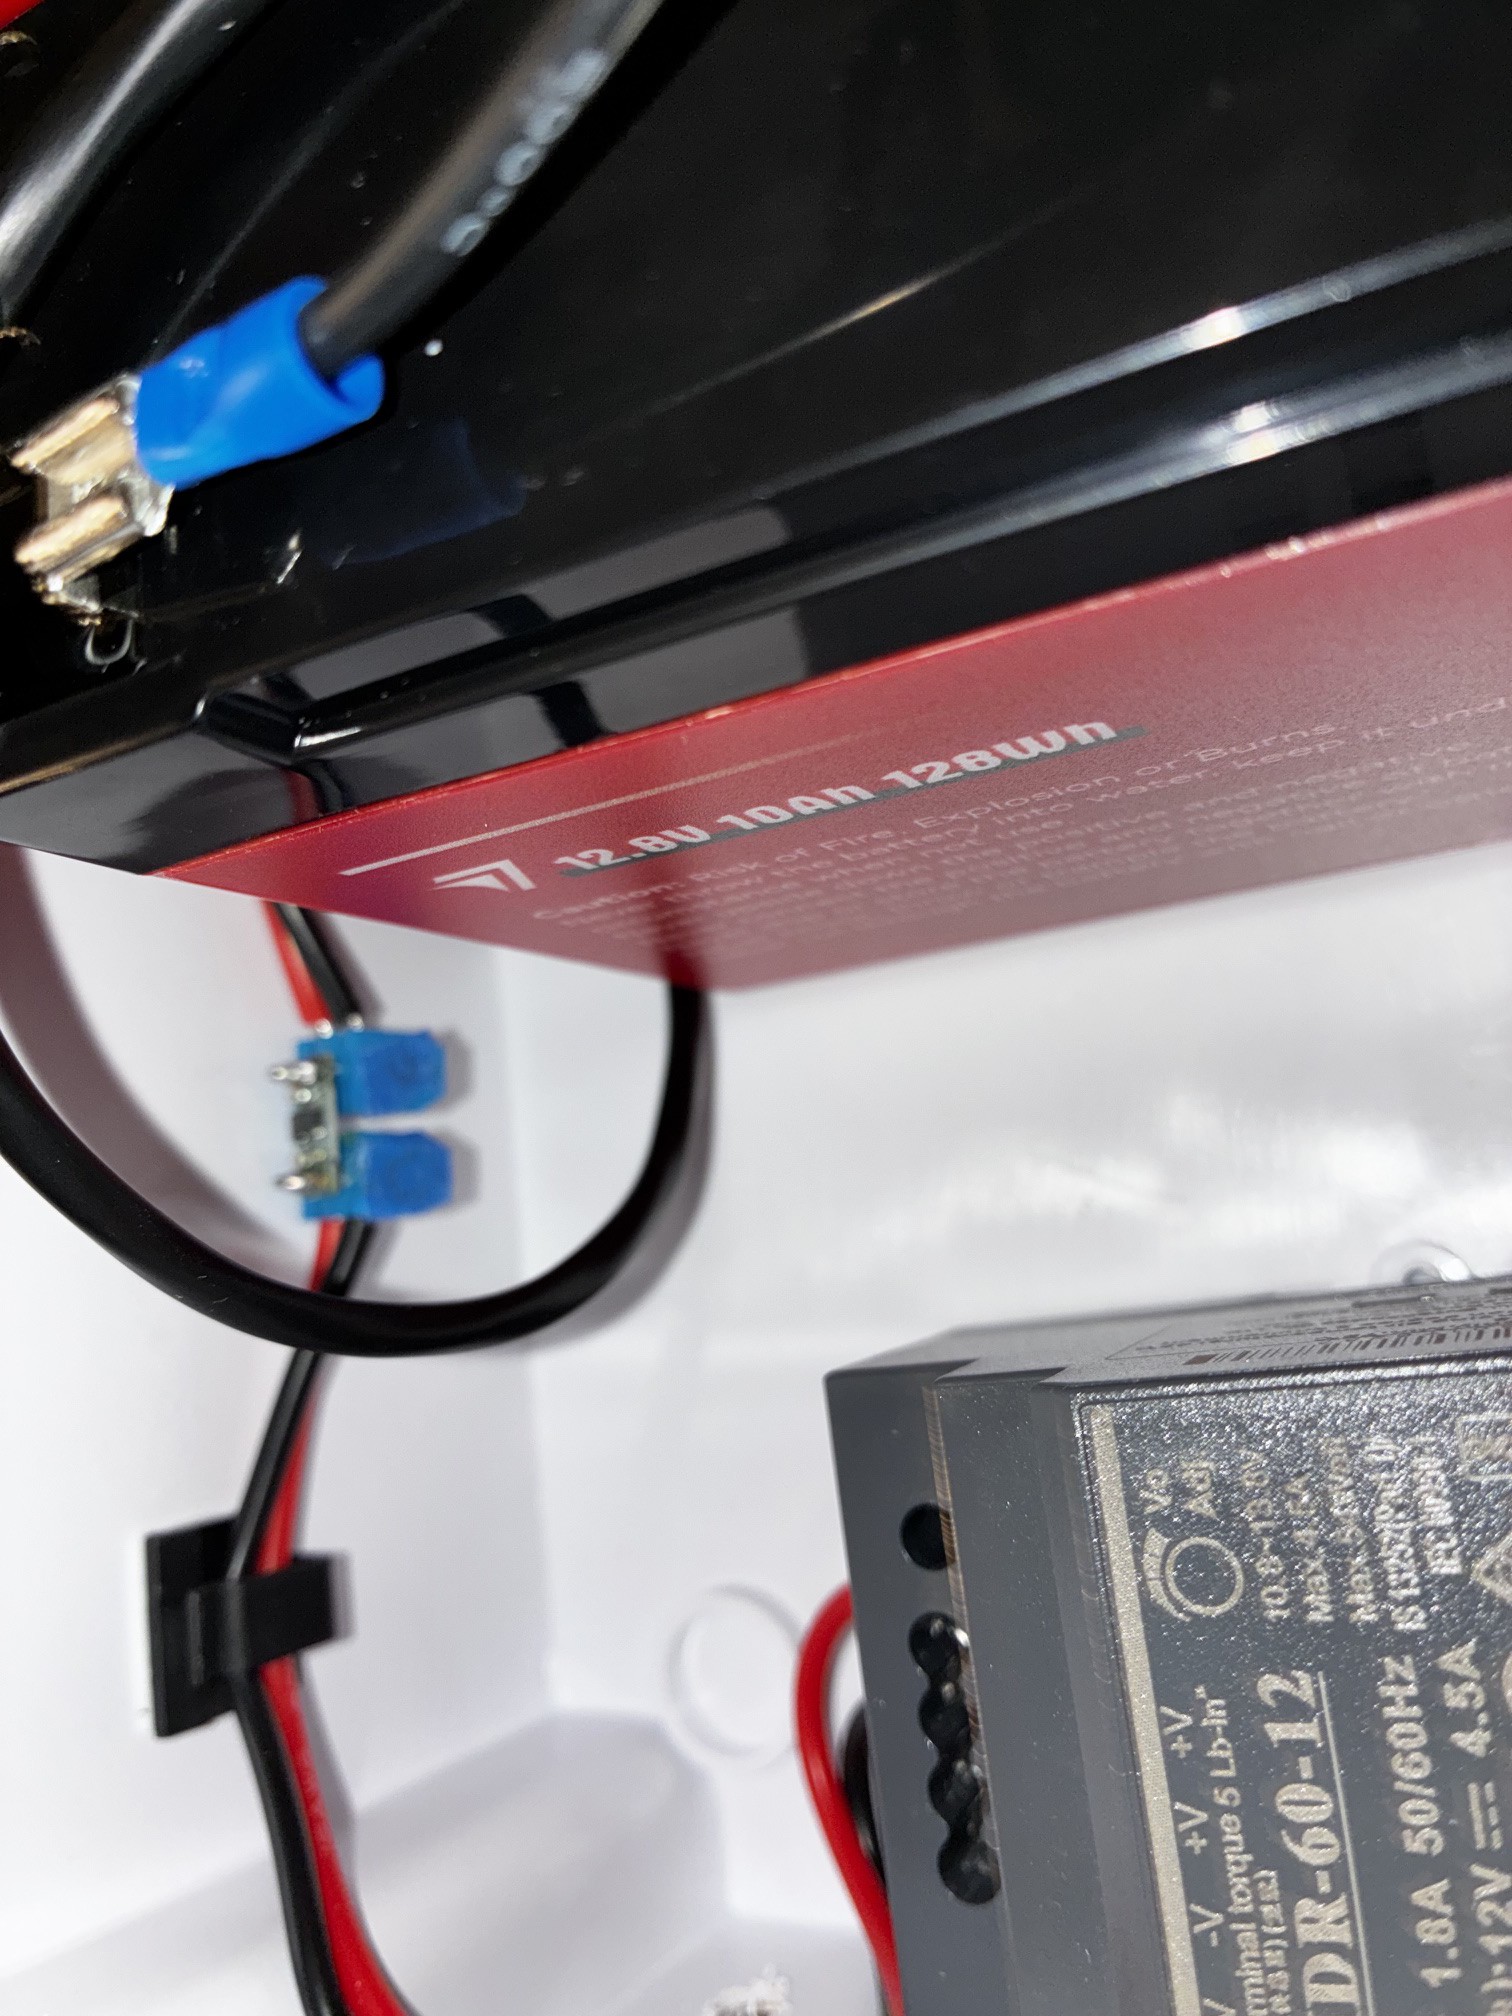
AC grid powers a Mean Well HDR-60-12 PSU set to 13.3V float, which charges a 12V 10Ah LiFePO4 battery through a MOSFET ideal diode. On grid failure, loads switch directly to battery in under 1ms. A Victron BatteryProtect BP-65 disconnects loads at 11.8V to prevent over-discharge. A Shelly Plus Uni reports battery voltage and temperature to Home Assistant.

DIY UPS for Home Assistant Green → N100DC-ITX & Xfinity XB7 Modem

A 12V LiFePO4-based uninterruptible power supply for keeping a Home Assistant Green and Xfinity XB7 cable modem running during grid outages. Built into an IP65 enclosure with Home Assistant monitoring via Shelly Plus Uni.

Honest context: A $85 APC BE600M1 provides comparable backup capability. This build costs roughly the same over 10 years as that option (based on battery replacements and electricity usage). The engineering rationale — longer battery life, faster switchover, direct HA integration, no DC-DC converter voltage regulation — is documented in design-rationale.md. Build this if those tradeoffs matter to you.

PHASE 2 UPDATE: 18V Boost Integration — 2026-08-29

TL;DR: Upgraded the HA Green to an Asrock N100DC-ITX PC and integrated onto the UPS via a Pololu U3V70A boost @ 18.0V. Load 14.9W → 26.80W DC[M]. Runtime 3.6h → 128min to LVD. Every threshold held, zero false on-battery in 26,413 samples. The scaling model we published for phase durations was falsified same night — plateau 85min projected → 43min measured[M]. One operational gap remains: EN/FET not fitted, so unattended recovery only guaranteed for outages deep enough to reach BP-65 LVD

QuantityBefore Boost (May 2026)After Boost (Aug 2026)
DC bus load steady14.9W / 1.18A26.80W / 2.089
Peak observed~1.29A2.533A / 32.48W
AC at UPS outlet16.832W30.554W
Net conversion penalty+1.21W at wall
Bus float mean13.2325V13.1970V (-35.5mV)
Margin to 13.15V on-battery trip73.0mV23.3mV
BMS 10A rating headroom21% steady, 25% peak

Validated runtime — energy still there, voltage thresholds move: The pack still delivers 53.3Wh / 4.18Ah [M] May 6. At new load: 53.3Wh ÷ 26.80W = 119 min, ÷ 25.97W measured mean = 123 min to LVD.

Boost Subsystem Design — Why This Way

Full spec: UPS-Monitor/boost-subsystem-design.md BOOST-DS-r1 (2026-07-20)

Requirement: regulated ~18V rail from UPS 12V bus replacing HA Green's direct feed, without degrading four-tier ladder or endangering XB7.

Unattended moment (design cornerstone): AC outage with nobody home. Must (a) carry host through switchover inside 17.1-20.9V window, (b) hold clean until 12.2V graceful-shutdown tier completes, (c) permit monitor-commanded shed after shutdown, (d) clean non-damaging re-energization when AC returns so BIOS auto-boots. "Working" defined at those four instants.
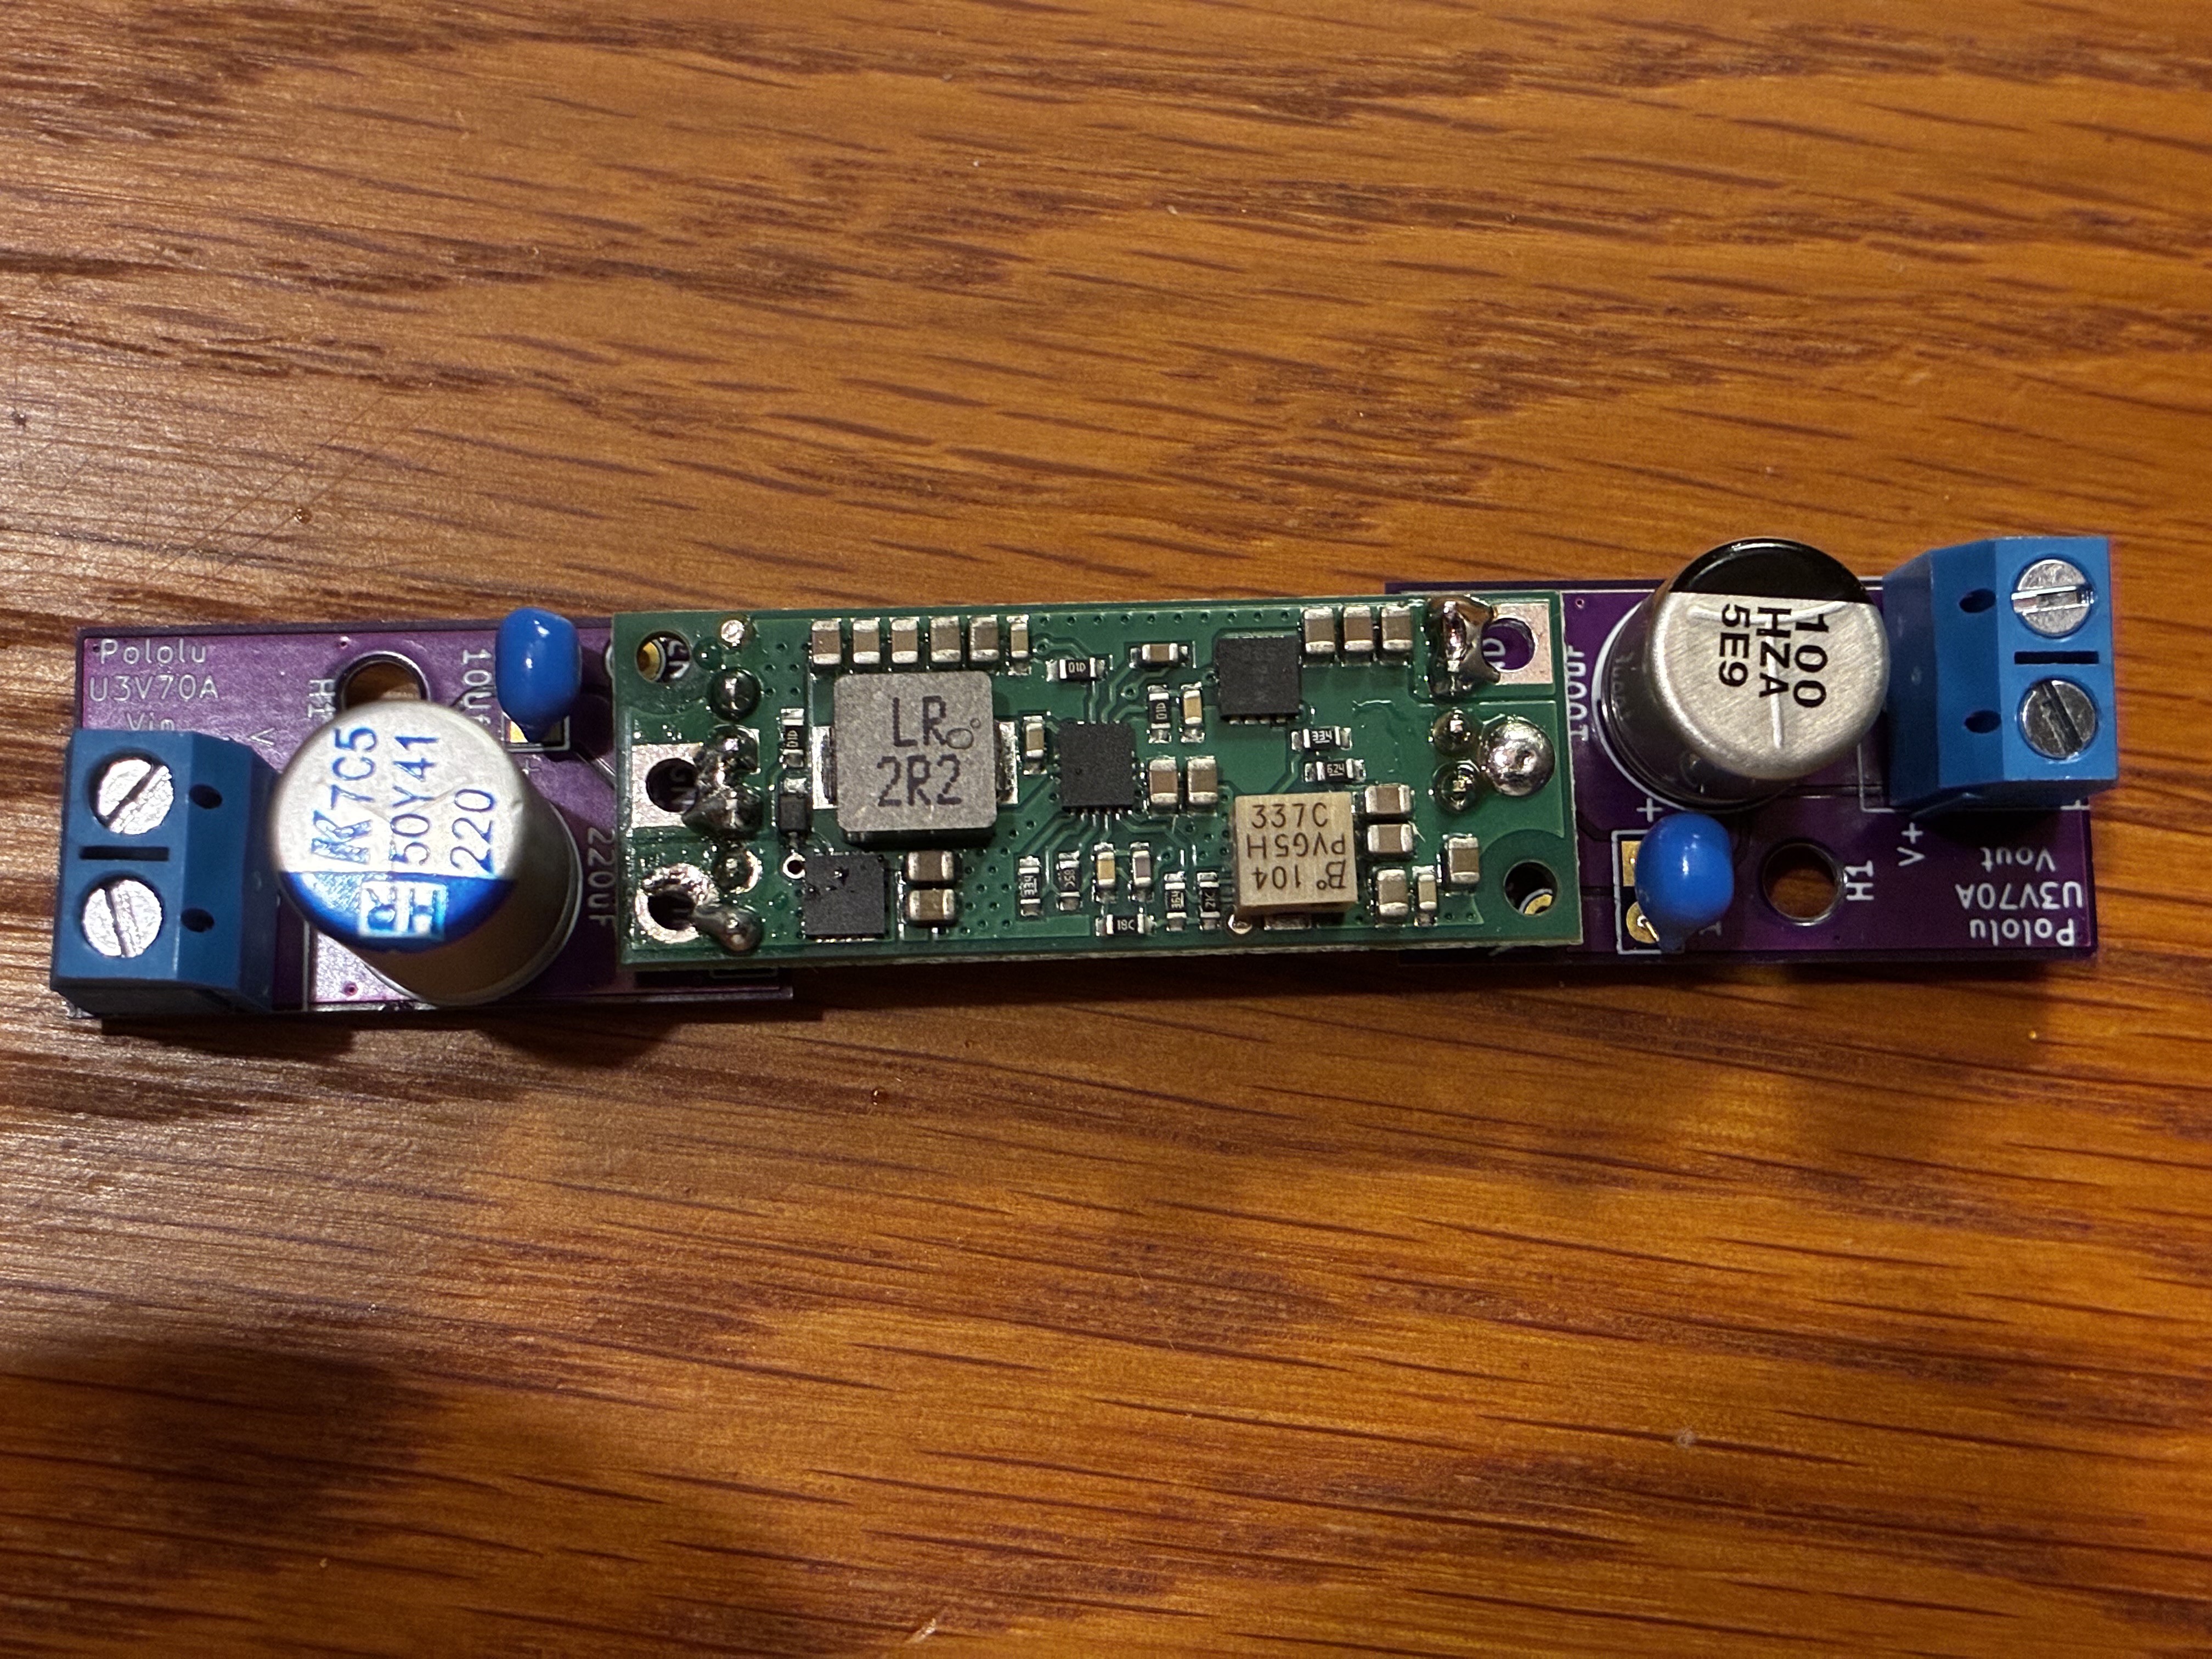
AC grid → Mean Well HDR-60-12 (13.3V float, lacquered) 
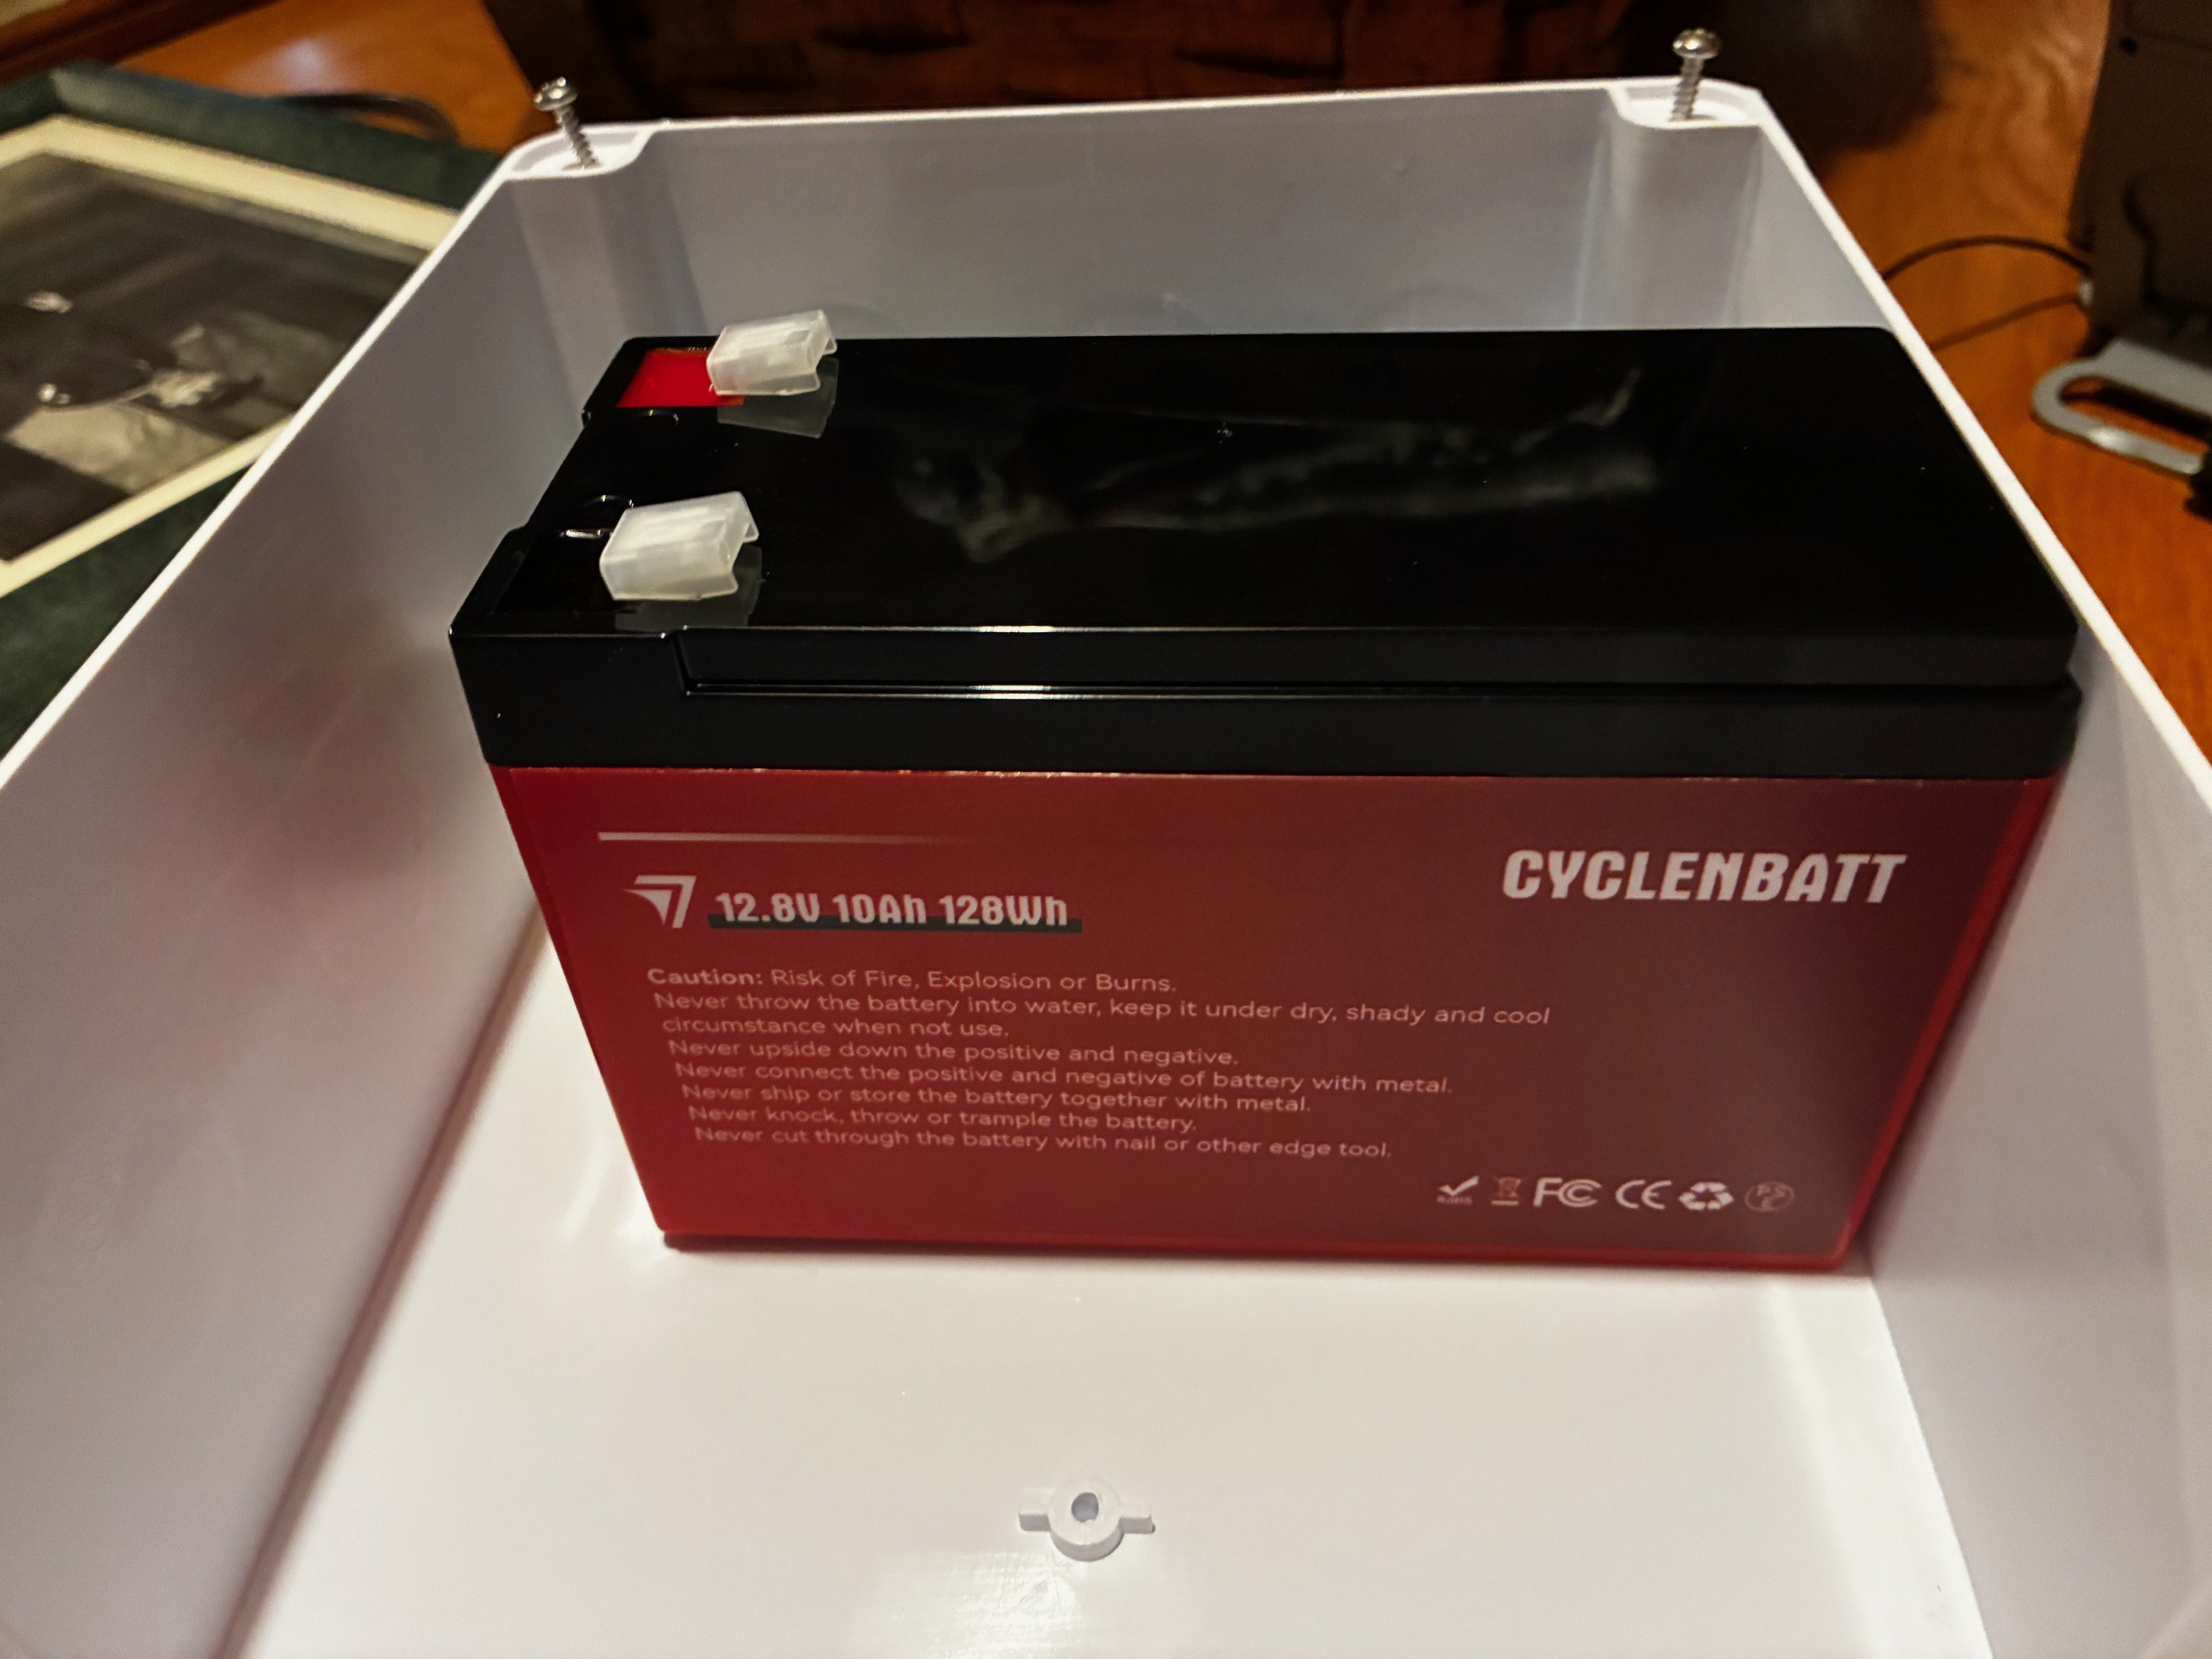
        → MOSFET ideal diode ─┐Cyclenbatt 12V 10Ah LiFePO4 (10A BMS)
        | 12V bus │
        ├─ Xfinity XB7 (~12.2W DC) |
        ├─ Monitor: XIAO ESP32-C3 + INA260 + DS18B20 via D24V7F3 (~30-40mA)|
        └─ [NEW] Pololu U3V70A Boost Subsystem → 18V → N100DC-ITX |
        | Vin carrier: 220uF/50V KEMET hybrid + 10uF X7R |
        | Vout carrier: 100uF/50V Panasonic EEH-AZA1H101B + 10uF X7R | 
        |Lead: 2ft 22AWG twisted, 5A fuse, 64.6mΩ RT| 
        |Plug: Tensility 10-02937 5.5x2.5mm |
        |EN: broken out to header + testpoint, pulled to VIN (~12.5V) — GPIO FET planned
        Integration works electrically. Load nearly doubled and every threshold held.
        No false on-battery, no BMS pressure, no XB7 disturbance, modem stayed online through test,
        pack Ri unchanged.

Performance Summary — Validated May 6 2026 (INA260)

Validated Runtime: ∼3.6 hours to hardware LVD (11.8V) under sustained 14.9W load. INA260 coulomb-counted 4.18 Ah / 53.3 Wh.

Monitoring upgrade: Shelly Plus...
Read more »

UPS_Final_Report.pdf

Commissioning Run

Adobe Portable Document Format - 40.93 kB - 03/26/2026 at 23:39

Preview

System_Overview.png

System Architecture

Portable Network Graphics (PNG) - 43.27 kB - 03/06/2026 at 13:25

Preview

  • 1 × Mean Well HDR-60-12 PSU
  • 1 × Cyclenbatt 12V 10Ah LiFePO4 Battery
  • 1 × Victron BatteryProtect BP-65 12/24V
  • 1 × Pololu Ideal Diode 4-60V 10A
  • 1 × Shelly Plus Uni

View all 14 components

View all 2 project logs

  • 1
    Wiring Instructions

    Wiring Reference

    All wiring is 16AWG. See voltage-drop-analysis.md for resistance and drop calculations.

    Fuse Locations and Ratings

    FuseRatingLocationPurpose
    F110A fast-blowPSU outputProtects PSU output circuit
    F210A fast-blowBattery positiveINSTALL FIRST — protects battery circuit
    F32A fast-blowBP-65 OUT → HA GreenProtects HA Green load circuit
    F45A fast-blowBP-65 OUT → XB7 ModemProtects Xfinity Modem load circuit
    Install F2 before connecting the battery to any other part of the circuit. This is the primary short-circuit protection for the battery.

    Component Mounting

    ComponentMounting Method
    Mean Well HDR-60-12 PSUVelcro to enclosure base, stabilize to wall
    Victron BatteryProtect BP-65Velcro to enclosure base
    Pololu Ideal DiodeFloat — secure with wire ties
    Shelly Plus UniFloat — secure with wire ties
    Lever NutsFloat — secure with wire ties
    WiringCable clips as needed for strain relief

    Wiring Connections — From/To Reference

    AC Input → PSU

    FromToNotes
    Power Cord — Black (Hot)PSU Pin 1 AC/L
    Power Cord — White (Neutral)PSU Pin 2 AC/N
    Power Cord — Green (Ground)N/Agreen ground is cut back, capped with a wire nut, and taped, because the HDR-60-12 is a Class II double-insulated

    PSU → Ideal Diode

    FromToNotes
    PSU Pin 4/5 DC Output V−Ideal Diode GND (V−)
    PSU Pin 6/7 DC Output V+Ideal Diode VIN (V+)Via F1 (10A)

    Ideal Diode → Terminal Block

    FromToNotes
    Ideal Diode GND (V−)Input 2 (−)Terminal Block has 2 inputs
    Ideal Diode VOUT (V+)Input 2 (+)Terminal Block has 2 inputs

    Battery → Terminal Block

    FromToNotes
    Battery (V−)Input 1 (−)Terminal Block has 2 inputs
    Battery (V+)Input 1 (+)Via F2 (10A)

    Terminal Block → Victron BatteryProtect BP-65

    FromToNotes
    Terminal Block +BP-65 IN terminal
    Terminal Block −BP-65 GND terminalUse included 1.5mm² wire

    Victron BP-65 OUT → Loads

    FromToNotes
    BP-65 OUT terminalF3 input (2A)HA Green load circuit
    F3 outputHA Green barrel plug (center +)5.5mm × 2.1mm, center-positive
    BP-65 OUT terminalF4 input (5A)Xfinity Modem load circuit
    F4 outputXB7 Modem barrel plug (center +)5.5mm × 2.1mm, center-positive
    Terminal Block −HA Green barrel plug (sleeve)Common return
    Terminal Block −XB7 Modem barrel plug (sleeve)Common return

    Shelly Plus Uni Monitoring

    FromToNotes
    Battery + (Terminal Block)Shelly Pin 1 (V+)Module power in (+)
    Battery − (Terminal Block)Shelly Pin 2 (GND)Module power in (−)
    Battery + (Terminal Block)Shelly Pin 3 (Analog In)Bridge to Pin 1 — battery voltage sense; primary shutdown trigger at 12.2V
    DS18B20 Yellow/White (Data)Shelly Pin 5 (Data)1-Wire temperature data
    DS18B20 Black (GND)Shelly Pin 6 (Sens. GND)Temperature sensor ground
    DS18B20 Red (VCC)Shelly Pin 7 (3.3V Out)Temperature sensor power

    Enclosure Layout

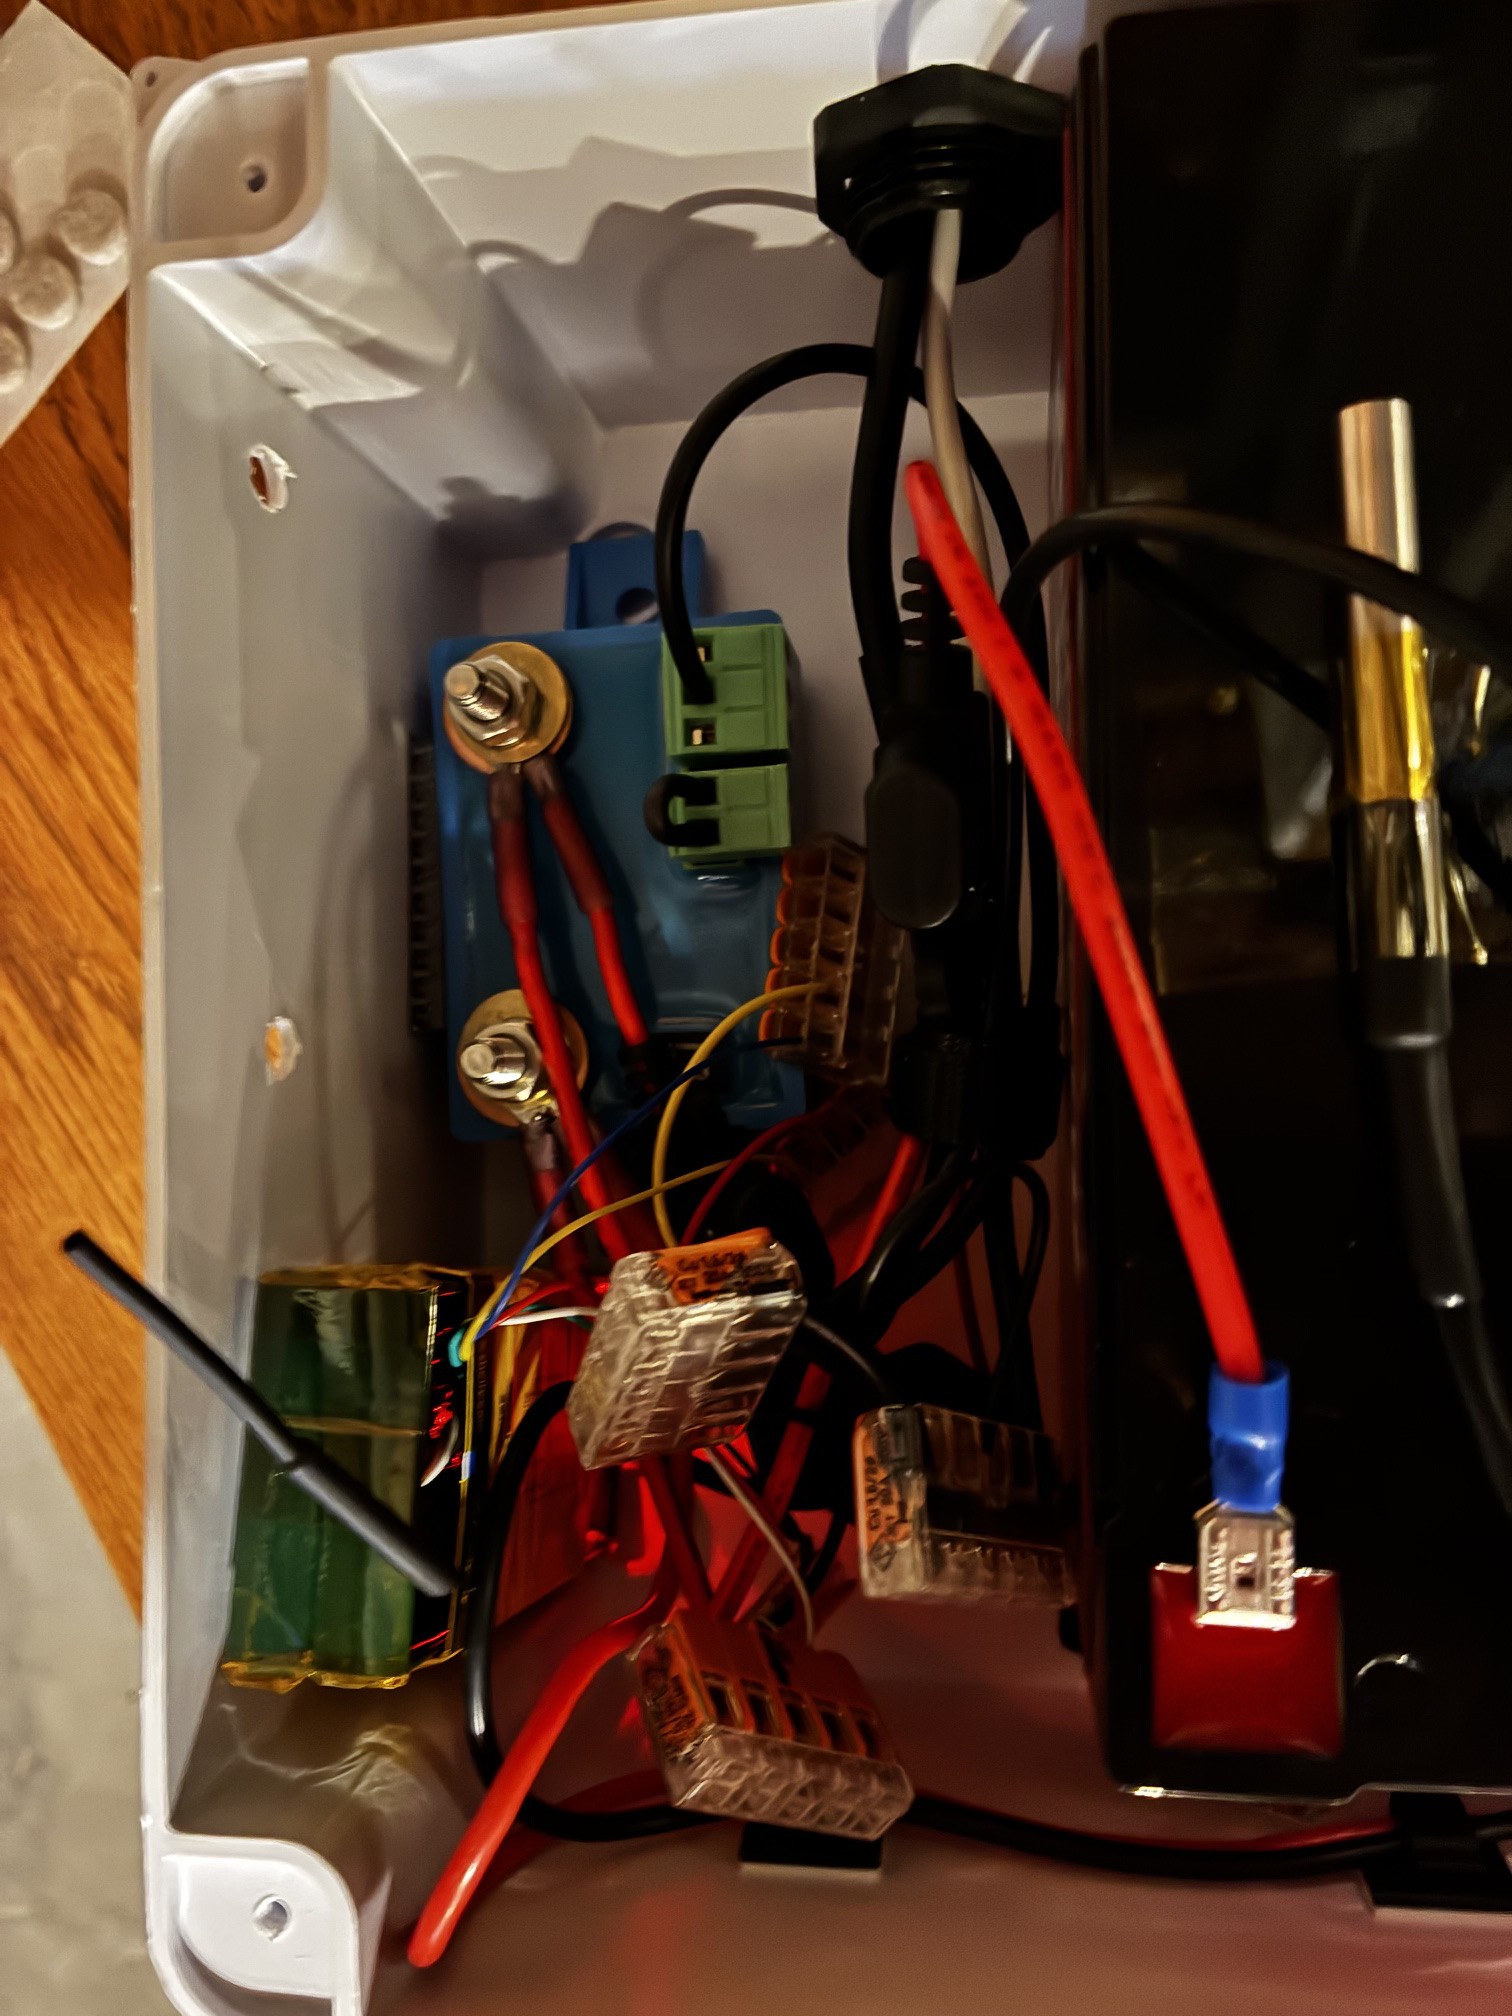
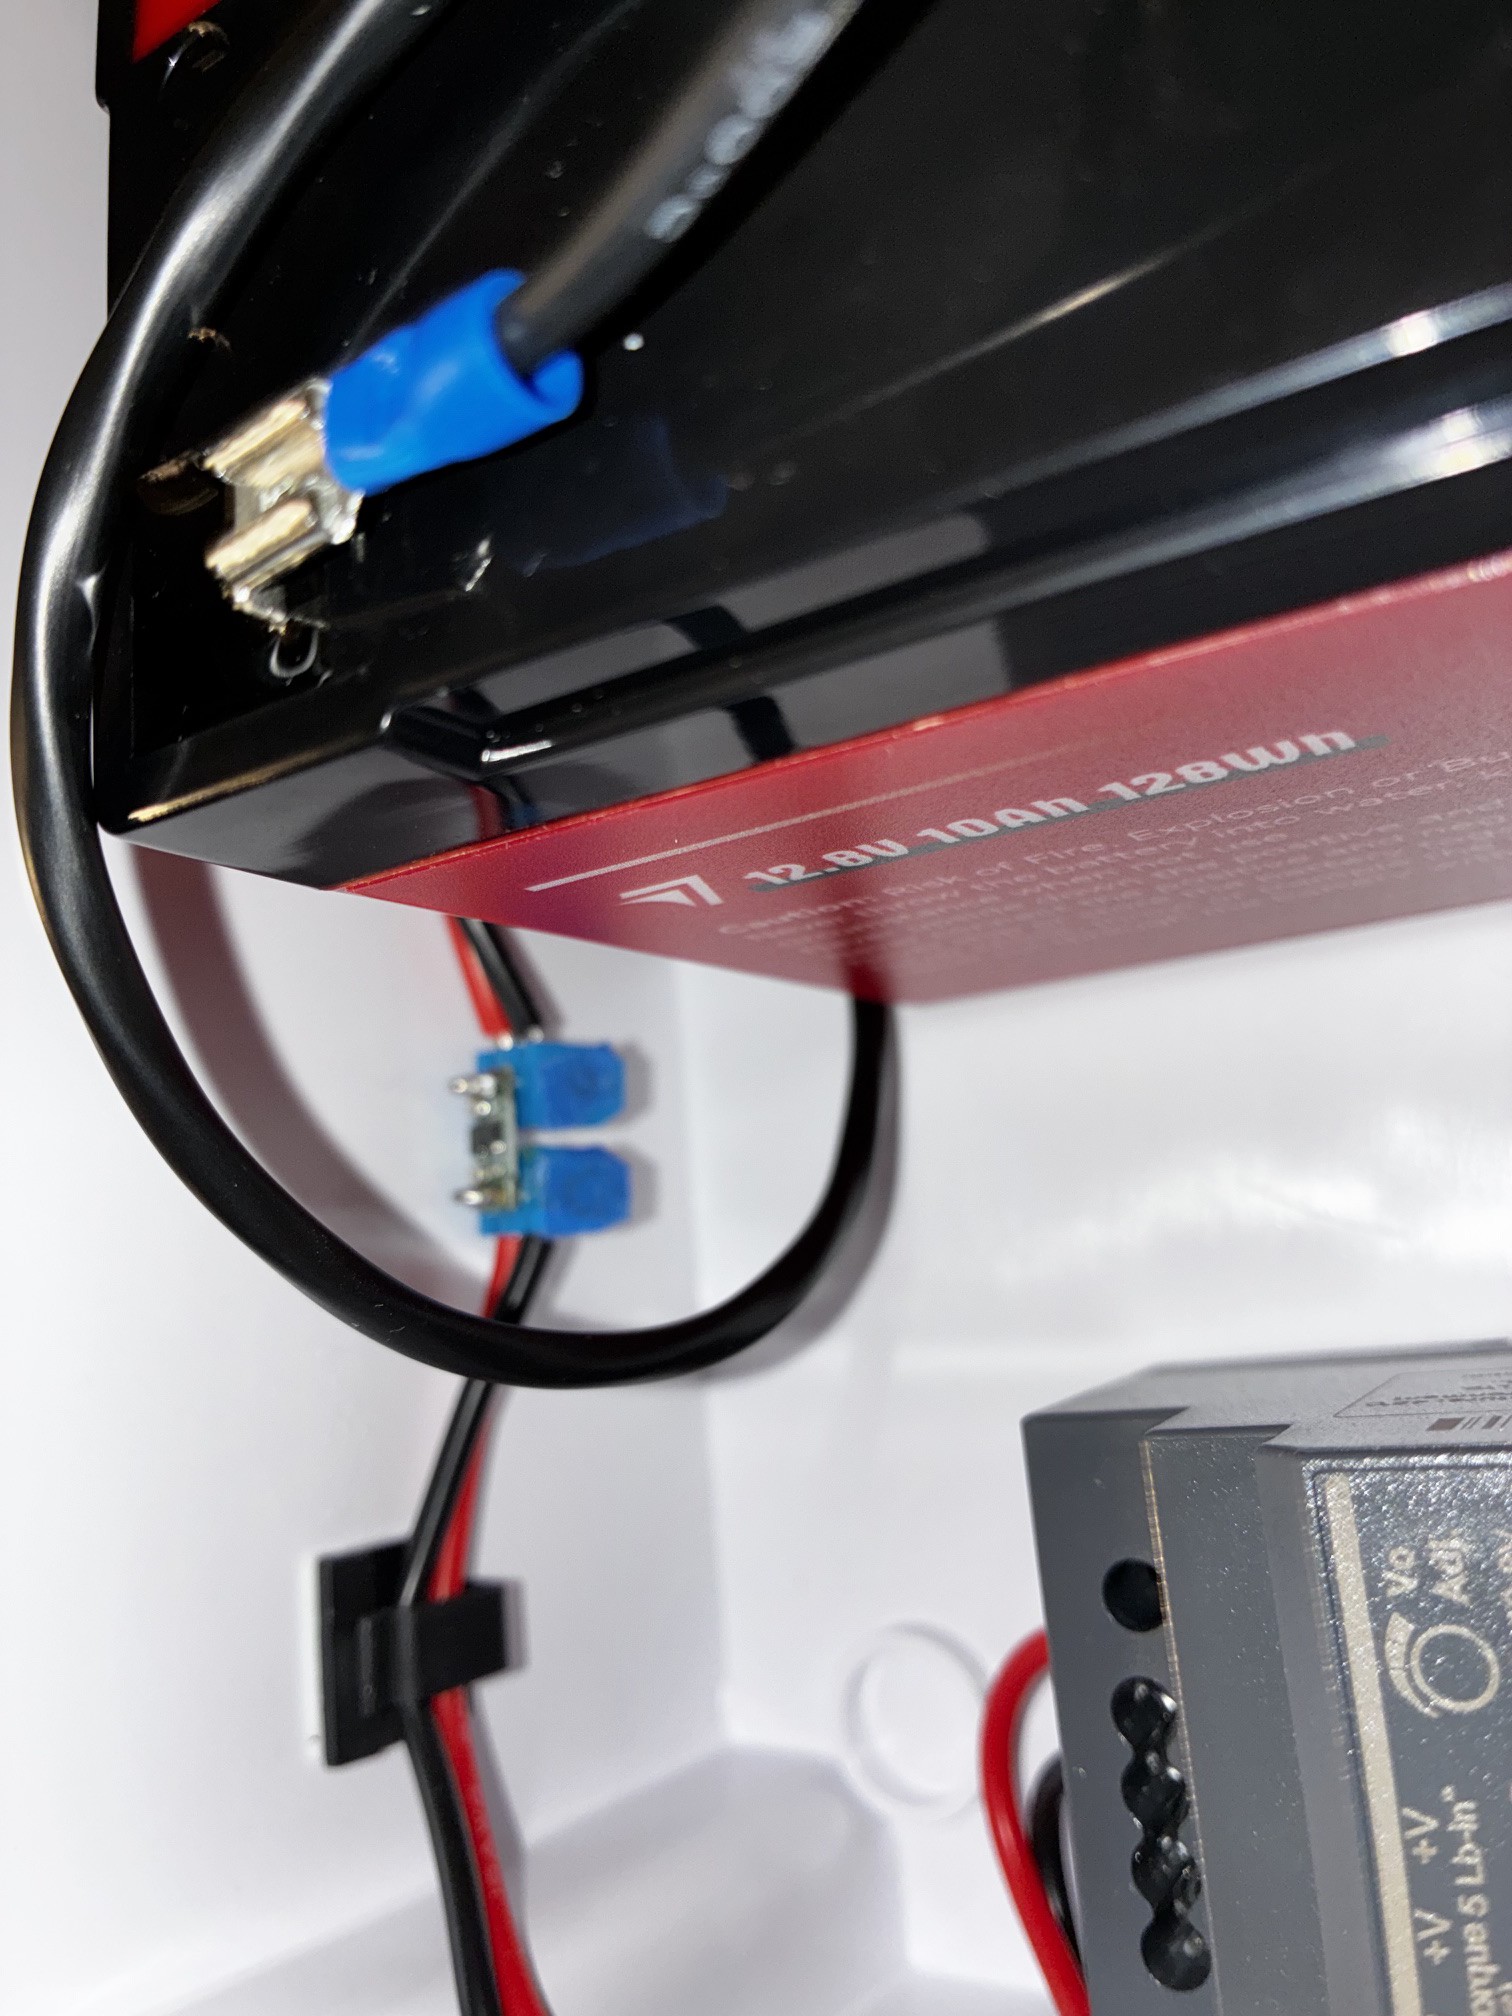
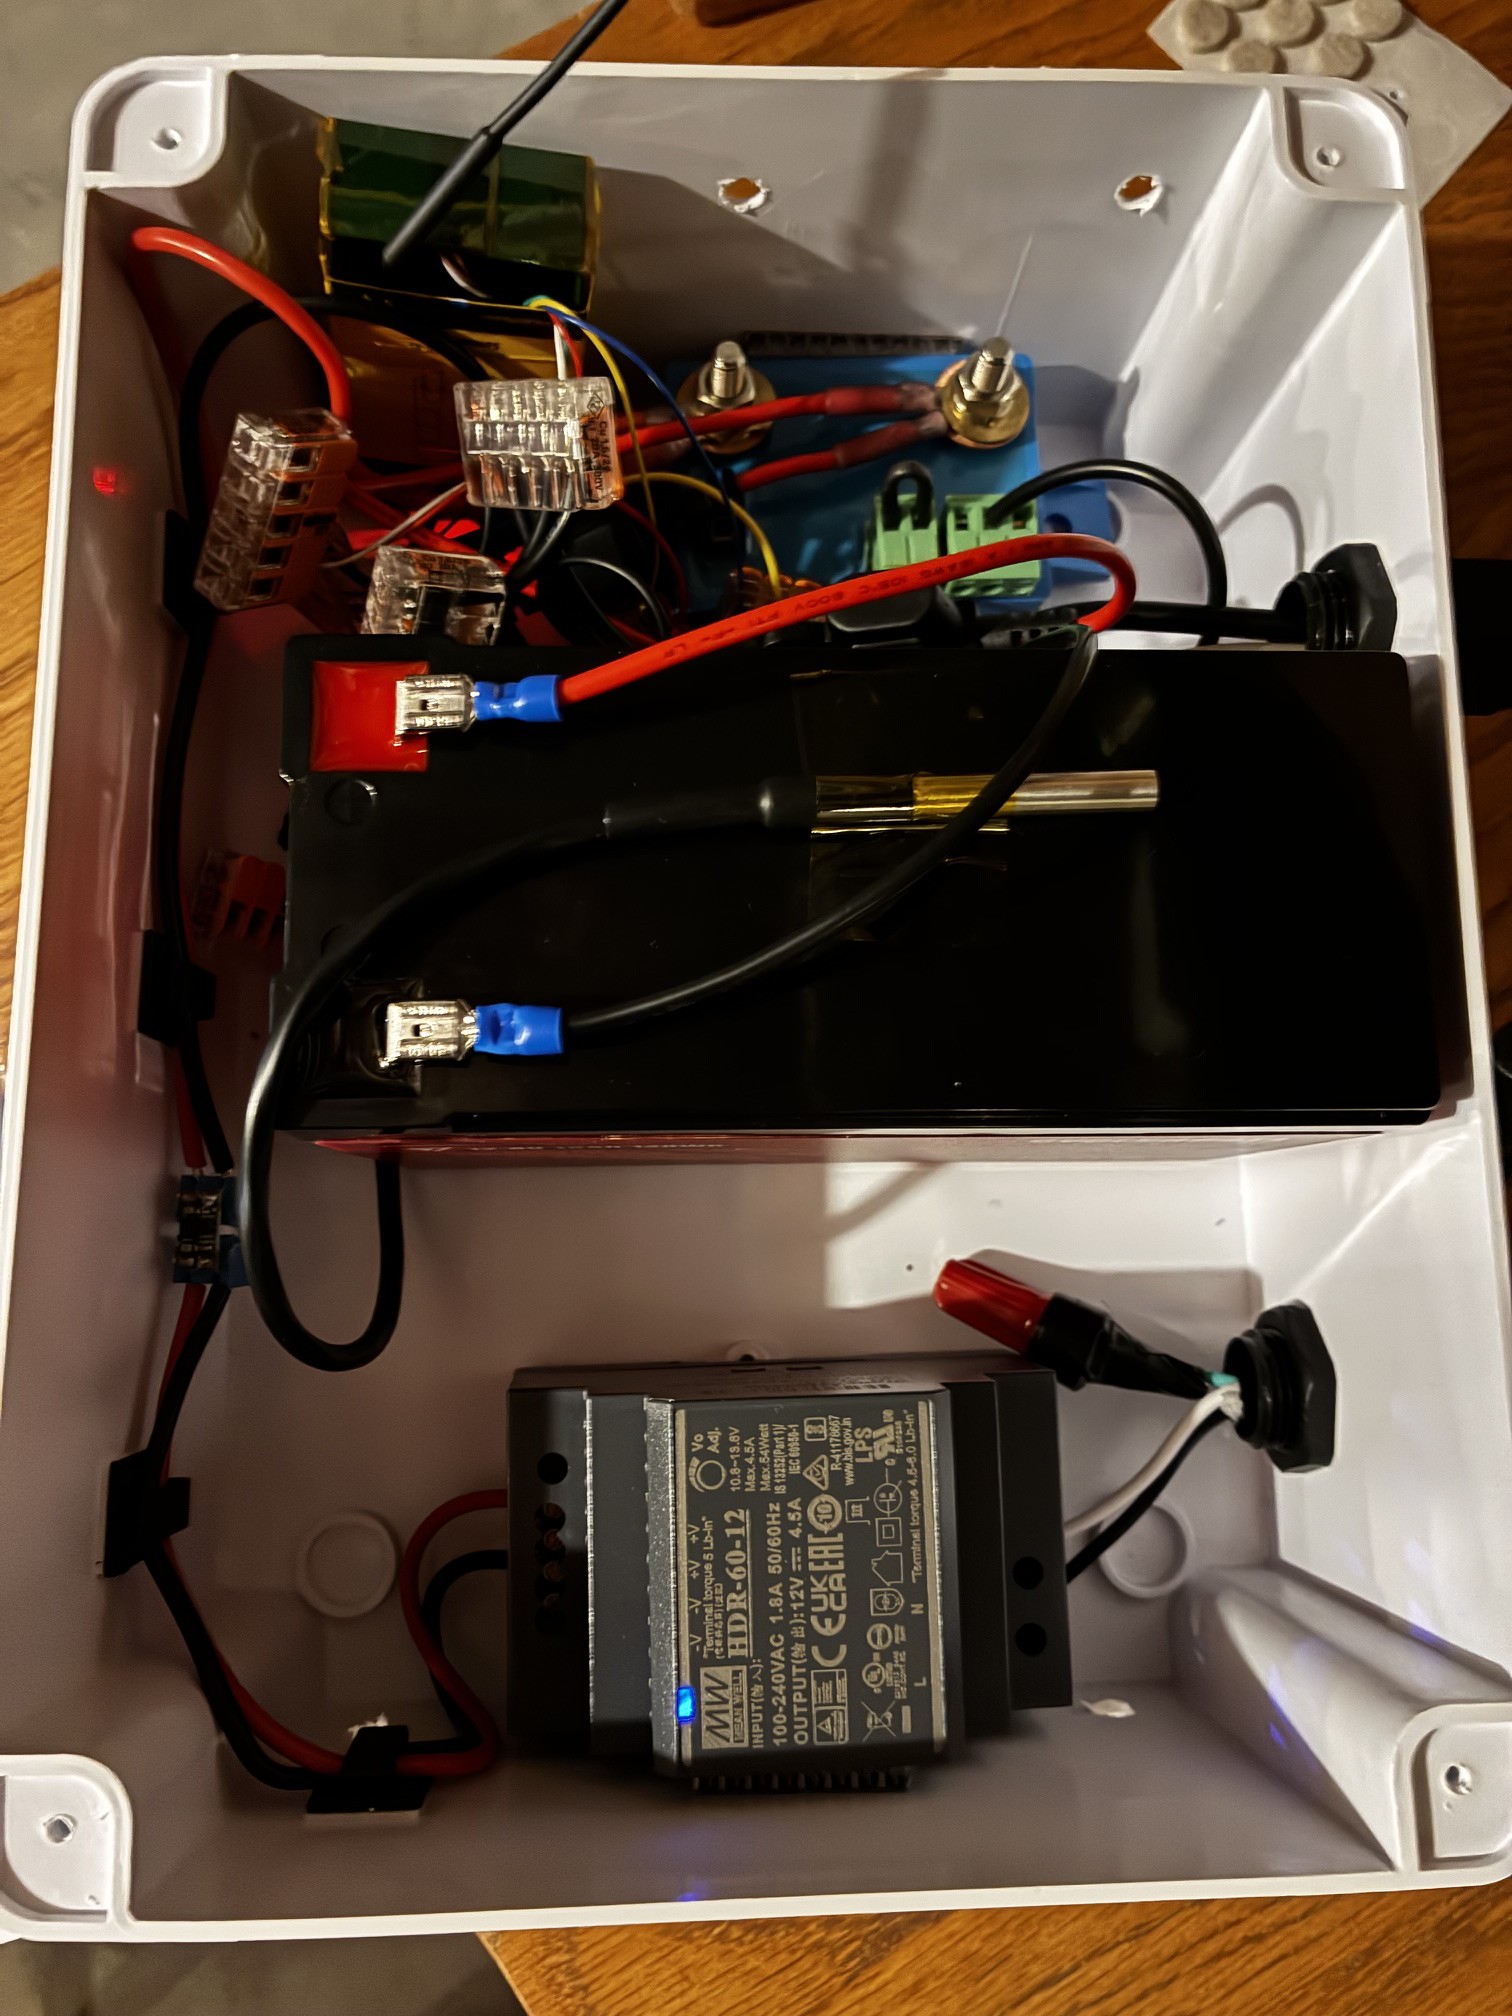
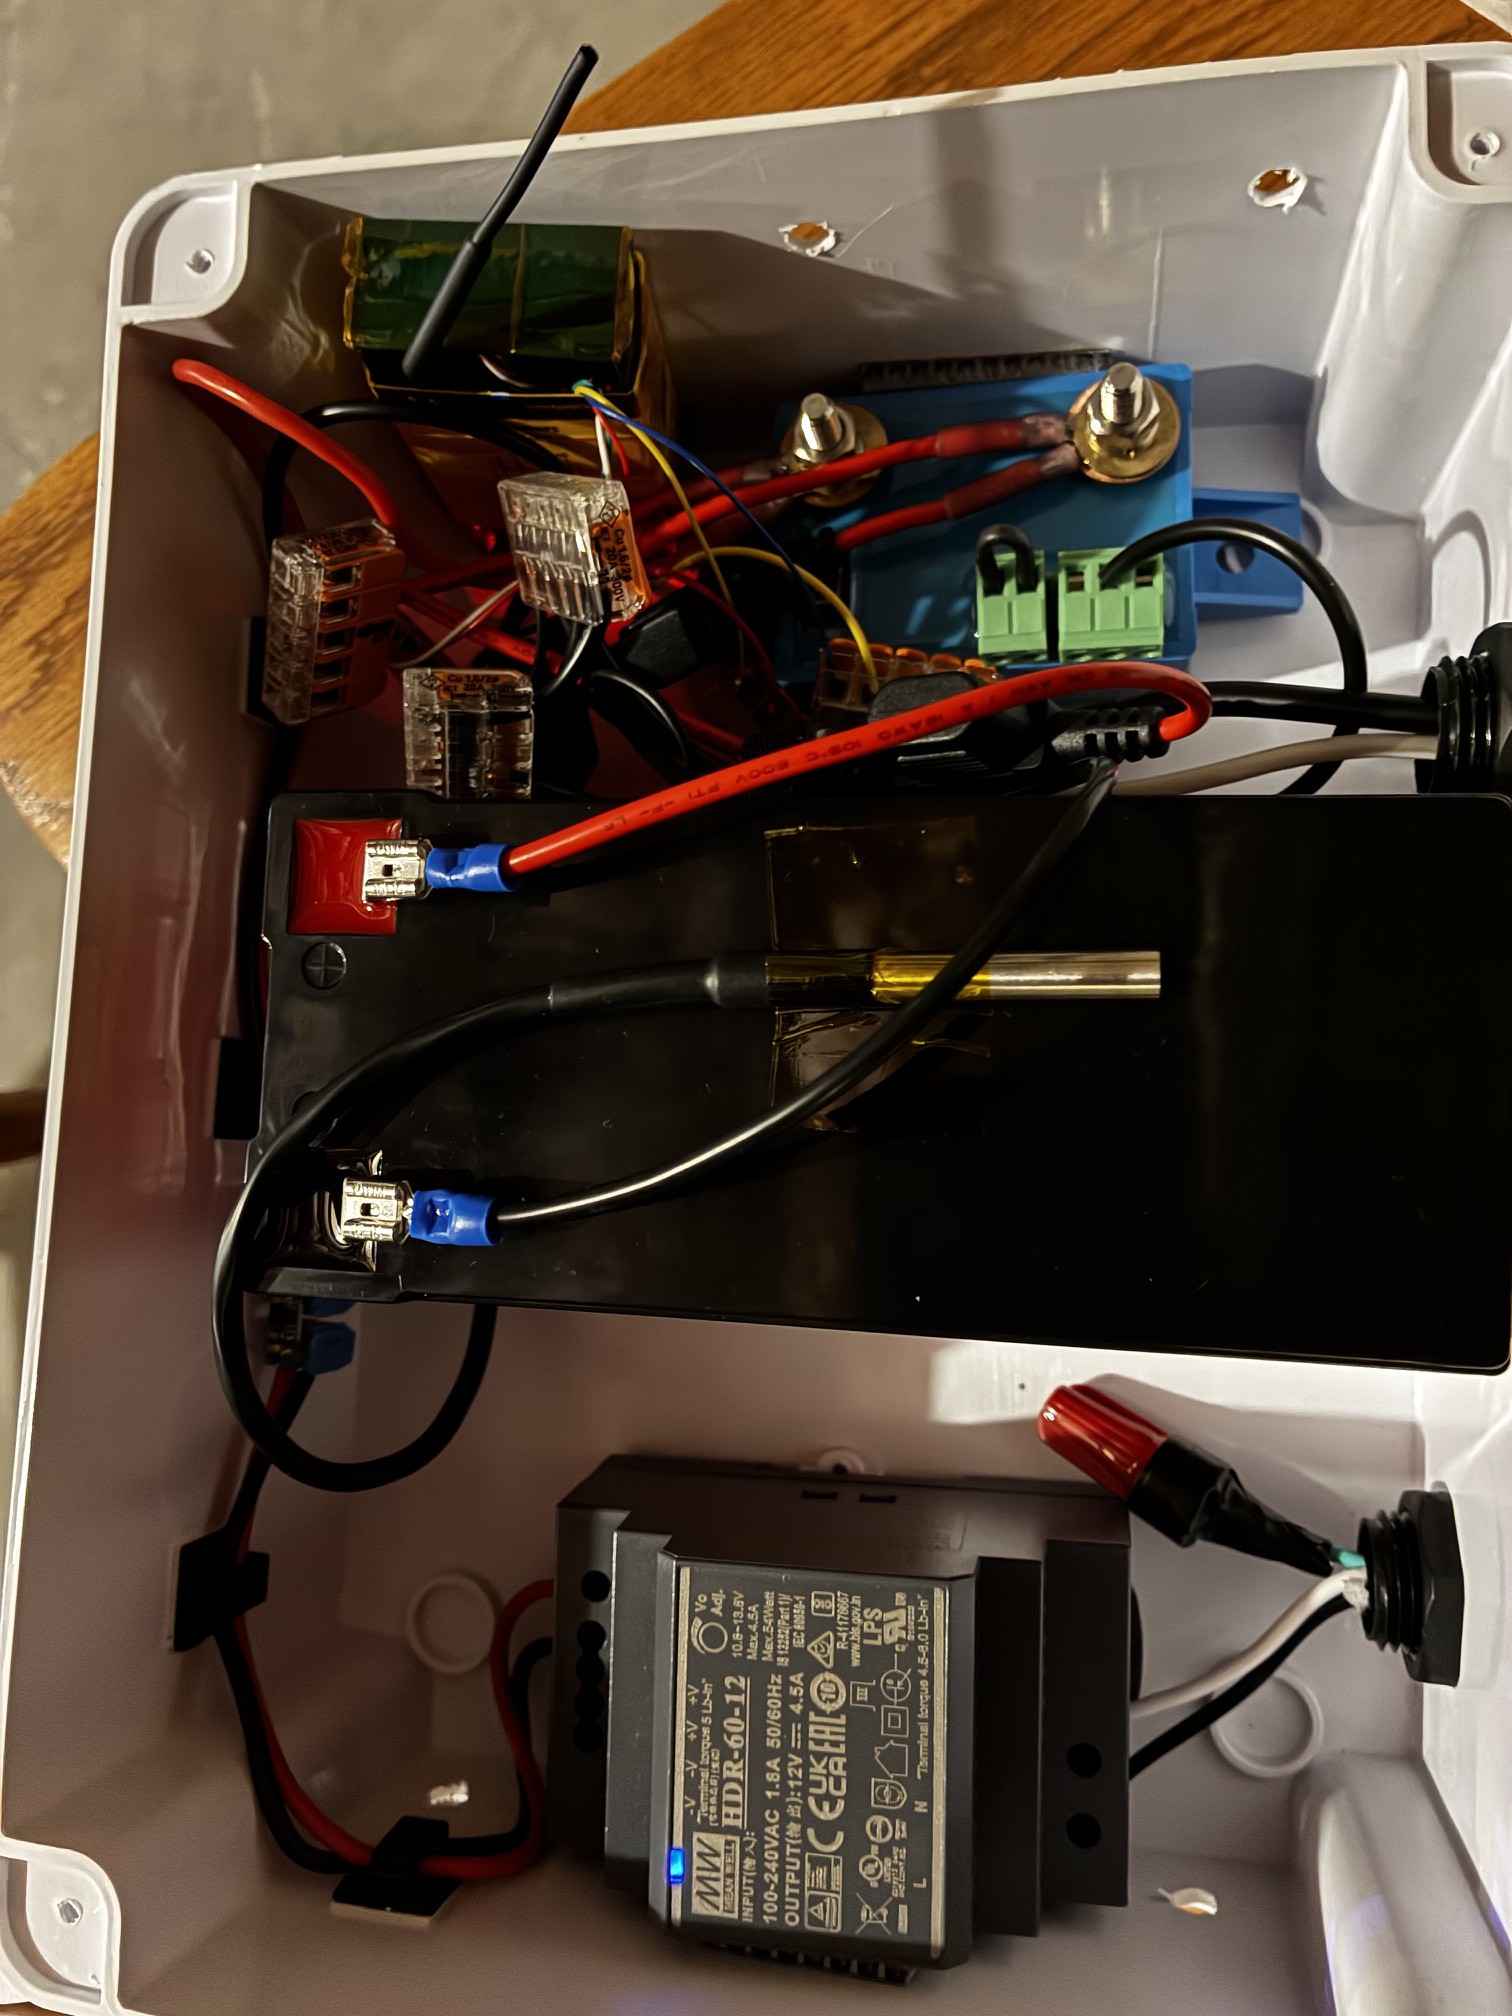
    See https://github.com/wkcollis1-eng/DIY-LiFePO4-UPS/blob/main/assets/UPS_Layout_with_12_Volt_Regulator.png for the assembly drawing image.

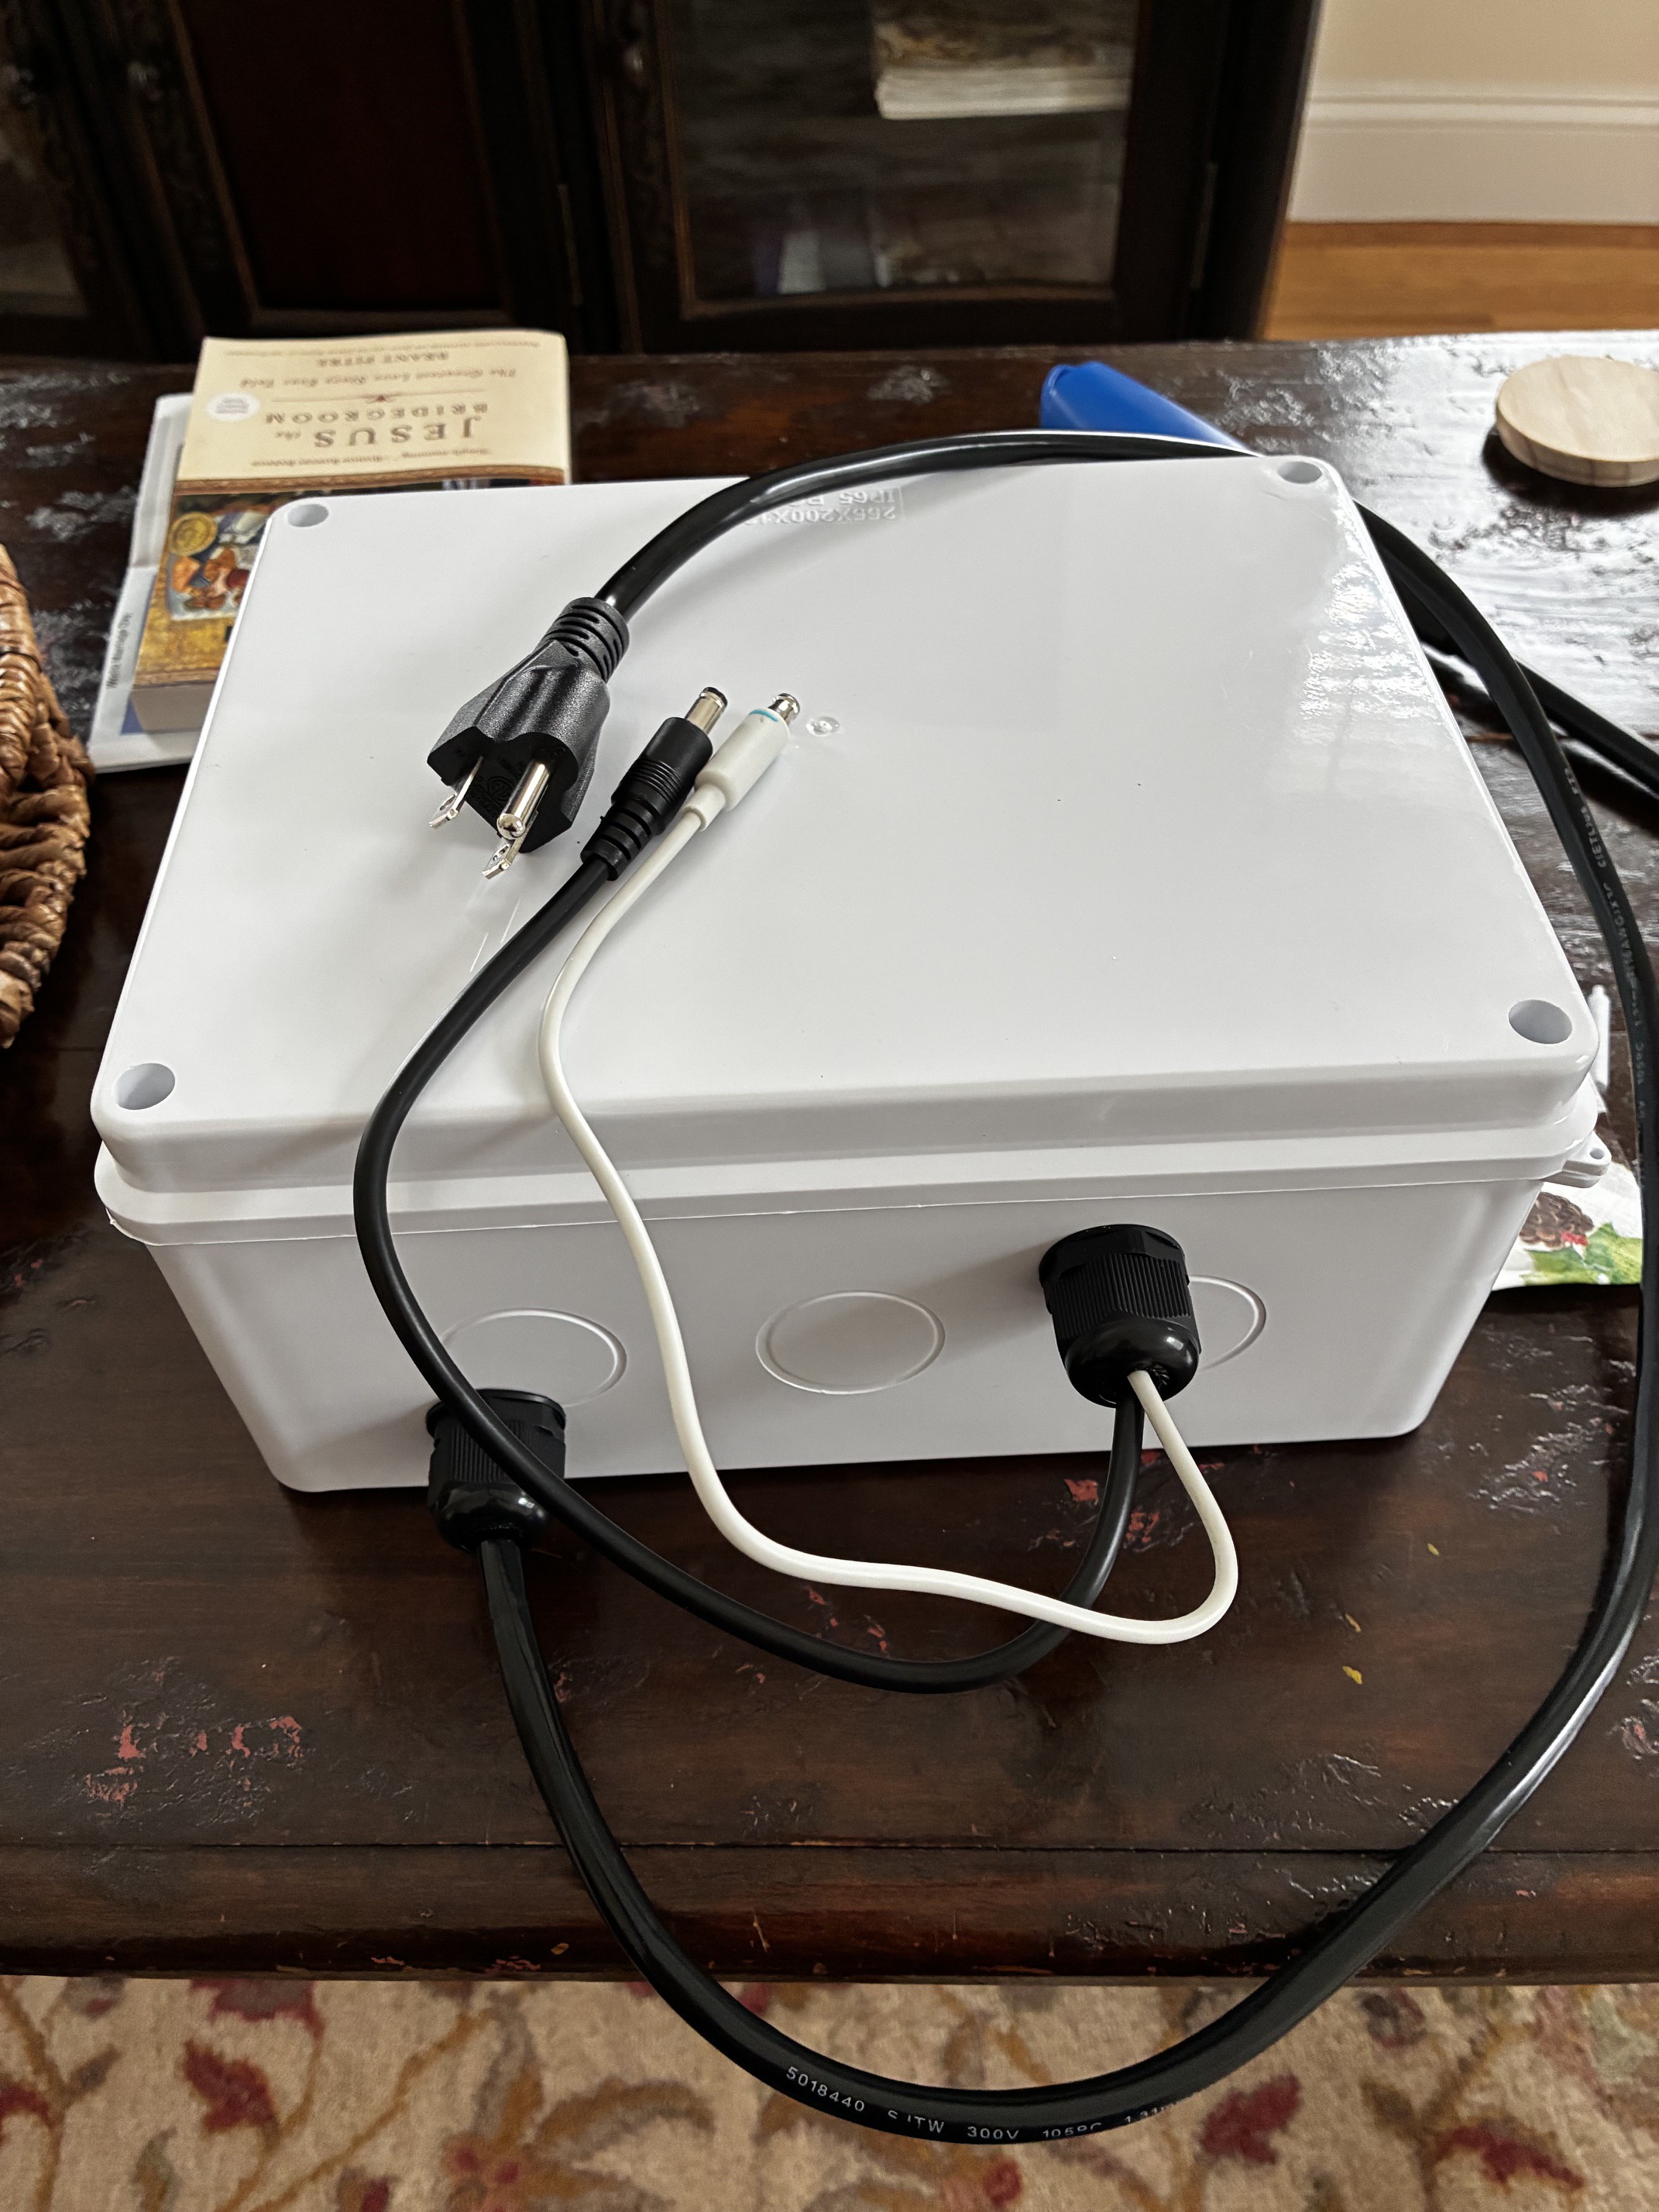
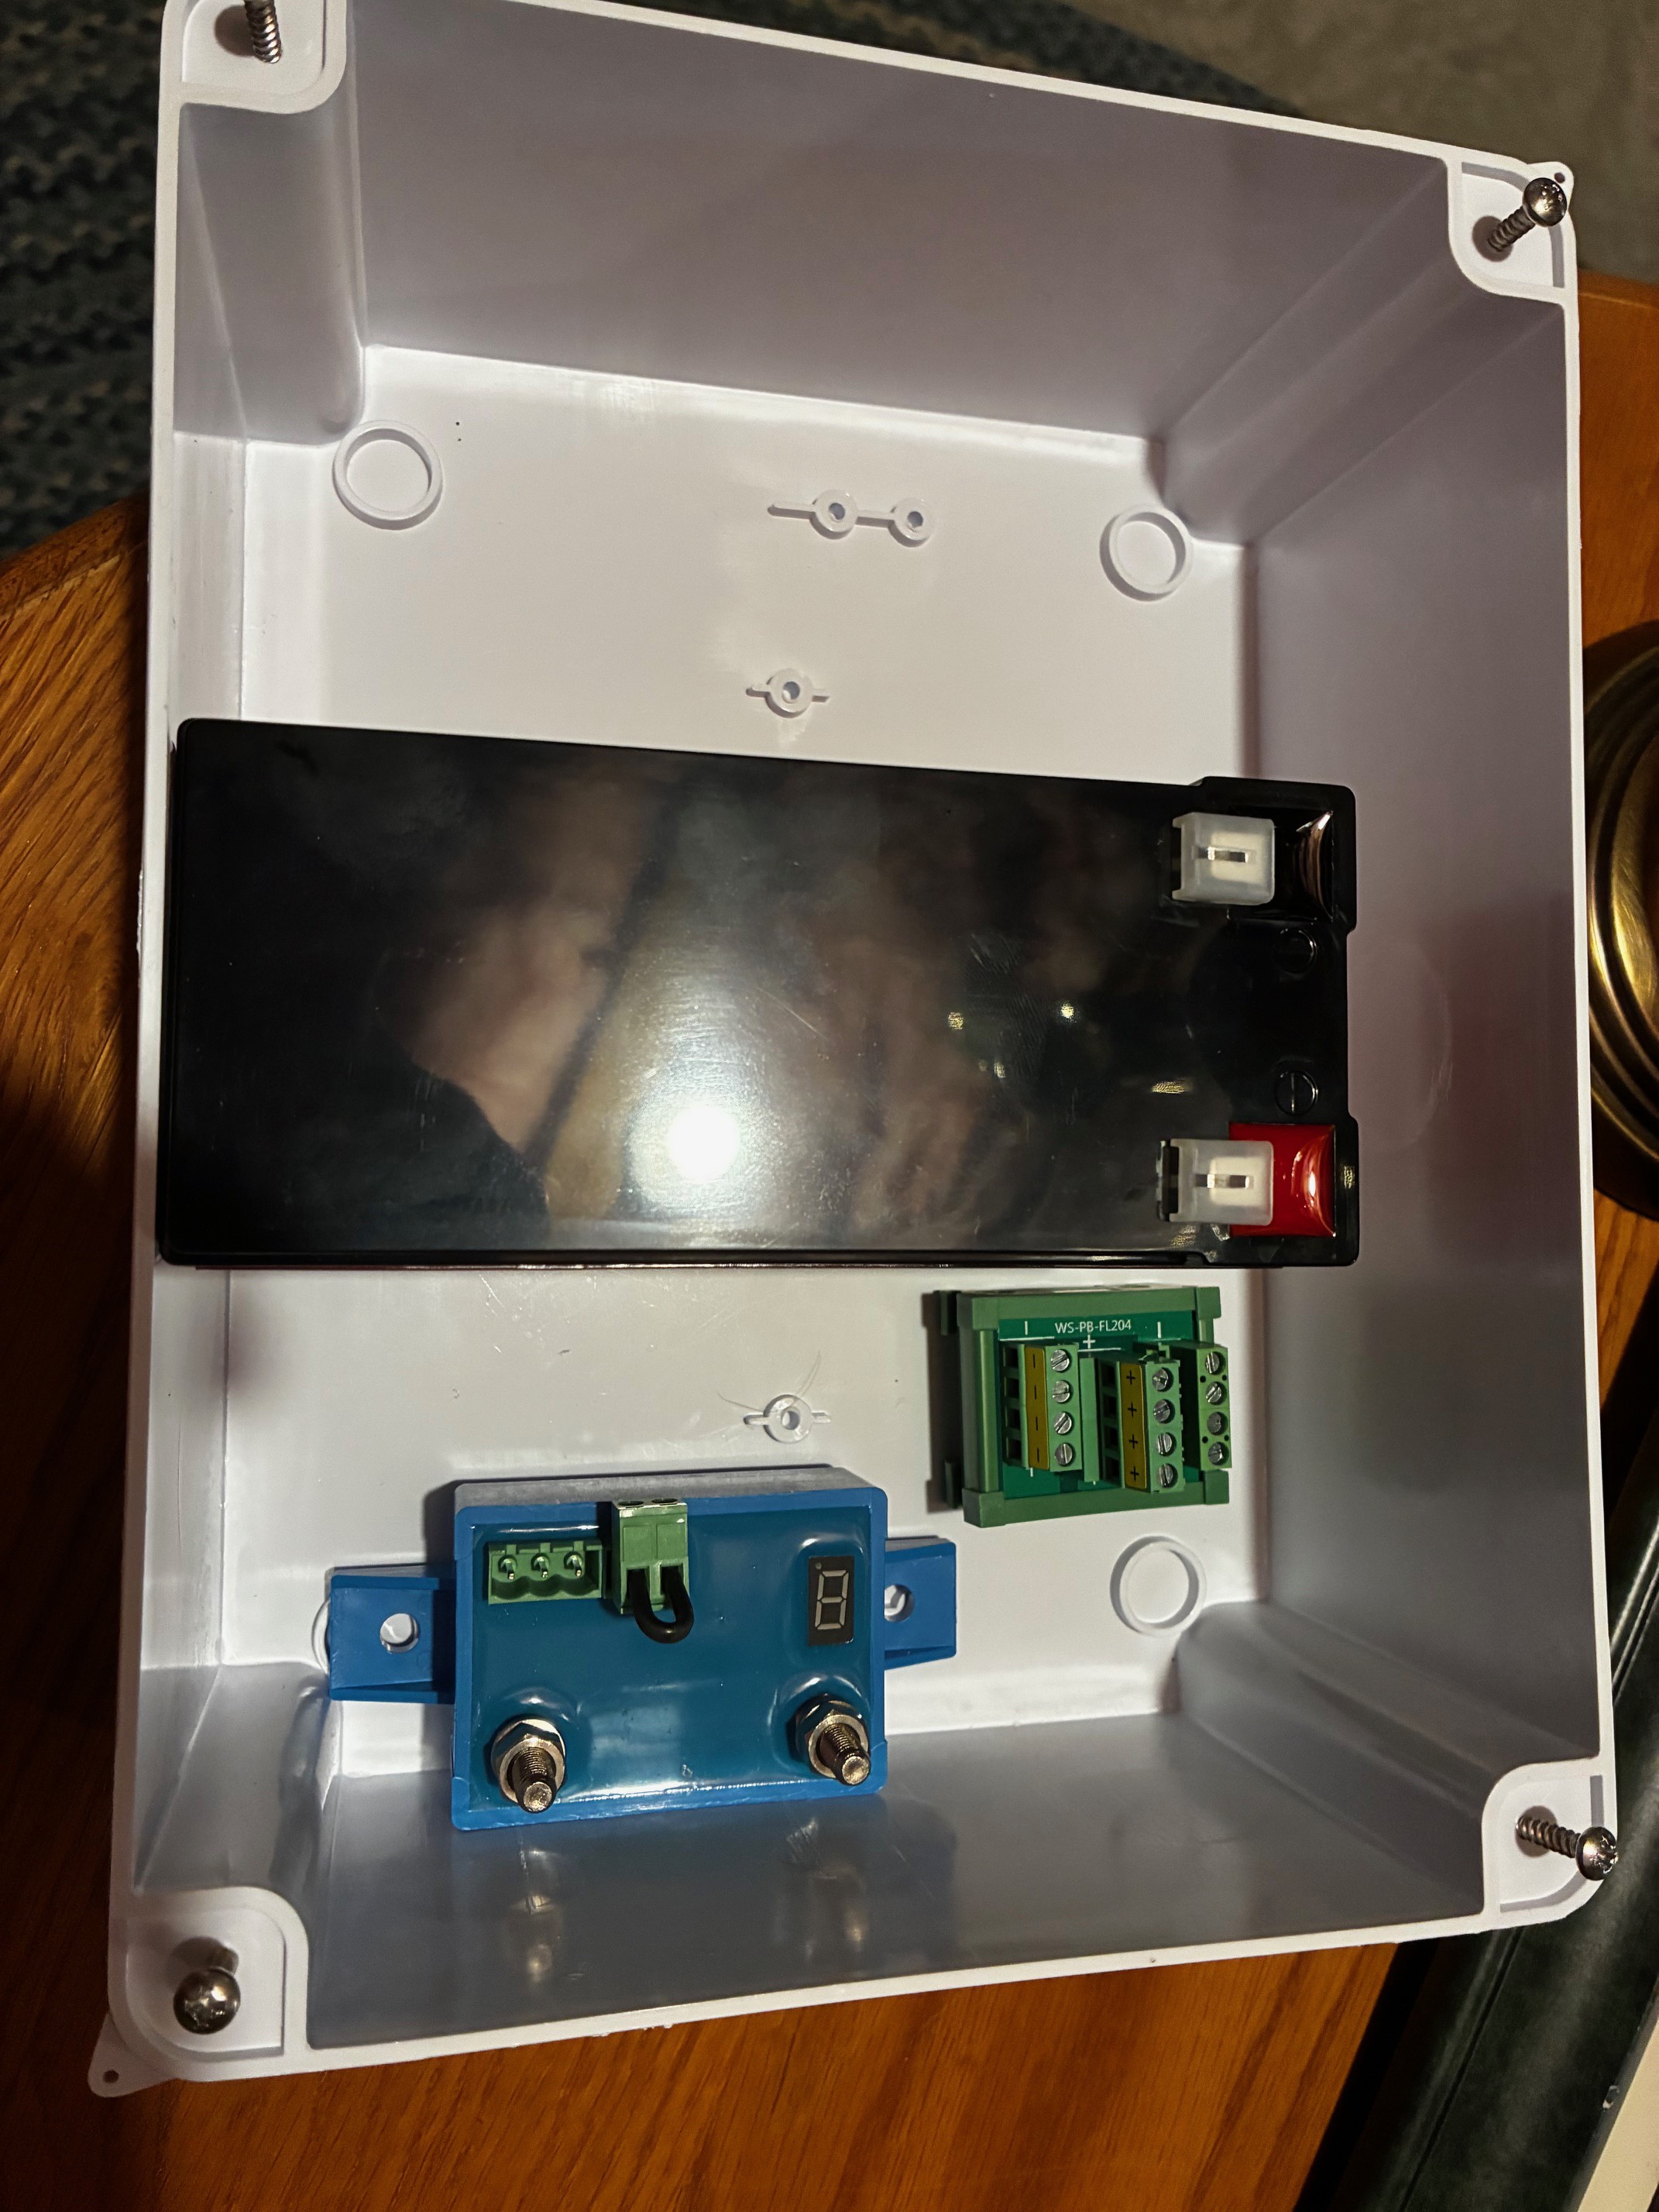
    The enclosure is a LeMotech IP65 ABS junction box (9.6″×7.6″×4.5″ interior). Key layout decisions:

    • PSU occupies the left side; battery occupies the center. Physical separation provides AC/DC segregation and reduces EMI coupling.
    • Cable glands (1/2" NPT) on the bottom face: AC input on the left, DC output barrel jacks on the right.
    • Victron BP-65 mounts on the right side wall. Terminal block sits between battery and BP-65.
    • Shelly and ideal diode float above the battery, secured with wire ties.
    • All 16AWG runs are kept to approximately 6" segments to hold voltage drop 41mV at typical load and 63mV at peak.

View all instructions

Enjoy this project?

Share

Discussions

Bill Collis wrote 03/01/2026 at 19:17 • point

Hi Nicholas,

This is one of the nuances of the design -  

Neither — this design bypasses CC-CV entirely by using passive float
  charging.

  How it works:
  - PSU is set to 13.3V (LiFePO4 resting voltage)
  - Current is naturally limited by the voltage differential between PSU and battery
  - As battery charges, the differential shrinks → current tapers organically
  - At equilibrium, current drops to near-zero (microamps)

  The BMS role:
  - The Cyclenbatt's built-in 10A BMS provides protection only (OVP, UVP, OCP, short circuit)
  - It does not regulate charging current — it would only intervene if current exceeded 10A (which can't happen here since max PSU output is 8.5A, and typical charge current is <2A)

  Why this works for LiFePO4:
  - LiFePO4 has a flat discharge curve and tolerates indefinite float at 13.3V
  - No risk of overcharge since 13.3V is below the 14.4-14.6V charge termination voltage
  - Trade-off: charges to ~95% SoC rather than 100%, but extends cycle life

Hope that answers you question.

Bill

  Are you sure? yes | no

Does this project spark your interest?

Become a member to follow this project and never miss any updates