ElectroScope Archive
Overview
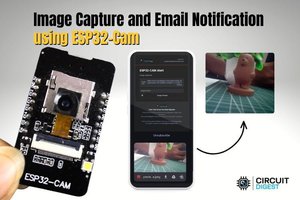
This project demonstrates how to use the ESP32-CAM module to capture an image and send it directly to your email. It’s a simple yet powerful IoT application ideal for security systems, motion detection, or remote monitoring.
The ESP32-CAM connects to Wi-Fi, captures an image, and uses SMTP (Simple Mail Transfer Protocol) to send an email with the image attached or embedded.
Features
- Capture images using ESP32-CAM
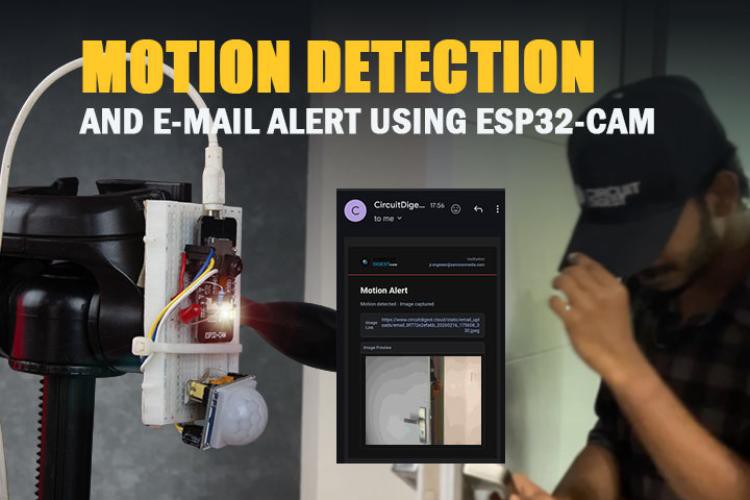
- Send real-time email notifications
- Wireless operation over Wi-Fi
- Low-cost and compact setup
- Easily customizable for automation triggers
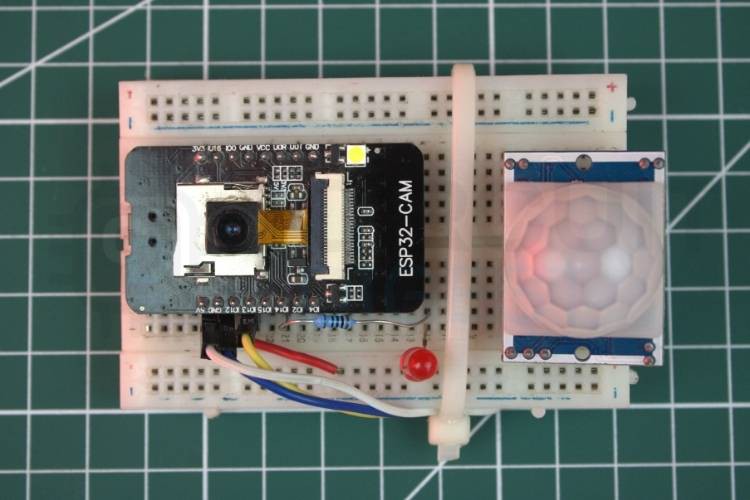
Components Required
- ESP32-CAM module
- FTDI programmer (for uploading code)
- Jumper wires
- 5V power supply
- Optional: PIR motion sensor for automation
How It Works
- The ESP32-CAM connects to a Wi-Fi network.
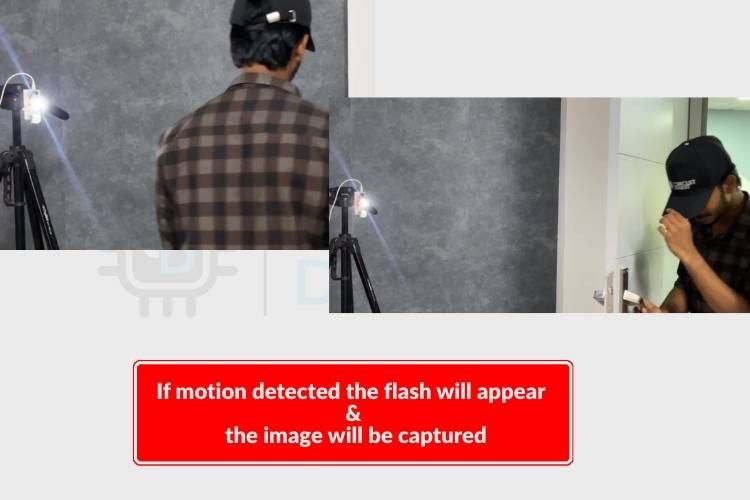
- When triggered (manually or via a sensor), it captures an image.
- The image is encoded and prepared for transmission.
- Using SMTP, the ESP32 sends an email to a predefined address.
- The recipient receives the image instantly.

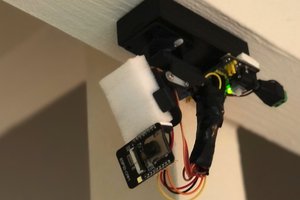
ESP32-CAM Pin Configuration
When uploading code using an FTDI programmer:
- U0R → TX
- U0T → RX
- GND → GND
- 5V → VCC
- IO0 → GND (only during upload mode)
Remove IO0 from GND after uploading to run the program.
Setting Up Email Credentials
To send emails, you need SMTP server details:
- SMTP server (e.g., Gmail: smtp.gmail.com)
- Port (typically 465 for SSL)
- Sender email address
- App password (recommended instead of your main password)
Tip: For Gmail, enable 2-factor authentication and generate an App Password for security.
Installing Required Libraries
In Arduino IDE, install:
- ESP32 Board Package
- WiFi library (built-in)
- ESP Mail Client library
Make sure the correct board (ESP32 Wrover Module) is selected.
Code Structure
1. Wi-Fi Connection
Initialise and connect the ESP32 to your Wi-Fi network using the SSID and password.
2. Camera Initialisation
Configure camera pins and settings for the ESP32-CAM module.
3. Email Configuration
Set up SMTP server details, sender credentials, and recipient email.
4. Image Capture
Capture a frame using the camera module.
5. Email Sending
Attach or embed the image and send it via SMTP.
Uploading the Code
- Connect ESP32-CAM to FTDI programmer
- Set IO0 to GND
- Upload the code via Arduino IDE
- Remove IO0 from GND
- Press reset button
Testing the Project
- Power the ESP32-CAM
- Wait for Wi-Fi connection
- Trigger the capture (or let it run automatically)
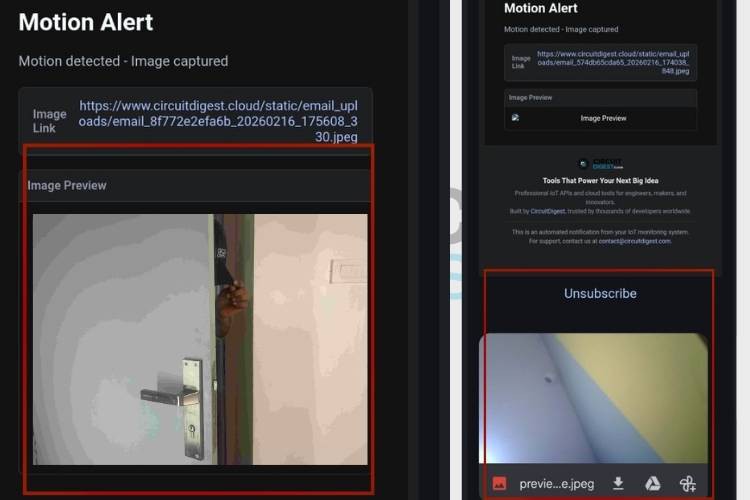
- Check your email inbox
If configured correctly, you will receive an email with the captured image.
Common Issues
Camera not detected
- Check wiring and power supply
Email not sending
- Verify SMTP credentials
- Ensure app password is correct
Wi-Fi connection failure
- Confirm SSID and password
Applications
- Home security systems
- Motion-triggered surveillance
- Smart door monitoring
- Wildlife observation
- Remote industrial monitoring
Improvements & Ideas
- Add motion detection using PIR sensor
- Store images on SD card
- Send alerts to multiple recipients
- Integrate with cloud dashboards
- Add timestamp to images
Conclusion
This ESP32-CAM email notification system is a practical and low-cost solution for real-time monitoring. With minimal hardware and simple configuration, you can build a smart alert system that captures and shares visual data instantly. It’s a great starting point for more advanced IoT surveillance projects. This project shows how to build a compact IoT camera using the ESP32-CAM that captures images and sends them directly to your email. It’s a practical solution for real-time monitoring, security alerts, and remote sensing applications, and fits well among other IoT projects and hands-on ESP32 Projects.
 Mauro Riva