-
The Continuation
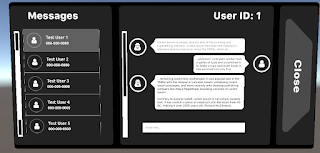
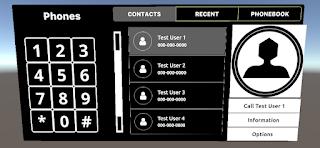
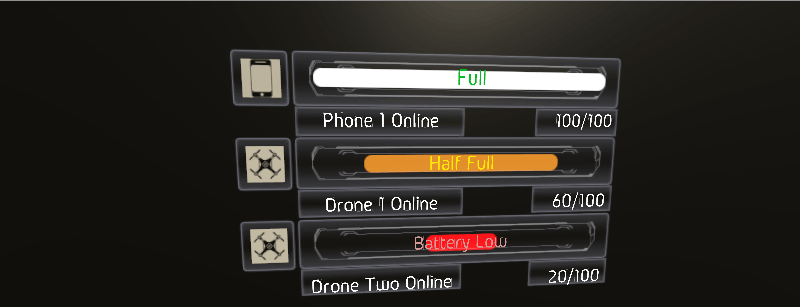
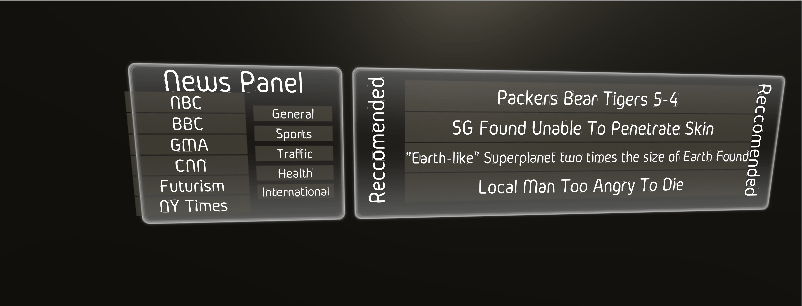
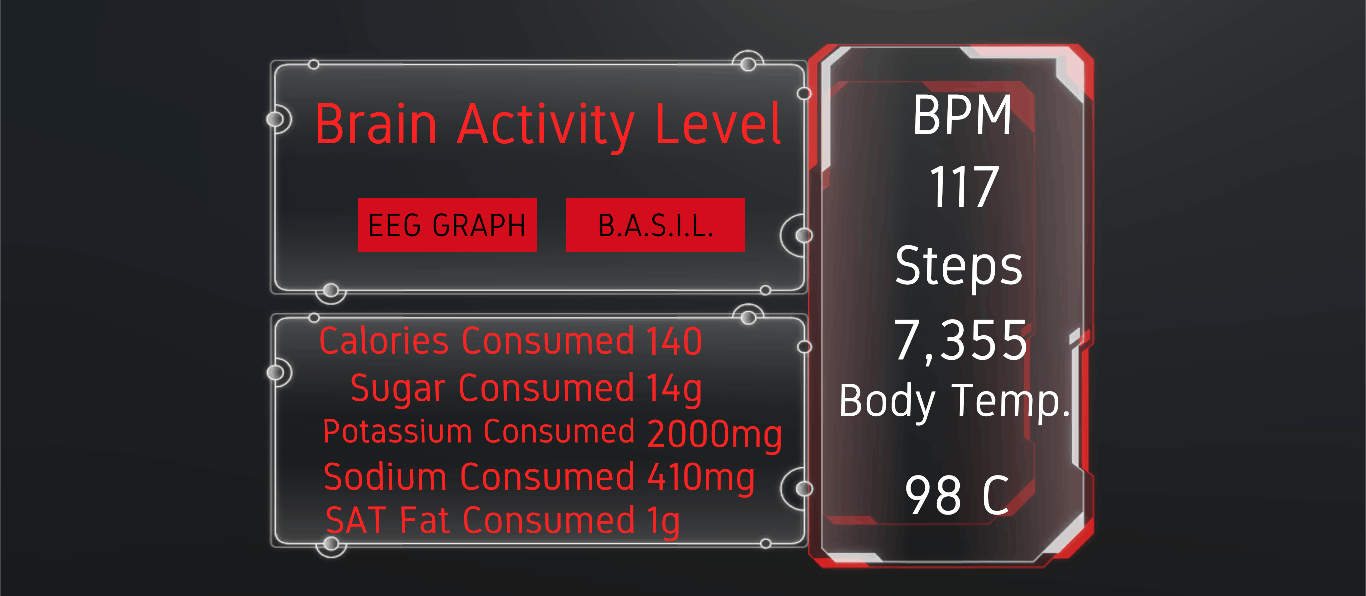
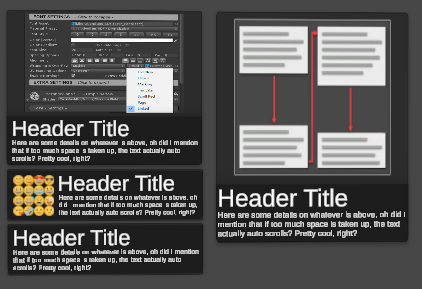
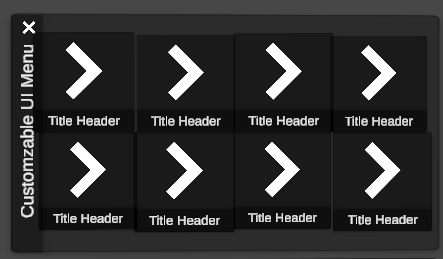
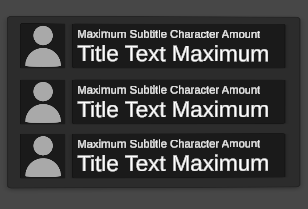
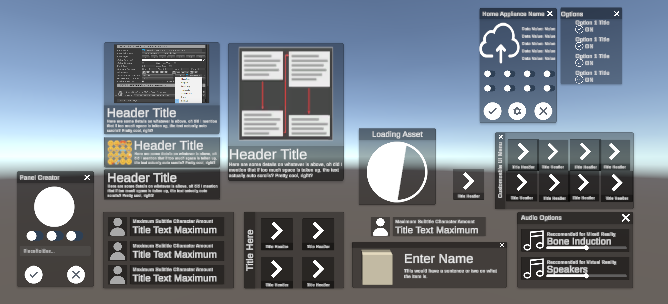
01/07/2021 at 02:50 • 1 commentHello, its been a long while hasn't it! I'll make an update sharing what I've been up yo but for now here are a few UIs to look at for a HUD (made by me in Unity Engine, not in ARcl yet). There's a lot that has happened and the project will be moving again at full speed soon!
These were made for something im making called the XRUIOS but it will also do for this project!
![]()
![]()
![]()
![]()
![]()
![]()
![]()
-
The return of TKTS
09/12/2018 at 10:55 • 0 commentsI am not dead people! In the next blog, i'll be showing off some new designs and stuff!
-
Iron man gauntlet video
04/09/2018 at 23:03 • 0 commentsEnjoy.
-
Be sure to follow the hackaday prize version of this!
03/23/2018 at 21:35 • 0 commentsBe sure to follow and give a skull to https://hackaday.io/project/96605
-
Iron man suit overview
03/22/2018 at 01:12 • 0 commentsWith energy, there are multiple things to look at when choosing materials. The main thing to look at for today is PSI and heat resistance. The material I choose will need a high level of both. This is due to the way the reactor works. After searching for what regular materials use, I went online and found out this
“Materials currently in use or under consideration include:
- Boron Barbide
- Graphite
- Carbon fibre composite
- Beryllium
- Tungsten
- Molybdemun
- Lithium
“
Multi-layer tiles of several of these materials are also being considered and used, for example:
- A thin molybdenum layer on graphite tiles.
- A thin tungsten layer on graphite tiles.
- A tungsten layer on top of a molybdenum layer on graphite tiles.
- A boron carbide layer on top of CFC tiles.
- A liquid lithium layer on graphite tiles.
- A liquid lithium layer on top of a boron layer on graphite tiles.
- A liquid lithium layer on tungsten-based solid PFC surfaces or diverters.
“
Now although all these materials are good, I will either need to compress all of this or make the chest area from that. I may do both.
For dissipation, a vacuum (a vacuumless space may take in the heat. How will this be done? It’s kinda hard to explain, but it should work good for now. The heat will basically be pushed into said space by a cooling system like a computer (just more powerful) directing heat to the vacuum.
The main backup plan is to have multiple batteries around the suit and connect to where the arc reactor is. I can then pull the arc reactor out of the chest area and put into a hold at the back until further notice.
Some materials I may use is single Chrystal titanium and ceramic for protection AND heat resistance, tungsten solely for heat resistance and steel for a base. My insides will be protected by multiple layers of metals and meta-metals. The padding will be temper foam which is used by astronauts and Carbon Fiber Nomex which is basically protective padding if used right.
If a plastic is to be used, it will most likely be surrounded by metal and screwed into an electronic. This will thus unallow the pastic from damaging something and being functional.
The flight system will work by ion thrusters. Although they are very simplistic and may allow flight, the need a lot of power, so I will NEED that arc reactor. To have the flight so well, i'll need to bass boost the Ion thruster with electricity or so be it i'll use antimatter engines :-)
The exosuit will likely look something like a pack of small squares as that'll be nanobots, but that's a talk for a different day. There will also be the conventional pneumatic cylinder (which is basically something that uses air and a cylinder to increase in force.) but there will be a bit based on Pierre Bouchard
This came out pretty good, but I will need to make some said adjustments in order to have one of these functioning at minimal space. I'll have some stuff 3d printed by a friend to do so. The exosuit will be powered VIA arc reactor and air valve bank (or air valve bank alternative where air is stored across multiple parts of the suit. Before I go, I want
-
Regular log
03/21/2018 at 13:03 • 0 comments![]()
![]()
![]()
![]()
![]()
![]()
![]()
iron man gauntlet more recent pictures #upgraded
Be sure to follow the 2018 hack a day prize version of this and like to help fund me.
-
Quick Update (Arm pictures)
01/10/2018 at 12:29 • 0 commentsSteel arms
![]()
![]()
-
Small teaser videoconferencing
01/03/2018 at 14:46 • 0 commentsTURN ON captions
-
Update (Gauntlets, Jarvis and future plans)
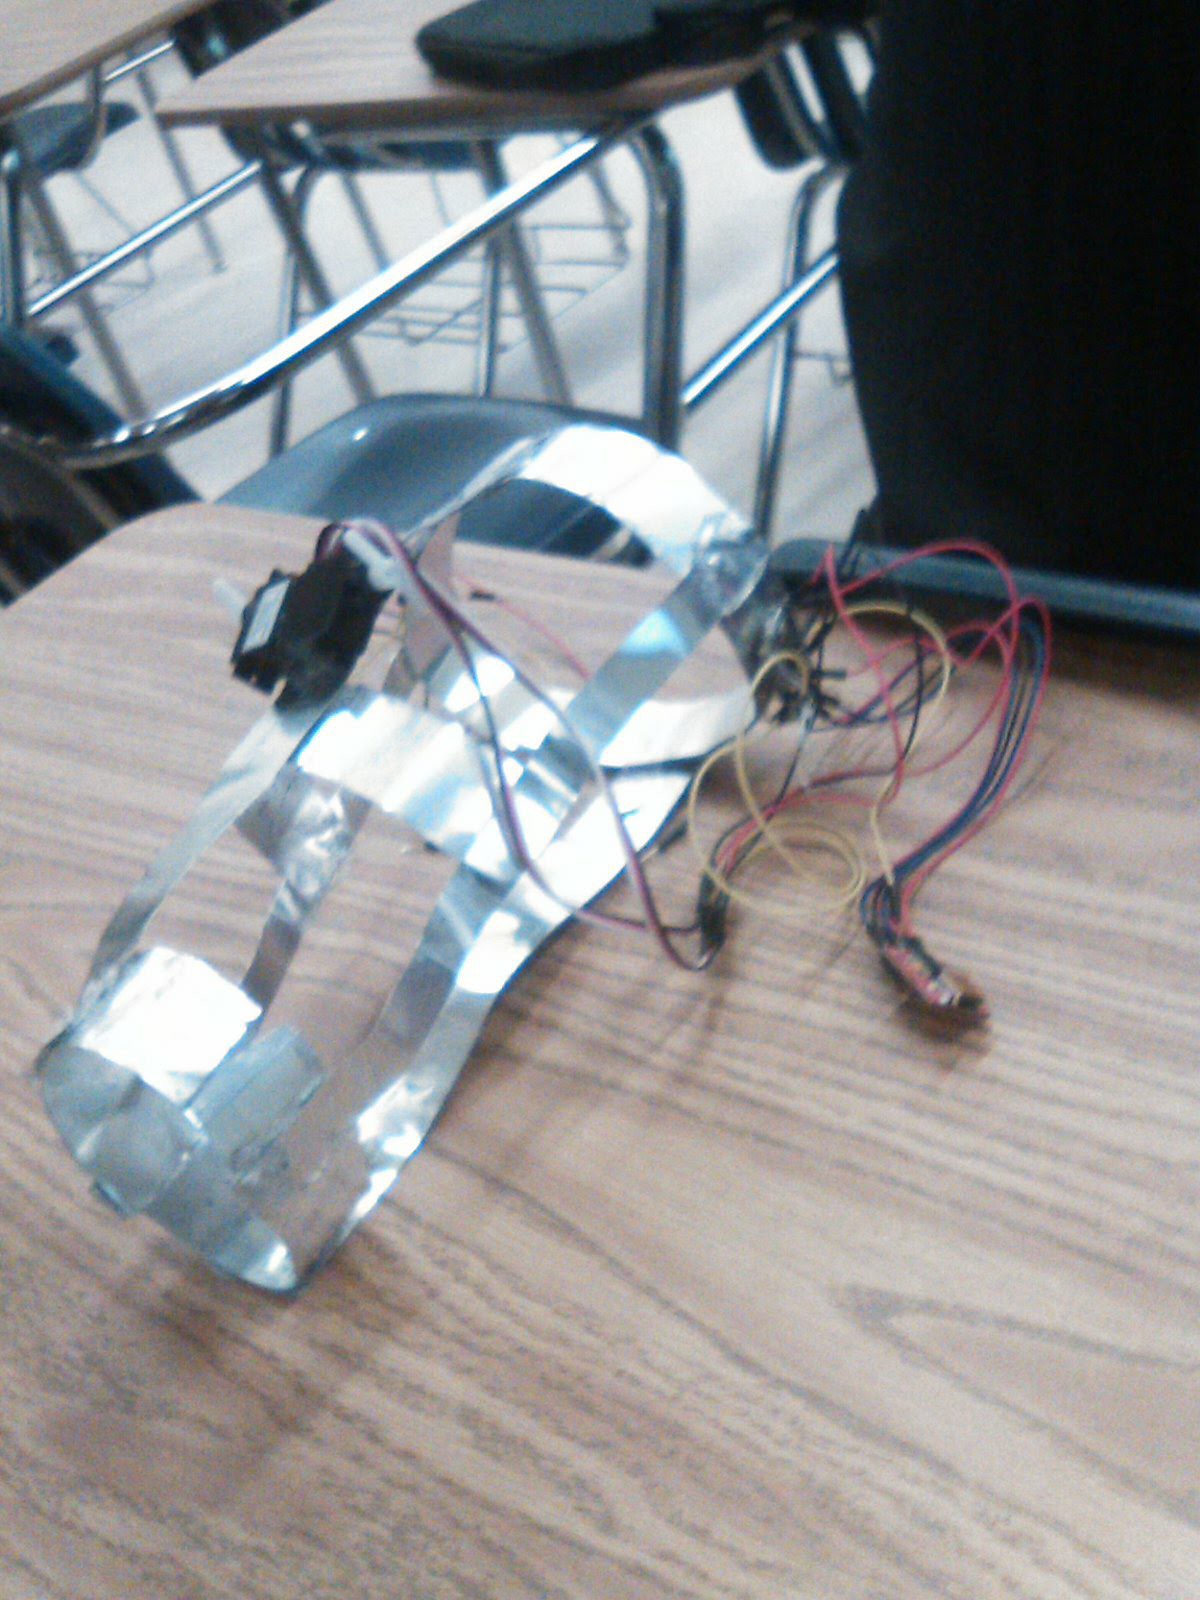
12/13/2017 at 22:18 • 0 commentsSo the gauntlet is getting closer to being finished by the second and after quite a while, there's progress coming fast. I've been working on the gauntlet and there are currently three versions made. There's the gauntlet from a year ago, a now recycled gauntlet and this bad boy:
![]()
![]()
![]()
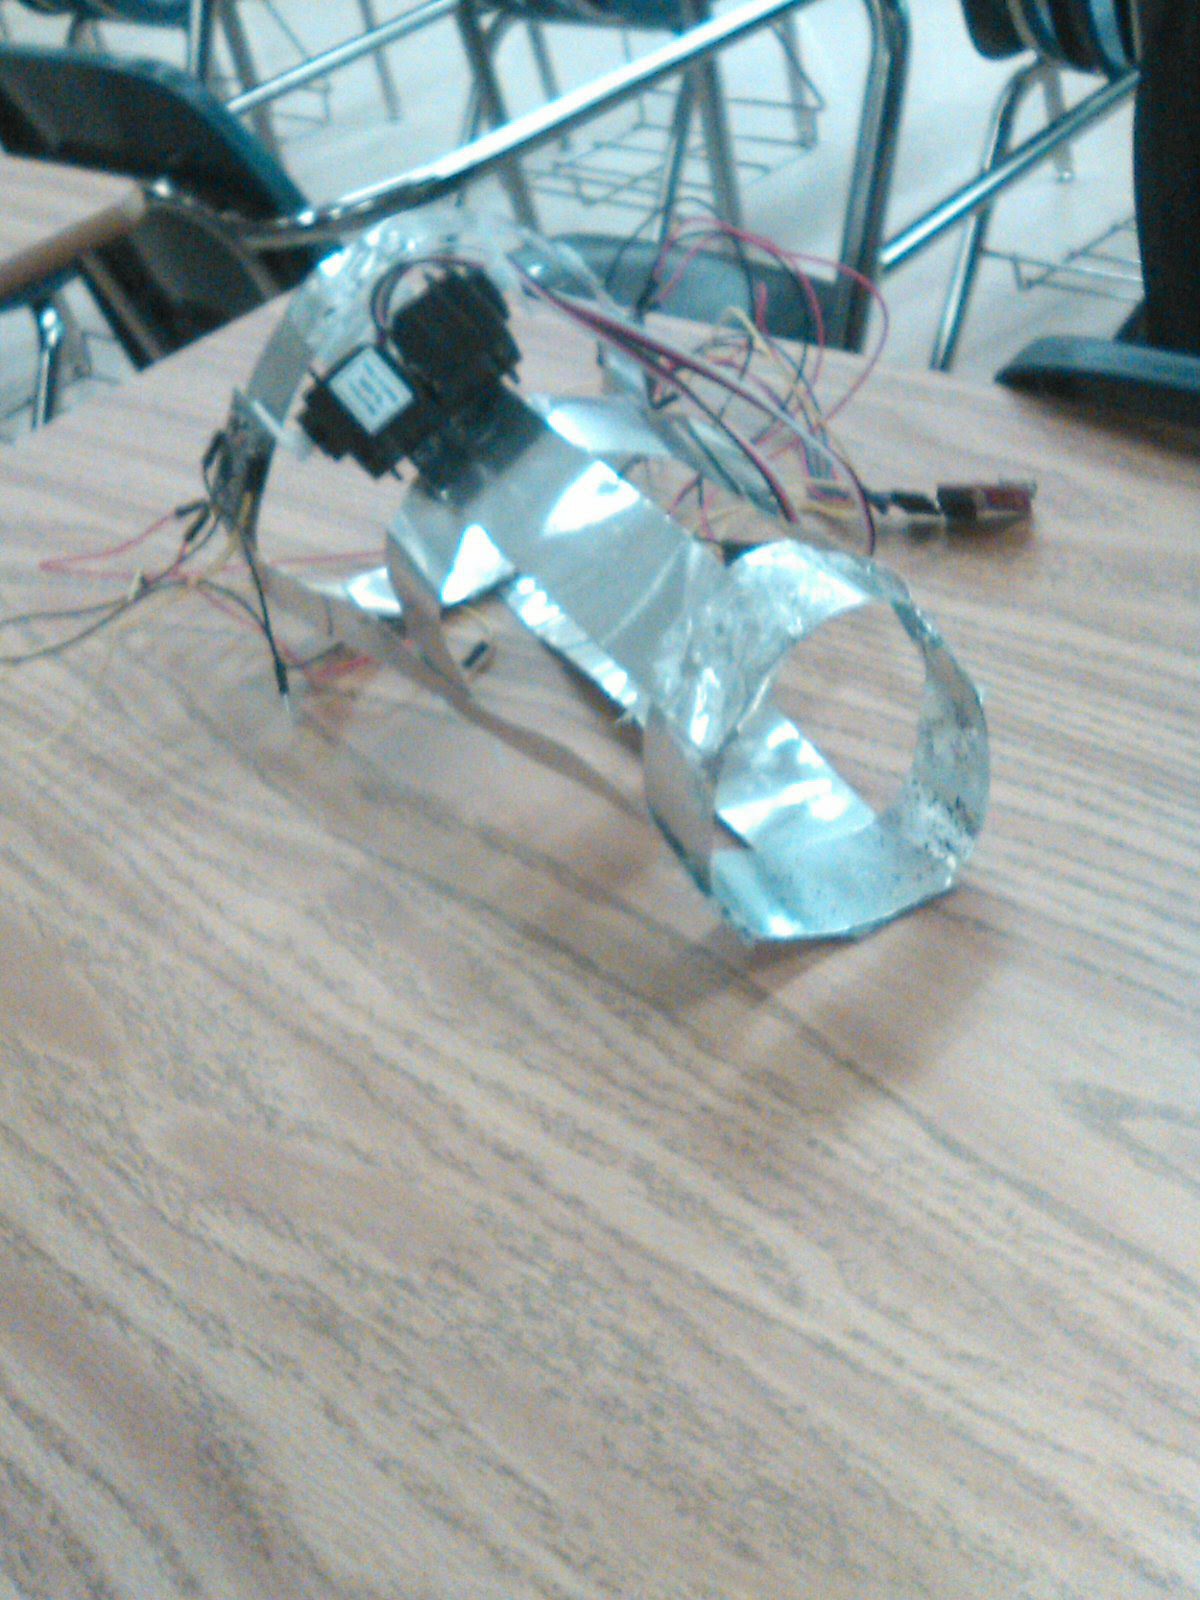
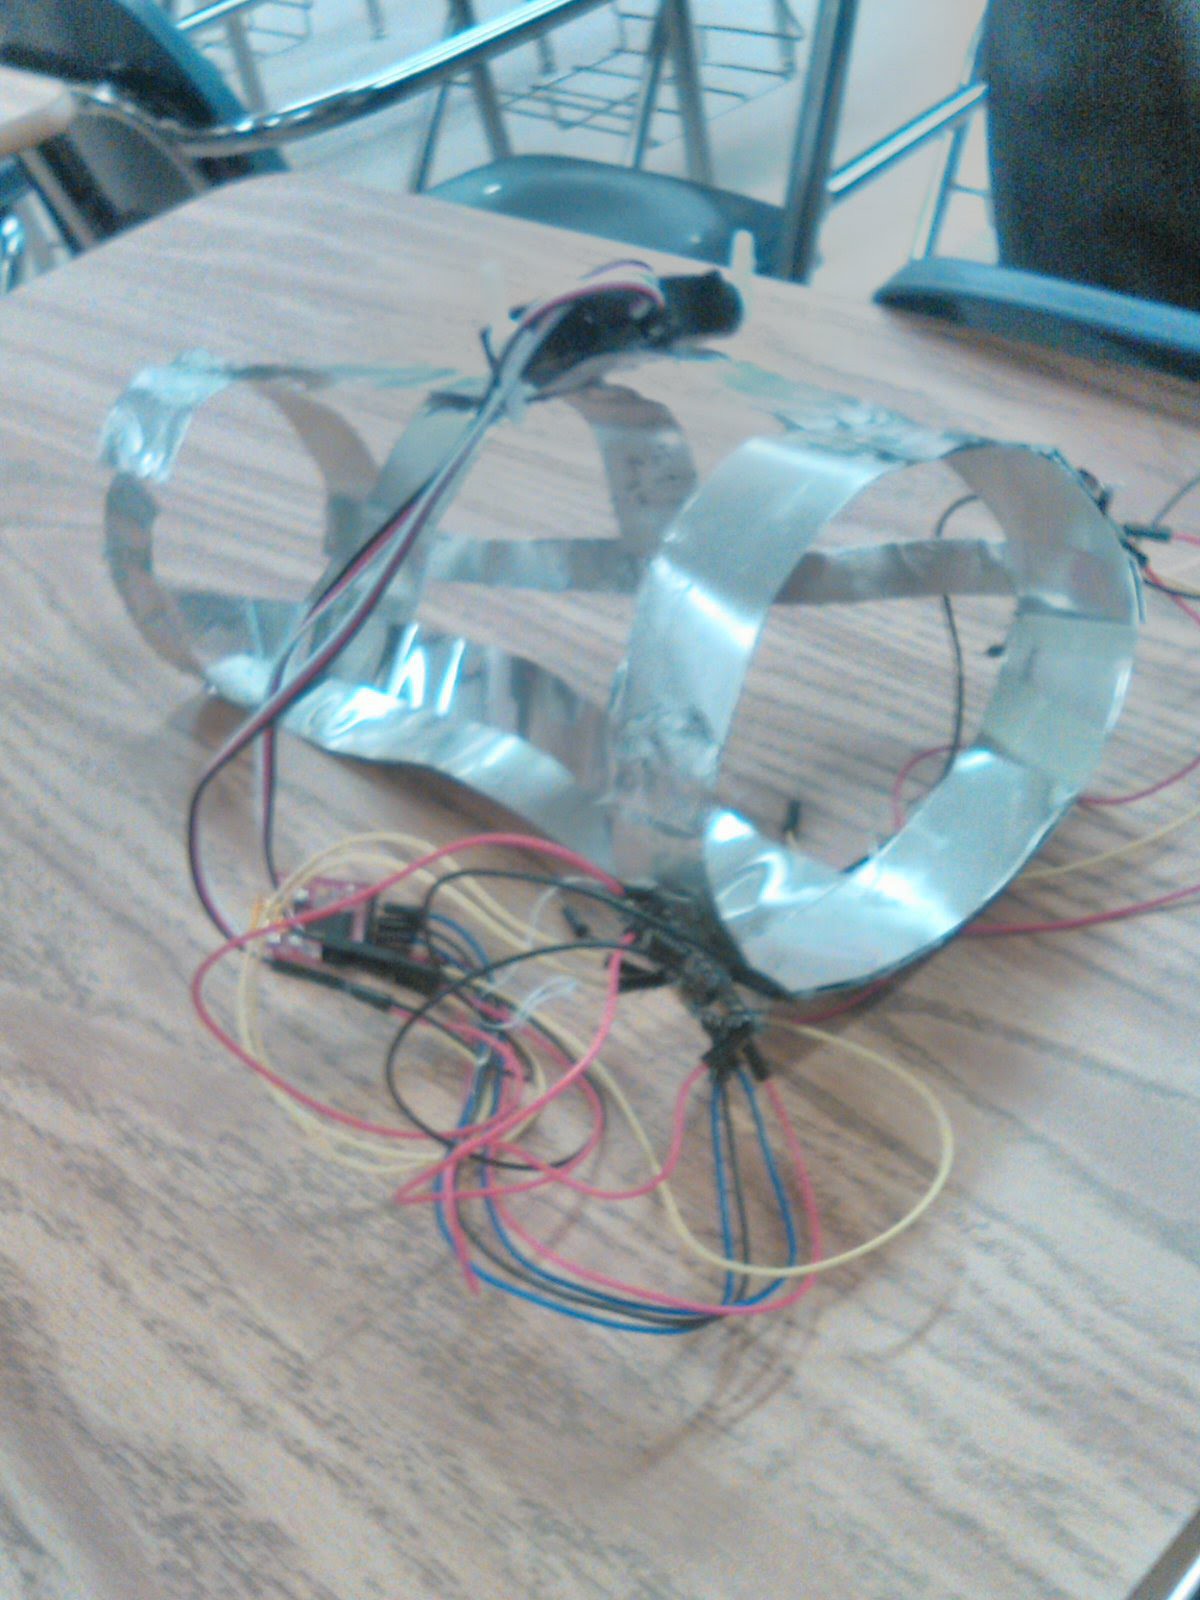
In eh picture quality, there is currently both servos for the rocket launcher opening/closing system, two arduino pro minis (one for rocket launcher, one for gauntlet opening/closing system), a servo tester to test the rocket launcher hold and an opening to mark the sides without hinges. Mini pneumatic cylinders will be added to (hold) the gauntlet and as a cheap way to fix the gauntlet if I grow. There are 6 blue LEDS, 4 of which turn on with the gauntlet opened and two with the rocket launcher opening. Some things to be included once the basic neccesities are there is
- Tungsten to protect metal from melting ( tungsten can withstand about 6,192°F or 3,422°C ).
- Aerogel (maybe but it's kind of expensive) for heat dispertion
-Enviornmental control
-Penny-Sized nanobots for part replacement
and all other typed of stuff
The gauntlet is currently being given rfid tags, wire organization and other fixes.
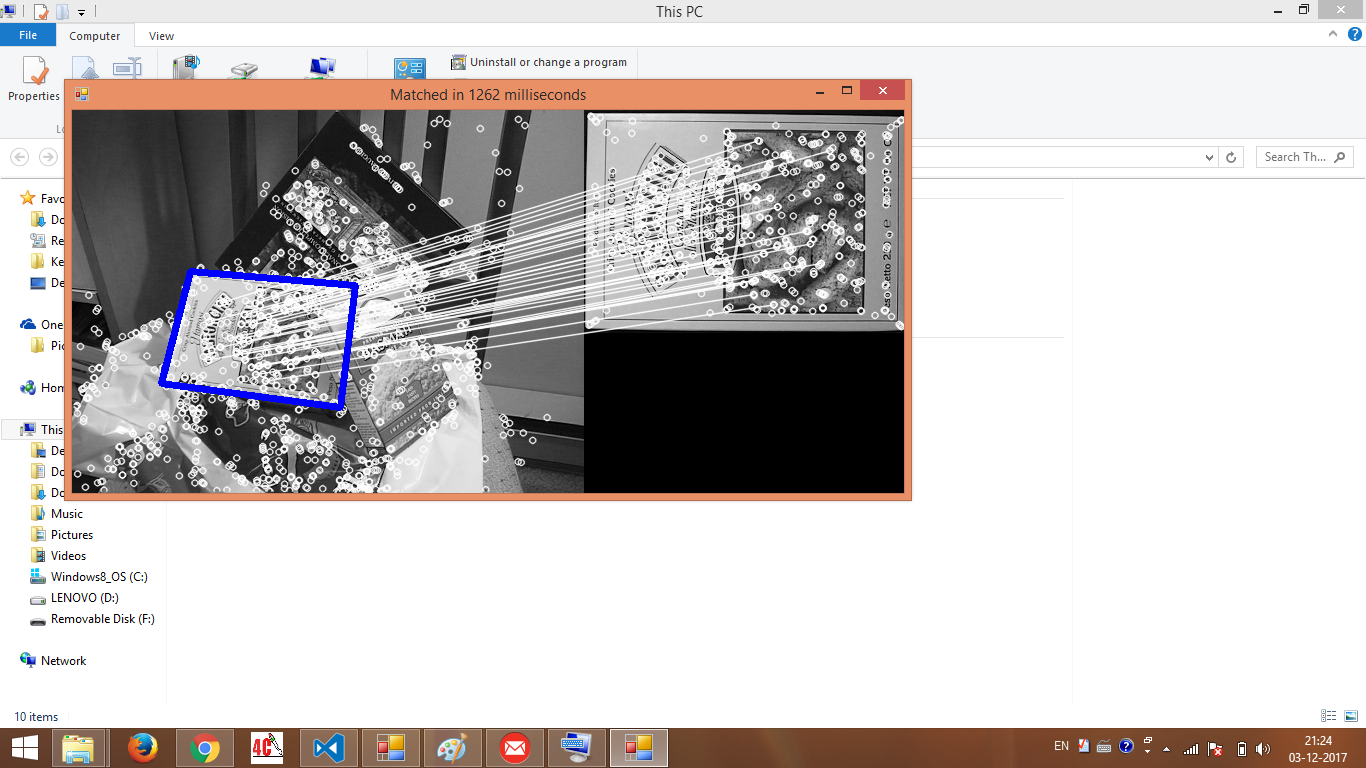
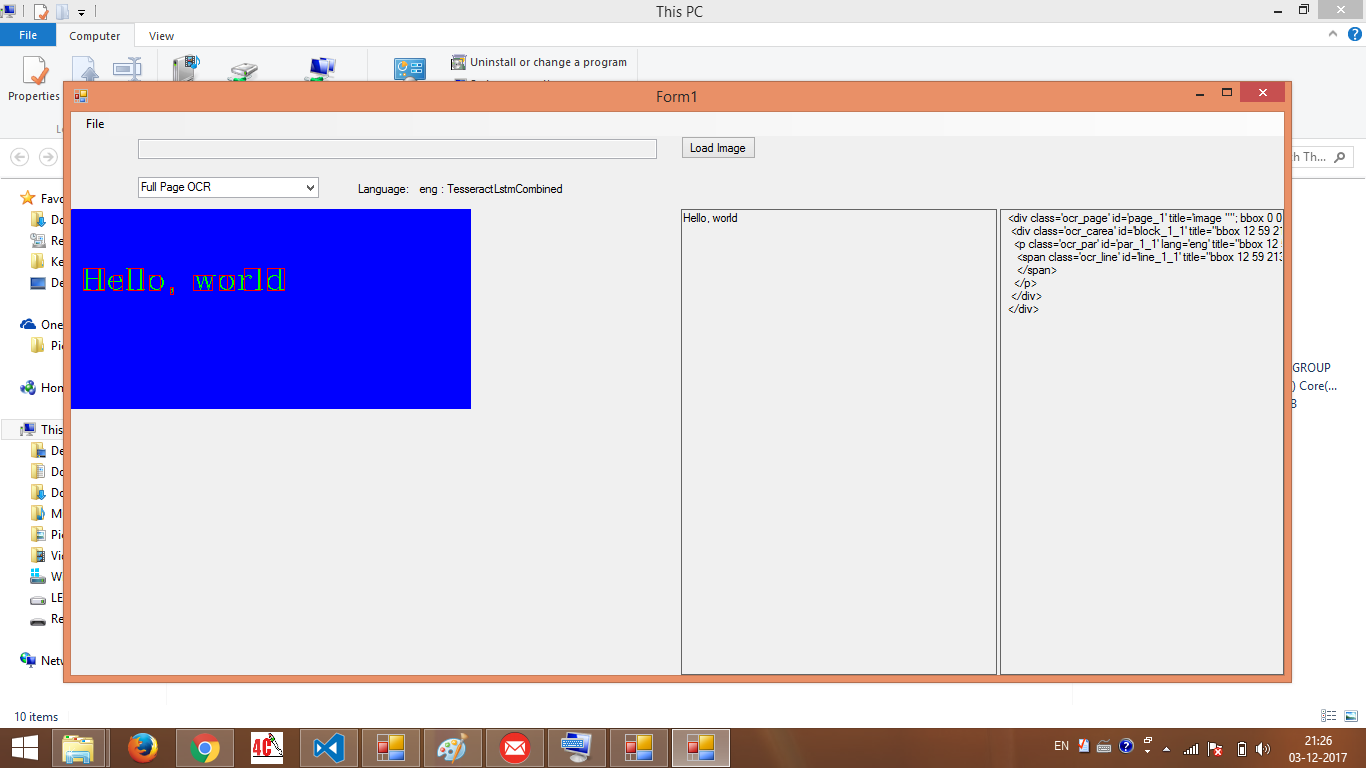
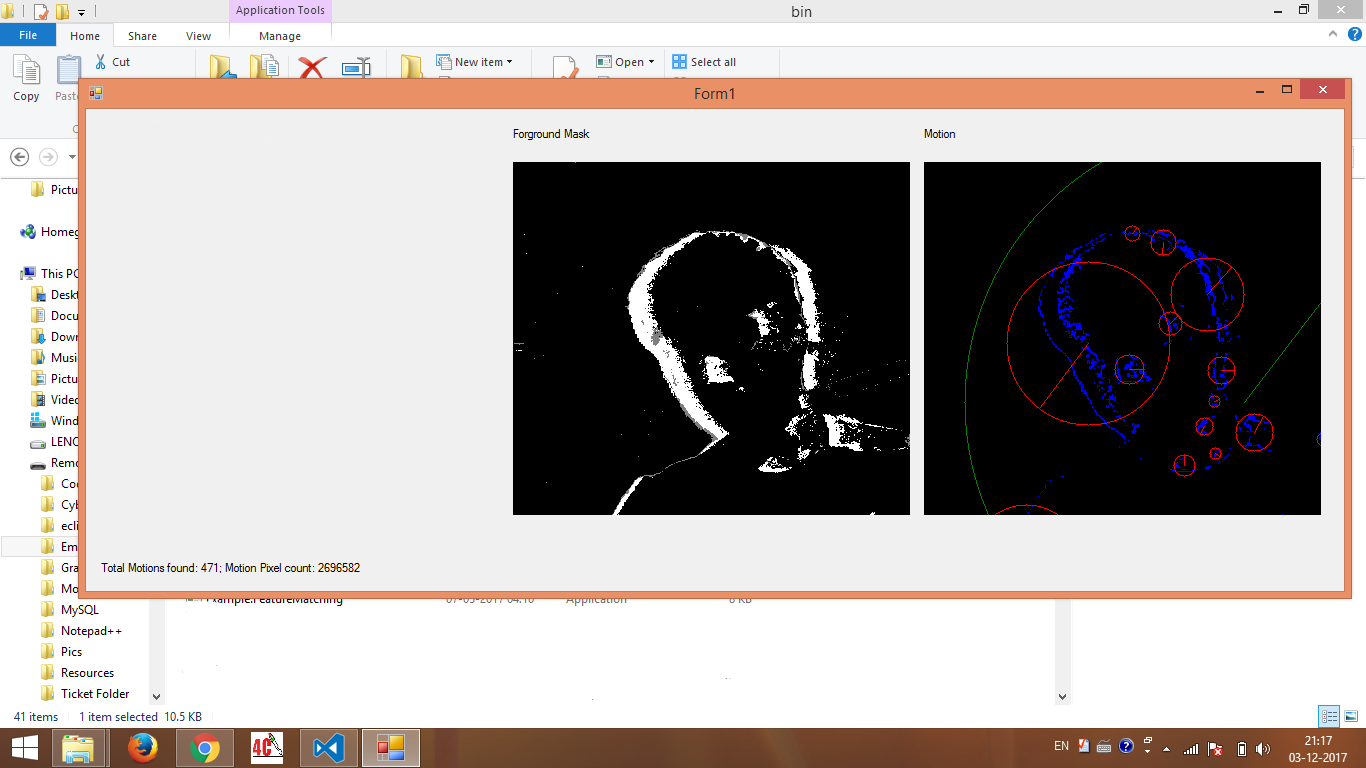
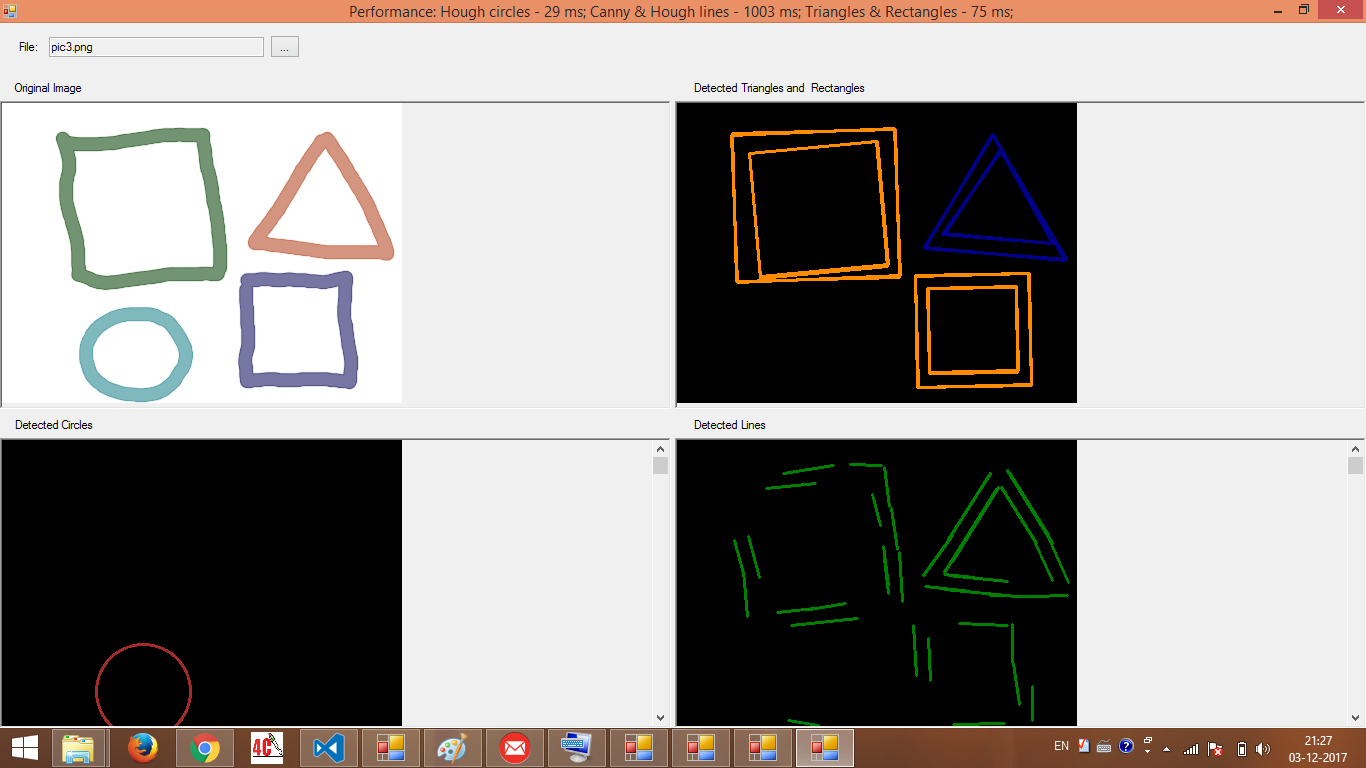
Then there's Jarvis. @Chati Aro Has been a huge help with Jarvis. Here's some functions so far:
FM = Feature Matching (Matches the features of a given image with a base image and displays the result)
LD = Letter Detection
MD = Motion Detection (Detects any sort of motion infront of the camera
PD = Pedestrian Detection (Can detect any person walking on streets.. Used an image from GTA as an output example)
SD = Shape Detection
![]()
![]()
![]()
![]()
Without @Chati Aro, this would not be possible.
While videos are in production, i'm adding in some plans for circuits. Some people may remember this
www.instructables.com/id/Animatronic-Iron-Man-Mk-III-suit/
Well i'm taking the basic ideas of it and am trying to rig it up. Until I start putting in the advanced stuff, that's all for now.
From a random guy
-thekidtonystark
-
What i've been doing for the last 3 months (HUD, sponsors, rocket launcher and more)
09/20/2017 at 12:54 • 0 commentsBeginning of month 1
HUD creation Part 1
SO, it is July and what I decided to do was start on a Heads-Up Display. I decided to look at what my fellow hackers at hackaday were doing. I found some projects, but they were either too big, too bulky, or didn’t work how I wanted it to. After a while of looking at instructables, YouTube and other sites, I decided to look at modern tech and how others were doing it. I looked at the hacksmith’s Heads up display for his exo suit, but it wasn’t exactly what I was looking for. I was looking for something DIY, when I saw Full sail’s HUD. I taught it was good, but the HoloLens was super expensive. That’s when I found an Arduino based augmented reality glasses that was easily makeable, small, not bulky, and light.
Image from arumnag
http://www.instructables.com/id/Arduino-Glass-Open-Source-Augmented-Reality-Headse/
This was perfect. After a while of struggling I was looking at the Jarvis setup of someone known on Instagram as the_crazy_programmer_chatti, and I was wondering if I could use the setup in the HUD. Soon after, he answered my comment by saying he would be happy to do it. After getting a set of base designs and material, I wouldn’t see the HUD progress until the next month.
Month 2 (August)
HUD creation Part 2
Now I started thinking about the HUD seriously. When I came into contact with Chattai, he said that there could actually be a real time 3d model with animations. As this interested me, I said okay. We decided that the HUD should be finished before that’s added, because that may take a while. As i’m the hardware guy, I sent him a list of all sensors that would be controlled. By doing that, he would know what function would go into a certain aspect.
Here’s the list:
Altimeter (Mark VII version) - MPL3115A2 - I2C Barometric Pressure/Altitude/Temperature Sensor
HUD diagnostic:
EKG and EEG sensors aren’t needed, but just in case, look at this:
There’s also one by a danny diefferender or something like that
RT power- Don’t worry about this
Core temp- Temperature sensor (arduino)
Missiles sensors (there are 26 of them)- Temperature sensor. One less missile when the temp sensors go extremely high (leave a place for me to put a temperature). Also If you can connect it to a pushbutton so number of missiles can be added.
Weapons sensor- (be creative as this is the mix of all 26 missiles, the 2 repulsors (everlasting), both sentries (lasts 5 shots), and the infamous arc reactor (one shot)
Navigation- Same as altimeter
Have 26 node indicators go up and down from 100 to 0. Those are for the missiles.
Flight mode panel:
Airframe thrusters: The rotational position of a 180 degree servo
Vertical velocity sensor: Just put the rate of change in air pressure per 5 seconds.
Warning panel: Basically if the pressure goes up to 80
Accelerometer: MPL3115A2 - I2C Barometric Pressure/Altitude/Temperature Sensor
Airbrake: The rate of change in altitude but when going down
Targeting reticle:
MPL3115A2 - I2C Barometric Pressure/Altitude/Temperature Sensor
I don’t know how some aspects will be done like messaging, music, apps, ect. but he says that he has an idea. So as usual, i’ll trust him. I still have some parts to do in the HUD such as missile sensors, but the HUD is looking good so far. It’s based off of Jayse Hansen’s HUD, as he’s the one who did the HUD for iron man in several movies. Luckily for me, Jayse Hansen has given us the liberty of showing the breakdown of the HUD.
*A picture of the HUD overall features*
*A picture of probably the most important part in the HUD AKA the targeting reticle*
Rocket Launcher Part 1 (Well it kinda covers 2 months)
At first, I had three designs for the rocket launcher.
Model A (an original based on Jairus Of All)
Model B (from Patrick Preibe)
Model C (from poot padee)
Model A was built for the mark 7 and had almost no relation the mark 42 look. Model B didn’t have the magic I was looking for. I saw model 3, and I taught it was perfect. Sleek, designer, and small.
BUT NOT SMALL ENOUGH
That’s when I had to go to work.
At first I made a sketch of how I wanted it.
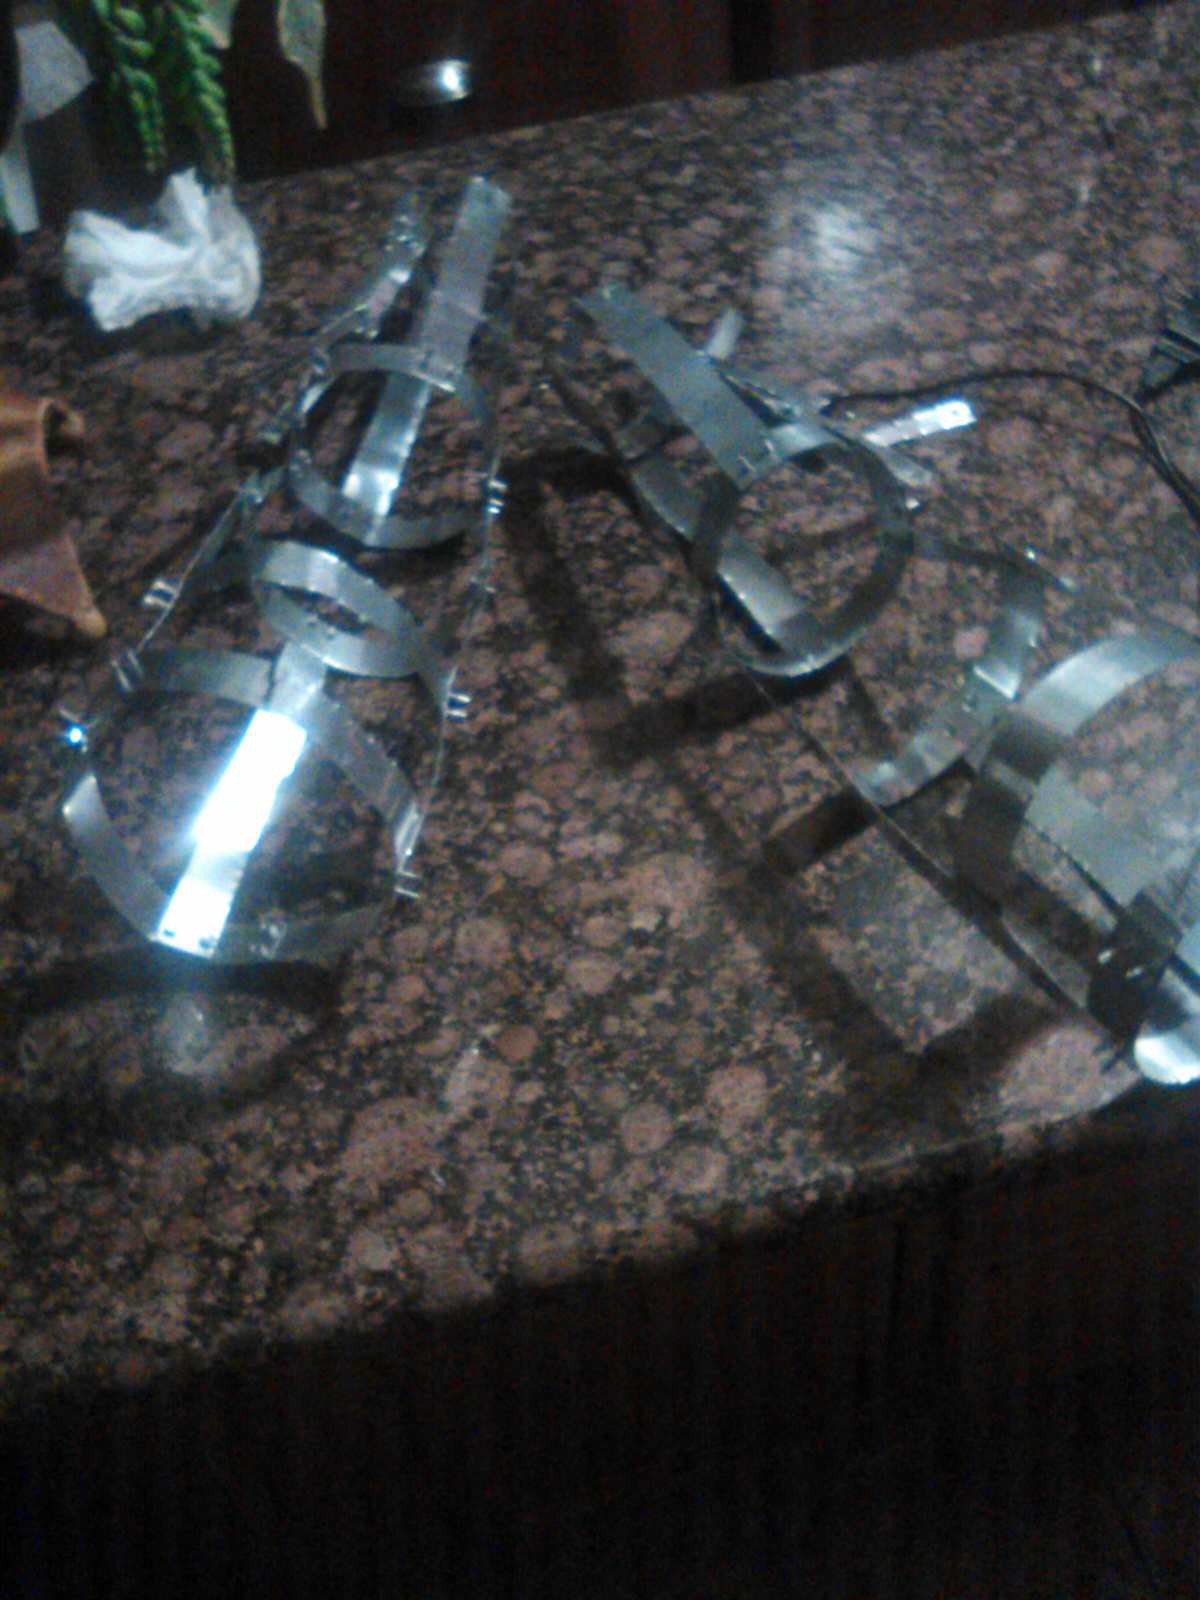
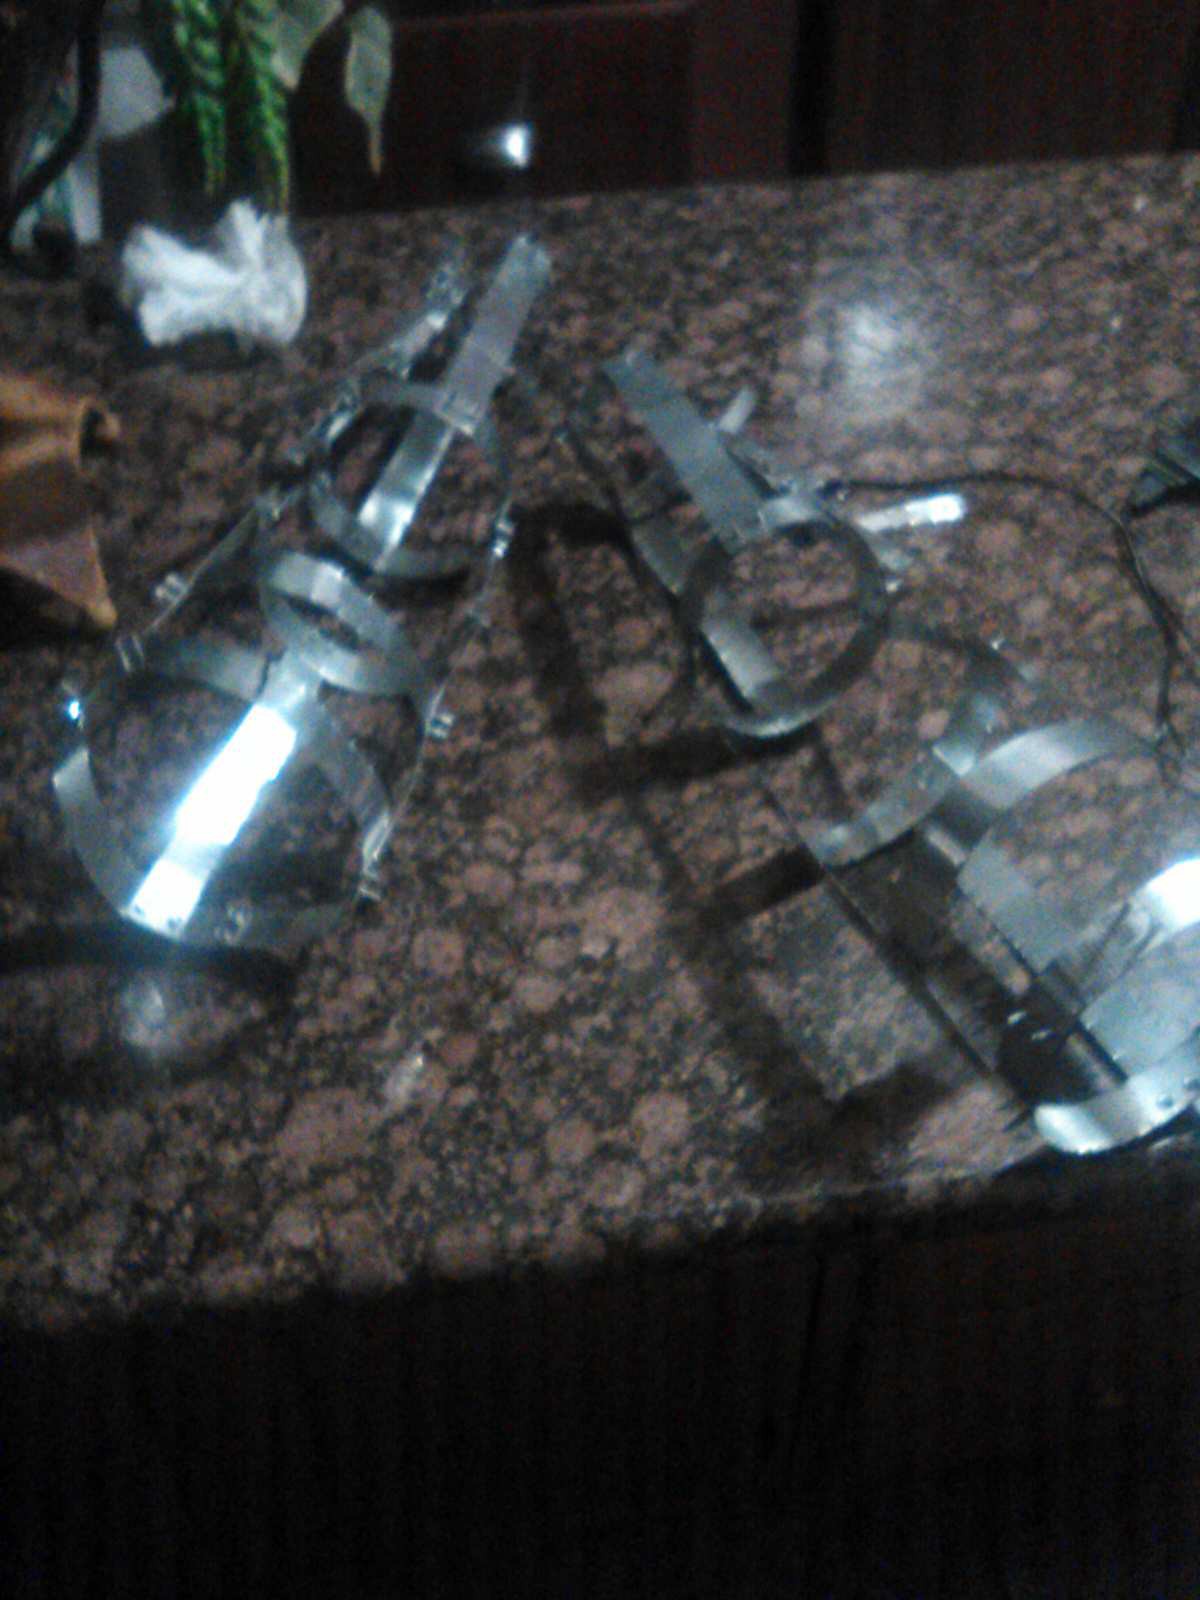
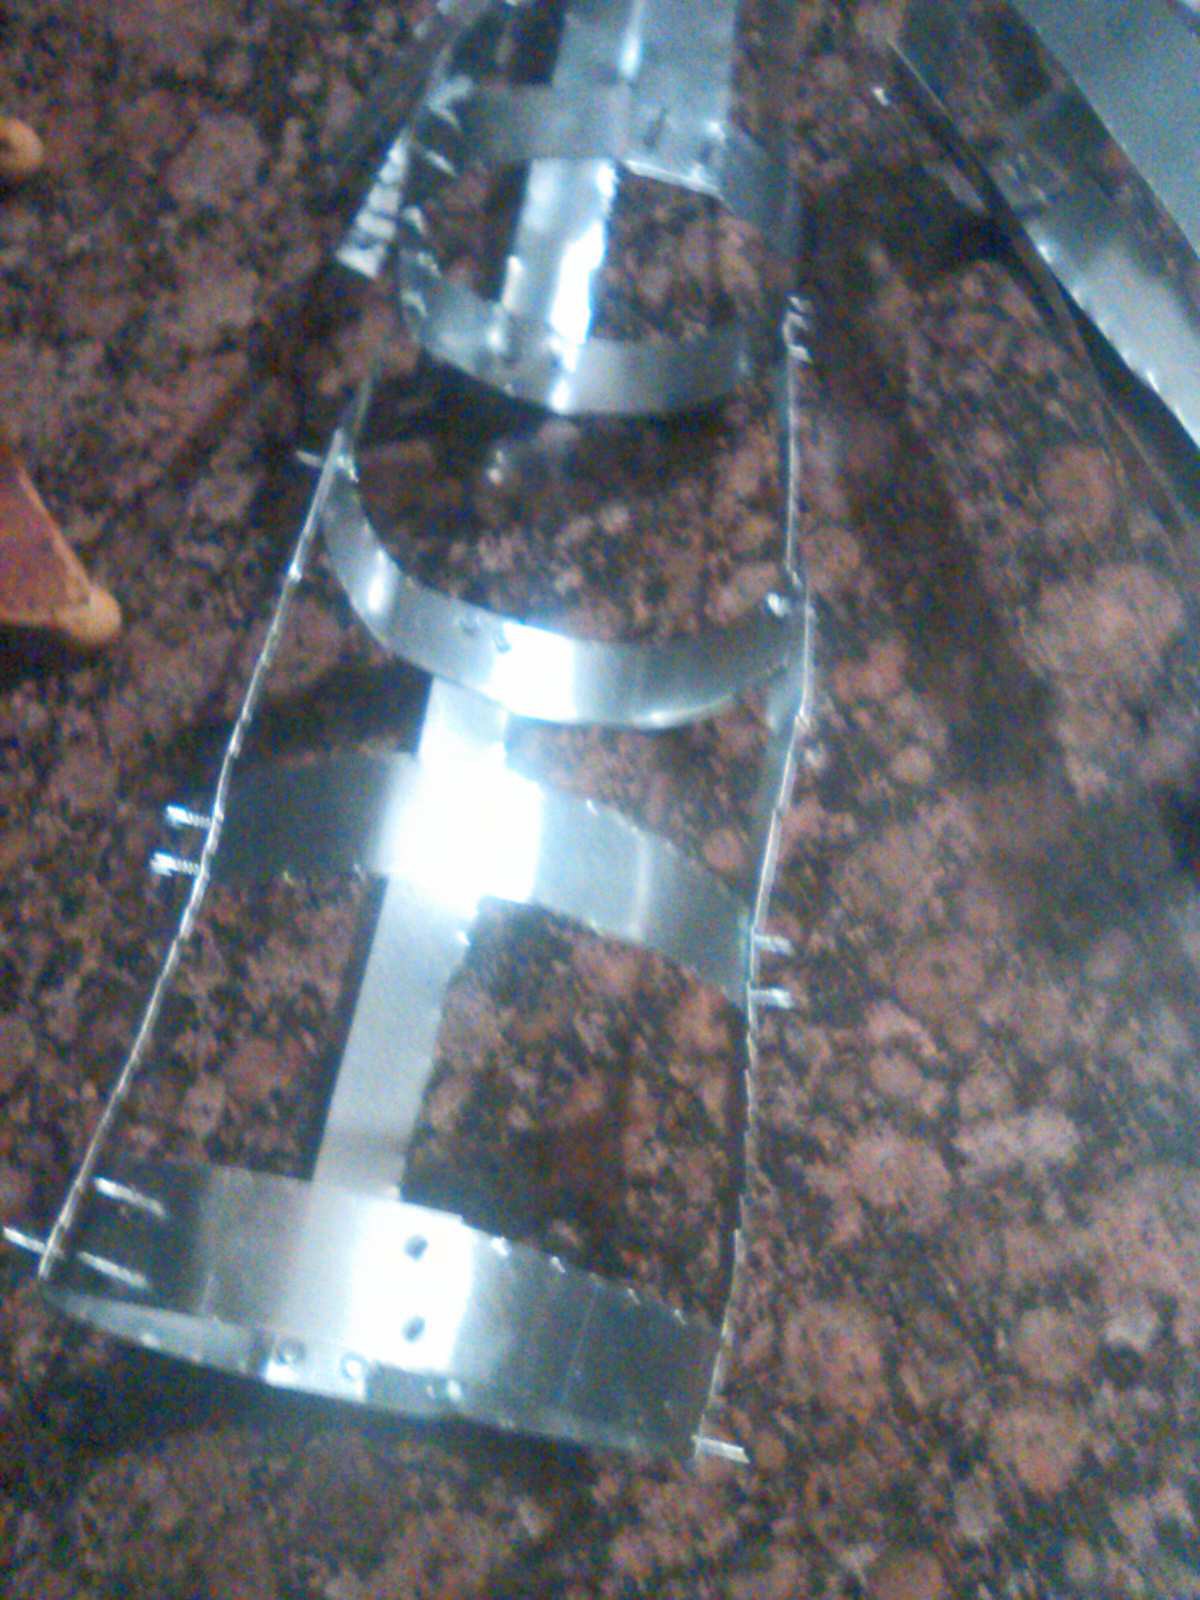
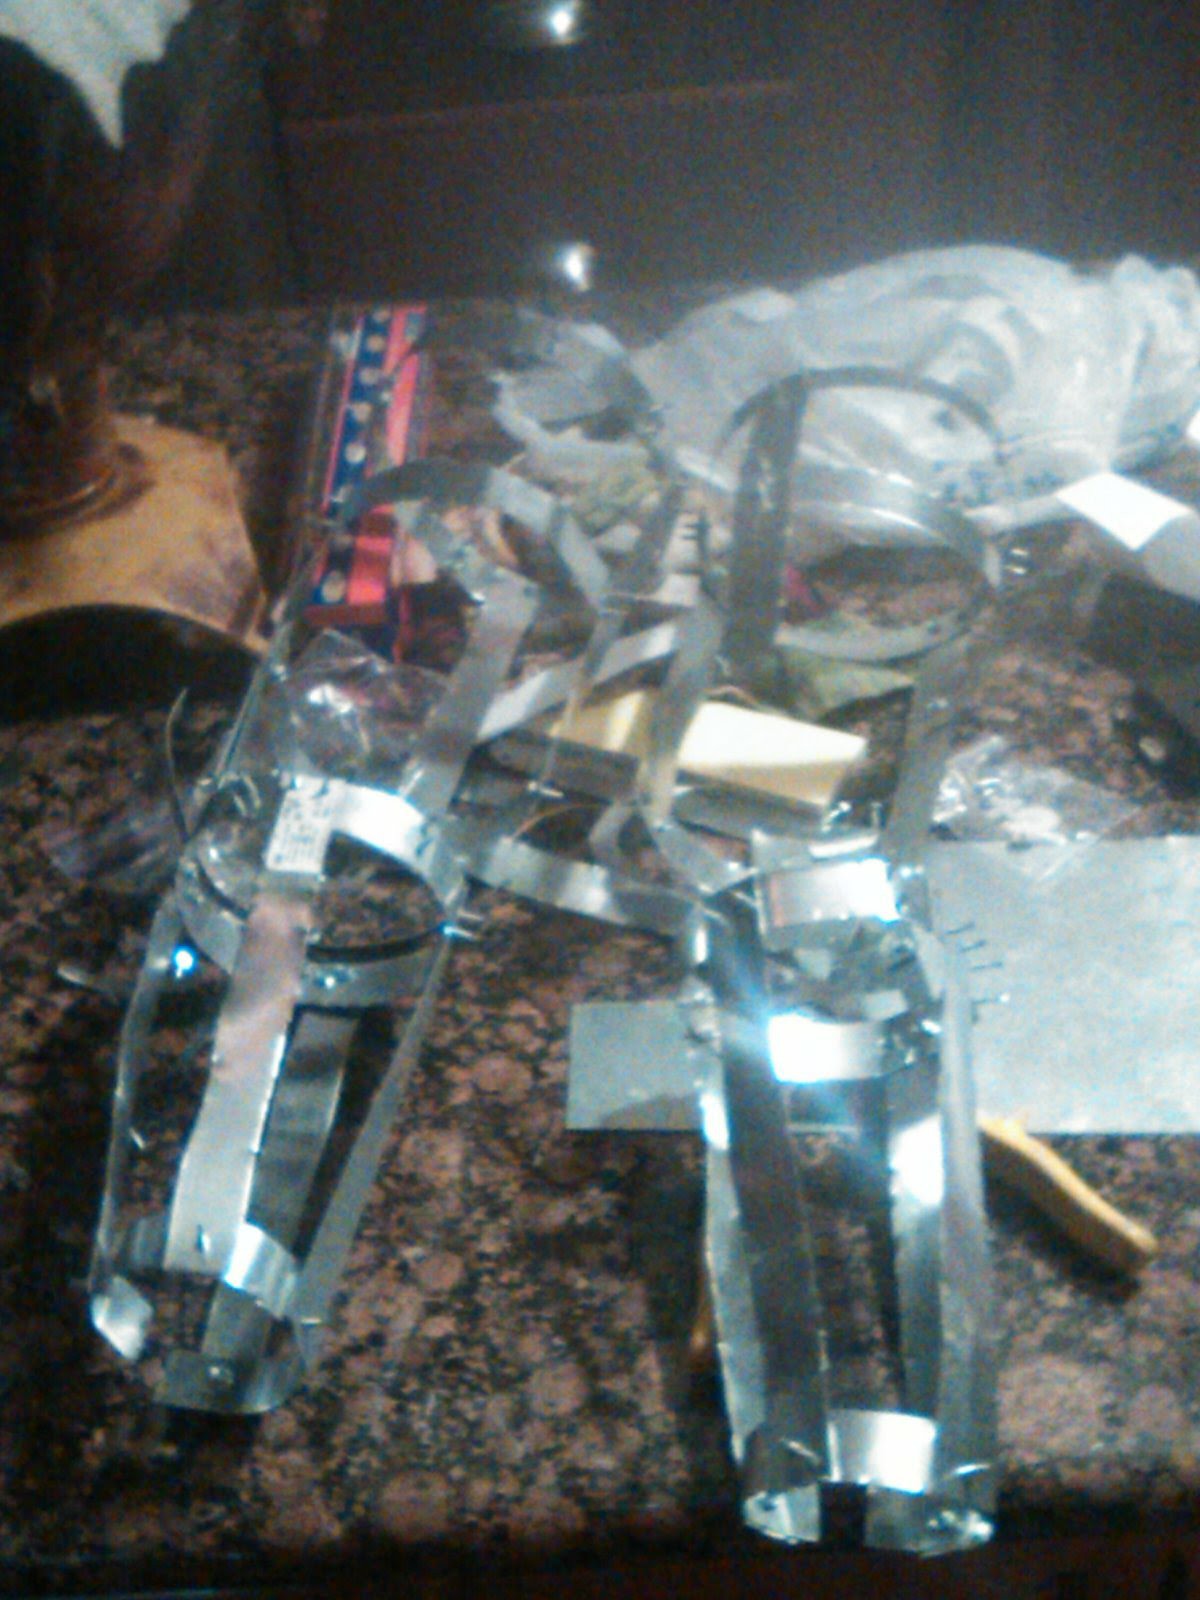
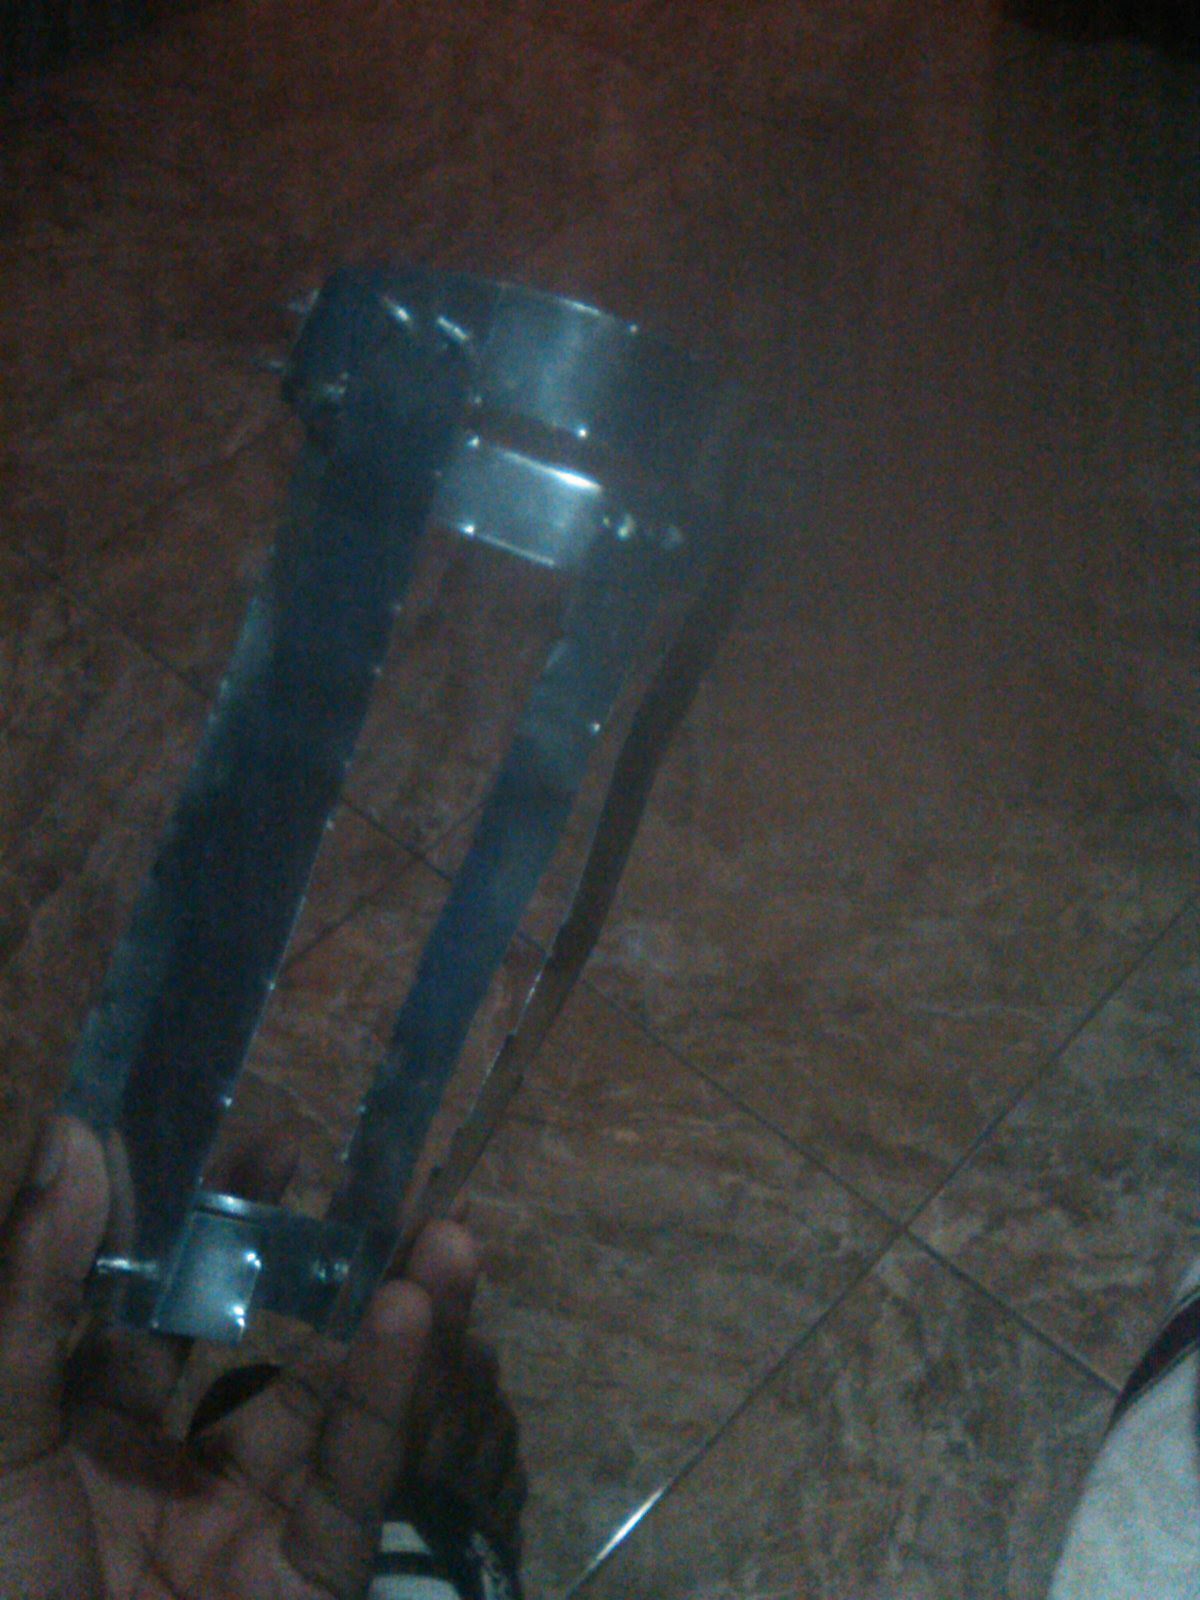
I gave this version a fatter bottom, a piece of tube sticking out and a sharper back. I then started cutting. To make a template, I had to remake the model to scale. This had to be done three times to get it at optimal look.
Basic with metal length to be added
Decided this looked weird
So I made it length of rocket and fixed detail parts.Now I will make the inner cage.
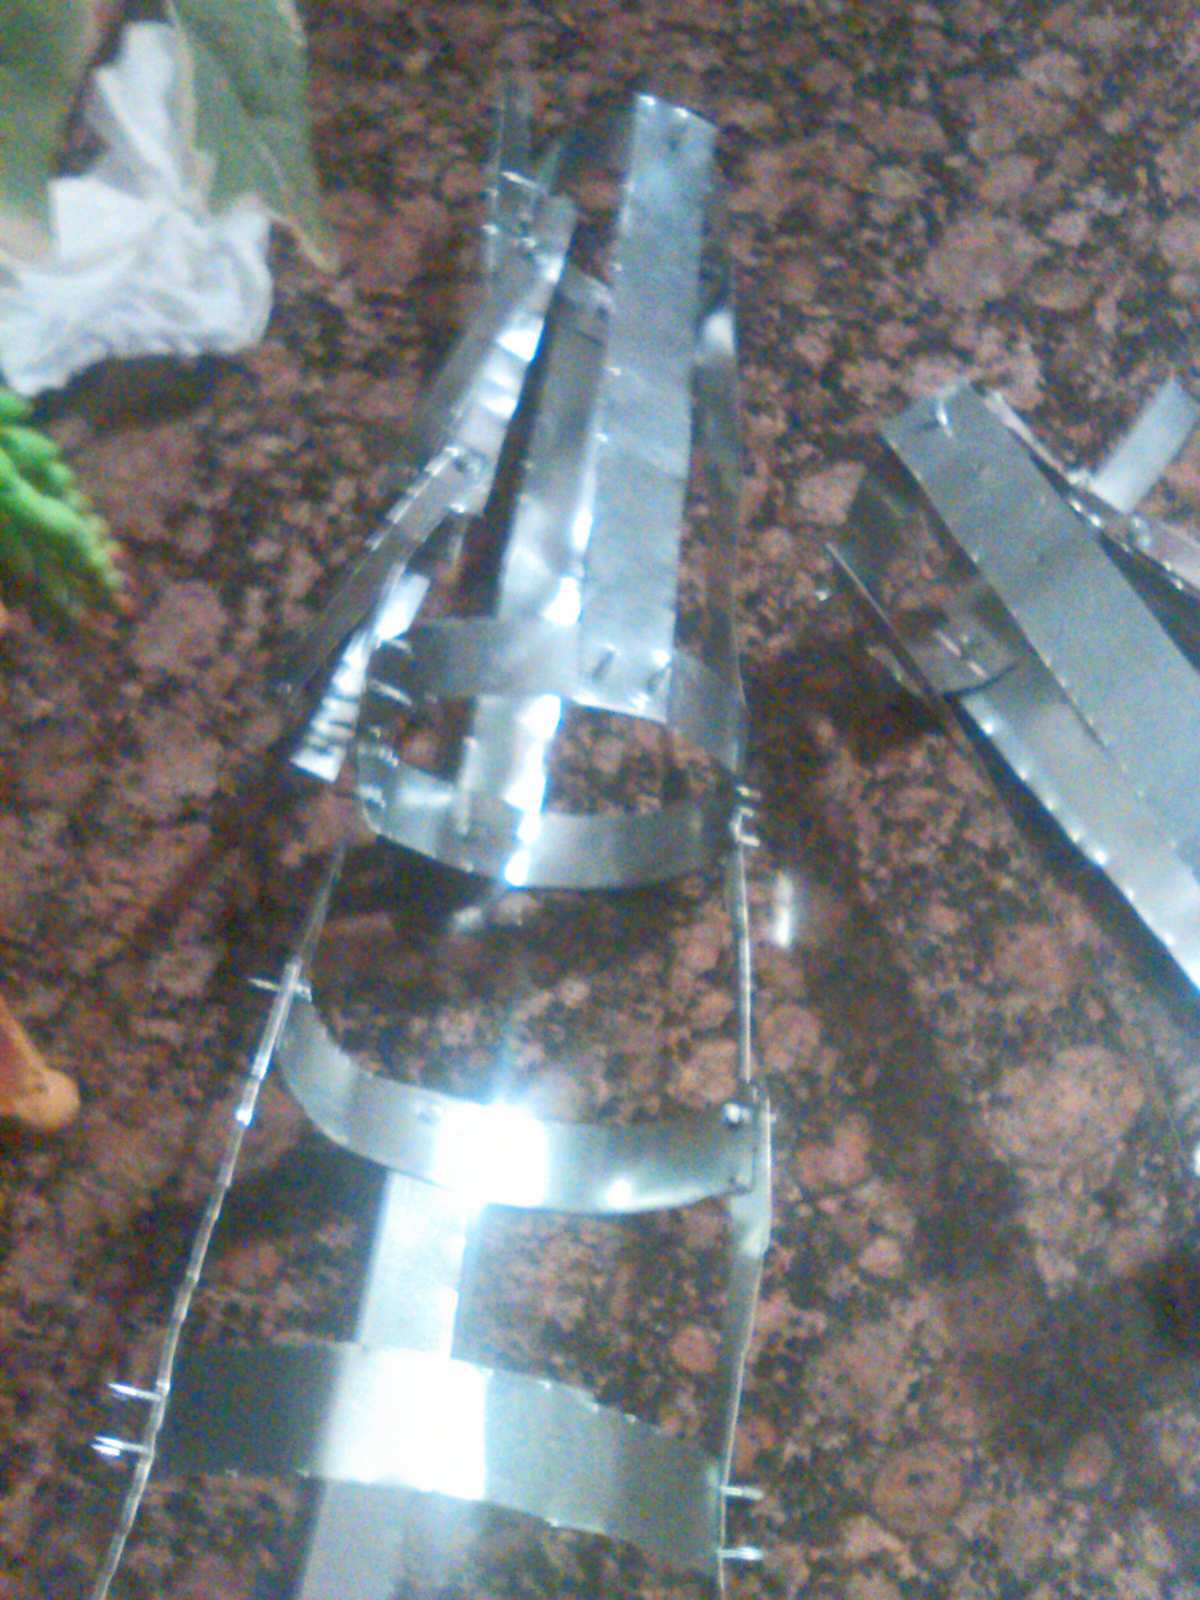
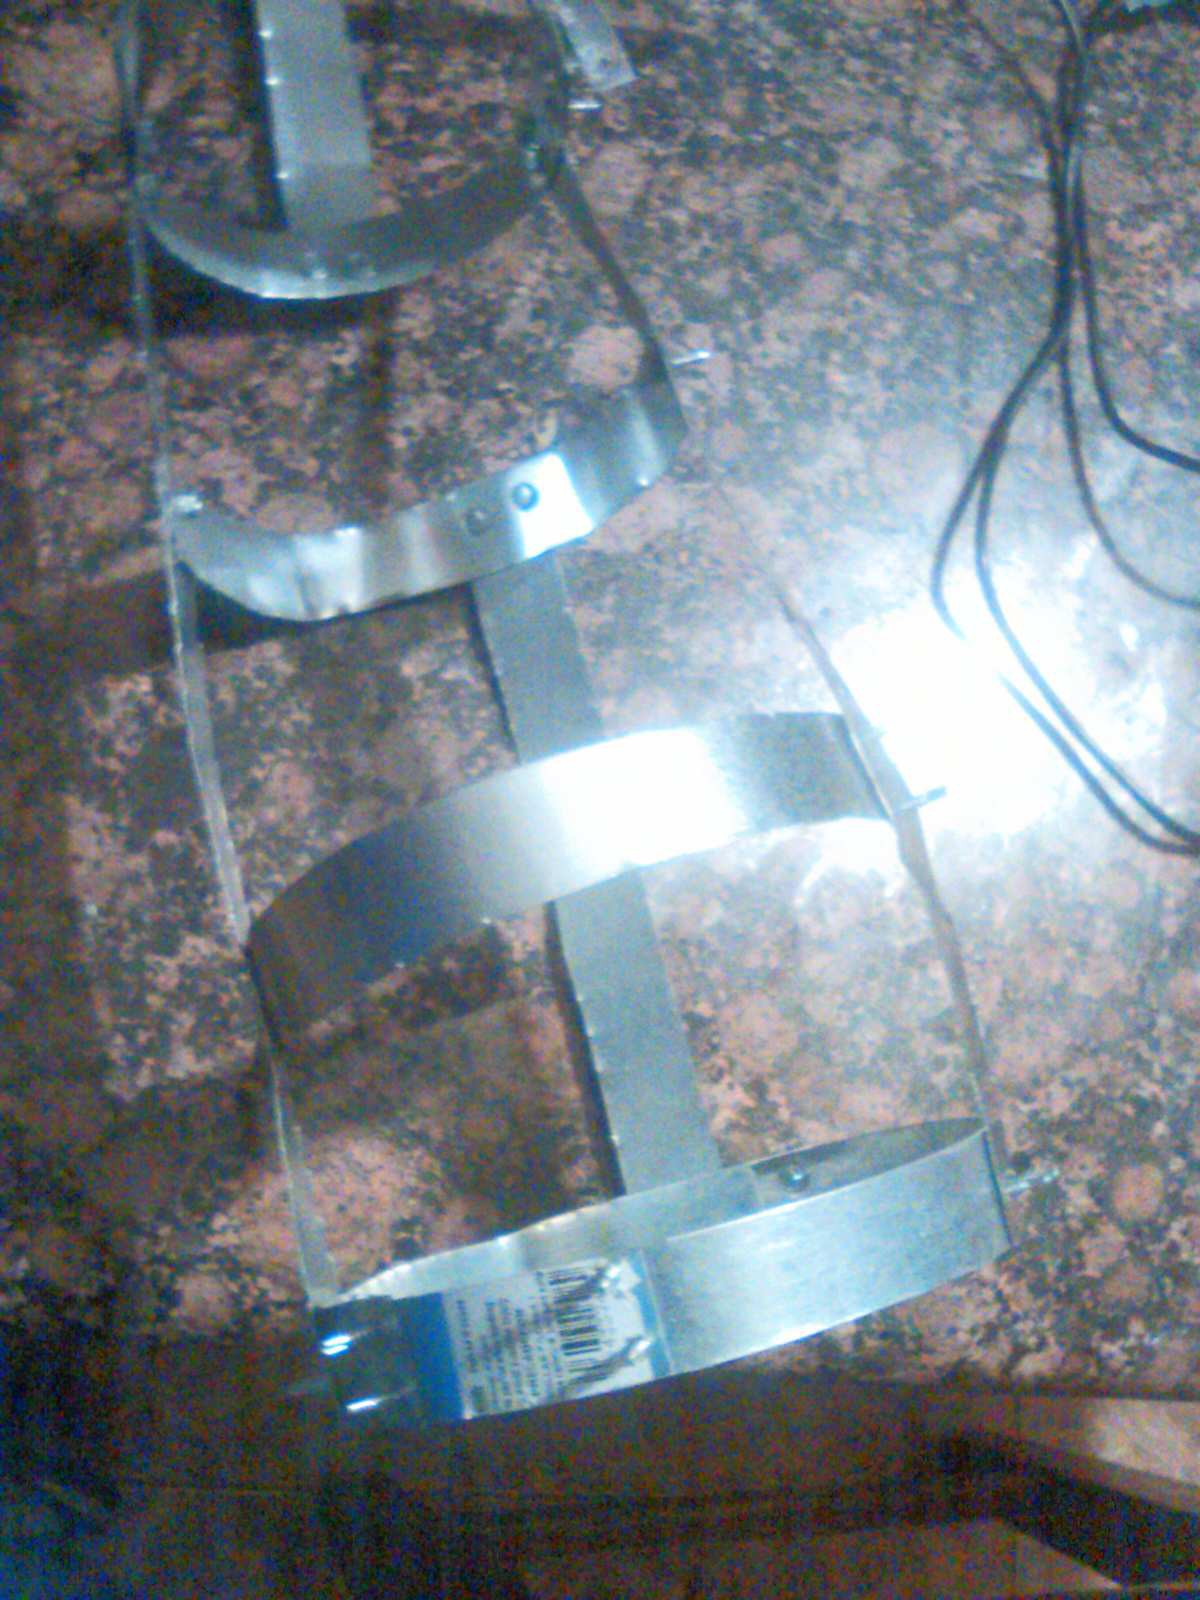
I then decided that I would need it double sided, so I cut four templates (two to each launcher). It would then be put with beams to connect and a tube in the middle. After sanding, I prepared them all to be put together.
Month 3 (September)
After, I made a second pair. It may not be an exact copy, but it is okay, because this whole suit will basically be hand-made. Plus, it seems pretty identical. Some parts are made from aluminum, whole others steel. Hopefully, this does not effect the rocket (it shouldn't).
So far everything is fireproof, but it's because of the material it's made from, and what surrounds it. The only exception is the aluminum in the rocket launcher, but it should be able to take some fire from what surrounds it and the material. If I added some kydex, some parts would be heat proof on the cover. Here are some new things I plan on adding:
EMP touch
Laser turret
Instant Kill mode
The exosuit
Also, here is what has been done for the Repulsor:
AT first, I taught that plasma would be a good idea. Basically, by heat being put into the air, it turns into plasma. I plan on having something like this for the repulsor. After, the repulsor will magnetically align the plasma, and a magnet to the back will push the plasma forward. So I have a basic device almost done, and ill see about plasma and flight. Also, I started fixing up the shoulder rockets. The code is getting refurbished to use less servos and be better at the same time. I currently only have a base of what I want from the shoulder rockets size, and i'm going to create some rockets based on the mini rockets seen in the movie. I have not been able to get an arm cage, but hopefully i'll have one by Saturday. The hardest thing so far is getting the HUD as I am working with someone as I have about no experience in there. I have the ability for simple Halo HUDS, but 3d models being controlled by eyes? Nope. Also, I am going to show the assembled rocket launcher in the finished arm piece. If you want to see me create this and finish, you can do this:
https://www.gofundme.com/thekidtonystark
So this is it for now, and wait for Saturday for final results.
 WalkerDev