 Szybet
The project started in the summer of 2024, after I finished high school. I have been using the v2 watchy for a year by then and while I was happy with it, I was not satisfied with the hardware, the battery life and clock drift were a problem. I also by then repaired it a few times, the buttons broke constantly for me. That's my fault, as I was reading book on it on the bus every day, while switching pages was done using the accelerometer, it was still more than you expect from a watch.
I also looked into adding some hardware features, RGB led, microphone, buzzer, IMU, sensors, solar (Hiiii LightInk!). While some pins were exposed, it wasn't enough for me.
I planned (still do), two (three?) watches, one for the outside (sensors, solar) and one for the inside (microphone, buzzer), maybe some LORA, wireless magic when I get to it?
Designing the hardware
I looked into simply modifying the watchy, I wouldn't be able to pack all of those features into one device, as even the watchy is packed tightly. Creating 3 separate devices would be hard, time consuming and expensive. The soldering of it would also need to be easier, those tiny QFN packages are manageable to solder, but ordering spares if I messed something in the process would be expensive.
I decided on a module system, a separate PCB soldered into the main one. I looked long for a connector, so it would be easier to attach, but nothing comes close to just solder bridge the 2 things together. It takes some effort, but can be done just fine. On both sides the pads are small THT, so you can't break them off. After that it's sturdy and if needed, can be desoldered and swapped.
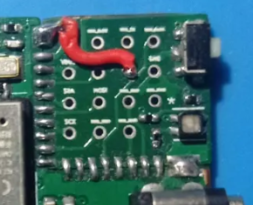
Please ignore the red cable, that has been fixed in a newer PCB revision :)
The first module I went with was the one above, some exposed pins and a RGB diode (It's not rotated because I couldn't buy one easily at that time, I use a 3D printed cover with some reflective paint to reflect the light...). In the newest revision it also has a small place for a frontlight diode on the other side.
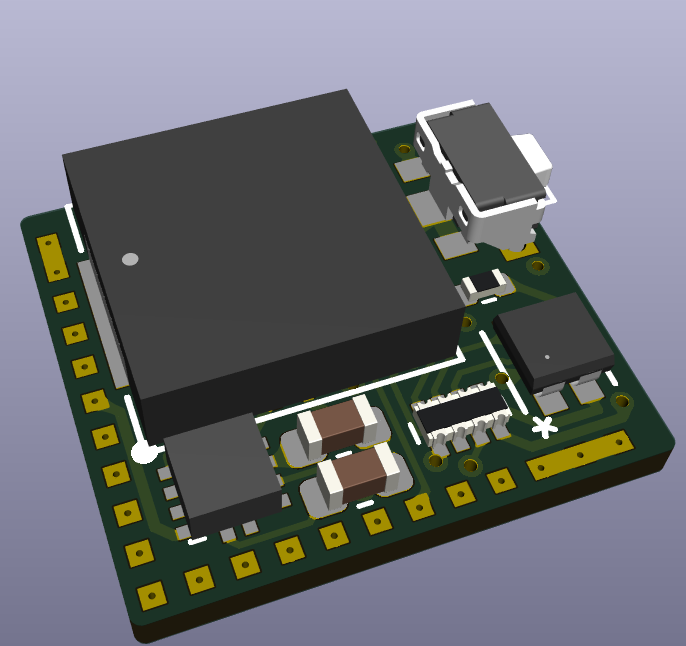
I designed a second one since then, it has an IMU, buzzer, microphone (the buzzer gets integrated into the case and below the buzzer is the microphone, the 3D model just covers it). Didn't yet test it as my mind wandered to other projects, but it's a beginning:
It's obviously something not all people are interested in, removing the module area & merging the 2 PCB's in kicad is easy. People in the community have already done that successfully.
The next thing to think about were the buttons and the usb port. Based on the watchy experience I knew one thing: THT or it will break off. Maybe after a year, maybe after 5, but that was the only solution. I decided for a PCB of height 1mm, so that was also a limitation.
I ended up with Panasonic EVP-AKE31A, small buttons, not so loud as the watchy ones but most importantly, THT and the button body is fully enclosed. After soldering the a few times, overheating them, leaking flux into them and bathing them in acetone (Yes, it's not ABS I guess) they still work, less clicky, but survived everything, even my book reading or aggressive tetris/towerfall playthroughs :D
The USBC was harder (Yes, we need to switch to USBC for this, micro usb is not acceptable in this era), The only one was USB4730-GF-A-KIT with an acceptable height of the THT pins. It's on the bigger size, but that's a problem for the future me designing a case. There were already people switching it for another models, but I can't get myself to that, I only trust THT to survive.
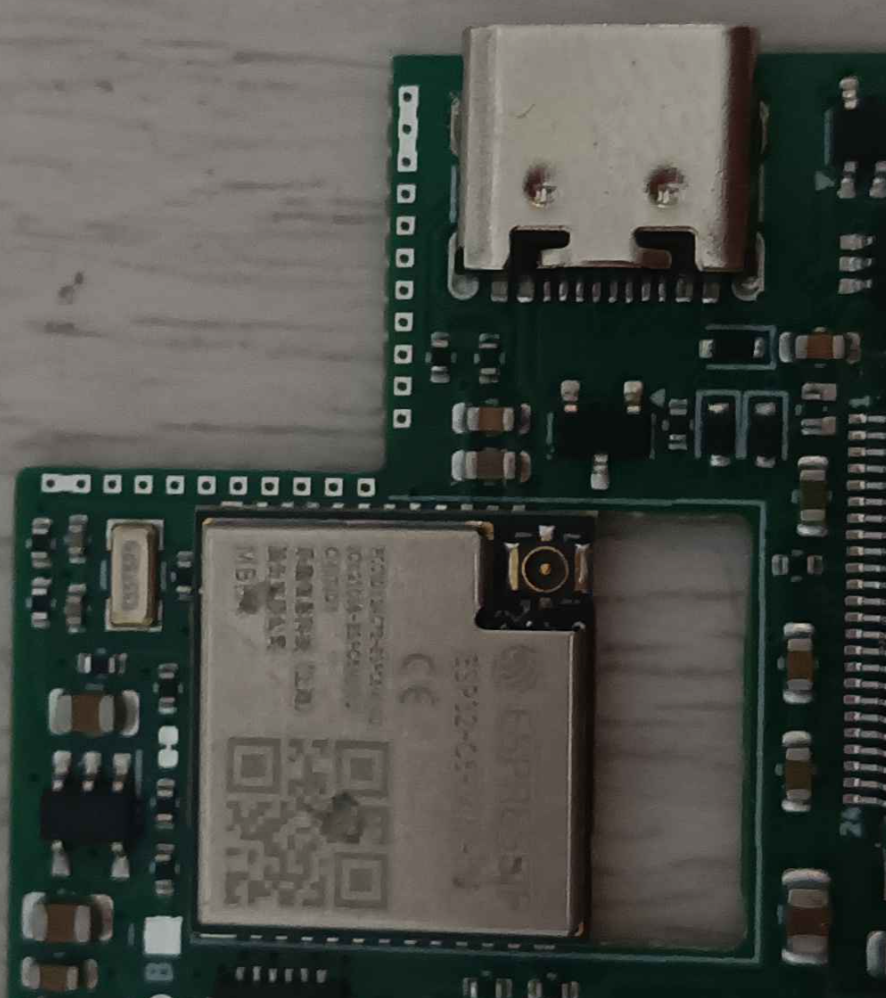
A modified yatchy with another usbc port, that the THT pins needed to be cut off manually. The esp is without an integrated antenna because of the chip shortage. Credits go to Lukas from the DC server
For more IO I choose the MCP23018-E_MJ, pretty power efficient, works well, love it.
To fix the power consumption I went with the esp32c6 (Nordic MCU's are more efficient, but less DIY, more...
Read more »