 Arnov Sharma
-
1SWITCH PCB ASSEMBLY
![]()
![]()
![]()
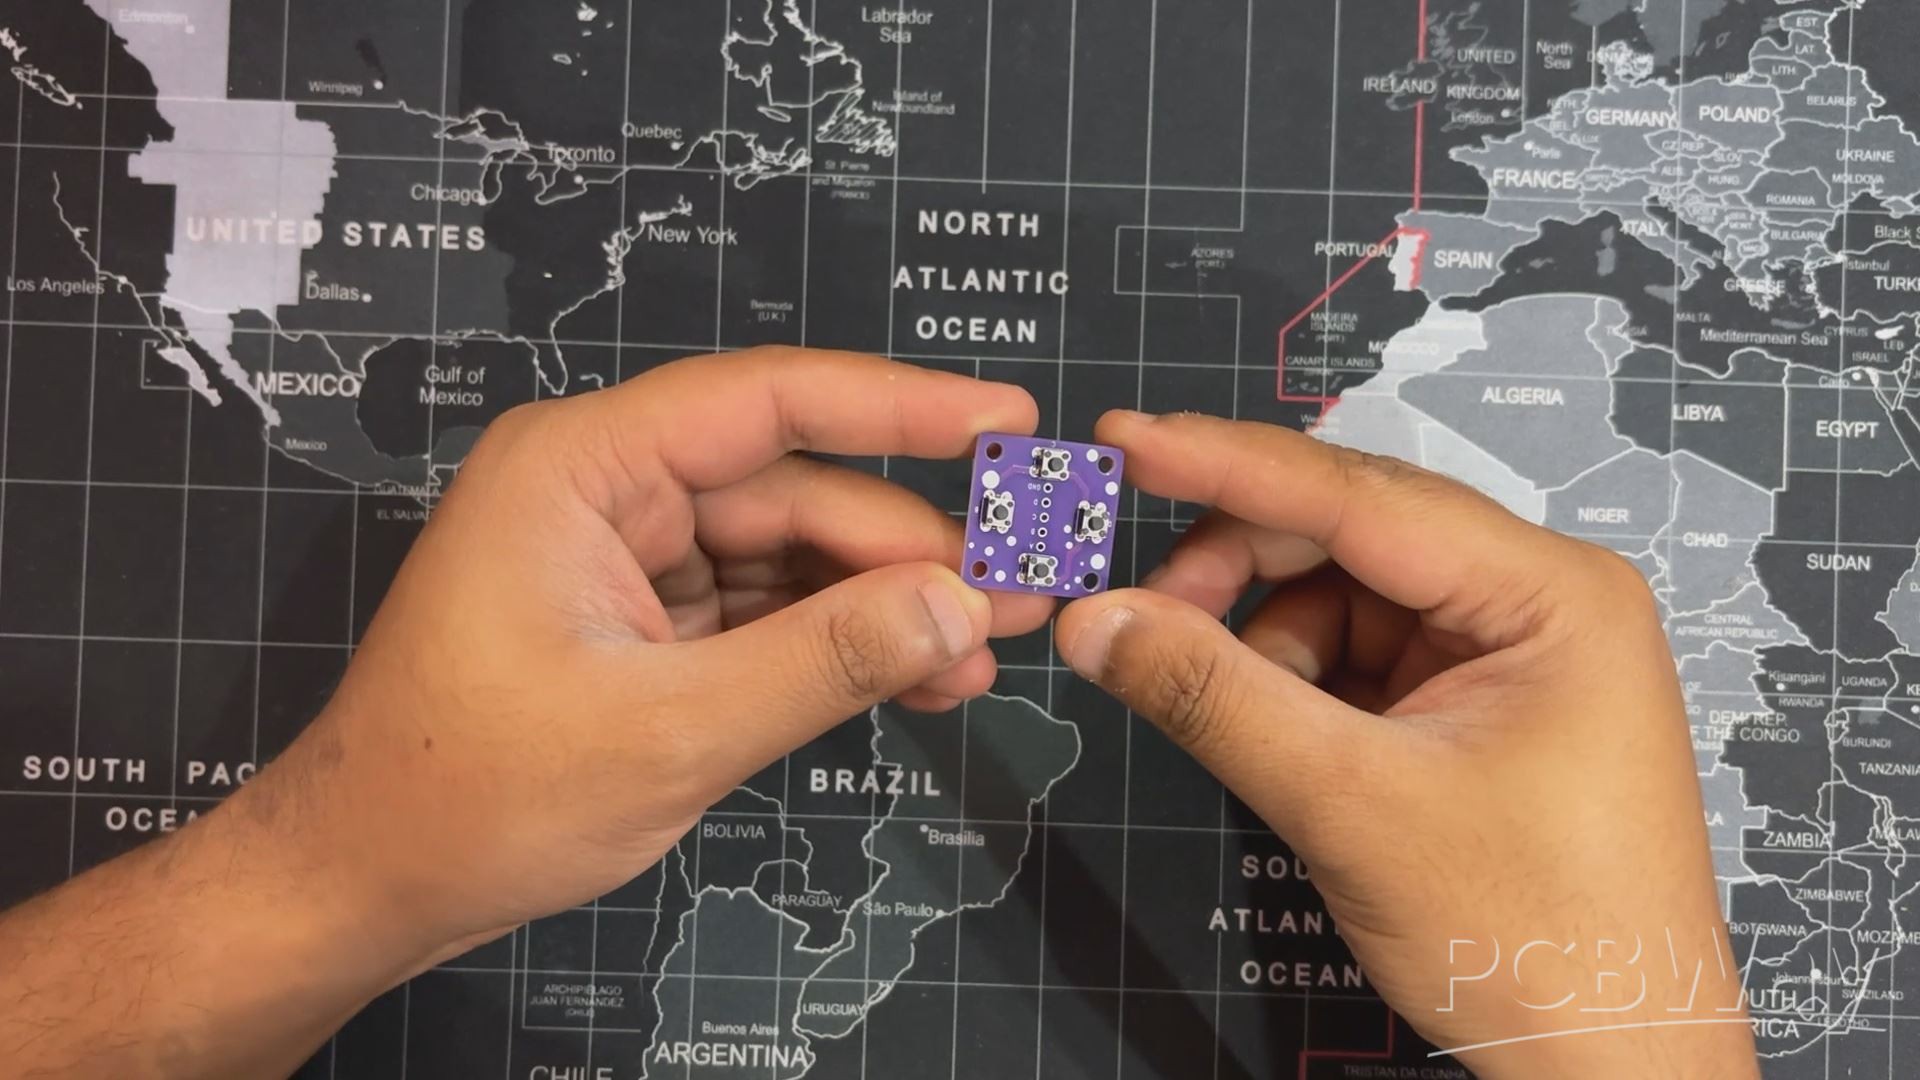
- Button board assembly was pretty straightforward. We start by placing all switches in their position.
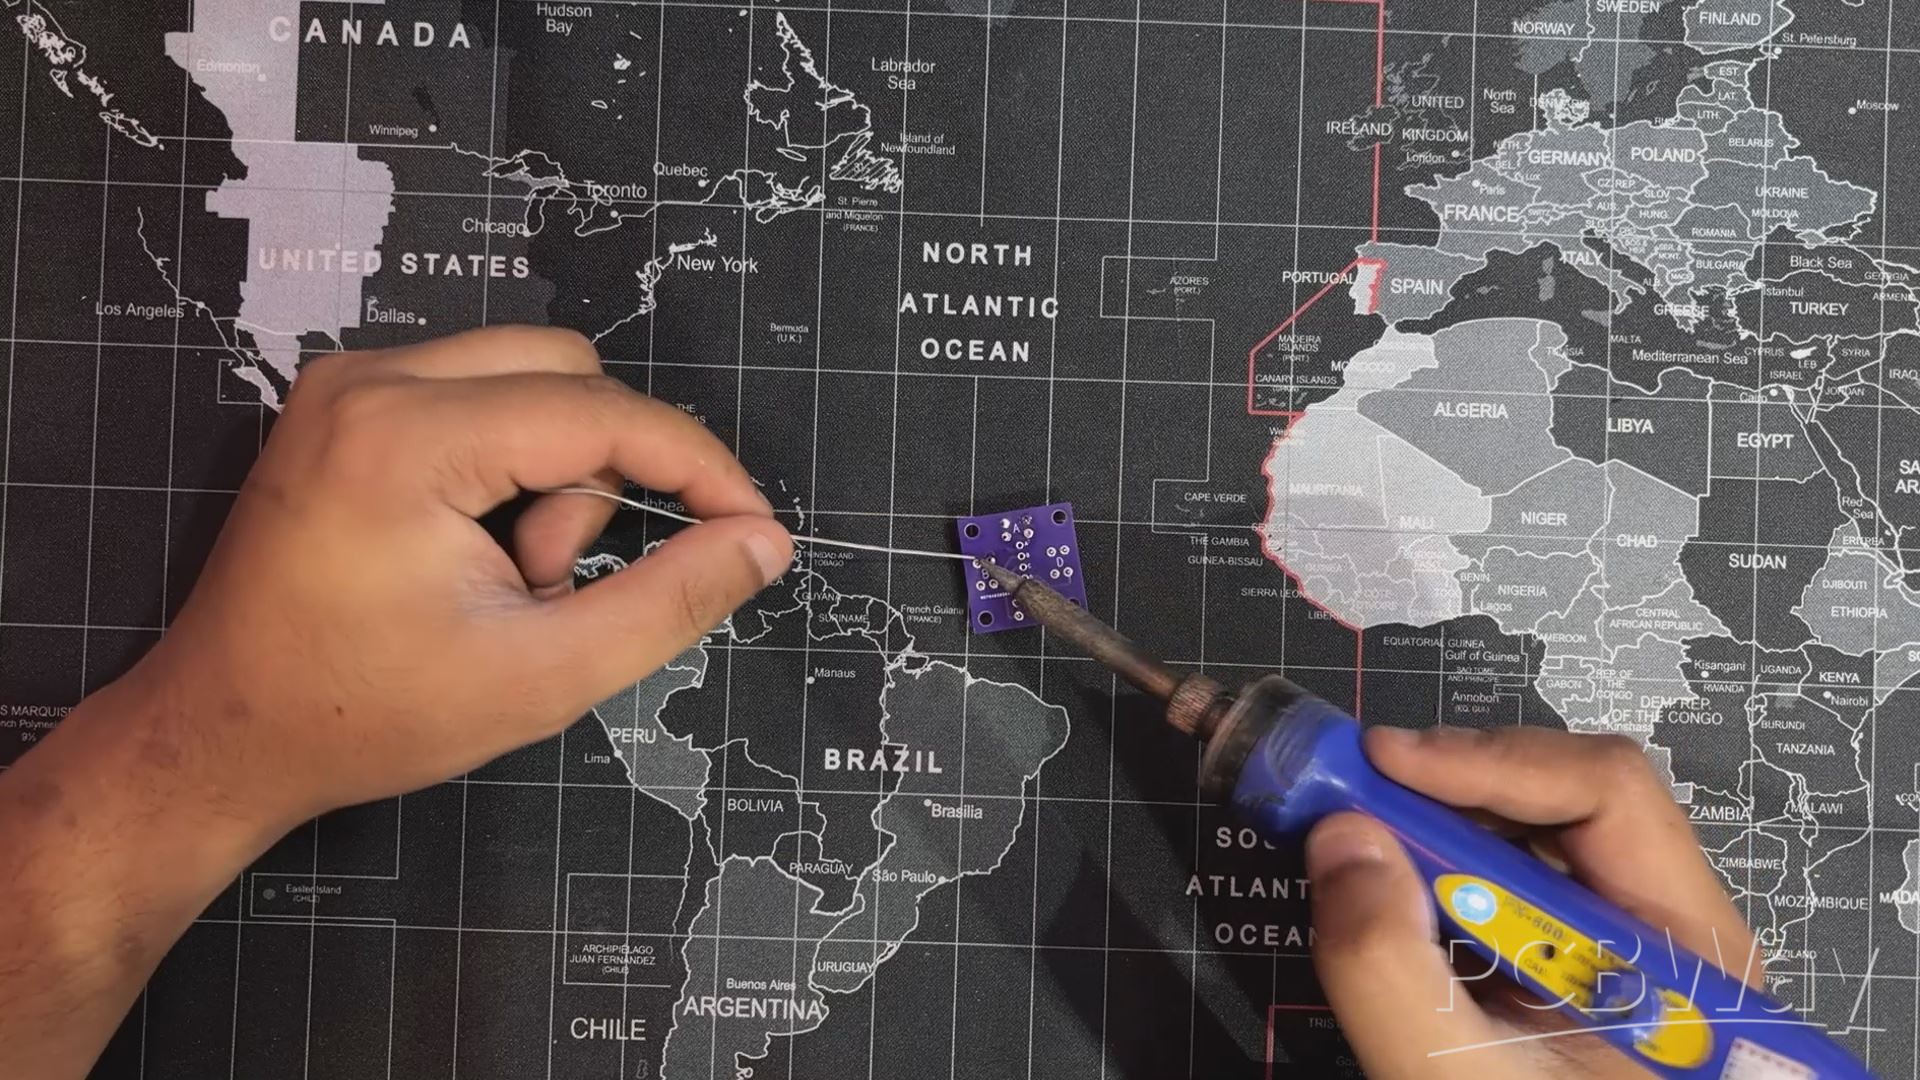
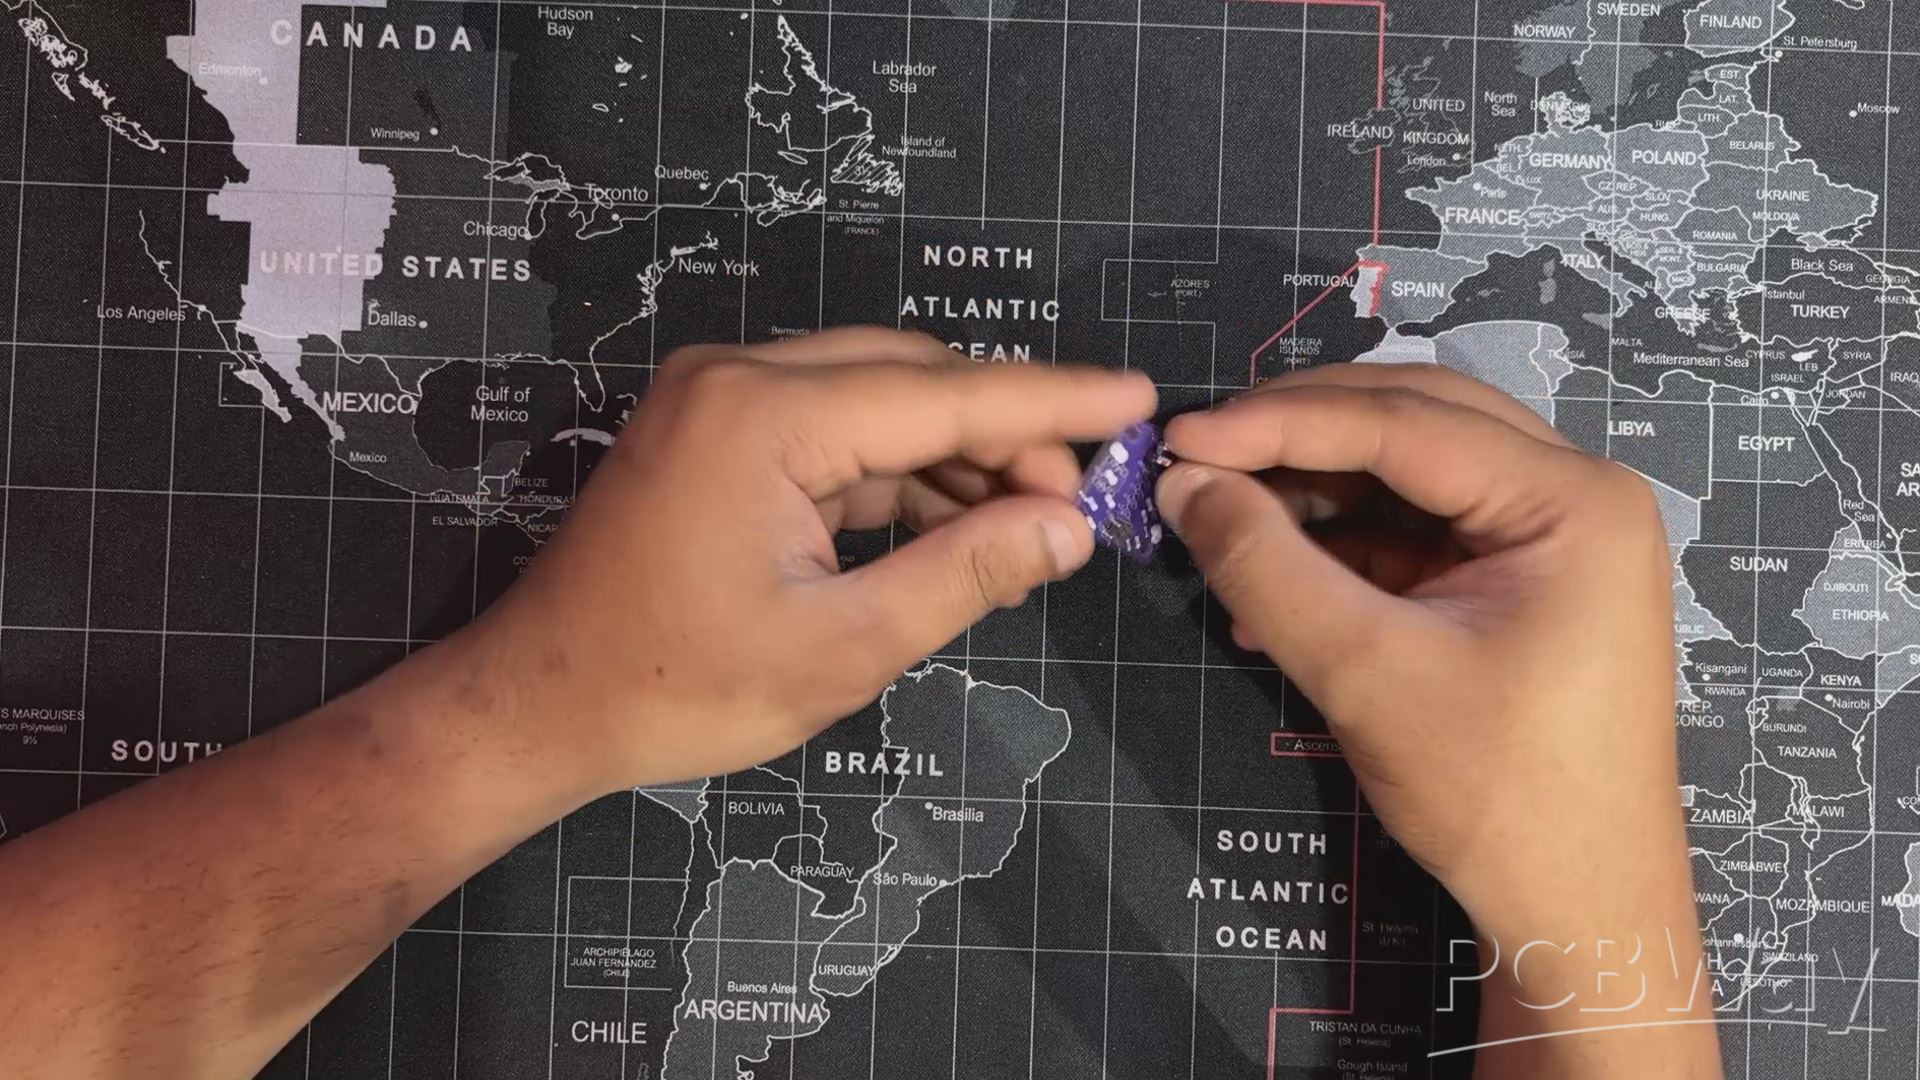
- Next, we flipped the board over and then used a soldering iron to solder all the leads of the push buttons.
The switch PCB is now assembled.
-
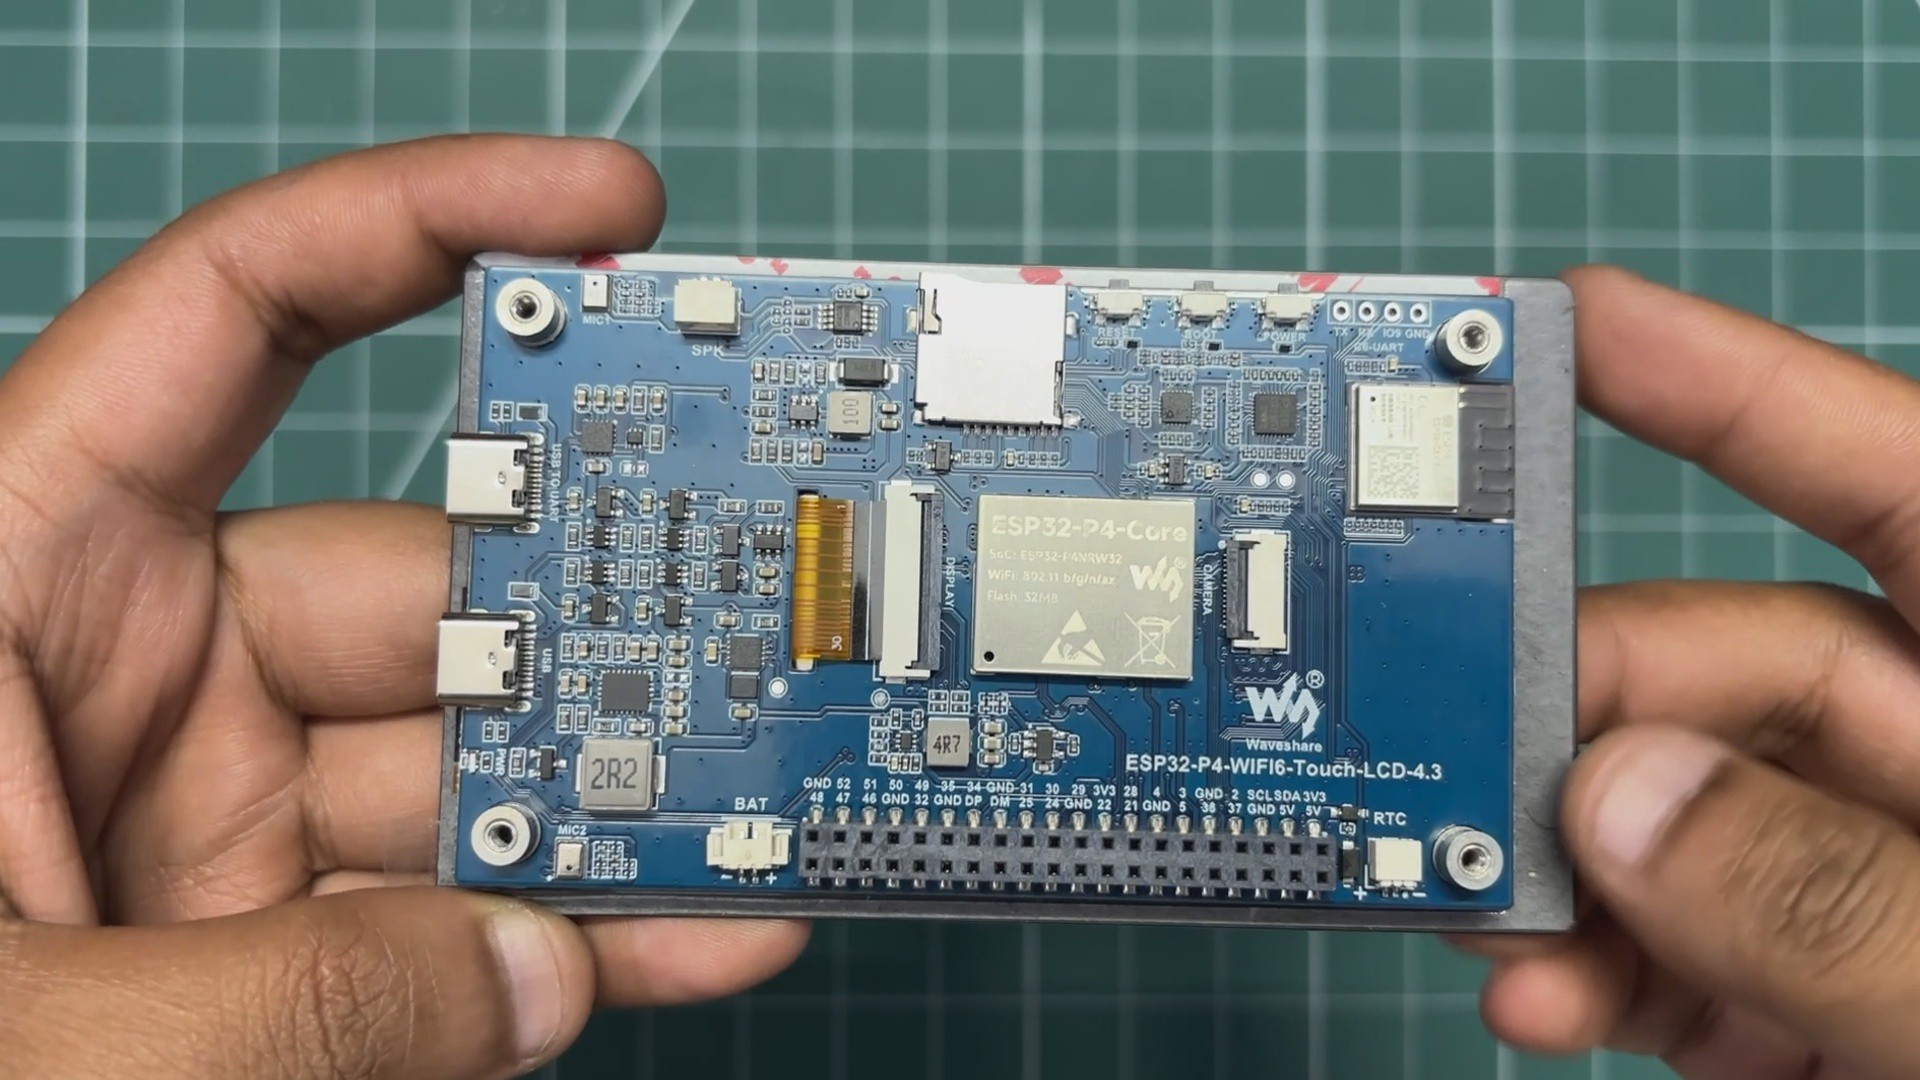
2HARDWARE: WAVSHARE ESP32 P4 WIFI6 Touch LCD
![]()
![]()
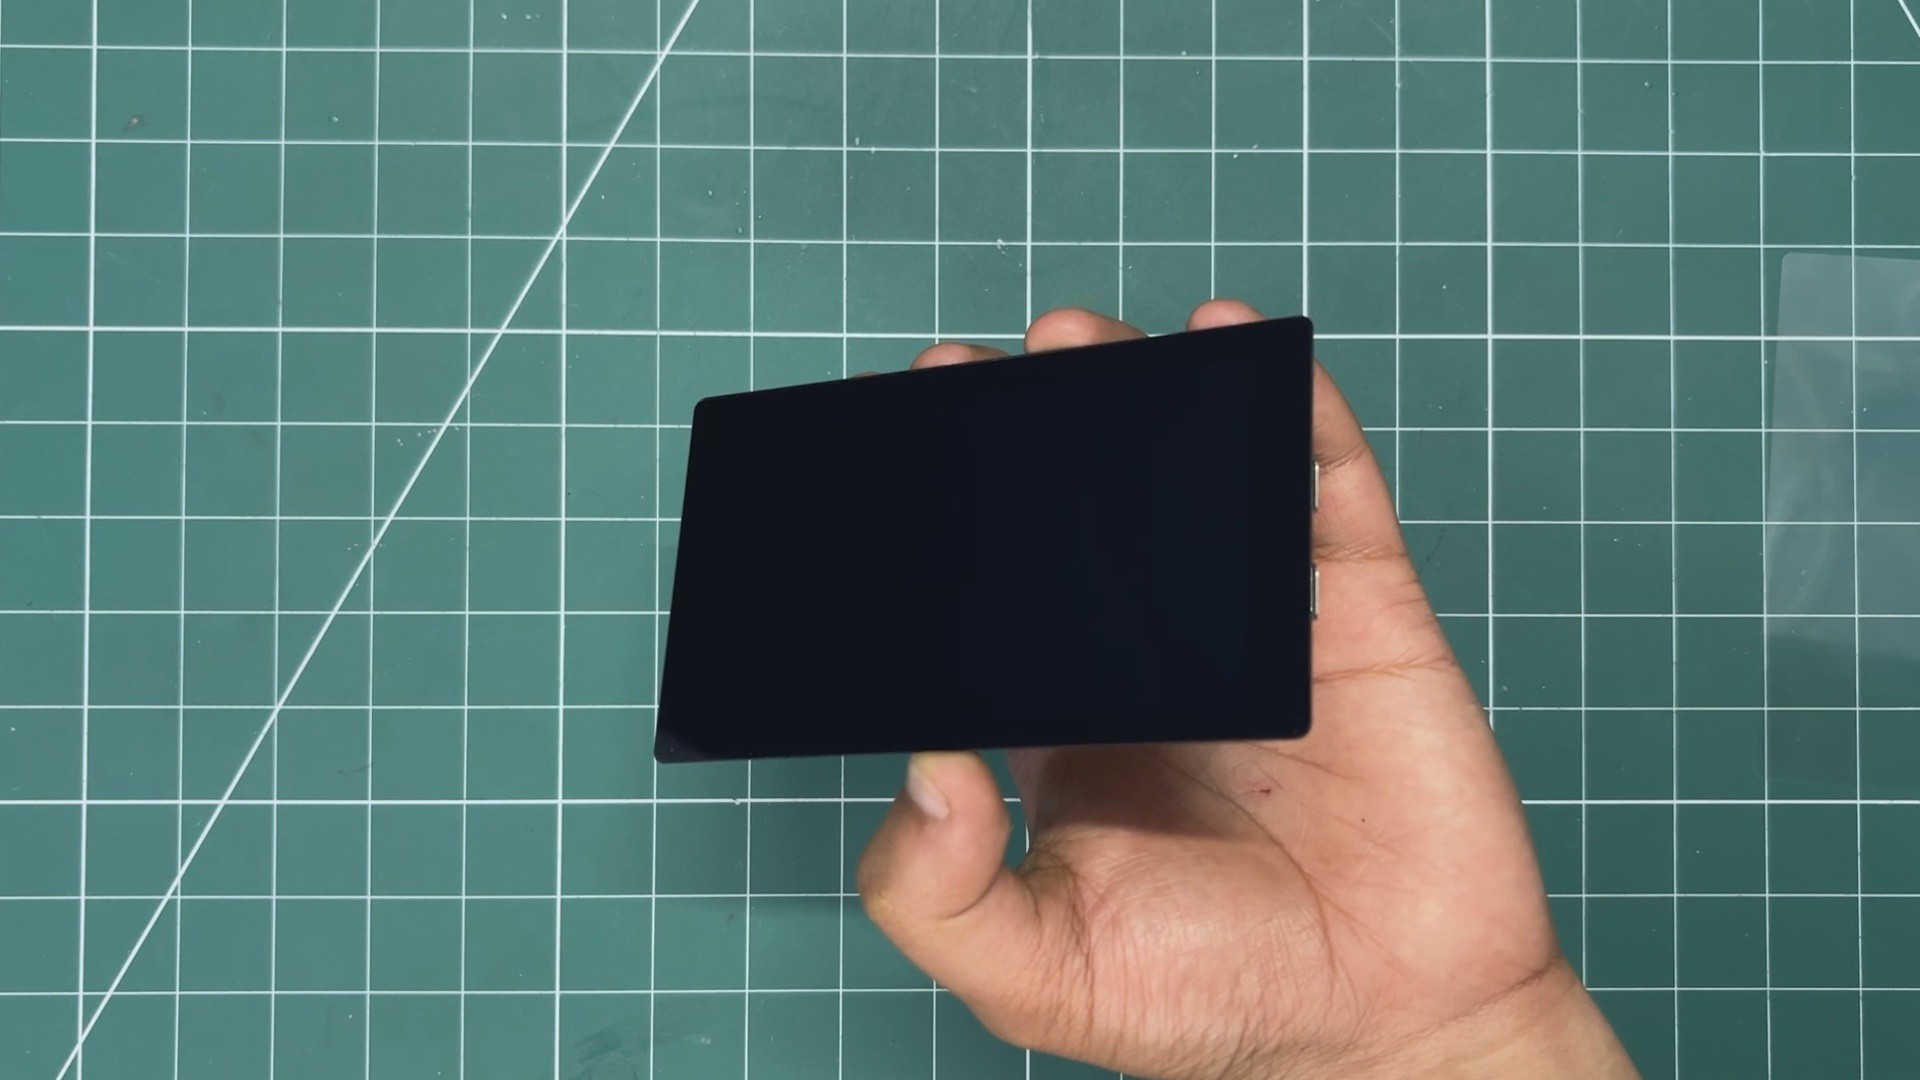
Here's the star of our project: the Waveshare ESP32-P4 Development Board. It is built around the ESP32-P4 microcontroller, featuring a dual-core 400 MHz RISC-V processor for high-performance applications, along with a dedicated low-power RISC-V core for efficient background tasks.
The board comes equipped with a 4.3-inch IPS capacitive touch display with a resolution of 480 × 800 pixels, providing a responsive and vibrant user interface. It supports a rich set of human-machine interaction peripherals, including a MIPI-CSI camera interface with an integrated Image Signal Processor (ISP) for image capture and processing applications. The board also features USB 2.0 OTG High-Speed (HS) support, enabling fast data transfer and versatile USB connectivity options.
For hardware expansion, it includes an onboard 40-pin GPIO header that is compatible with selected Raspberry Pi HAT expansion boards, making it easy to integrate additional sensors, modules, and peripherals.
An additional highlight of this development board is the onboard ESP32-C6-MINI module. Since the ESP32-P4 itself does not include native Wi-Fi or Bluetooth connectivity, the ESP32-C6 serves as a dedicated wireless coprocessor, providing Wi-Fi 6 (802.11ax) and Bluetooth Low Energy (BLE 5.x) capabilities. This combination allows developers to leverage the processing power of the ESP32-P4 while maintaining modern wireless connectivity for IoT and connected-device applications.
You can check out more details about this board from Wavshare's WIKI PAGE-
-
3ESP32 P4 WIFI6 Touch LCD SPEAKER ASSEMBLY
![]()
![]()
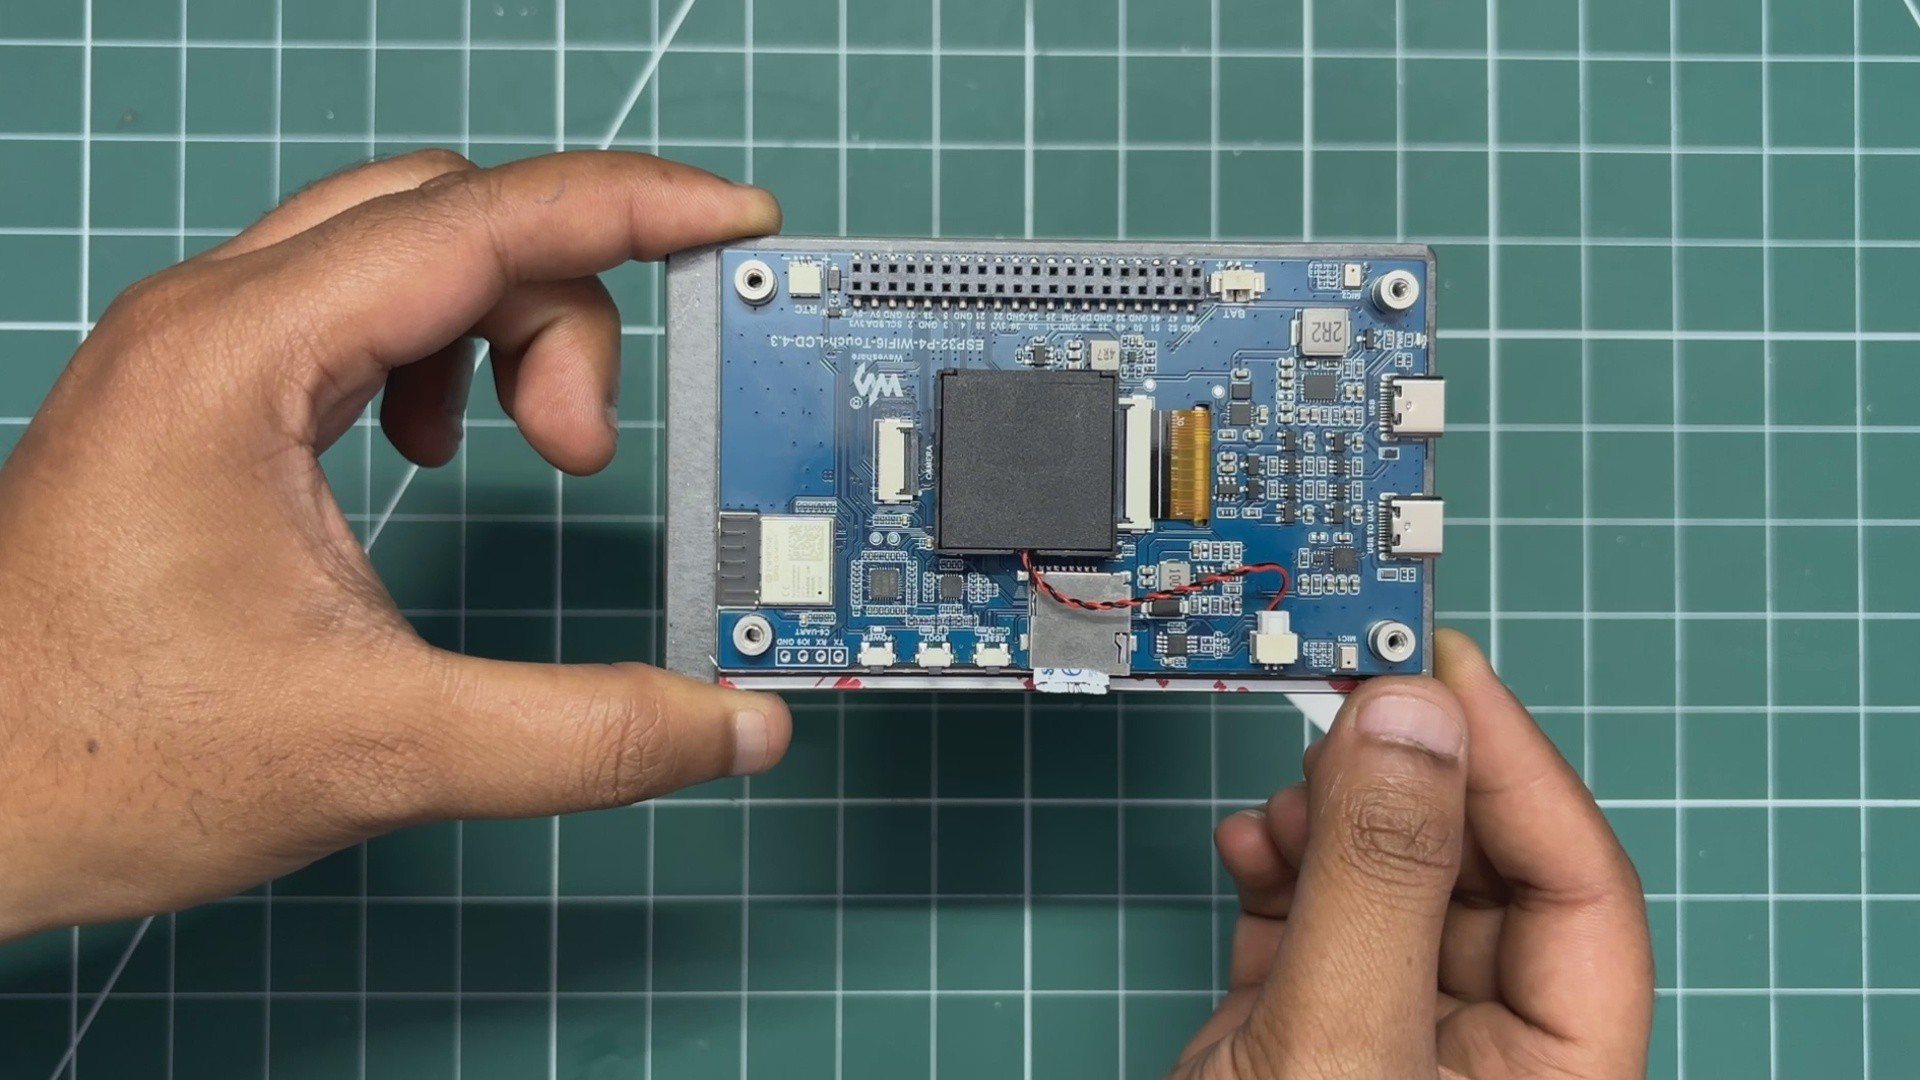
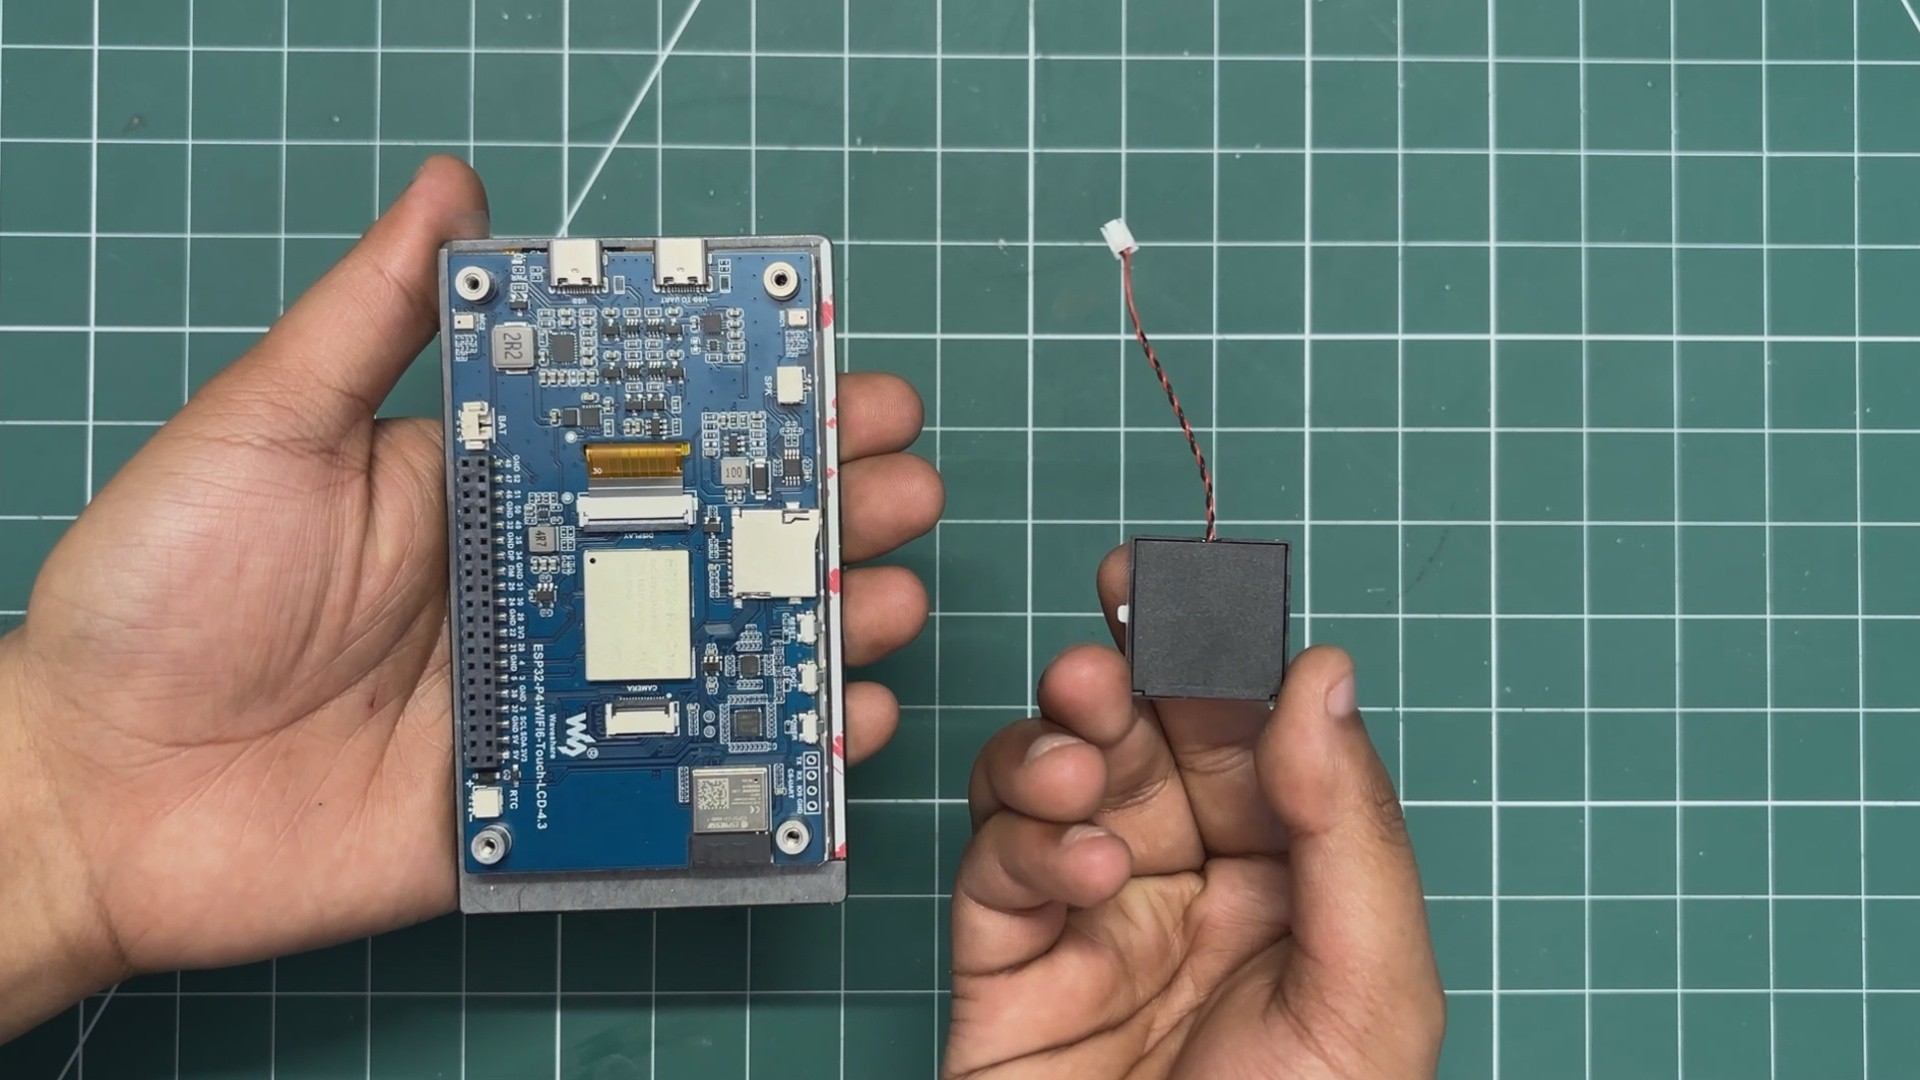
In the Waveshare ESP32-P4 Wi-Fi 6 Touch LCD Kit, an onboard compatible speaker is included.
This speaker serves as a crucial component of our build, as it will be used to output the various astromech sound effects generated by the system.
- To install the speaker, we first removed the protective layer from the 3M double-sided adhesive tape attached to its back.
- The speaker was then carefully positioned in the center of the board, directly above the ESP32-P4 metal shielding can, ensuring that it did not interfere with any connectors or components.
- Once aligned correctly, the speaker was pressed firmly into place, securing it to the board and completing the installation.
-
4GREEBLES PART ASSEMBLY
![]()
![]()
![]()
![]()
![]()
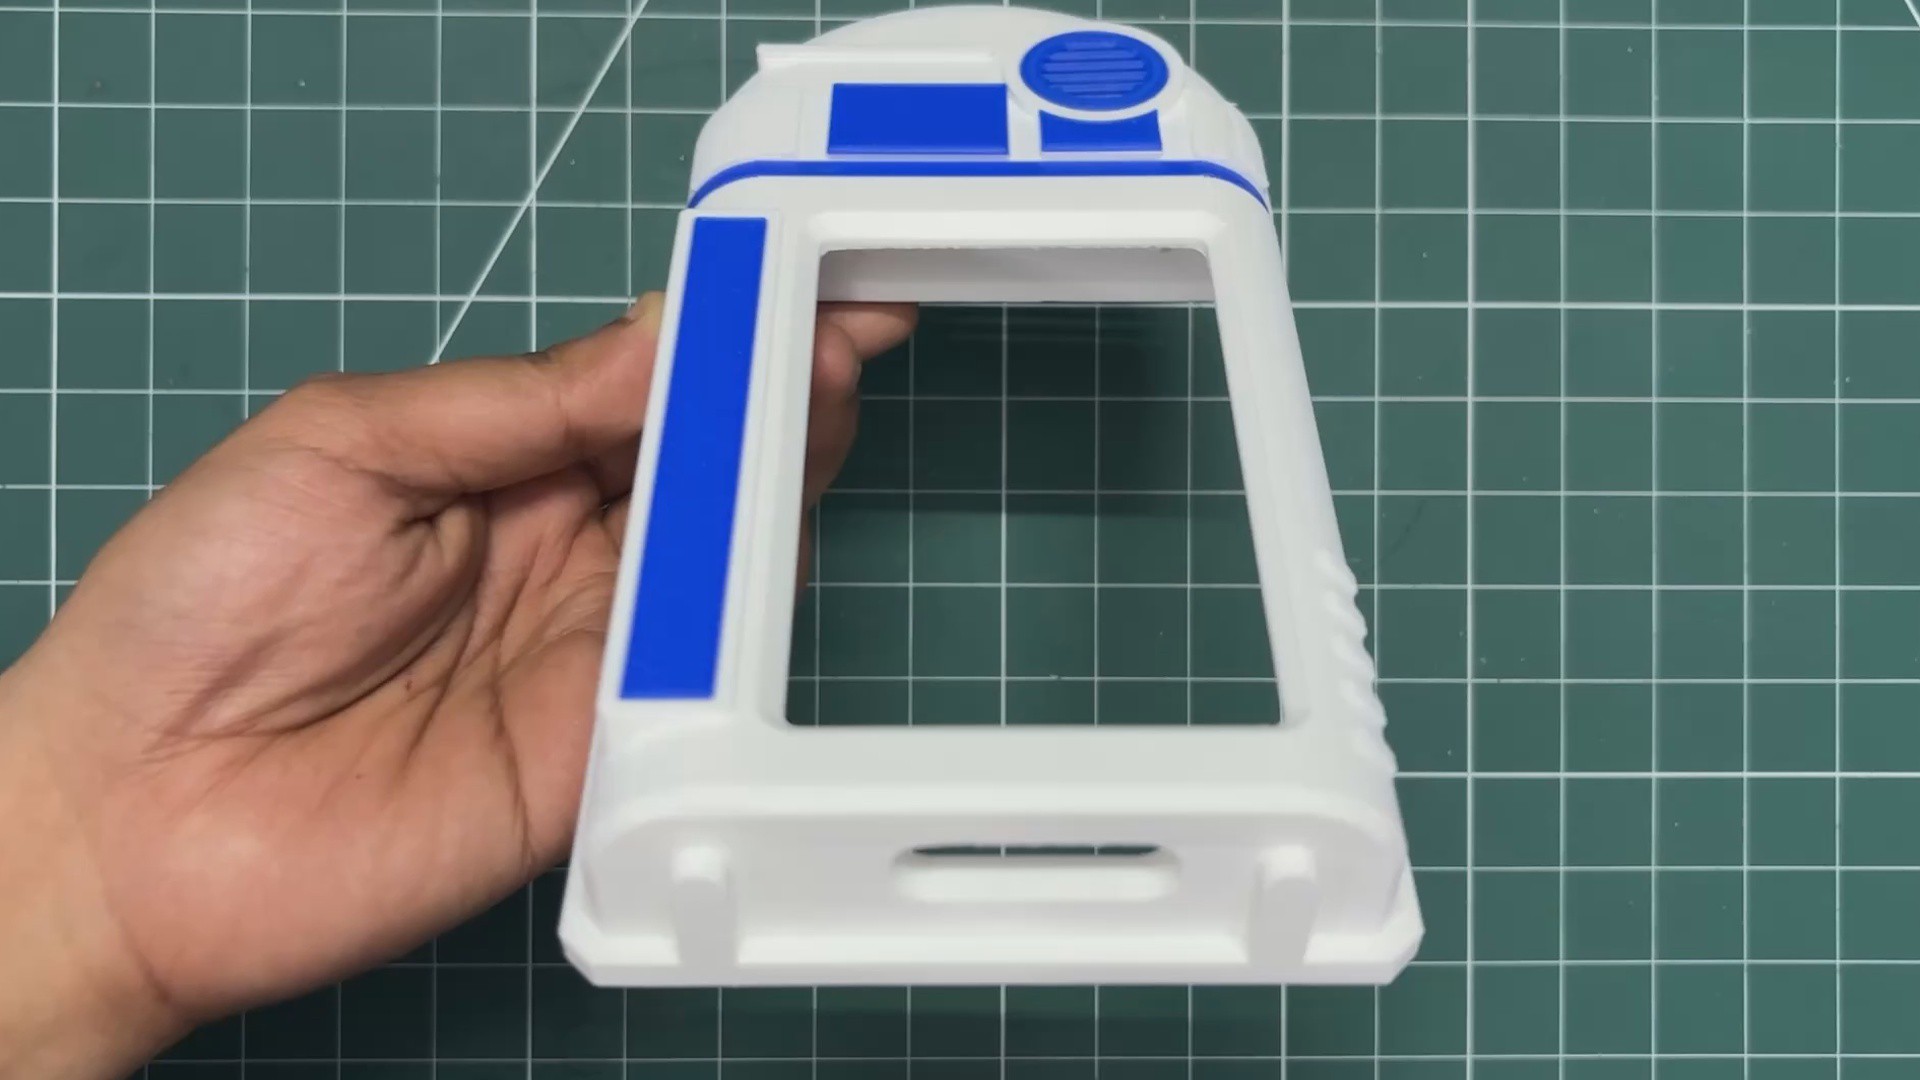
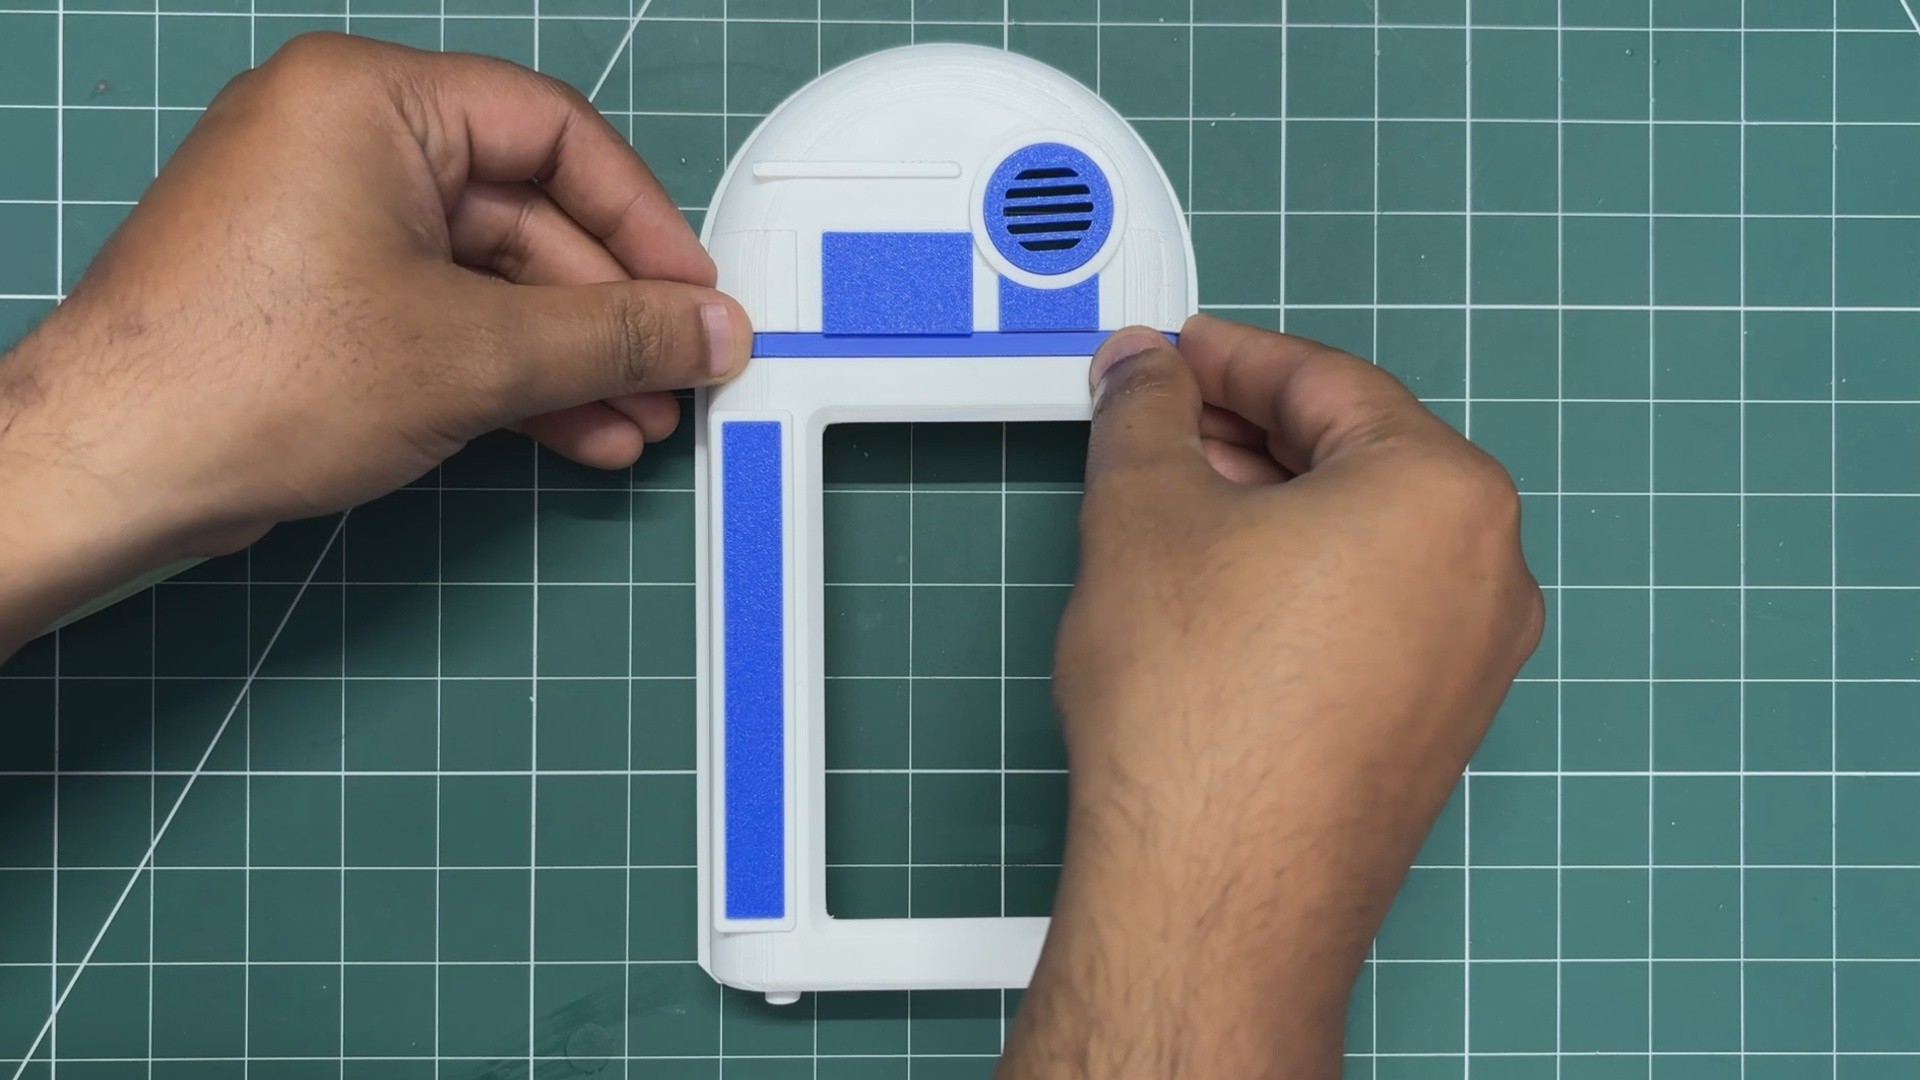
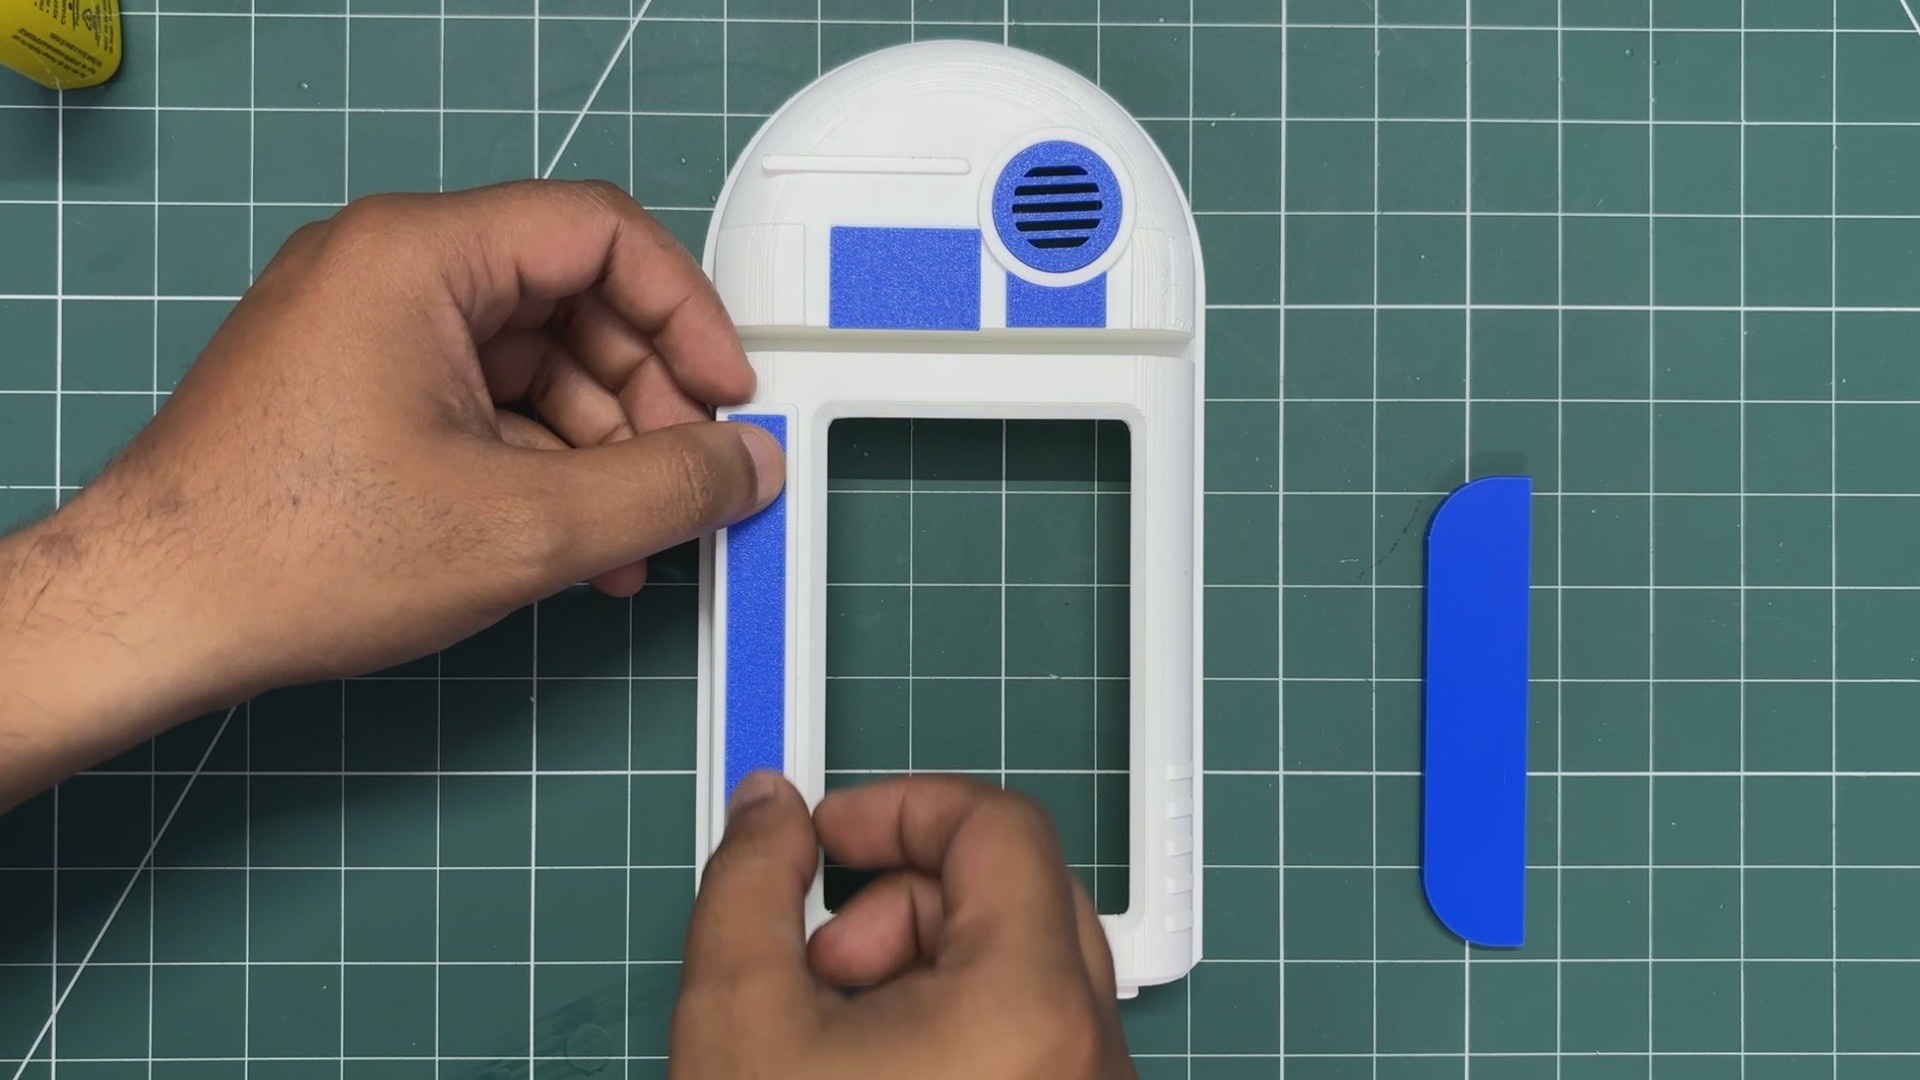
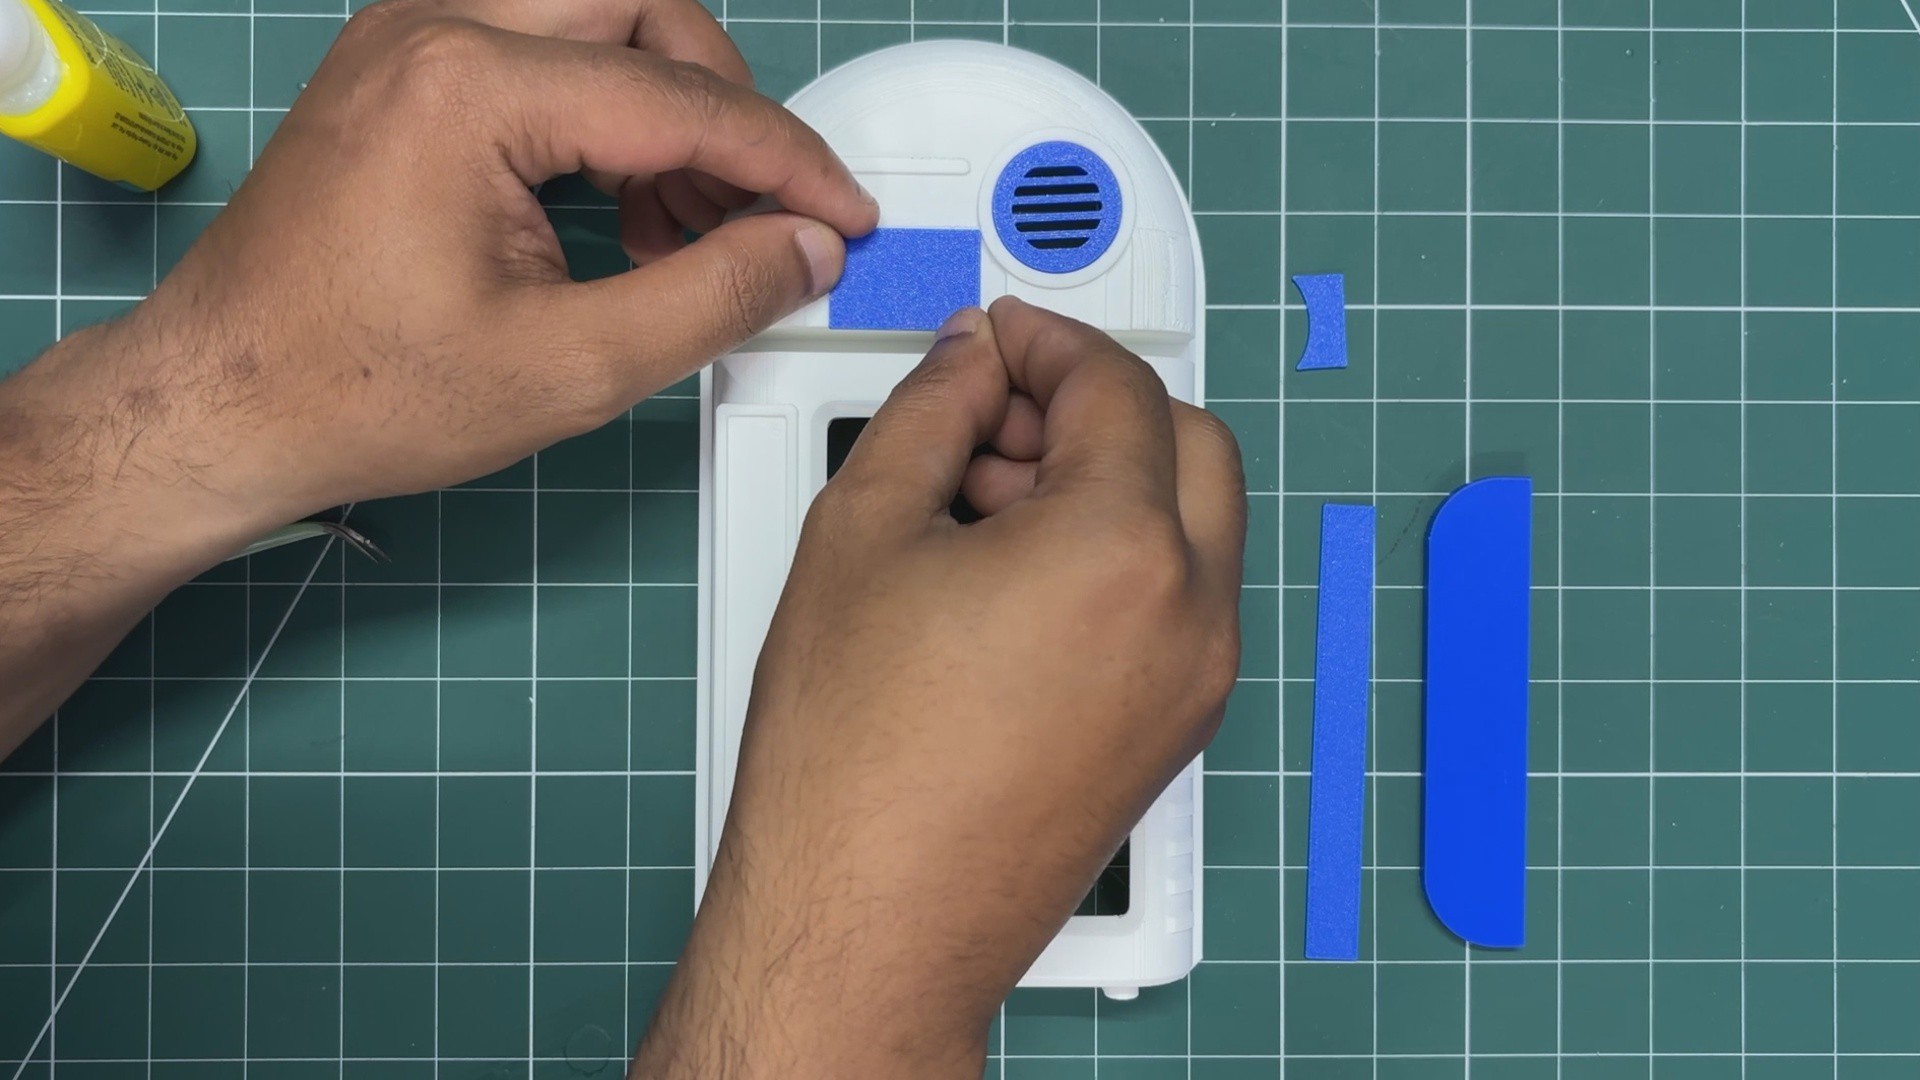
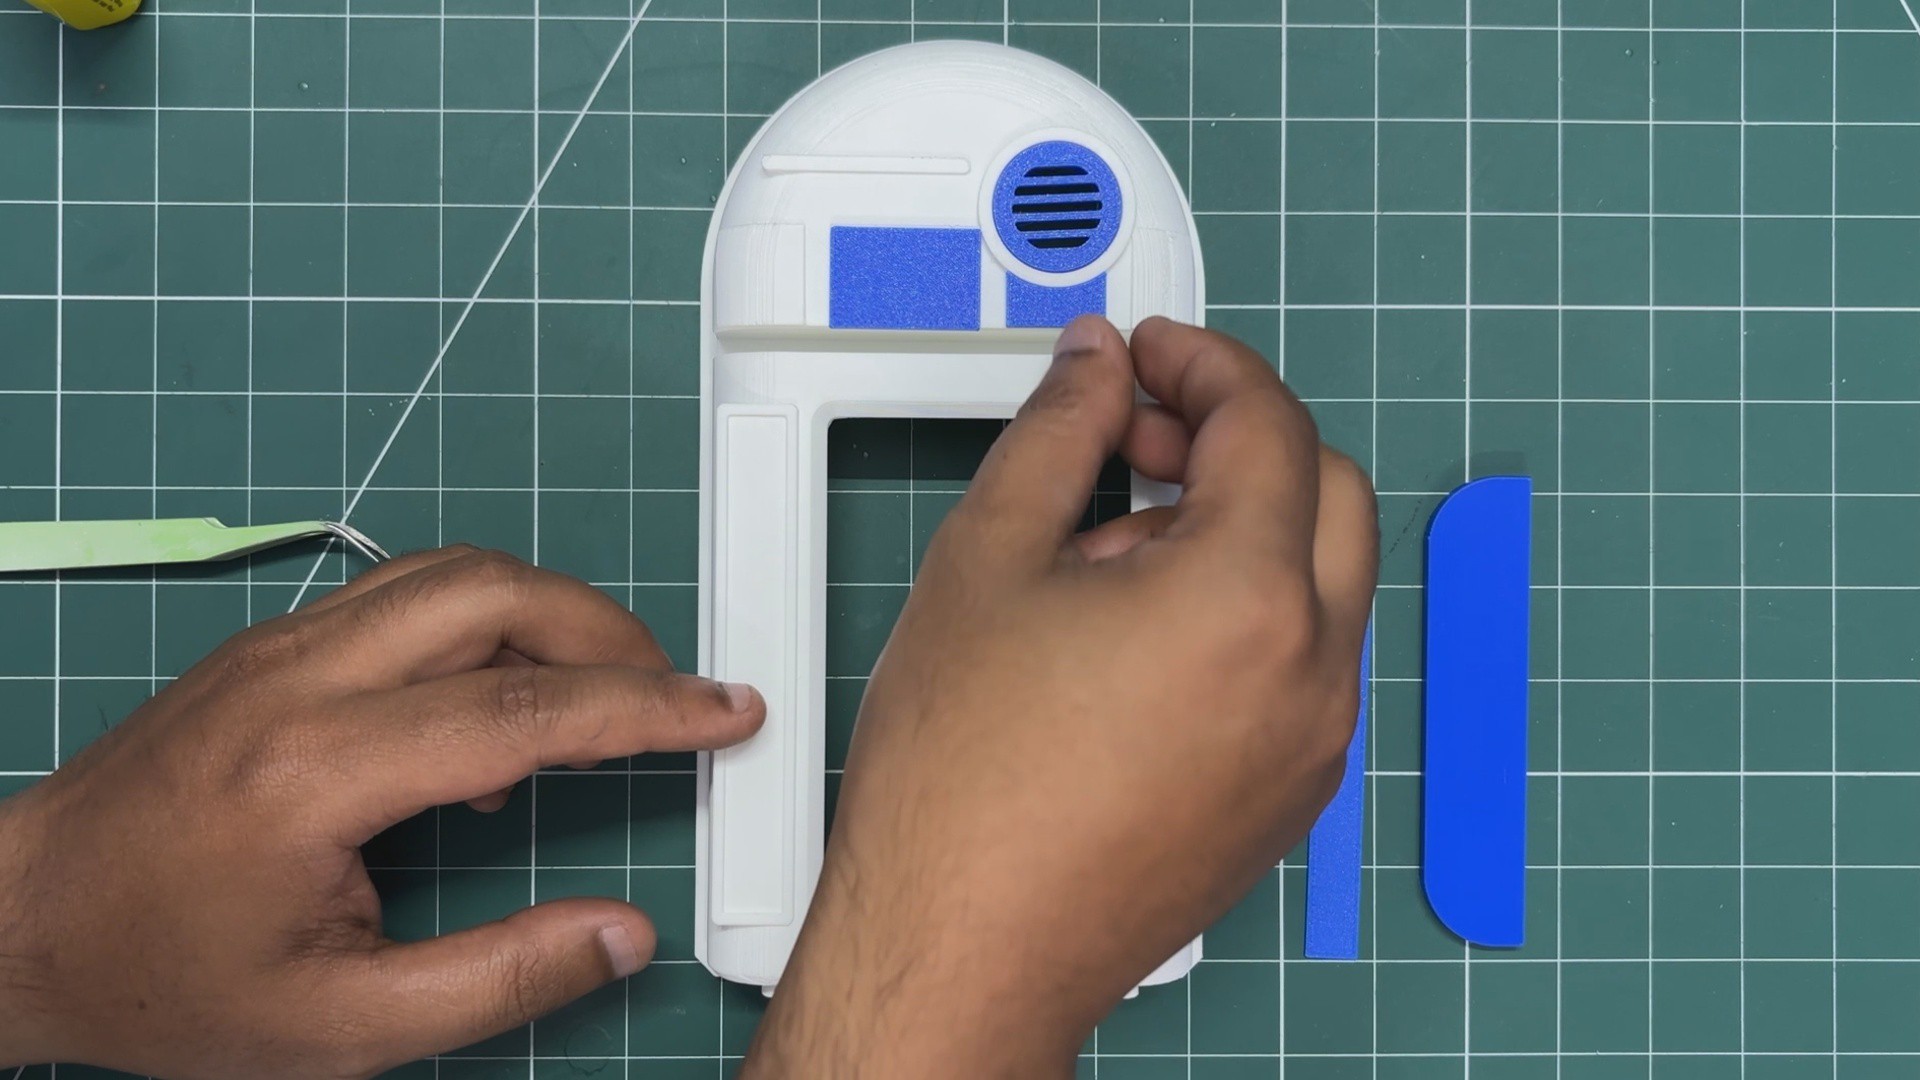
- We start the greebles assembly process by placing the Grill part in its position first. It is pressed firmly into place and gets locked in position due to the zero surface clearance.
- Next, we apply super glue to the mounting positions of the other greeble parts, then position them one by one.
All parts require some super glue for mounting.
-
5ESP32 P4 & SWITCH BOARD ASSEMBLY
![]()
![]()
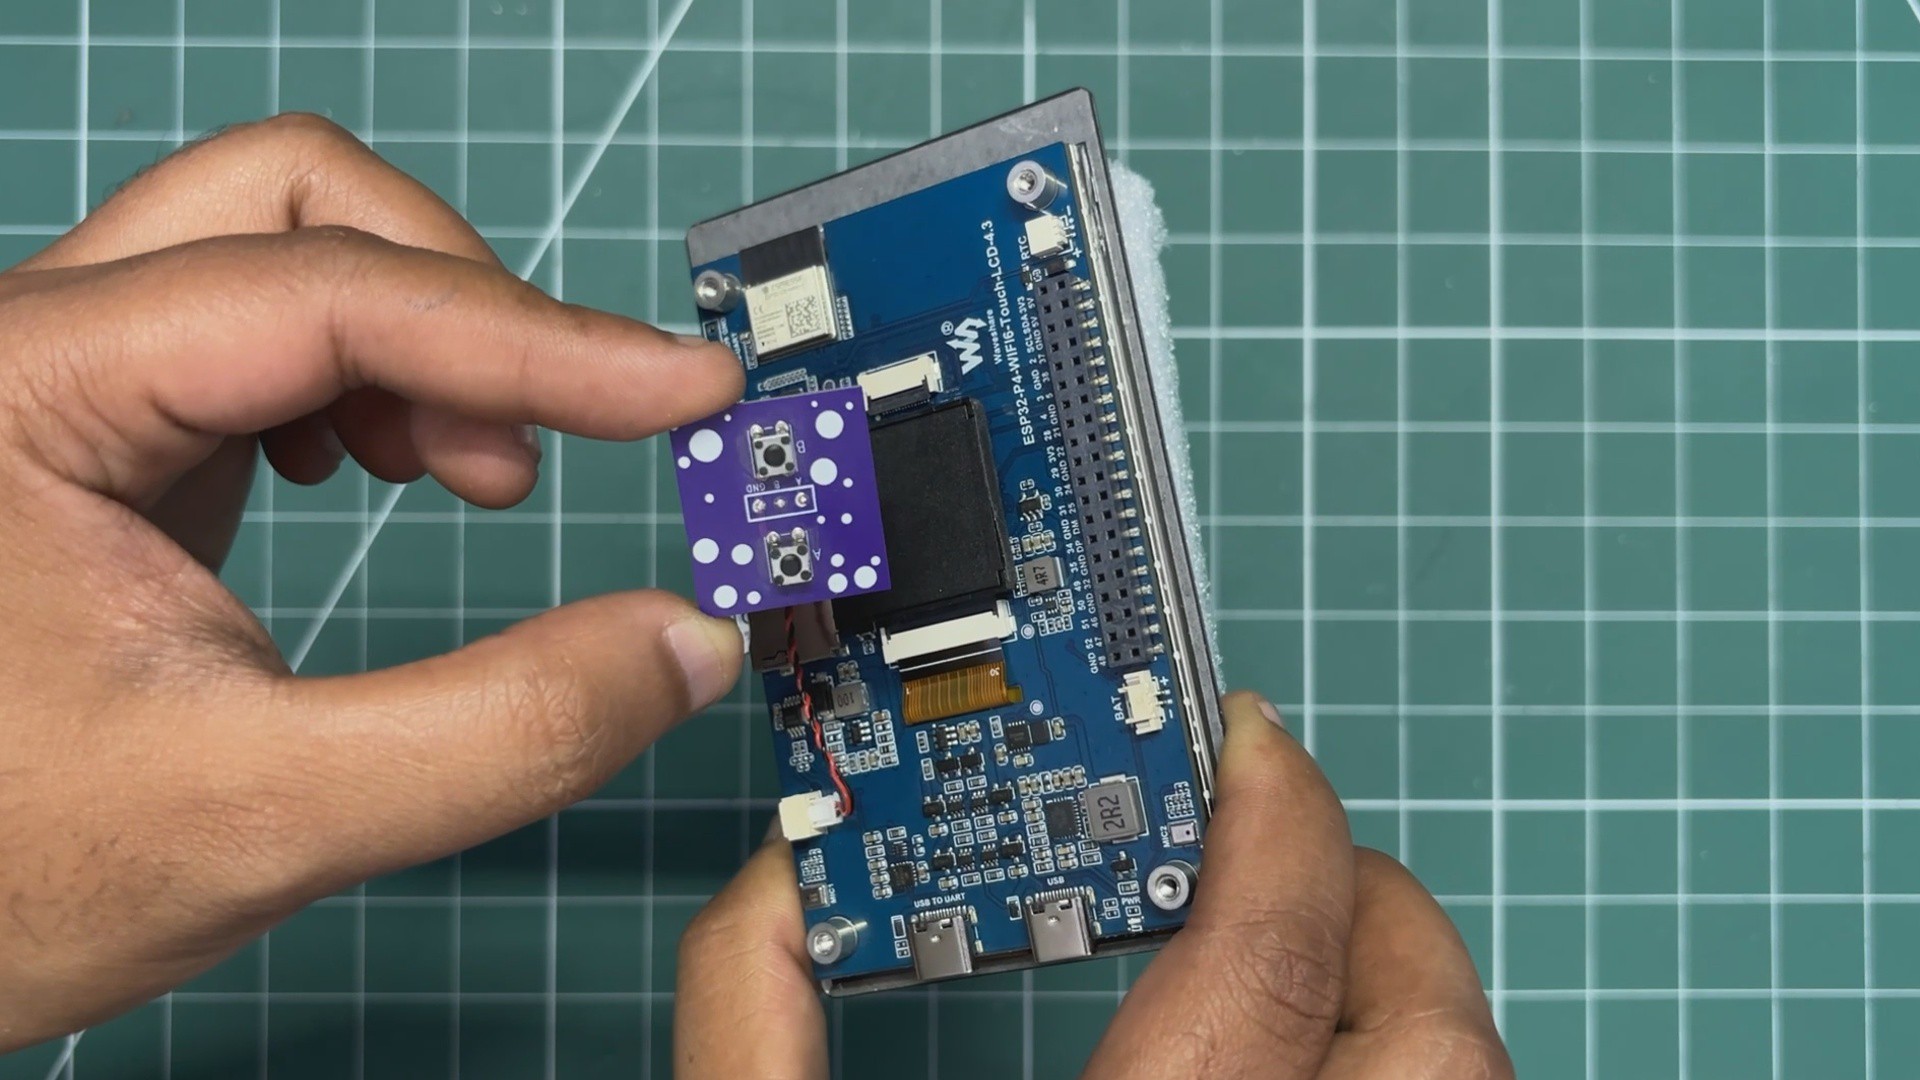
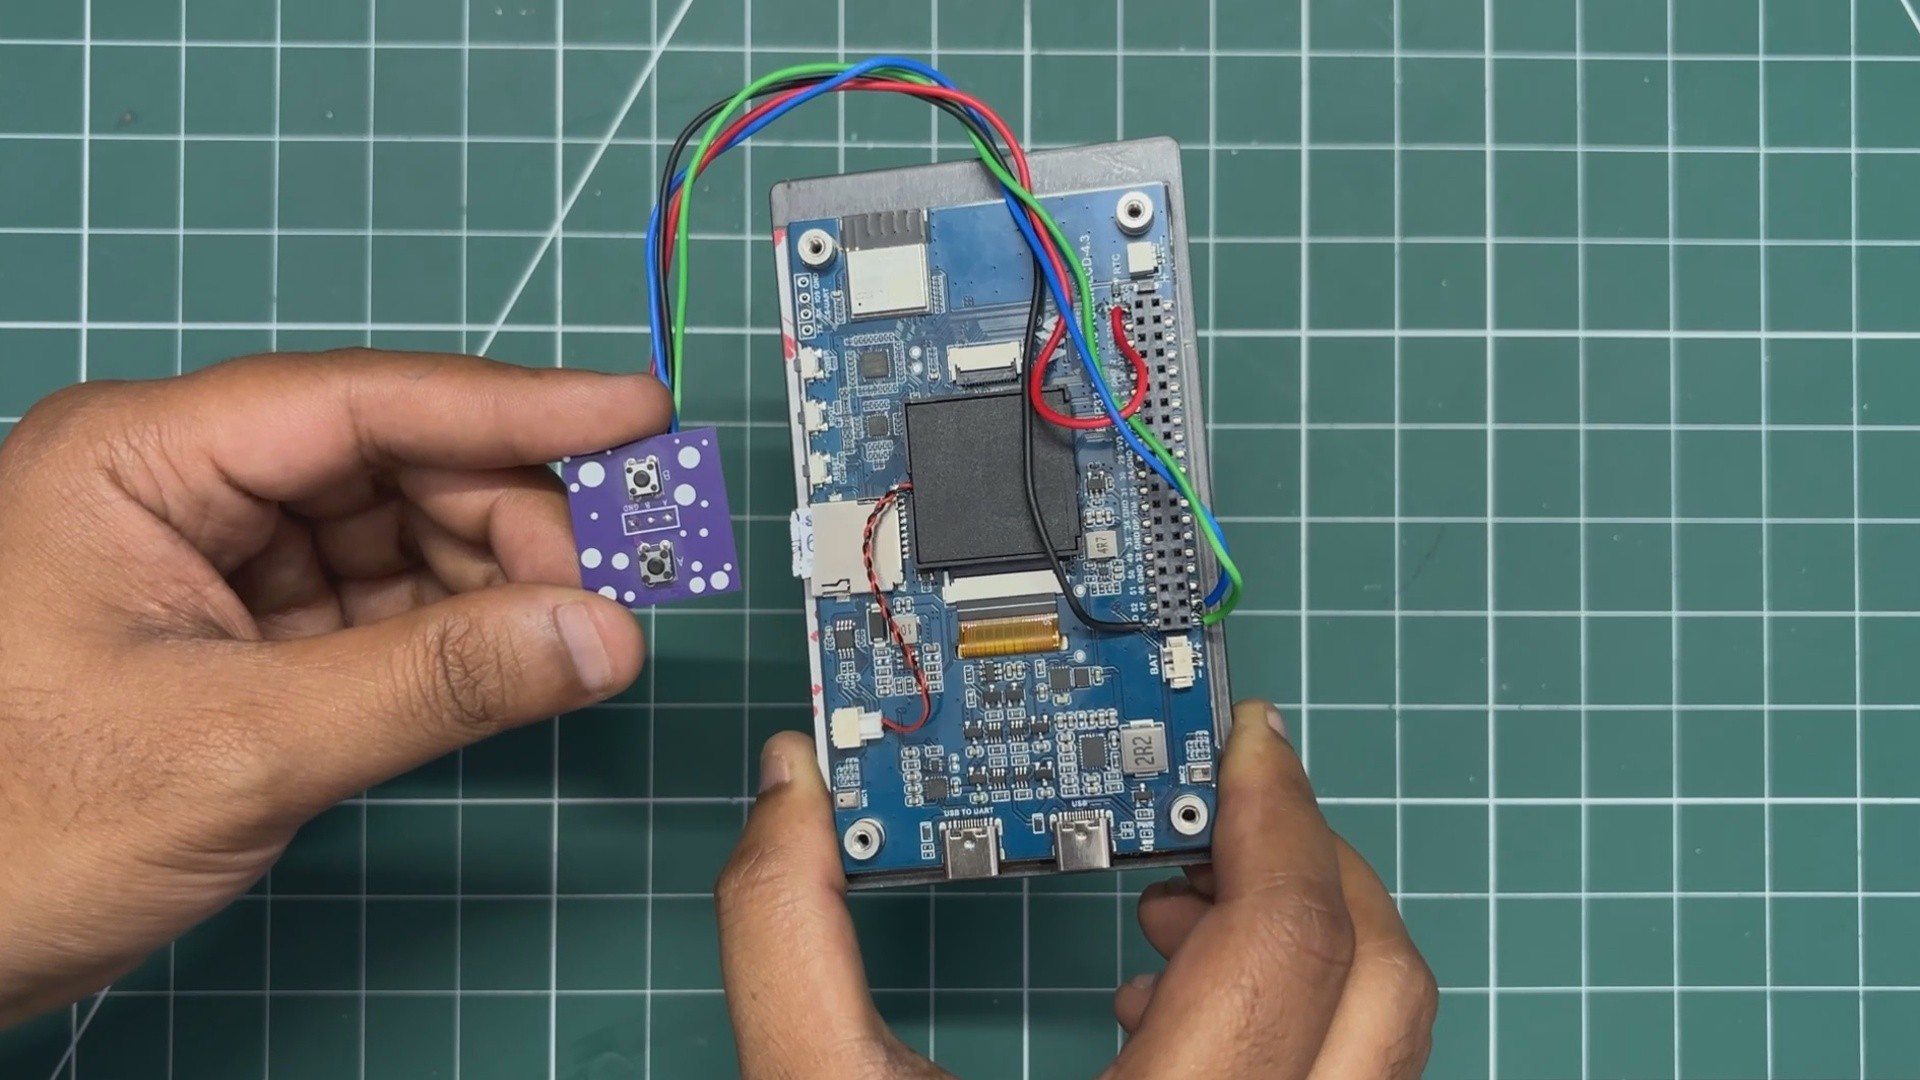
- Next, we connect our switchboard to the ESP32-P4 Board.
- We connect the GND pin of the switchboard to the GND pin of the ESP32-P4, GPIO48 to Button 1, and GPIO47 to Button 2.
- For these connections, single-core silver-plated copper wire is used.
-
6SWITCH SECTION ASSEMBLY
![]()
![]()
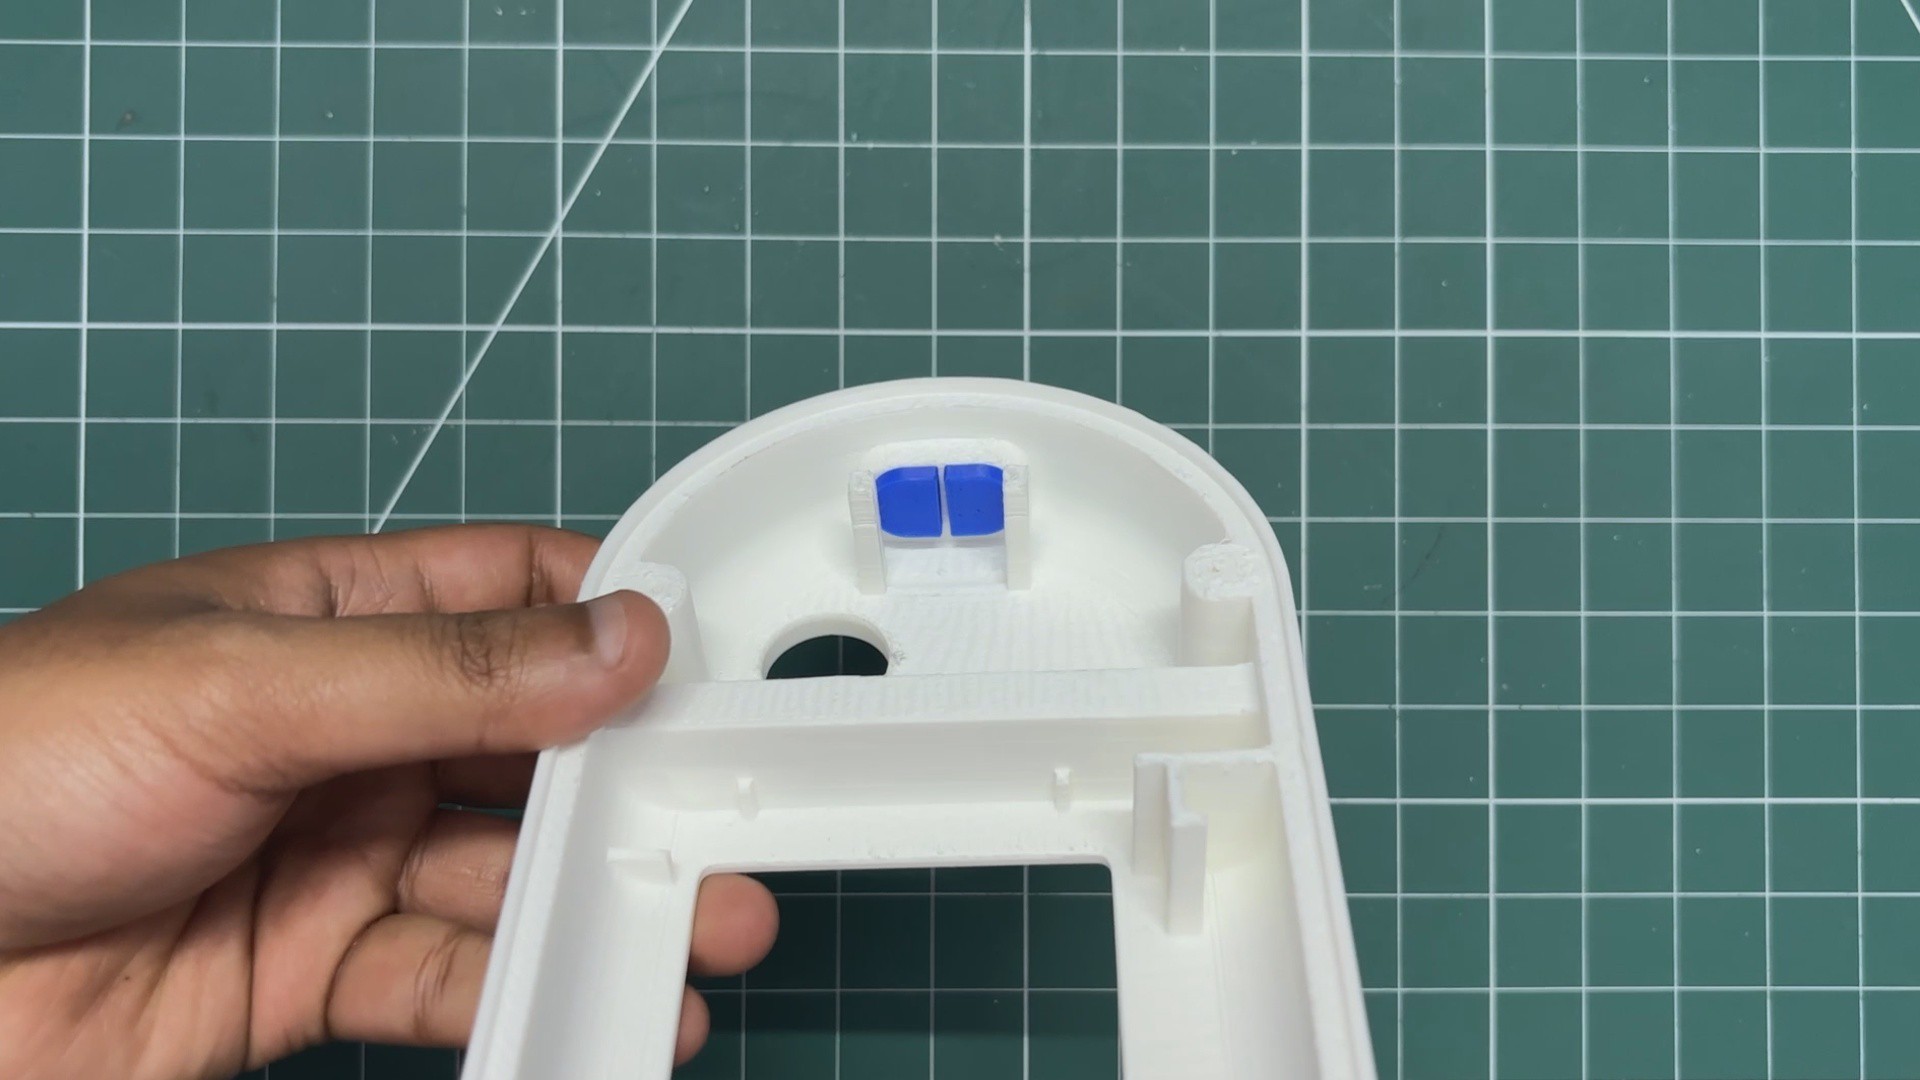
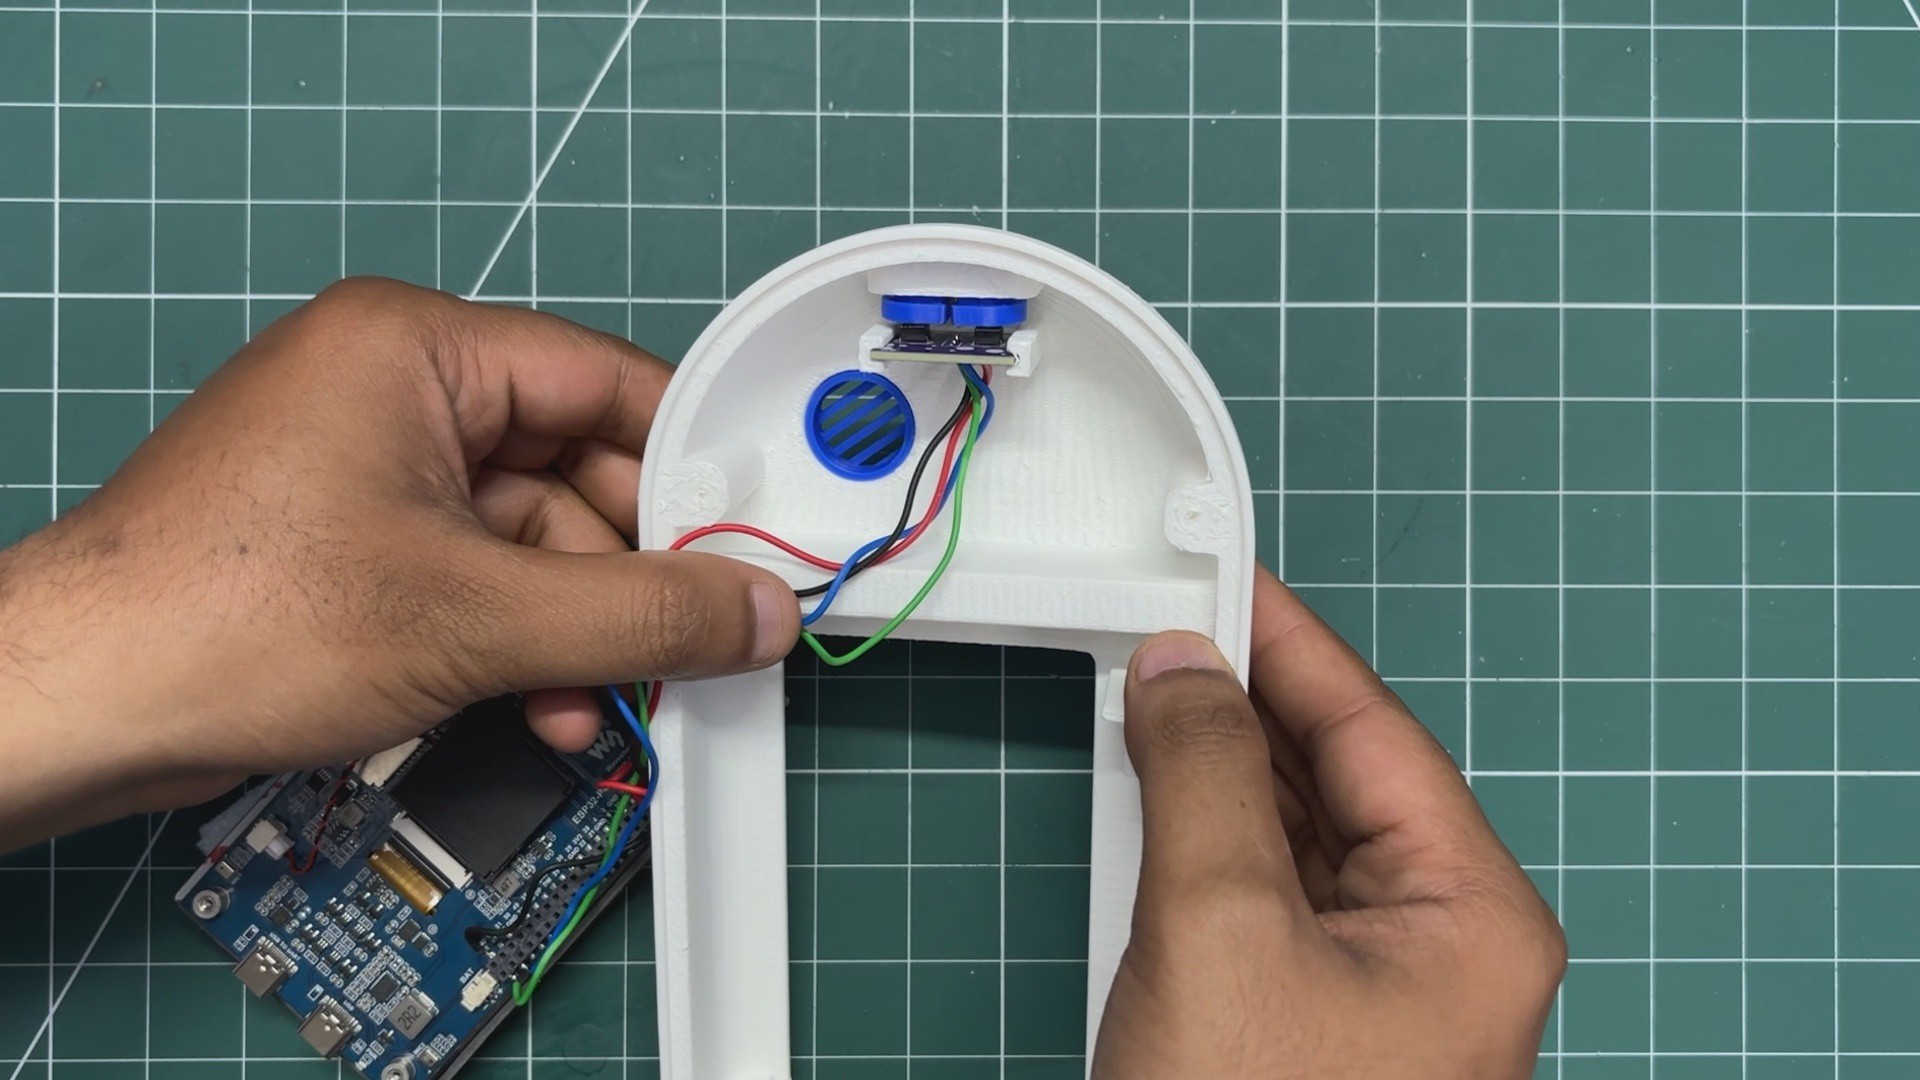
- The 3D-printed switch actuators were positioned in place from inside the main enclosure.
- Next, the switch PCB is slid into position slightly below the switch actuators. It is pressure-fitted in place and remains securely fixed.
-
7ESP32 P4 ASSEMBLY
![]()
![]()
![]()
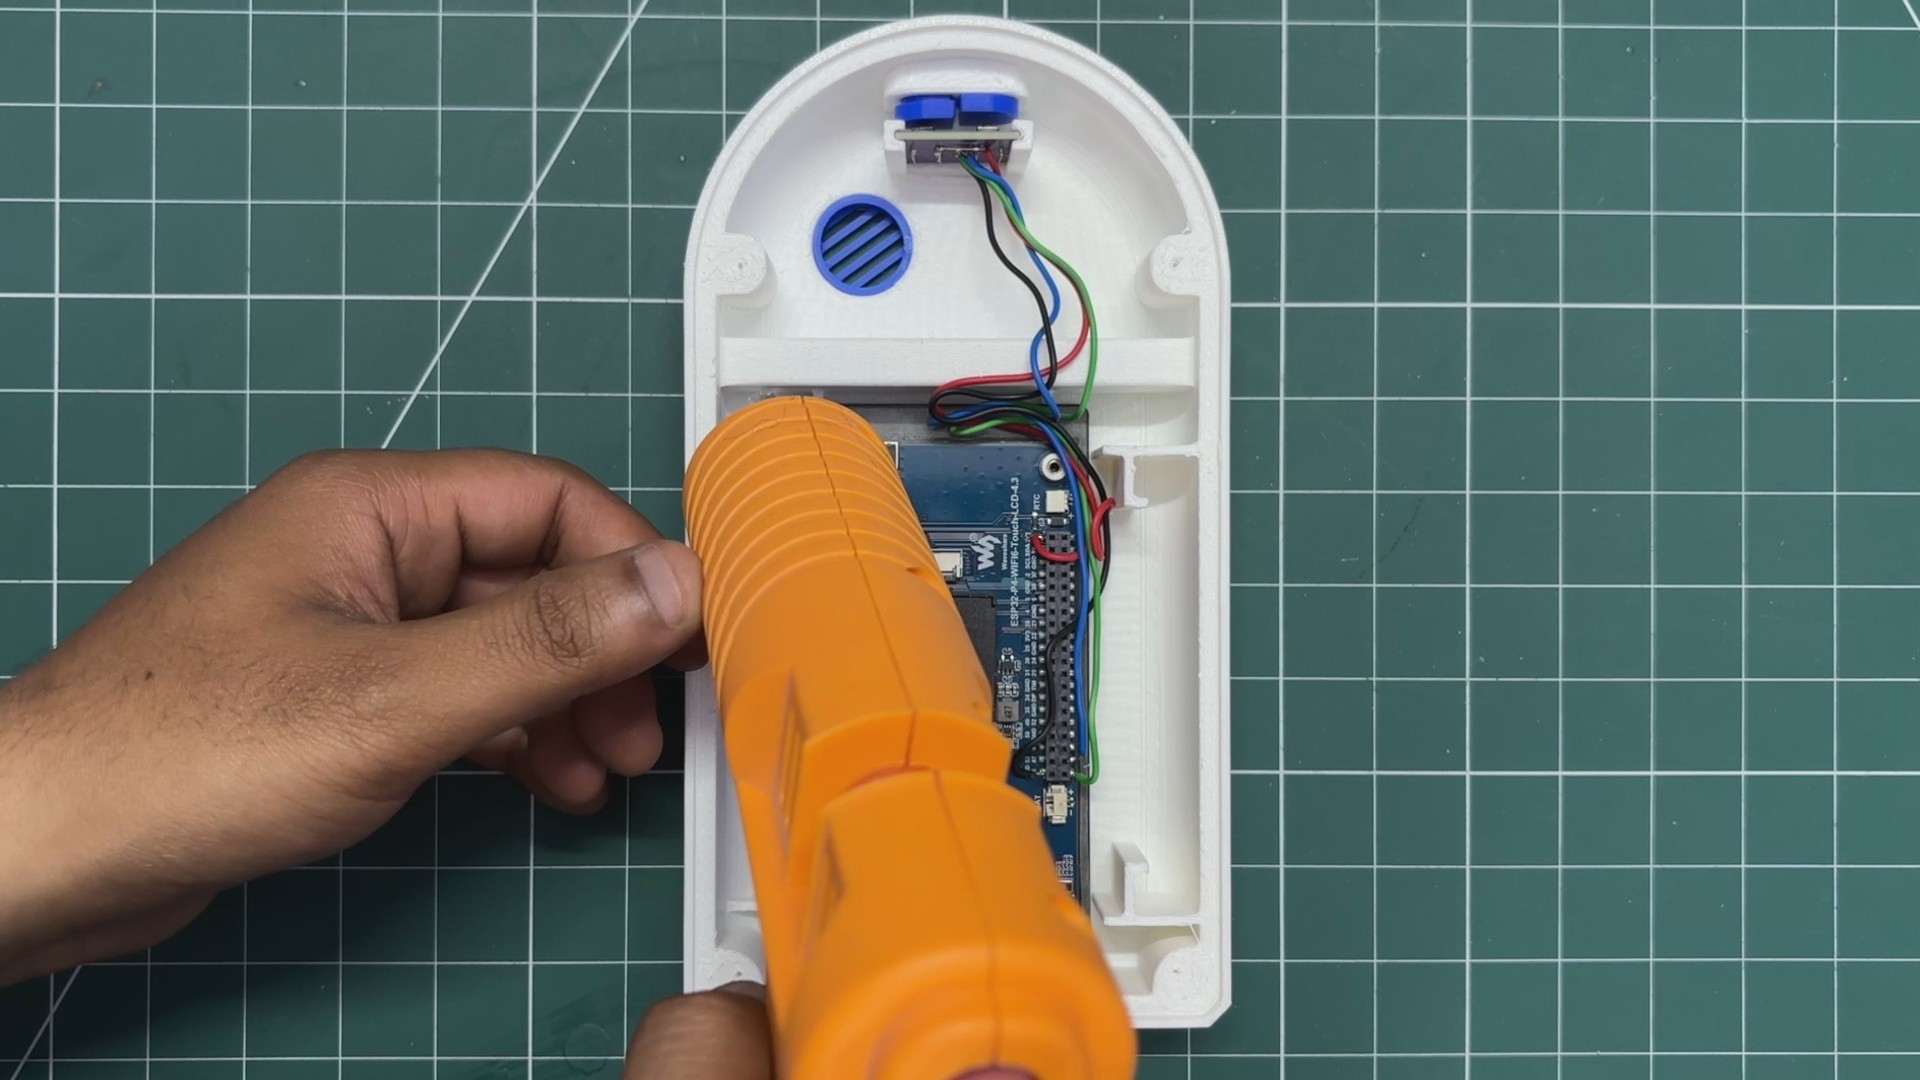
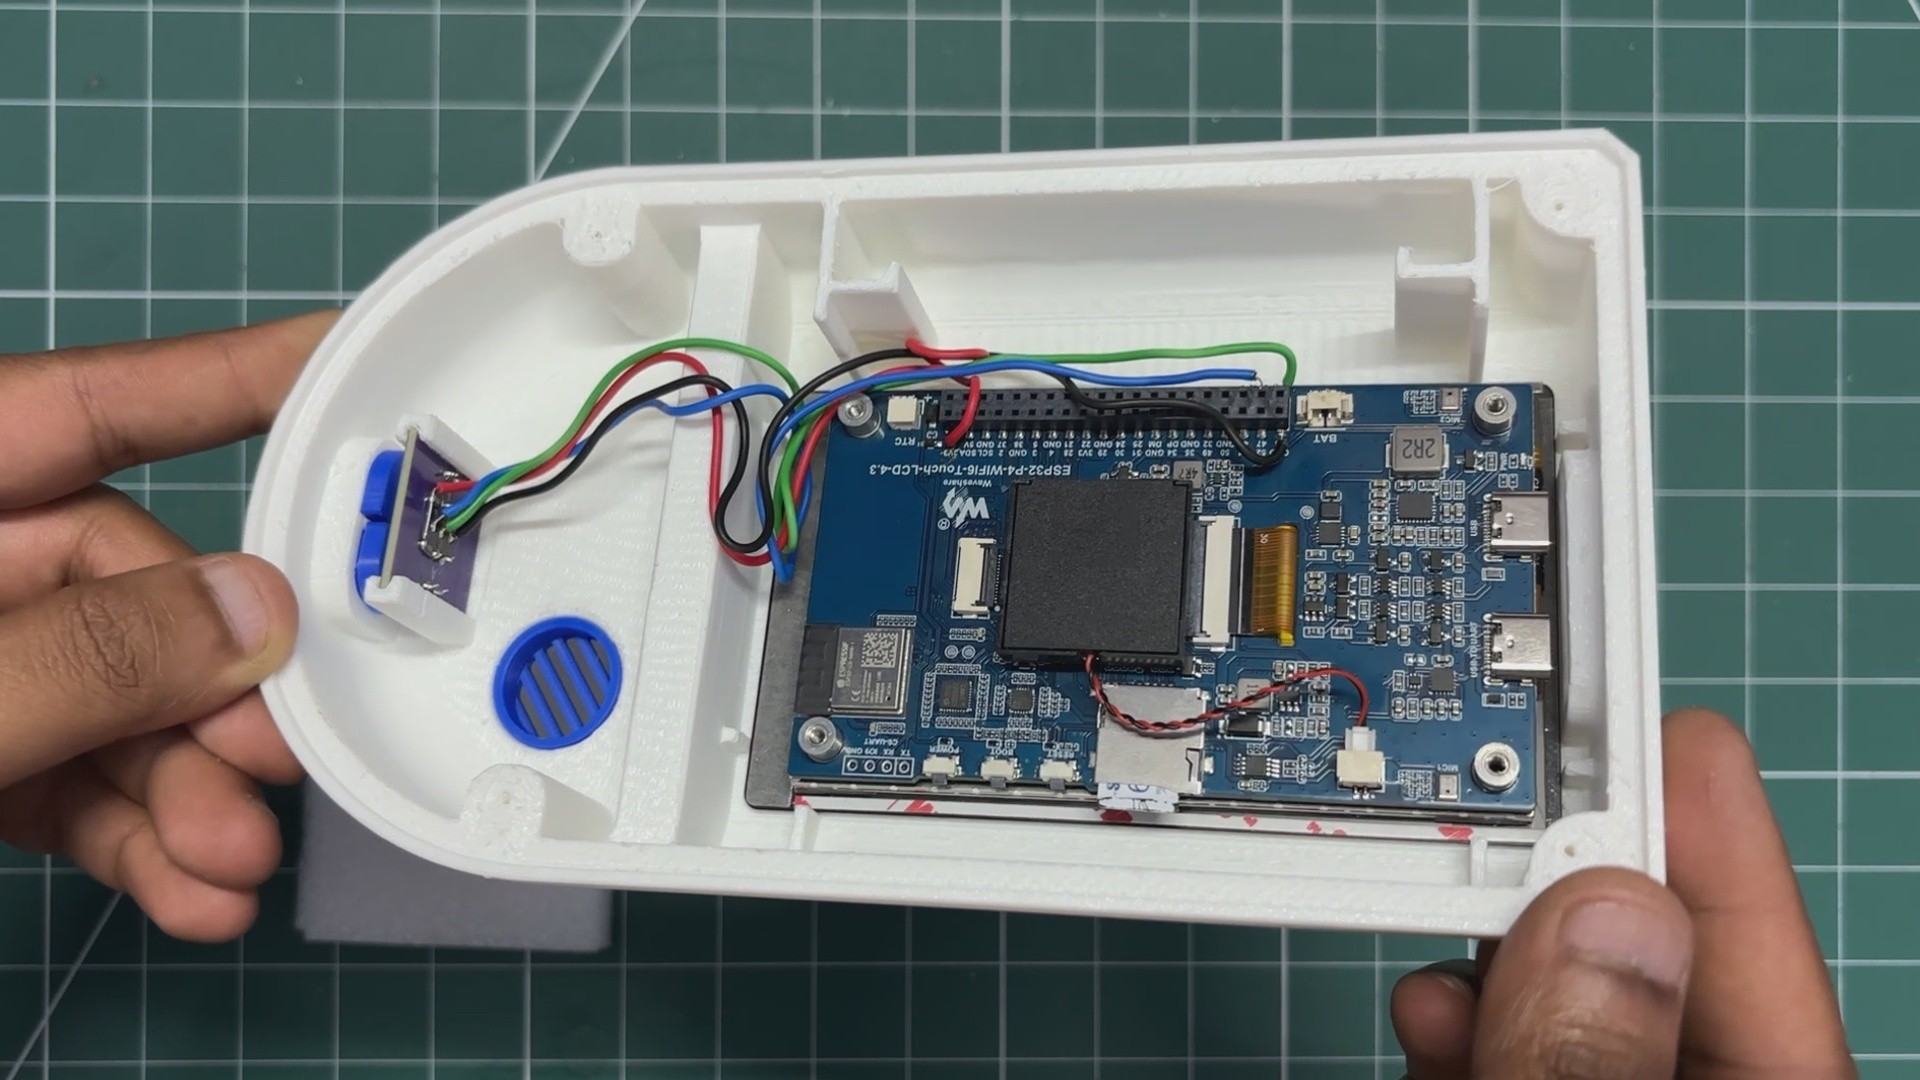
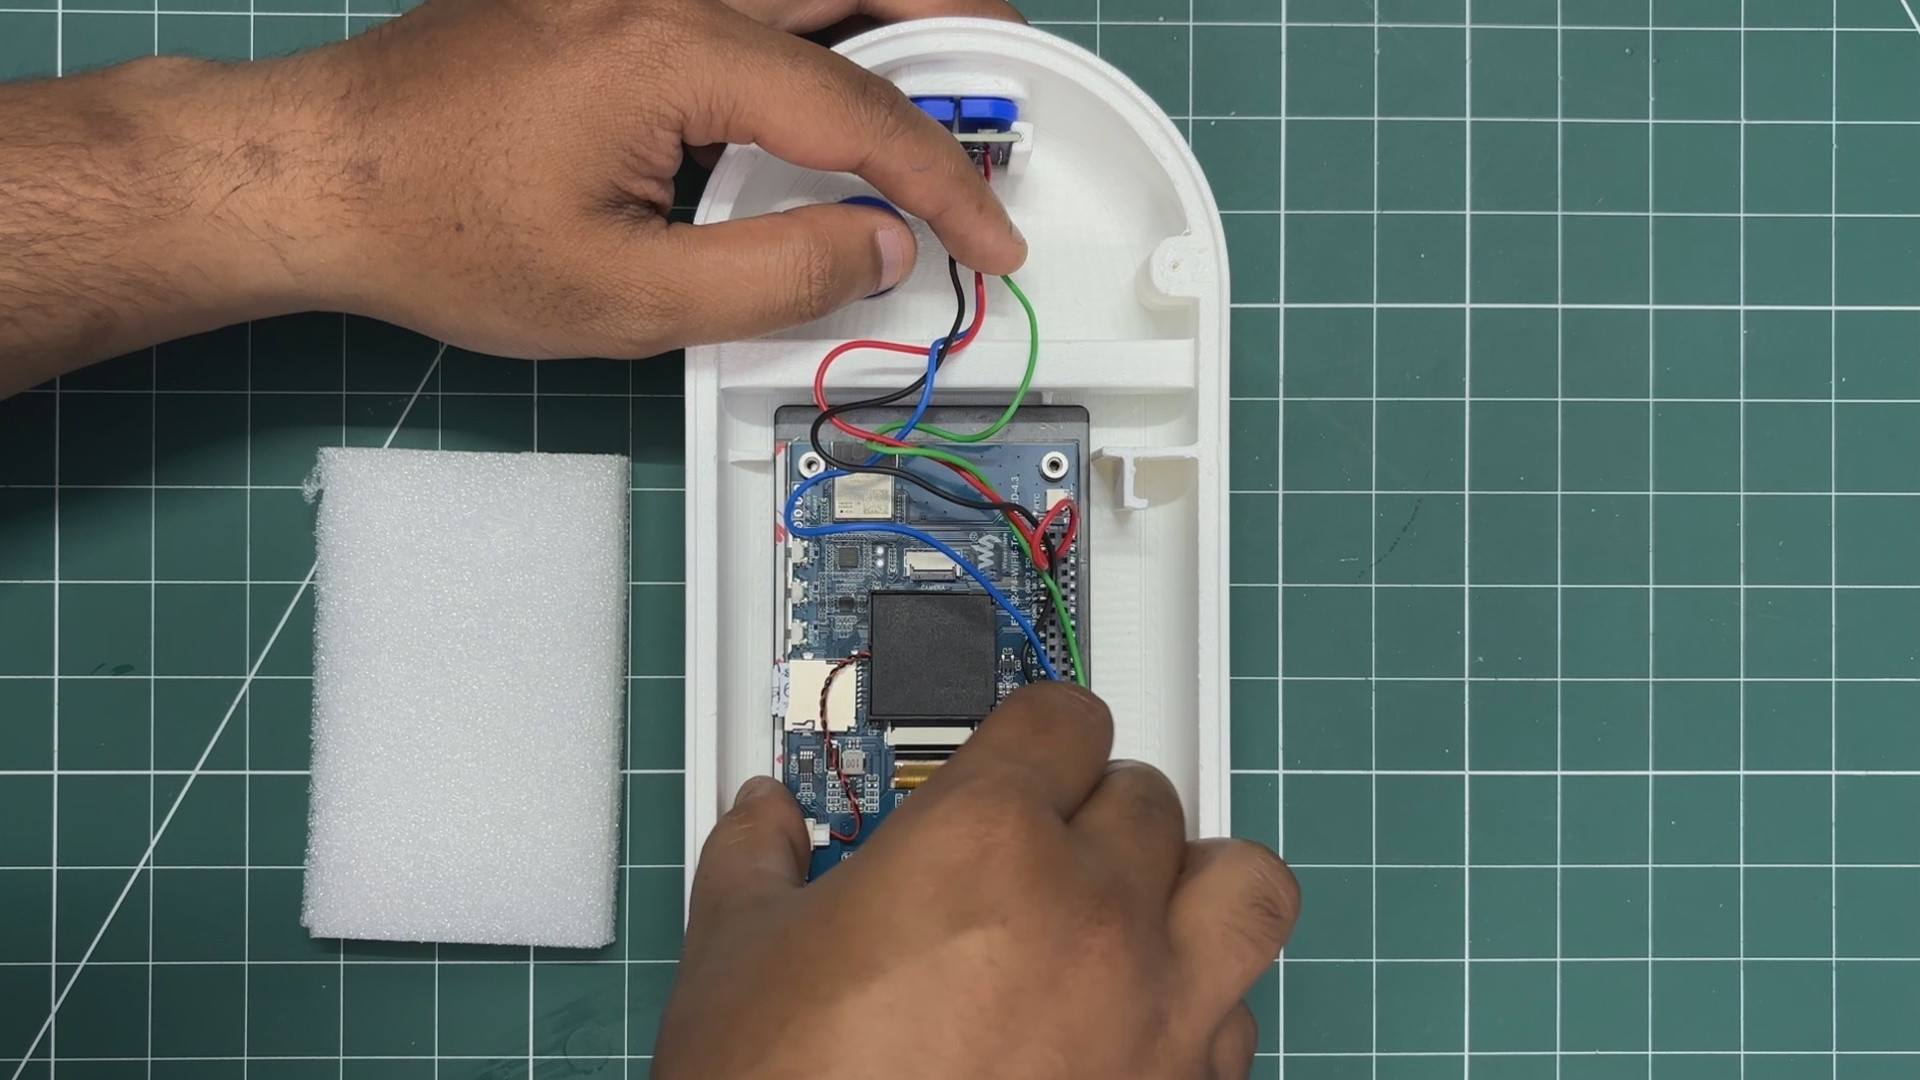
The ESP32-P4 board is placed into position from the inside of the main enclosure. To secure it in place, hot glue is applied around all four corners of the display, firmly attaching it to the 3D-printed enclosure.
I've been watching James's channel a lot recently, and I really like how he uses hot glue in many of his builds instead of overengineering screw bosses, brackets, and retainers just to hold a part in place. For non-load-bearing components, it's a simple, fast, and surprisingly effective solution.
-
8POWER SOURCE ASSEMBLY
![]()
![]()
![]()
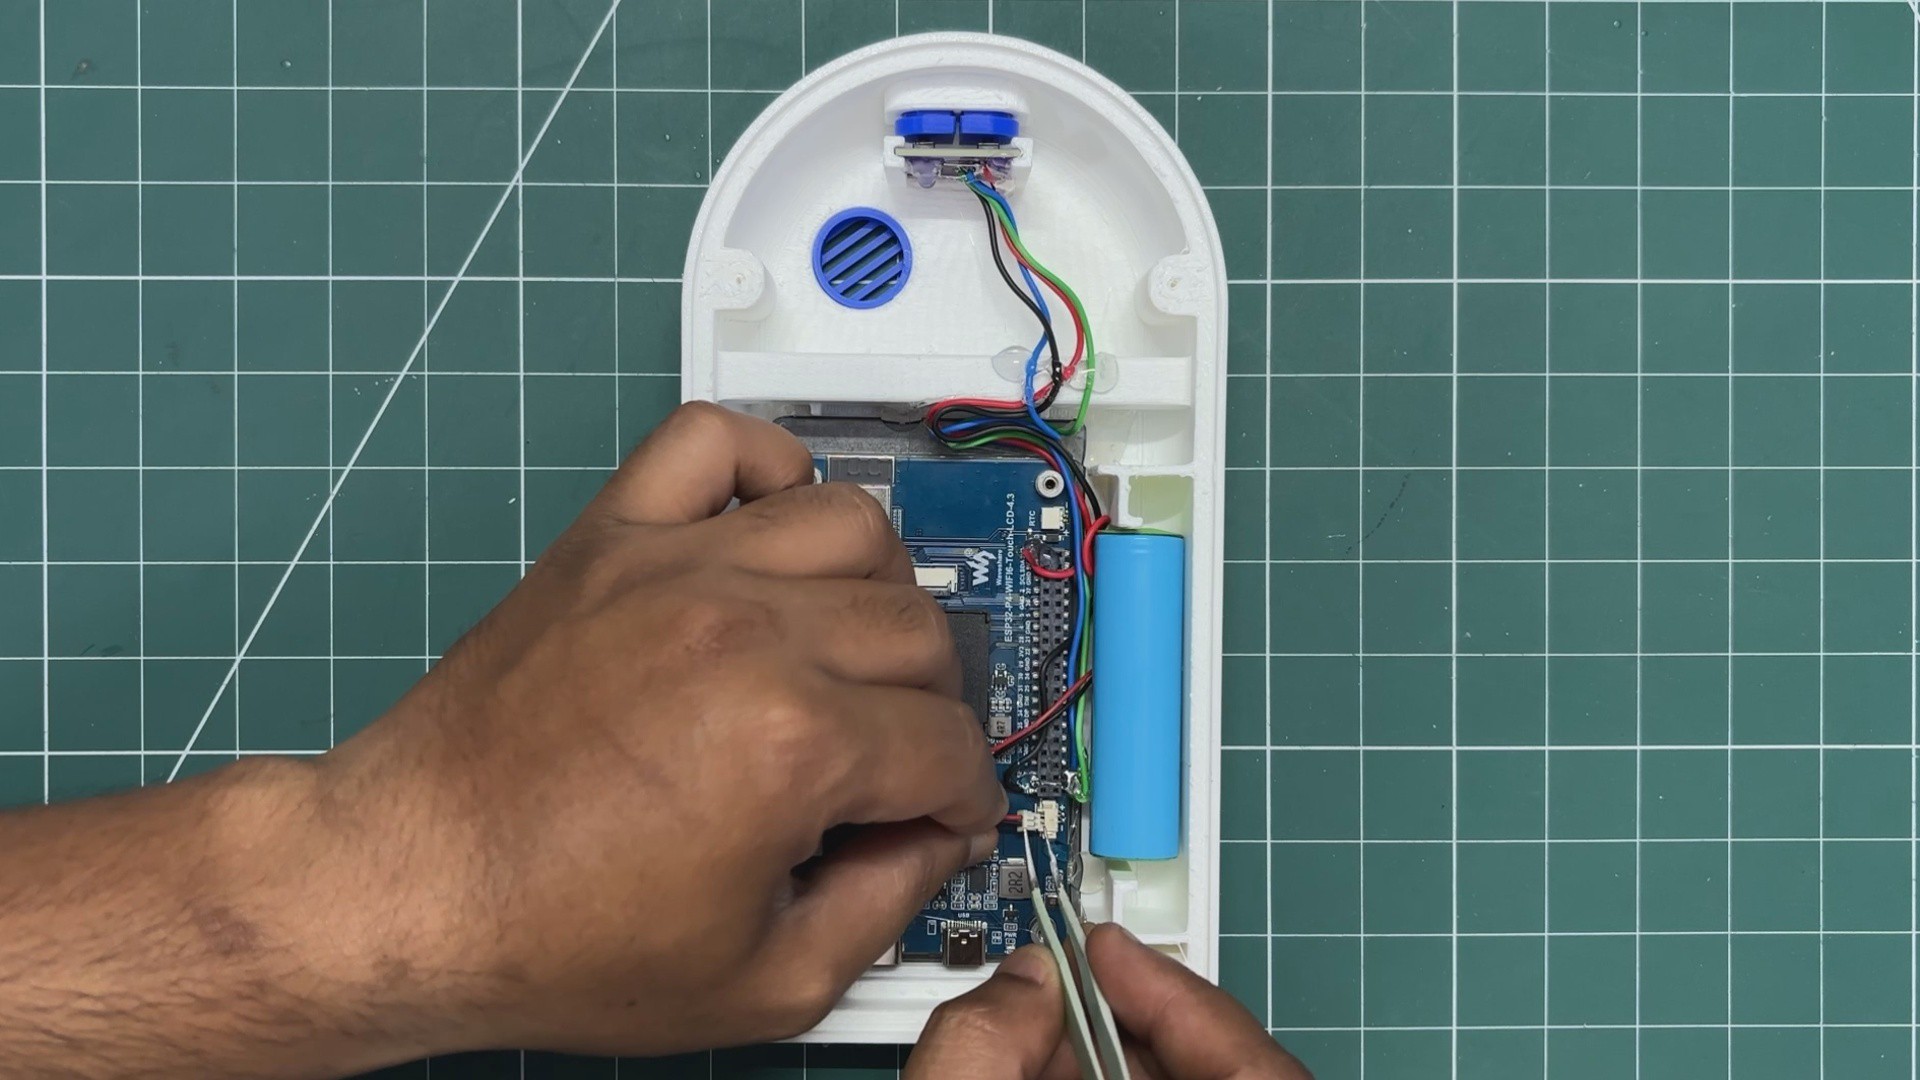
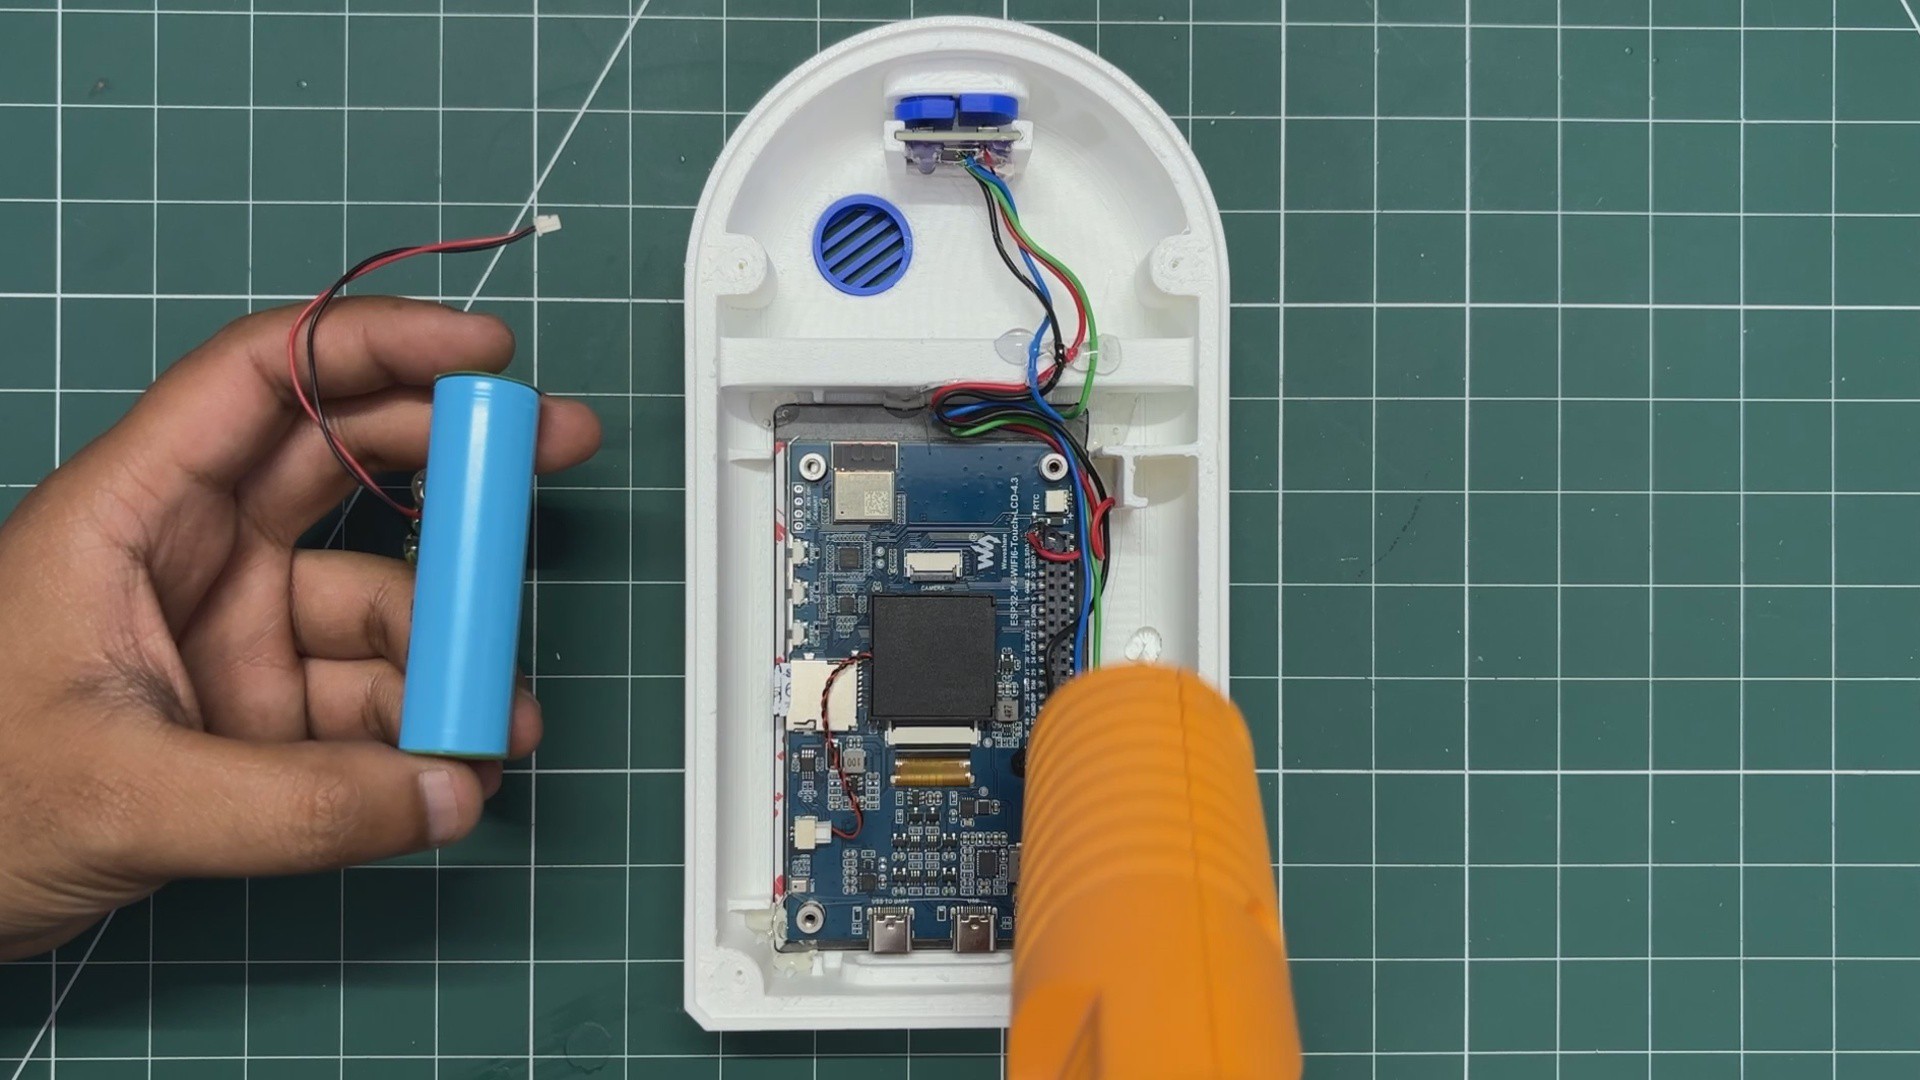
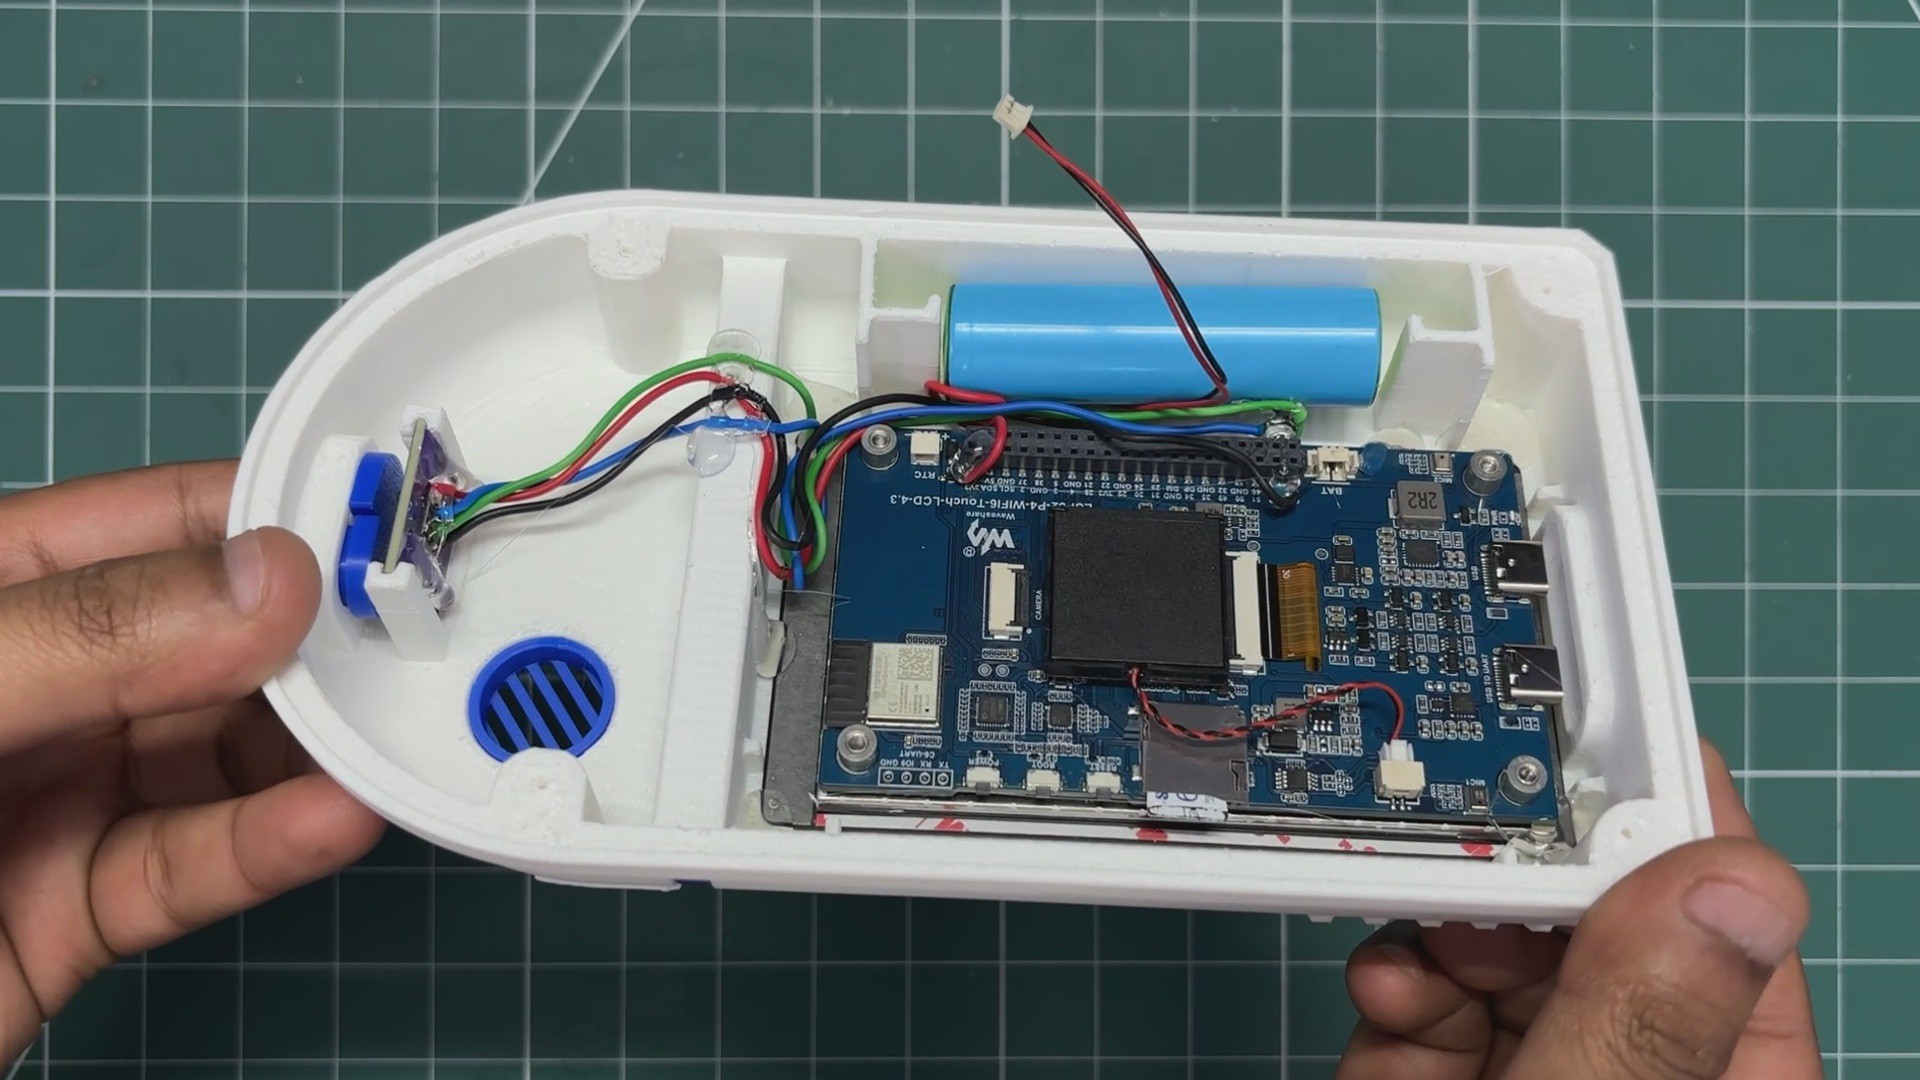
For the power source, I am using a standard 3.7 V, 2200 mAh 18650 lithium-ion cell. A JST connector has been added to the battery, making it compatible with the ESP32-P4 board's battery connector.
A small amount of hot glue is applied to the battery mounting area, and the cell is placed on top of it. Once the glue hardens, the battery is securely held in position.
Finally, using a pair of tweezers, the JST connector from the battery is plugged into the ESP32-P4 board's battery connector, completing the internal power setup.
-
9FINAL ASSEMBLY
![]()
![]()
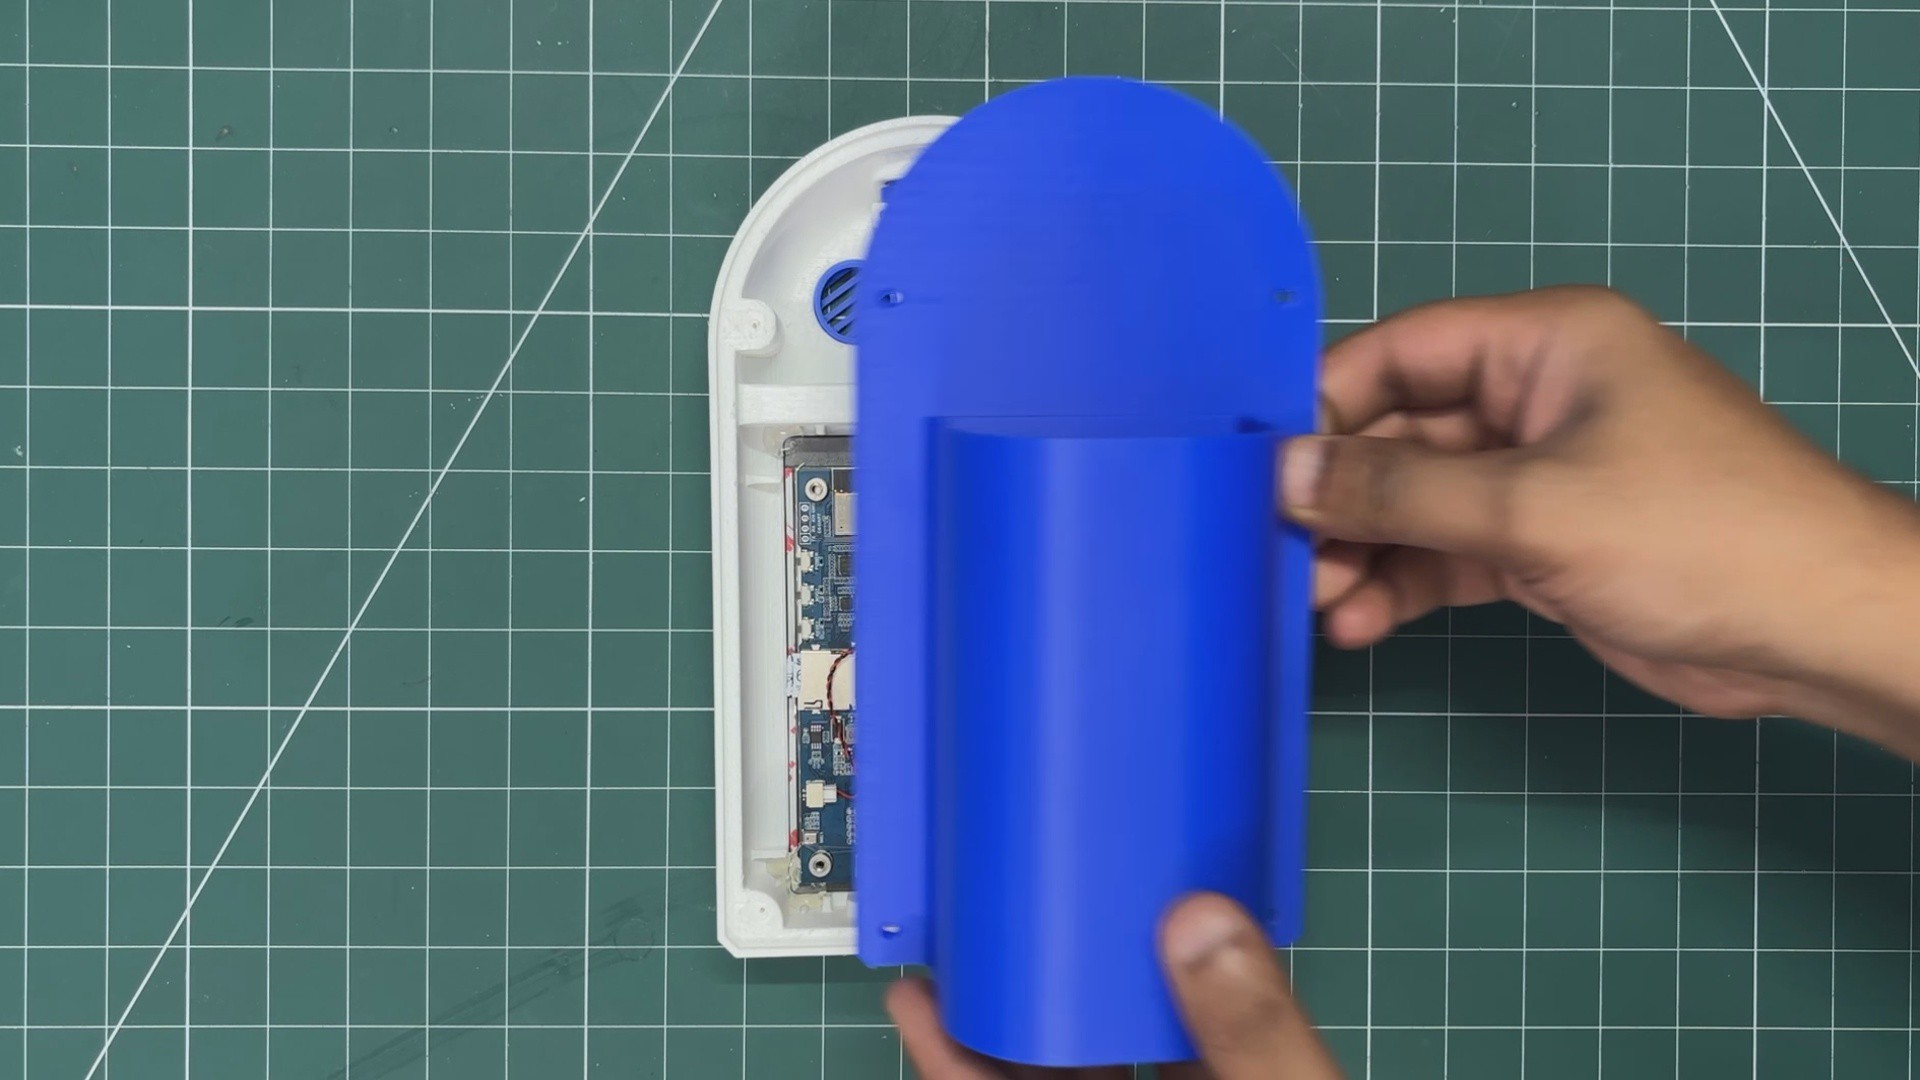
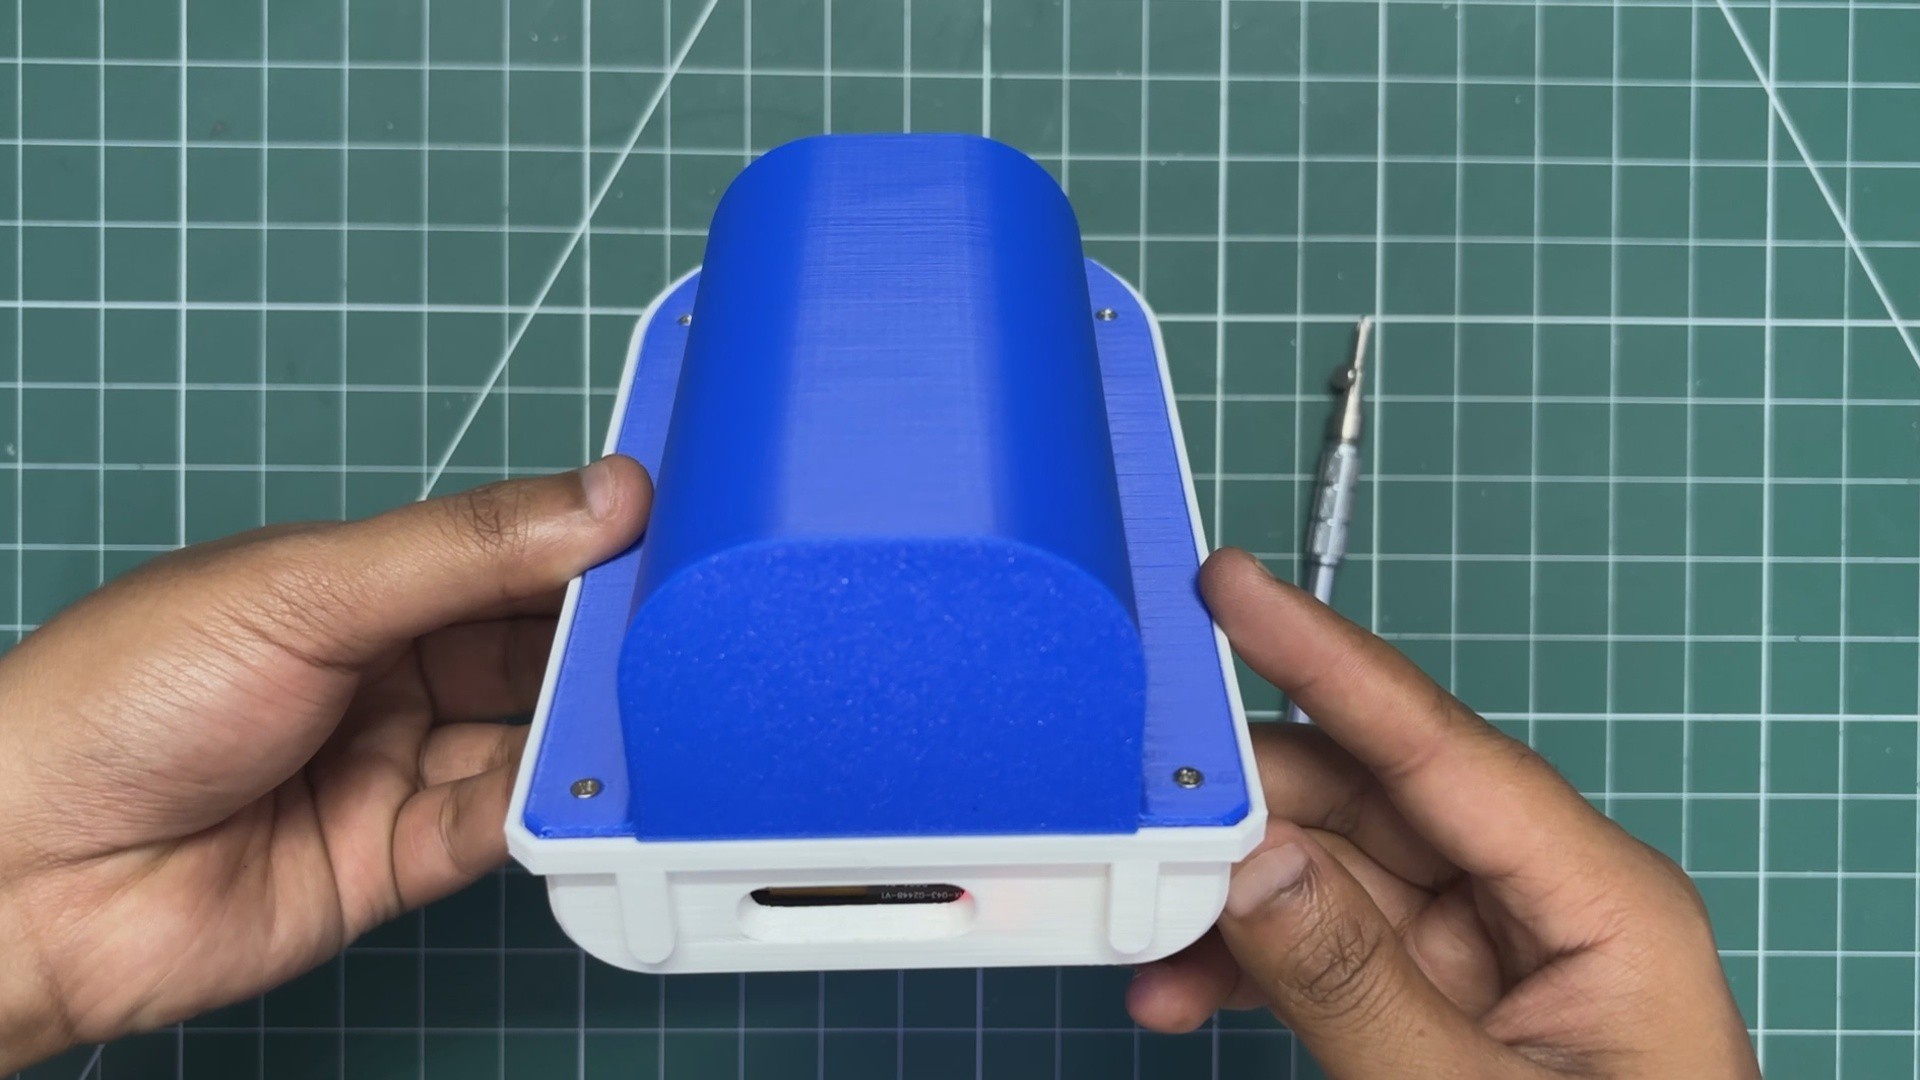
Finally, the back lid is placed in position, and four M2 screws are used to secure both enclosure parts together, completing the assembly process.
-
10CODE
The code for this project was done in collaboration with Aahan Sharma; he took care of the whole code part.
Full code can be found here on his GitHub page: https://github.com/AahanDoesGit/r2d2
While trying to build this project, I struggled to get the ESPIDF VS Code extension working properly on my MacBook. The paths and Python environments can sometimes get tangled. I found that setting up ESP-IDF purely via the macOS Terminal is much cleaner
Install Dependencies
First, install the required build tools using Homebrew:
brew install cmake ninja dfu-util python3
Download ESP-IDF (v5.4)
Create a directory for your Espressif tools and clone the specific ESP-IDF release branch. We used 5.4.x because it includes critical support for the new ESP32-P4 chip:
mkdir -p ~/espcd ~/espgit clone -b release/v5.4 --recursive https://github.com/espressif/esp-idf.git
Install the Toolchain
Navigate into the newly cloned directory and run the install script. This downloads the correct compilers (like the RISC-V GCC toolchain for the P4) and creates an isolated Python virtual environment:
cd ~/esp/esp-idf./install.sh all
The Golden Rule (Exporting the Environment)
Every time you open a new Terminal window to work on your project, you must "source" the ESP-IDF environment. If you don't do this, you will get a zsh: command not found: idf.py error!
source ~/esp/esp-idf/export.sh
Building and Flashing
With your environment active, navigate to your project folder (e.g., cd ~/esp/r2d2-system). You can now build, flash, and monitor the serial output with a single command:
idf.py -p /dev/cu.usbmodemXXXXX build flash monitor
Booting Up (main.c)
The entry point of our application is app_main. Its job is to initialize the hardware peripherals and spin up our individual subsystems
void app_main(void){ // 1. Initialize the SD Card (Mounts /sdcard) r2d2_sdcard_init(); // 2. Initialize Procedural Audio Synthesizer r2d2_audio_init(); // 3. Initialize the Display and LVGL GUI r2d2_display_init(); // 4. Connect to Wi-Fi r2d2_wifi_init(); // Once Wi-Fi connects, it automatically starts the Web Server!}We mount the SD card first because the display needs to load fonts and GIFs, and the audio needs to allocate buffers
The Network: ( r2d2_wifi.c)
Connecting to Wi-Fi on an ESP32 involves the Event Loop. Don't just connect; we register handlers that listen for events like WIFI_EVENT_STA_START or IP_EVENT_STA_GOT_IP.
static void wifi_event_handler(void *arg, esp_event_base_t event_base, int32_t event_id, void *event_data) { if (event_base == WIFI_EVENT && event_id == WIFI_EVENT_STA_START) { esp_wifi_connect(); } else if (event_base == IP_EVENT && event_id == IP_EVENT_STA_GOT_IP) { // We successfully got an IP address! // Start SNTP to sync the Galactic Standard Time (GST) sntp_setoperatingmode(SNTP_OPMODE_POLL); sntp_setservername(0, "pool.ntp.org"); sntp_init(); // Start the Web Dashboard r2d2_webserver_start(); }}Eliminating Wi-Fi Latency
By default, ESP-IDF puts the Wi-Fi modem into Power Save Mode, which is 300-500ms delayed.
ESP_ERROR_CHECK(esp_wifi_start()); // Disable Wi-Fi power save to eliminate HTTP latency ESP_ERROR_CHECK(esp_wifi_set_ps(WIFI_PS_NONE));
The Voice of R2-D2: ( r2d2_audio.c )
This generates a tone mathematically.
To play a sound, we generate a Sine Wave into a PCM buffer and send it to the ES8311 I2S Audio Codec
static void play_astromech_beep(int start_freq, int end_freq, int duration_ms) { int num_samples = (SAMPLE_RATE * duration_ms) / 1000; int16_t *sample_buffer = malloc(num_samples * sizeof(int16_t)); for (int i = 0; i < num_samples; i++) { double t = (double)i / SAMPLE_RATE; double progress = (double)i / num_samples; // Slide the frequency from start to end (Pitch Bending) double current_freq = start_freq + (end_freq - start_freq) * progress; // Generate the sine wave sample sample_buffer[i] = (int16_t)(10000 * sin(2 * M_PI * current_freq * t)); } // Send the raw audio to the speaker chip esp_codec_dev_write(speaker_dev, sample_buffer, num_samples * sizeof(int16_t)); free(sample_buffer);}Translating Text to Beeps
When you type "Hello" into the dashboard, we take the ASCII value of each character to seed our procedural math
for (int i = 0; text[i] != '\0'; i++) { int seed = (int)text[i]; // ASCII value // Deterministically generate a pitch based on the letter! int start_freq = 400 + (seed * 19) % 1100; int end_freq = start_freq + ((seed * 37) % 500 - 250); int duration = 90 + (seed * 11) % 180; play_astromech_beep(start_freq, end_freq, duration);}The Physical Screen: ( r2d2_display.c)
We created a retro-futuristic RADAR UI using standard LVGL components
// Create a spinning arc to simulate a radar sweepradar_arc = lv_arc_create(screen_bg);lv_arc_set_bg_angles(radar_arc, 0, 360);lv_obj_set_style_arc_color(radar_arc, lv_color_hex(0x00FF00), LV_PART_INDICATOR);// Use an LVGL animation to spin it indefinitelylv_anim_t a;lv_anim_init(&a);lv_anim_set_var(&a, radar_arc);lv_anim_set_values(&a, 0, 360);lv_anim_set_time(&a, 2000);lv_anim_set_repeat_count(&a, LV_ANIM_REPEAT_INFINITE);// ...
Hardware mutex locks
Because FreeRTOS runs the UI on Core 0, but our Web Server also runs on Core 0 or 1 might try to change the screen text. We wrap every LVGL call with a Mutex Lock provided by the BSP (Board Support Package)
bsp_display_lock(0); // Pause renderinglv_label_set_text(quote_label, "NEW TEXT FROM DASHBOARD");bsp_display_unlock(); // Resume rendering
The Star Wars Frontend
Before we look at the C code that serves the website, we will explore how we built the actual Star Wars-themed frontend interface, the entire frontend HTML, CSS, and JavaScript, into the ESP32 firmware as a massive C string.
The Cinematic Layout & Animations
We didn't just want a boring dashboard; we wanted an immersive Star Wars experience. To achieve this without heavy image files, we relied heavily on Pure CSS
/* Deep Space Background */body { background-color: #0b0f19; color: #ffe81f; /* Classic Star Wars Yellow */ font-family: 'Orbitron', sans-serif;}/* Twinkling Stars */.stars { position: absolute; width: 100%; height: 100%; background-image: radial-gradient(2px 2px at 20px 30px, #ffffff, rgba(0,0,0,0)), radial-gradient(2px 2px at 40px 70px, #ffffff, rgba(0,0,0,0)); background-size: 200px 200px; animation: twinkle 4s infinite;}@keyframes twinkle { 0%, 100% { opacity: 0.8; } 50% { opacity: 0.3; }}We also added CSS objects for an X-Wing and TIE Fighter flying across the screen, using
@keyframesto animate theirleftandtopproperties infinitely.Dynamic JavaScript & Buttons
The frontend uses the modern JavaScript
fetchAPI to communicate with the ESP32 without requiring page reloads.The Transmit to Droid Button
When you type a phrase and click the transmit button, JavaScript grabs the value and sends an HTTP POST request to the ESP32
document.getElementById('speak-btn').addEventListener('click', () => { const input = document.getElementById('speak-input'); const text = input.value.trim(); if (!text) return; // Send the text to the ESP32 backend fetch('/api/speak', { method: 'POST', headers: { 'Content-Type': 'text/plain' }, body: text }).then(res => { if(res.ok) { console.log("Transmission successful"); input.value = ''; // Clear the input field } });});Polling System Status
To keep the dashboard updated with the droid's current state (e.g., the system time, current mode
const updateStatus = () => { fetch('/api/status') .then(res => res.json()) .then(data => { // Update the UI with the JSON response document.getElementById('current-screen-mode').innerText = data.mode === 'DISPLAY' ? 'DISPLAY MODE' : 'AUDIO / IDLE'; document.getElementById('galactic-clock').innerText = 'GST: ' + data.time; });};// Run this every 5 secondssetInterval(updateStatus, 5000);This is how the web browser stays perfectly synced with physical hardware
The Backend ( r2d2_webserver.c)
We wrote a massive raw string in C containing our HTML, CSS, and JavaScript.
static const char* dashboard_html = "<!DOCTYPE html>" "<html>" "<head><style>body { background: #0b0f19; color: #ffe81f; }</style></head>" // ... hundreds of lines of UI ... "</html>";static esp_err_t get_handler(httpd_req_t *req) { httpd_resp_set_type(req, "text/html"); httpd_resp_sendstr(req, dashboard_html); return ESP_OK;}The API Endpoints (The Backend)
The Web UI relies on JavaScript fetch() calls to talk to the ESP32. We set up an HTTP GET handler at /api/status.
static esp_err_t status_get_handler(httpd_req_t *req){ // 1. Get current mode r2d2_mode_t mode = r2d2_get_mode(); // 2. Get current quote on screen char quote_buf[128]; r2d2_display_get_quote(quote_buf, sizeof(quote_buf)); // 3. Format as a JSON string char json_resp[512]; snprintf(json_resp, sizeof(json_resp), "{\"mode\":\"%s\", \"quote\":\"%s\"}", mode == MODE_DISPLAY ? "DISPLAY" : "AUDIO_IDLE", quote_buf); // 4. Send back to the browser! httpd_resp_set_type(req, "application/json"); httpd_resp_sendstr(req, json_resp); return ESP_OK;}Handling the "Transmit to Droid" Button
When you type text and click Transmit, the browser sends an HTTP POST to
/api/speak.static esp_err_t speak_post_handler(httpd_req_t *req){ char buf[128] = {0}; // Receive the text payload from the browser httpd_req_recv(req, buf, sizeof(buf) - 1); // Send it to the screen r2d2_display_set_quote(buf); // Send it to the audio synthesizer (this spins off a background task!) r2d2_speak_text(buf); httpd_resp_sendstr(req, "OK"); return ESP_OK;}Because
r2d2_speak_textspins up a new FreeRTOS task, thespeak_post_handlerreturnsOKimmediately!Build and Flash Instructions
Clone the repository:
git clone https://github.com/AahanDoesGit/r2d2.gitcd r2d2-system
Load the ESP-IDF environment (assuming standard installation path):
source ~/esp/esp-idf/export.sh
Build the firmware:
idf.py build
Flash the firmware and open the serial monitor:
Replace /dev/cu.usbmodem5B5E0698681 with your board's specific port
idf.py -p /dev/cu.usbmodem5B5E0698681 flash monitor
Stationery Unit D2
It's an Interactive R2-D2 desk assistant, powered by ESP32 P4, and serves as an astromech companion that plays custom GIFs via a web app.
Discussions
Become a Hackaday.io Member
Create an account to leave a comment. Already have an account? Log In.