 filip.szkandera

This journey started few years ago, when I had the bright idea to convert some old printer I had laying around to a plotter... it was not a great idea hindsight :)
To save on some material and to make my life a bit easier, I've started with a pen plotting at first as it is much easier to debug and replace the paper/pen if something bad happened.
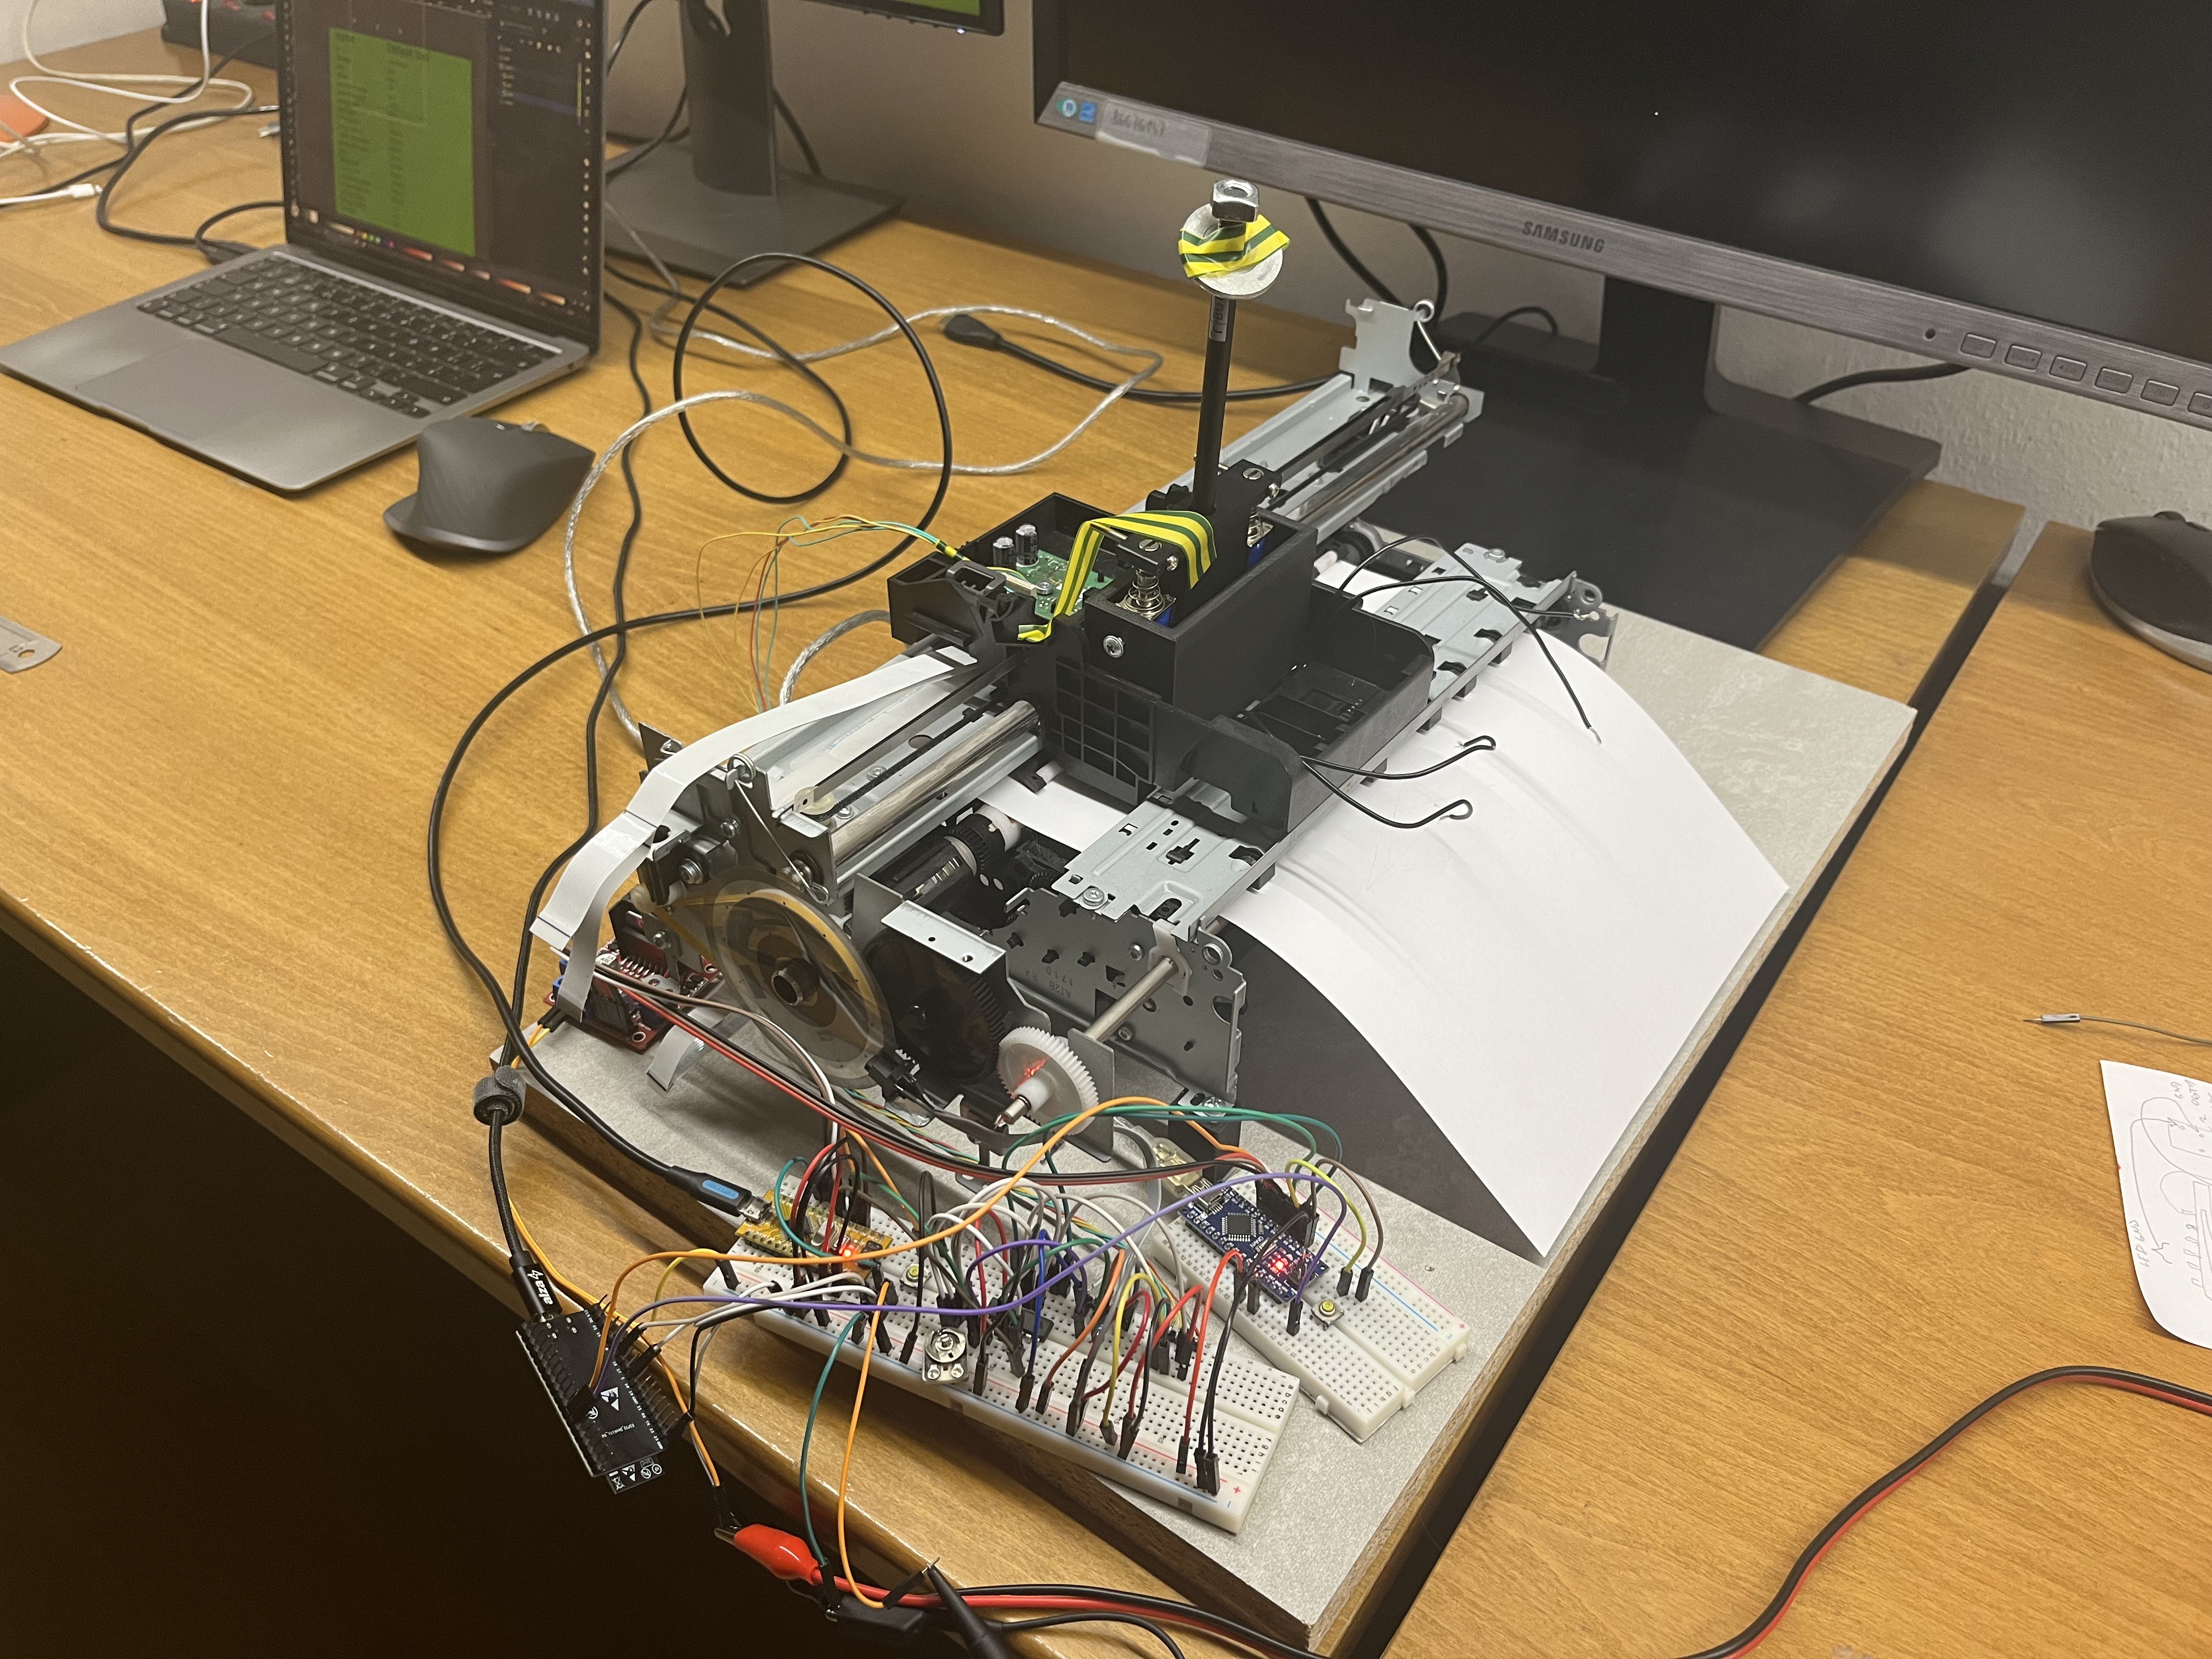
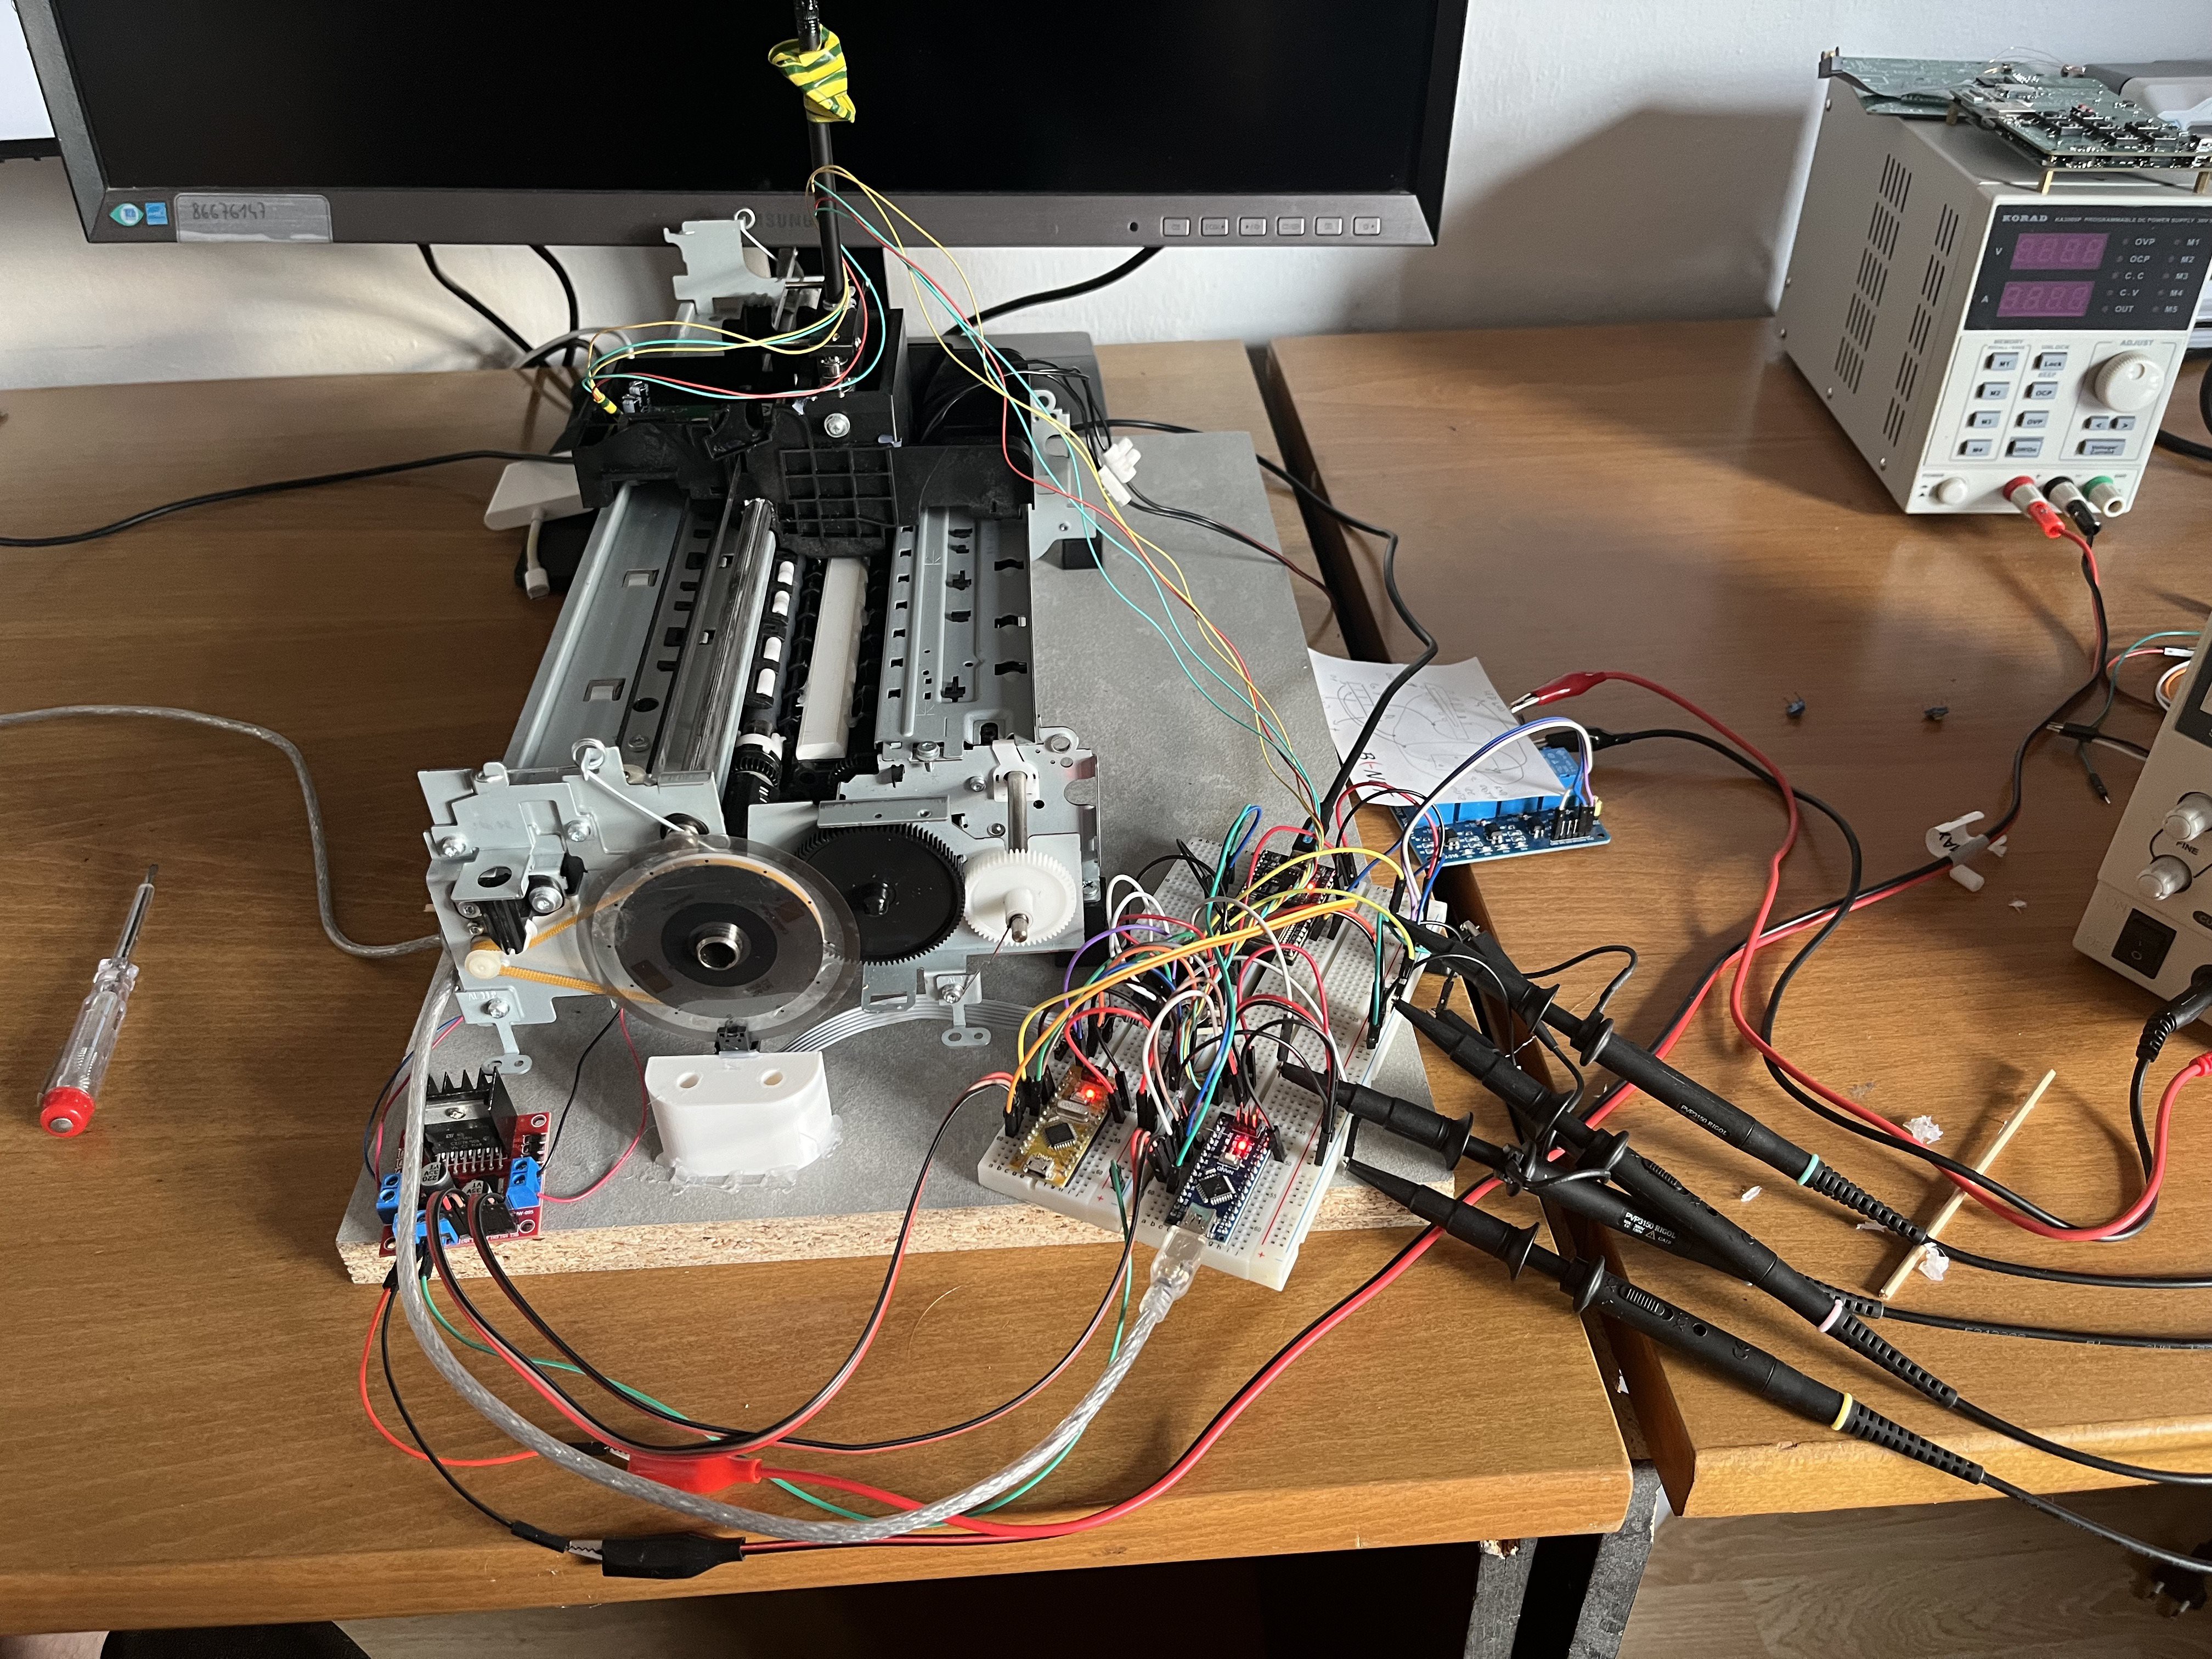
And in some way, it worked - it was able to draw some shapes and text as I wanted, but I had one teeny tiny problem, that was going to haunt me for some time - and that was paper slippage. On the Y-axis (so when the paper is being moved back and forth), it would not return to its original position. I've tried everything and looked at everything I could - my PID loop? wheel slipping? Nope. The main wheel was rotating as it should, but the paper just would not follow the direction changes and slip. I've spent more time that I care to admit on this issue, but I was just not able to solve it. I've tried putting some rubber tube around the main wheel, but still nothing. I wanted to play with the pinch wheel force, but I just could not do it in this format.
So I said screw it, I'm just going to build my own frame.. and this time ditch the PID loop and use steppers.
I've used two 2040 aluminium extrusions as the main frame, and some 3D printed parts that I've modeled with my gf (I just have to give her the credit, she helped a lot! :)). With some lead screws and ESP32 running FluidNC, the new frame was born. I've 3d printed the main and pinch off wheels, but as you can guess by now, I still had the slippage problem.. I've tried a lot of solutions and I was ready to give but, but then It hit me - sand paper :))) So now, there is a sand paper glued to the main wheel - and that totally solved the problem :D
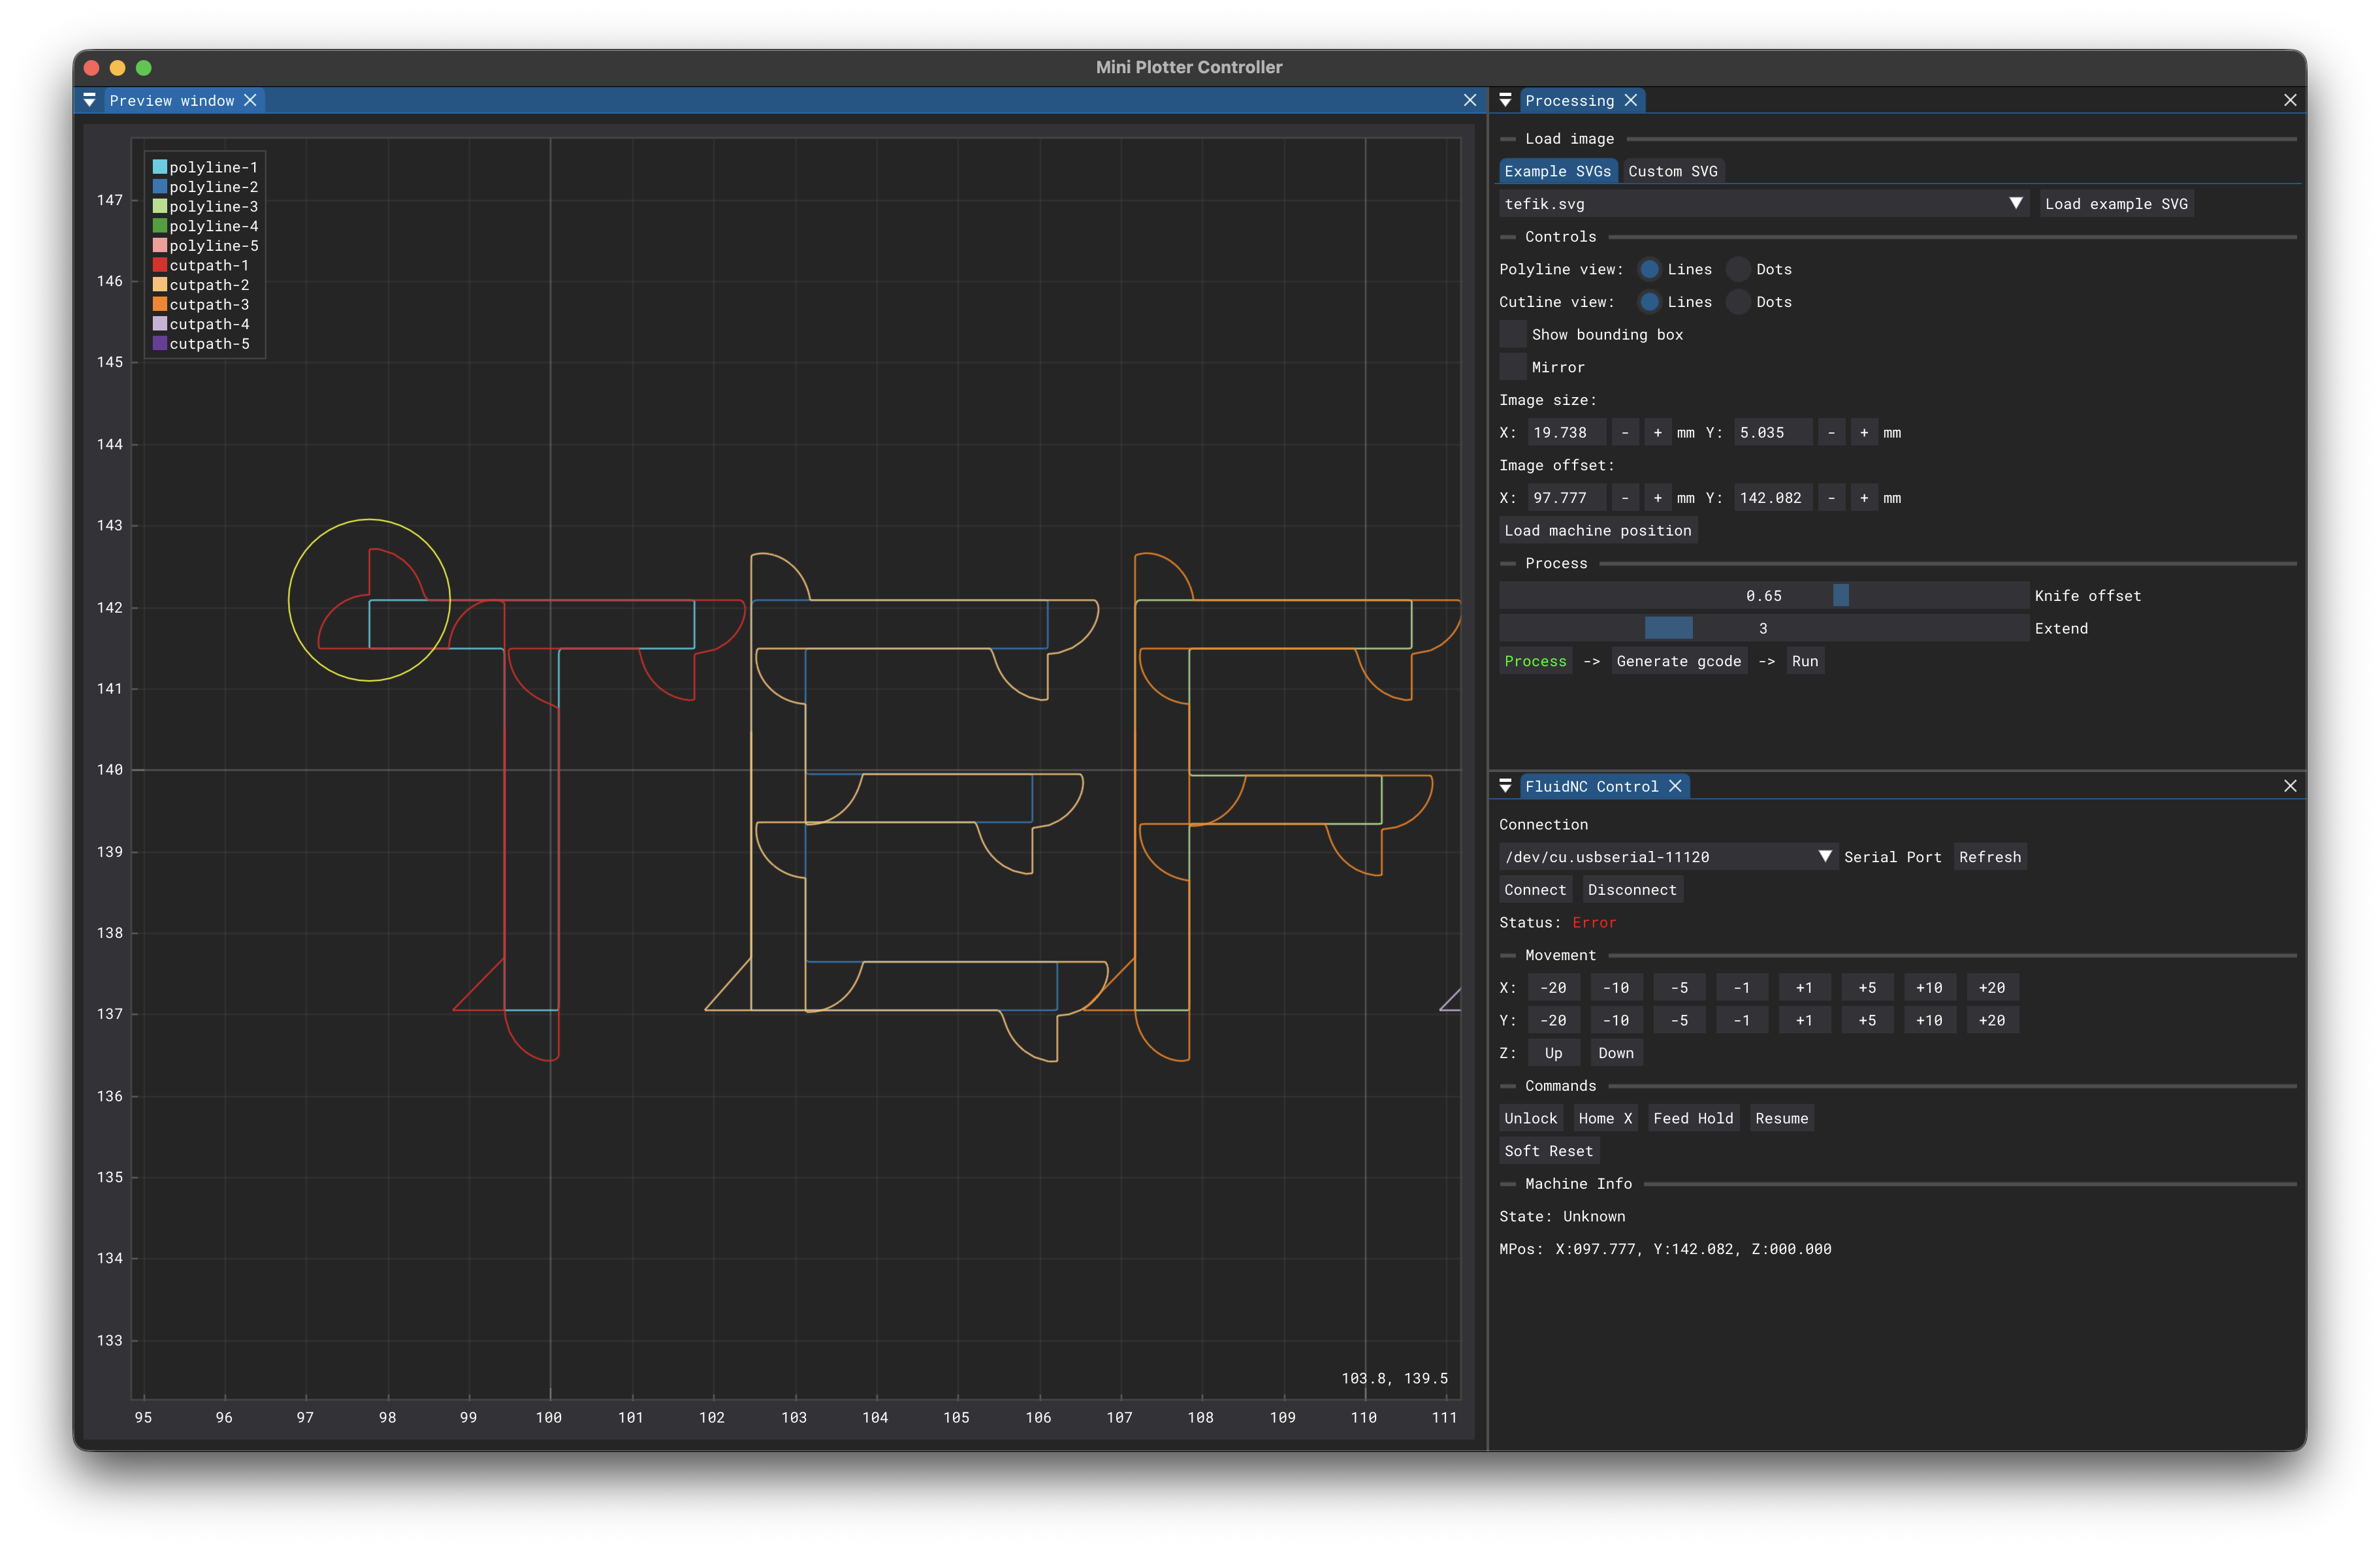
So then it came to start using the drag knife instead of a pen - and for a drag knife, you need a special software that will prepare your paths specifically for the knife, without that, your sharp corners will be round as a result of the drag knife not following the exact path you wanted. And I had a lot of trouble finding some that would be simple and easy to use.
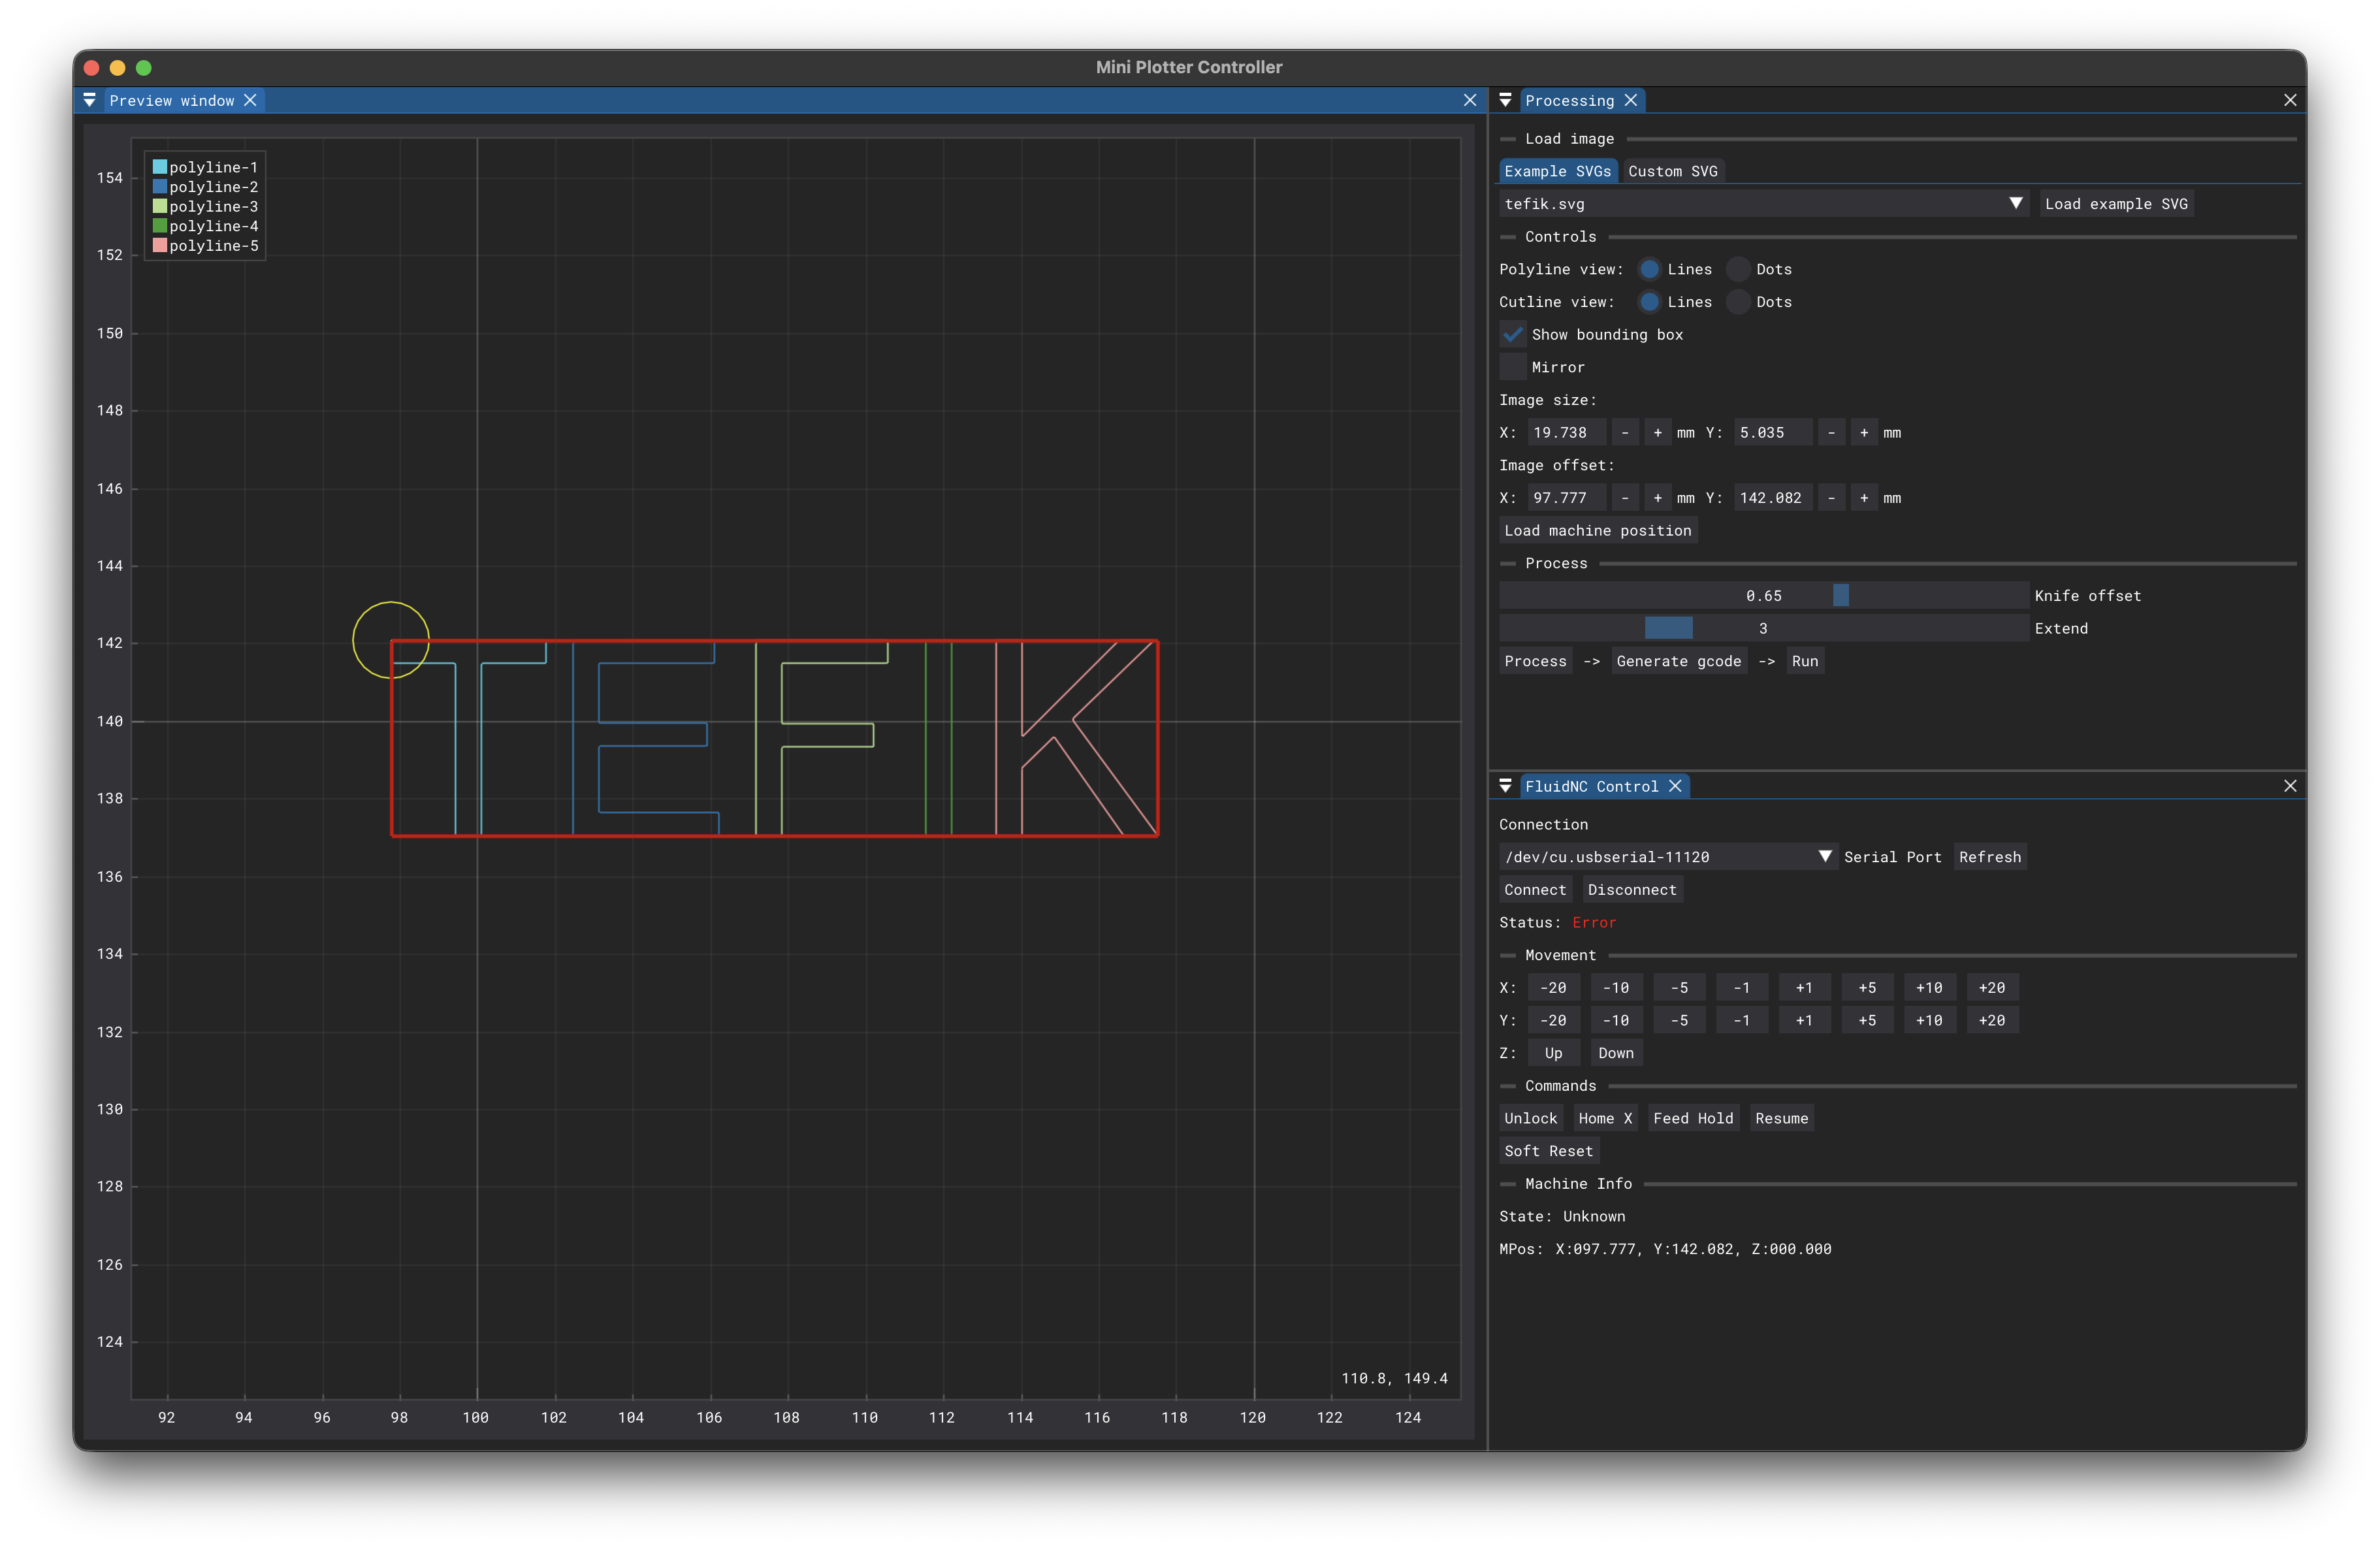
So, I've wrote myself a C++ program for the path dress-up with ImGui. After verifying that it works, I rewrote that in Python so I could add some more features (like direct connection to the plotter, and some other nice-to-have features). It could have been done in C++ also, but was just not in the mood for that.
My Python program:
And that is where this project now stands - it works, and it can be used for the purpose it was built for:
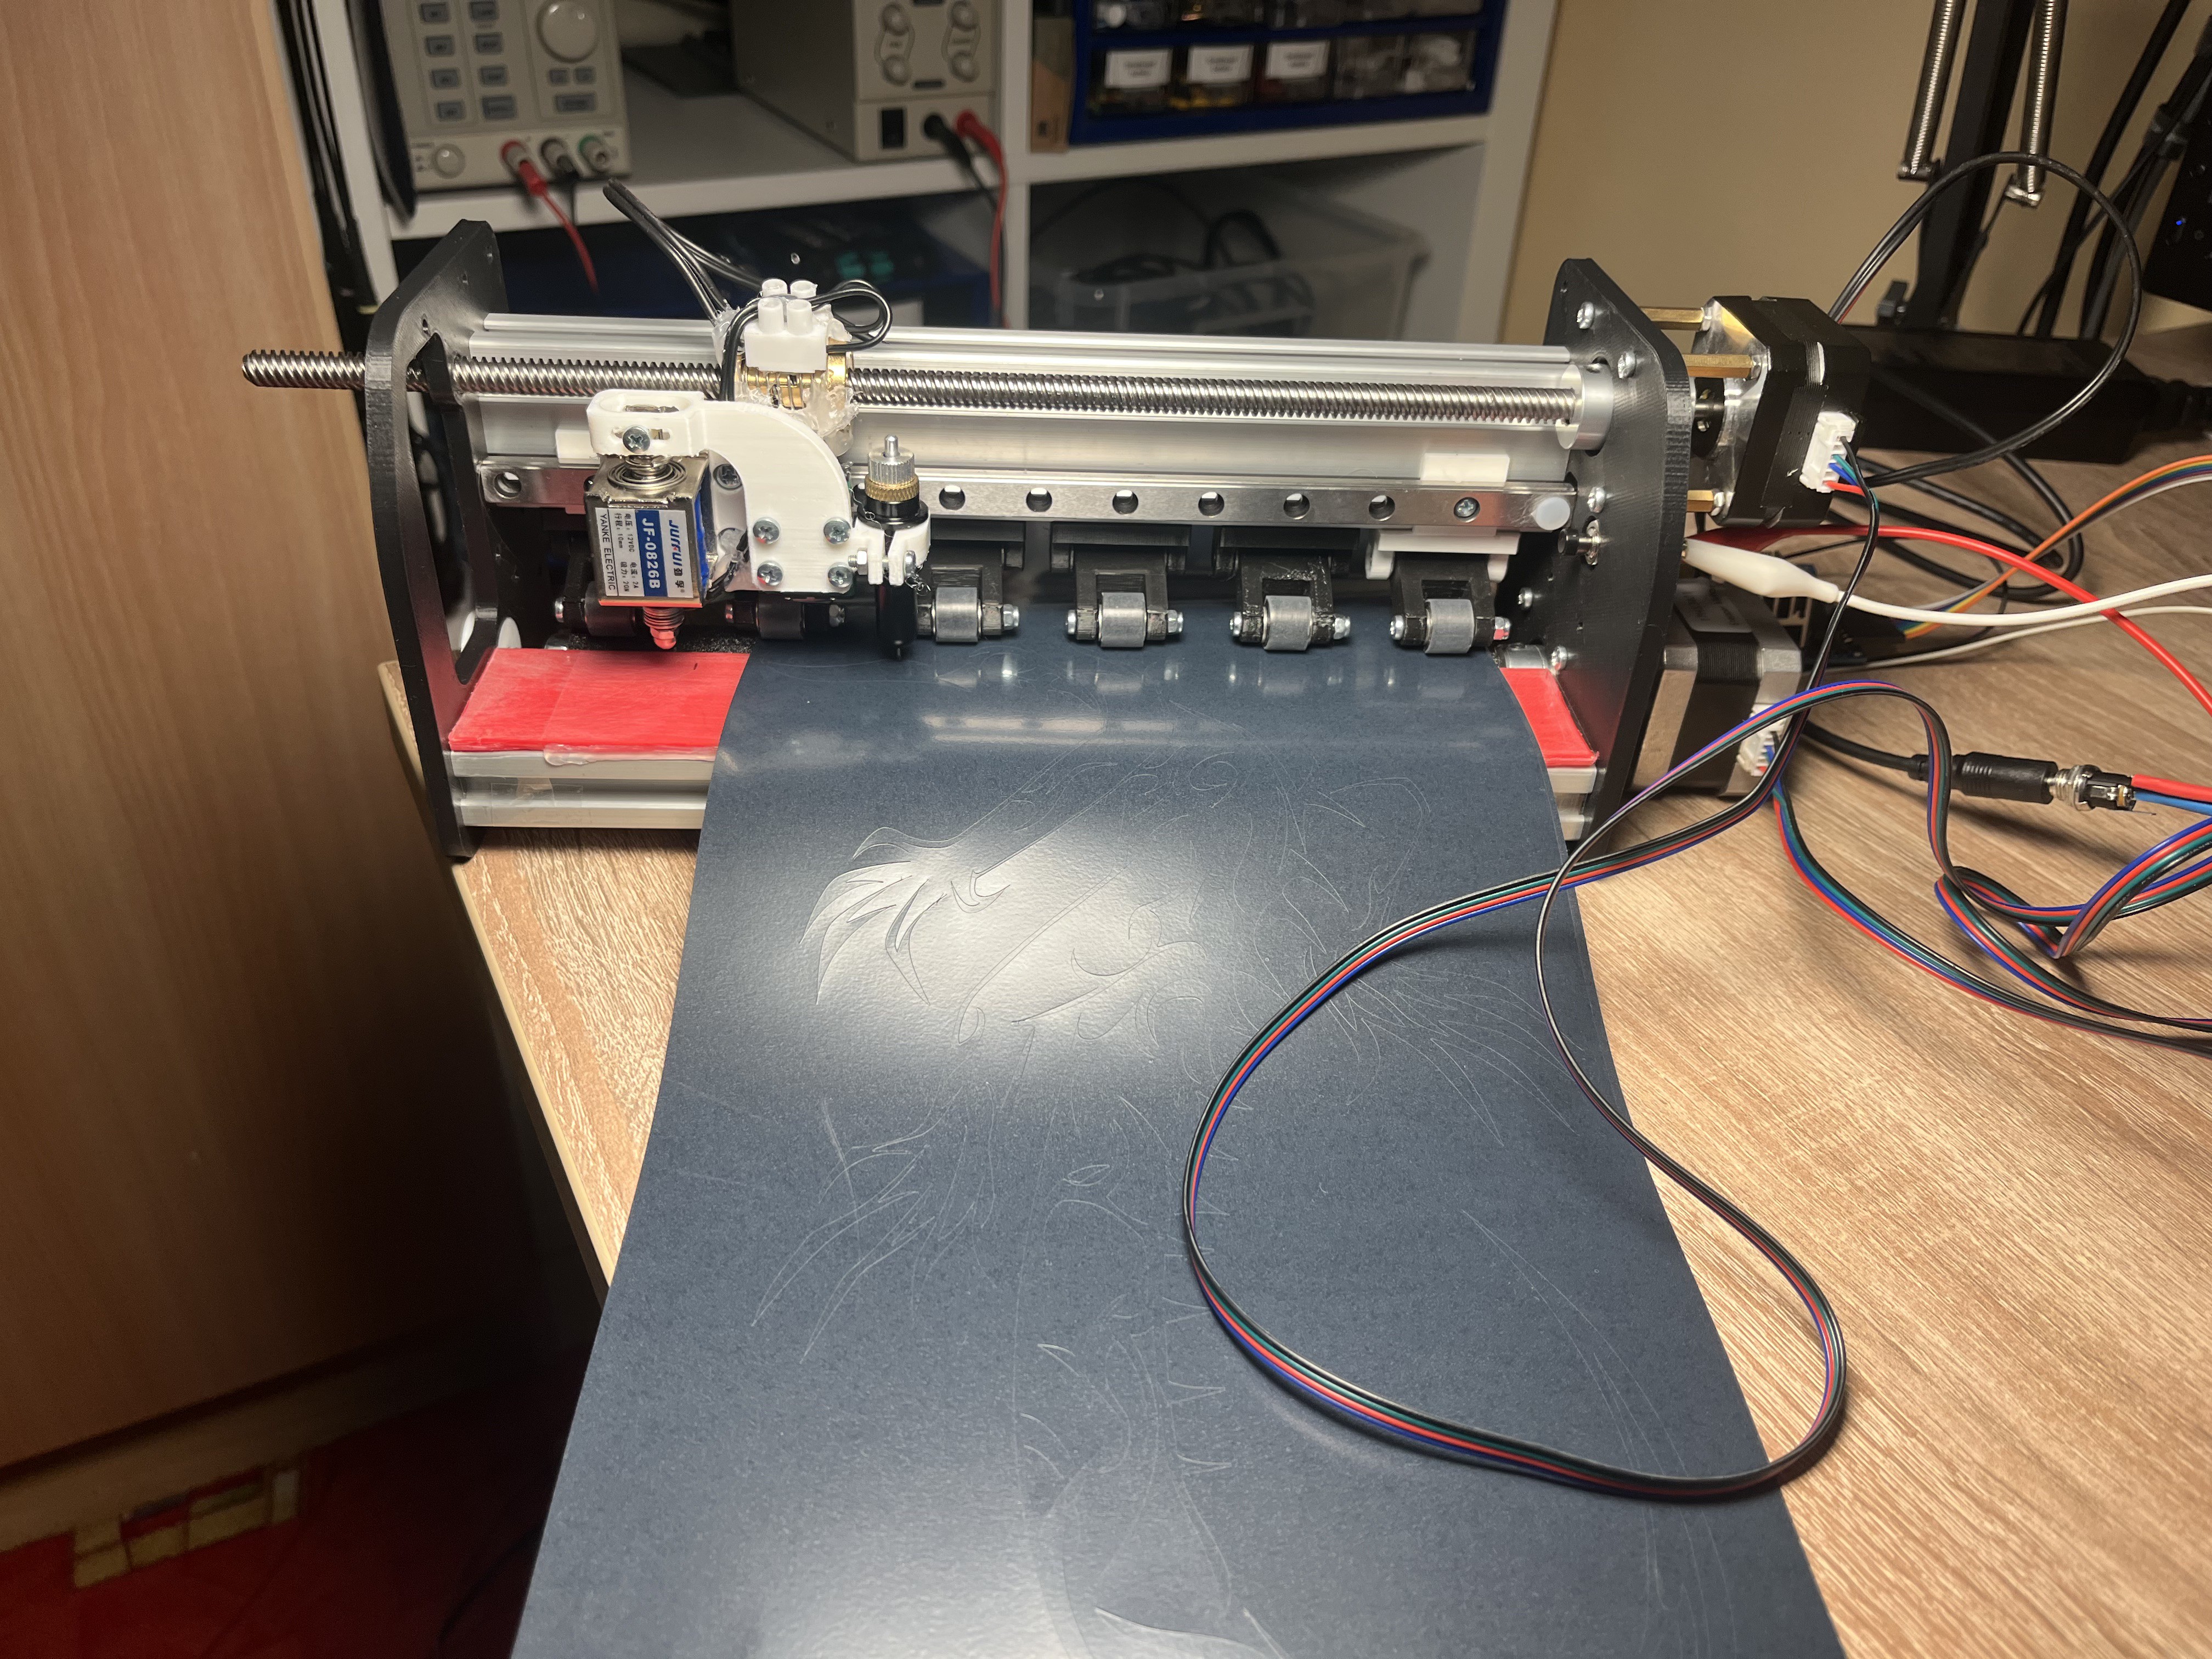
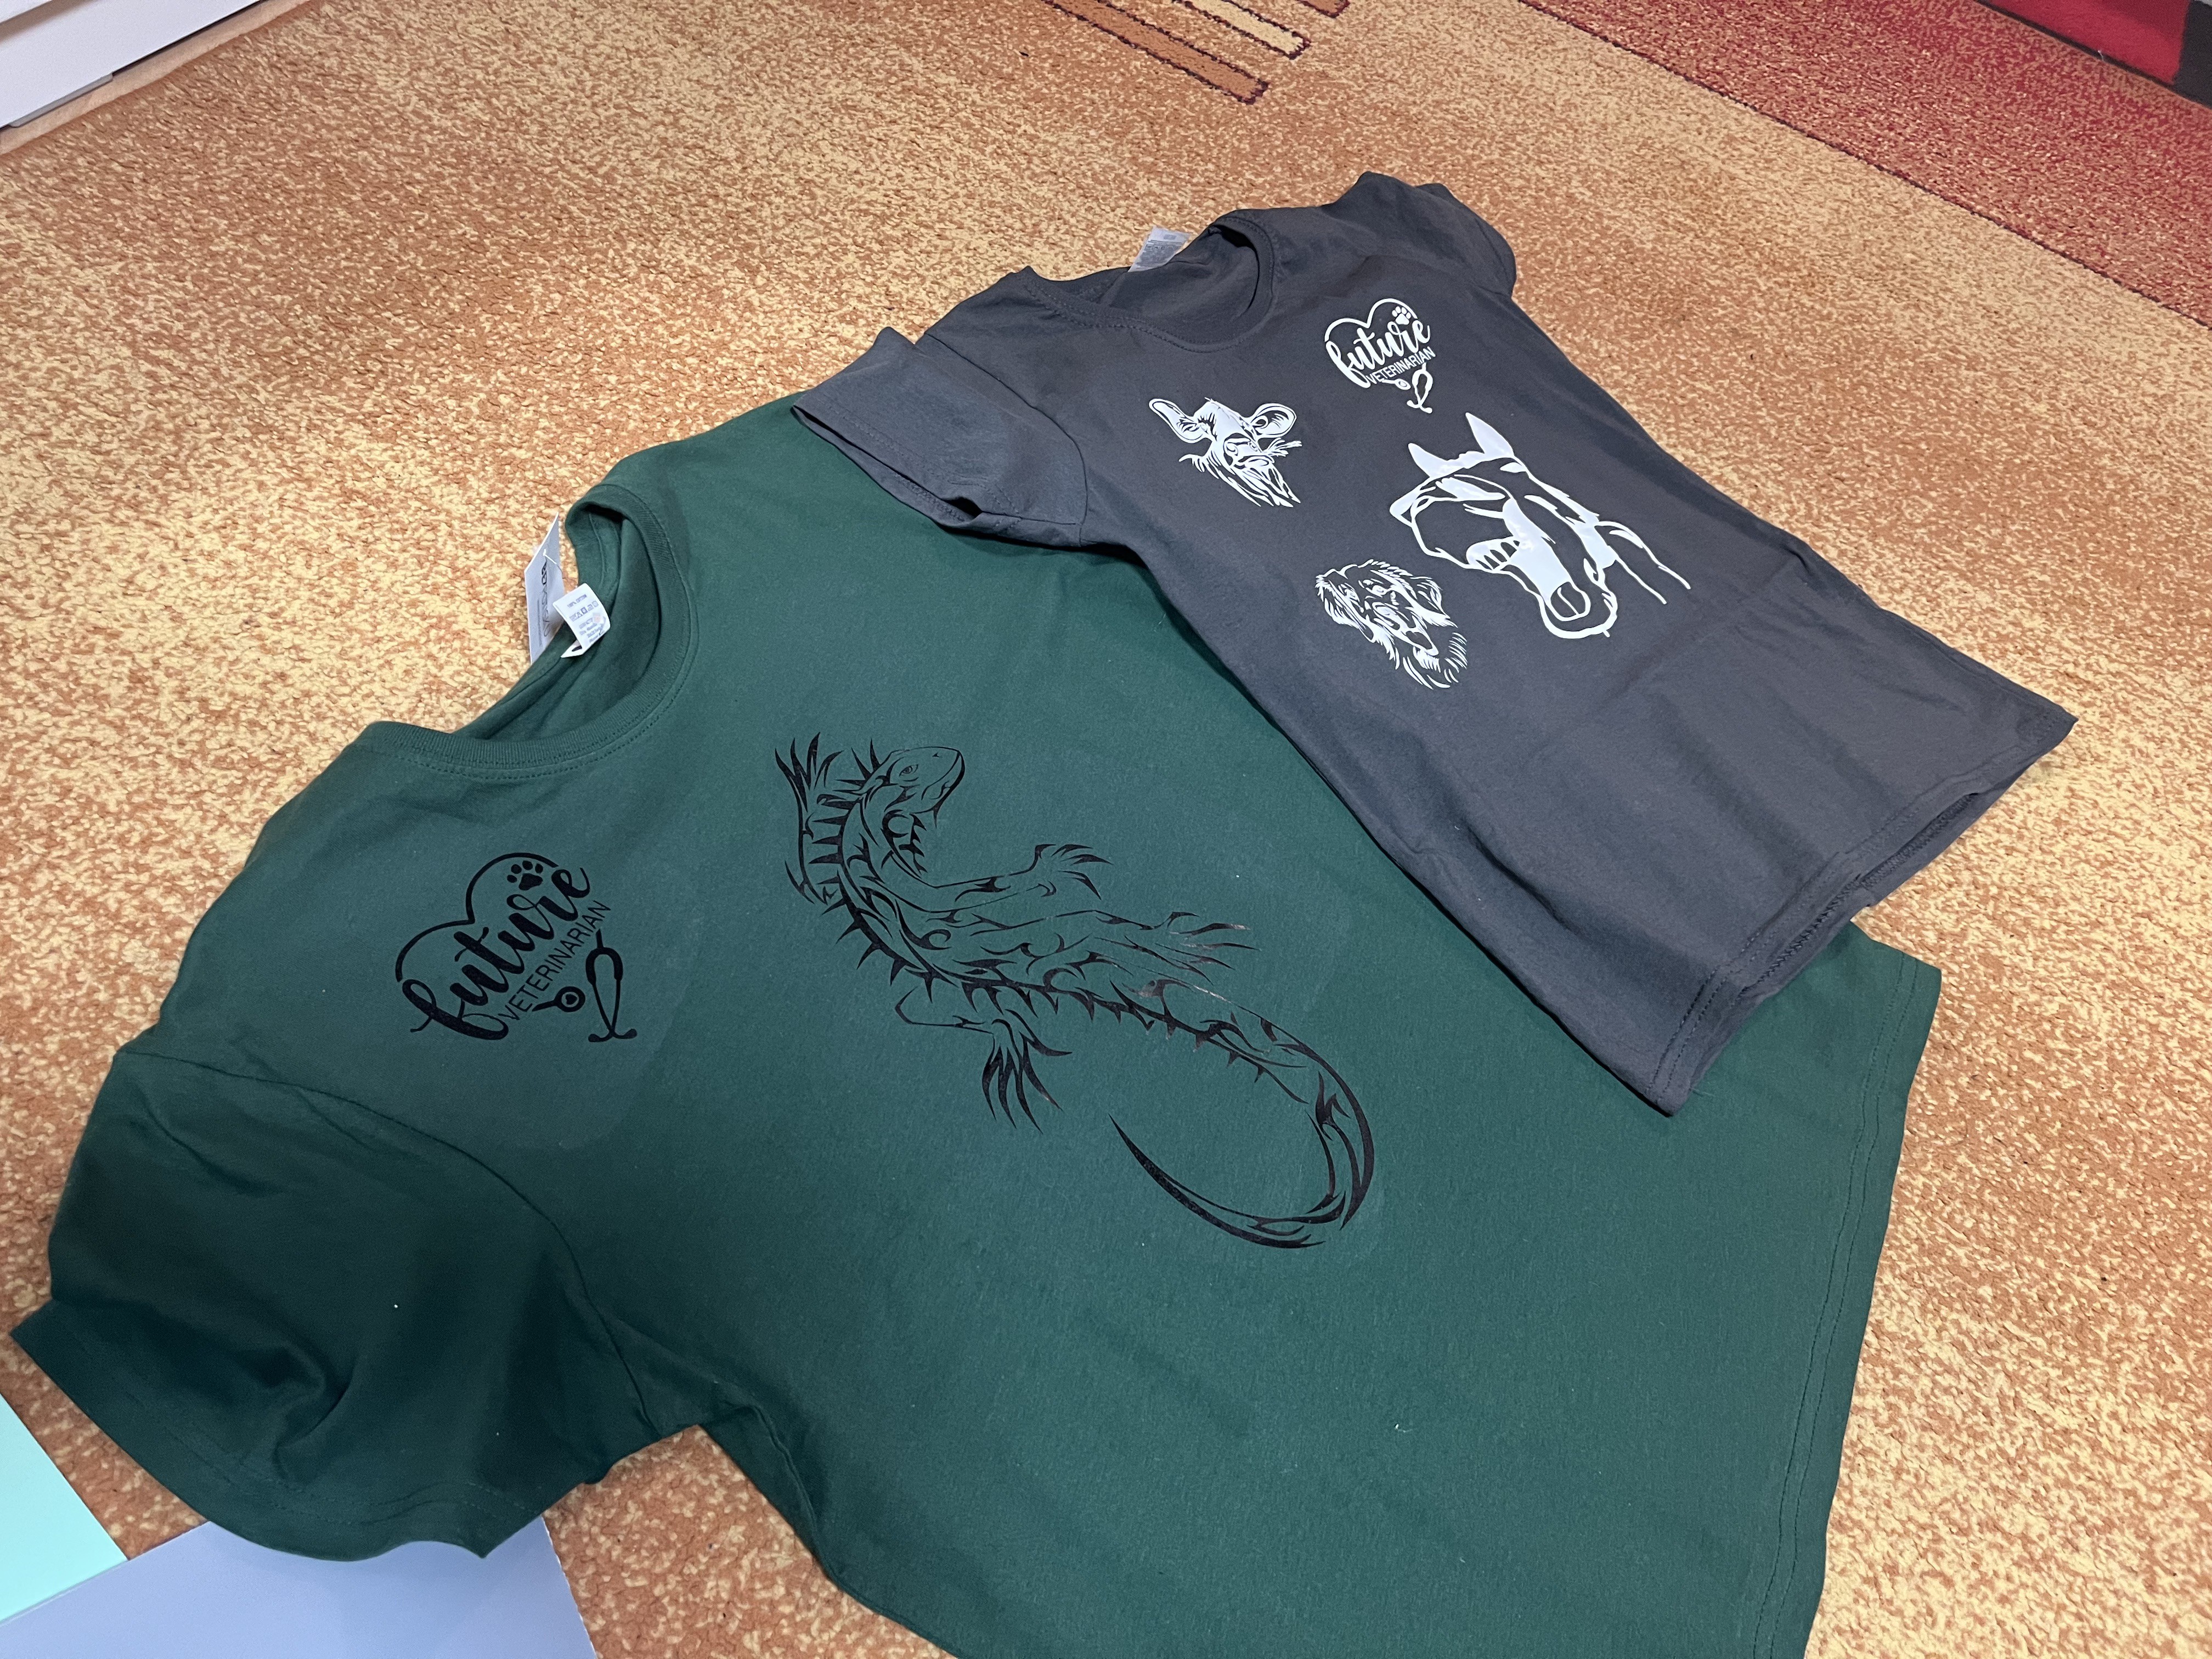
As I said, it is not finished - or to be more exact, it is by far not perfect. I've bought the knife holder out of Aliexpress and it appears to have some play in the bearing, so the knife offset I found out works best for my setup is 0.65 mm - which is a lot. There is also some play in the head mechanism which also definitely contributes to this issue.
I works really great with vinyl for ironing, but I had some difficulties with vinyl for stickers - even with greater force, the vinyl is sometimes not cut totally through and is difficult to separate later. And when increasing the force, the parameters of the cutter head will degrade (the flex in the whole head will increase).
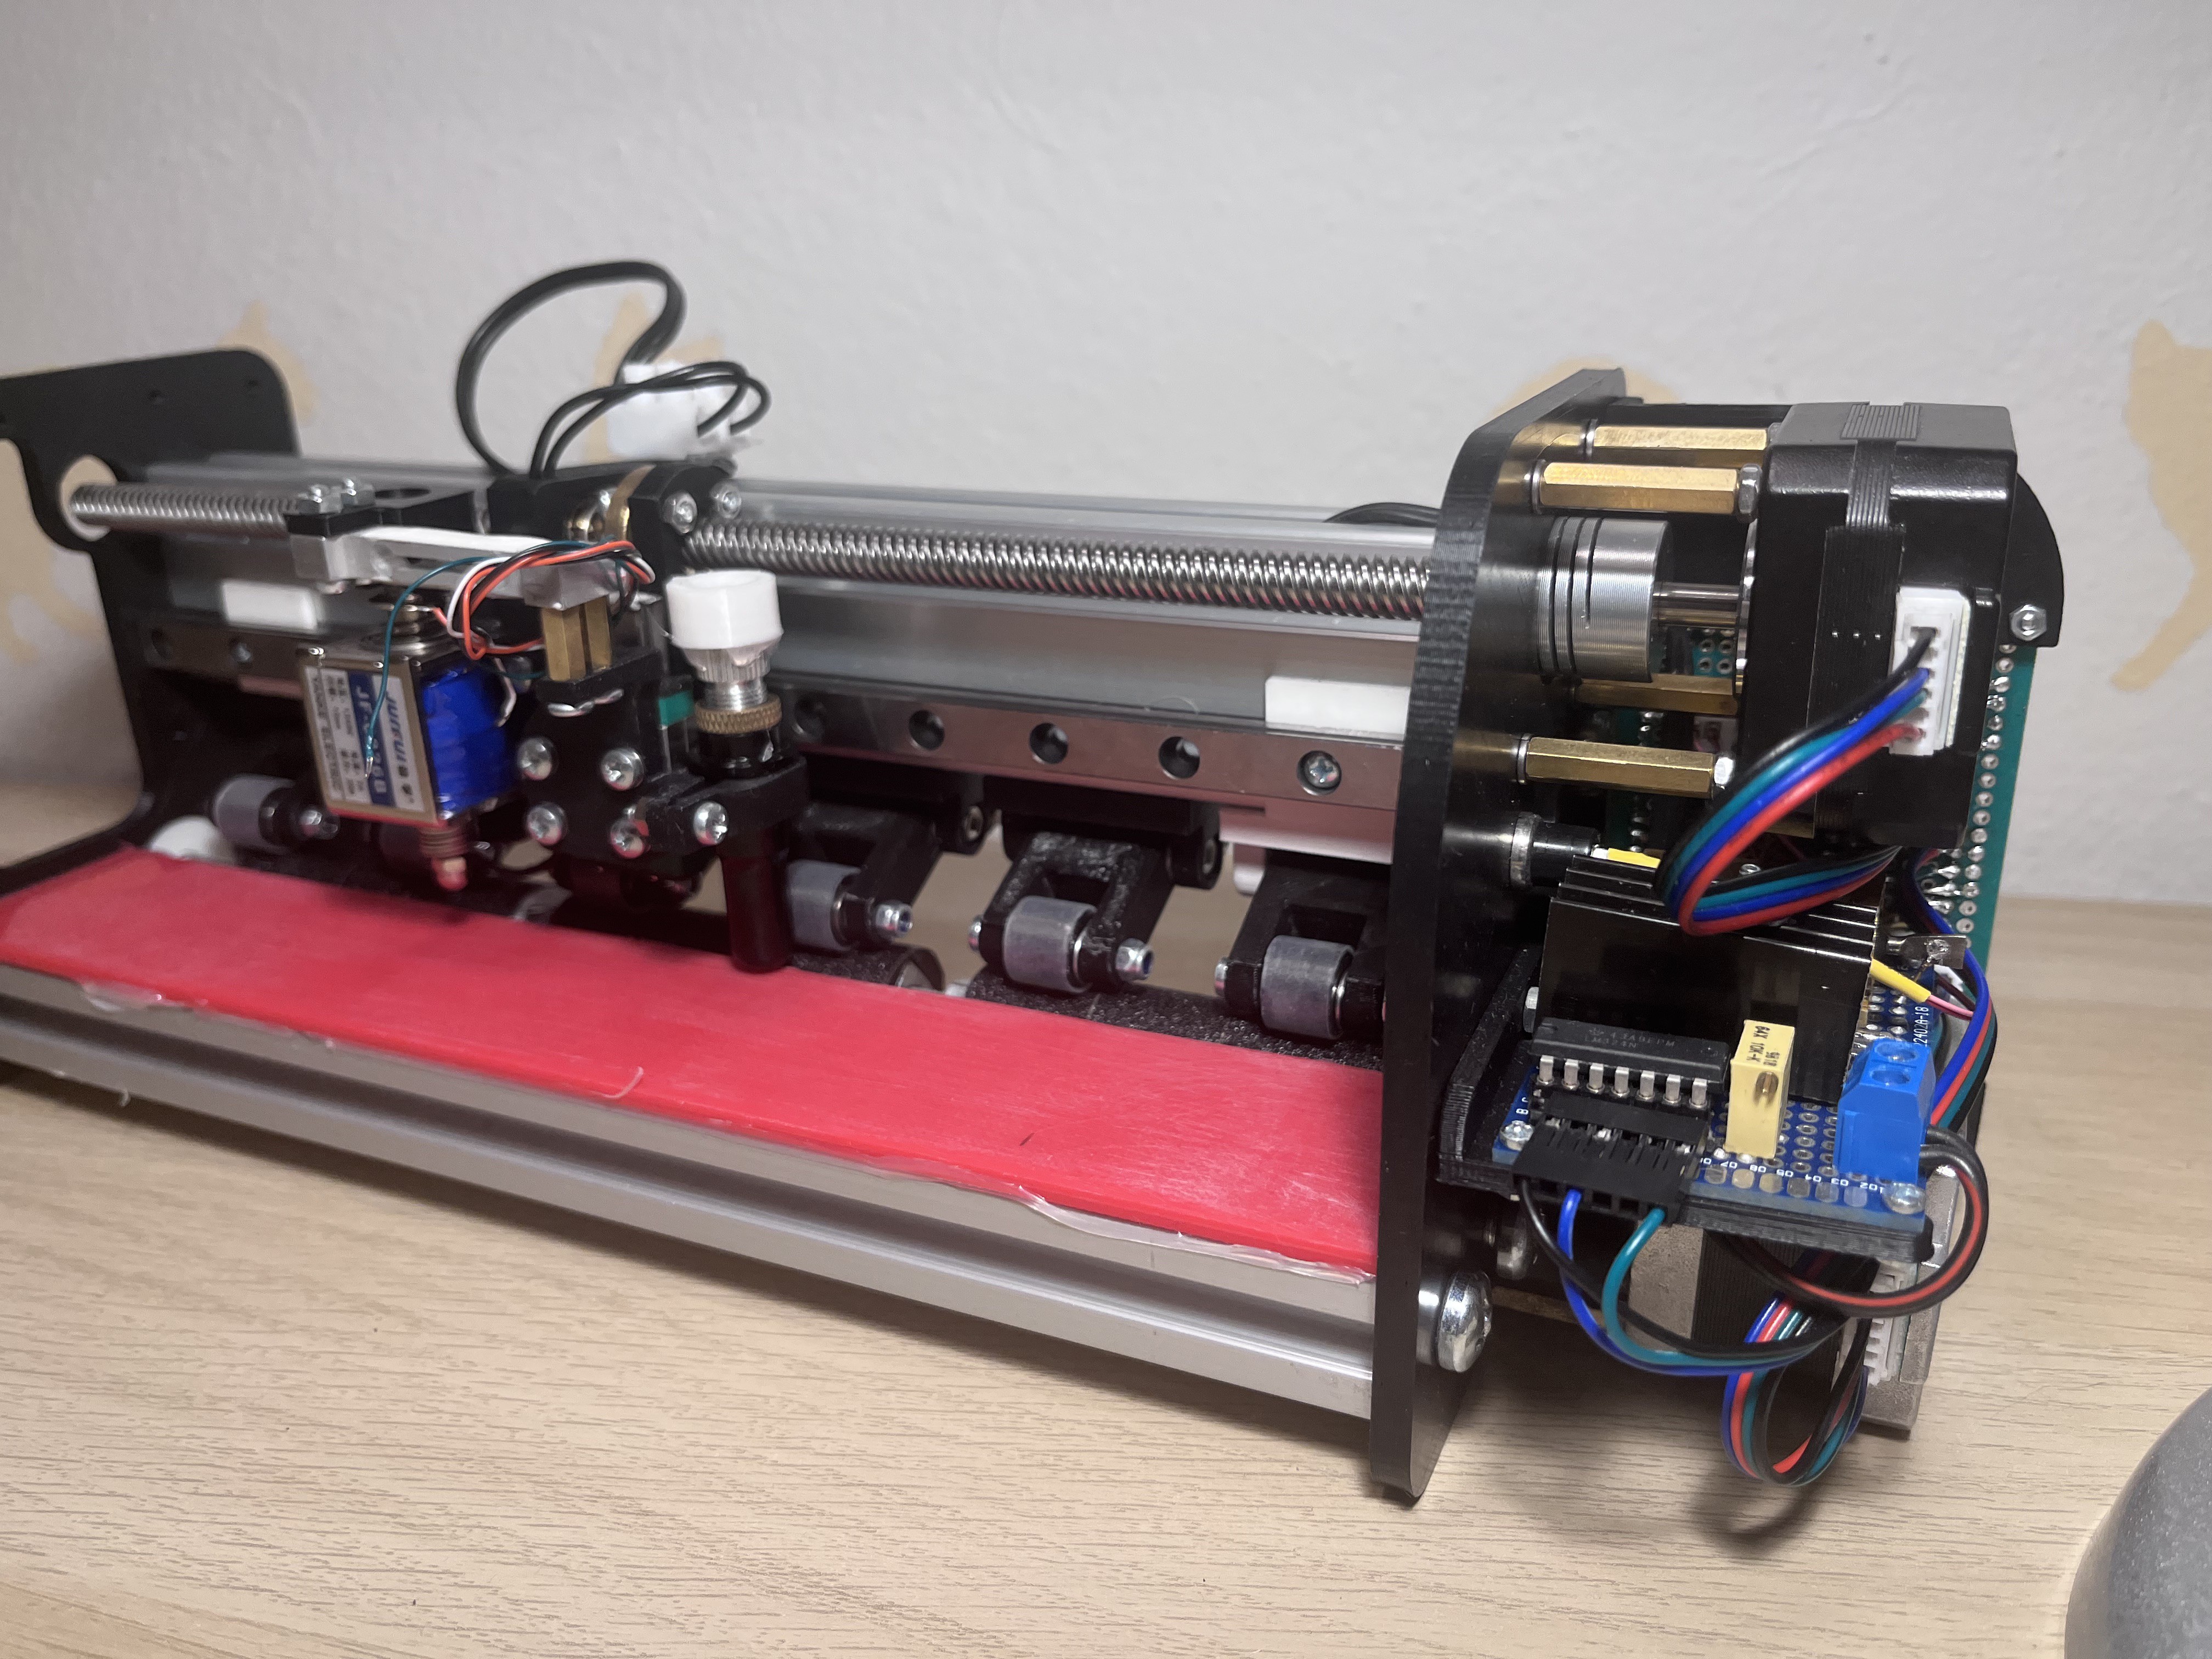
I was planning to make a custom PCB, but as I was still prototyping the electronics, and I've experimented with measuring the cutting force live (that is what the load cell on the main head is for), I've just put together a prototype on perfboard. I will make a proper PCB at a later date... I hope :D
If anyone wants to improve upon my design, feel free to contact me and I will share everything :D I will put the design files and everything online someday, but I have to clean in up first.
And yes, the red backplate is a kitchen PolyPropylene cutting board that I definitely did not steal from anyone :)


 davedarko
 Nihilianth
 Dávid Máté
 Dmytro