0%
0%
3D Printer Power Control Board
A super simple little control board that allows for connecting/disconnecting power from a 3D printer via a relay.
 skelly
Become a Hackaday.io member
Already have an account? Log in.
Just one more thing
To make the experience fit your profile, pick a username and tell us what interests you.
Pick an awesome username
hackaday.io/
Your profile's URL: hackaday.io/username. Max 25 alphanumeric characters.
Pick a few interests
Projects that share your interests
People that share your interests
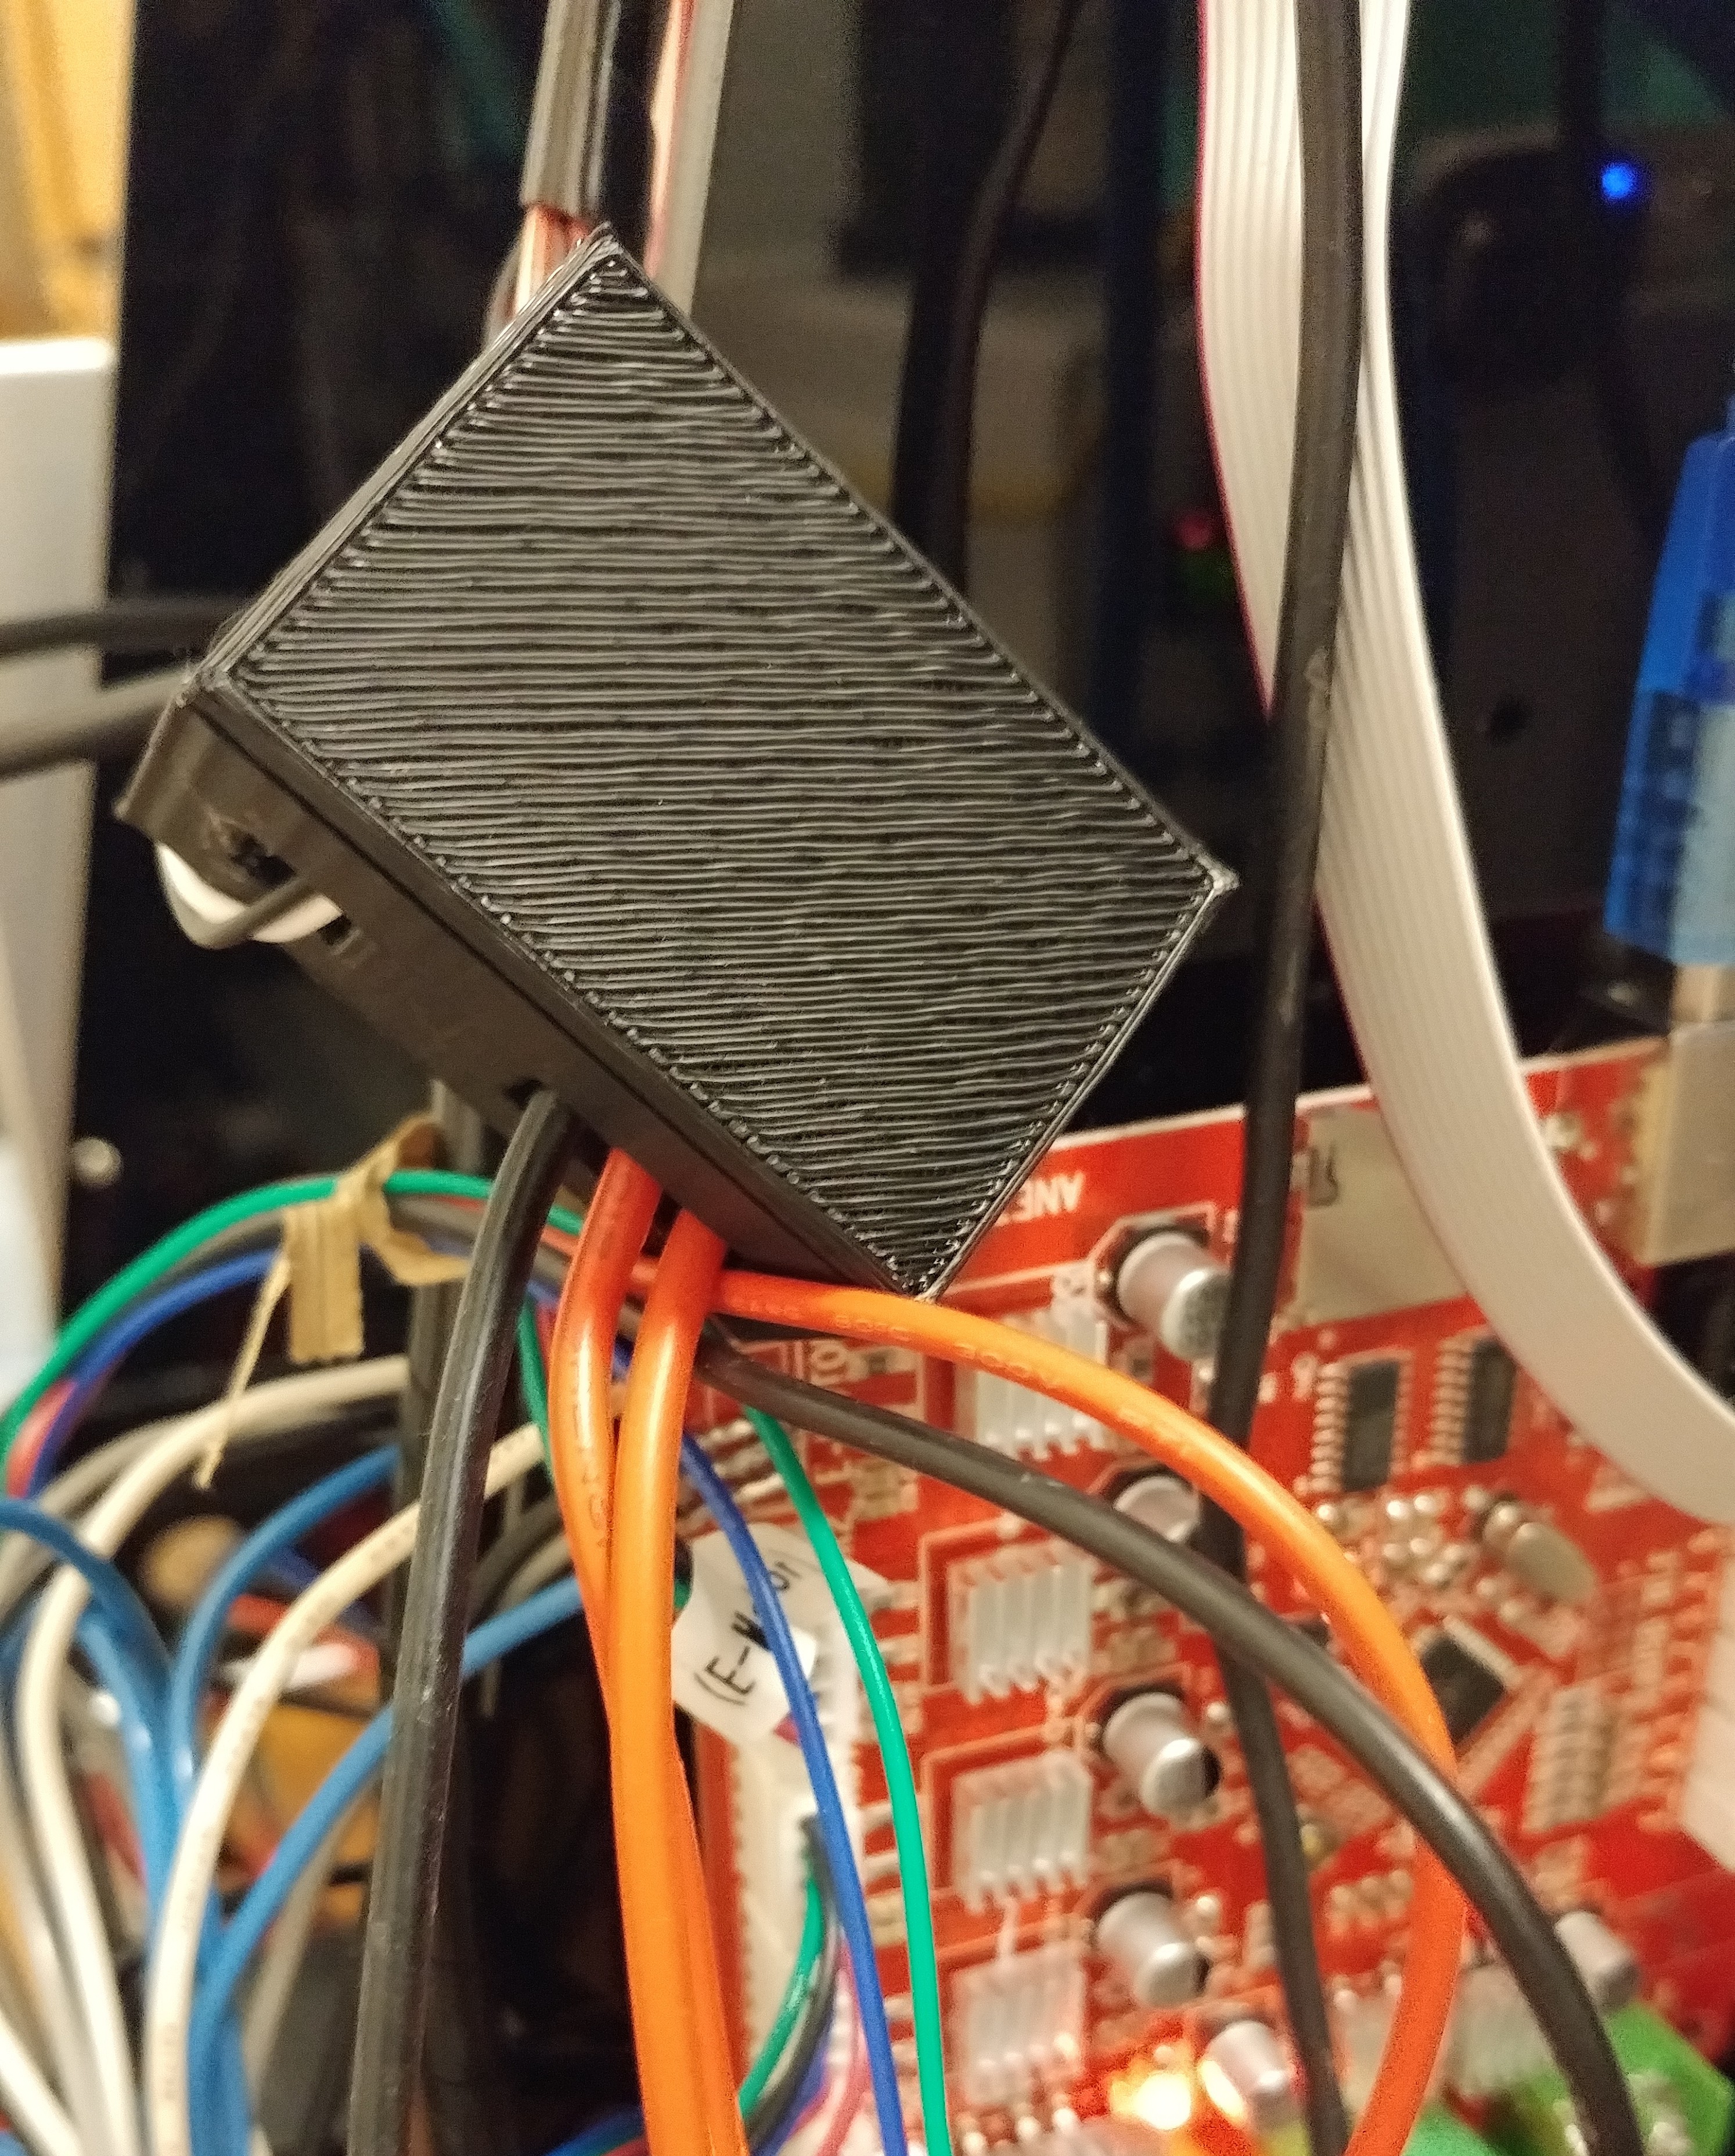
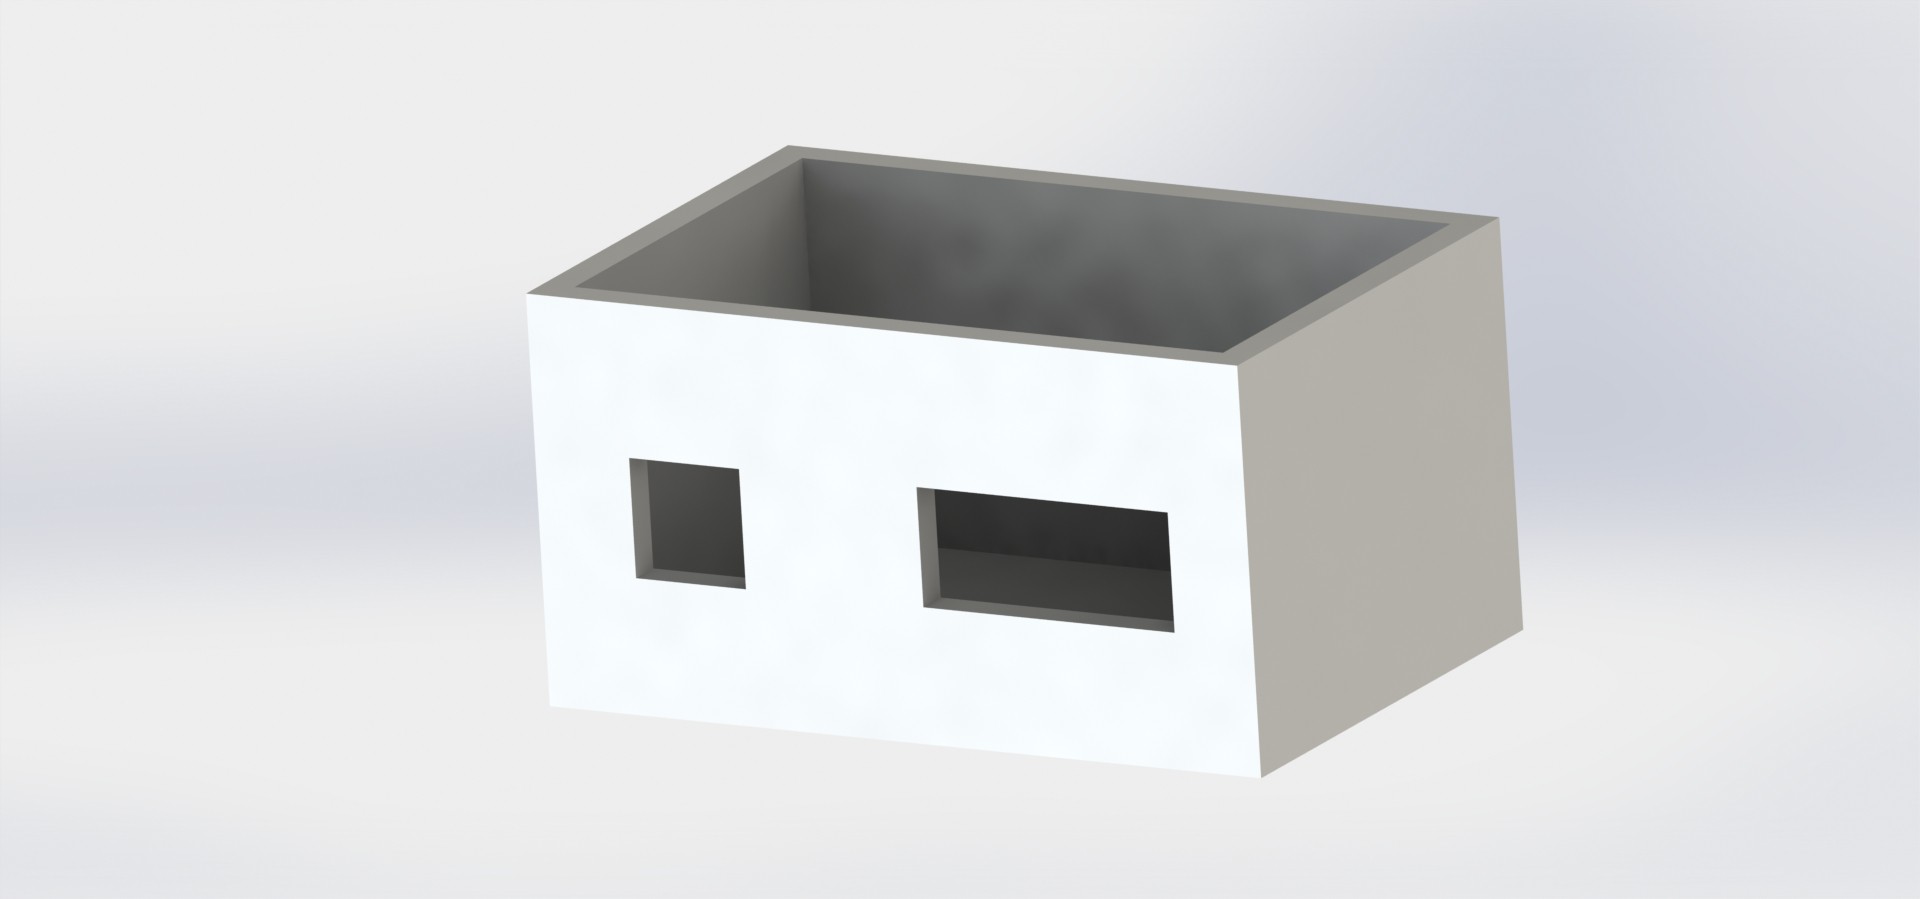

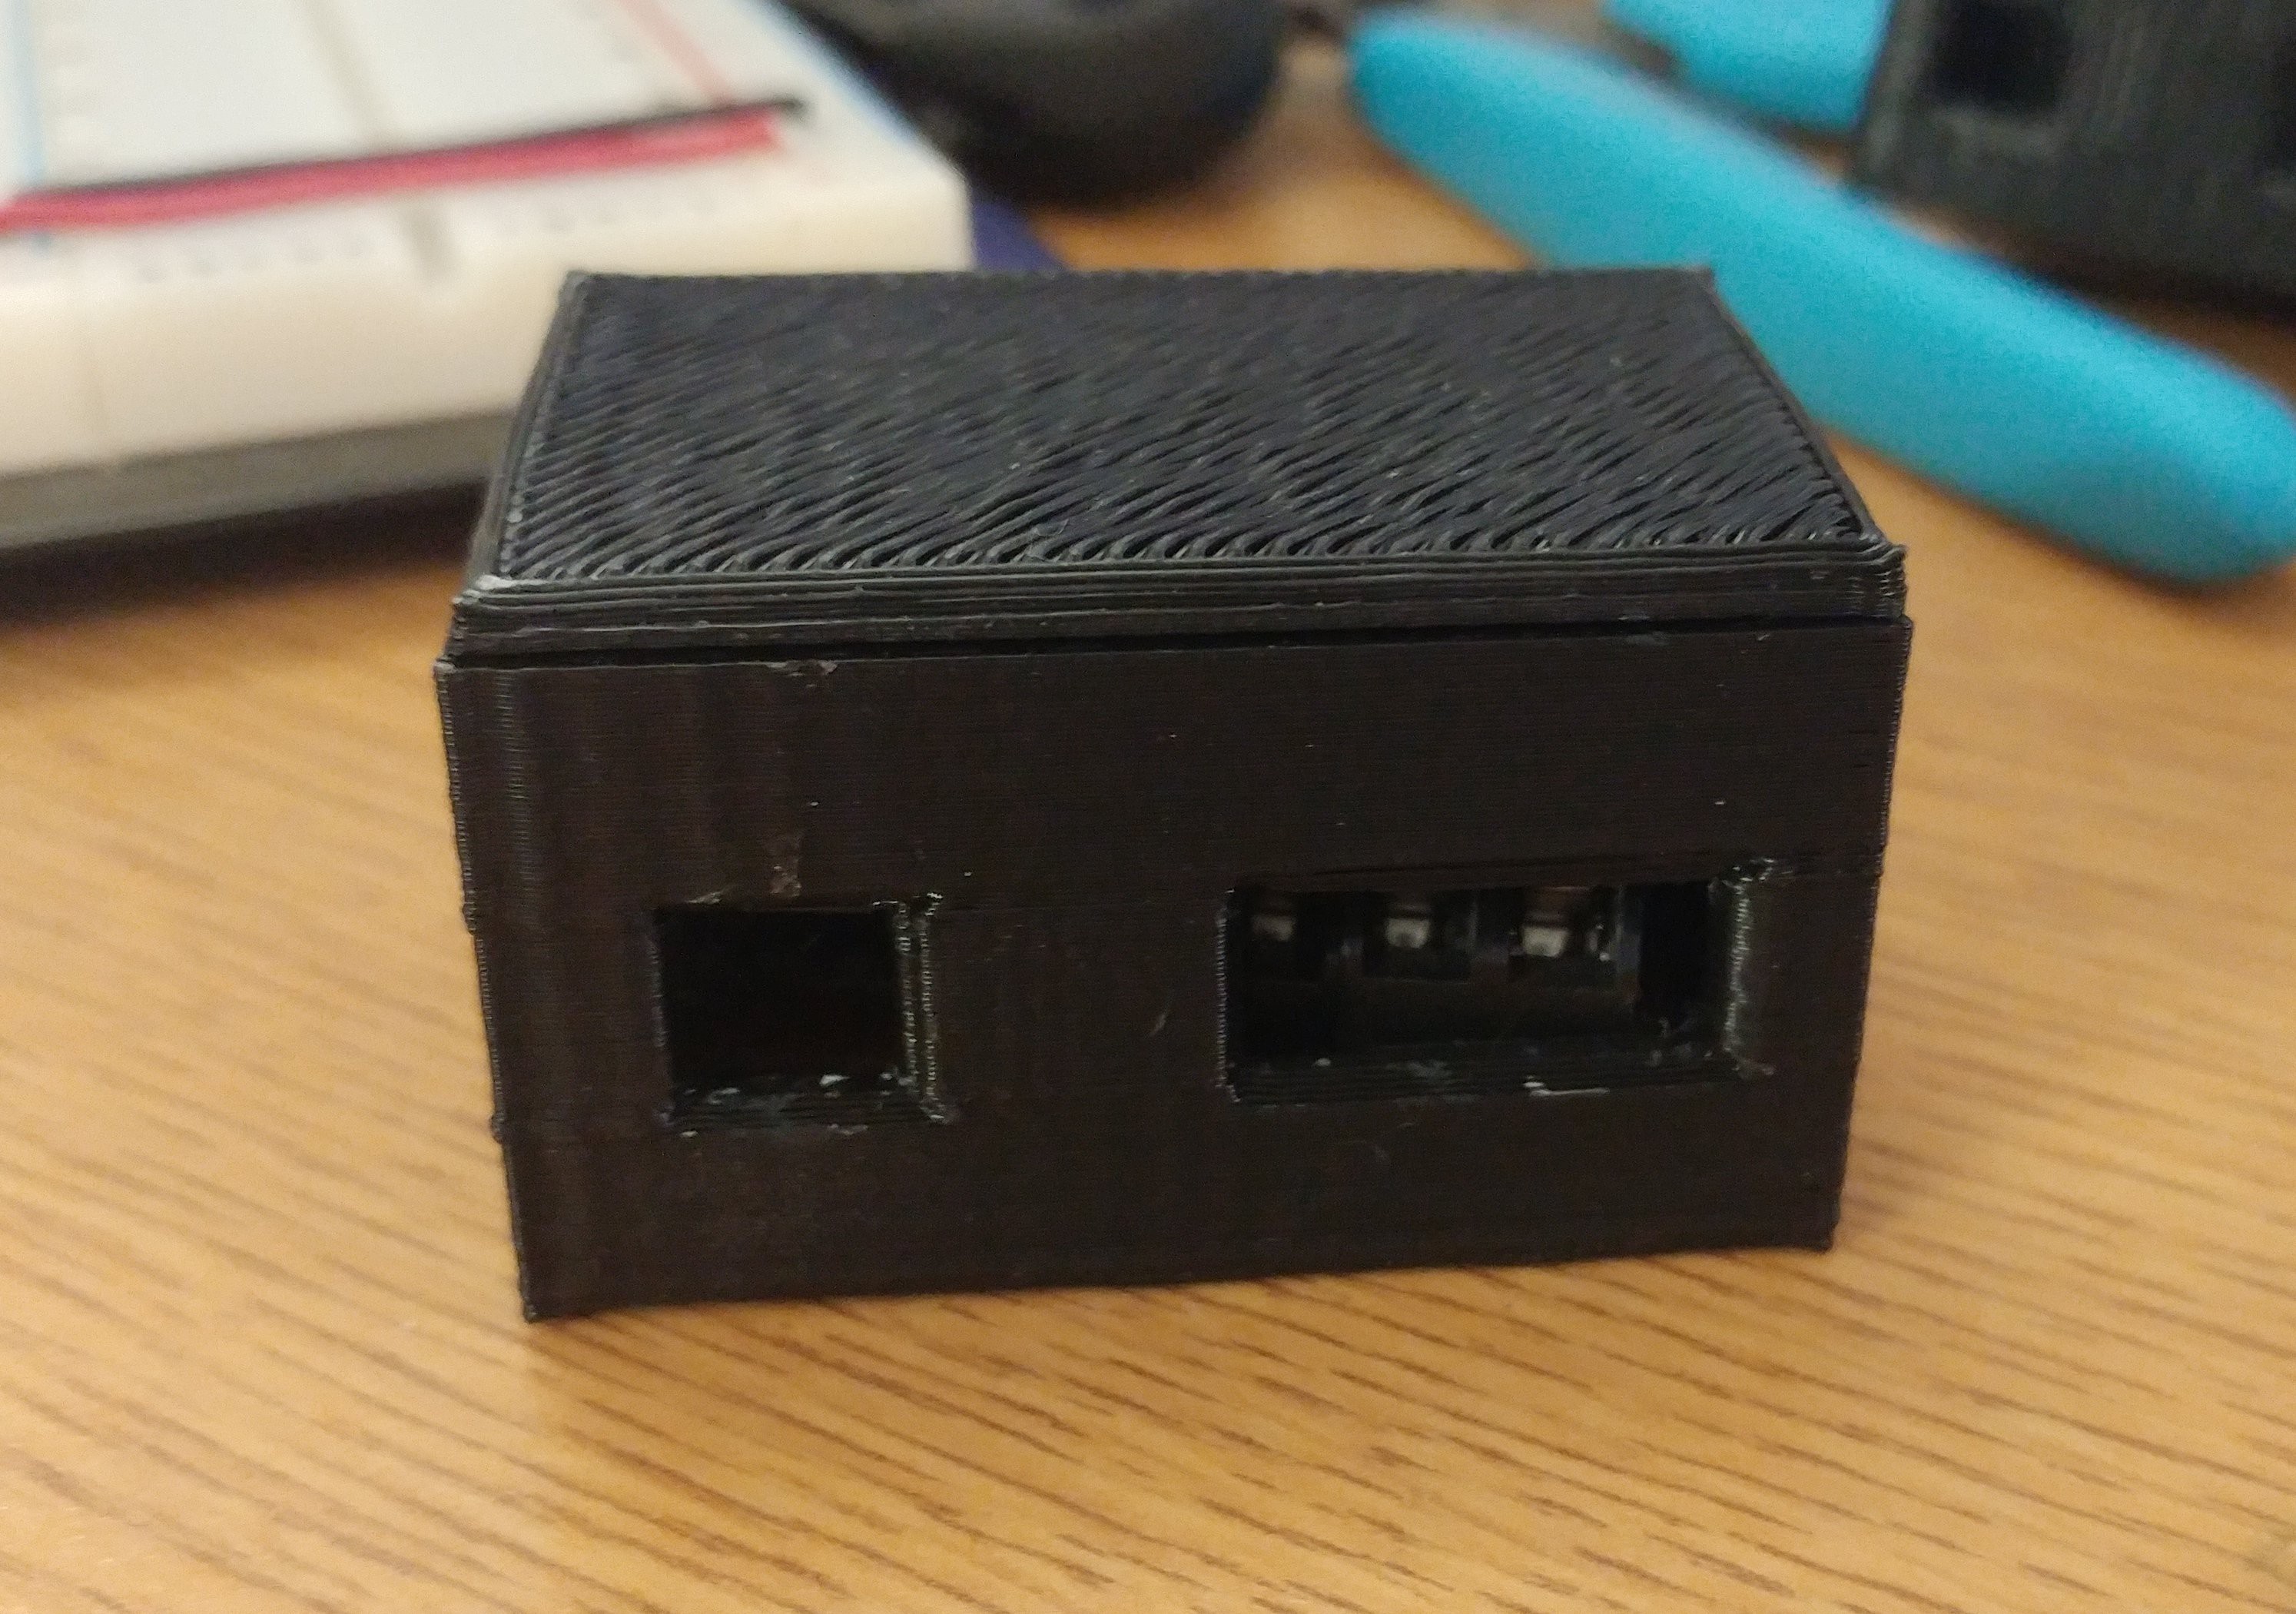 I will probably end up gluing the board down to the box. Solidworks parts files will be available to download. Please note that some changes might need to be made to get everything to fit together. I designed assuming ideal conditions and ended up having to make the box a little larger (by 0.4mm at the most) in order for the lid to fit on. In its current state, the lid friction fits very firmly in place. Depending on how you construct your board, you might also need to change the spacing of the wiring cutouts.
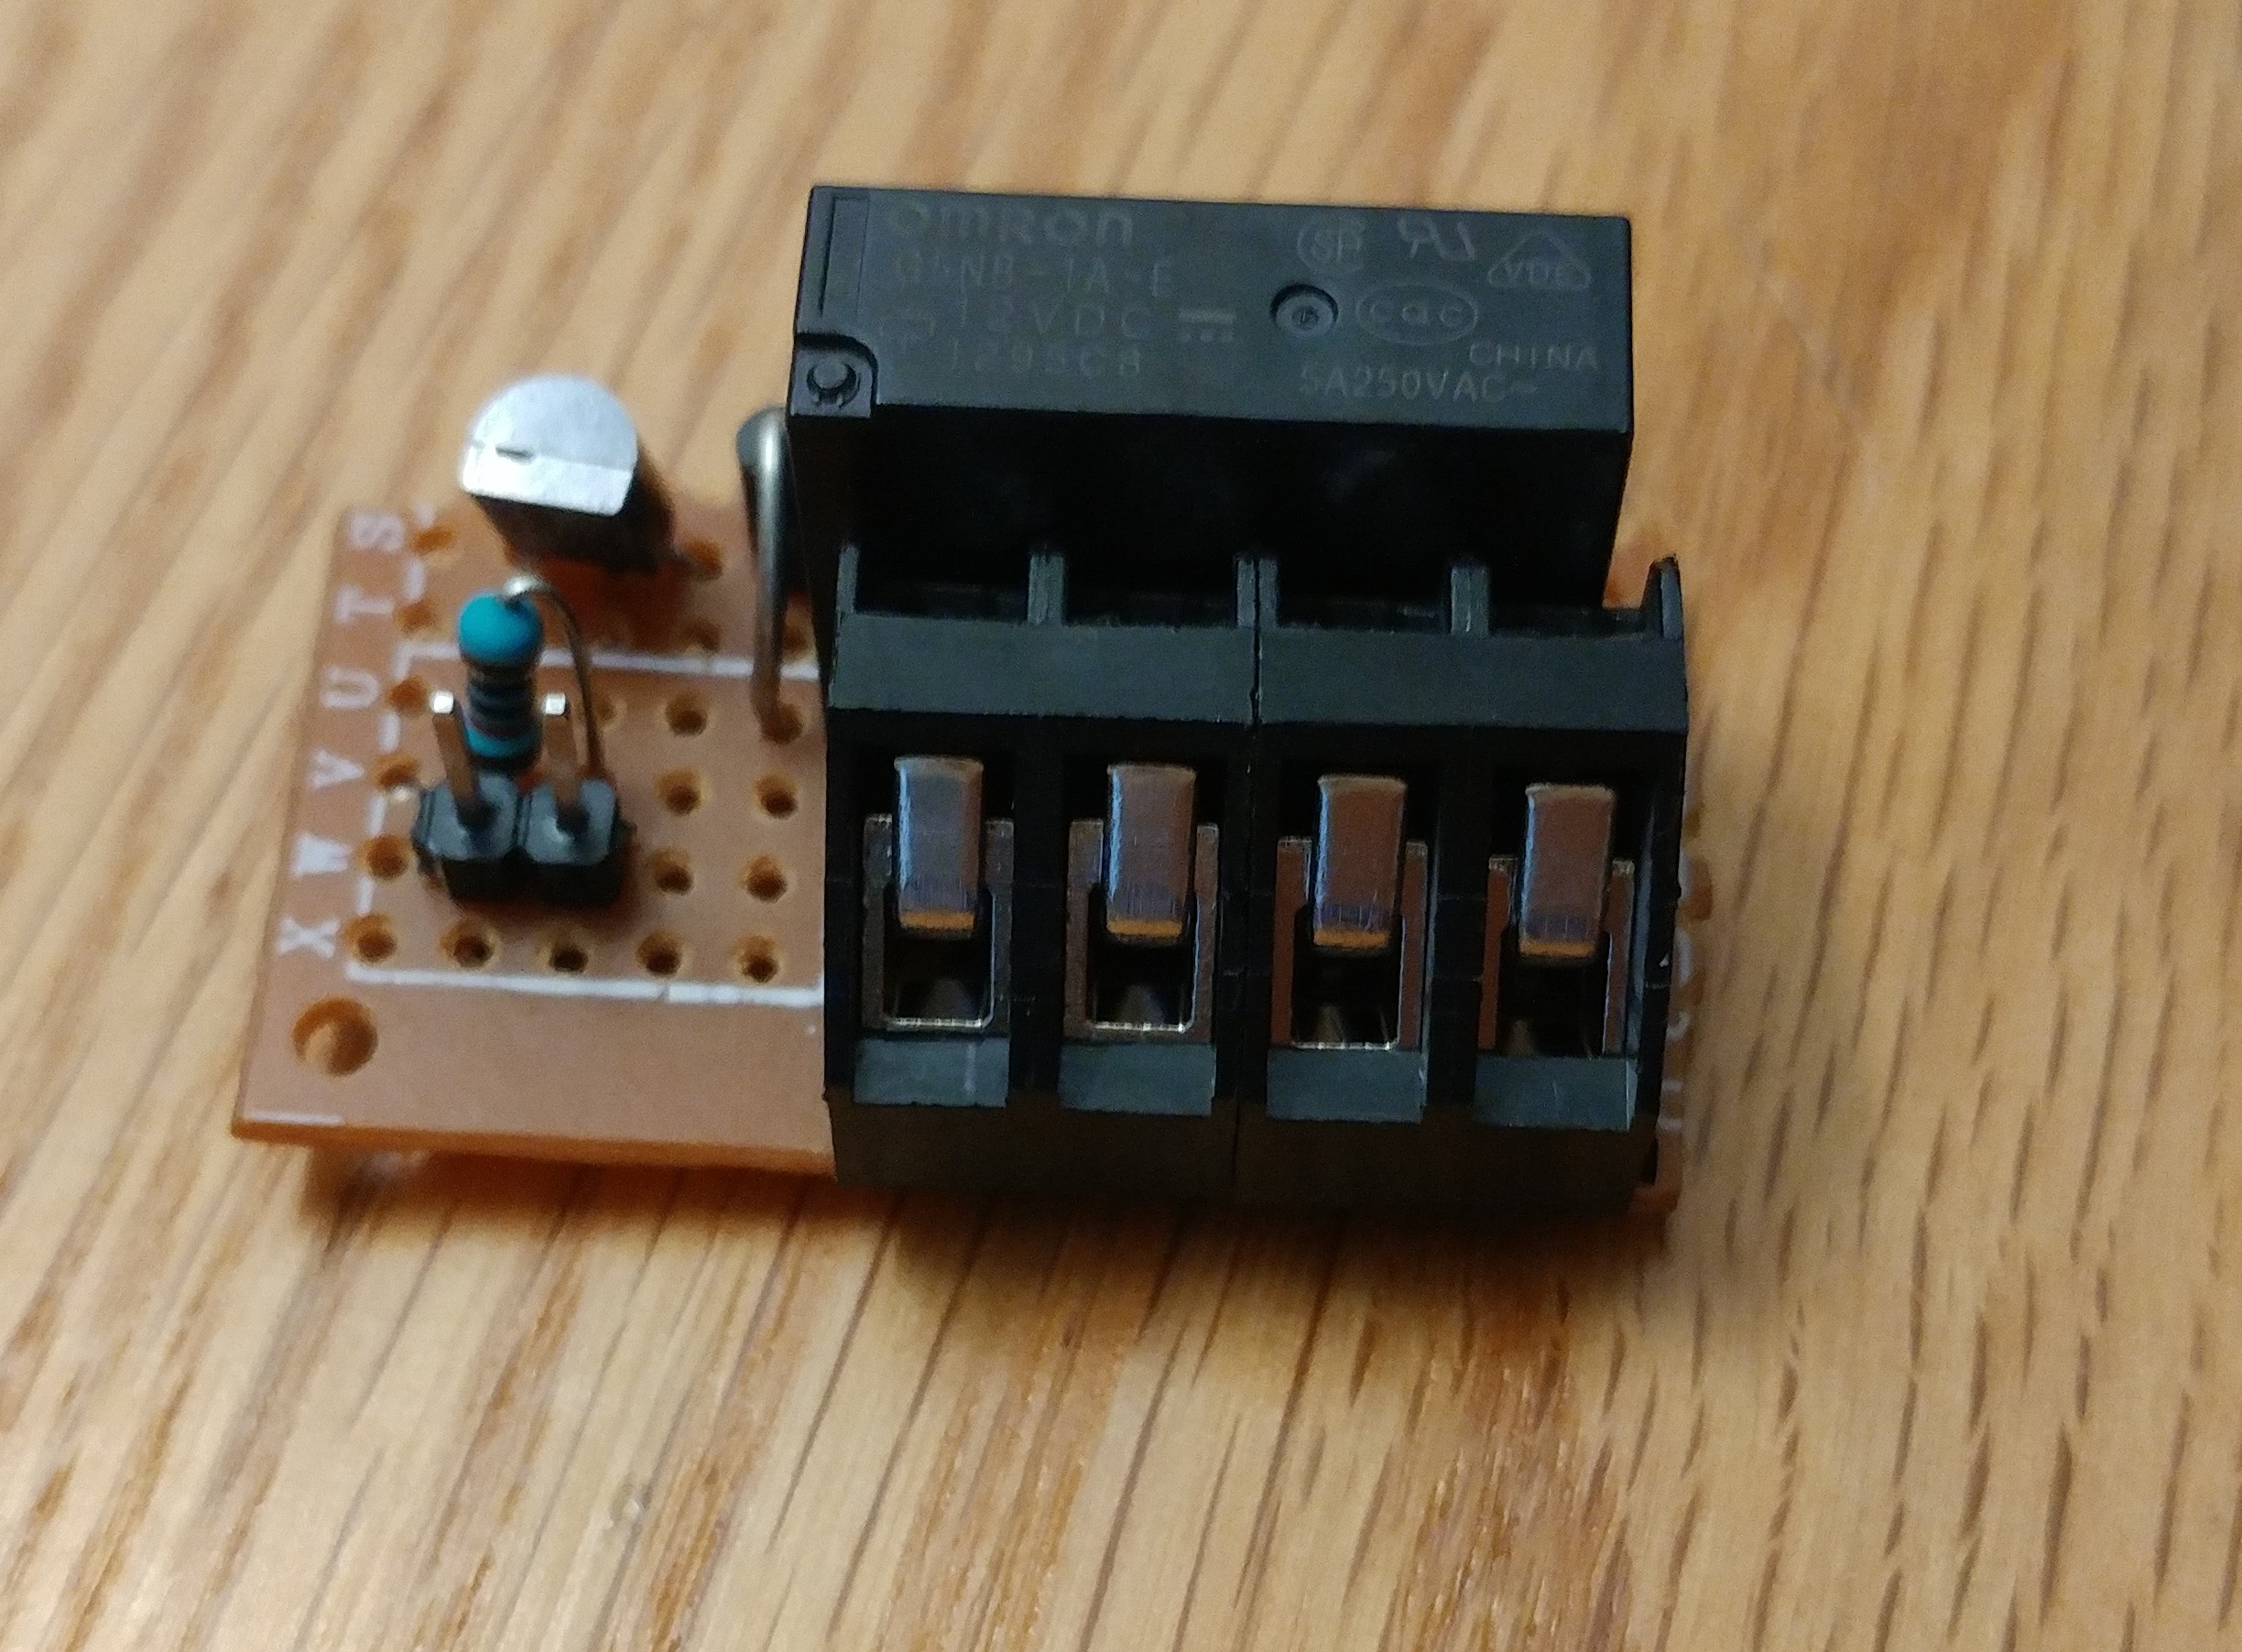
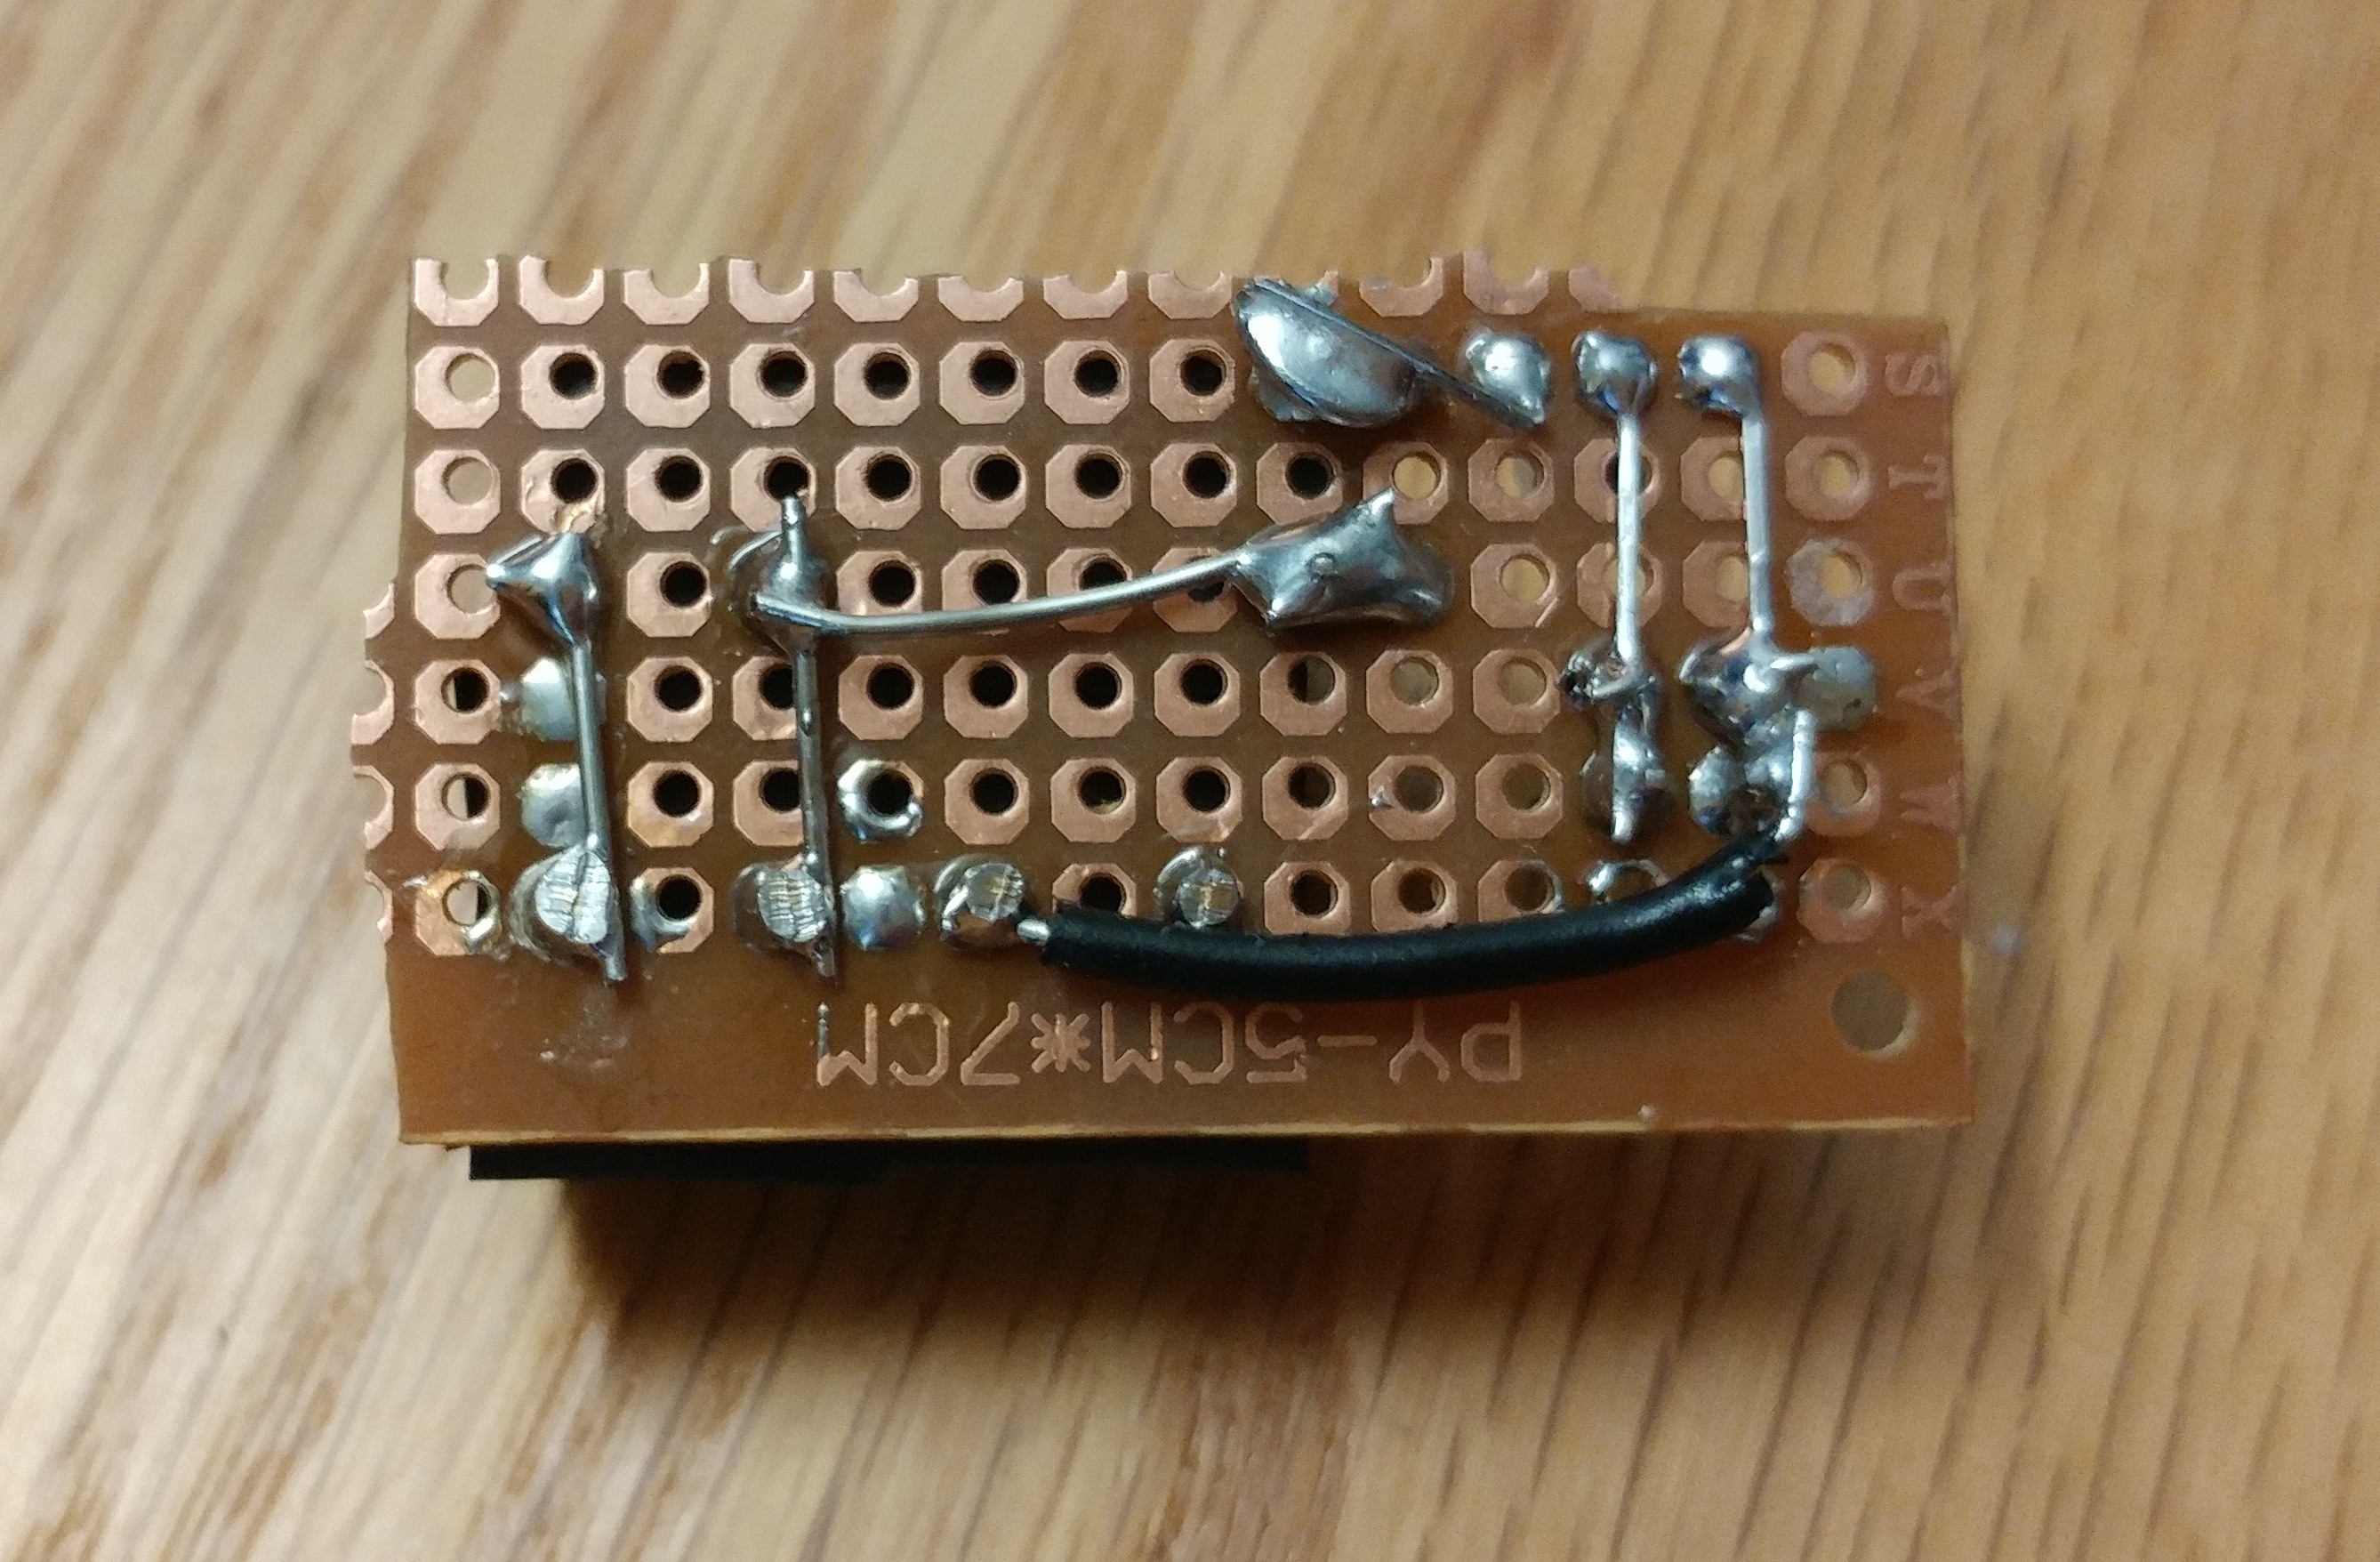

Heads up for future reference, they make relay boards that are basically plug and play. SainSmart relays. Check them out. (You can order Chinese ones on ebay for much cheaper than brand name and function the same.) No soldering, no buying diodes, no troubles. Even come with a debugging LED on board.