 mircemk

I recently needed to install a security camera at a relatively large distance from my home, more precisely at about 300m. Unfortunately, although there was power there, I could not physically install a network cable and also the distance is too large for a Wi-Fi connection. LoRaWAN cannot be used due to very low transfer speed which is not sufficient for multimedia transmission So, while searching for a solution, I came across information about Wi-Fi HaLow technology. Wi-Fi HaLow is a long-range, low-power version of Wi-Fi designed specifically for the Internet of Things (IoT).
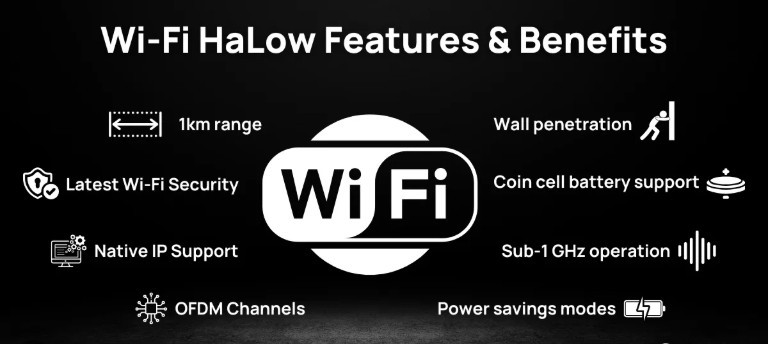
Operating in the sub-1 GHz spectrum, it delivers connections up to 1 km away while passes through walls and obstacles much better than traditional 2.4 GHz or 5 GHz Wi-Fi. Wi-Fi HaLow fills the gap between classic Wi-Fi and LoRaWAN – it offers significantly greater range and lower power consumption than Wi-Fi, but at the same time provides high enough speed for IP communication, audio, and video, something that LoRaWAN cannot provide. So I decided to purchase hardware (camera and router) that would best meet these needs.
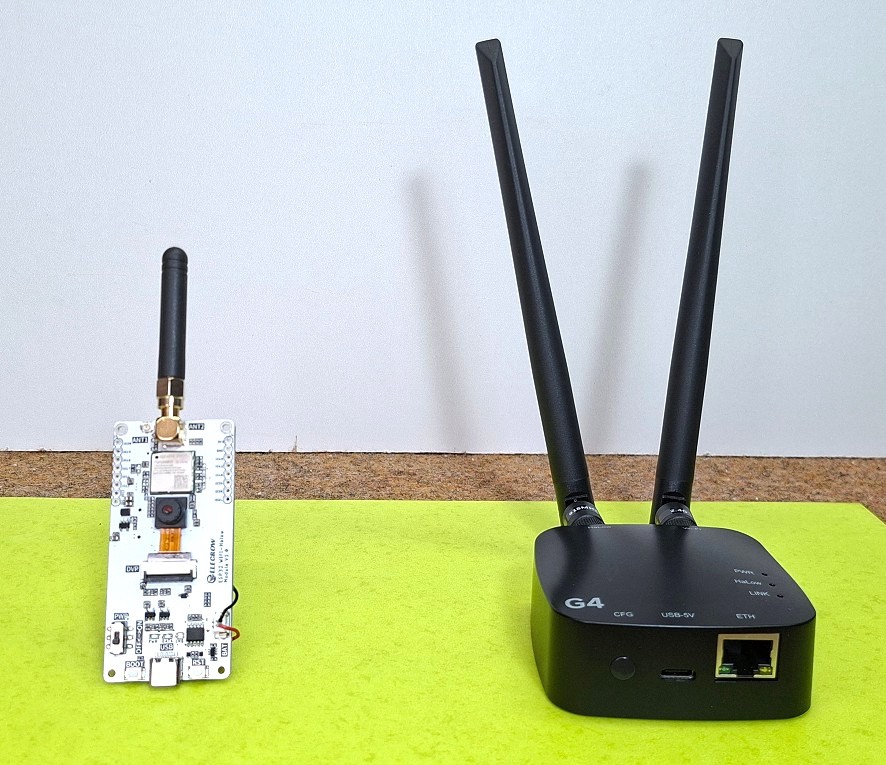
Specifically, these are the ThinkNode G4 Wi-Fi HaLow Gateway and ESP32 Wi-Fi HaLow Module with 2MP Camera, products from Elecrow. ThinkNode G4 Wi-Fi HaLow gateway is a long-range, high-speed wireless communication device designed for IoT applications. It is equipped with a high-performance MCU and advanced RF front-end, supporting dual-band design for both Wi-Fi HaLow and 2.4GHz Wi-Fi, and provides an Ethernet interface for flexible integration into existing network infrastructure. The product also contains two antennas, one for halow wi-fi, and one for standard 2.4GHz wi-fi. It is powered via a USB-C port. The ESP32 WiFi Halow module consist of several parts.
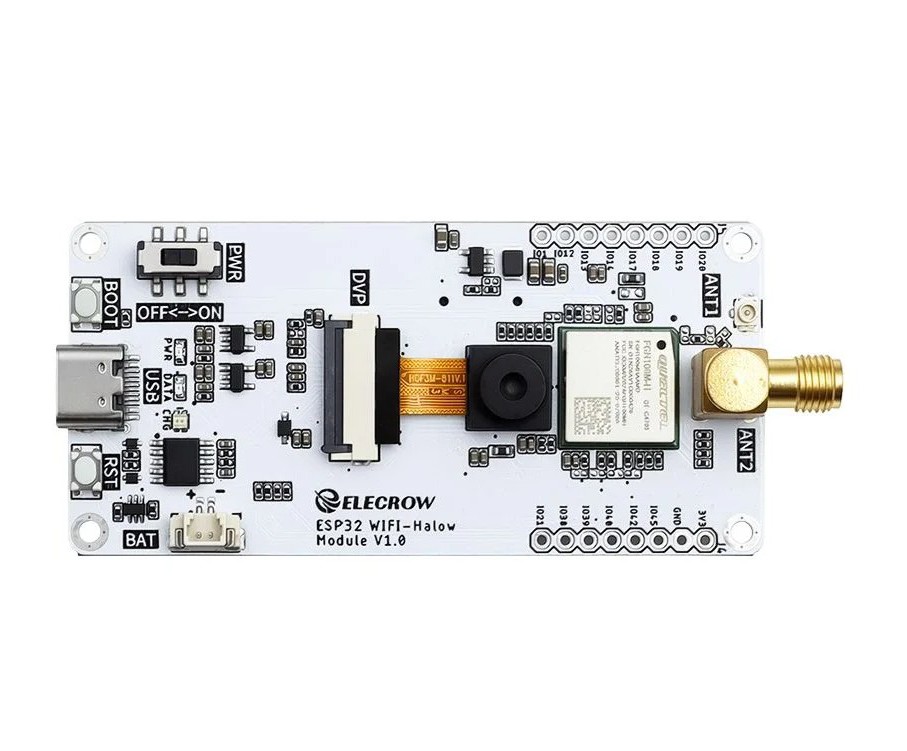
The camera module PCB with ESP32-S3 MCU, a wi-fi halo module, a TF card slot, and a 2MP camera. On the top side of the PCB there is a connector where a small antenna is connected, which is included in the kit along with the USB cable. There is also a a Type-C interface and triple wireless connectivity (Wi-Fi + Bluetooth + Wi-Fi HaLow) and small antenna. On the PCB there is a connector for a lithium battery with a charging chip and an indicator LED as well as many I/O ports for connecting various external devices and sensors.
Now I will focus on the main task from the beginning of this project, which is to find the simplest possible way to put this small camera module + gateway into operation, i.e. to set up wireless transmission of a video signal over a long distance of up to 1 km. Let's start by setting up the gateway. For this purpose, the PC Ethernet card should be set to Automatic (DHCP), i.e. in the TCP/IP properties, should be checked the "Obtain an IP address automatically" box. Now I connect the gateway to the power supply and to the PC with a LAN cable. I hold down the CFG button for 3 seconds, and wait for the green LED to start blinking, which is a sign that the gateway is in configuration mode. I type the address 10.42.0.1 in a web browser. In this way I enter the configuration web interface.
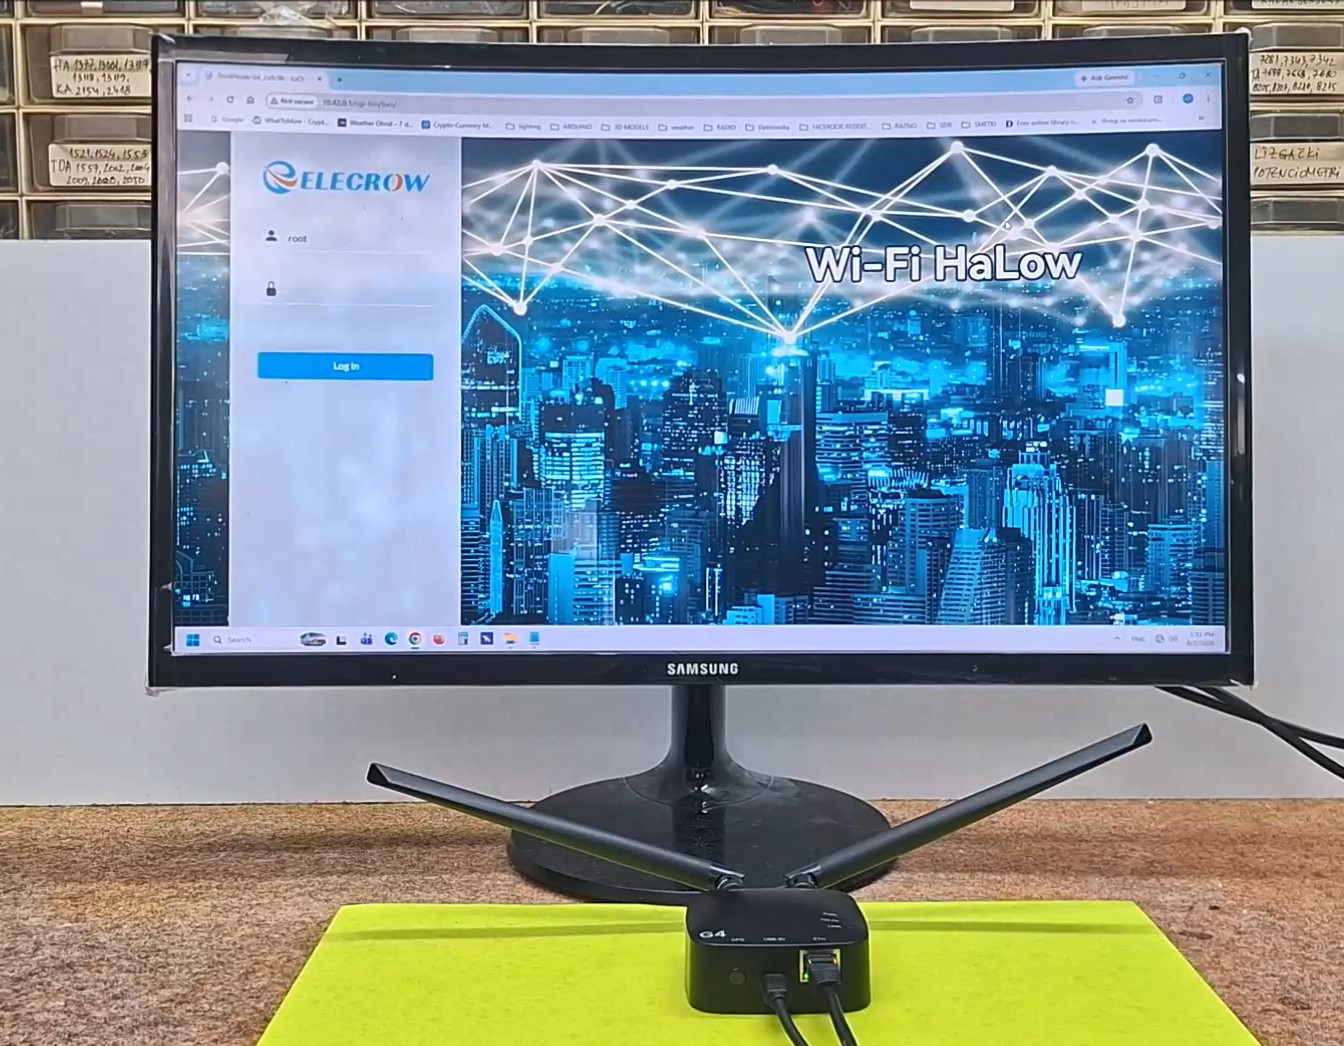
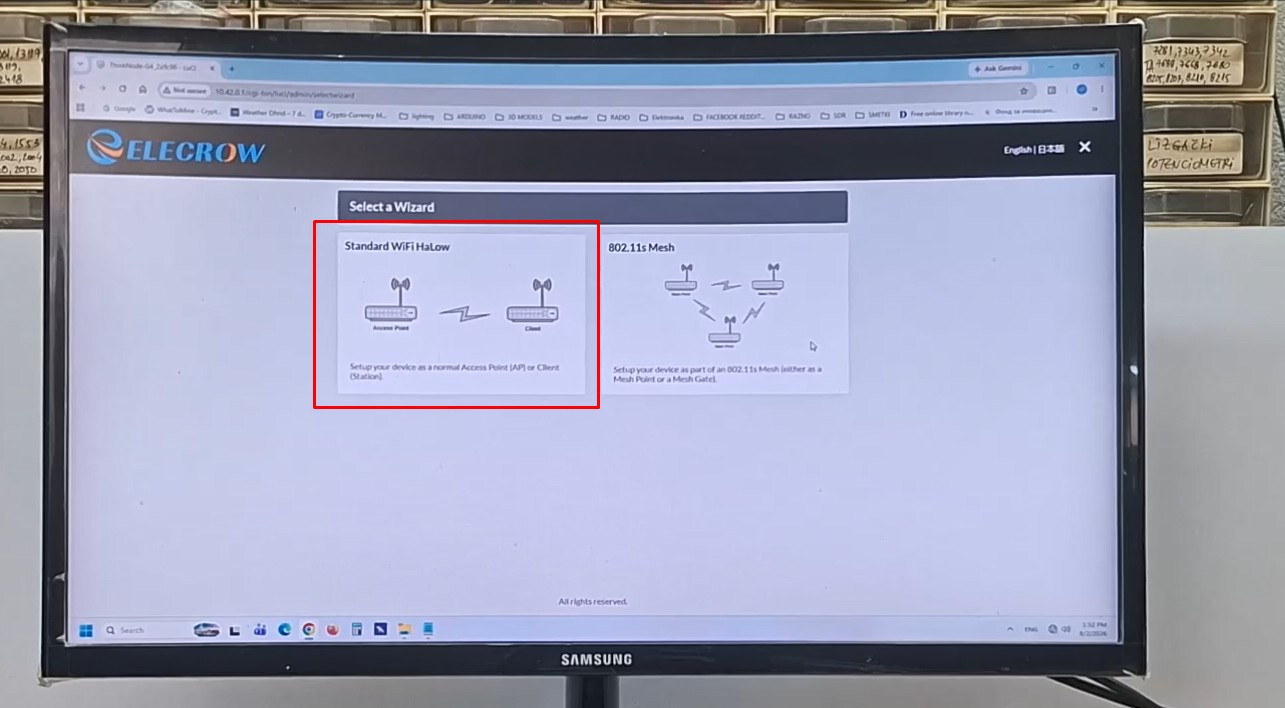
For presentation purposes, I will not enter passwords now, except where necessary. Otherwise, in real use, of course, you need to use strong passwords for protection. Now we are on the "select wizard" page and here we need to select "Standard WiFi Halow".
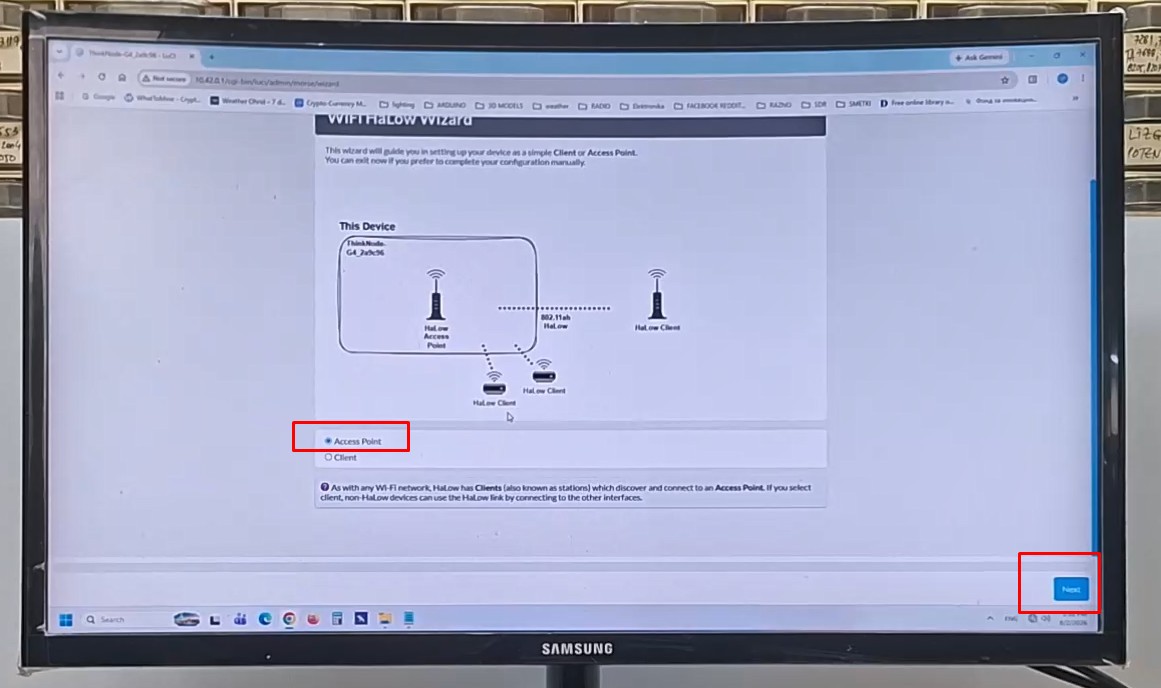
Next, then again password and now we need to choose between Access point and client. We select Access point and Next.
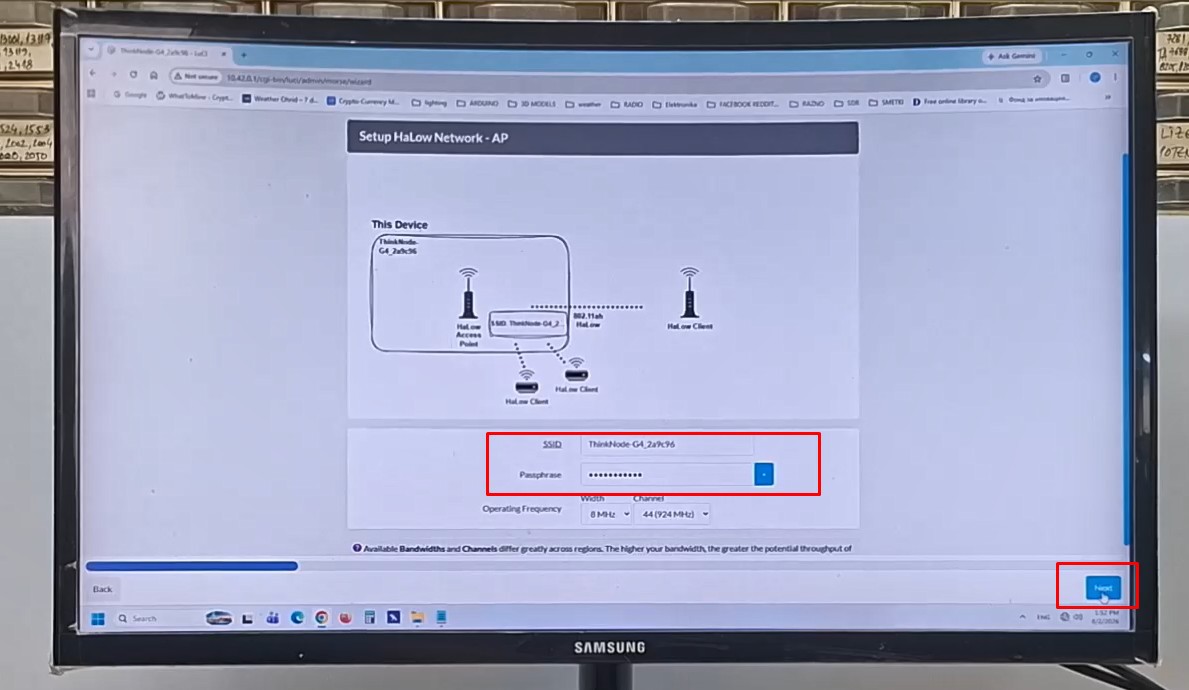
Here is the name and password that should be used by a device that needs to connect to this gateway, in this case it is the camera module.
Now Next, and on upstream network display, need to select "none".
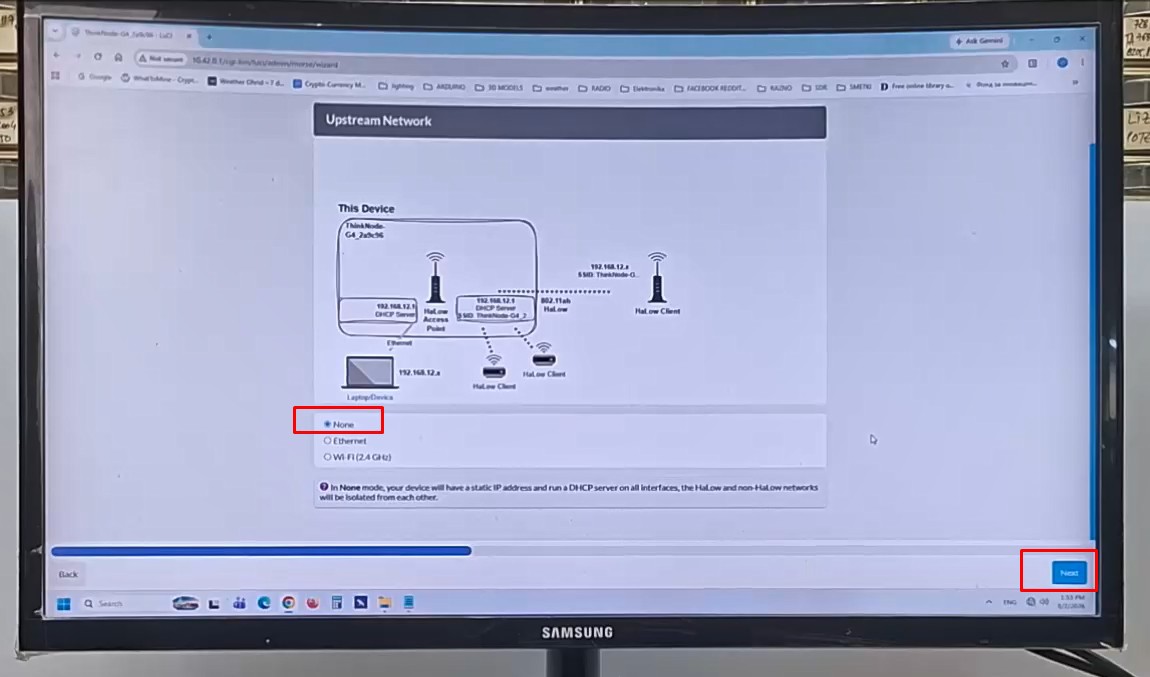
In this mode the Gateway will create its own HaLow network and the ESP32 Camera will connect to it. No home router and internet is required. This is ideal for initial testing. The next page is the 2.4Ghz wifi access point (enable or...
Read more »
 Eric Jacob
 Jaroslaw Juda
 fred
fred
 Graham Braly