 vishal soni

The next step is to install the heat-set inserts, which provide strong, durable threads for securing the PCB with screws.
Place a heat-set insert into each hole of the 3D-printed enclosure. Position the tip of your soldering iron on top of the insert and apply gentle, even pressure. As the insert heats up, it will slowly melt into the plastic and sink into its pocket.
Make sure to keep the soldering iron perfectly vertical while inserting it. If you notice the insert starting to tilt, gently adjust it before the plastic cools so that it sits straight and flush with the surface. A properly aligned insert will make it much easier to install the screws later.
Repeat the same process for the second heat-set insert, as shown in the image. Once the plastic has cooled, the inserts will be firmly locked in place, creating strong, reusable threads for the final assembly.
Screw PCB on 3D Print
COMPONENTS:
- RGB Through Hole LED (amazon.com)
- 3P Dip Switch (amazon.com)
- CR2032 SMD HOLDER (amazon.com)
- CR2032 cell (amazon.com)
- 3 X 100 Ohm SMD Resistor (amazon.com)
- Super Glue (amazon.com)
- 2 X M2 3mm heat inserts (amazon.com)
- 2 X M2 4mm Screws (amazon.com)
- Custom PCB
- 3D Printed Parts
TOOLS:
- Soldering Iron (amazon.com / amazon.in)
- Screwdriver (amazon.com / amazon.in)
RGB Through Hole LED
RGB through-hole LEDs are available in two different types: Common Anode and Common Cathode. To make this project as beginner-friendly and flexible as possible, I designed the PCB with selectable solder jumpers that support both types of RGB LEDs. This means you don't have to worry about buying a specific version. Simply purchase whichever RGB LED is available in your local market or online store, set the appropriate jumper on the PCB, and you're ready to go. This small feature makes the Aurora Pendant more versatile and ensures that the project can be built easily using commonly available components.
3P Dip Switch
A 3P DIP switch (3-position Dual In-line Package switch) is a simple manual switch that is mounted directly on the PCB. It contains three independent ON/OFF switches, each controlling one channel of the RGB LED. In the Aurora Pendant, each switch controls one color—Red, Green, or Blue. By turning the switches on and off in different combinations, you can create 7 different color combinations (excluding the all-off state). This allows you to easily change the pendant's color without any programming, microcontroller, or mobile app.
CR2032
The CR2032 is one of the most popular 3V lithium coin cell batteries used in compact electronic devices. It measures 20 mm in diameter and 3.2 mm in thickness, while offering a typical capacity of 220–240 mAh. For the Aurora Pendant, the CR2032 is an ideal power source because it is small, lightweight, inexpensive, and readily available. It provides enough power to drive the RGB LED while keeping the pendant compact and wearable. You can easily find CR2032 batteries in local electronics stores or online, as they are commonly used in car key fobs, wristwatches, calculators, computer motherboard CMOS backup, and many other portable electronic devices. When the battery is depleted, it can be replaced in just a few seconds, allowing the pendant to be used again without any special tools.
Designing the Pendant in Tinkercad
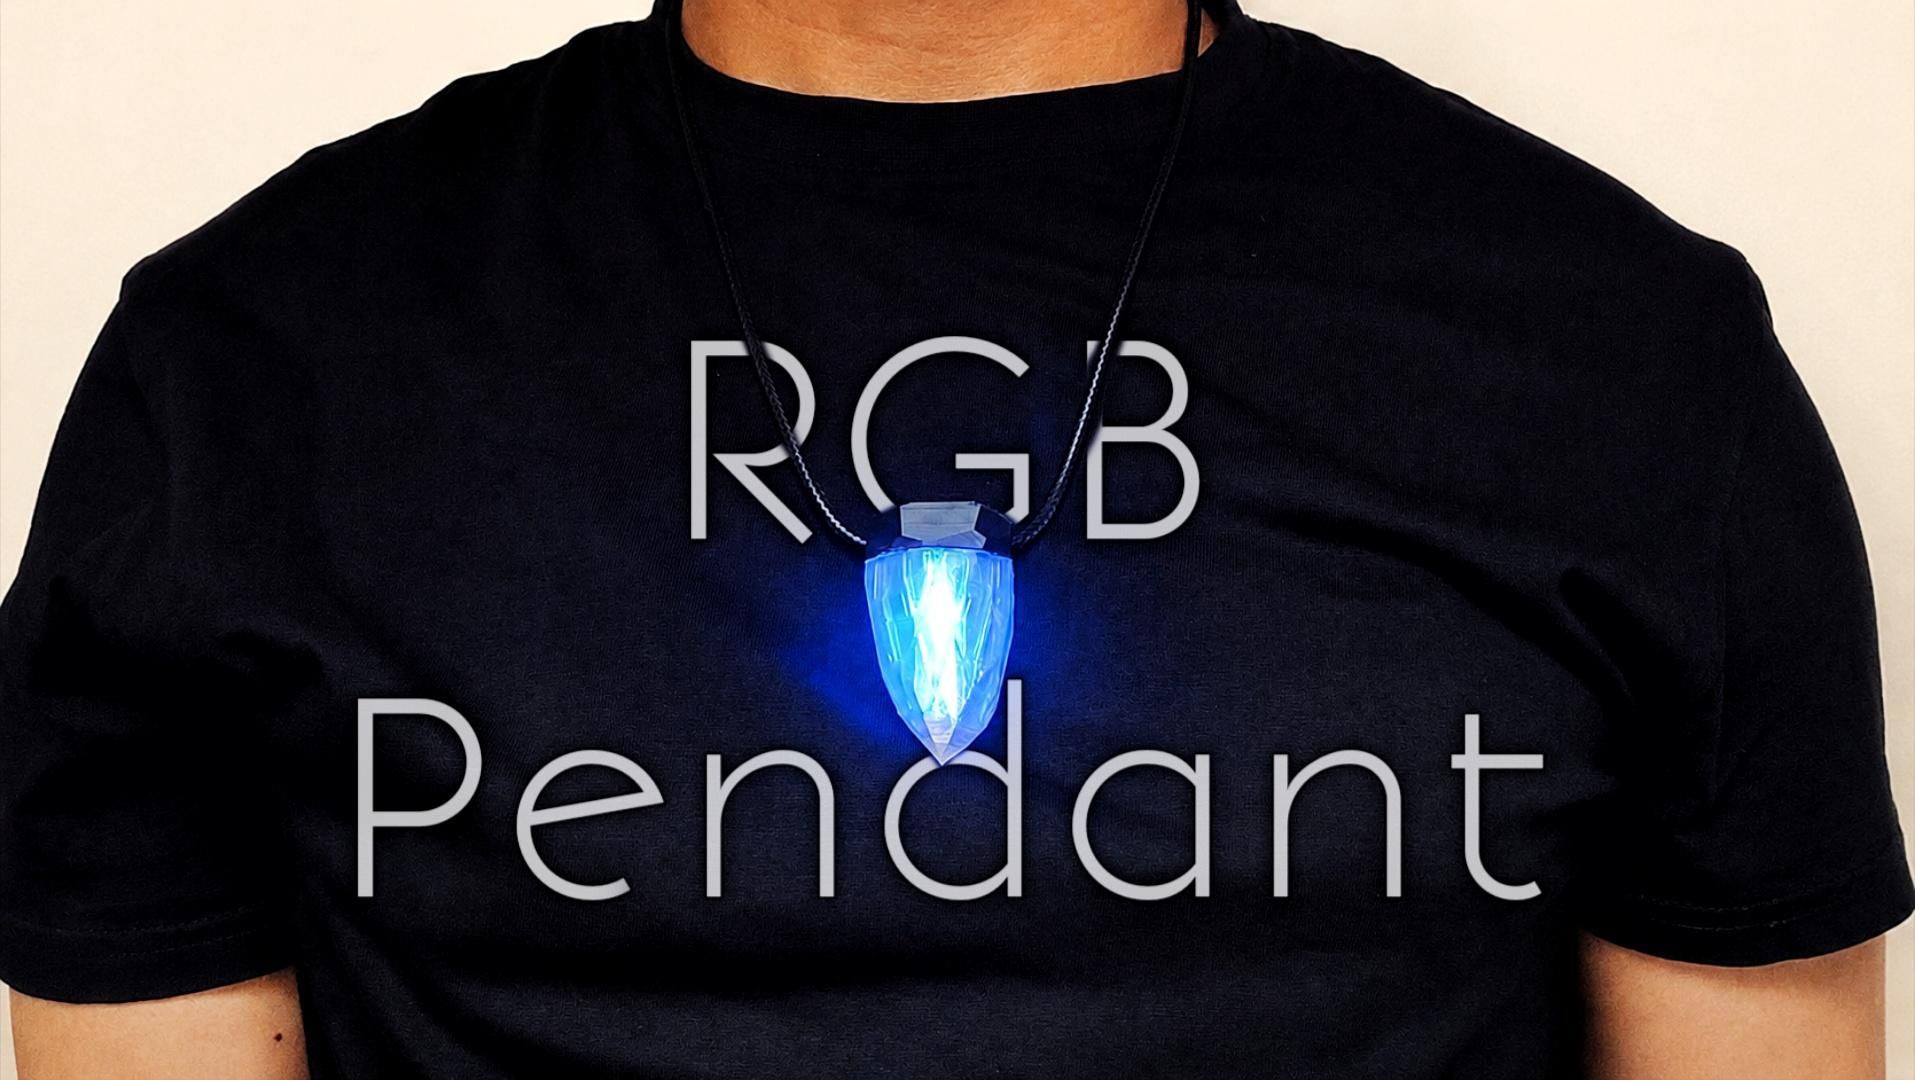
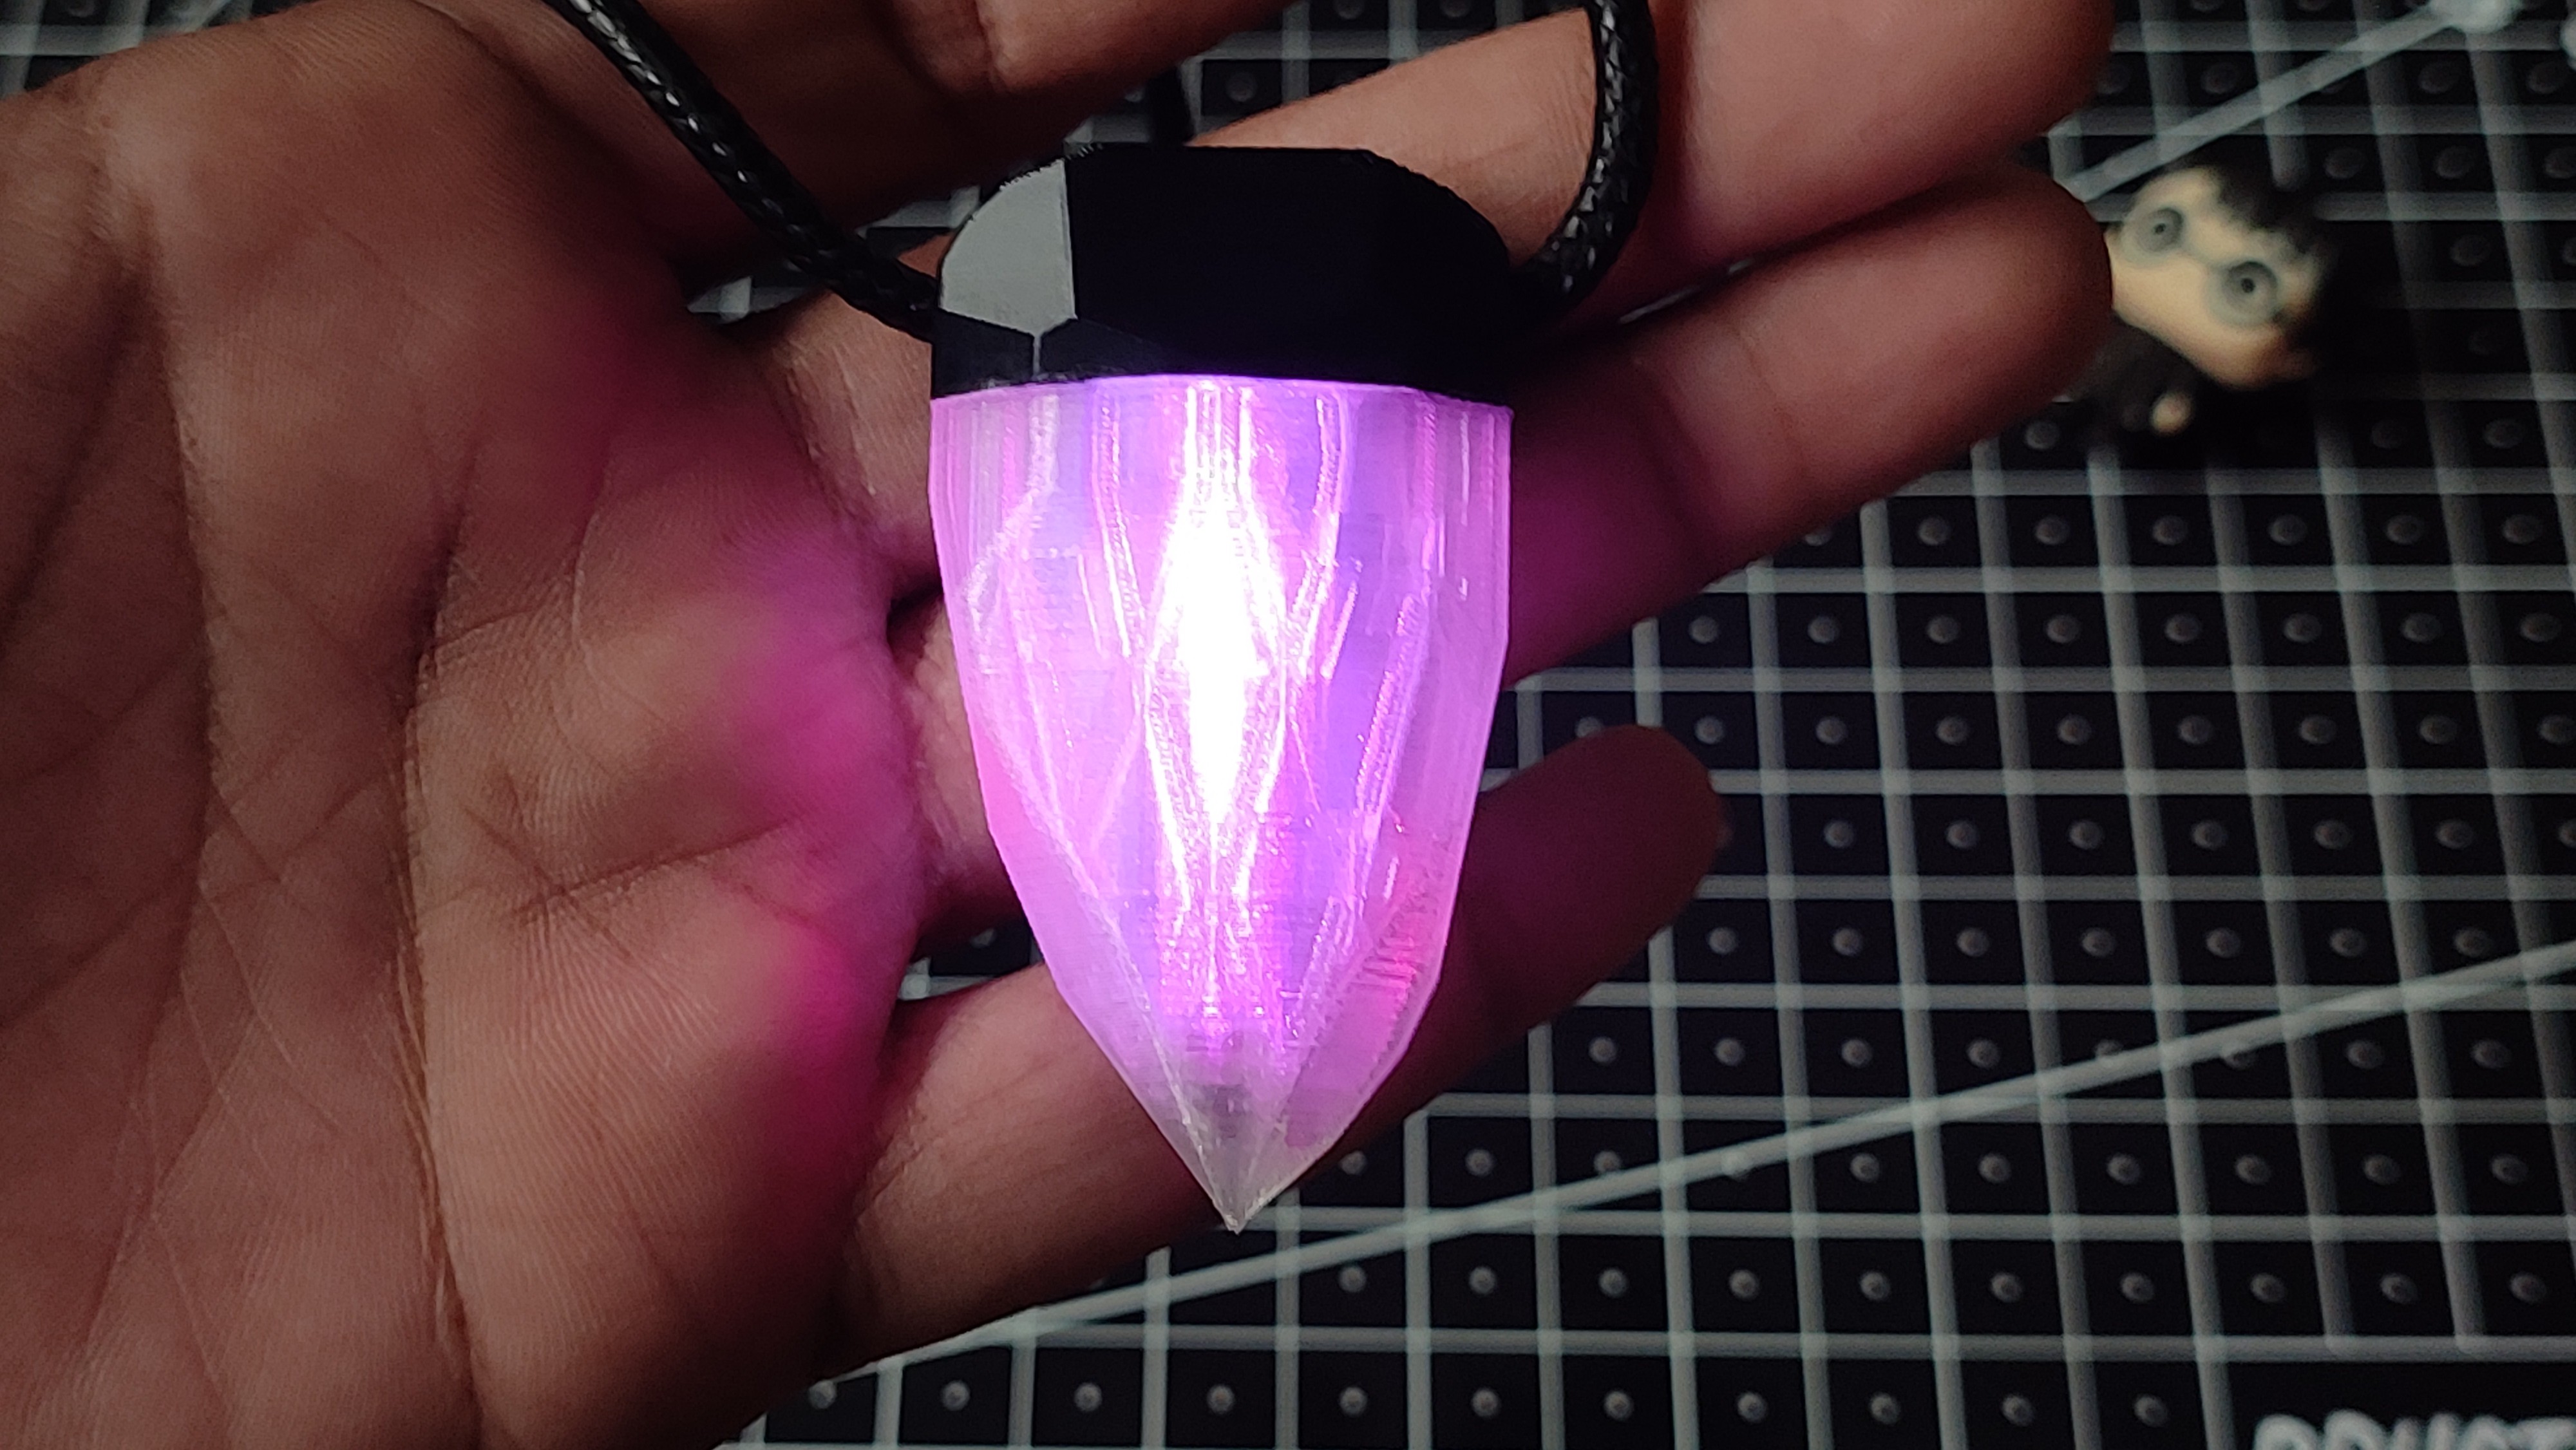
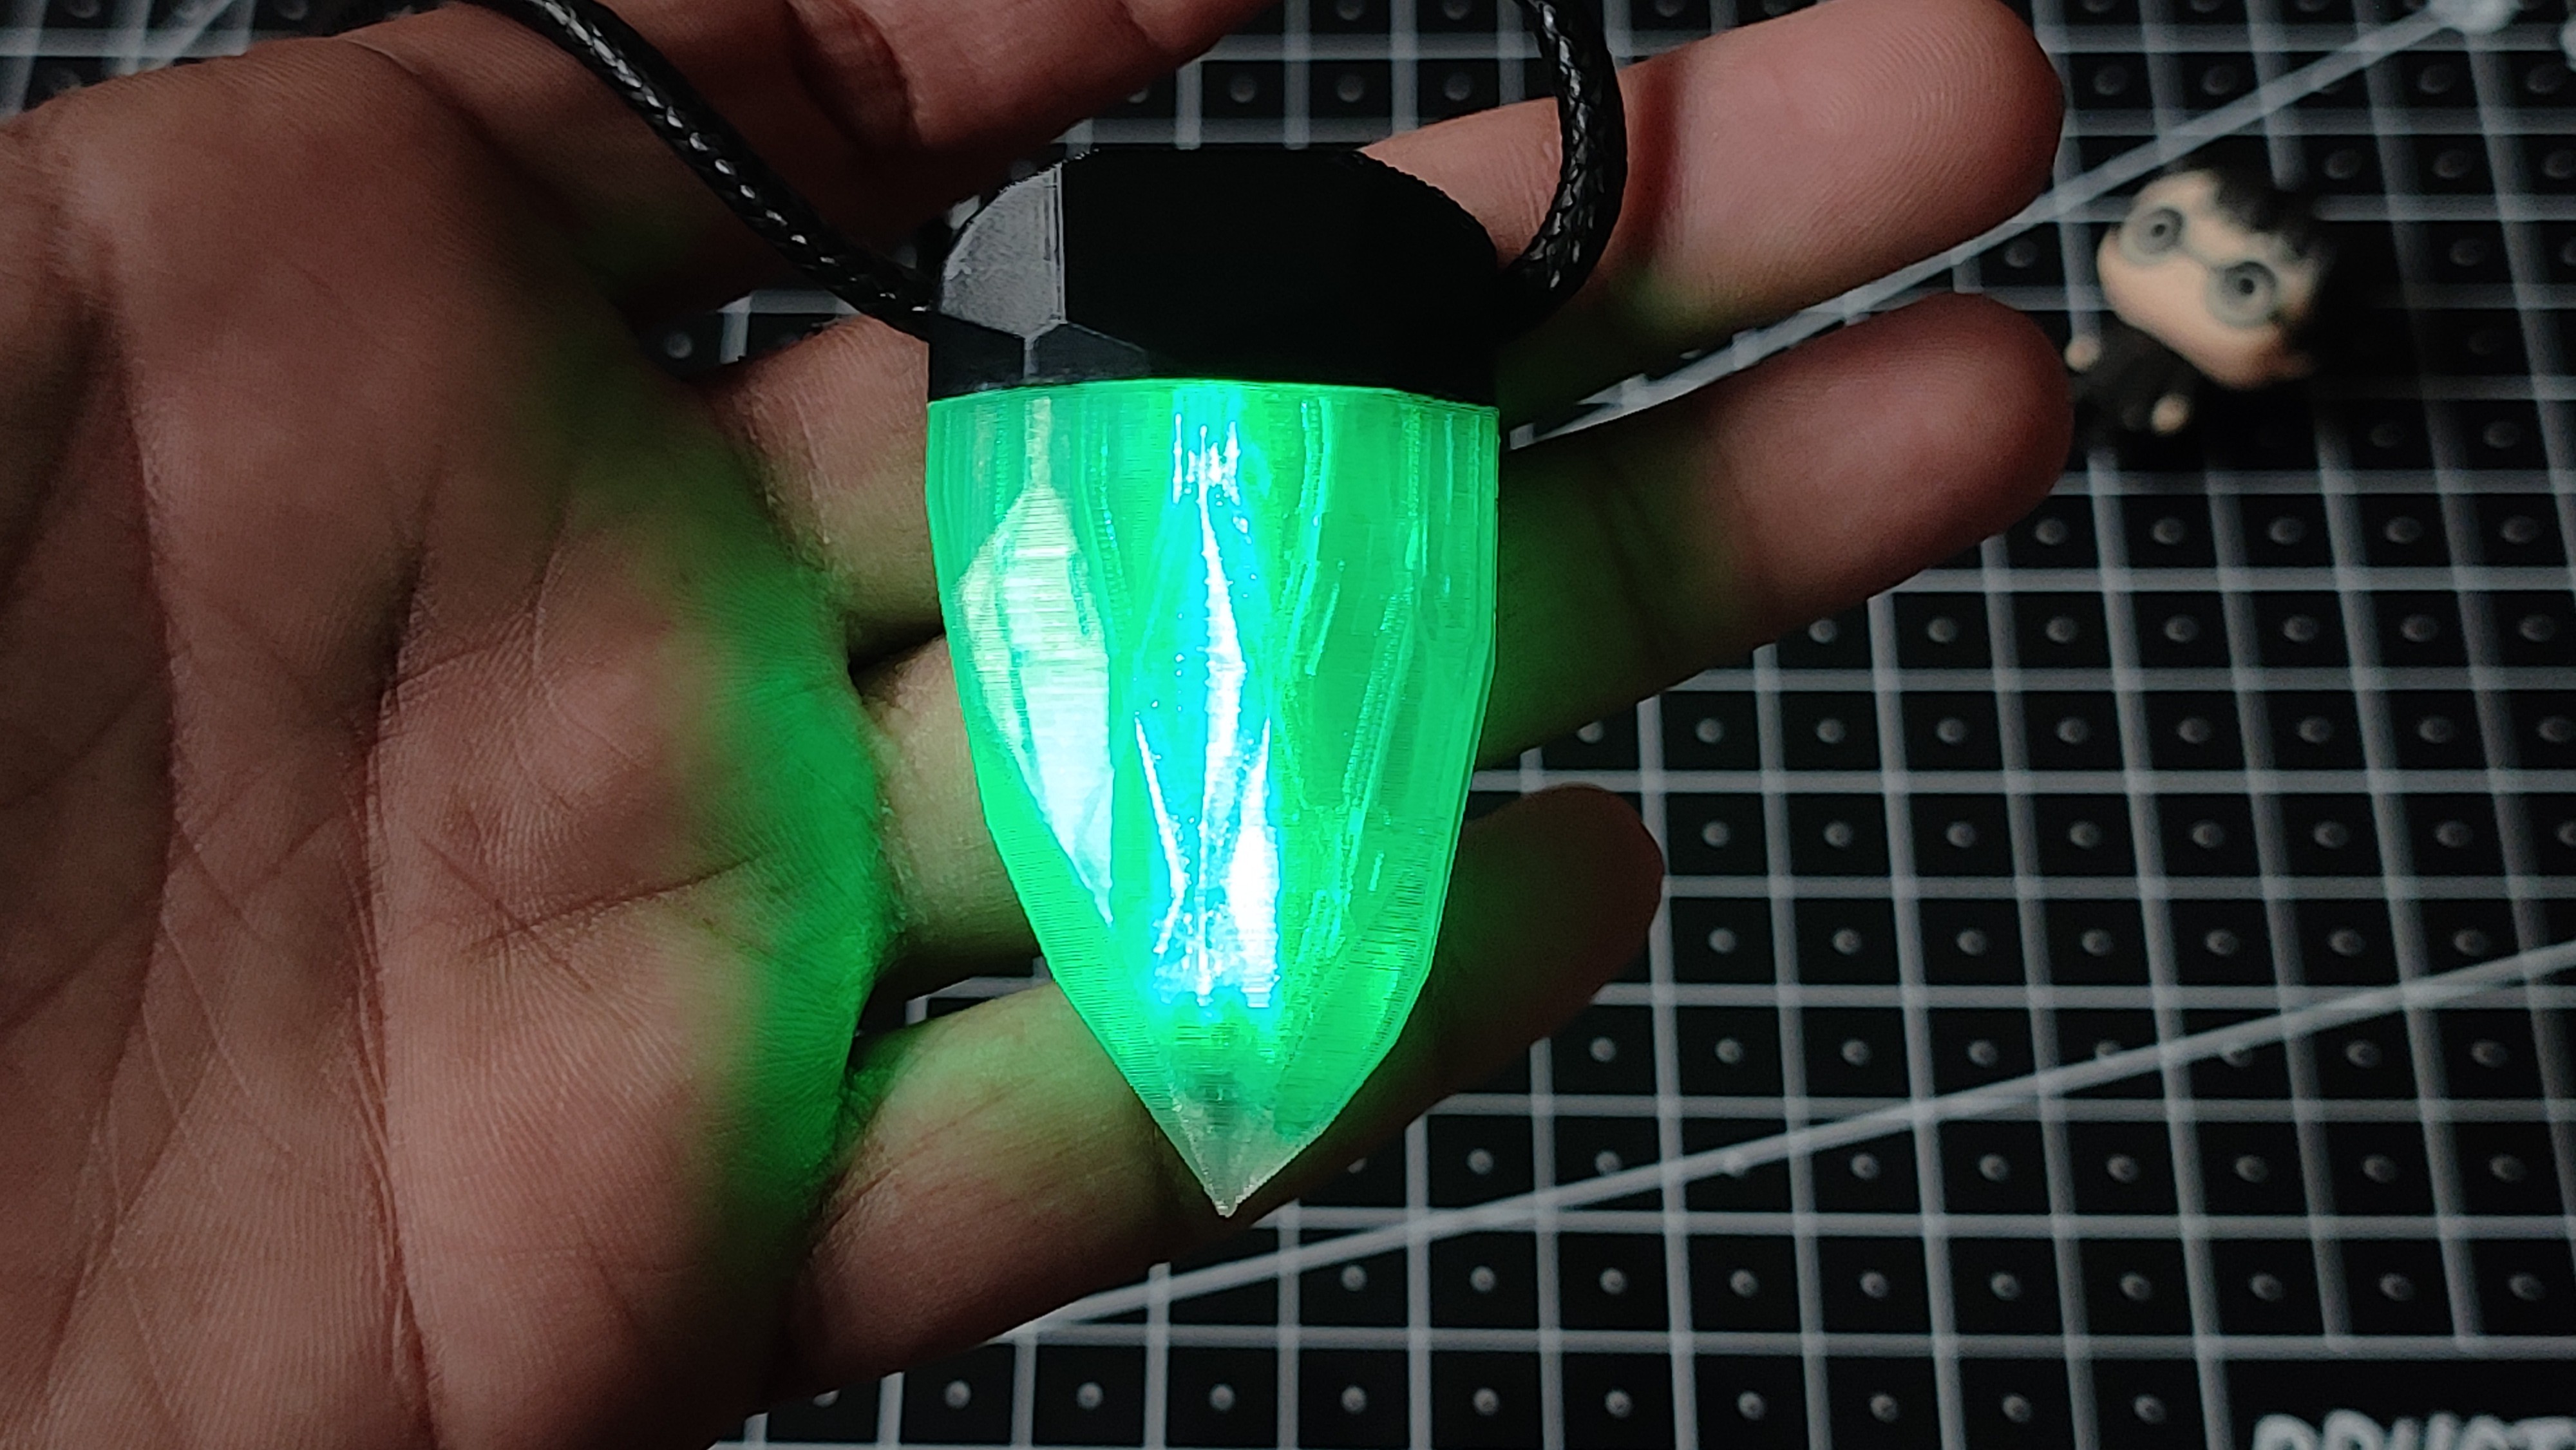
Hi,
One day, my girlfriend and I were getting ready to attend an event, but we were running late. While I was ready to leave, she was still searching through her jewelry. When I asked what was wrong, she smiled and said, "I can't find a necklace that matches my dress."
That simple moment sparked an idea in my mind: Why not make a pendant that can change its color to match any outfit?
And that's how I created the Aurora Pendant. The name "Aurora" is inspired by the beautiful Aurora Borealis, the natural light display created when charged particles from the Sun collide with gases in Earth's atmosphere. Just like the colorful lights dancing across the night sky, this pendant can glow...
Read more »