 Roni Bandini
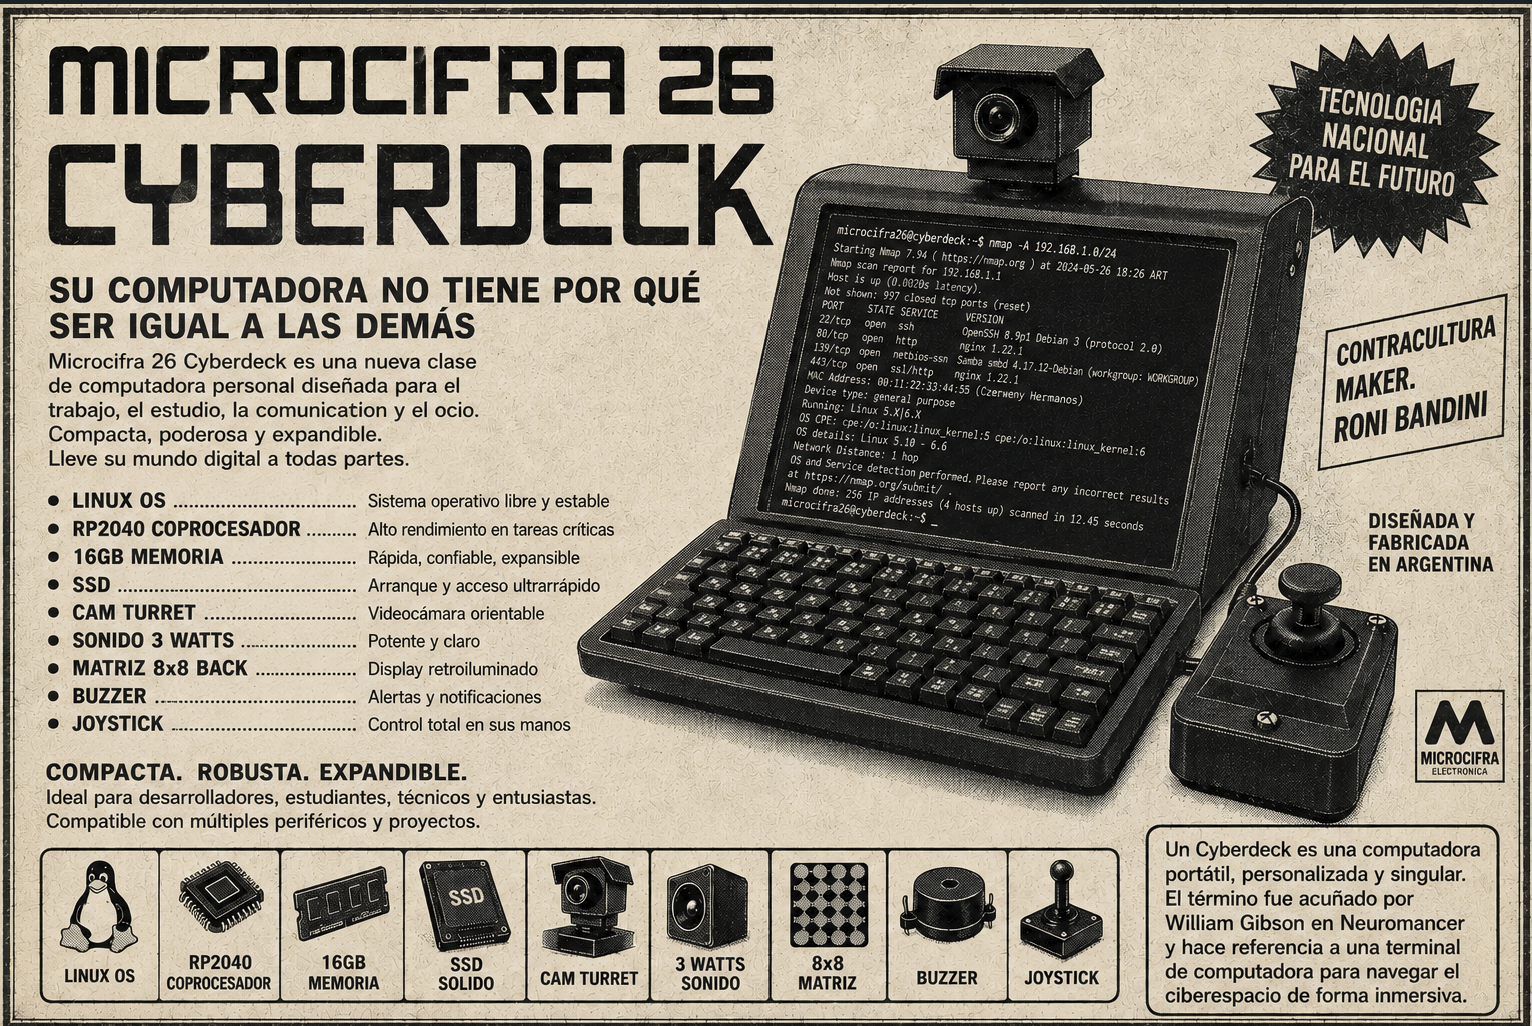
Coined in William Gibson’s seminal 1984 sci-fi novel Neuromancer, the term cyberdeck originally described a futuristic, portable terminal wired directly into the user’s neural interface to navigate the sprawling virtual landscape of cyberspace. In sci-fi lore, it was the ultimate tool for deckers and console cowboys—a seamless bridge between human consciousness and digital networks.
Beyond the realm of science fiction, the cyberdeck has evolved into a vibrant, real-world maker subculture. Today, a cyberdeck is a custom-built, highly portable computer tailored for individual utility and aesthetic expression.
The Idea
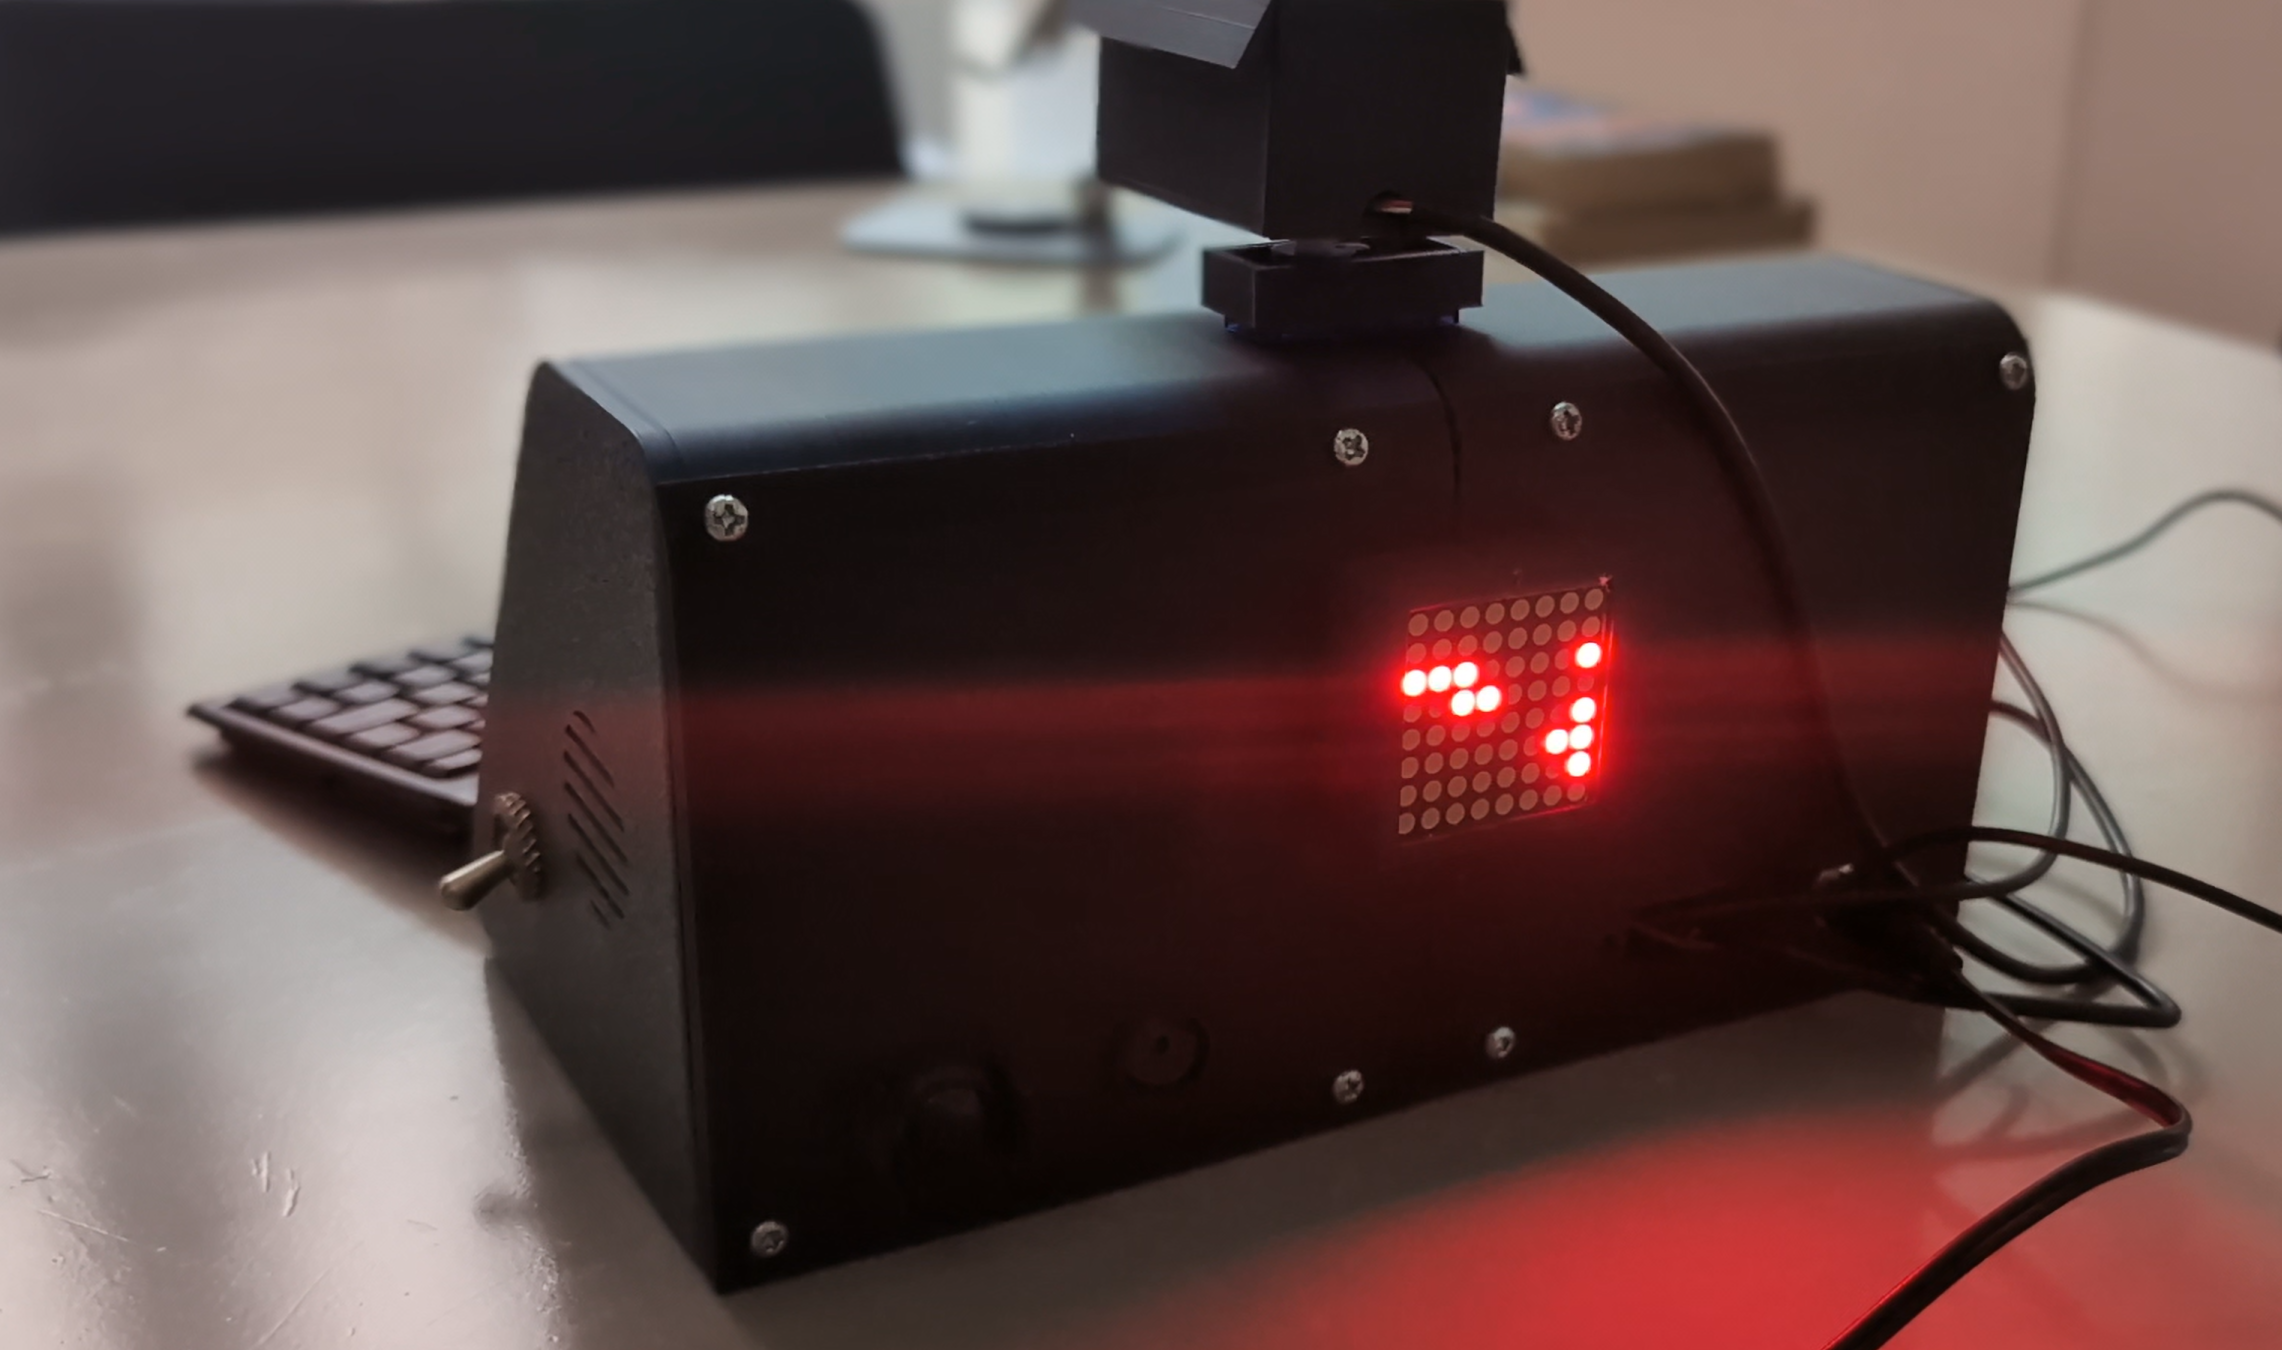
While drawing inspiration for Microcifra 26 from the distinctive aesthetics of vintage workstations, I wanted to move beyond a simple 3D-modeling exercise. My goal was to build a fully functional, tangible device packed with features missing from off-the-shelf computers—unconventional additions designed to spark conversation at tech conferences and maker spaces. To achieve this, I integrated a motorized miniature CCTV camera for dynamic visual capture, alongside a rear-facing LED matrix paired with a piezoceramic buzzer to scroll real-time status messages and sound classic 8-bit alerts to passersby.
Hardware
Microcifra 26 is built around a LattePanda IOTA, featuring an Intel N150 processor, 16 GB of RAM, and an RP2040 coprocessor. The 7-inch display connects through an EDP ribbon cable. Audio is routed through a 3-watt micro amplifier to a side-mounted speaker. The system also includes a buzzer for generating beeps, a USB camera with a microphone mounted on a servo, a UPS module with three 18650 batteries, an 8×8 LED matrix on the back, a potentiometer, and a toggle switch.
Parts
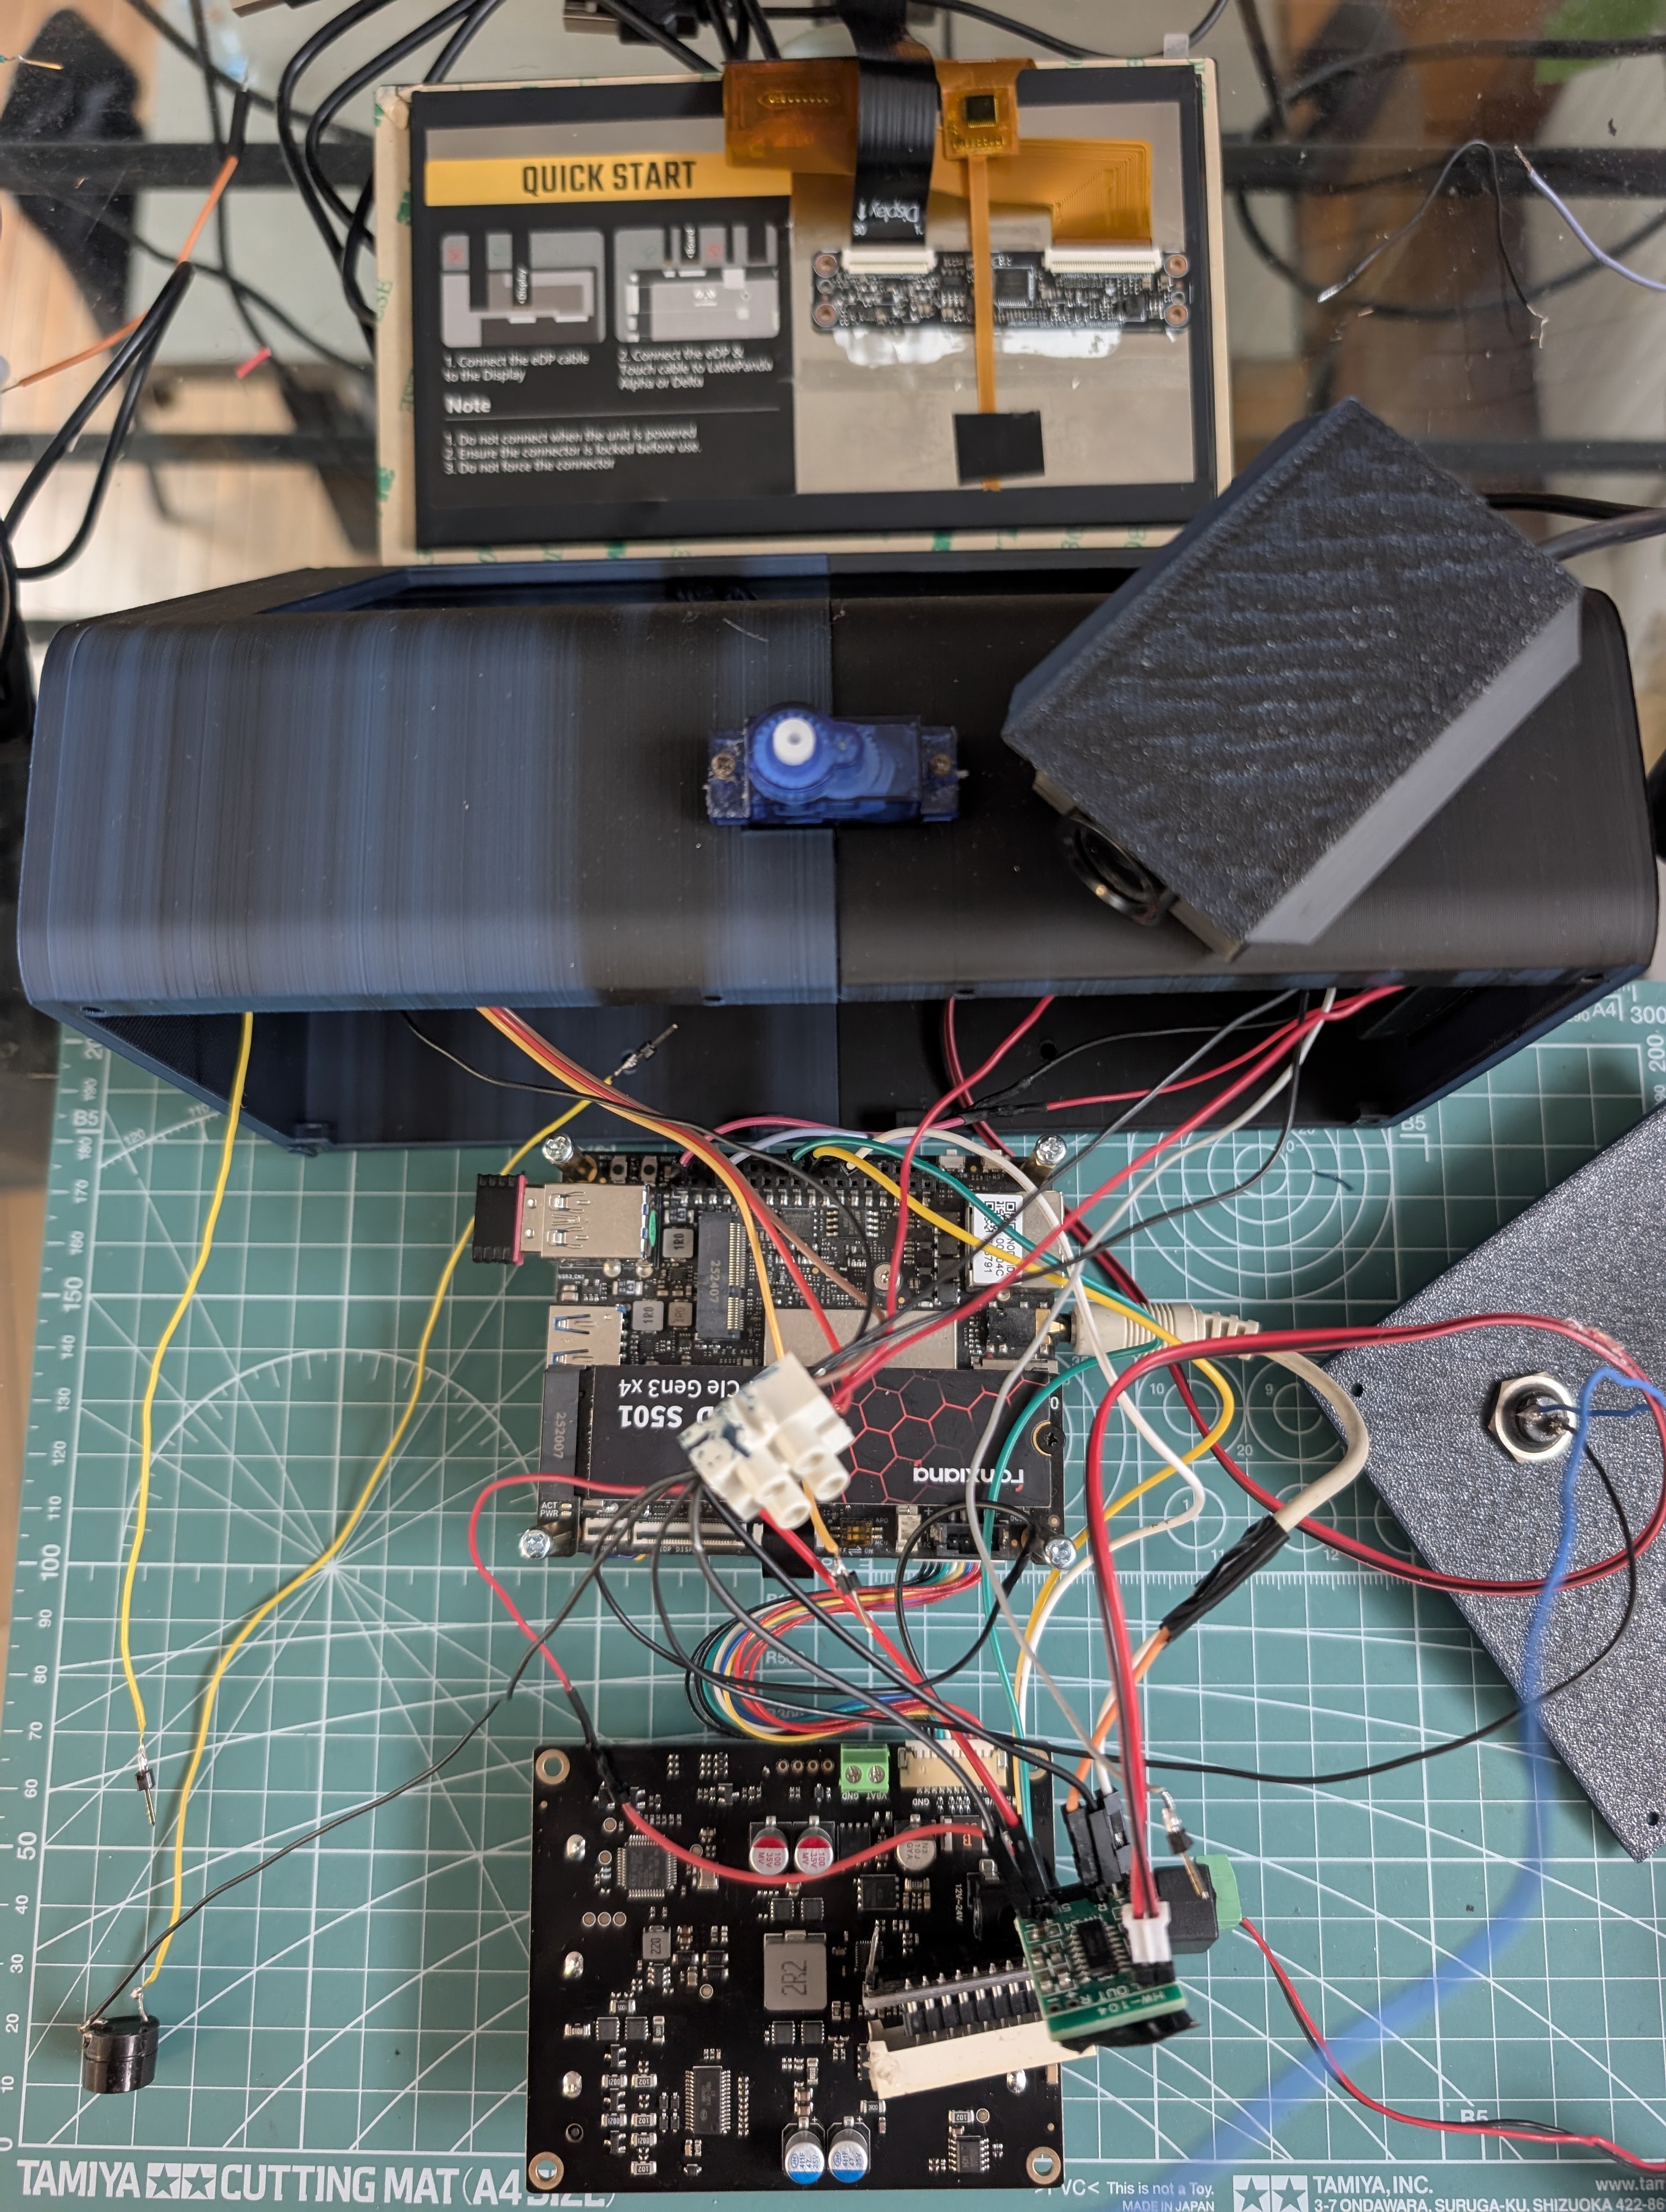
- LattePanda IOTA
- 7" EDP display
- USB mini keyboard
- USB camera
- Potentiometer
- 3 W speaker
- 3 W amplifier PAM8403
- SainSmart MAX7219 8×8 LED matrix
- Toggle switch
- Buzzer
- SG90 servo
- 3× 18650 batteries + UPS module
- KY-023 joystick
Circuit
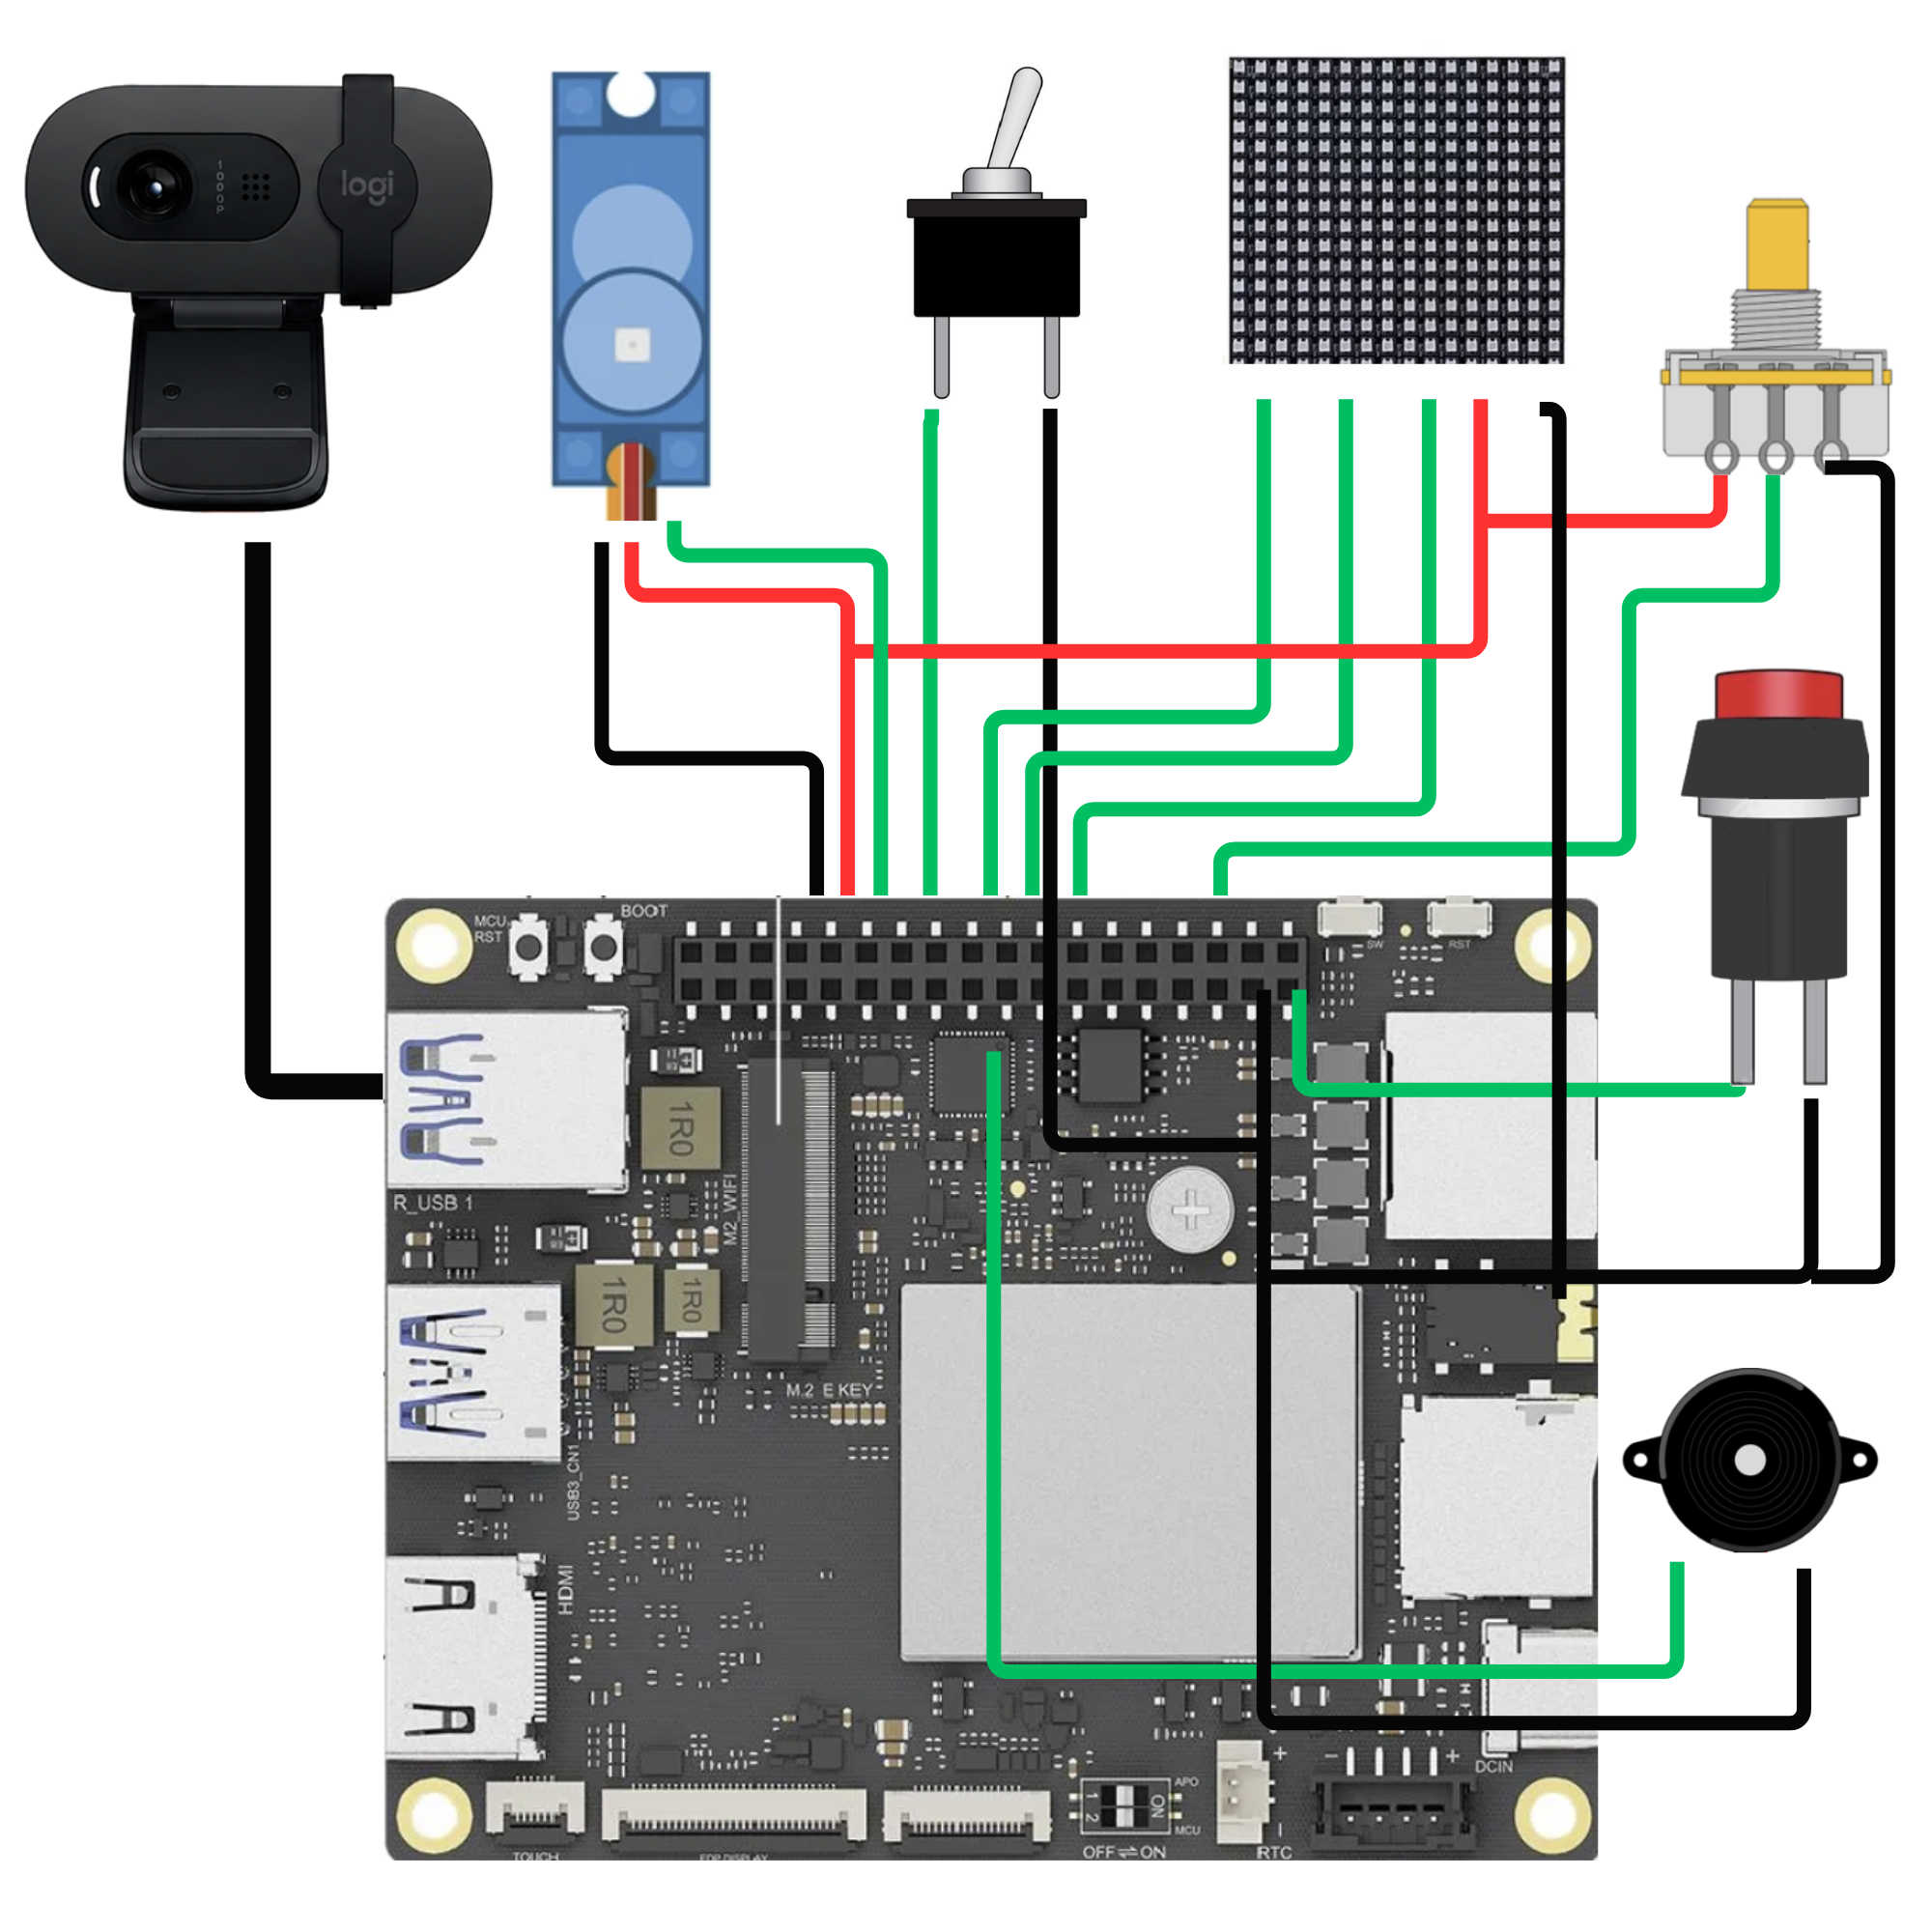
Power button: blue → SW
Potentiometer: gray → GP11
Buzzer: yellow → GP10
Toggle switch: yellow → GP1
Servo: orange → GP0
SainSmart MAX7219:
DIN → GP3
CS → GP4
CLK → GP2
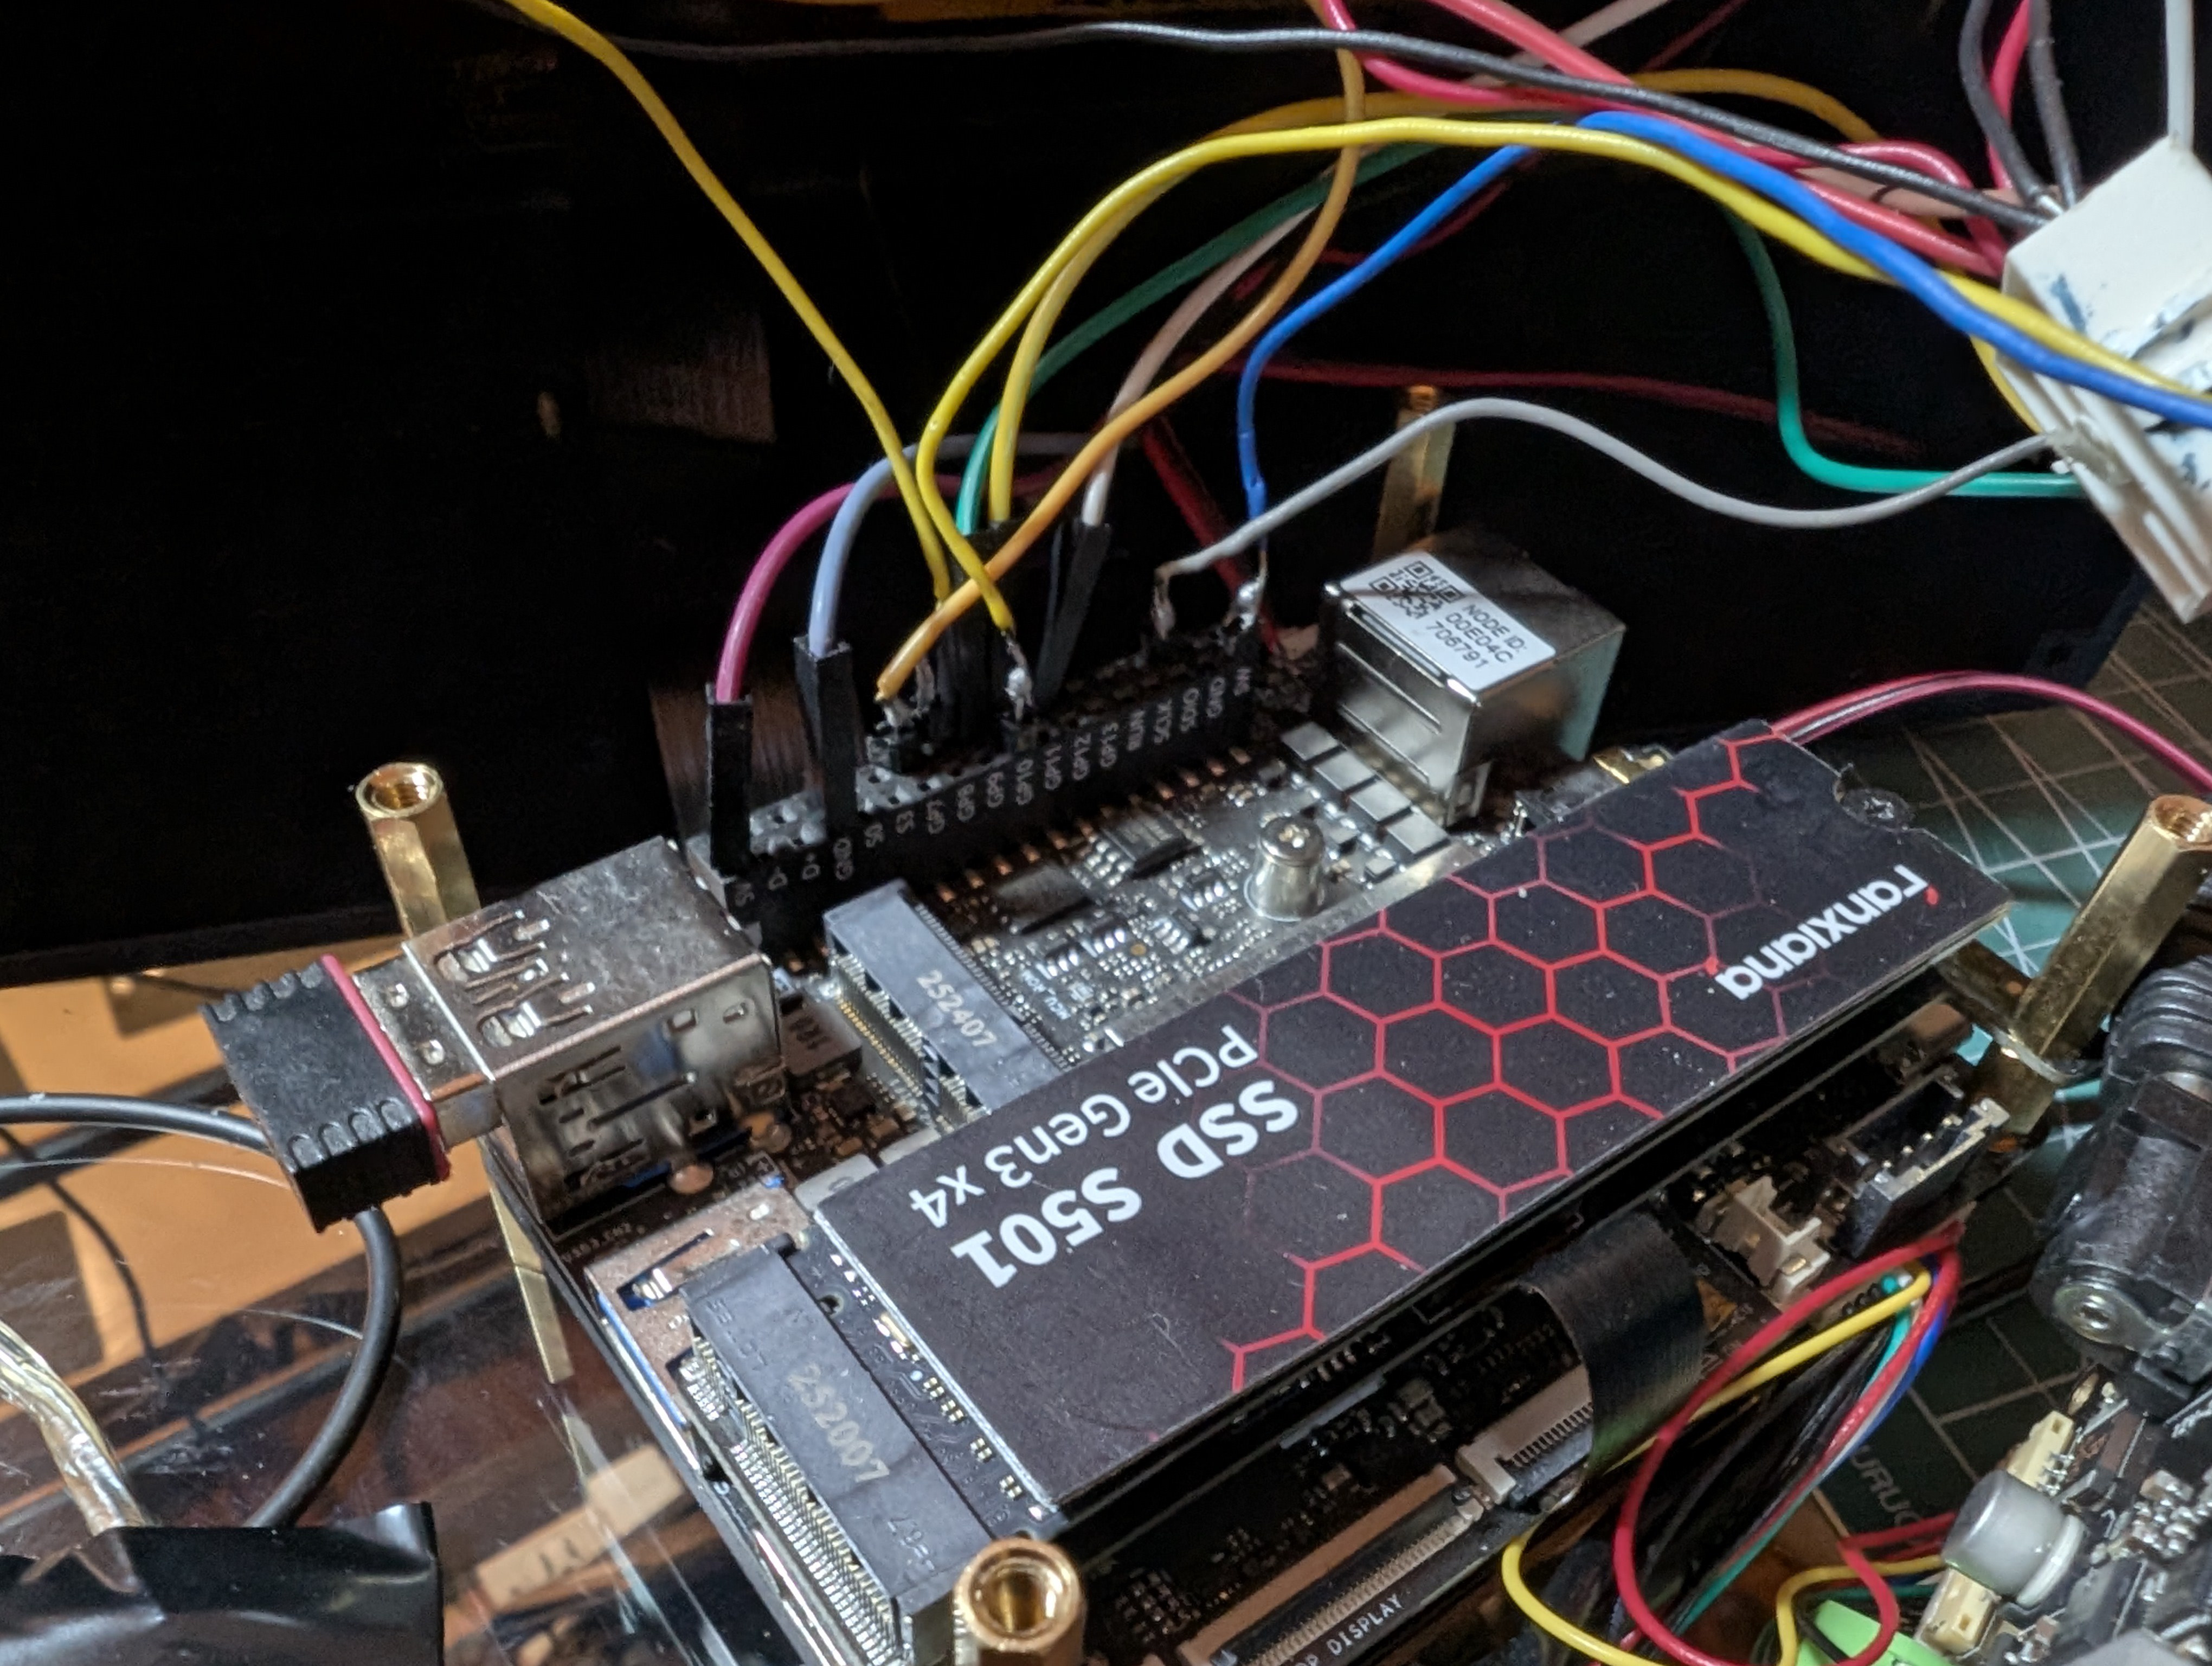
KY-023 joystick:
X → GP26
Y → GP27
SW → GP7
Audio
The LattePanda IOTA has a 3.5 audio output but there were a few issues getting audio to work correctly. After updating Ubuntu, audio later began failing intermittently with:
snd_hda_intel: cannot find the slot for index 0
error: -16 (EBUSY)
The cause was an old configuration file, lattepanda-audio.conf,
which had hard-coded snd_hda_intel to
ALSA slot index=0.
Whenever the USB webcam's audio
interface won the race to register as card 0, snd_hda_intel
had nowhere to go and failed. A second file, intelaudio.conf,
was also interfering with it through a conflicting dsp_driver
setting.
The fix was to delete:
/etc/modprobe.d/intelaudio.conf
/etc/modprobe.d/lattepanda-audio.conf
These files were no longer necessary because the kernel could correctly autodetect the hardware.
Then run:
sudo update-initramfs -u
sudo reboot

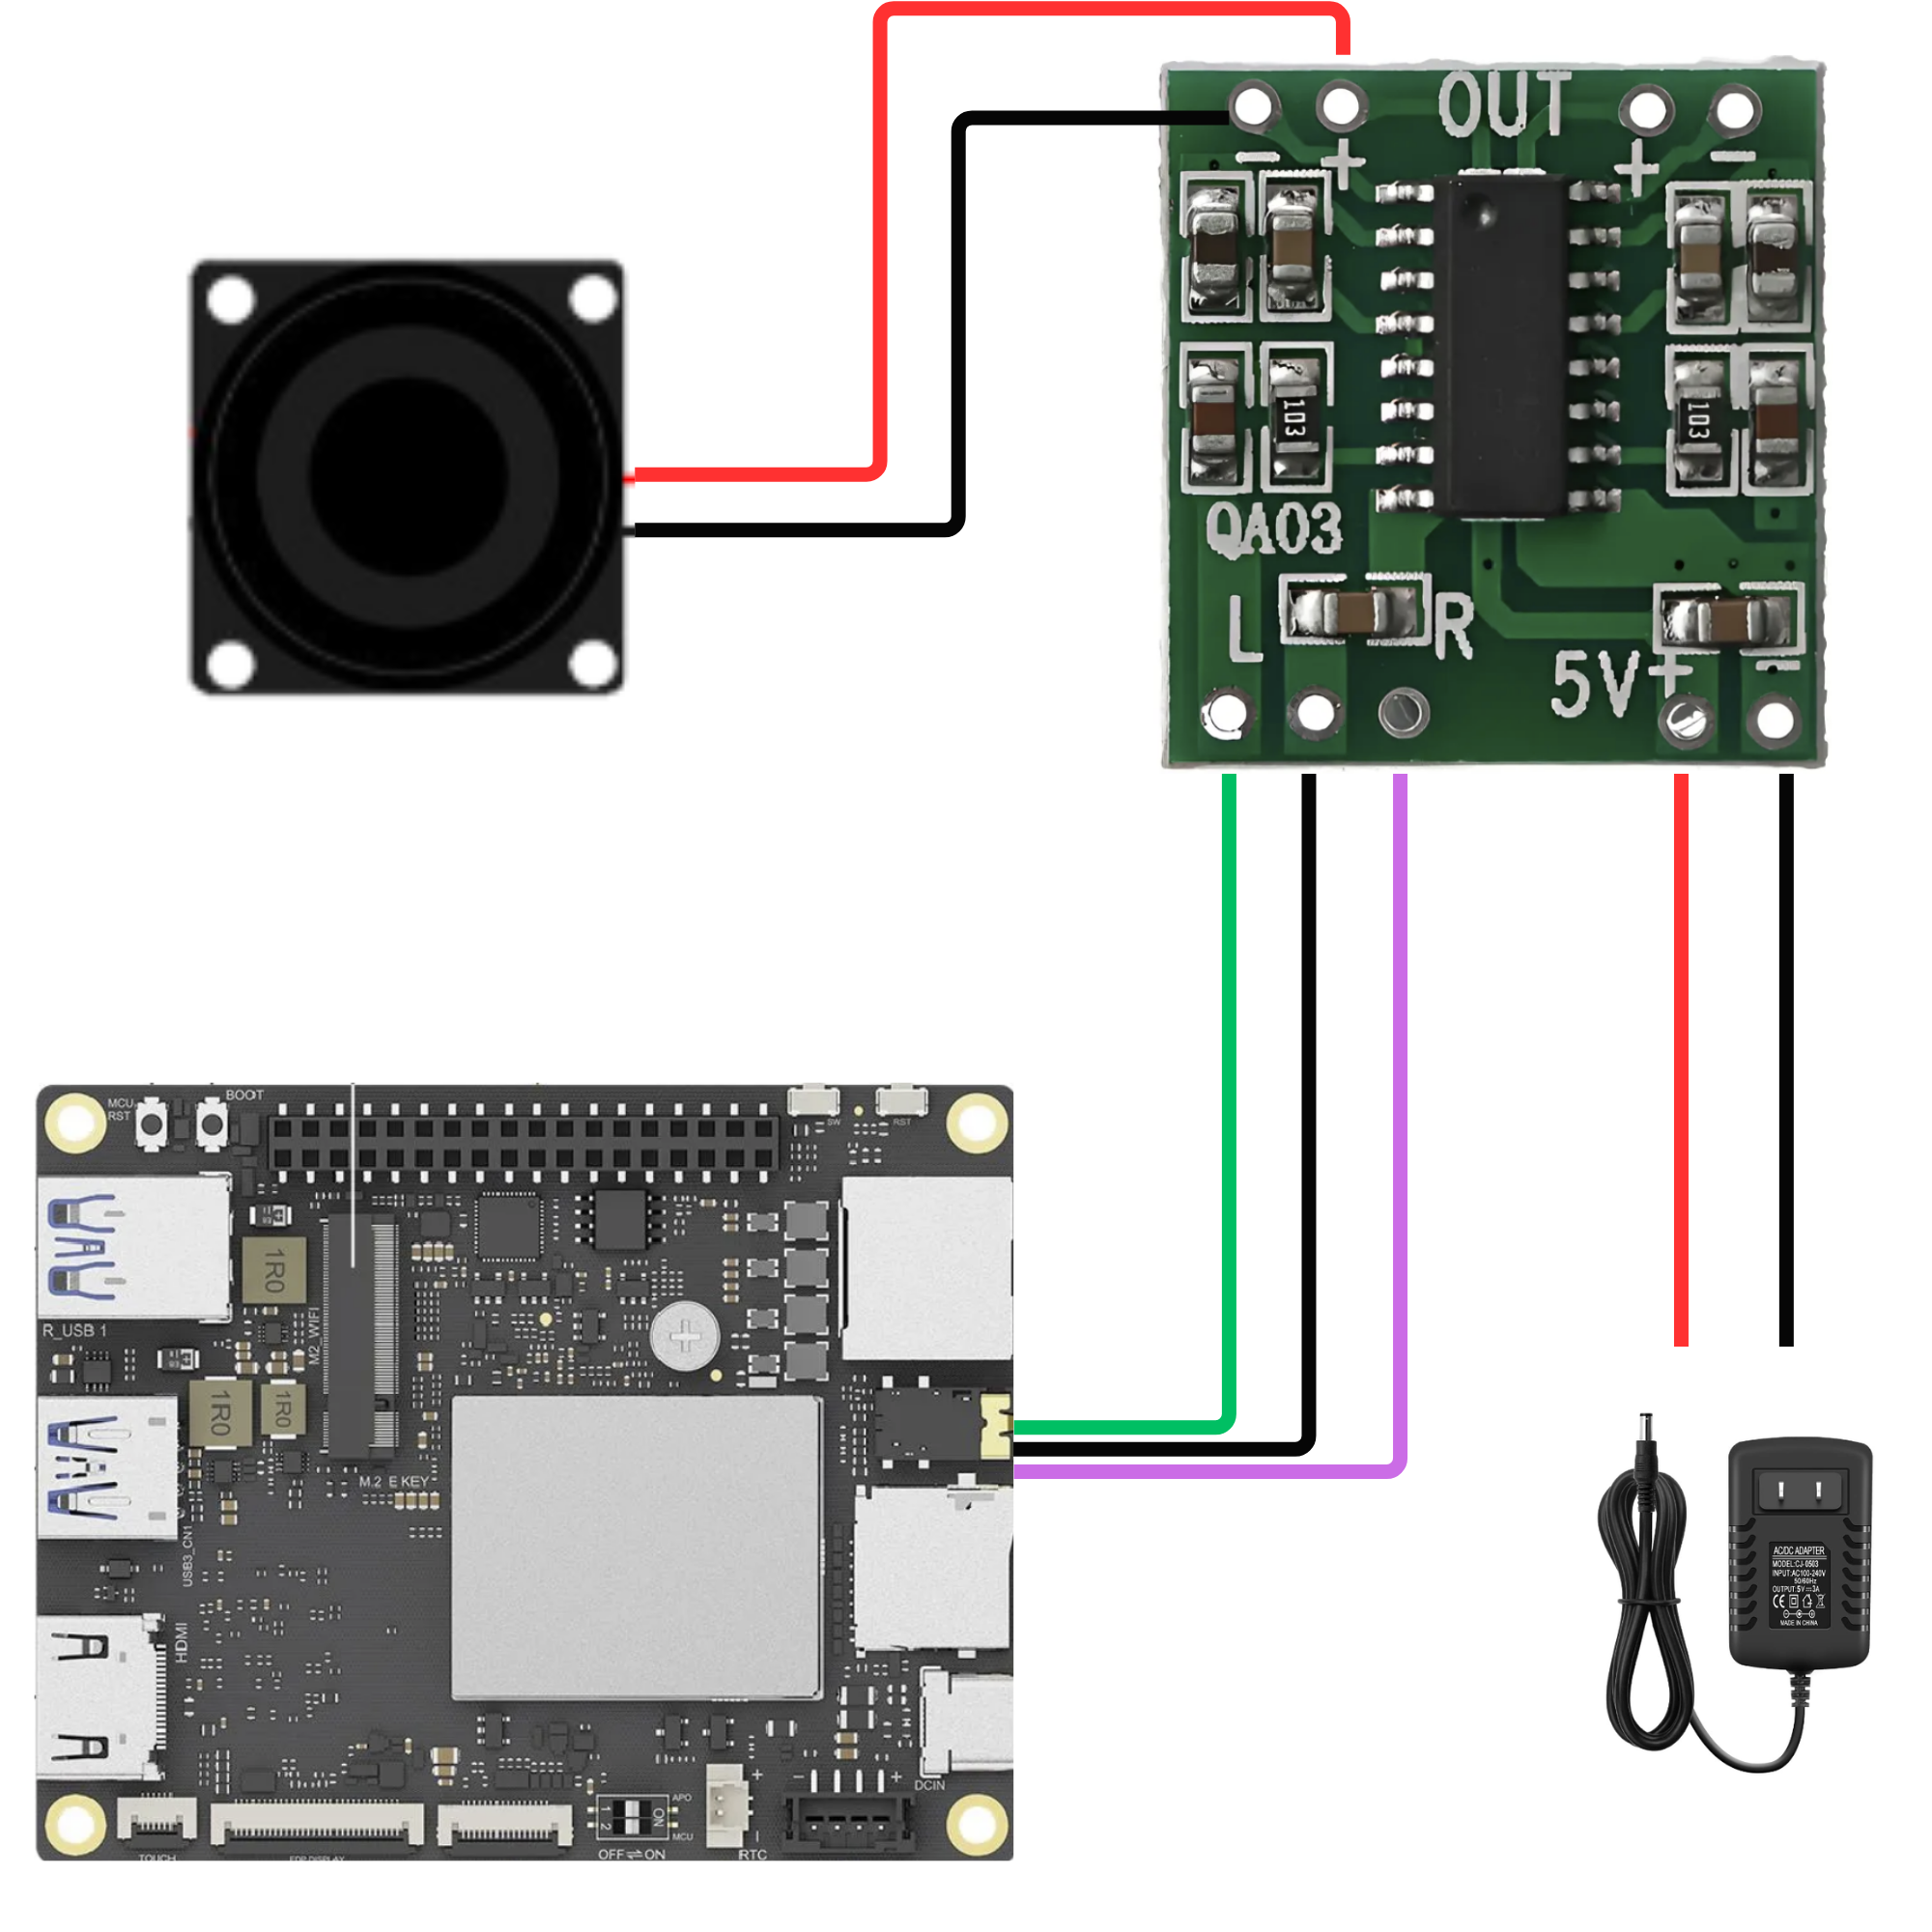
Since the audio is not amplified, I have added a 3 watts amp and a speaker.
Since the audio is not amplified, I have added a 3 watts amp and a speaker.
3d modeling
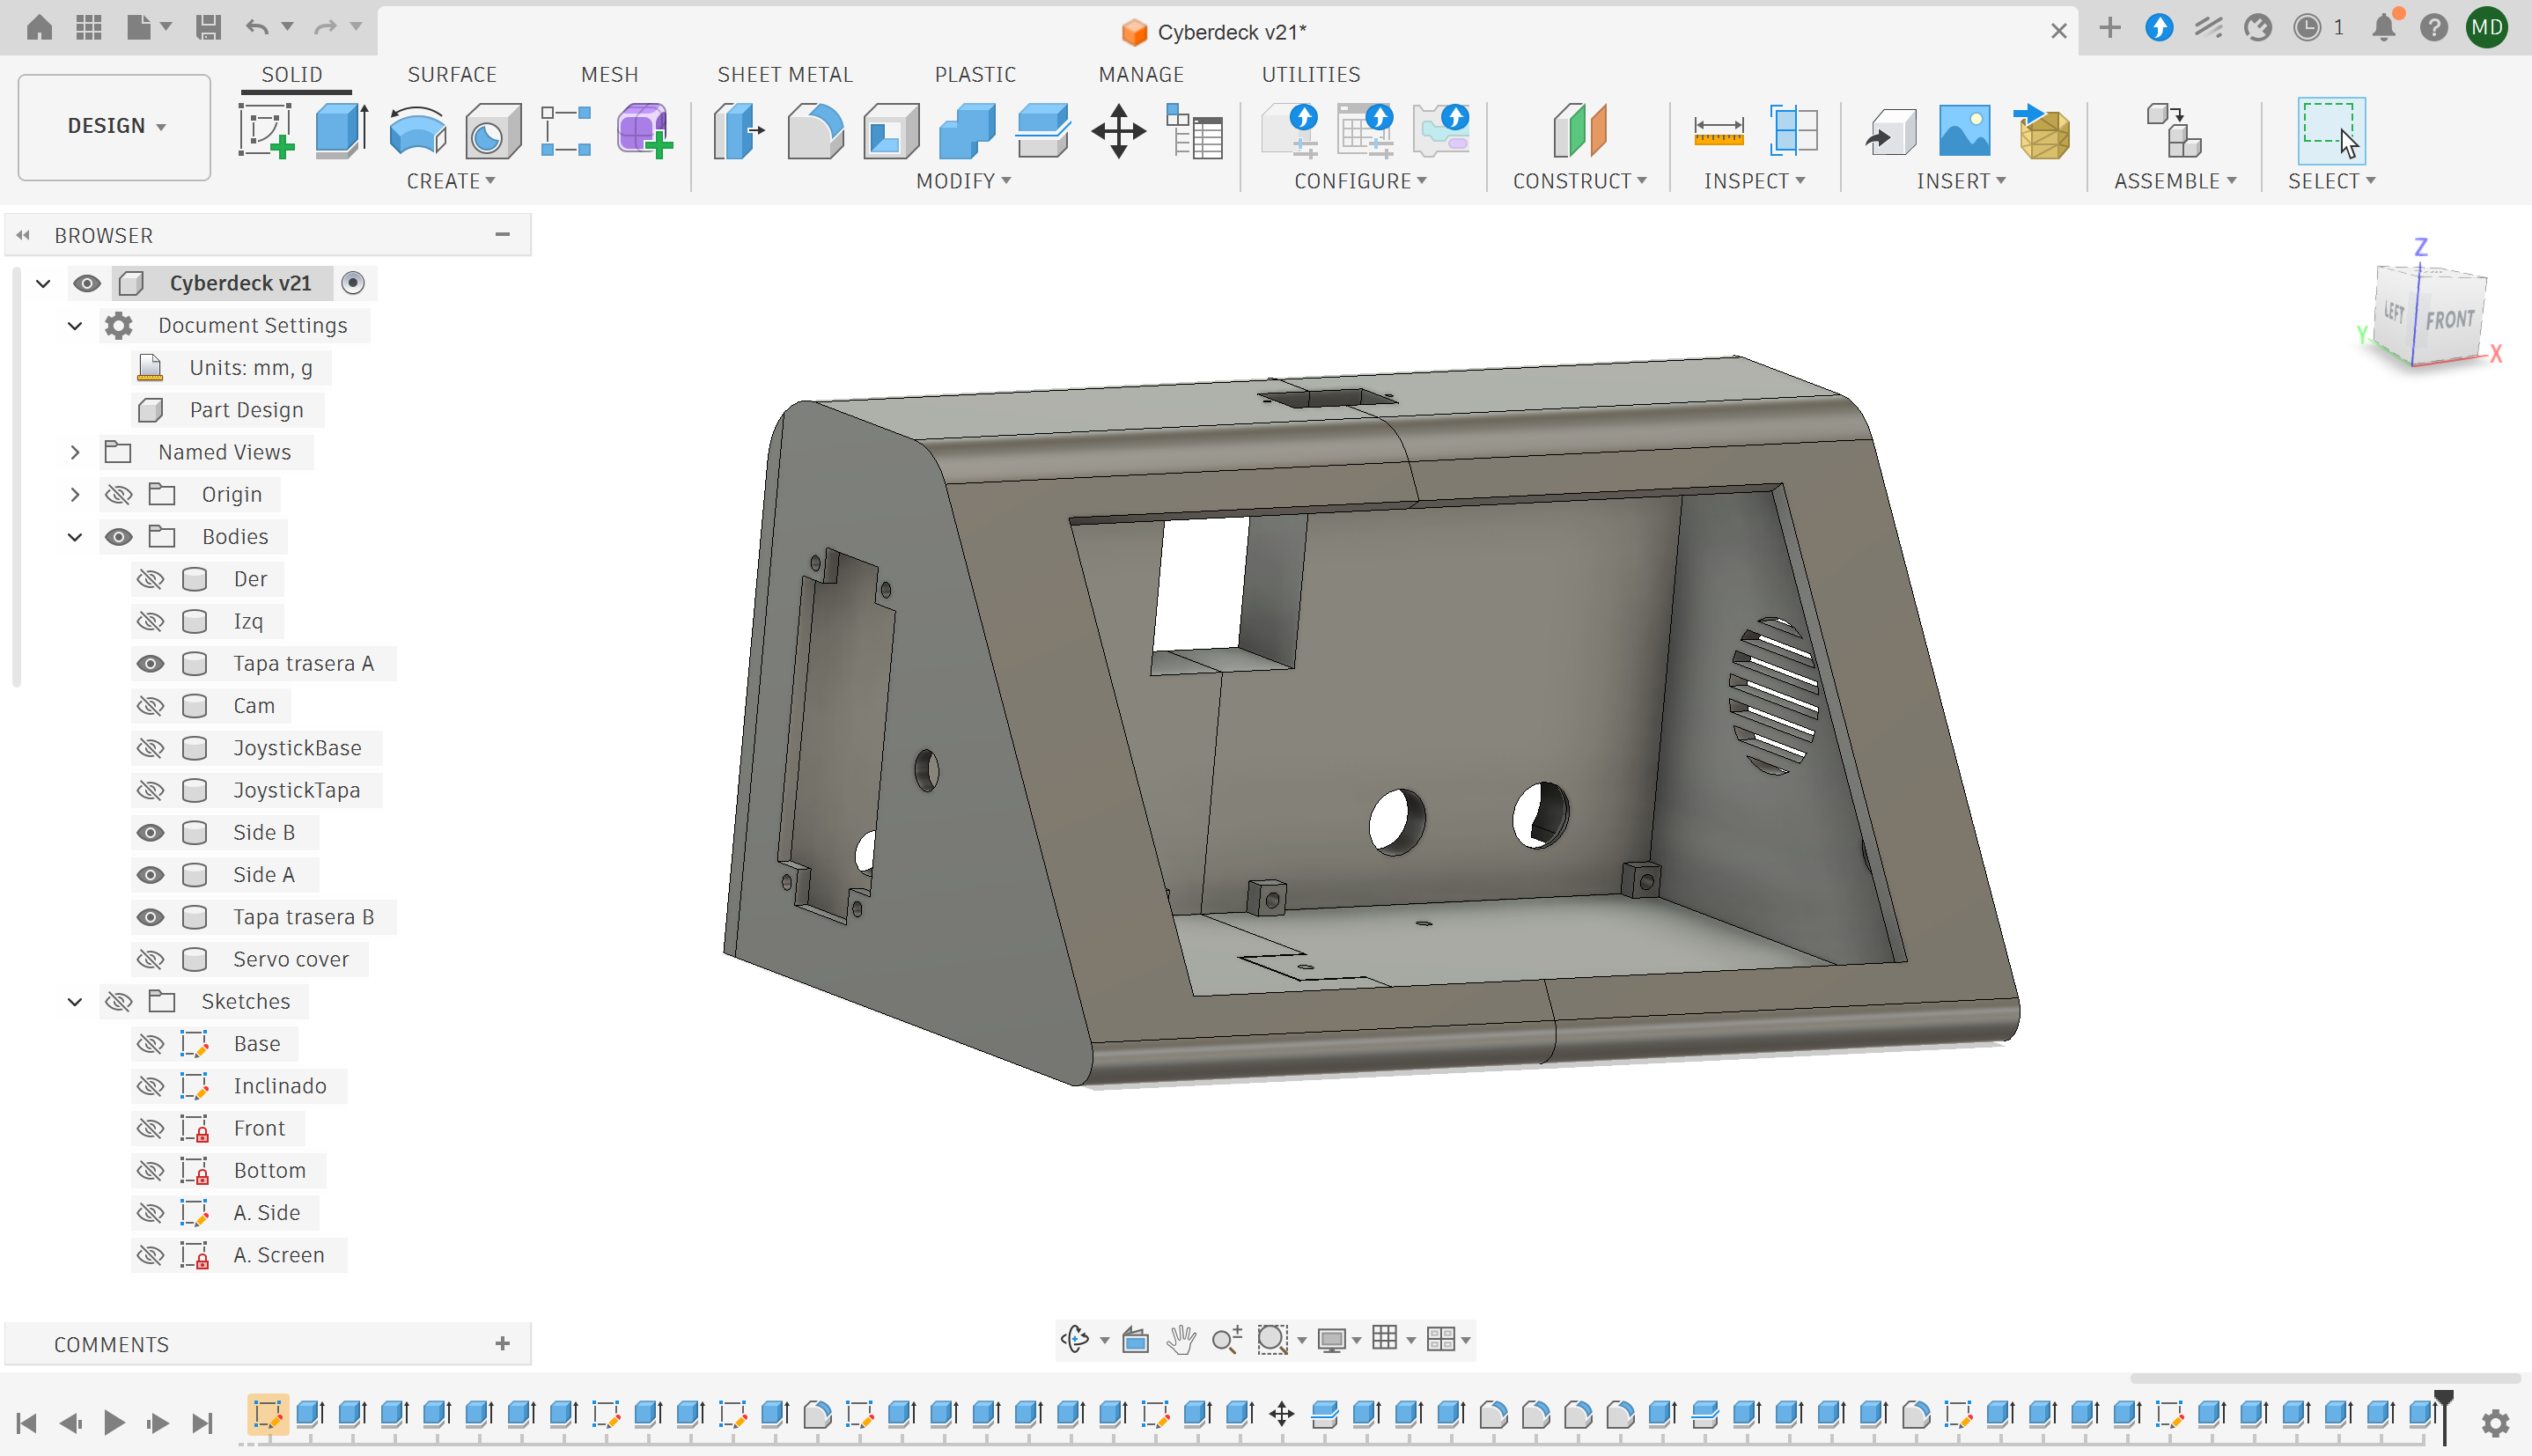
The electronics, configuration, and programming required a fair amount of work, but for someone without a design background, the biggest challenge was the 3D modeling.
I had to fit a considerable number of components into the enclosure while preserving the original aesthetic concept. The enclosure also had to be divided into separate parts so they could fit within the build volume of a Bambu Lab A1 mini.
Software
Microcifra 26 operates on two layers.
The main layer runs Ubuntu Linux on the Intel N150. The second layer runs on the RP2040 coprocessor, which has direct access to the GPIO pins connected to the additional hardware: toggle switch, potentiometer, LED matrix, buzzer, and servo motor.
The MicroPython main.py
file is uploaded to the RP2040 using:
mpremote cp main.py :main.py
mpremote reset
It then runs automatically at startup.
On the Linux side, host.py
provides communication with main.py.
This utility can send messages to the rear LED matrix, access
pictures taken by the movable camera, record audio, and interact with
other hardware functions.
The LattePanda IOTA originally shipped with Windows pre-installed on the eMMC, but Ubuntu LTS was installed instead for this Cyberdeck. After flashing the Ubuntu image to a USB stick with balenaEtcher, the device was booted from USB by pressing F7 and selecting the USB pen drive.
The next step was to install requirements
sudo apt update
sudo apt install fswebcam
sudo apt install chafa
sudo apt install python3-pil
sudo apt install cool-retro-term
After completing the basic system, I installed the OpenClaw AI agent, local LLMs through llama.cpp, and a small system using remote n8n calls to provide text-based access to email, calendars, and personal files.
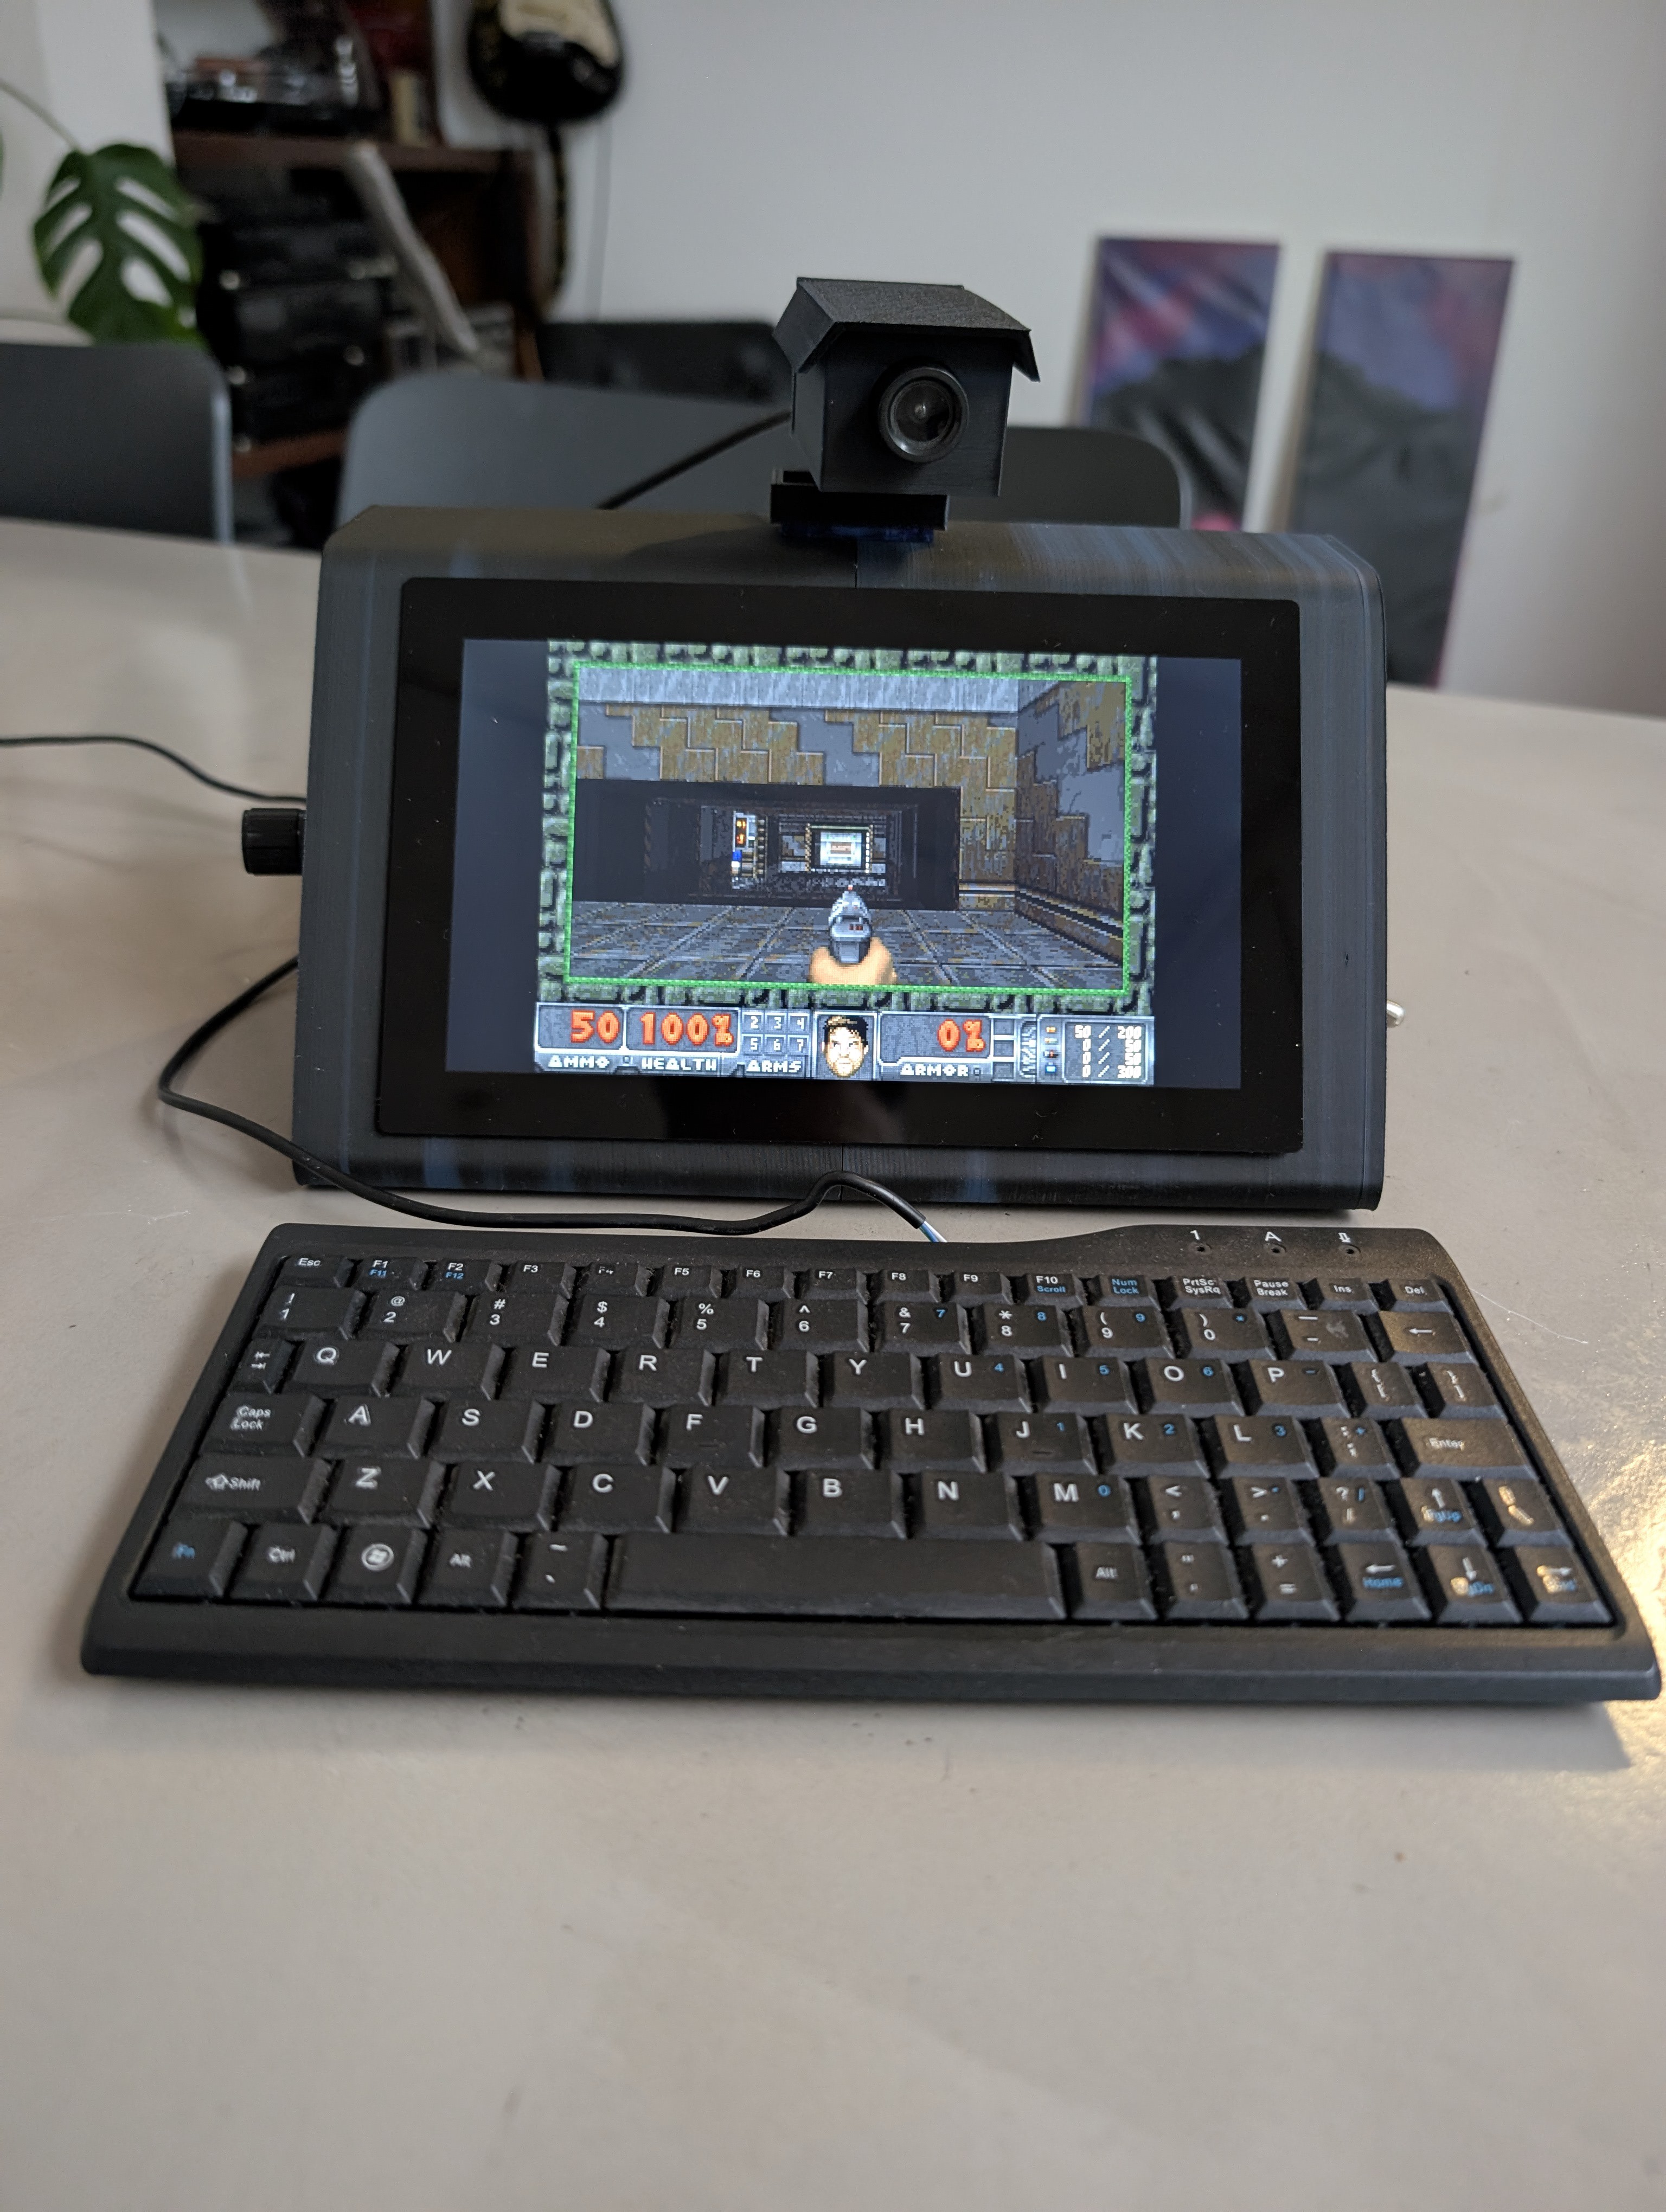
For downtime, Microcifra 26 also runs MAME with Commando. I'm currently finishing a joystick that connects directly to the RP2040 through GPIO.
Special features
Microcifra 26 has a side-mounted toggle switch that activates surveillance mode. In this mode, the servo-mounted camera automatically pans across the environment, taking pictures at 0, 90, and 180 degrees. The captured images are then converted to shades of green to resemble a 1970s CCTV monitor.
The screen aesthetics was inspired by IBM 3270 and it is made by using cool-retro-term + a PIL image conversion for the snapshots.
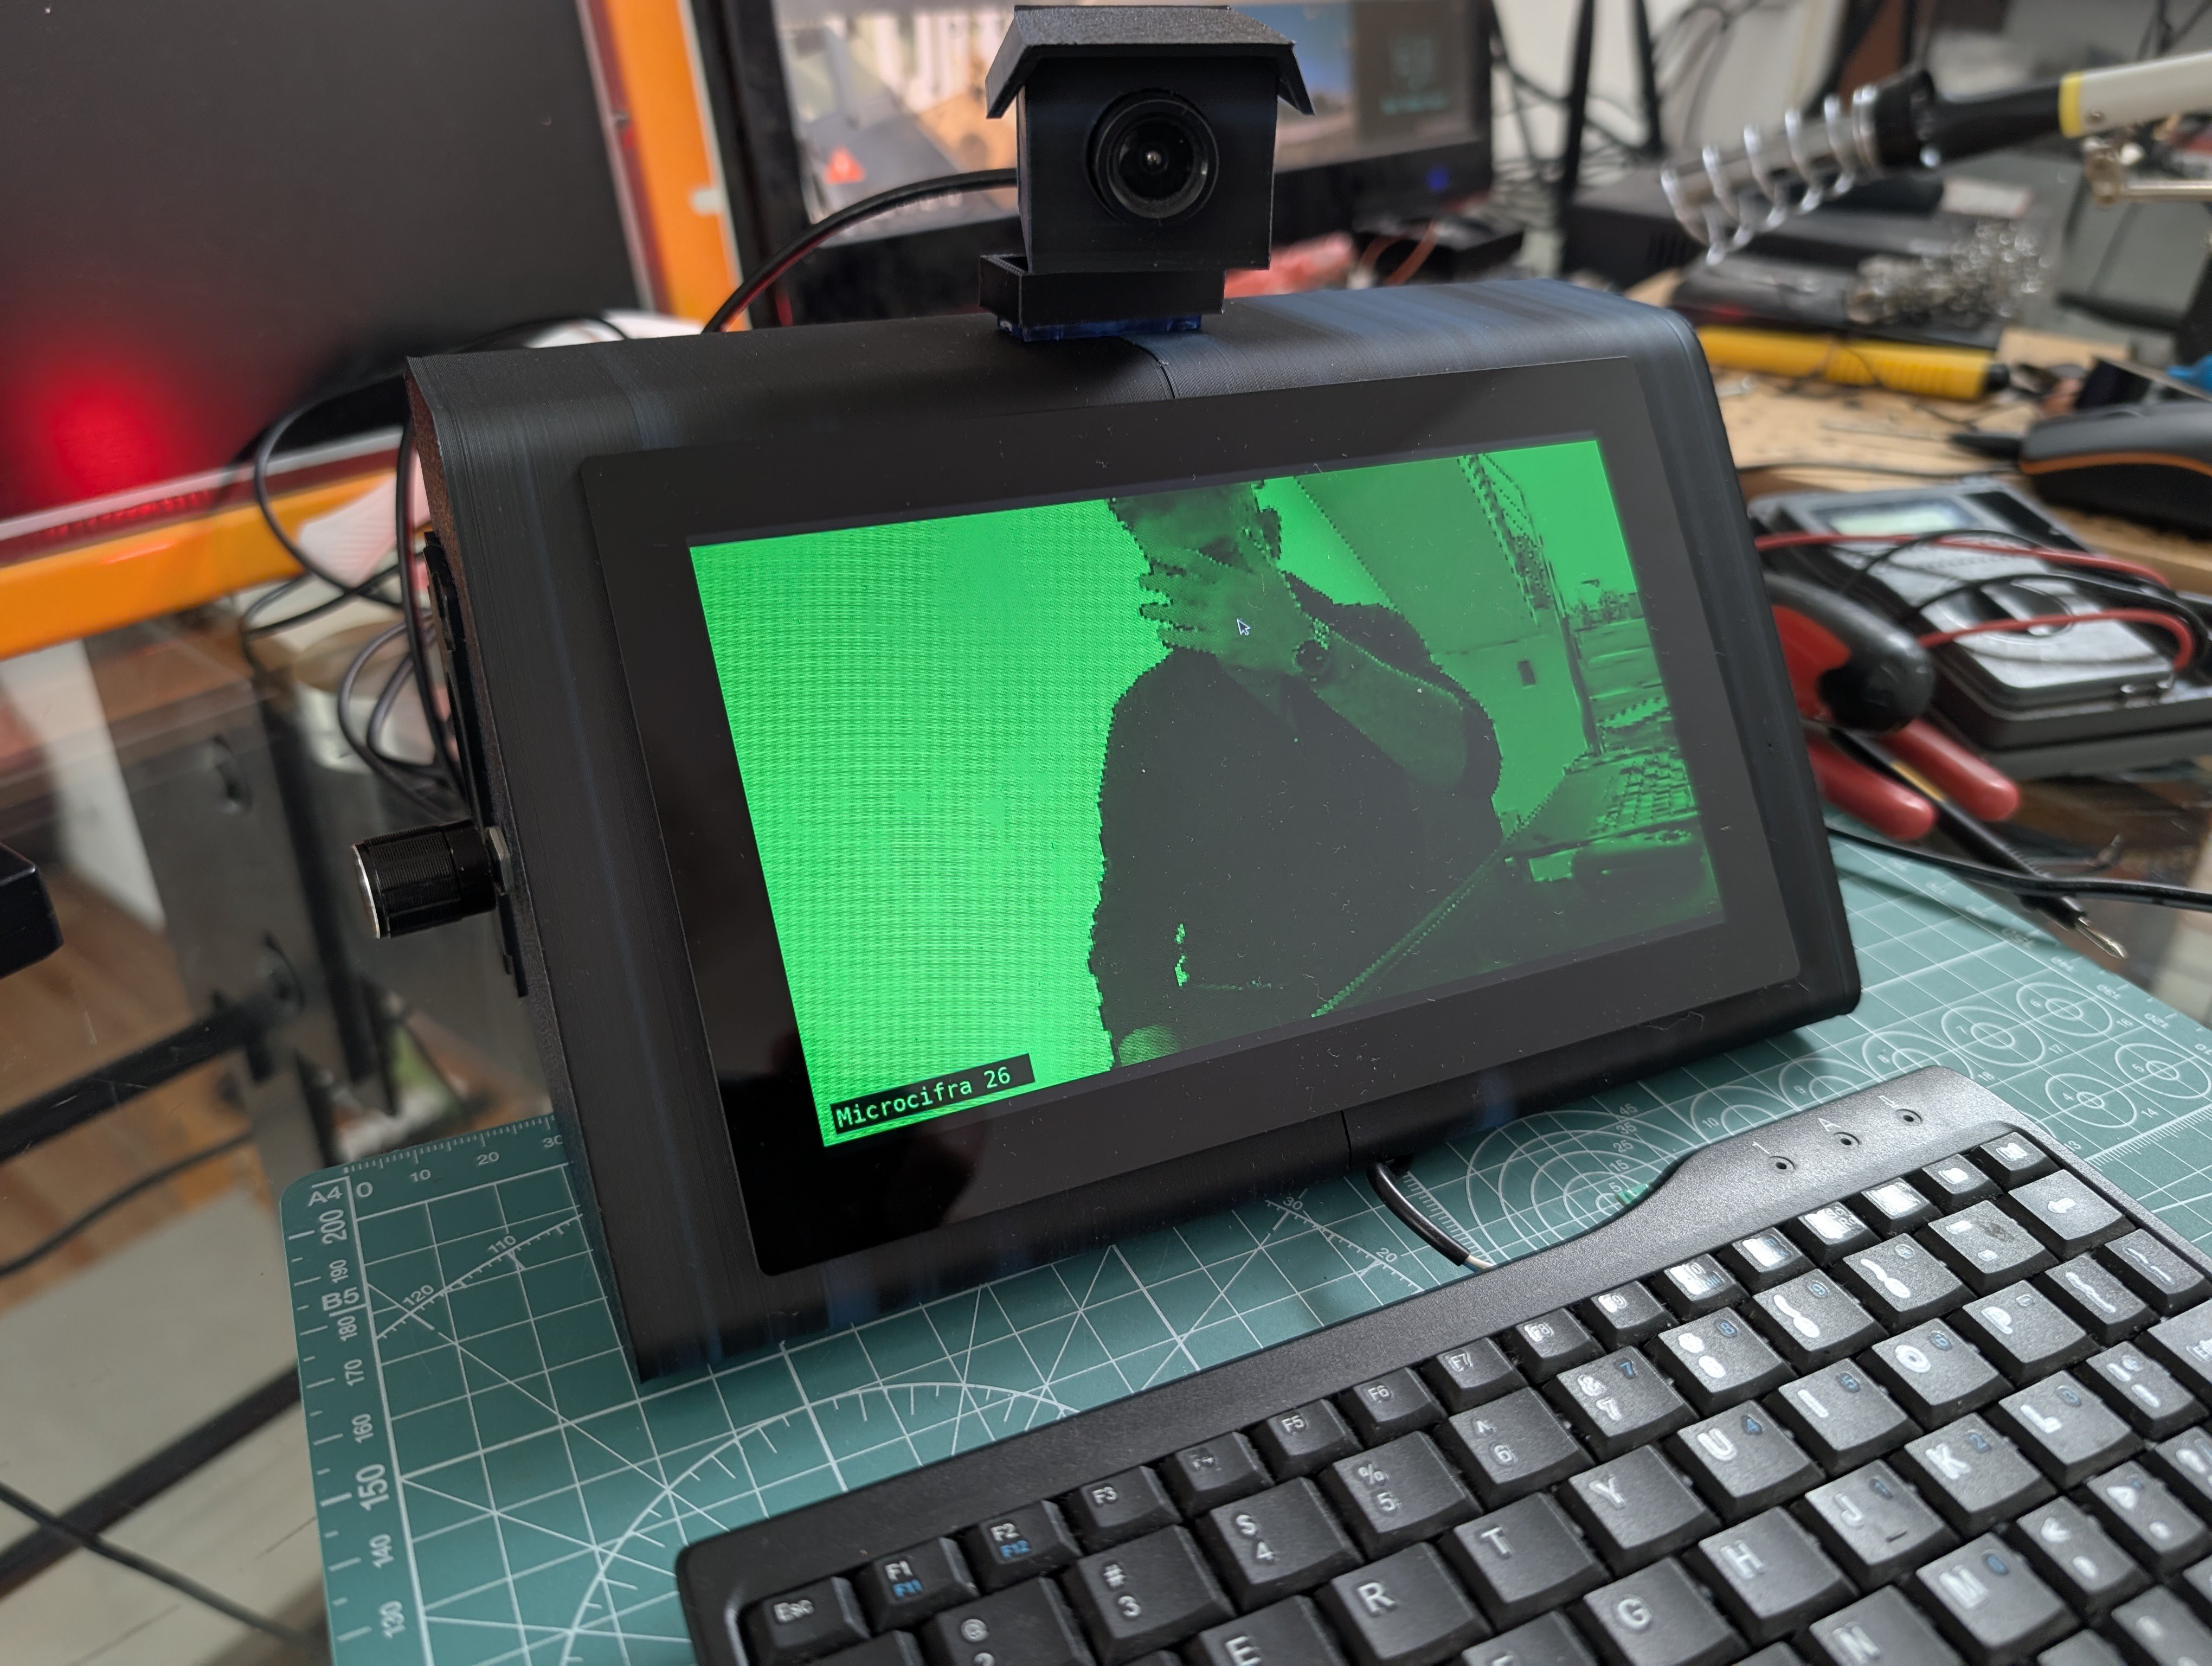
The camera turret can also be controlled manually using the potentiometer. This makes it possible to point the camera at a specific location and send a manual command to take a picture—or let an AI agent control the panning and image capture. The camera has a mic so audio can be captured as well.
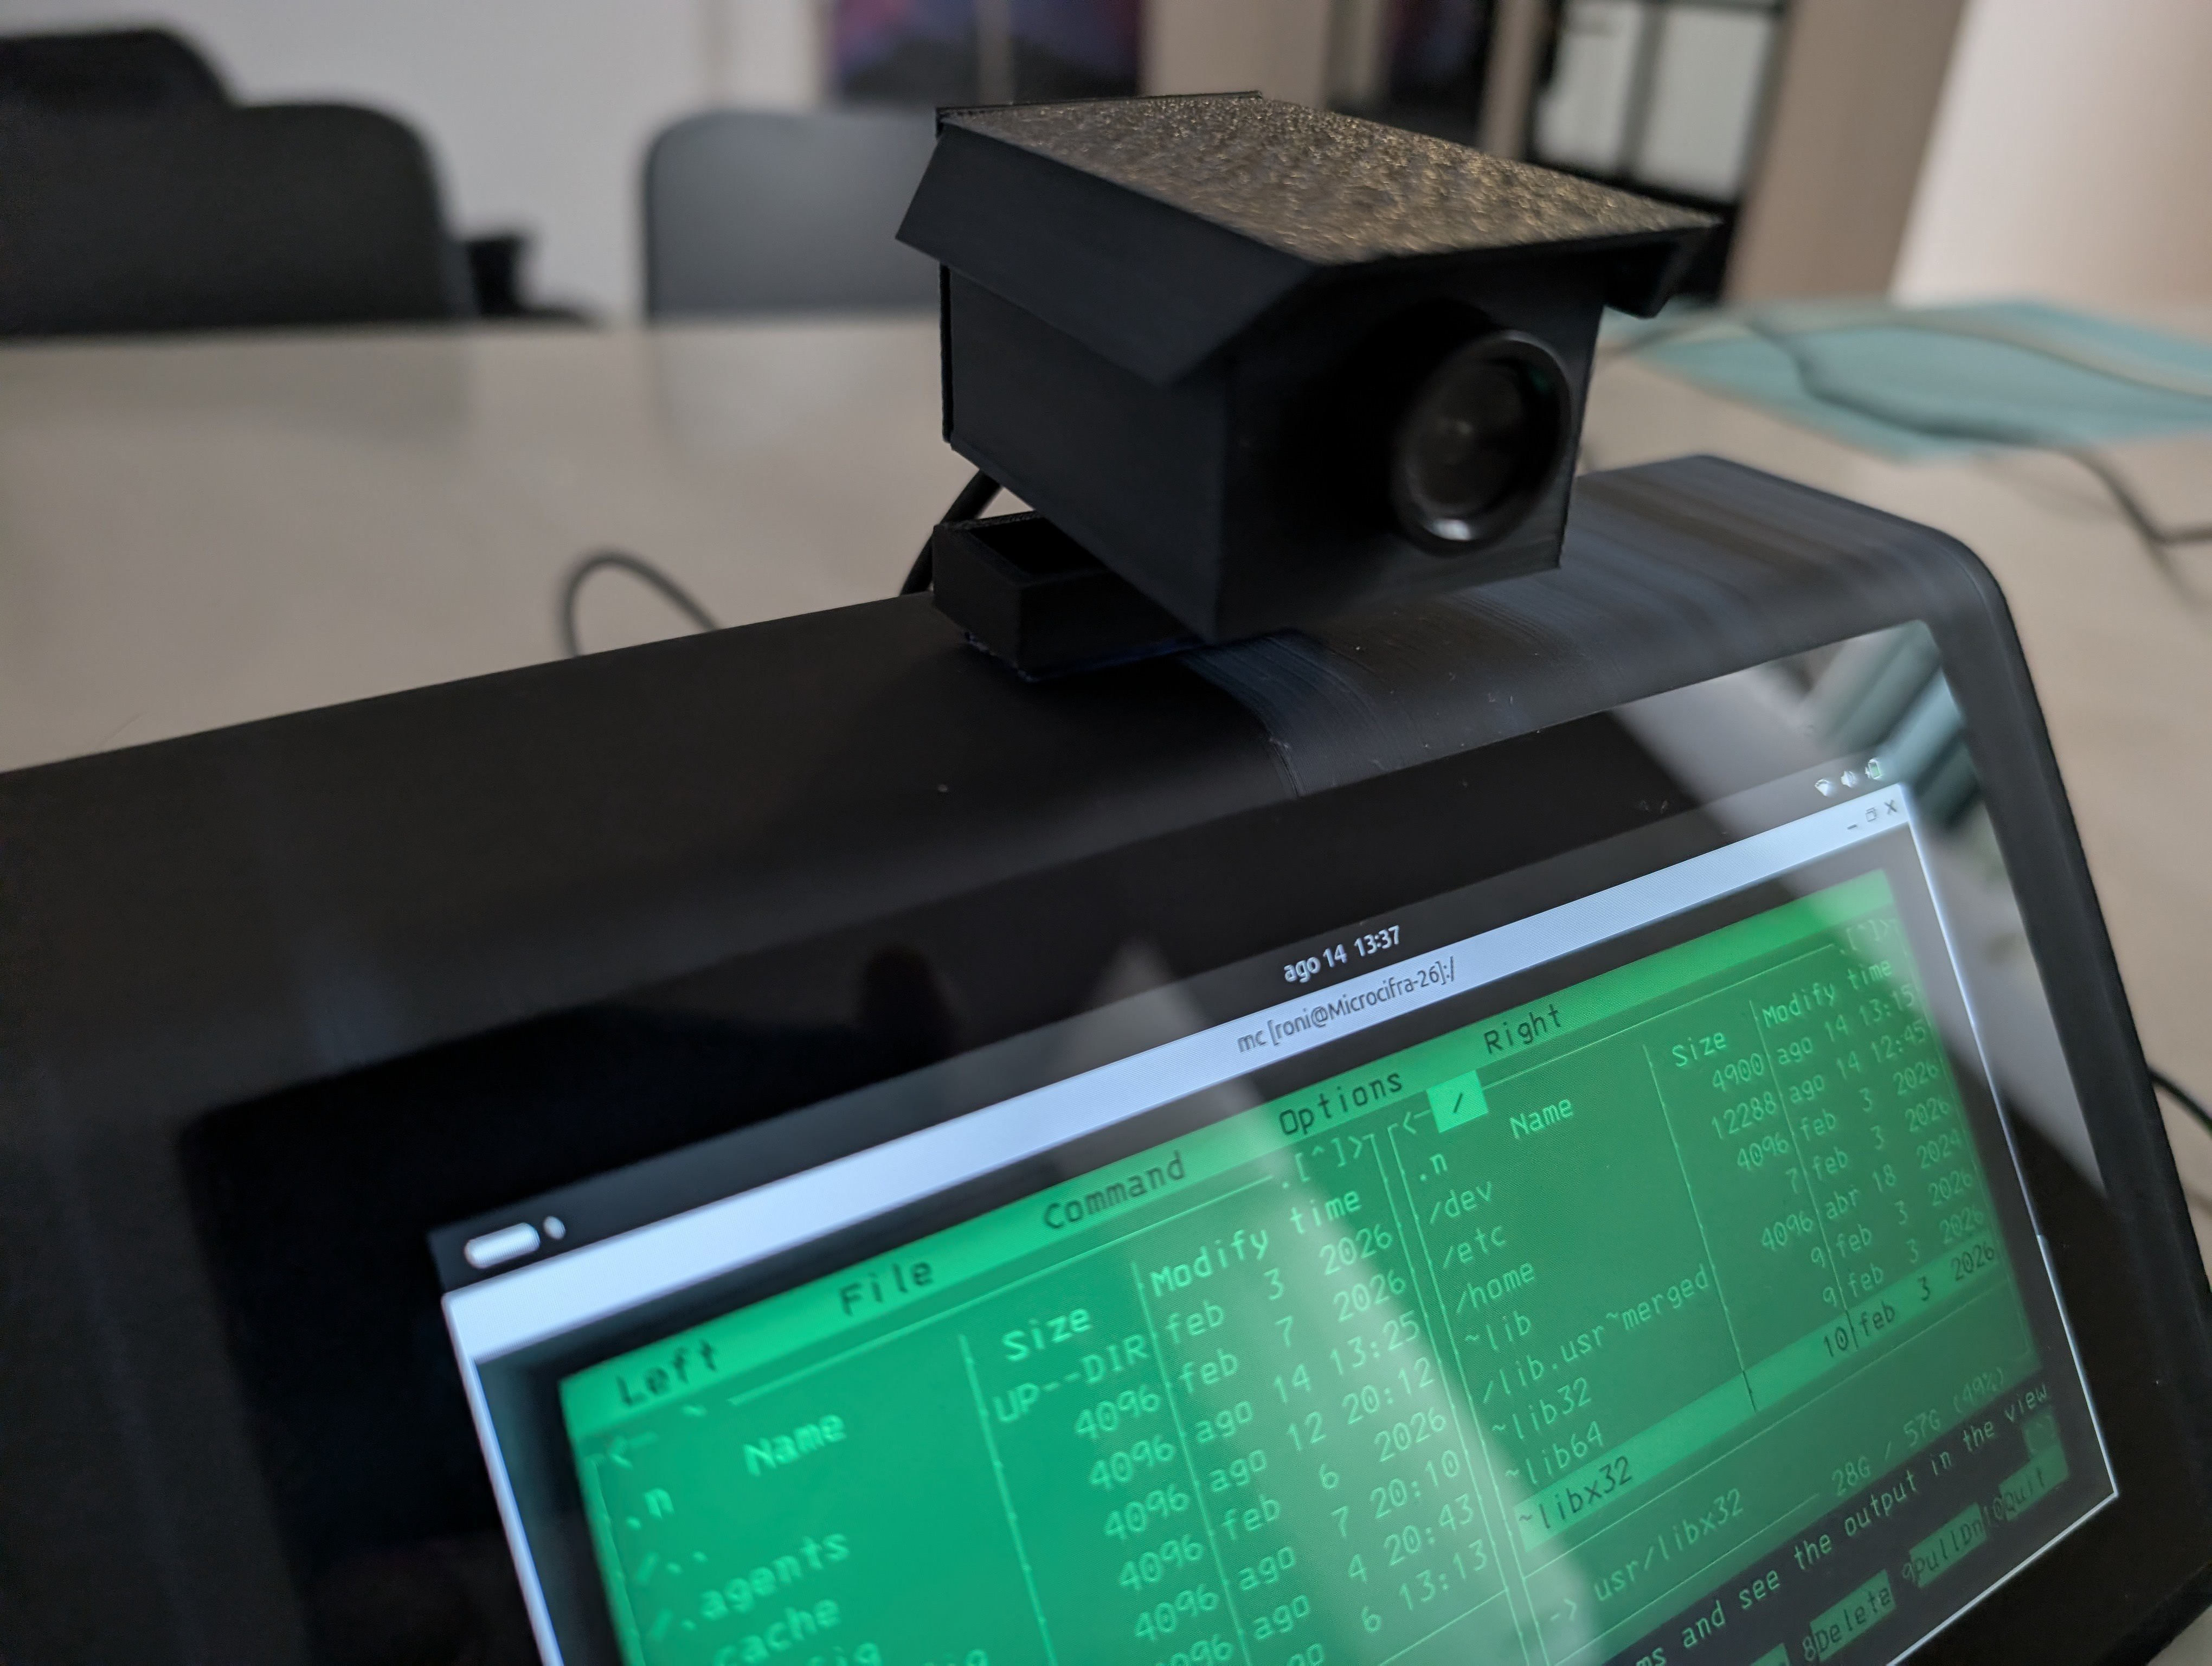
On boot, the rear LED matrix runs an animated bar chart initialization sequence. Custom text payloads can be dispatched directly to the display via a CLI application; as messages scroll across the panel, the piezoceramic buzzer fires short, mechanical-sounding clicks to draw immediate attention from passersby.
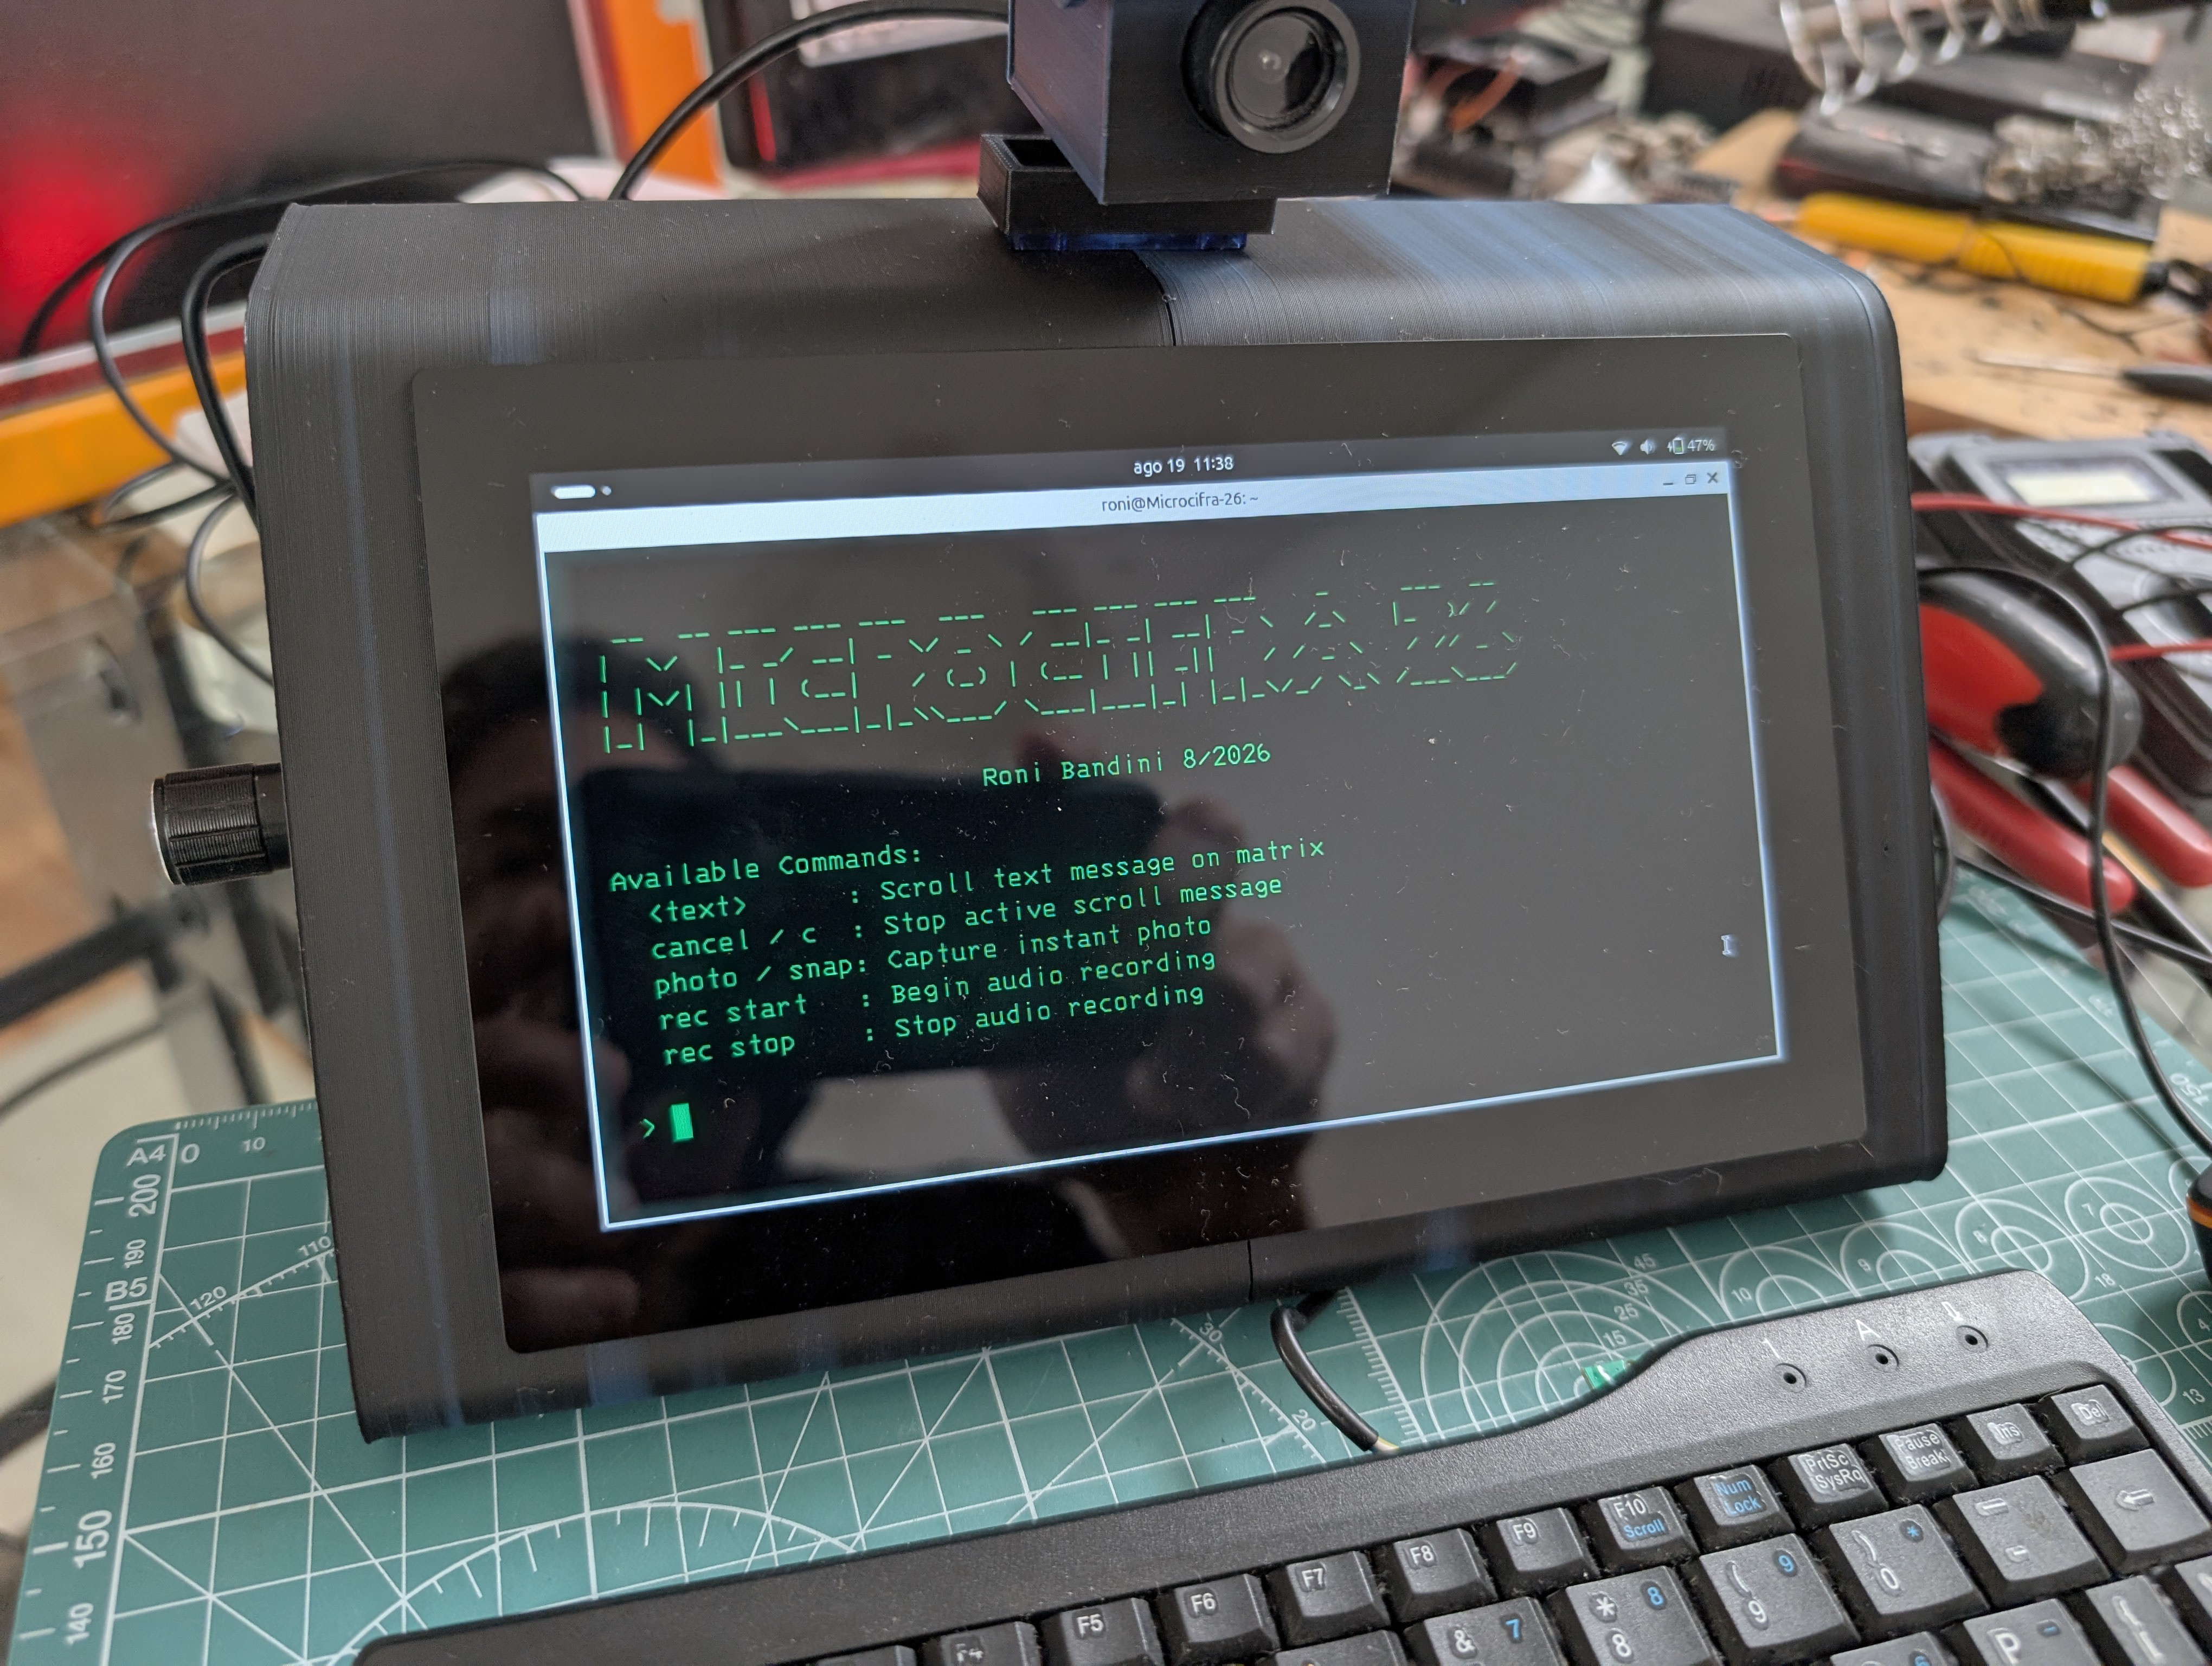
OpenClaw can also use the LED Matrix through a script
print("Use: python3 send_msg.py \"Text\"")
The Original Microcifra Calculators
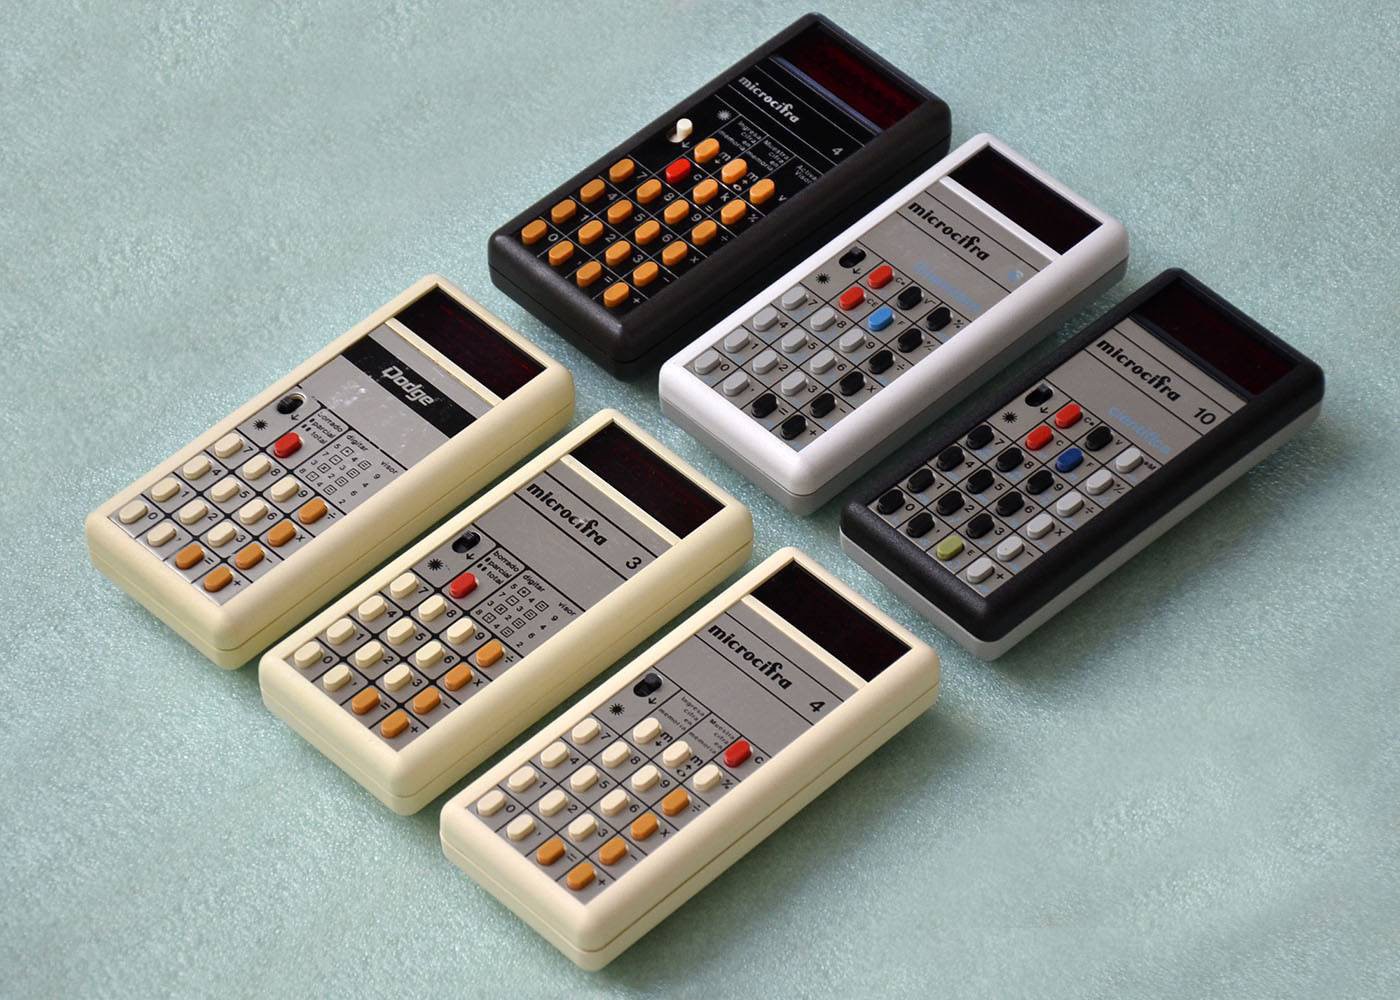
The Microcifra calculators were manufactured in Argentina by Fate Electrónica during the 1970s. They were beautiful examples of locally designed and manufactured electronics, and I think they deserve to be remembered. Microcifra 26 takes its name as a small tribute to those machines.
Final notes
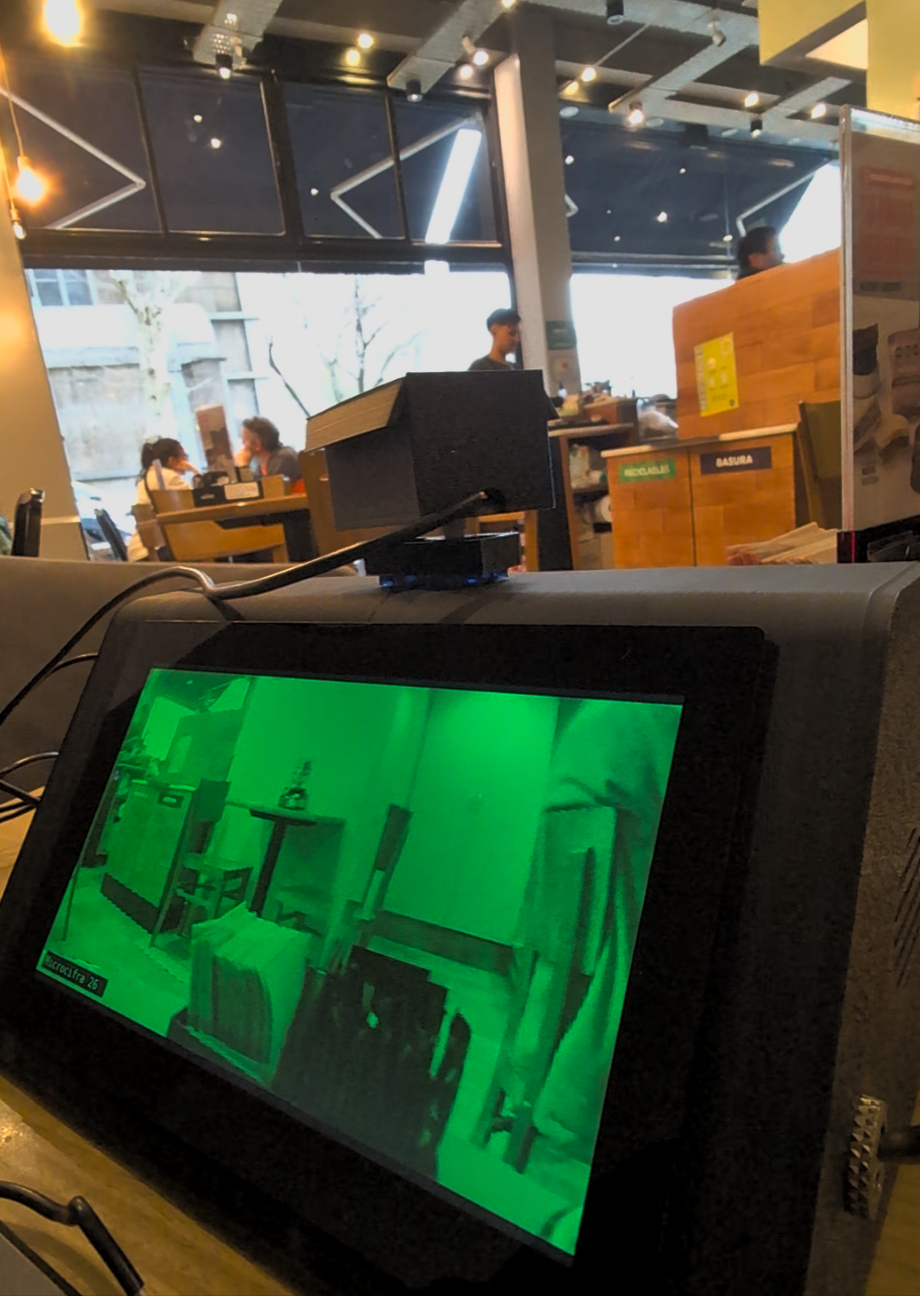
As soon as the build was complete, I took it straight to a crowded café for the ultimate field test. Transporting the unit proved somewhat cumbersome due to its angular, triangular form factor, and the battery setup—powered by a 3x 18650 cell pack—drained faster than anticipated under the combined load of the display, LED matrix, audio amplifier, servo motor, and active peripherals. The compact keyboard also demanded some adjustment for comfortable typing.
However, the hardware delivered exactly as intended: it immediately turned heads, sparked curiosity, and had people leaning in to read the scrolling LED matrix messages and ask questions.
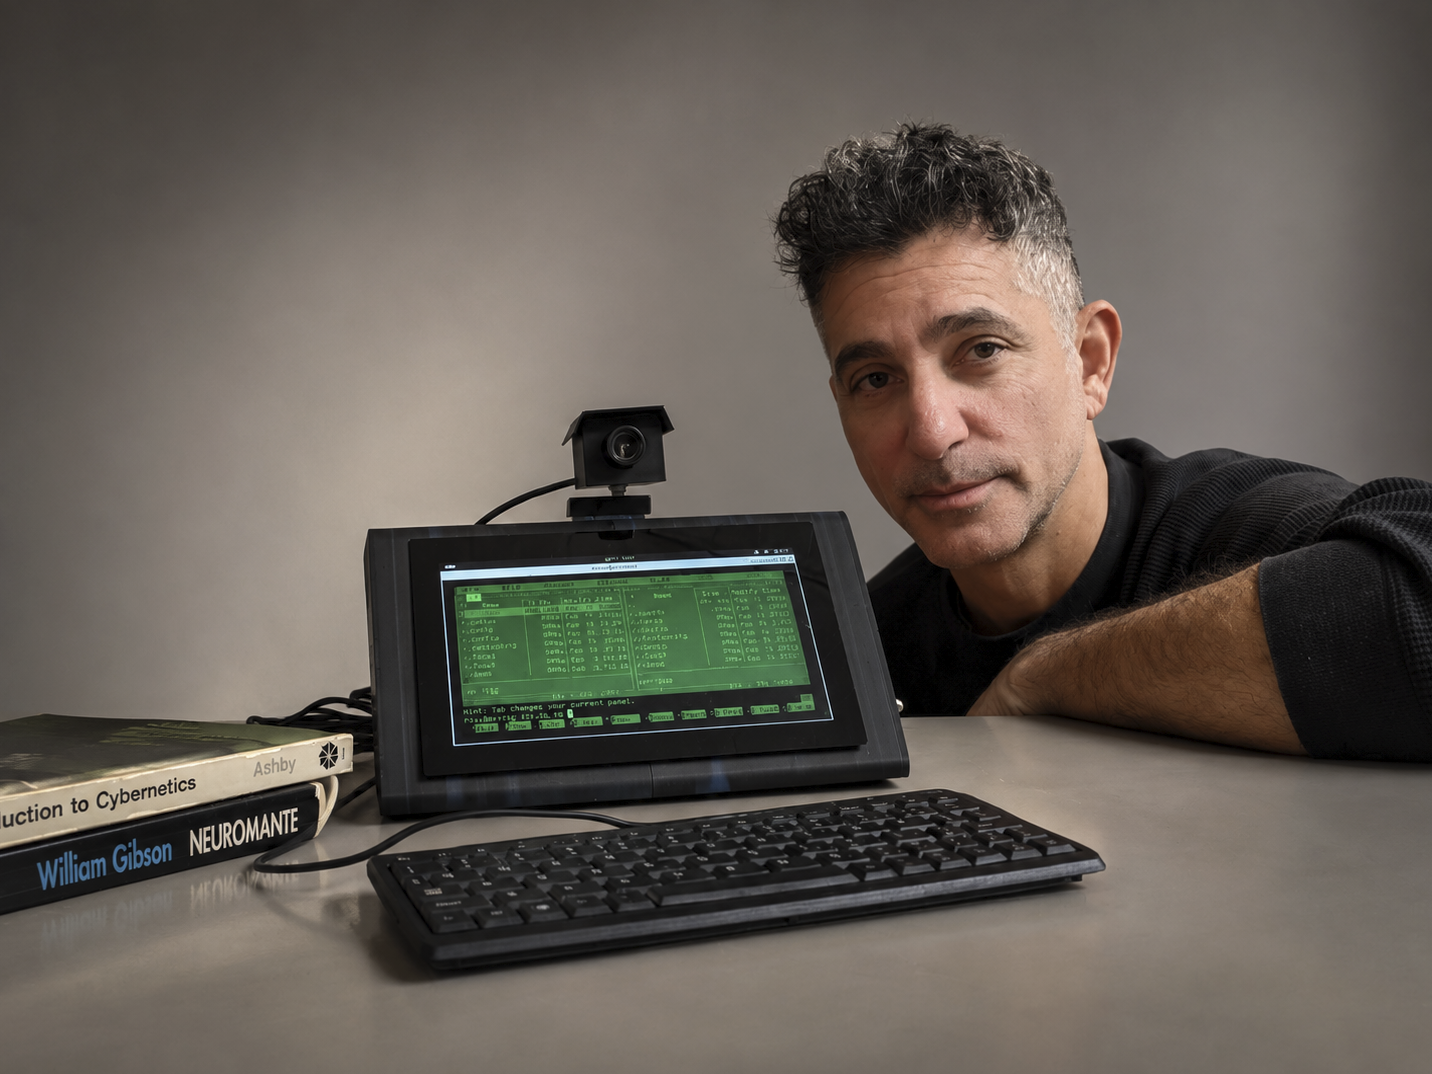
Beyond the expected IKEA effect—the heightened appreciation we naturally feel for something built with our own hands—the most rewarding aspect of creating the Microcifra 26 was realizing how routinely we conform to standardized, off-the-shelf hardware, unconsciously sacrificing both functional freedom and personal expression.
Files
https://github.com/ronibandini/Microcifra26
https://cults3d.com/en/3d-model/gadget/microcifra-26-cyberdeck