Close
0%
0%

DIY Hakko 907 Soldering Station with Arduino Nano

I built this DIY soldering station using a Hakko 907 soldering iron and an Arduino Nano as the main controller.

Public Chat
Similar projects worth following
0 followers
A simple DIY Hakko 907 soldering station built around an Arduino Nano. The circuit measures the soldering iron temperature, displays the actual and set temperatures on a 1602 LCD, and controls the heater using an N-channel MOSFET.

The temperature is adjusted using a potentiometer, while an LM358 is used to amplify the sensor signal before sending it to the Arduino.

The LCD can be connected using either I2C or a standard parallel interface. The circuit operates from a 24 volt DC power supply, with a Mini-360 converter providing 5 volts for the Arduino Nano.

This project focuses on a simple, low-cost, and easy-to-build solution for everyday electronics work, with potential future improvements such as PID temperature control, calibration, sleep mode, and additional protection features.

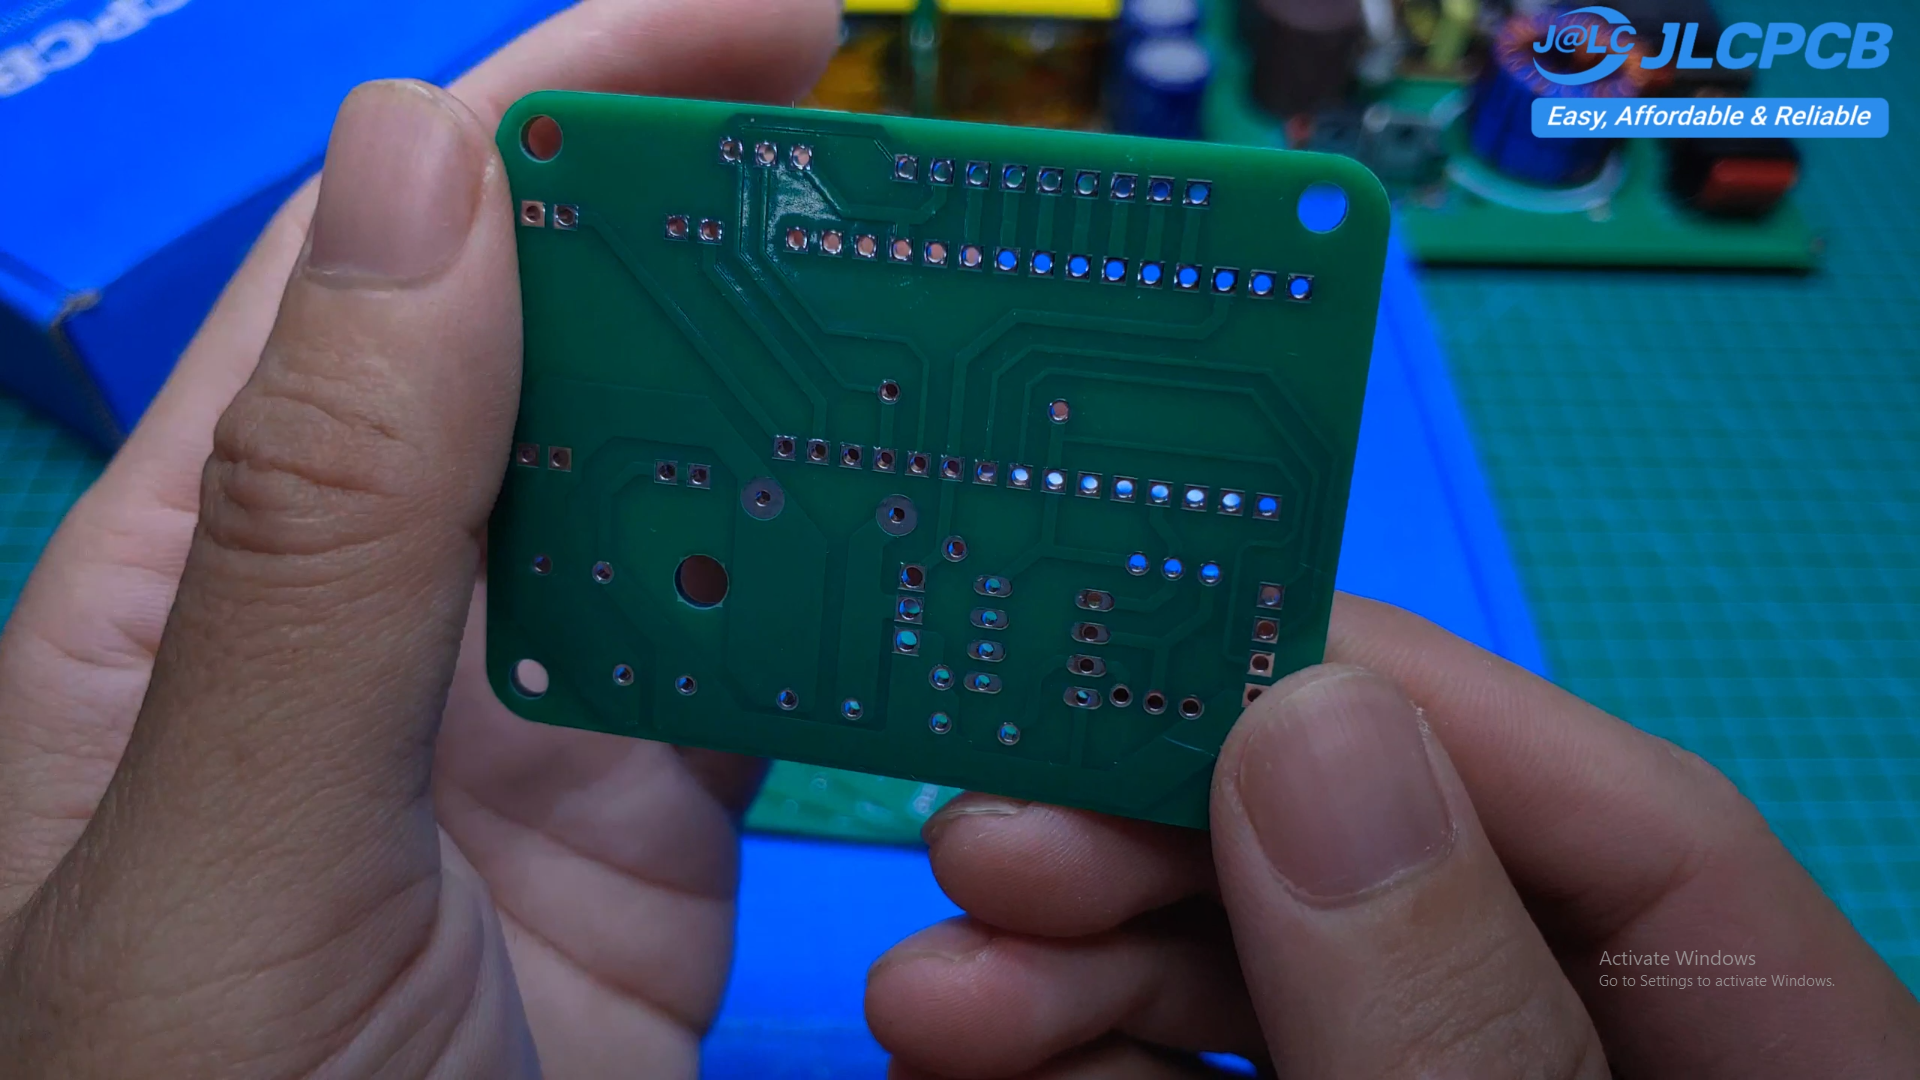
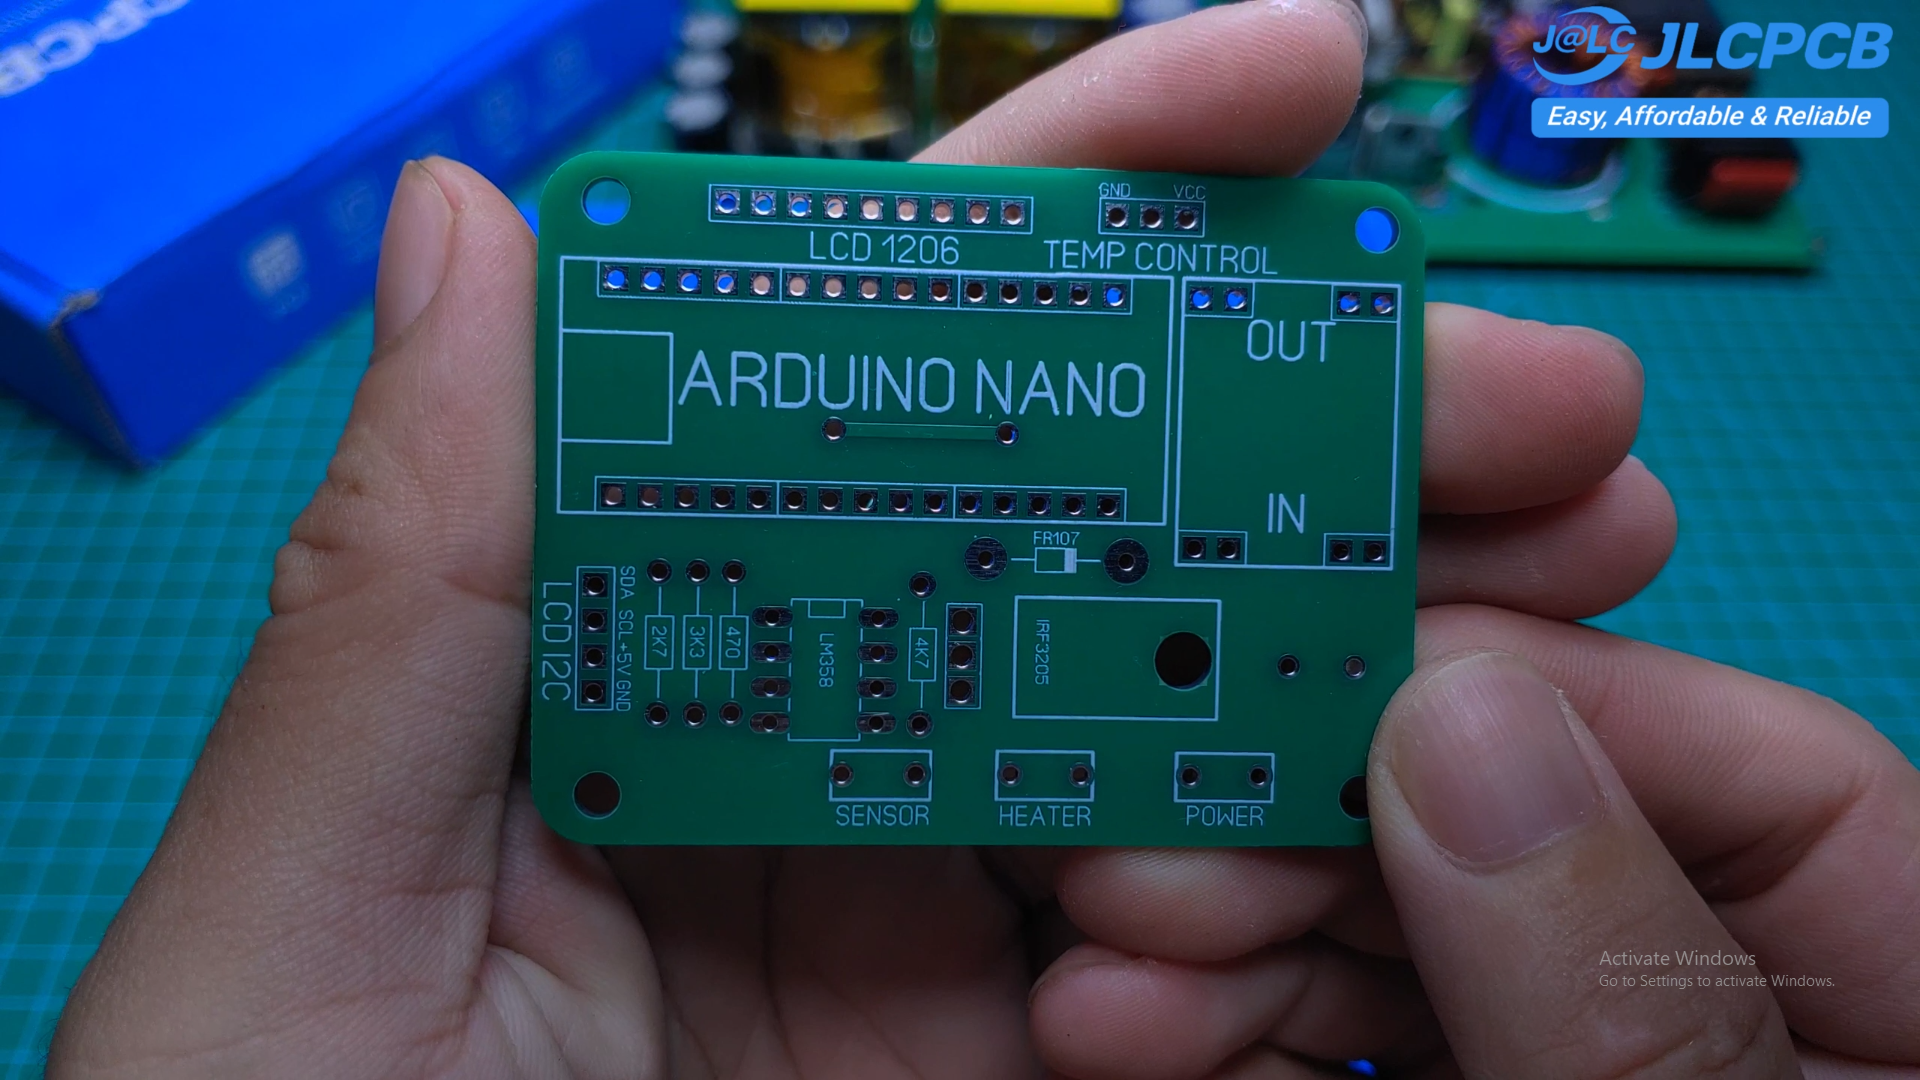
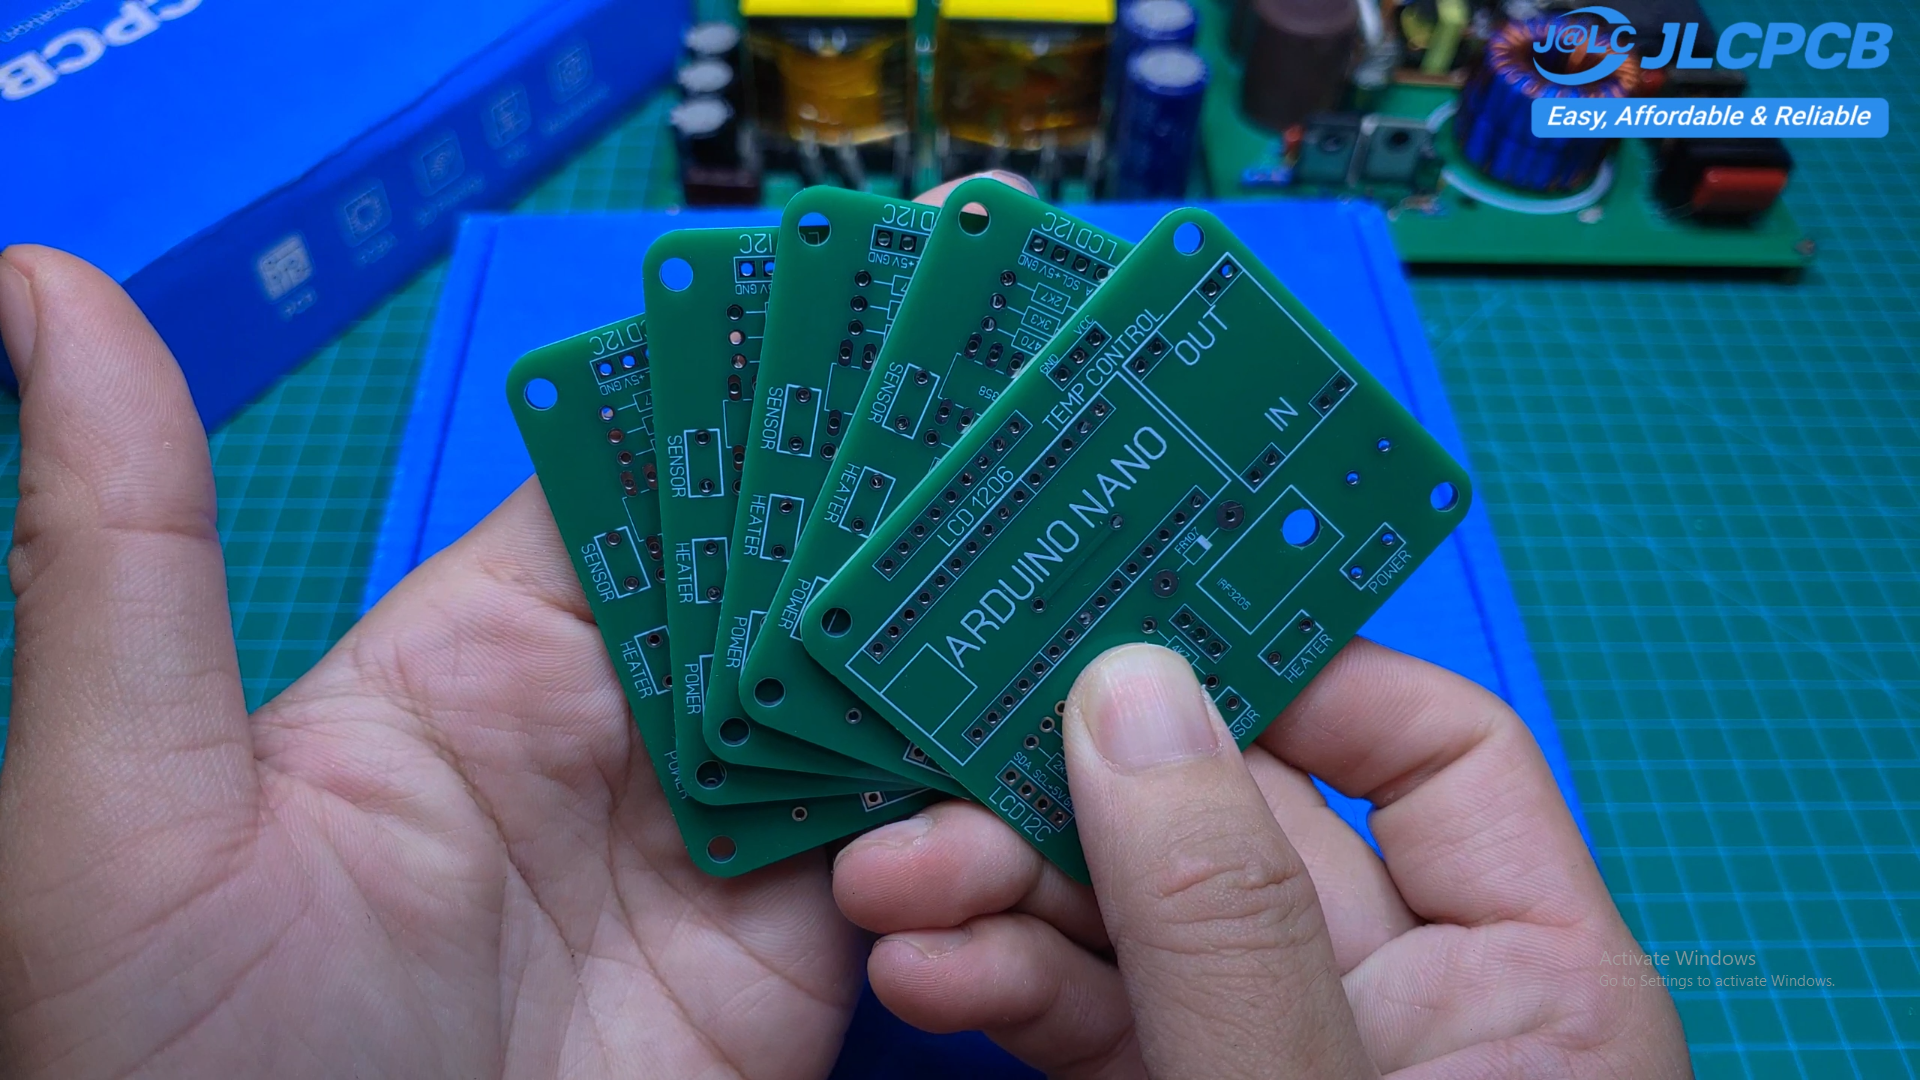
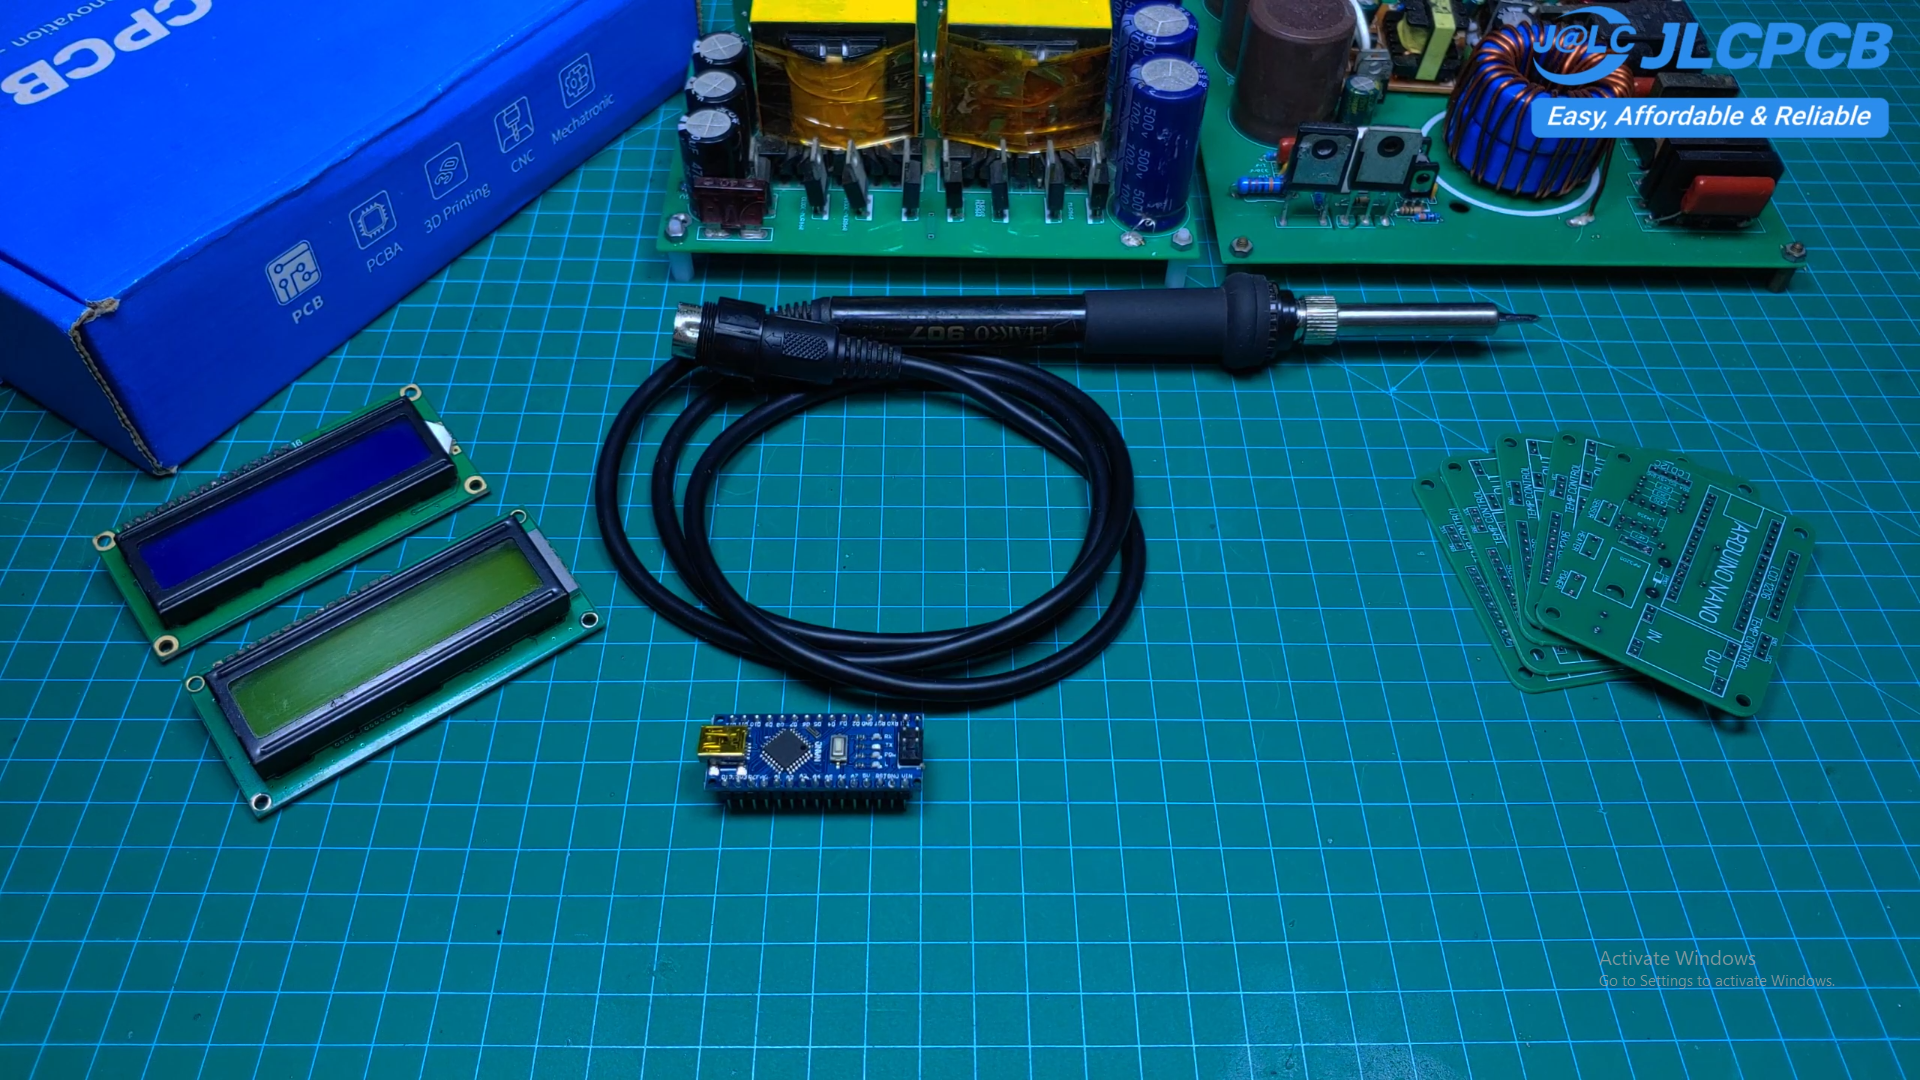
In this project, I built a simple DIY soldering station using a Hakko 907 soldering iron and an Arduino Nano. The PCB from JLCPCB.COM

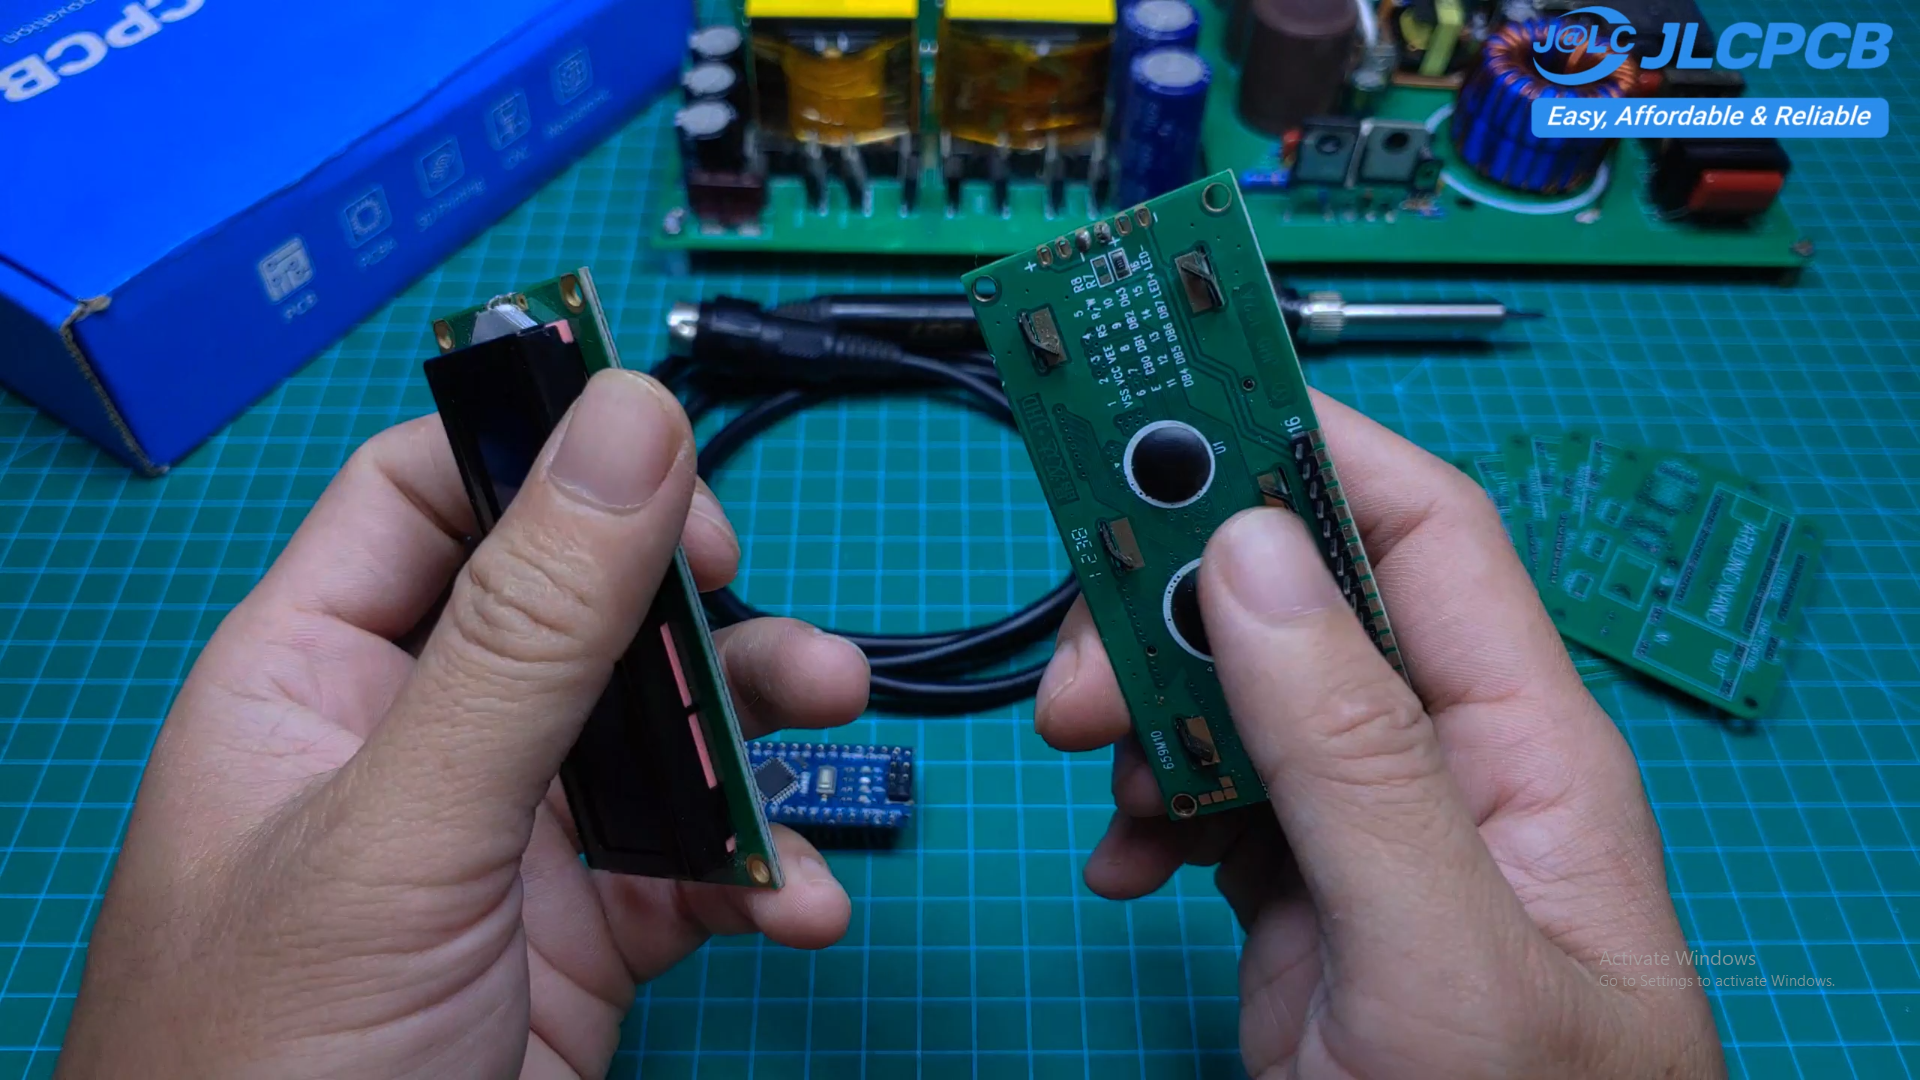
The soldering station displays both the actual temperature and the set temperature on a 1602 LCD. The temperature is adjusted using a simple potentiometer, making the system easy to operate.

The LCD can be connected using either an I2C interface or a standard parallel interface.

This project is designed to be simple, affordable, and easy to build using commonly available electronic components.
  • 1
    Components & Features

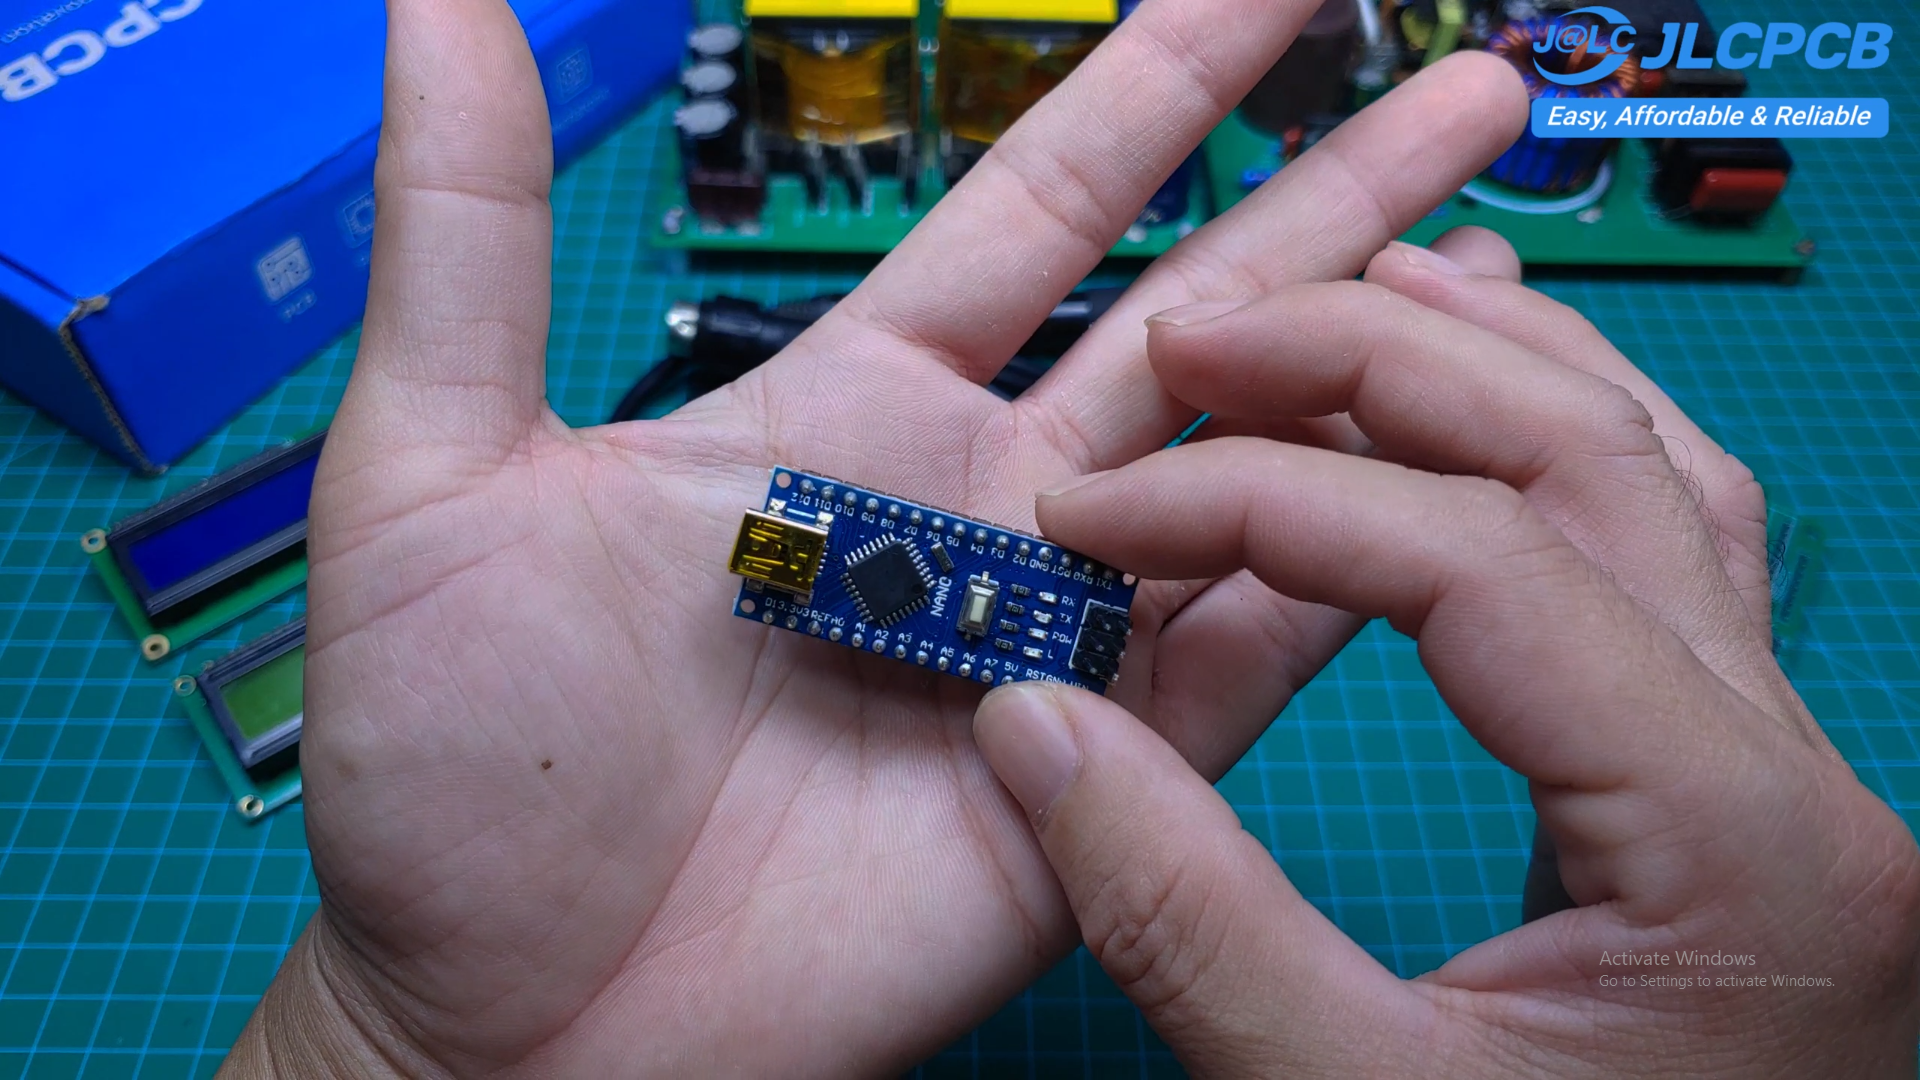
    Arduino Nano, Hakko 907 soldering iron, 1602 LCD, LM358, N-channel MOSFET, Potentiometer, Mini-360 DC-DC converter, Resistors and capacitors, 24 volt DC power supply, PCB, Wires and connectors, Arduino Nano, Hakko 907 soldering iron, 1602 LCD, LM358, N-channel MOSFET, Potentiometer, Mini-360 DC-DC converter, Resistors and capacitors, 24 volt DC power supply, PCB, Wires and connectors, PCB of this project from JLCPCB

  • 2
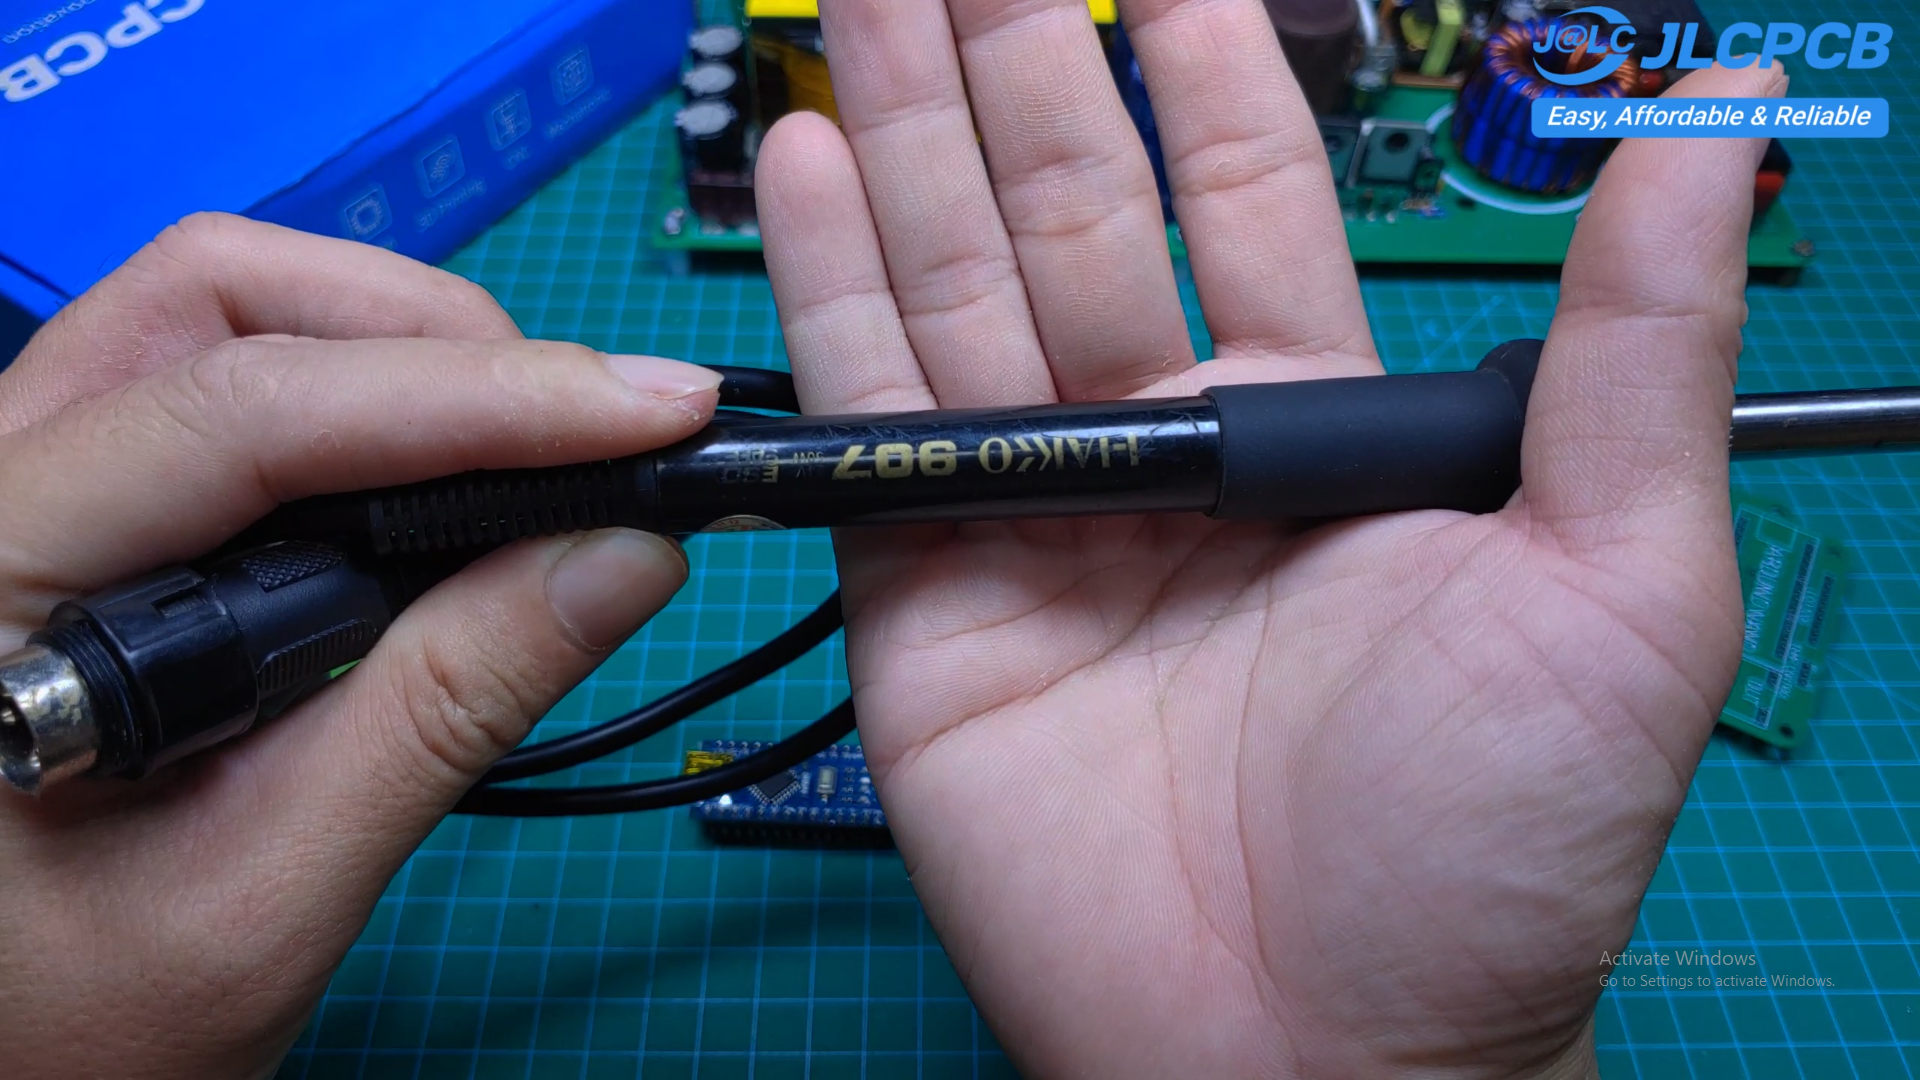
    Checking the Hakko 907

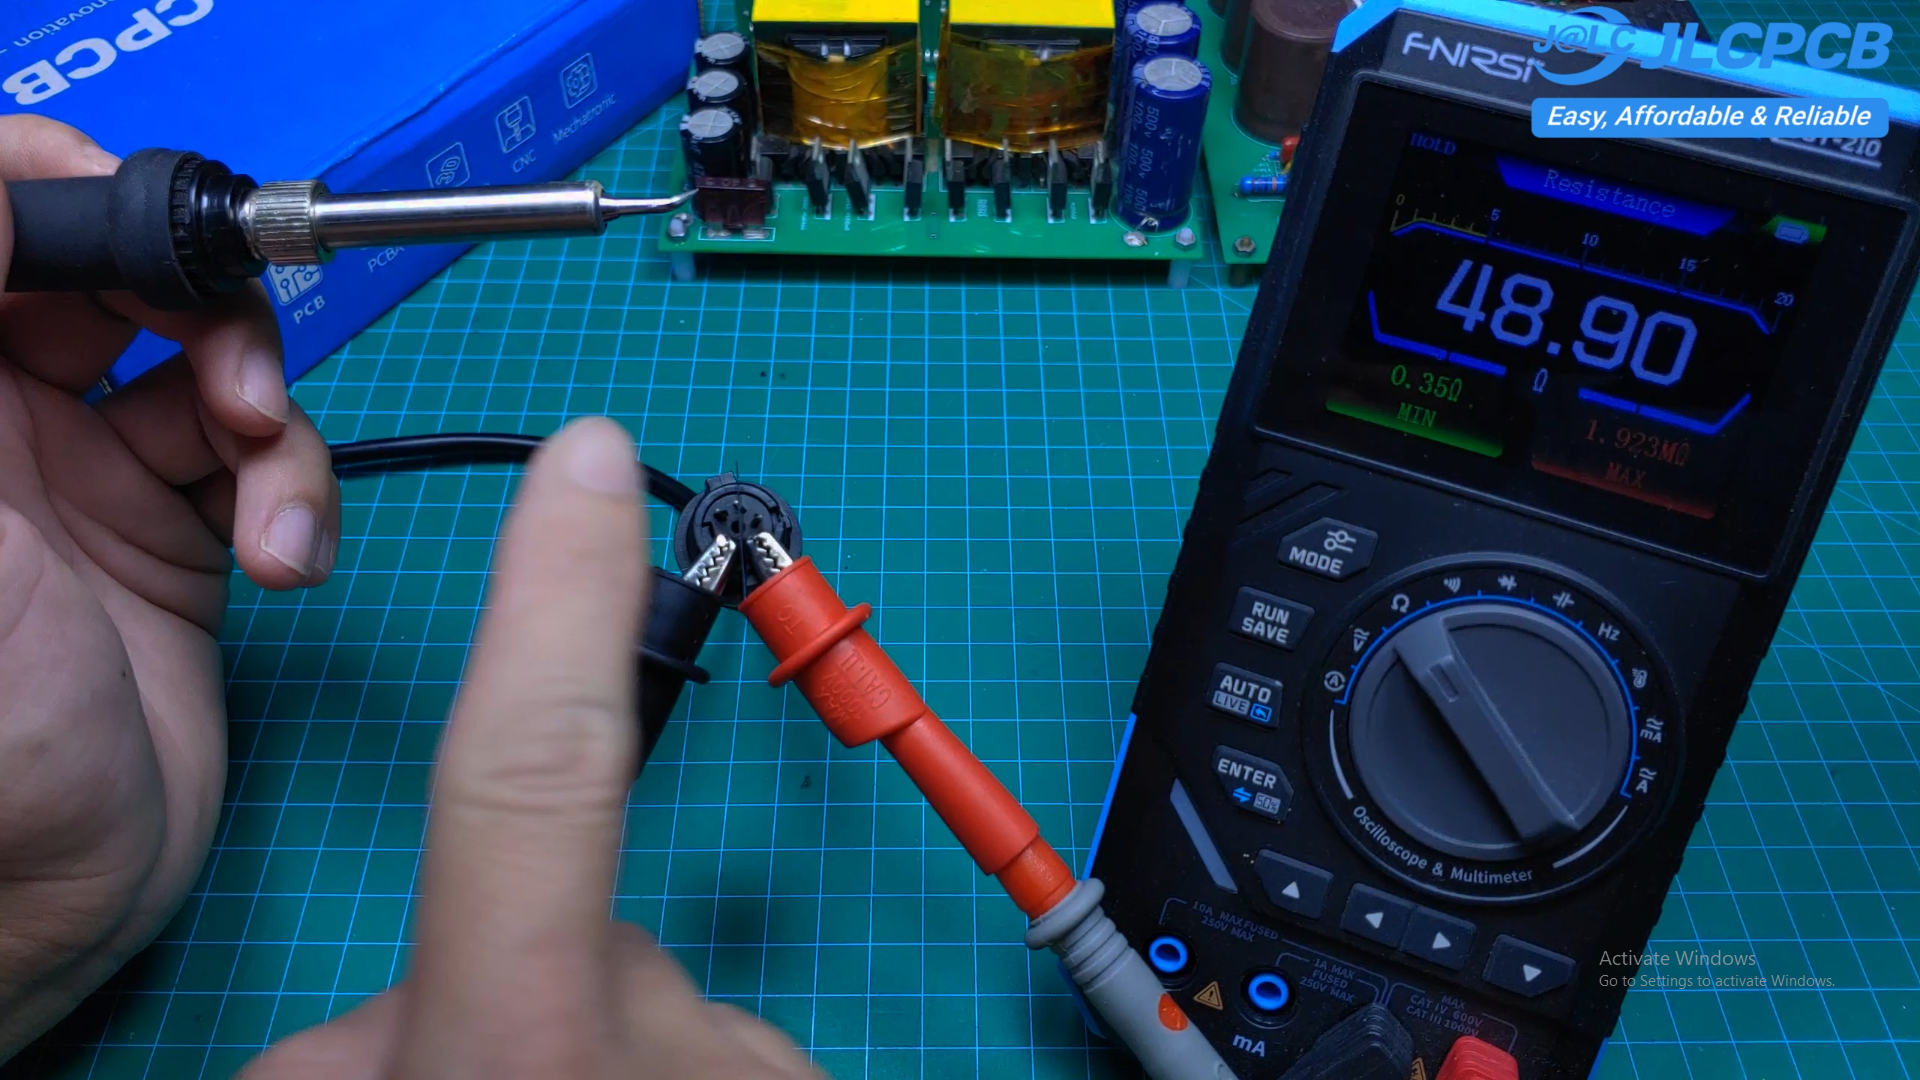
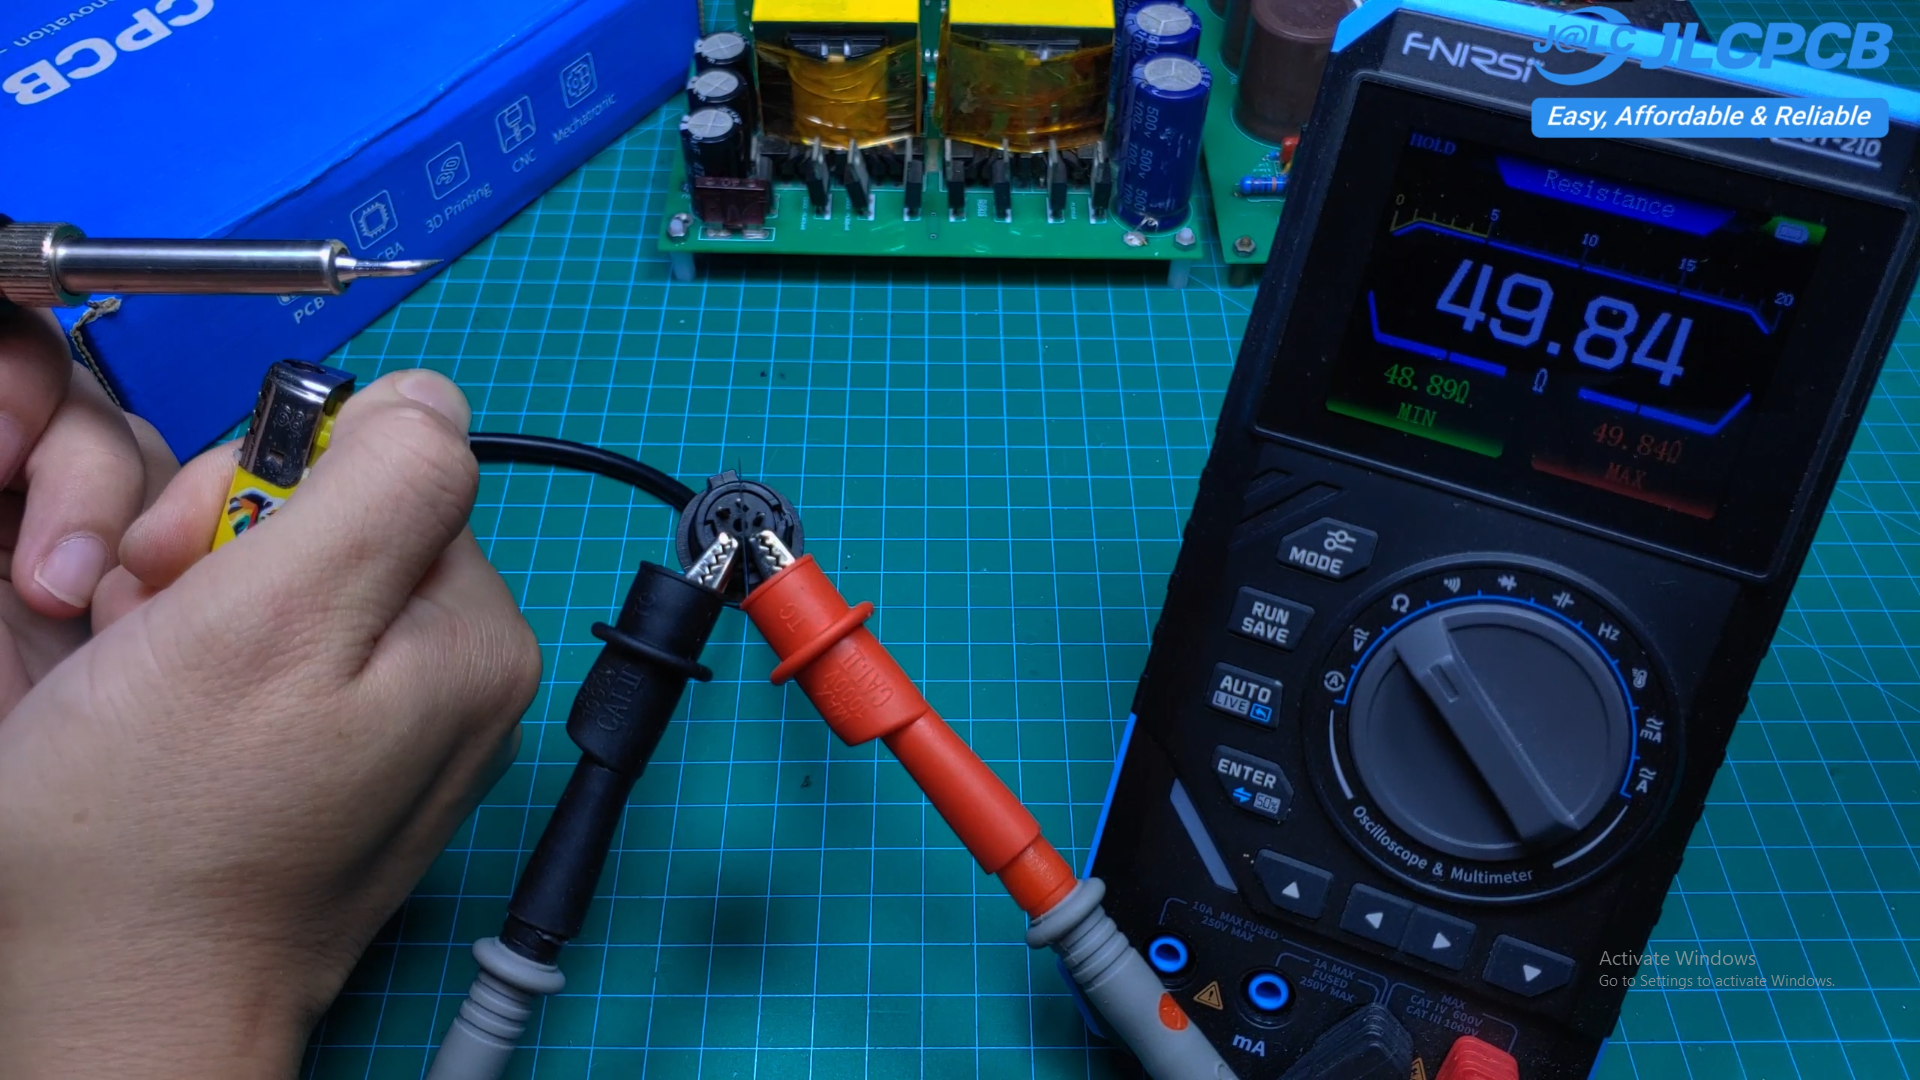
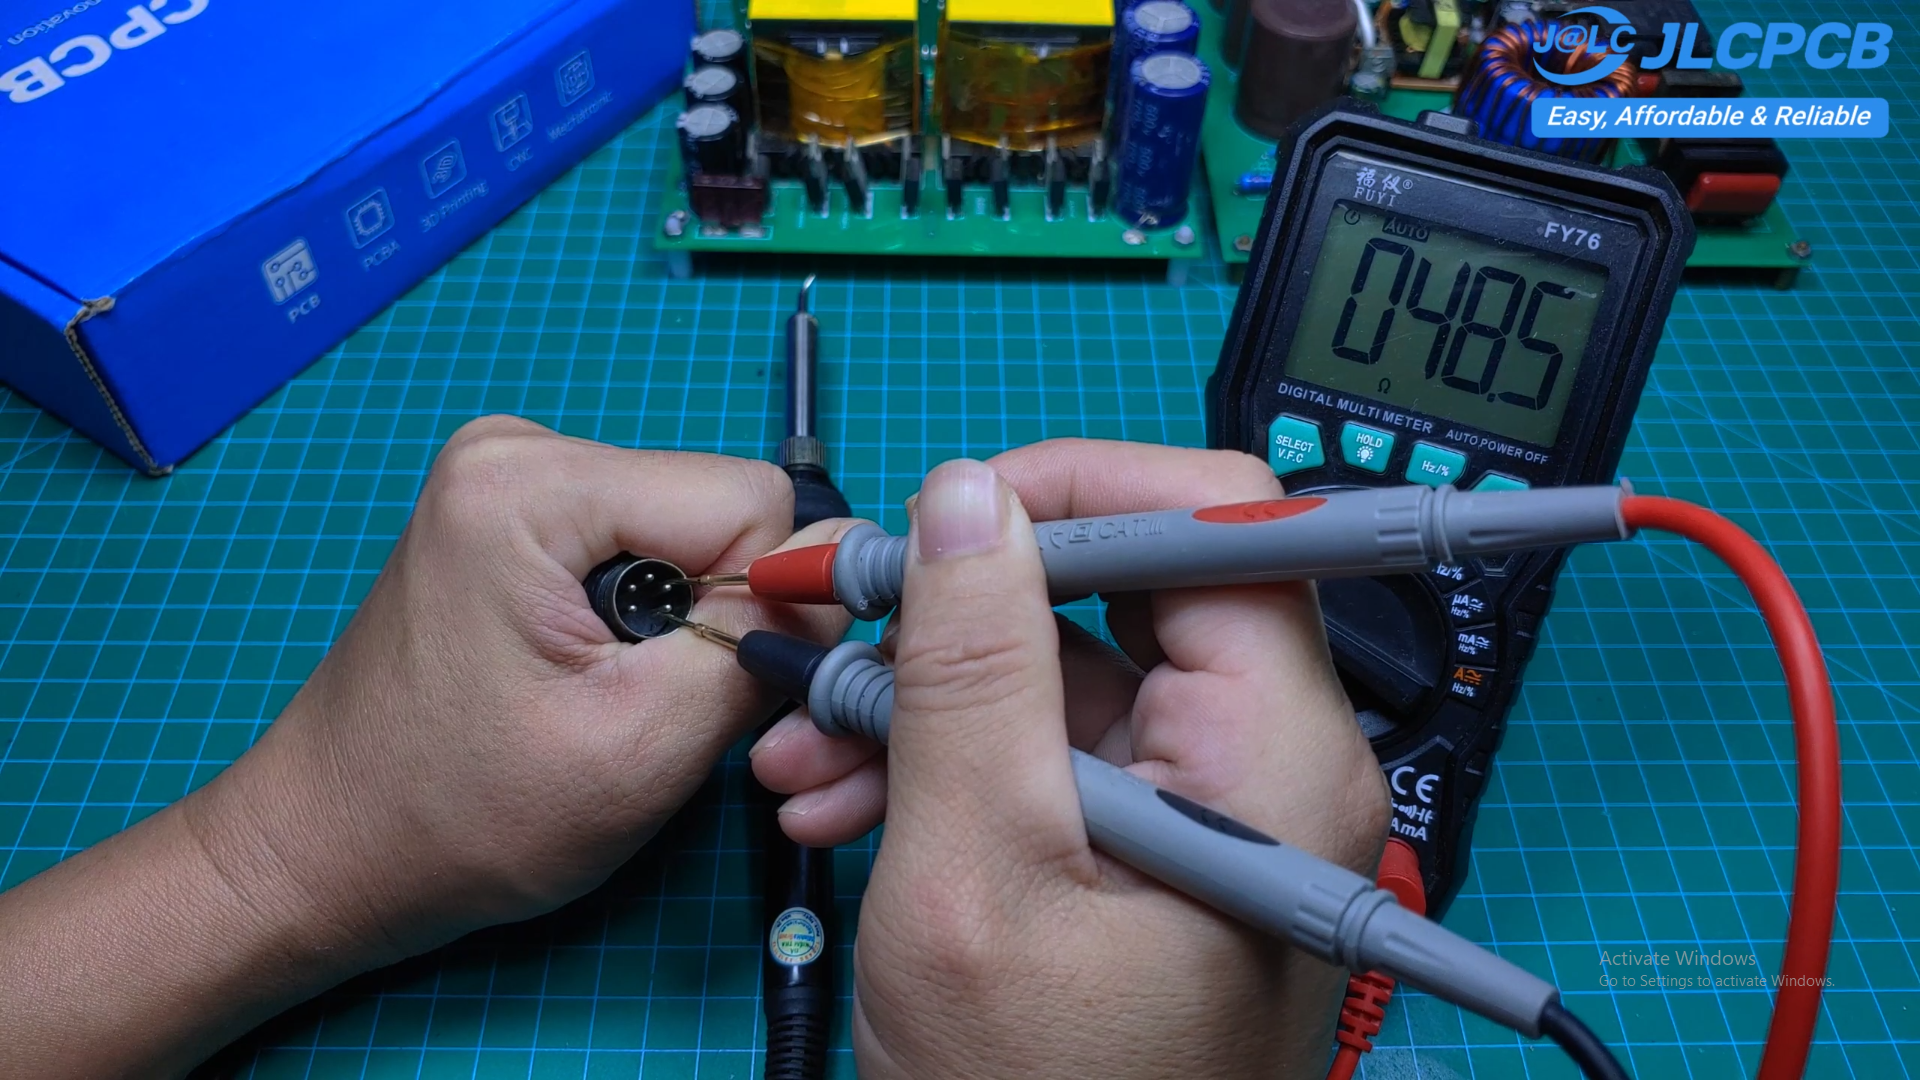
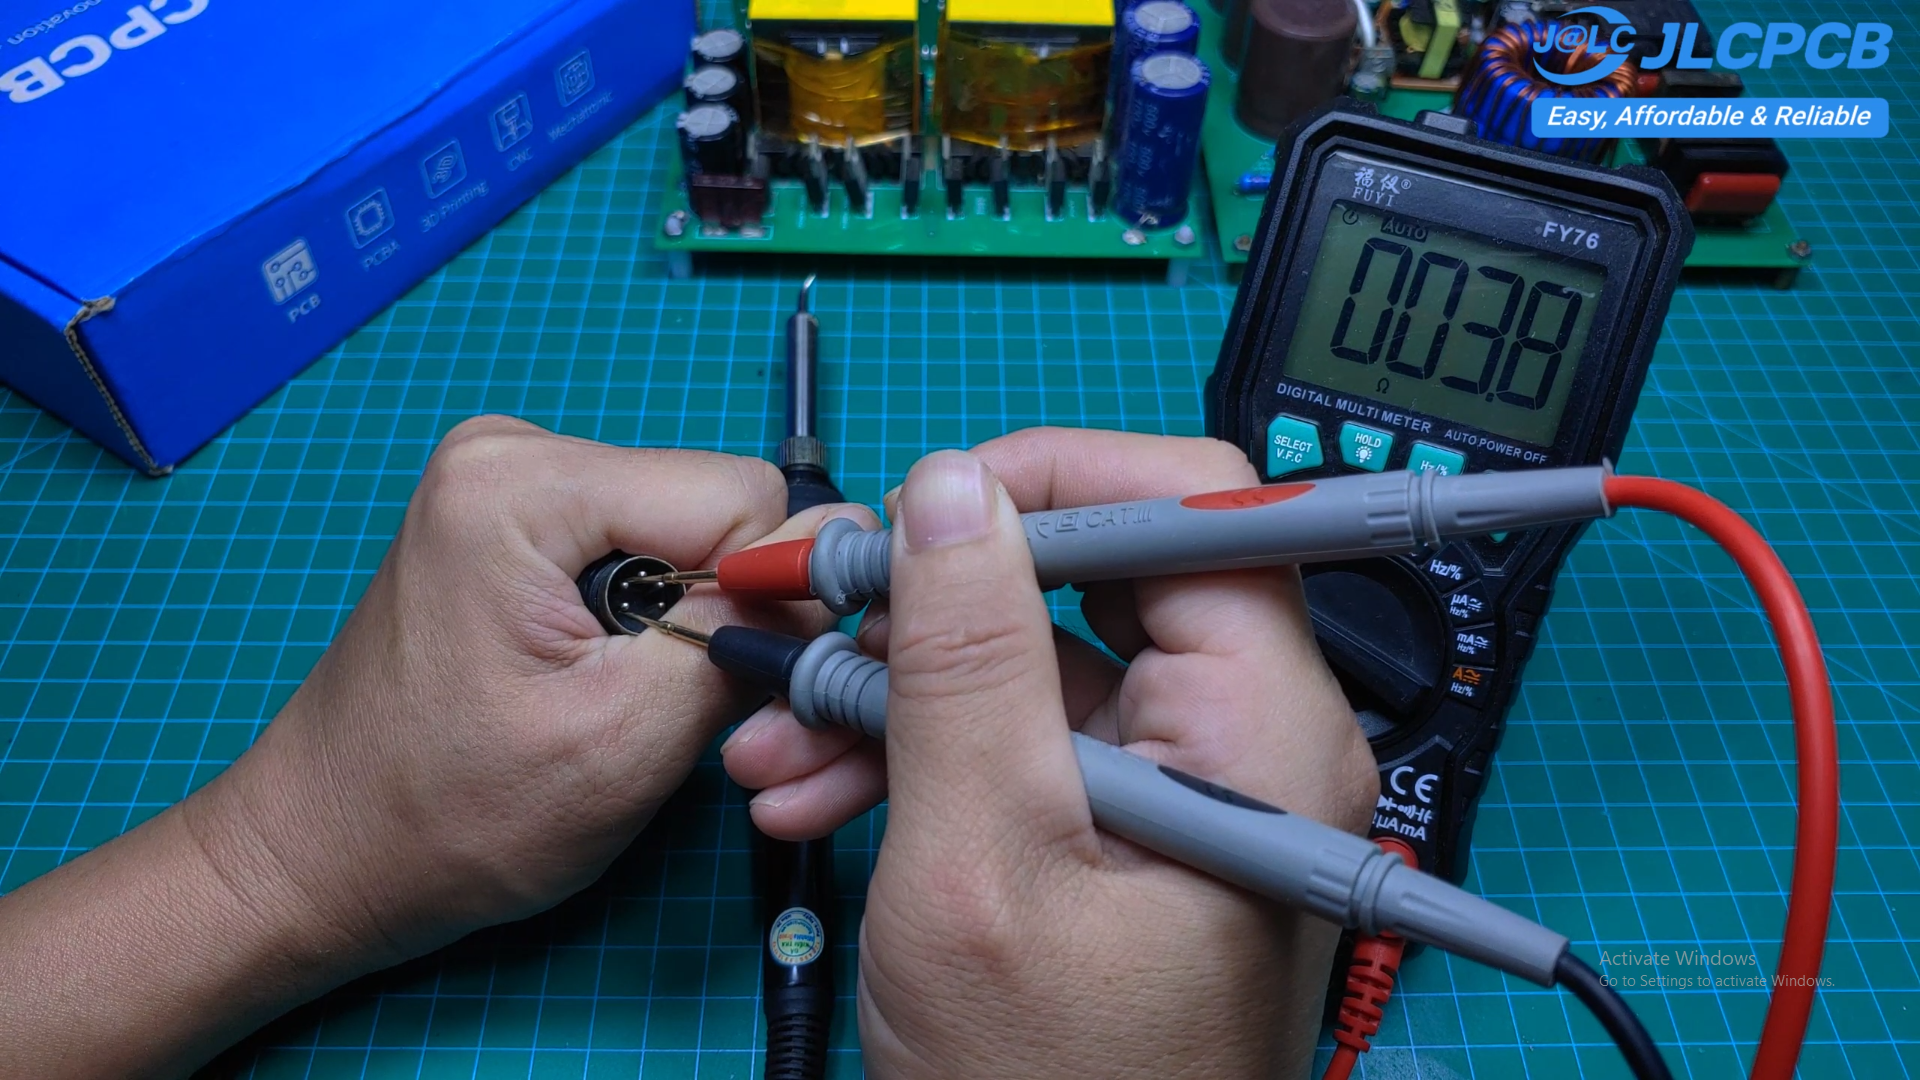
    Before connecting the soldering iron to the circuit, it is important to check its resistance.

    The sensor resistance should be approximately 48–50 ohms.

    The heater resistance should be approximately 3–4 ohms.

    Please check your soldering iron first to make sure it is compatible with this circuit.

    The sensor works by changing its resistance according to temperature. As the temperature increases, the sensor resistance also increases. When the temperature decreases, the sensor resistance decreases accordingly.

  • 3
    Power Supply

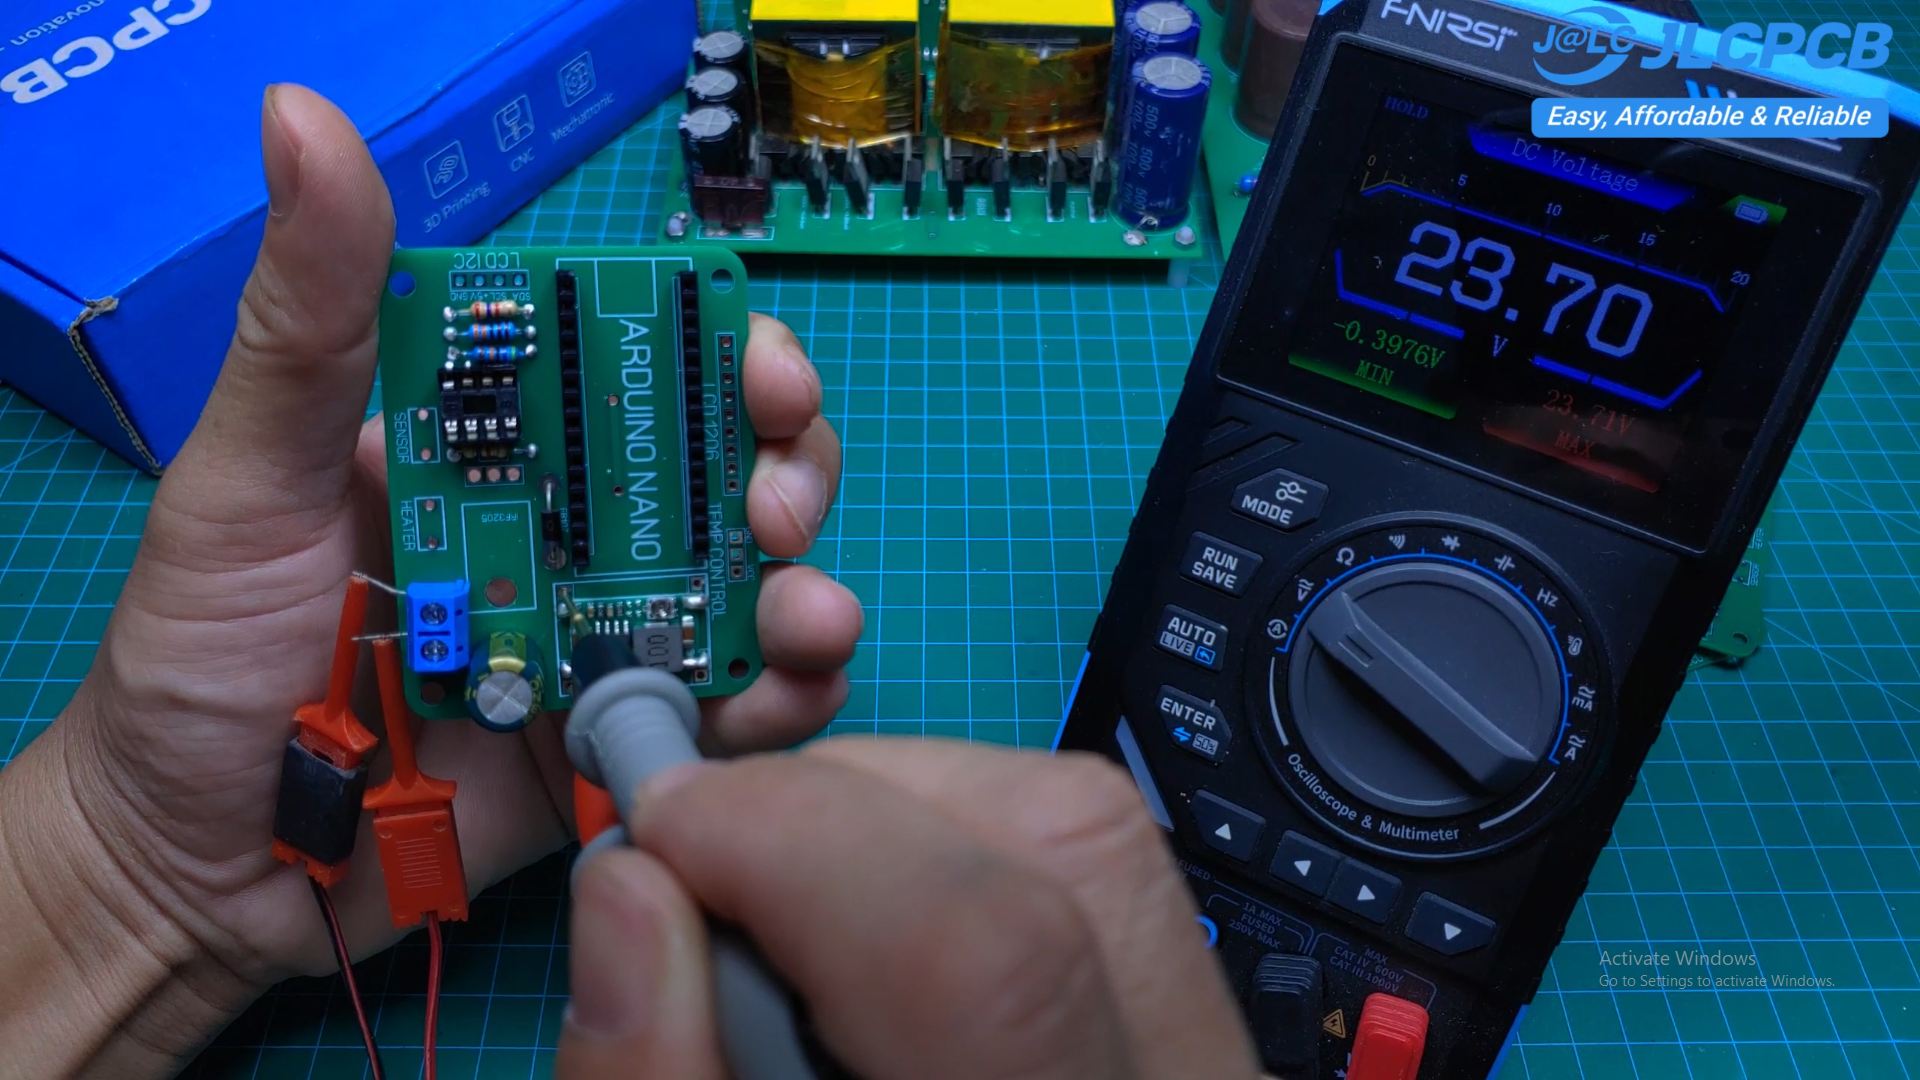
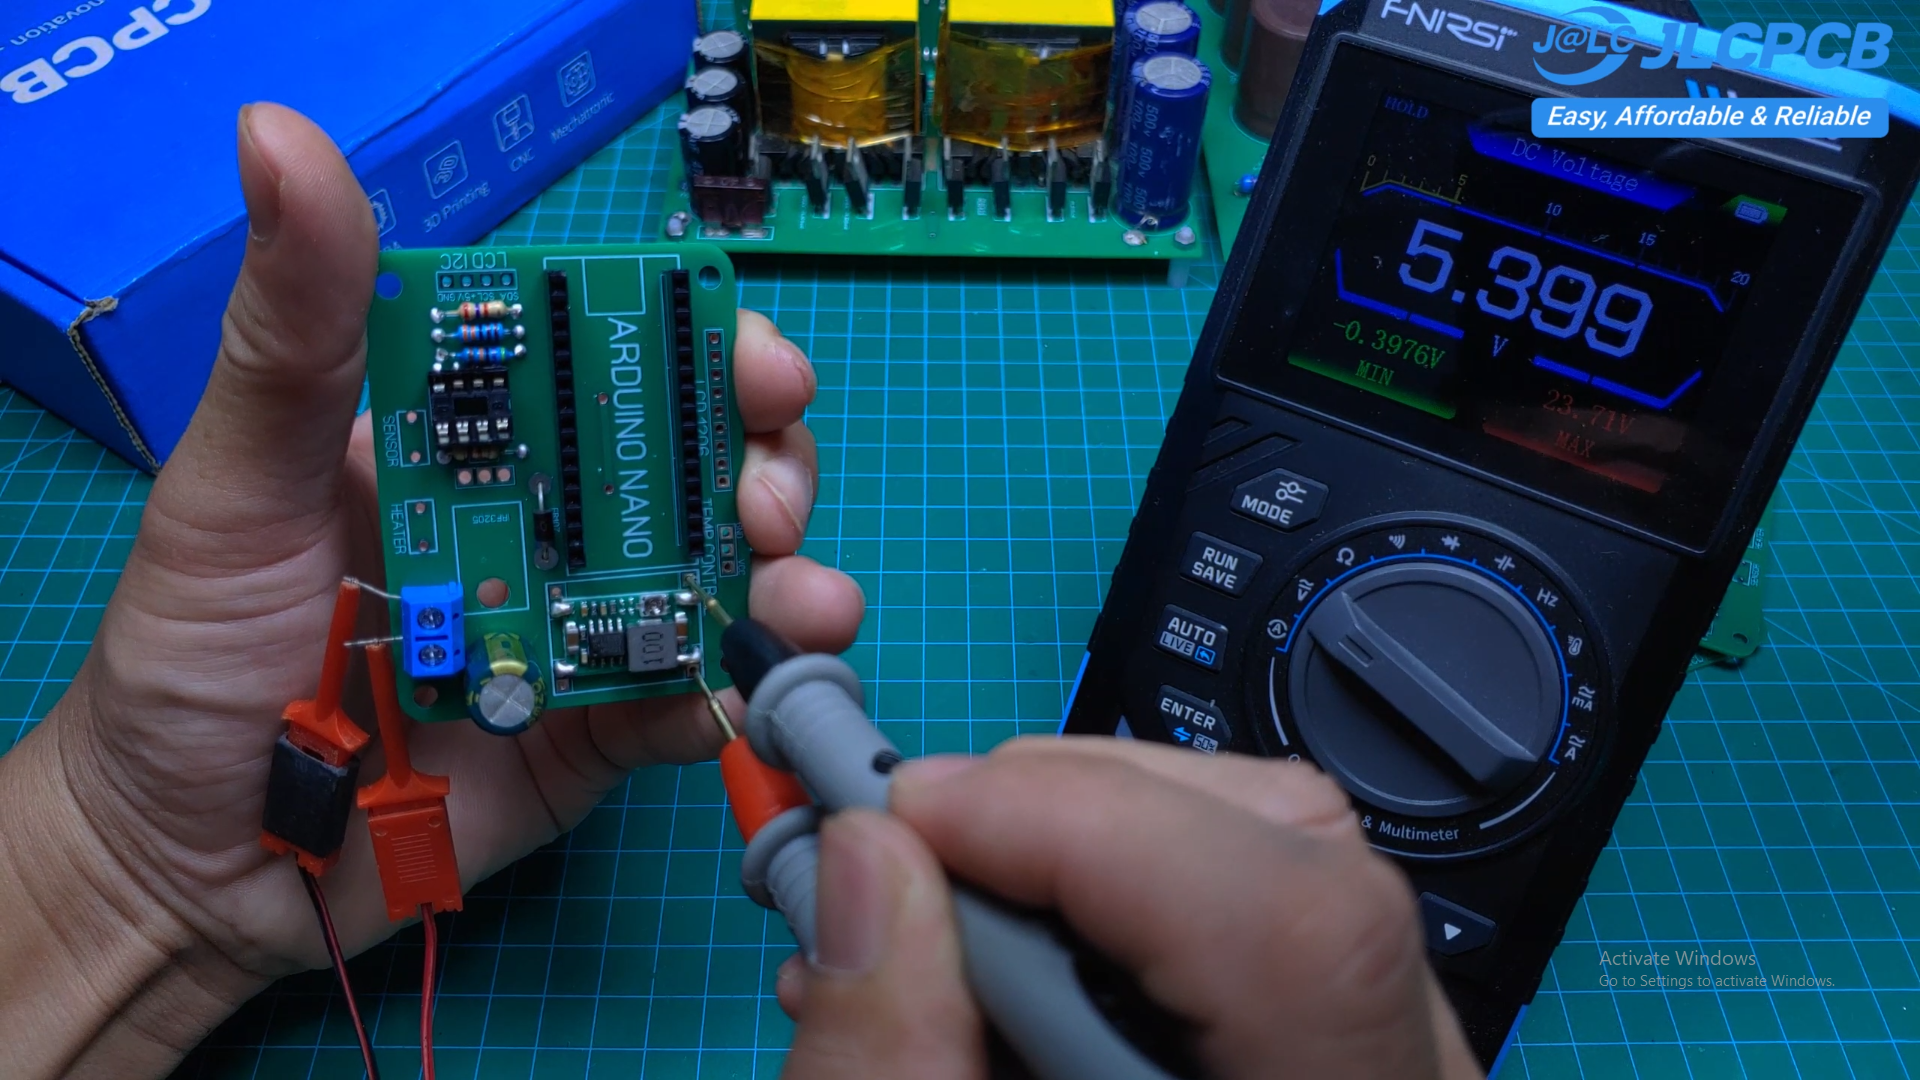
    For the Arduino Nano, I use a Mini-360 DC-DC converter to step down the 24 volt input to 5 volts.

    Before connecting the Arduino Nano, make sure to check both the input and output voltages of the converter to ensure they are correct.

View all 8 instructions

Enjoy this project?

Share

Discussions

Does this project spark your interest?

Become a member to follow this project and never miss any updates