 youkito1991
-
1Components & Features
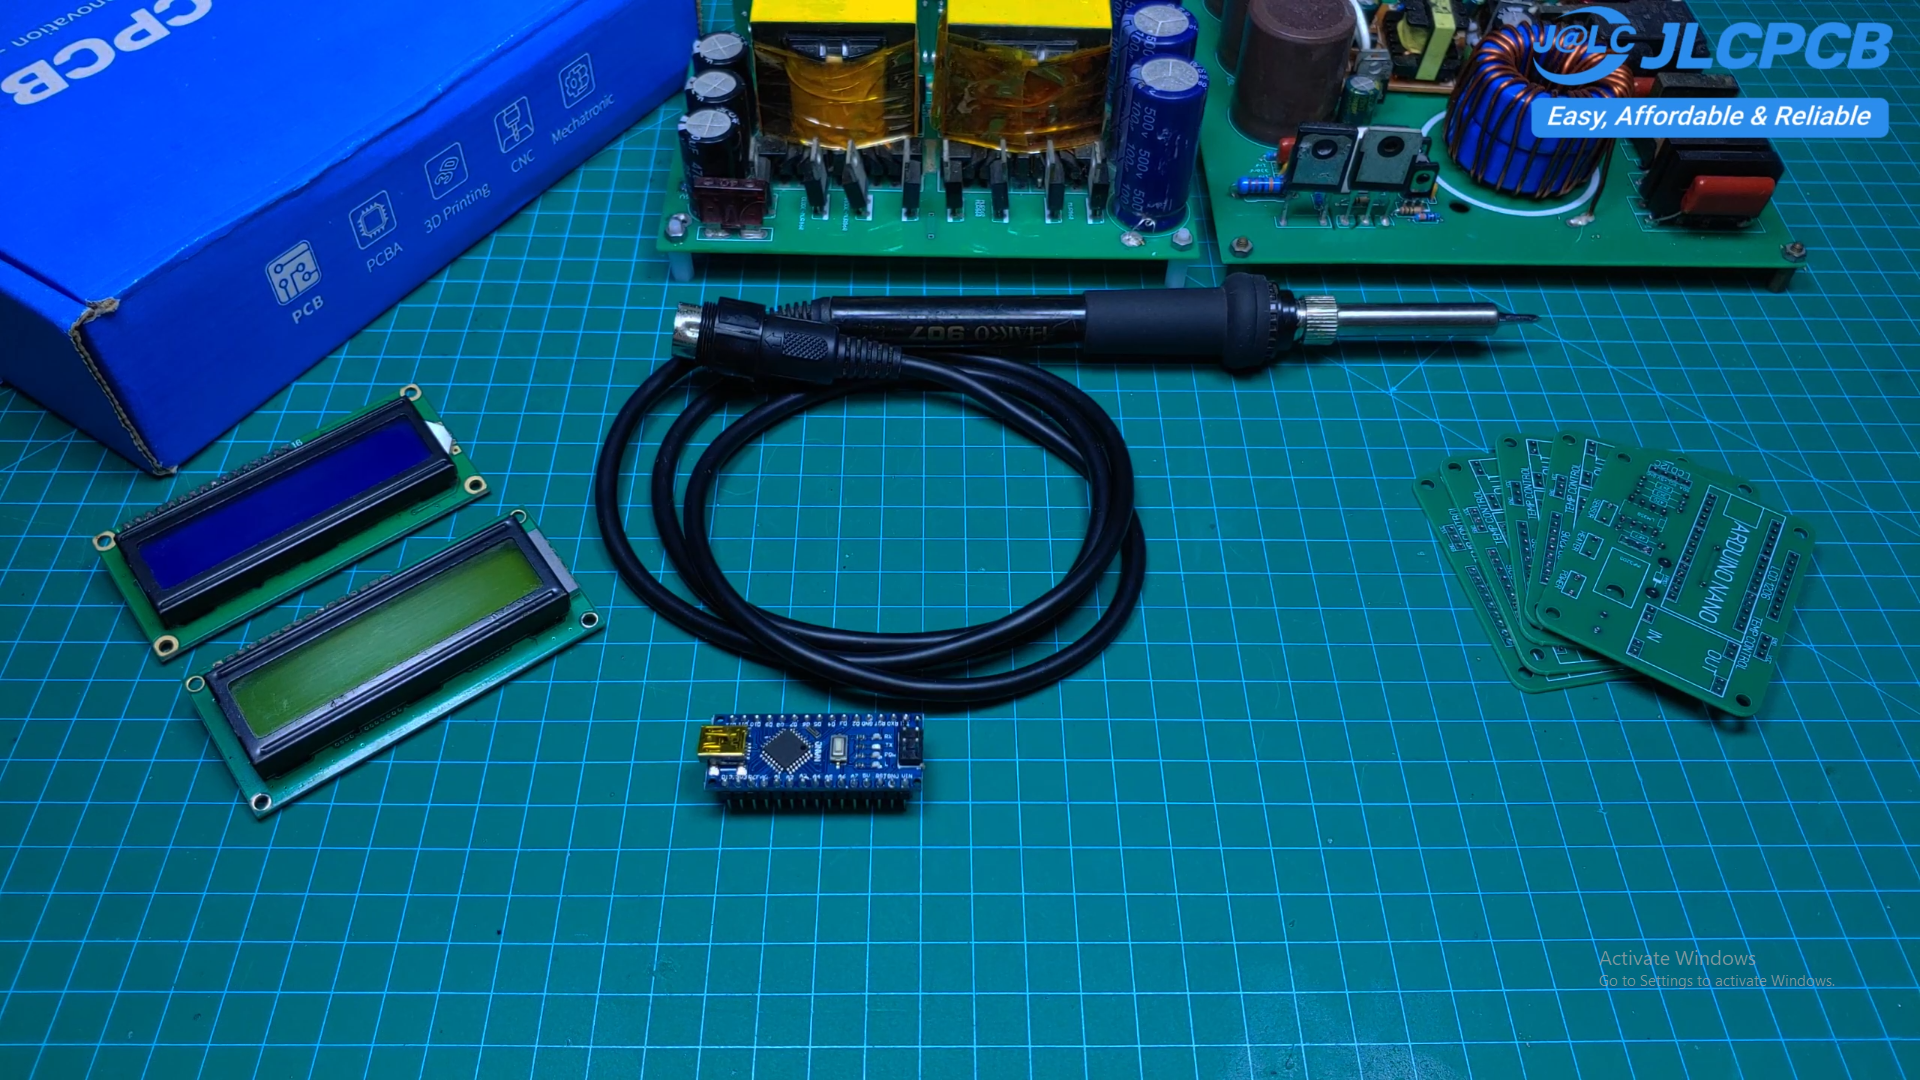
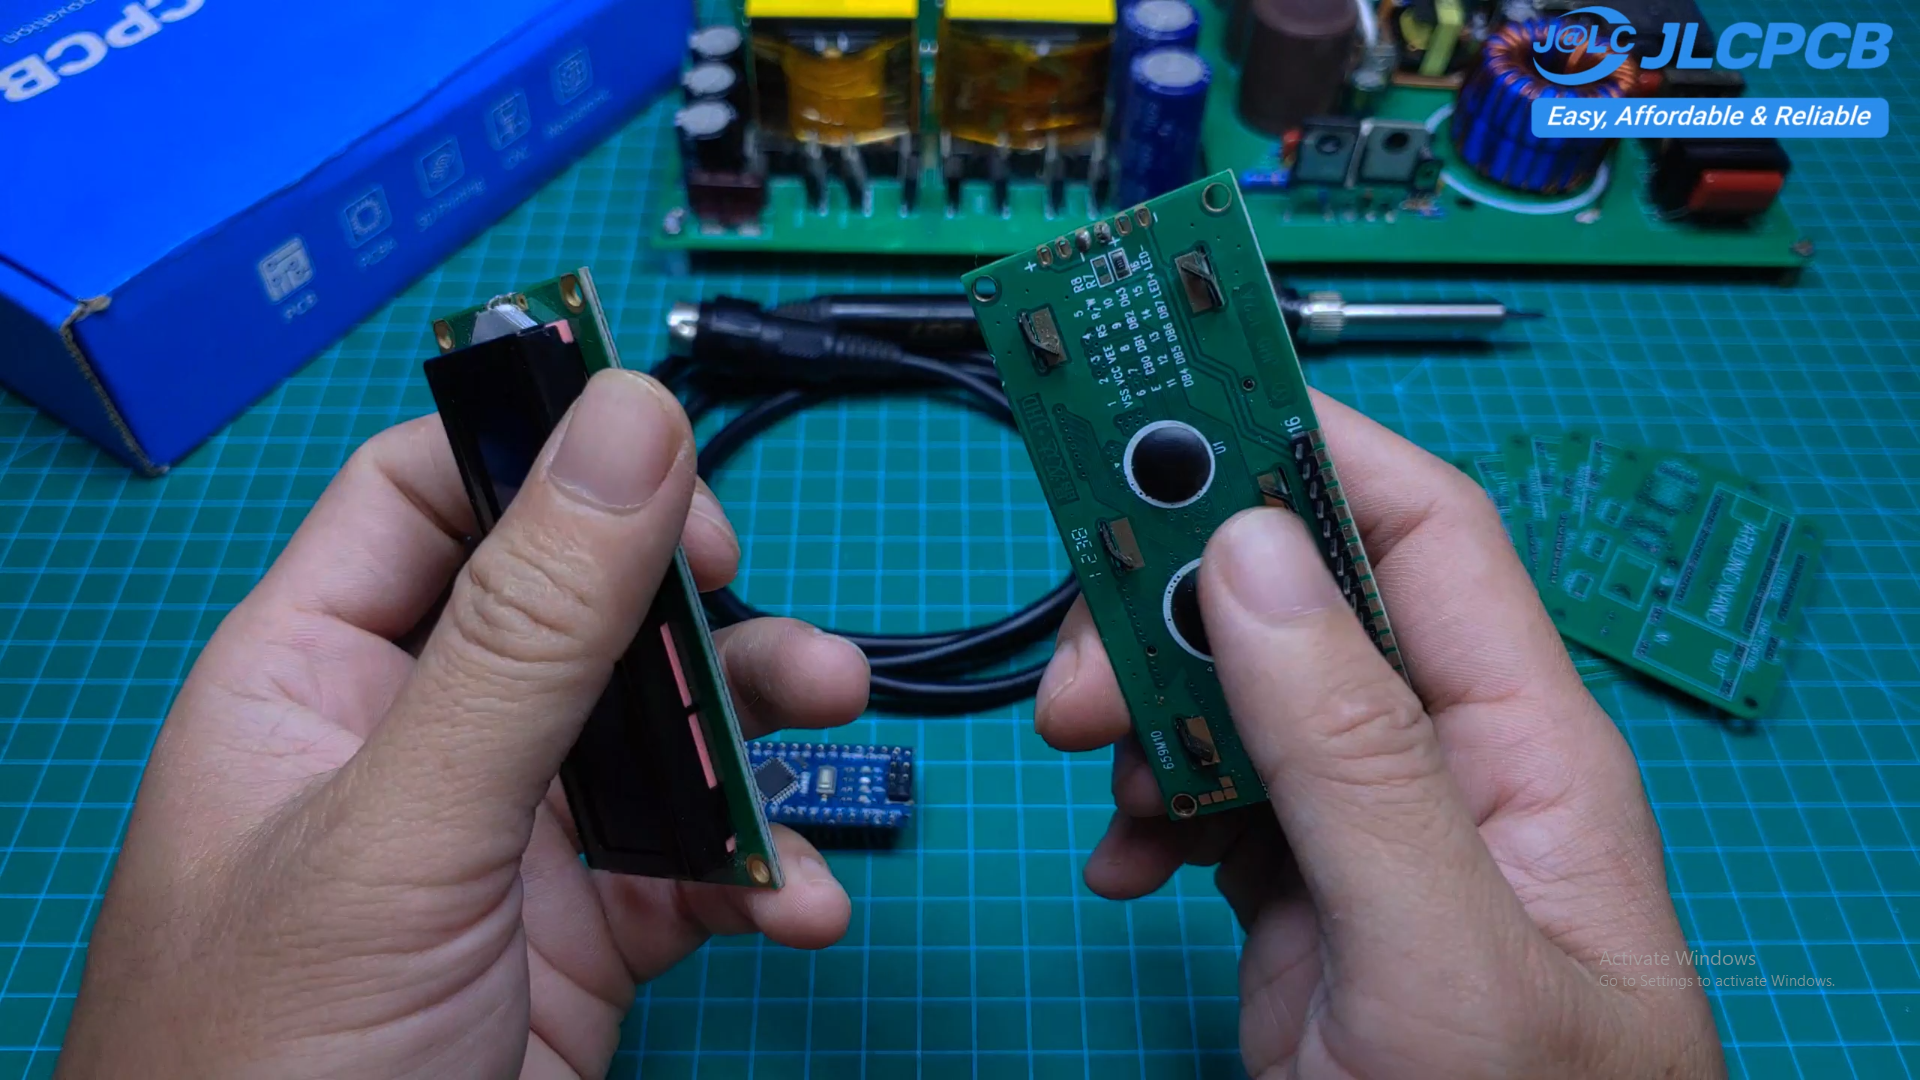
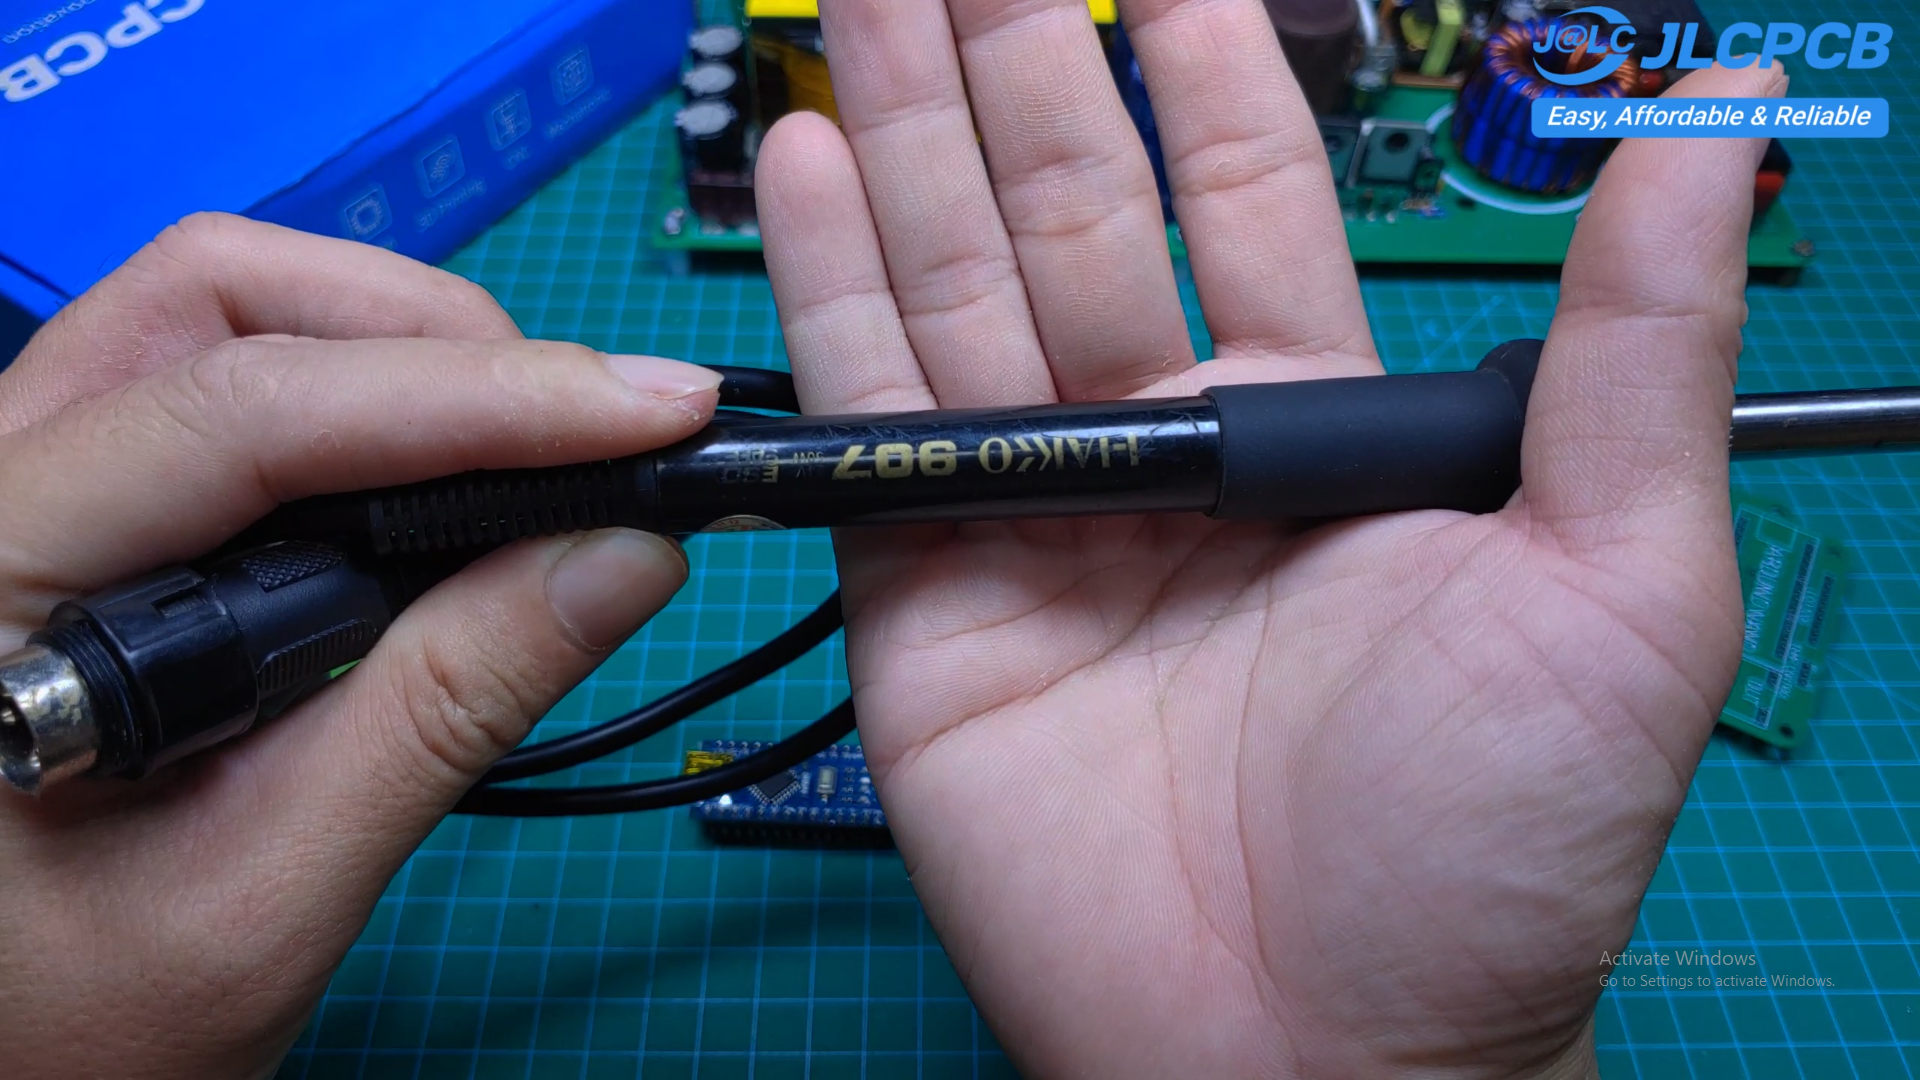
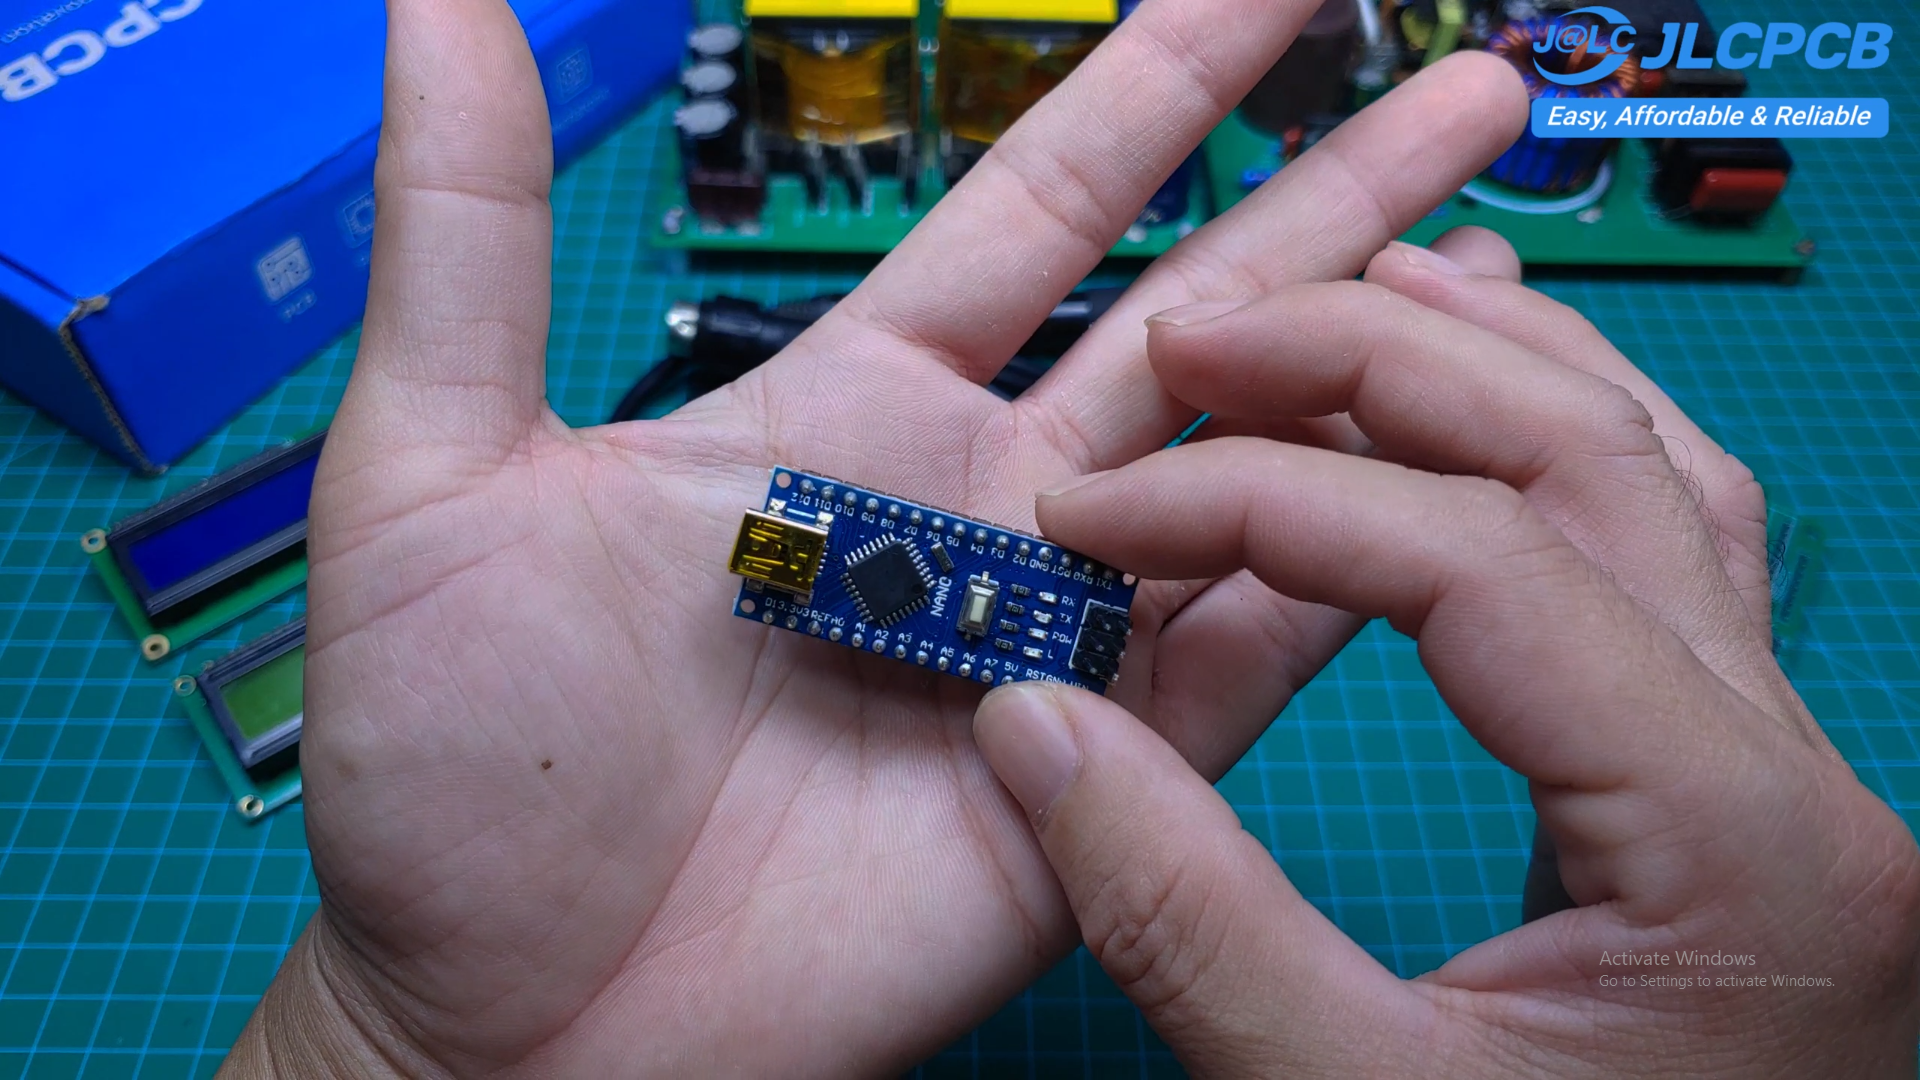
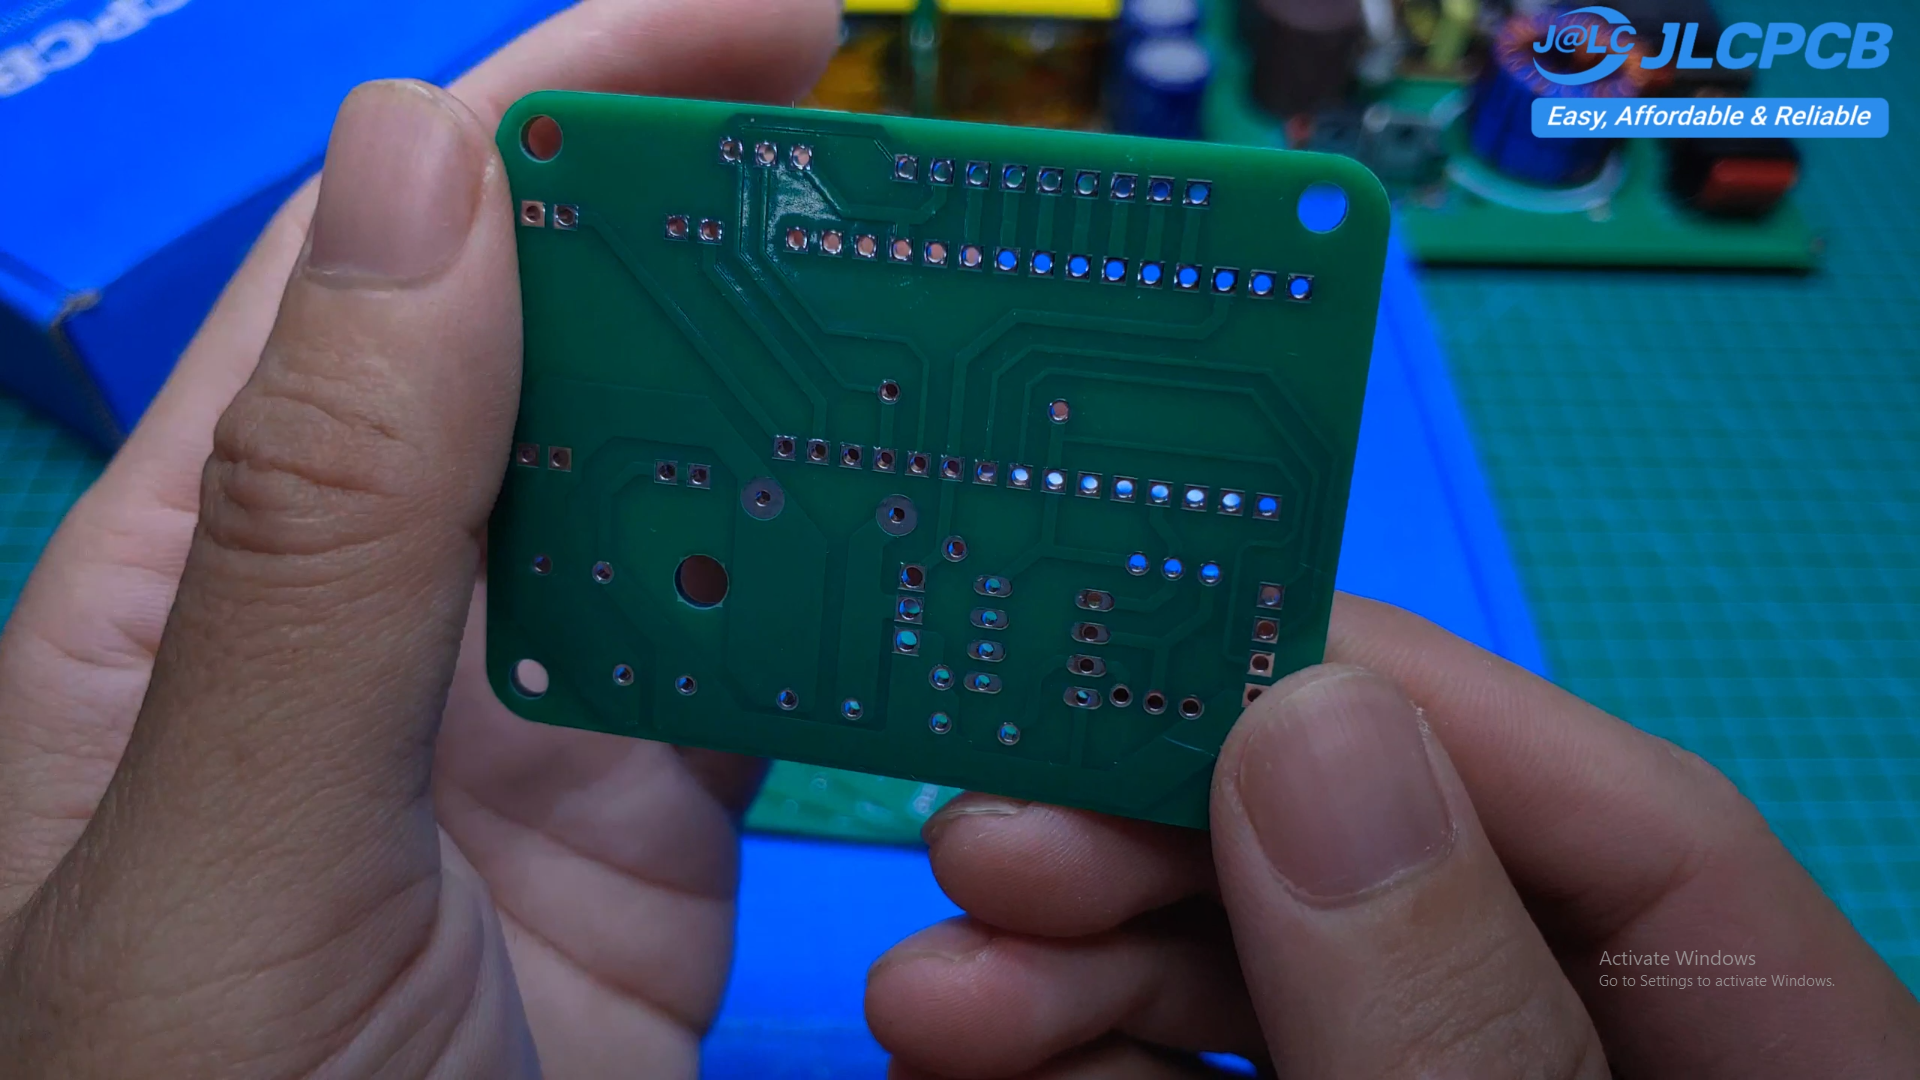
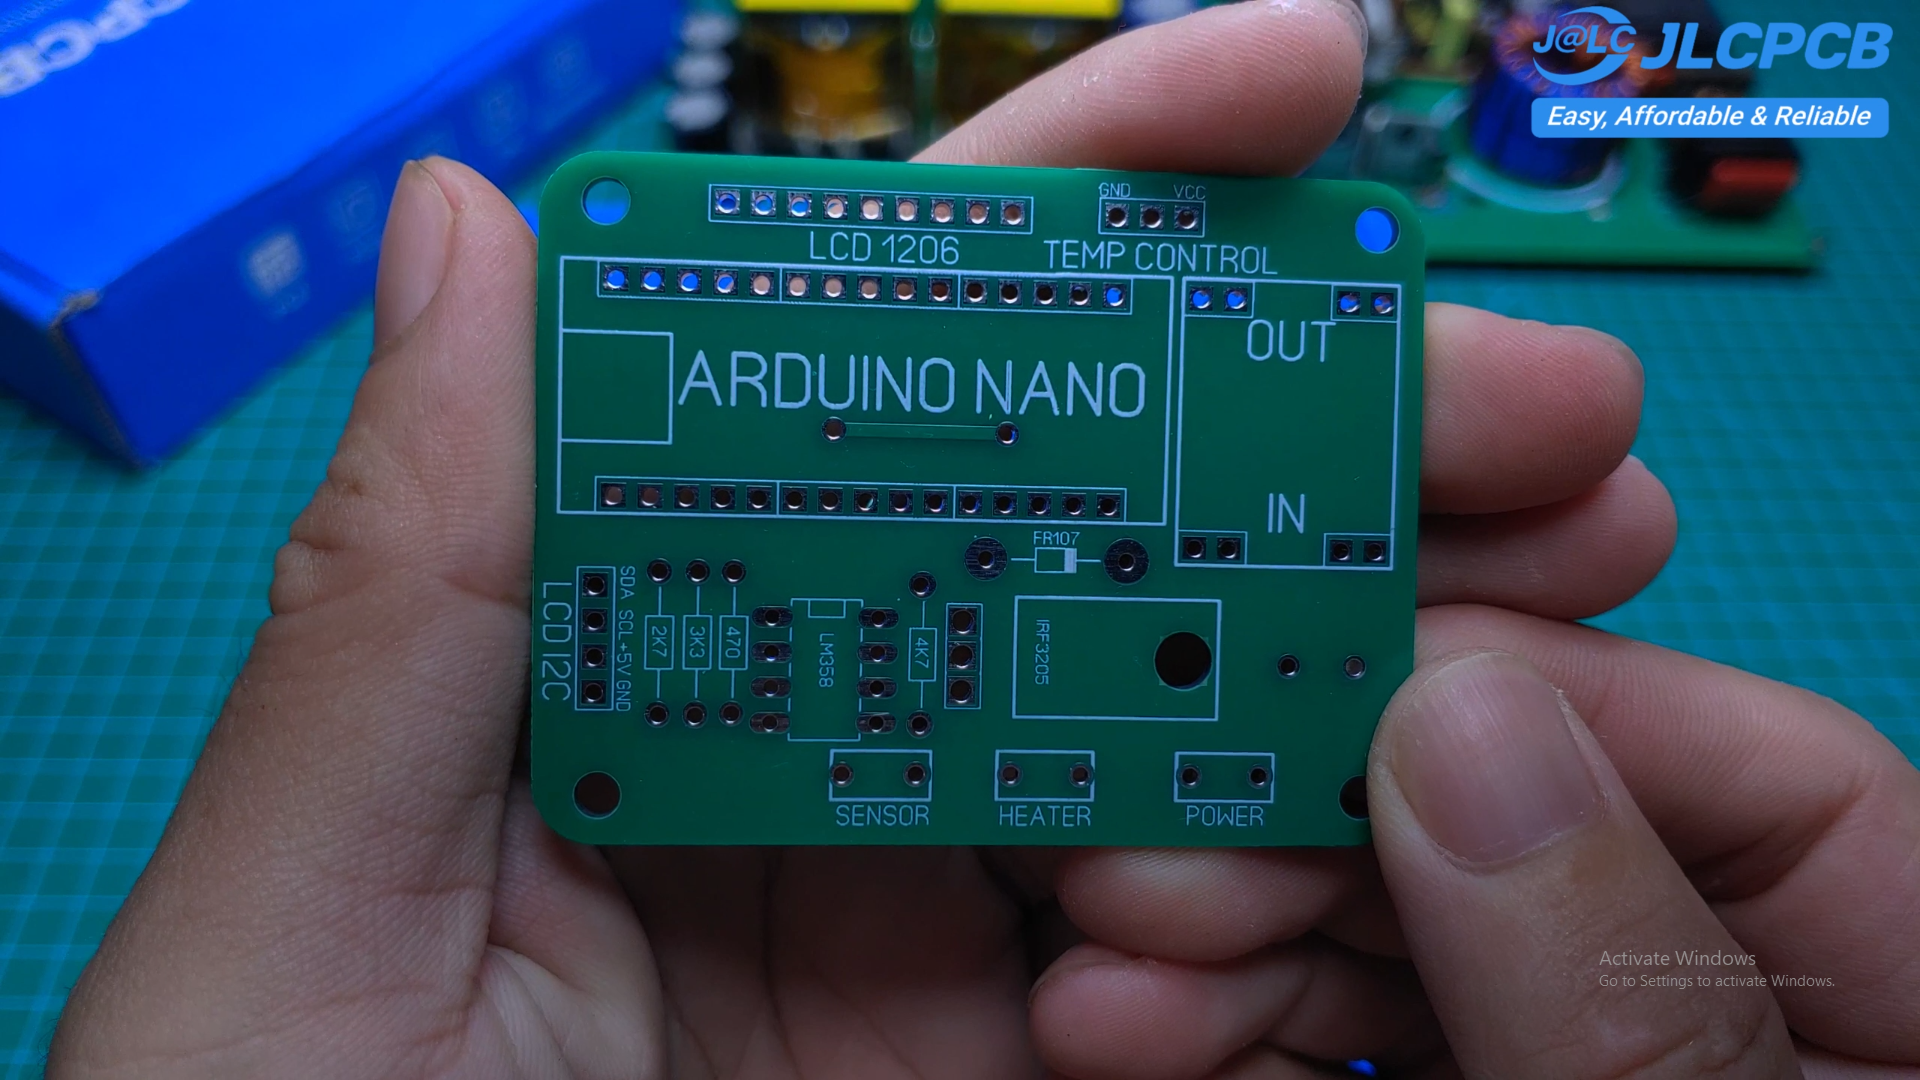
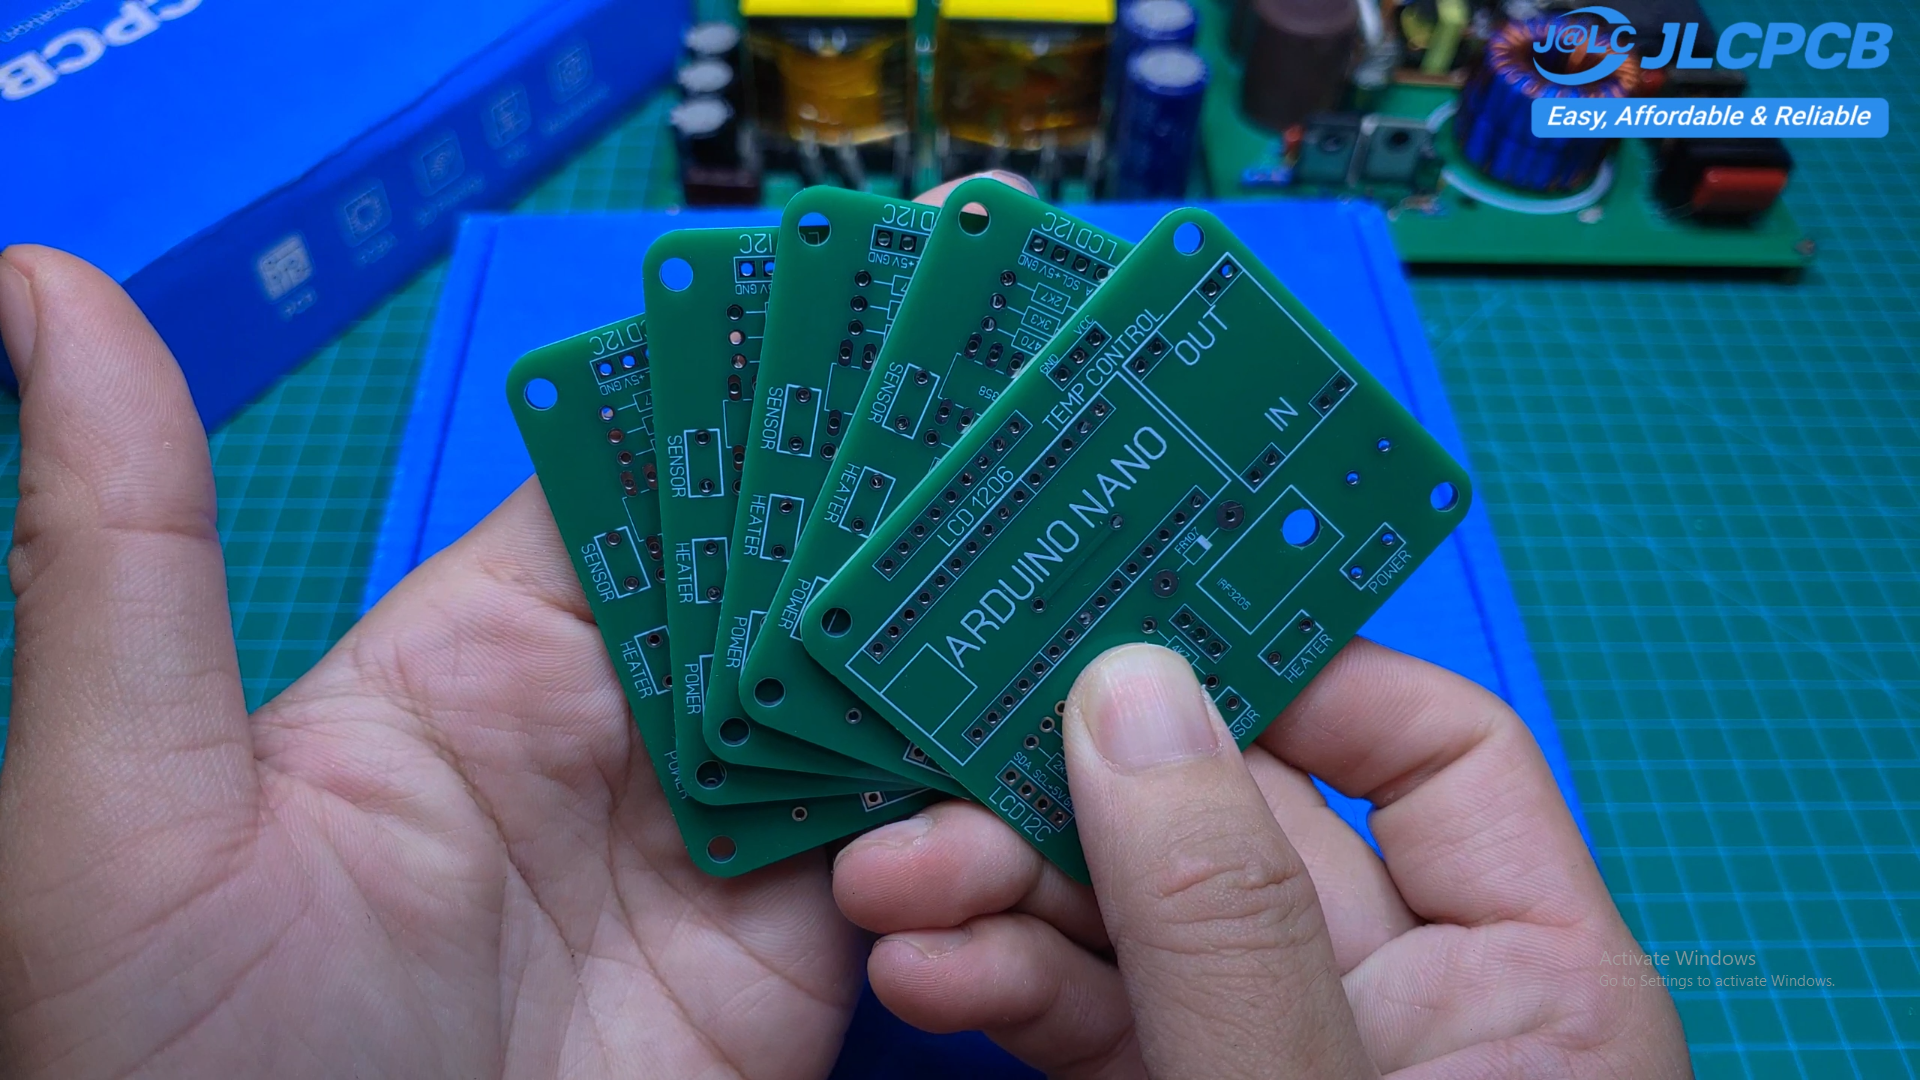
Arduino Nano, Hakko 907 soldering iron, 1602 LCD, LM358, N-channel MOSFET, Potentiometer, Mini-360 DC-DC converter, Resistors and capacitors, 24 volt DC power supply, PCB, Wires and connectors, Arduino Nano, Hakko 907 soldering iron, 1602 LCD, LM358, N-channel MOSFET, Potentiometer, Mini-360 DC-DC converter, Resistors and capacitors, 24 volt DC power supply, PCB, Wires and connectors, PCB of this project from JLCPCB
![]()
![]()
![]()
![]()
![]()
![]()
![]()
![]()
-
2Checking the Hakko 907
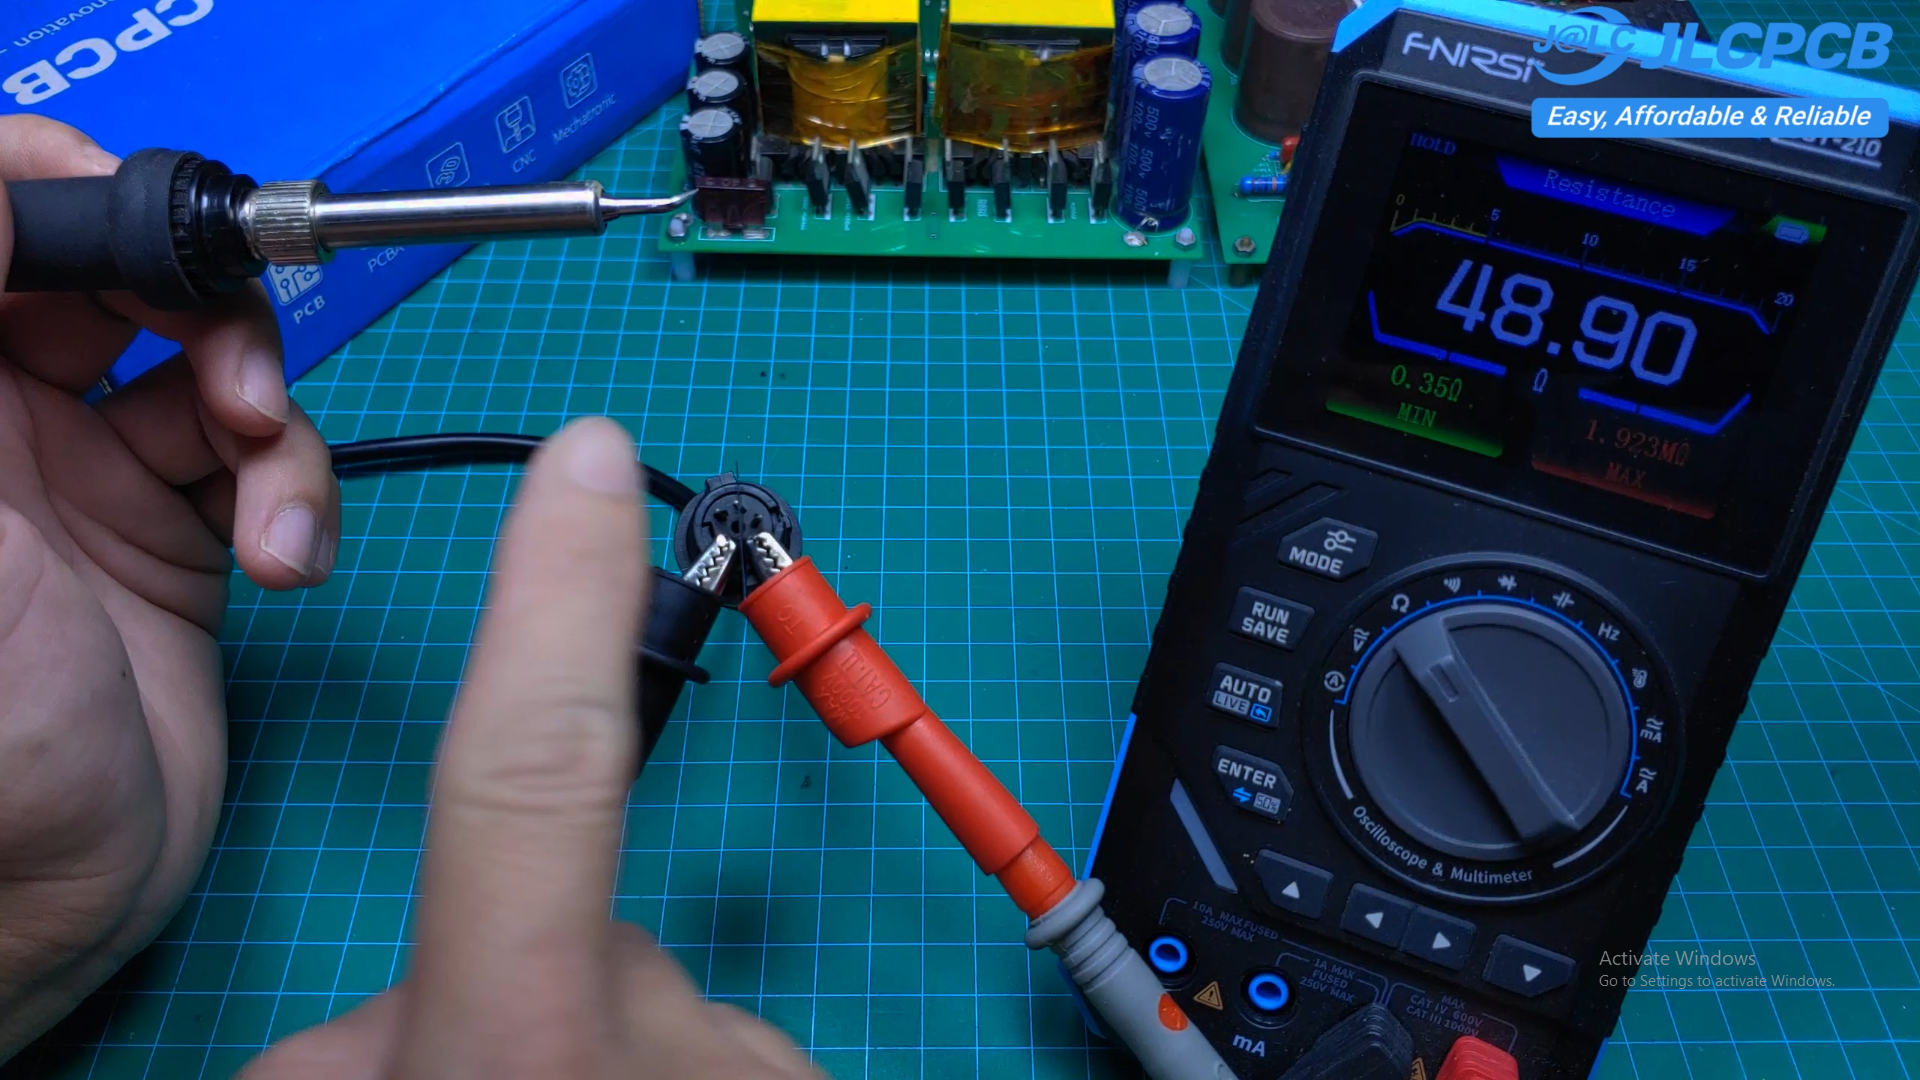
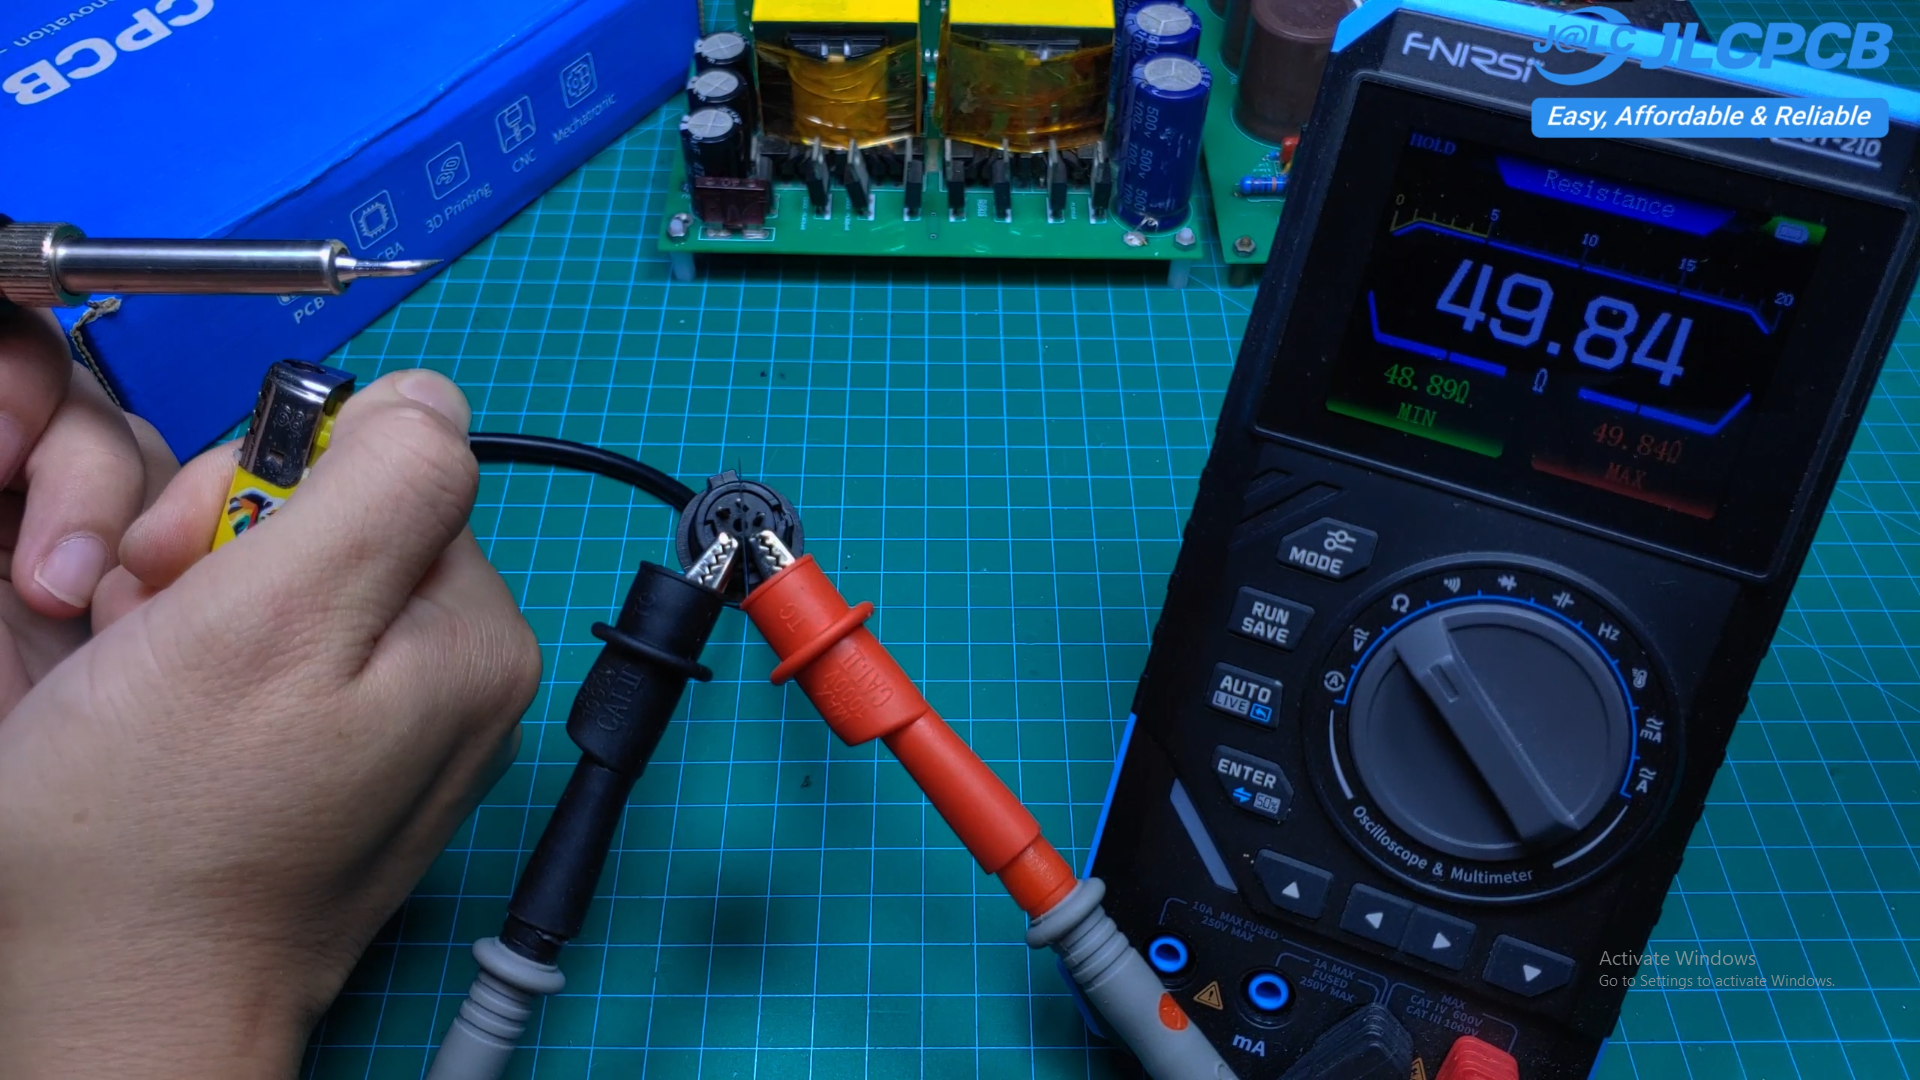
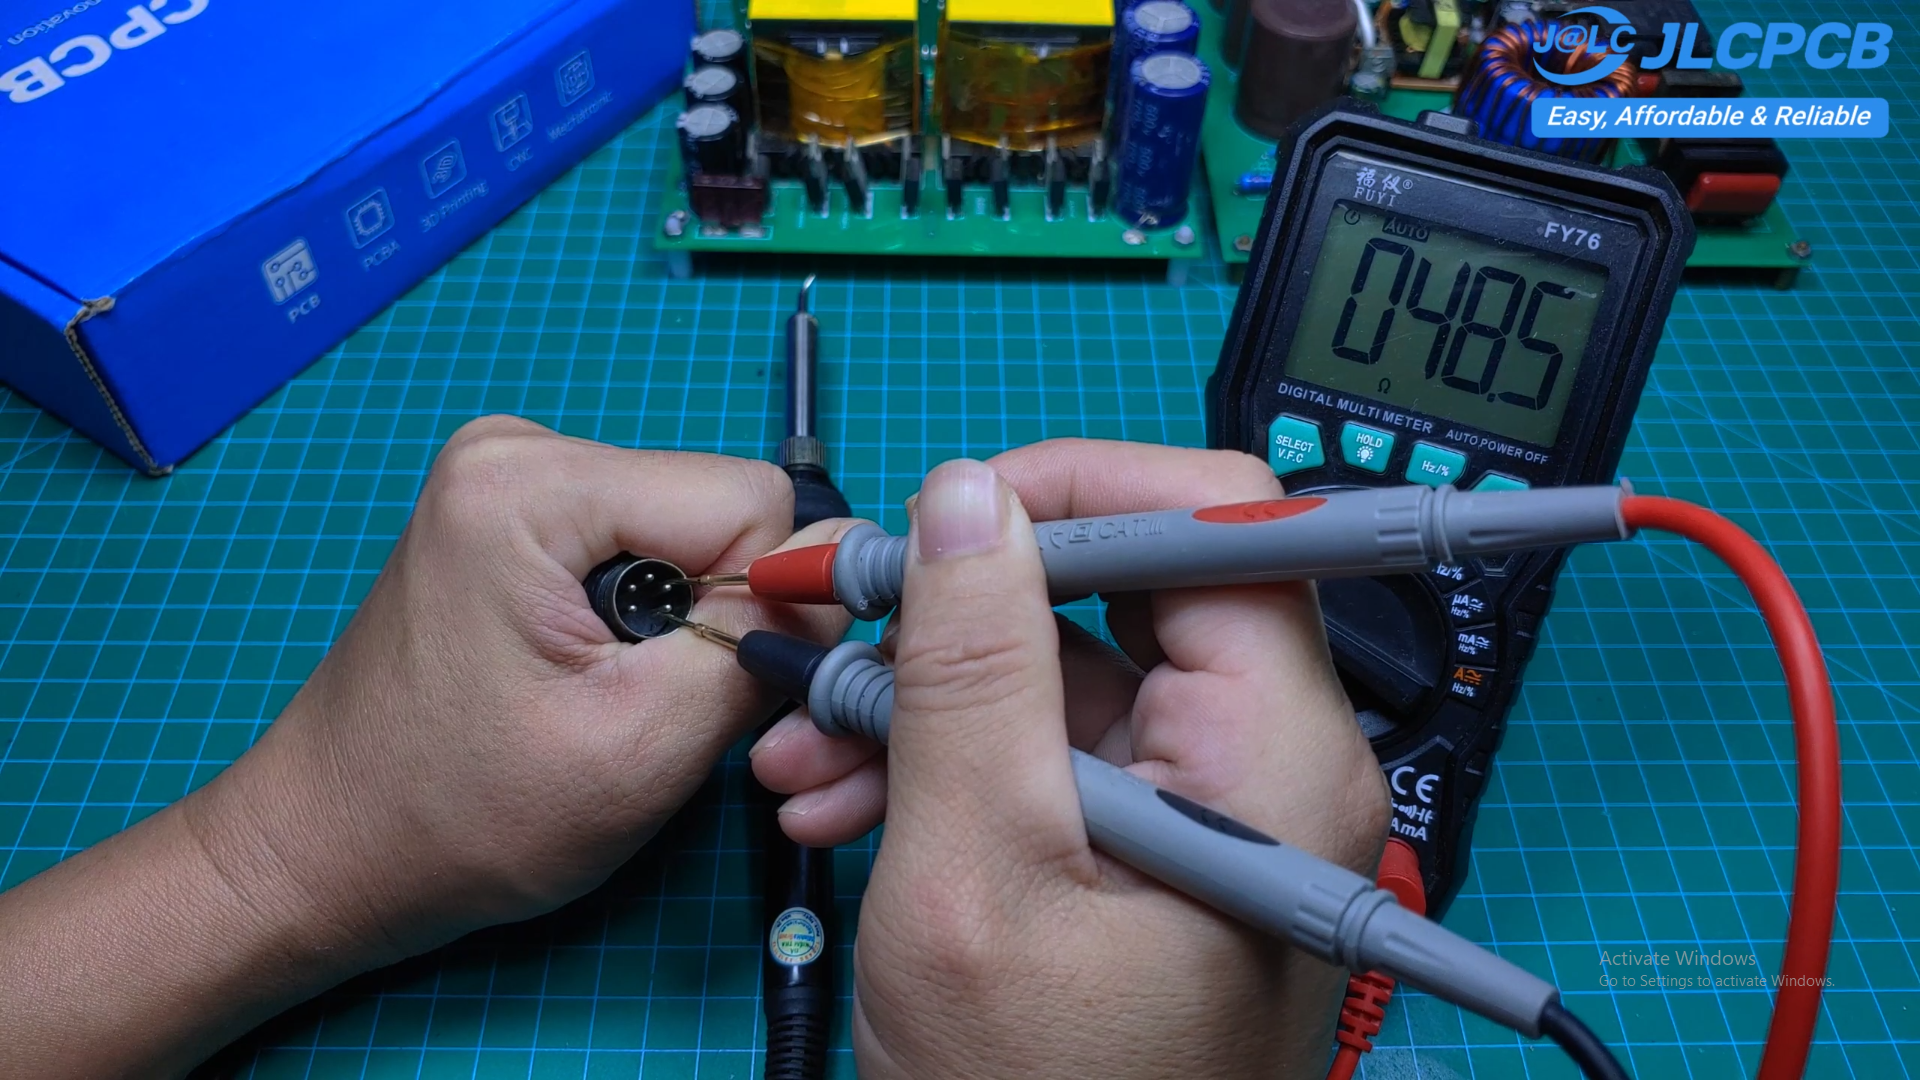
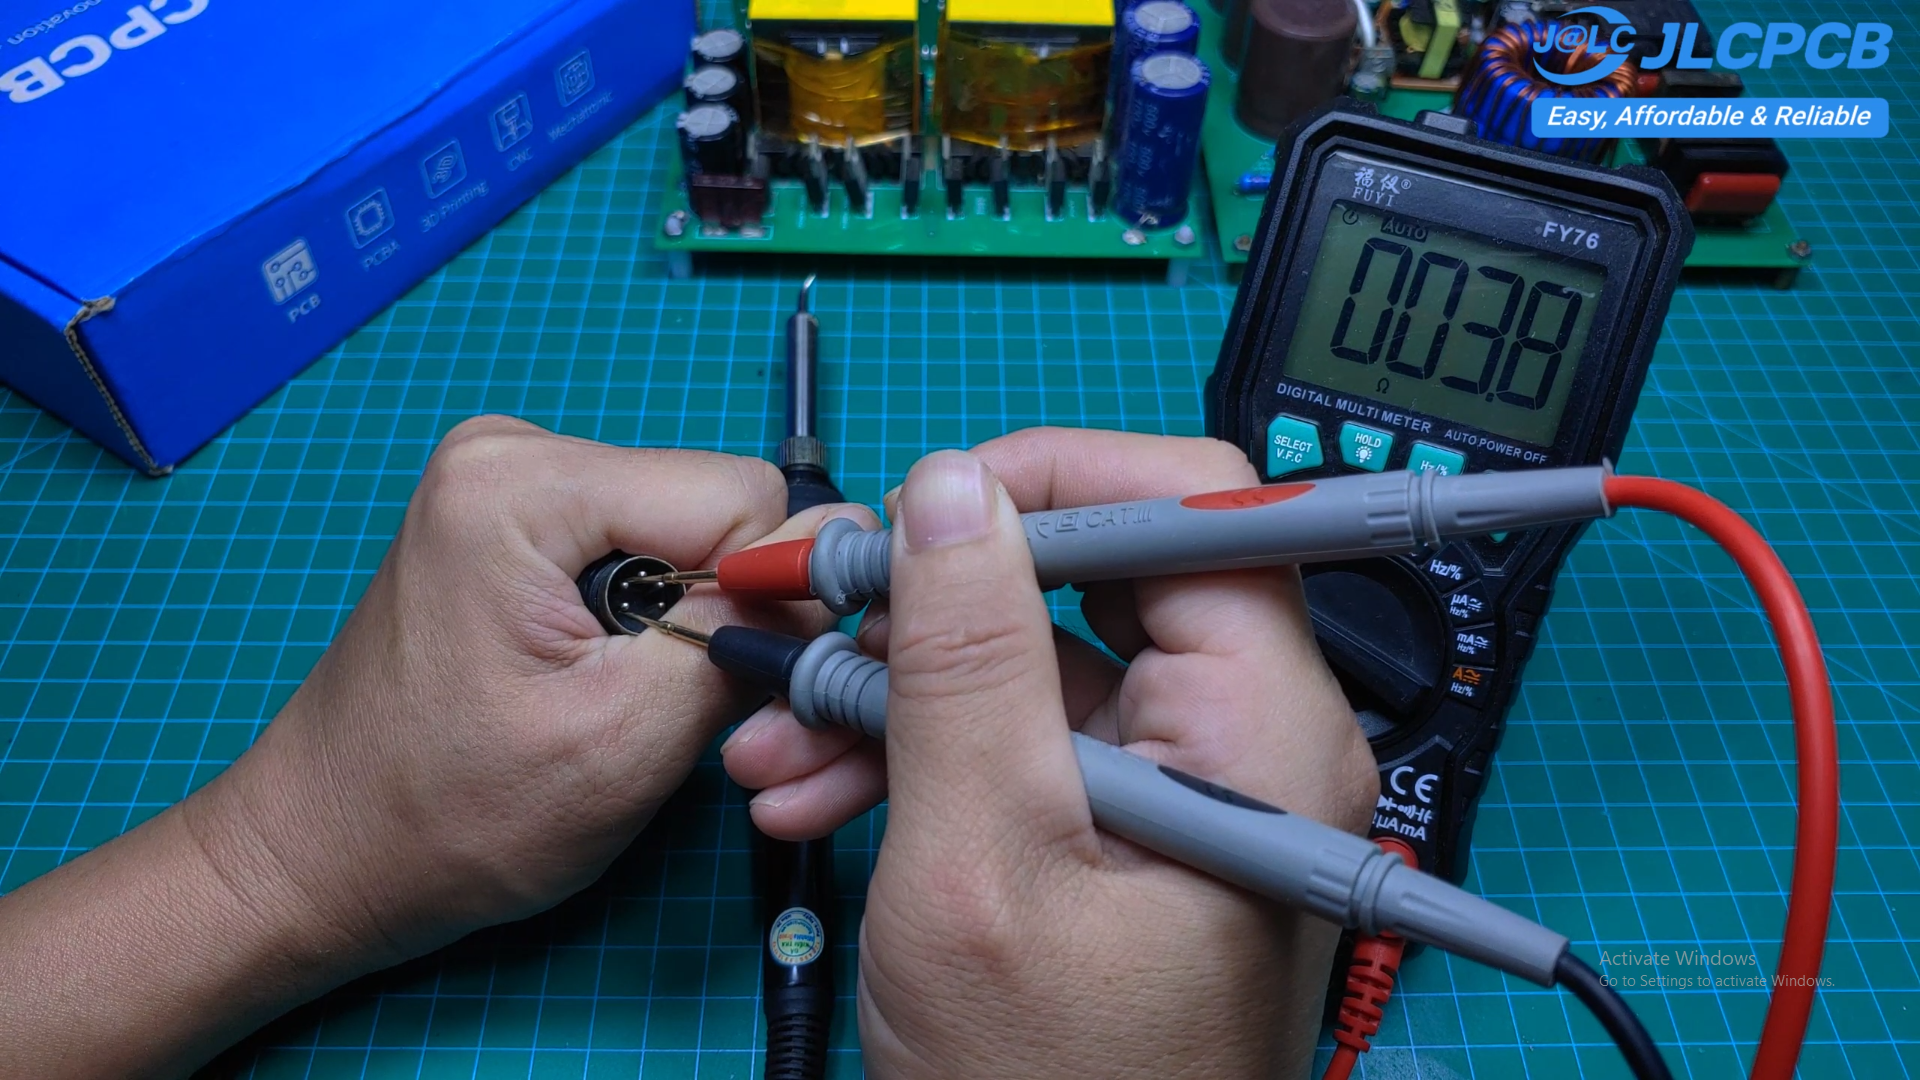
Before connecting the soldering iron to the circuit, it is important to check its resistance.
The sensor resistance should be approximately 48–50 ohms.
The heater resistance should be approximately 3–4 ohms.
Please check your soldering iron first to make sure it is compatible with this circuit.
The sensor works by changing its resistance according to temperature. As the temperature increases, the sensor resistance also increases. When the temperature decreases, the sensor resistance decreases accordingly.
![]()
![]()
![]()
![]()
-
3Power Supply
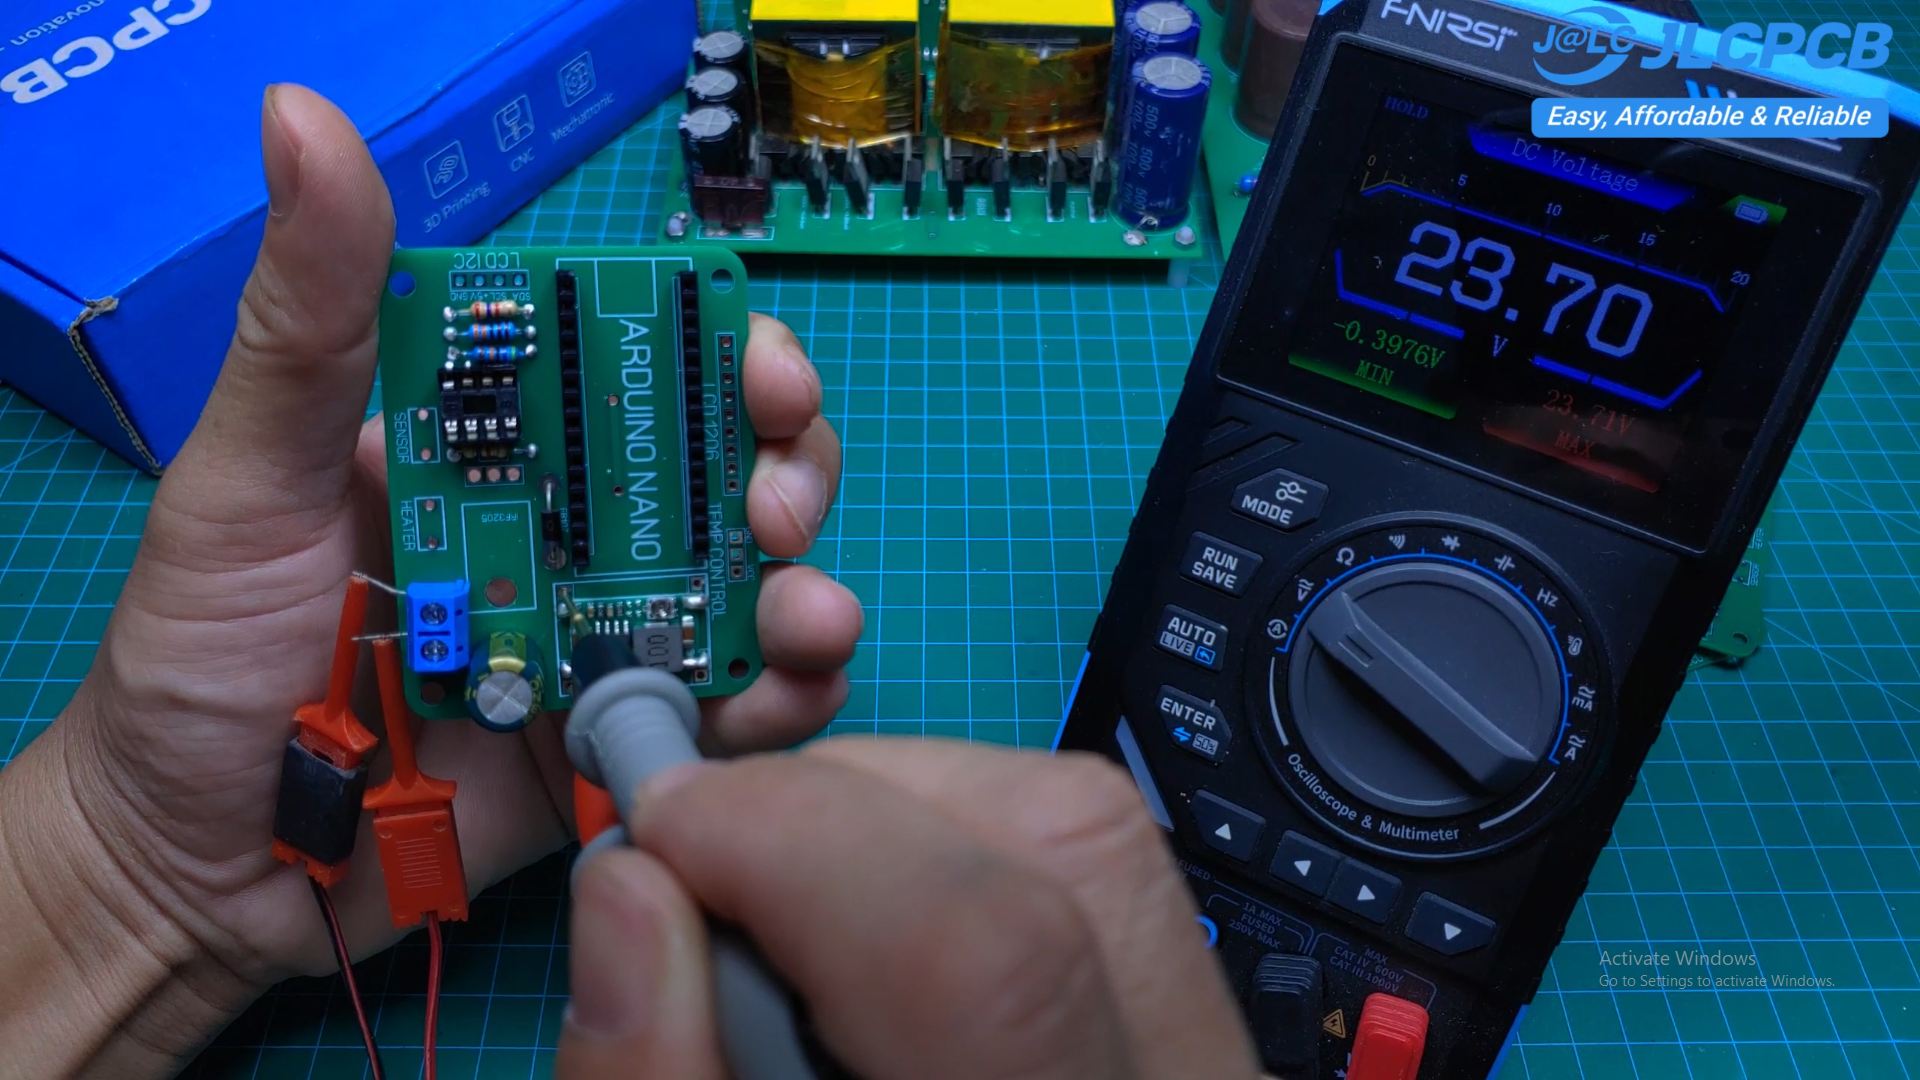
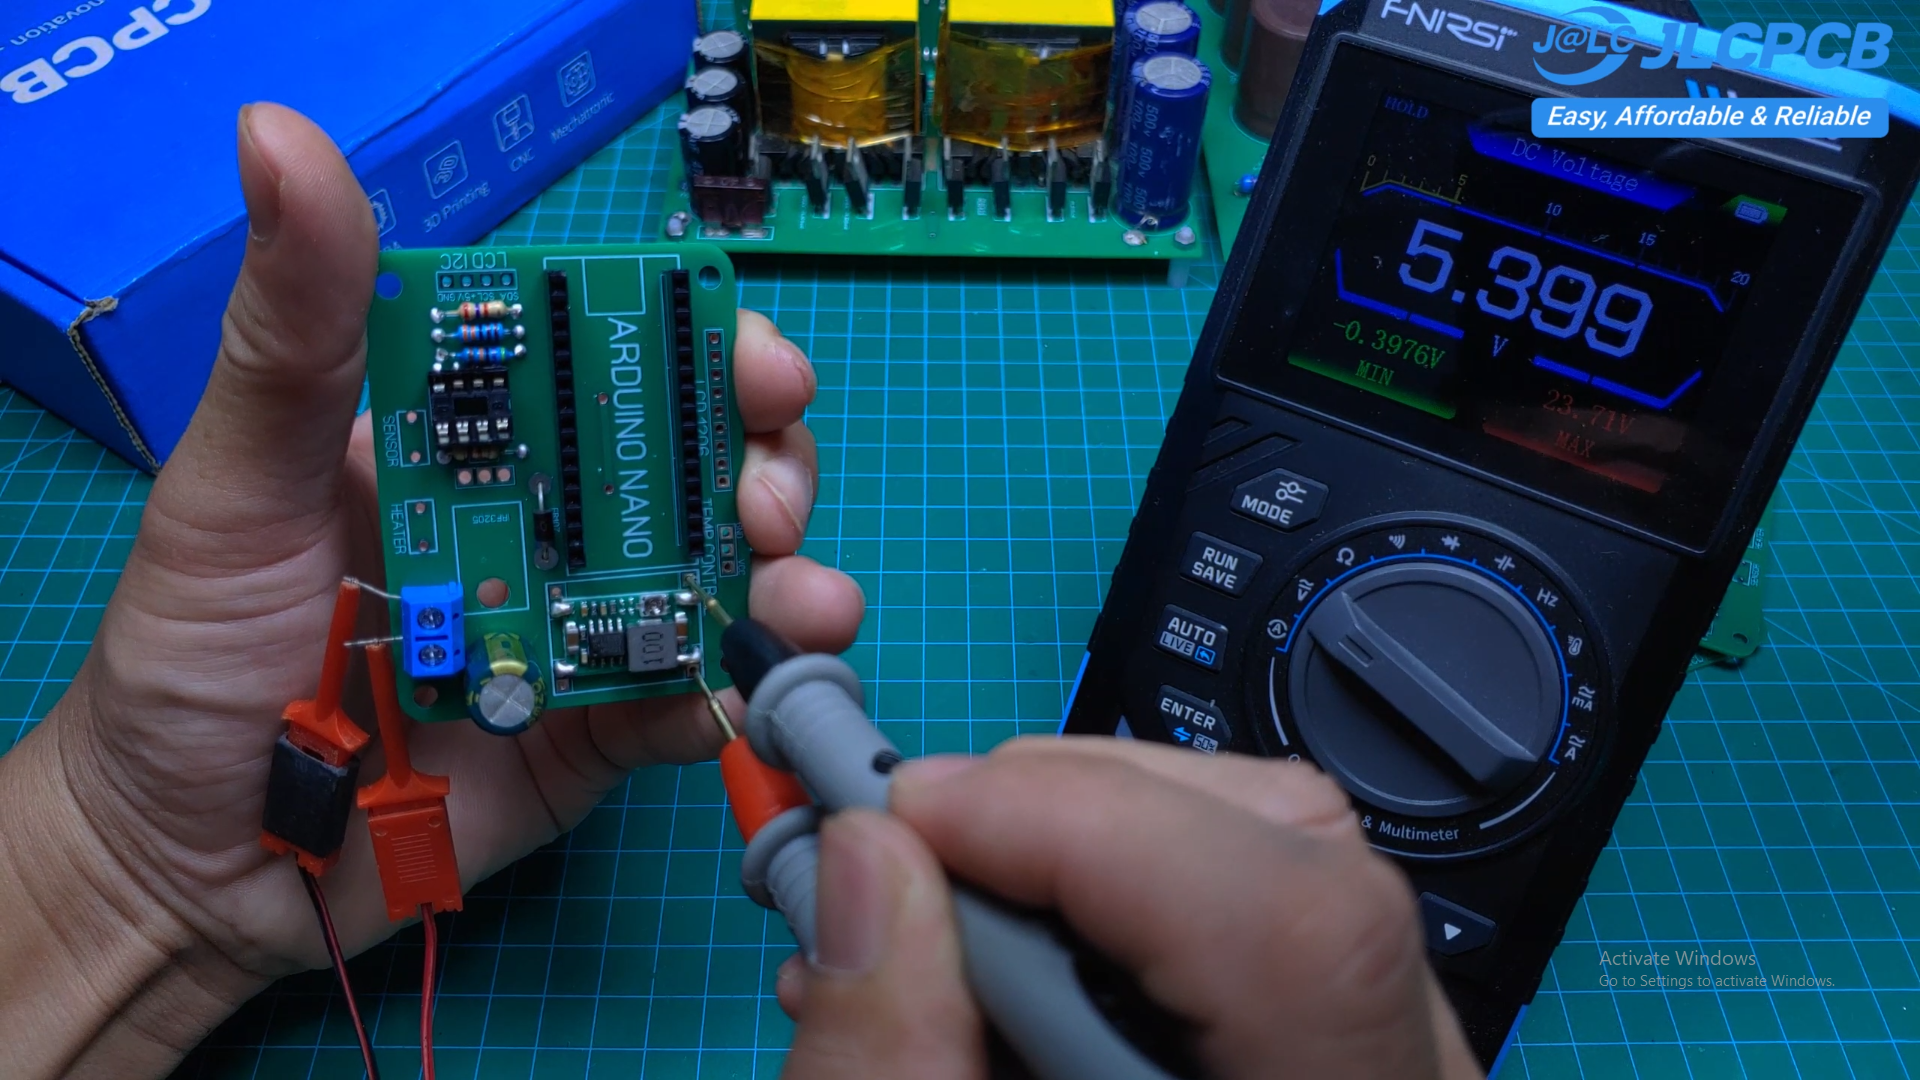
For the Arduino Nano, I use a Mini-360 DC-DC converter to step down the 24 volt input to 5 volts.
Before connecting the Arduino Nano, make sure to check both the input and output voltages of the converter to ensure they are correct.
![]()
![]()
-
4Temperature Sensor Circuit
The circuit uses an LM358 op-amp to amplify the signal from the Hakko 907 temperature sensor.
The amplified signal is then sent to the Arduino Nano, which calculates the temperature and displays it on the LCD.
When installing the LM358, make sure to check the orientation of the IC before powering the circuit.
![]()
-
5Heater Control
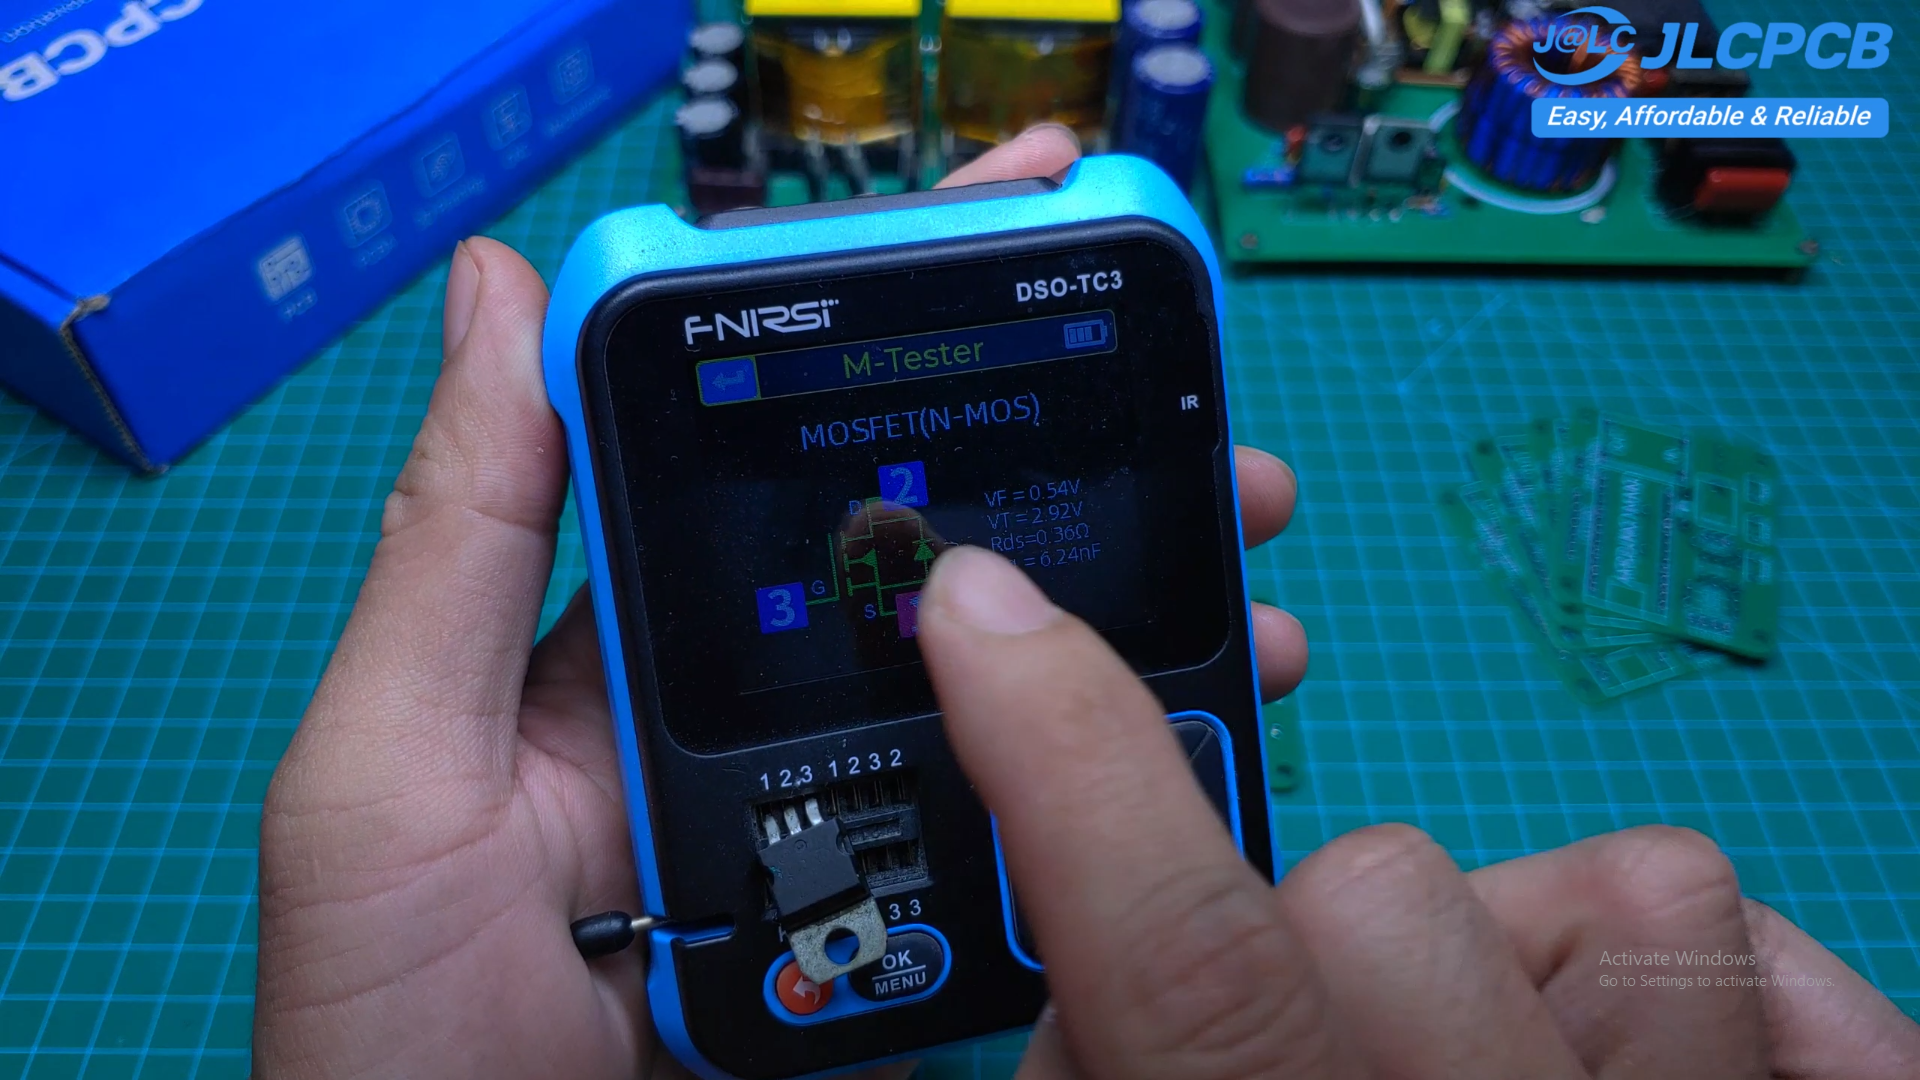
The heater is controlled by an N-channel MOSFET.
In my prototype, I use an IRF70N80, but an IRF3205 can also work well for this application.
Make sure the MOSFET is suitable for the heater current and has adequate cooling if necessary.
![]()
-
6LCD Display
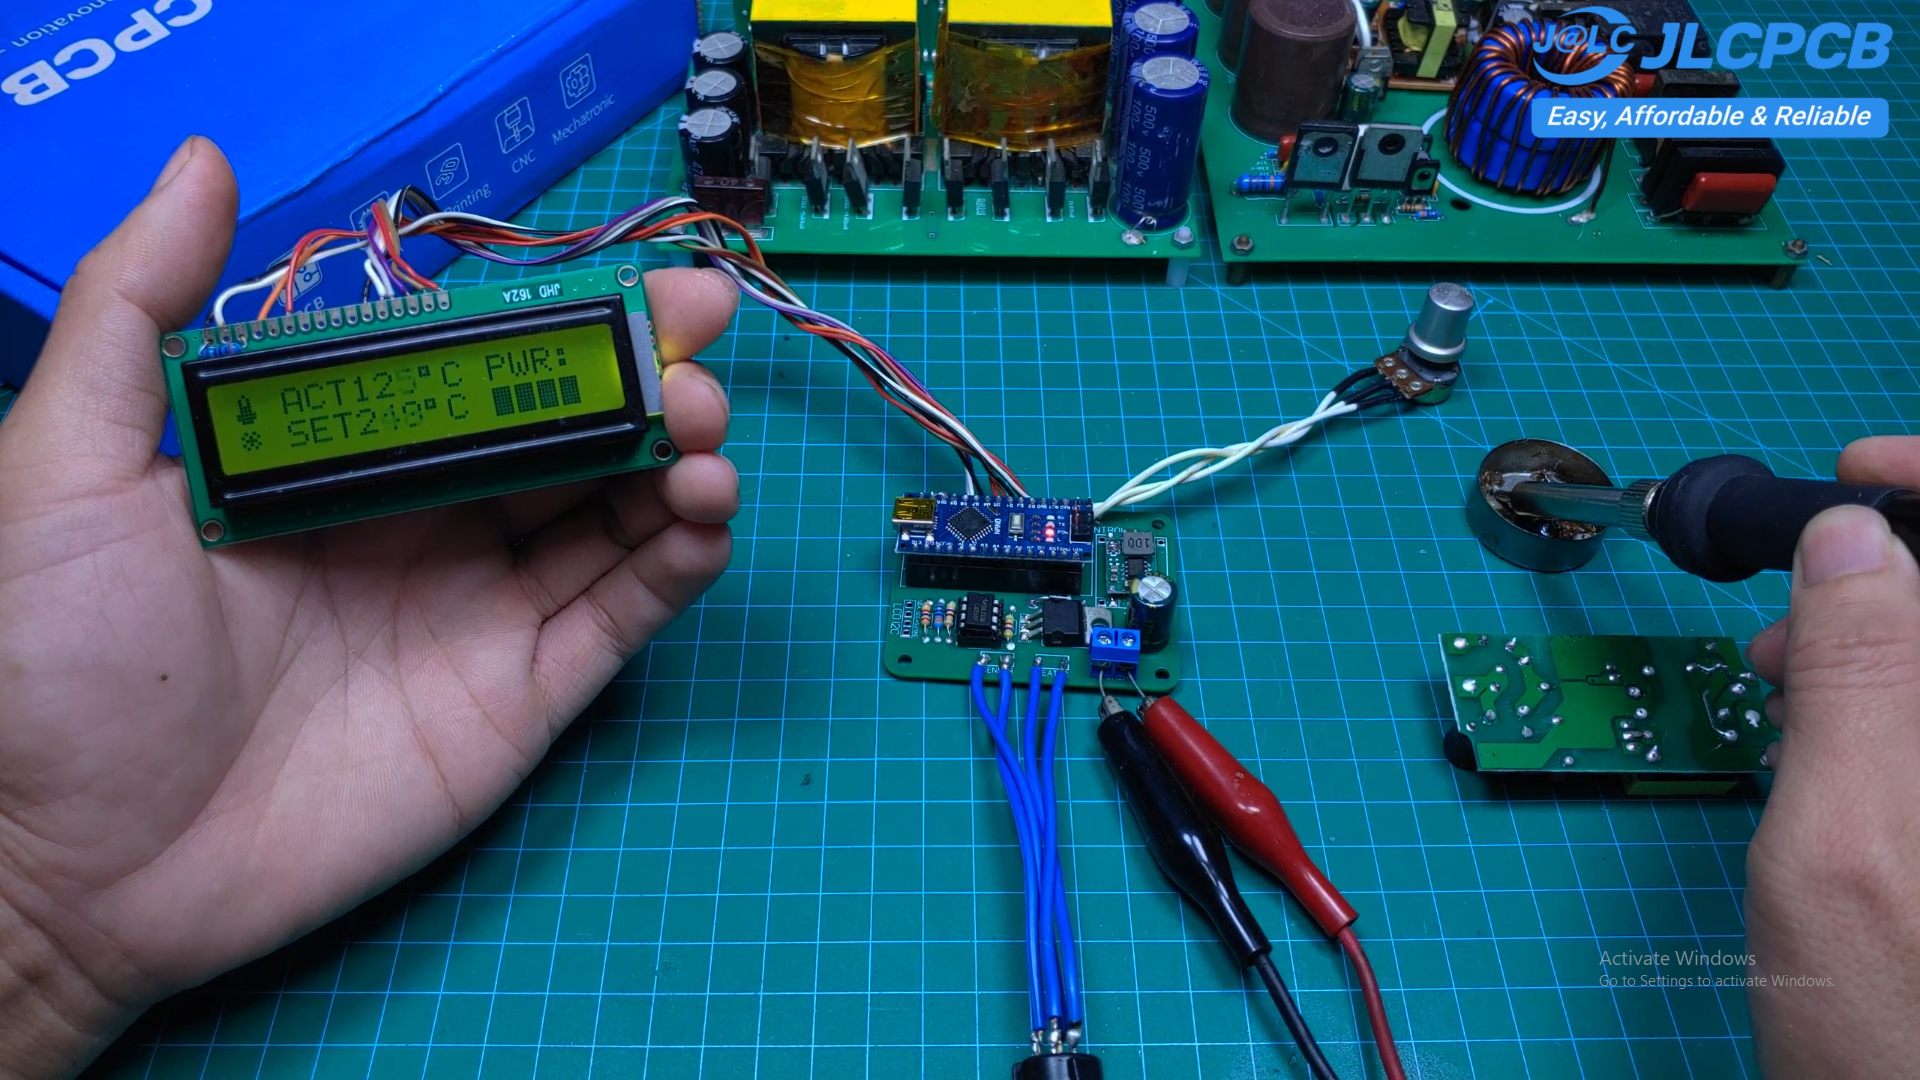
The LCD displays two temperature values:
ACT – actual soldering iron temperature
SET – desired temperature
The LCD can be connected using either an I2C interface or the standard parallel interface.
When the potentiometer is turned completely down, the display shows:
OFF
This allows the soldering iron heater to remain disabled until a temperature is selected.
The desired temperature is adjusted using the potentiometer.
For example, I set the temperature to 249 degrees.
Once the set temperature is selected, the circuit starts heating the soldering iron.
The actual temperature is continuously displayed on the LCD, allowing you to monitor the heating process.
![]()
-
7Arduino Code
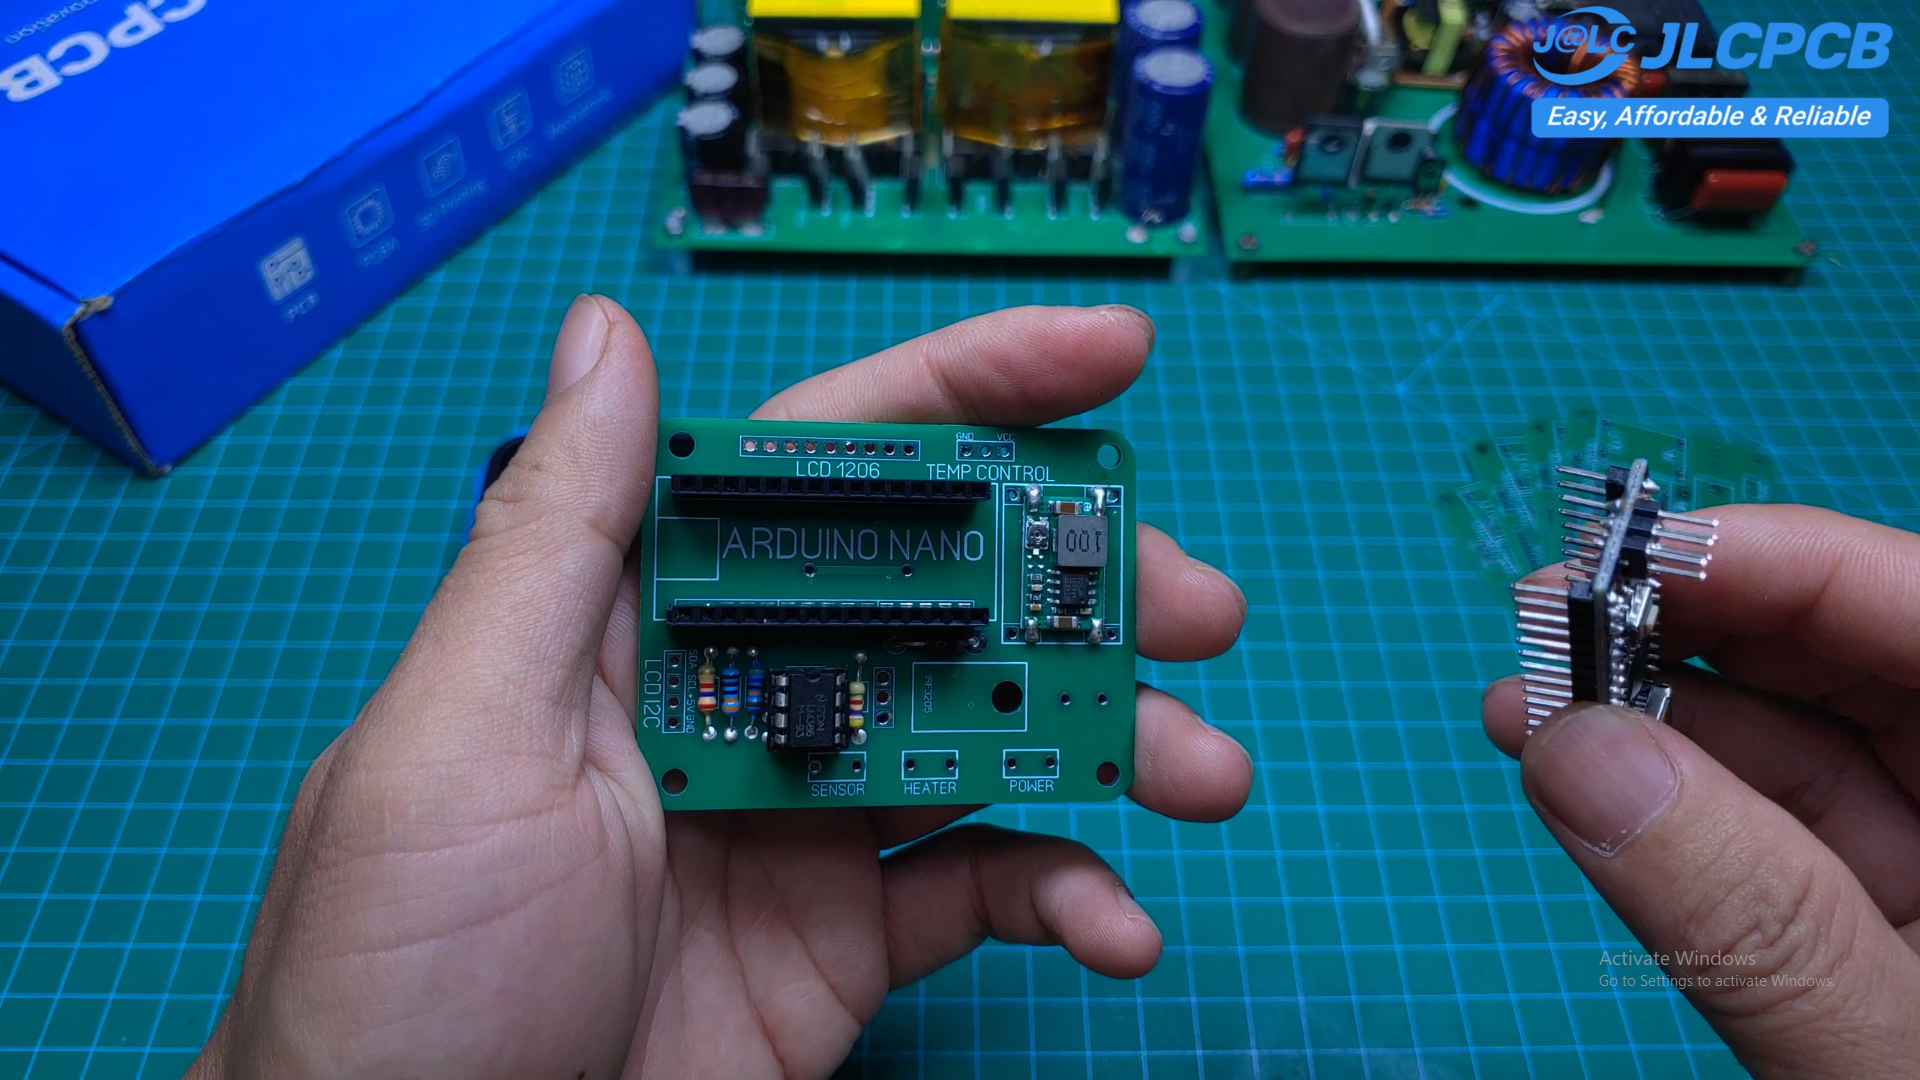
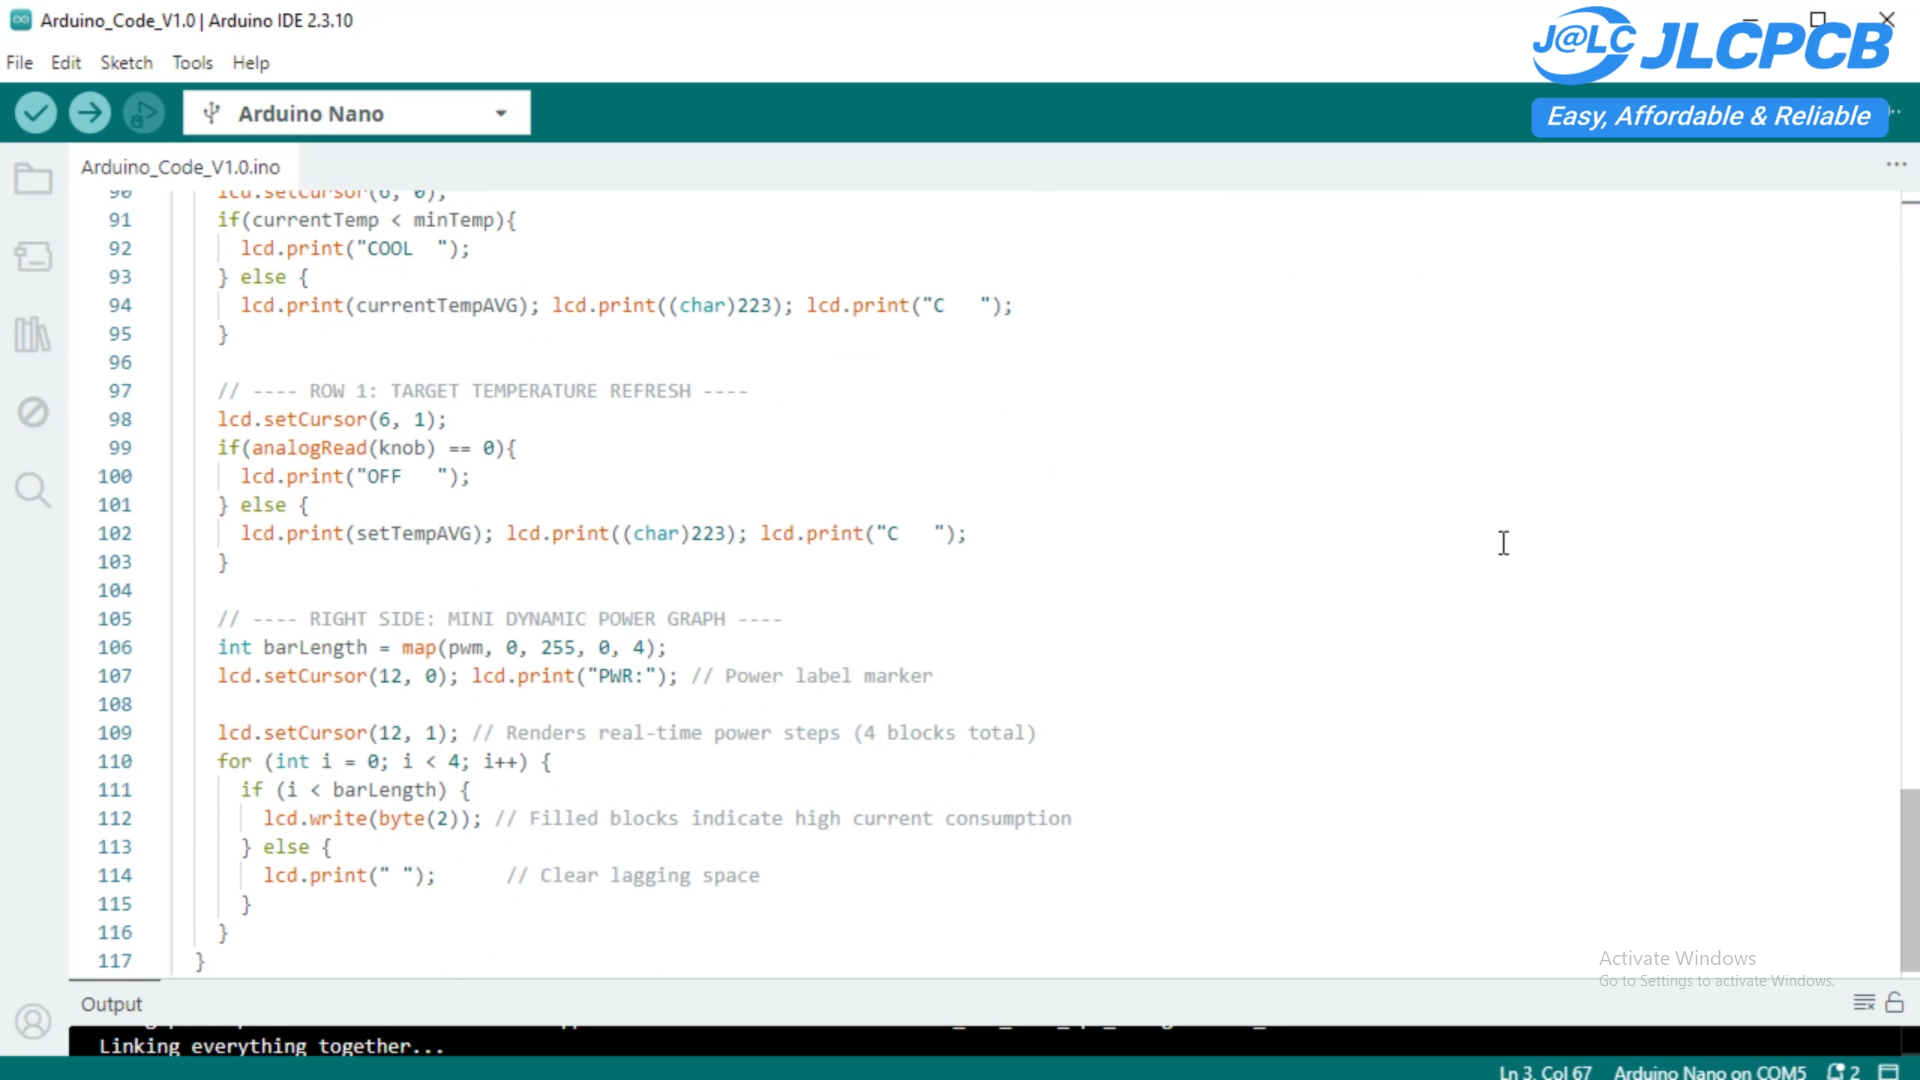
The Arduino Nano needs to be programmed before the soldering station can operate.
I provide the Arduino code and project files with this project.
There are two LCD options available:
- I2C LCD
- Standard parallel LCD
Make sure to use the correct code according to the type of LCD you are using.
![]()
-
8Future Improvements
There are several ways this project could be improved in the future.
One of the most useful improvements would be implementing a PID temperature control algorithm. This could provide more accurate and stable temperature control and reduce temperature fluctuations.
Other possible improvements include temperature calibration, adjustable temperature limits, sleep mode, over-temperature protection, and a more advanced user interface.
I may continue developing this project and add some of these features in future versions.
Conclusion
This DIY Hakko 907 soldering station is a simple project that combines an Arduino Nano with a temperature sensor, LM358 signal amplifier, MOSFET heater control, and a 1602 LCD.
The design is simple, inexpensive, and suitable for everyday electronics work.
If you build this project, always check the soldering iron resistance and power supply voltage before connecting the circuit.
I hope this project is useful and gives you some ideas for your own soldering station.
Thanks for reading and thanks for supporting Long Technical!
DIY Hakko 907 Soldering Station with Arduino Nano
I built this DIY soldering station using a Hakko 907 soldering iron and an Arduino Nano as the main controller.
Discussions
Become a Hackaday.io Member
Create an account to leave a comment. Already have an account? Log In.