This is our page for the EWNA Hackathon
To make the experience fit your profile, pick a username and tell us what interests you.
We found and based on your interests.
main_esp.inoino - 5.42 kB - 09/23/2026 at 20:47 |
|
|
vision_server_ac.pyx-python - 10.73 kB - 09/23/2026 at 20:47 |
|
|
kinematics_ac.pyx-python - 1.81 kB - 09/23/2026 at 20:47 |
|
|
camera_ac.pyx-python - 3.11 kB - 09/23/2026 at 20:47 |
|
|
arm_link_ac.pyx-python - 6.64 kB - 09/23/2026 at 20:47 |
|
The UNO Q runs headless, with no monitor attached. That meant calibration windows that pop up on screen wouldn't work, so we built our own tool instead. vision_server.py is a small web server on port 8000. Any laptop on the same network can open it in a browser and see the live camera feed with our detections drawn on top.
One-command setup. setup.sh does the whole install in one go:
The headless build of OpenCV has no windowing code, which suits a board with no monitor.
Consistent colours, all day: The C270's auto-exposure and auto white balance kept changing how colours looked under the hall lighting, which broke colour detection. cam_setup.sh fixes this. It turns off every automatic setting (exposure, white balance, gain, backlight compensation) and locks them to fixed values. It also sets anti-flicker to 60 Hz. The camera runs at 640×480 in MJPG. A background thread keeps only the newest frame, so the planner never acts on an old image.
Calibration with ArUco markers: We print four ArUco markers (IDs 0–3) and place them at the corners of a 200 × 150 mm rectangle. One click in the browser tool finds all four markers and computes the pixel-to-millimetre mapping. This replaced our first method of clicking points by hand, which was slow and depended on how carefully someone clicked. The same four corners also define the work area. Everything outside that area is ignored, so people and objects around the booth can't trigger a false detection.
What the browser tool does:
Reading the Sharpie line. Dark ink is separated from the white paper and thinned to a one-pixel-wide line. We then search that thin line for its longest continuous stretch. This means a small ink blob or a slight overshoot at a corner no longer breaks the path. The path is ordered starting from the end nearest the marker, then sampled into waypoints. If the contrib thinning function isn't available, the code falls back to our own implementation of the same algorithm (Zhang-Suen thinning).
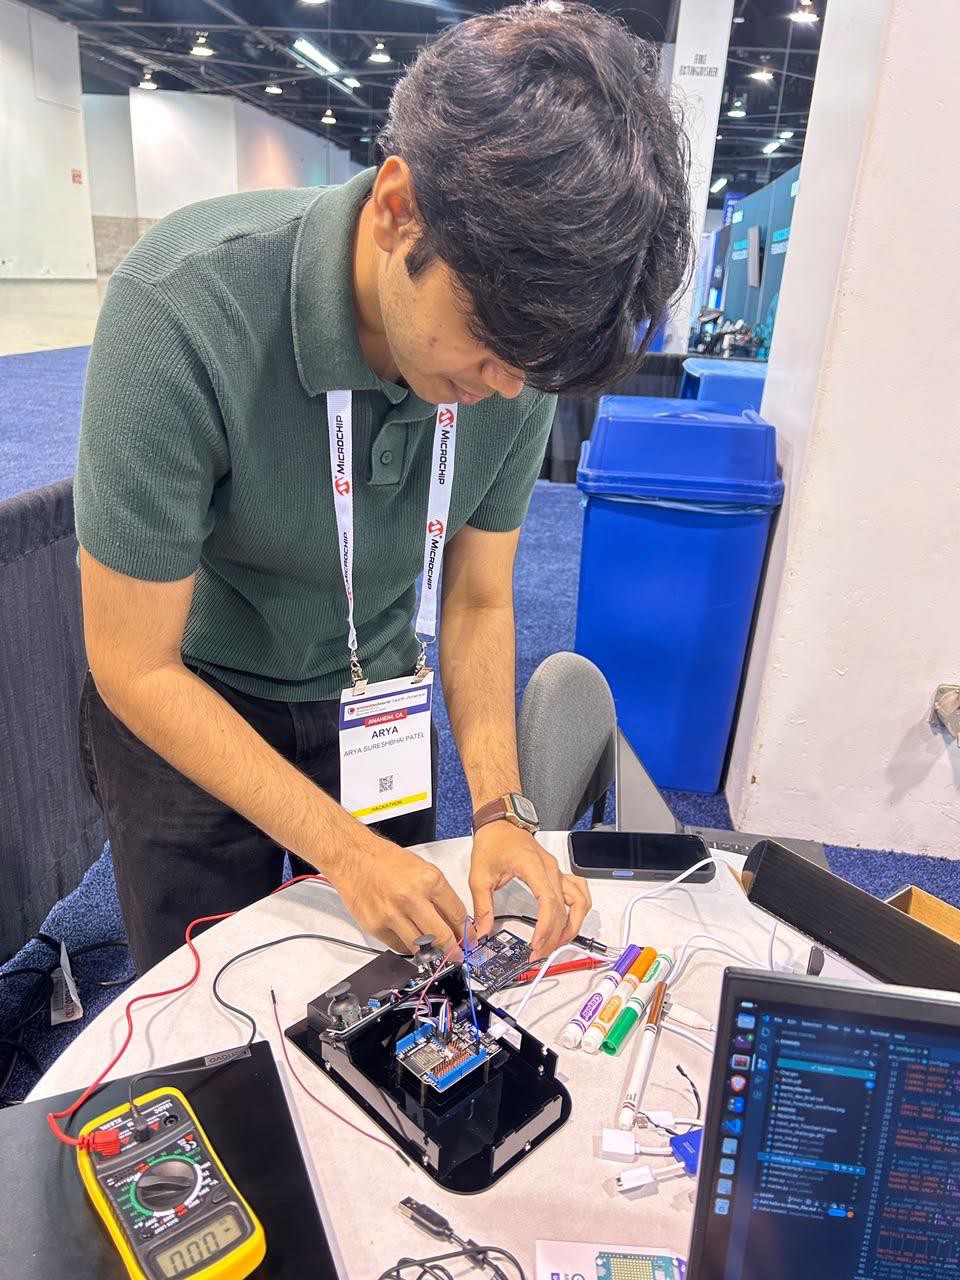
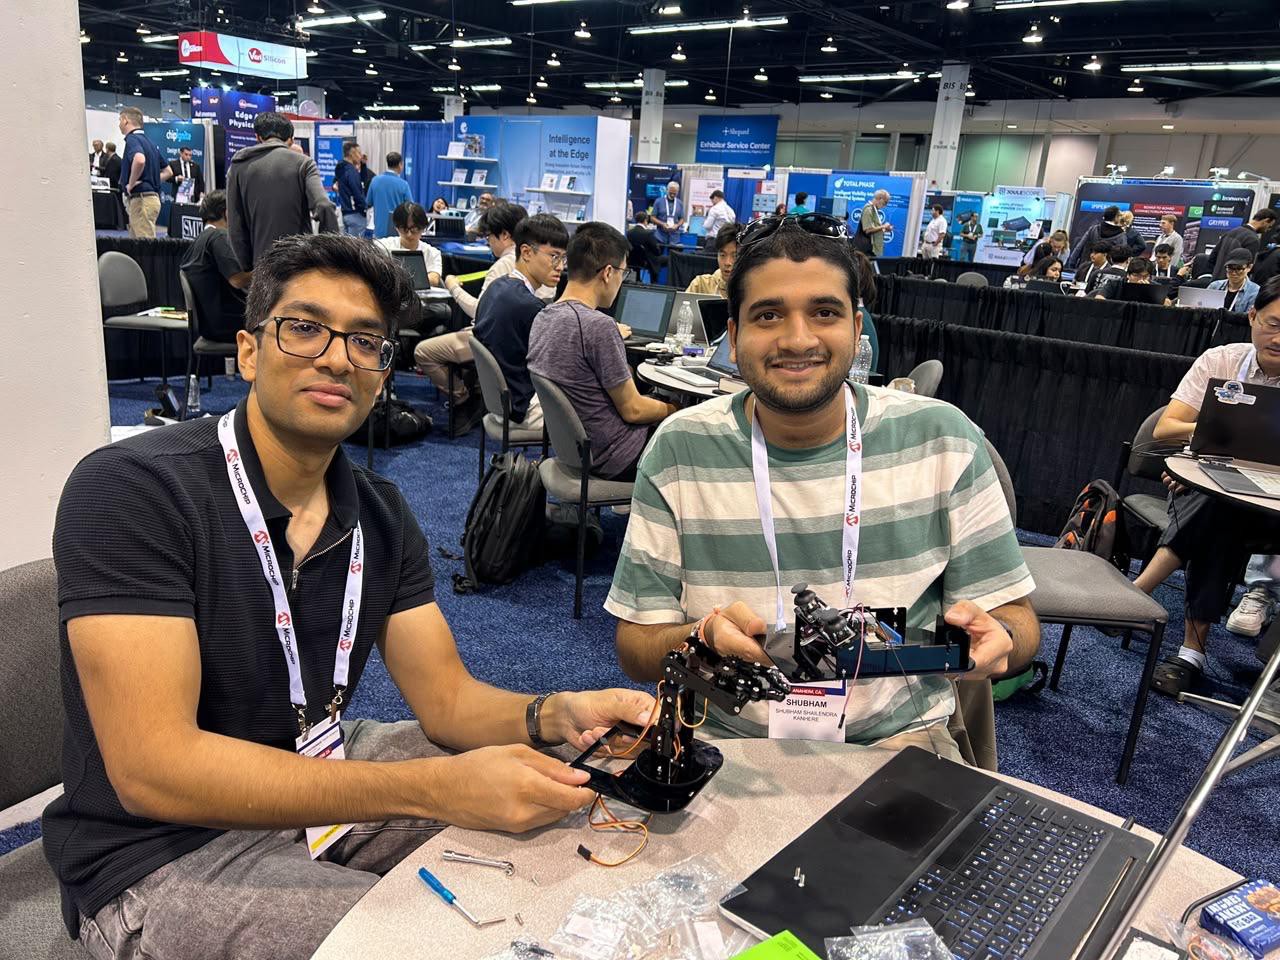
We assembled the ACEBOTT QD022 4-DOF arm kit following the manufacturer's video (Instruction 1). The parts list is in components section.
The USB-C hub and power supply for the UNO Q didn't arrive until later in the day, so the organizers told teams to prototype on their laptops in the meantime.
After assembly we measured the arm, because our inverse kinematics needs exact dimensions:
The arm has three positioning joints (base, shoulder, elbow) plus a gripper, with no wrist.
We then wrote ESP32 joystick firmware (teleop_test.ino) to prove the hardware worked before adding autonomy:
Problems we hit:
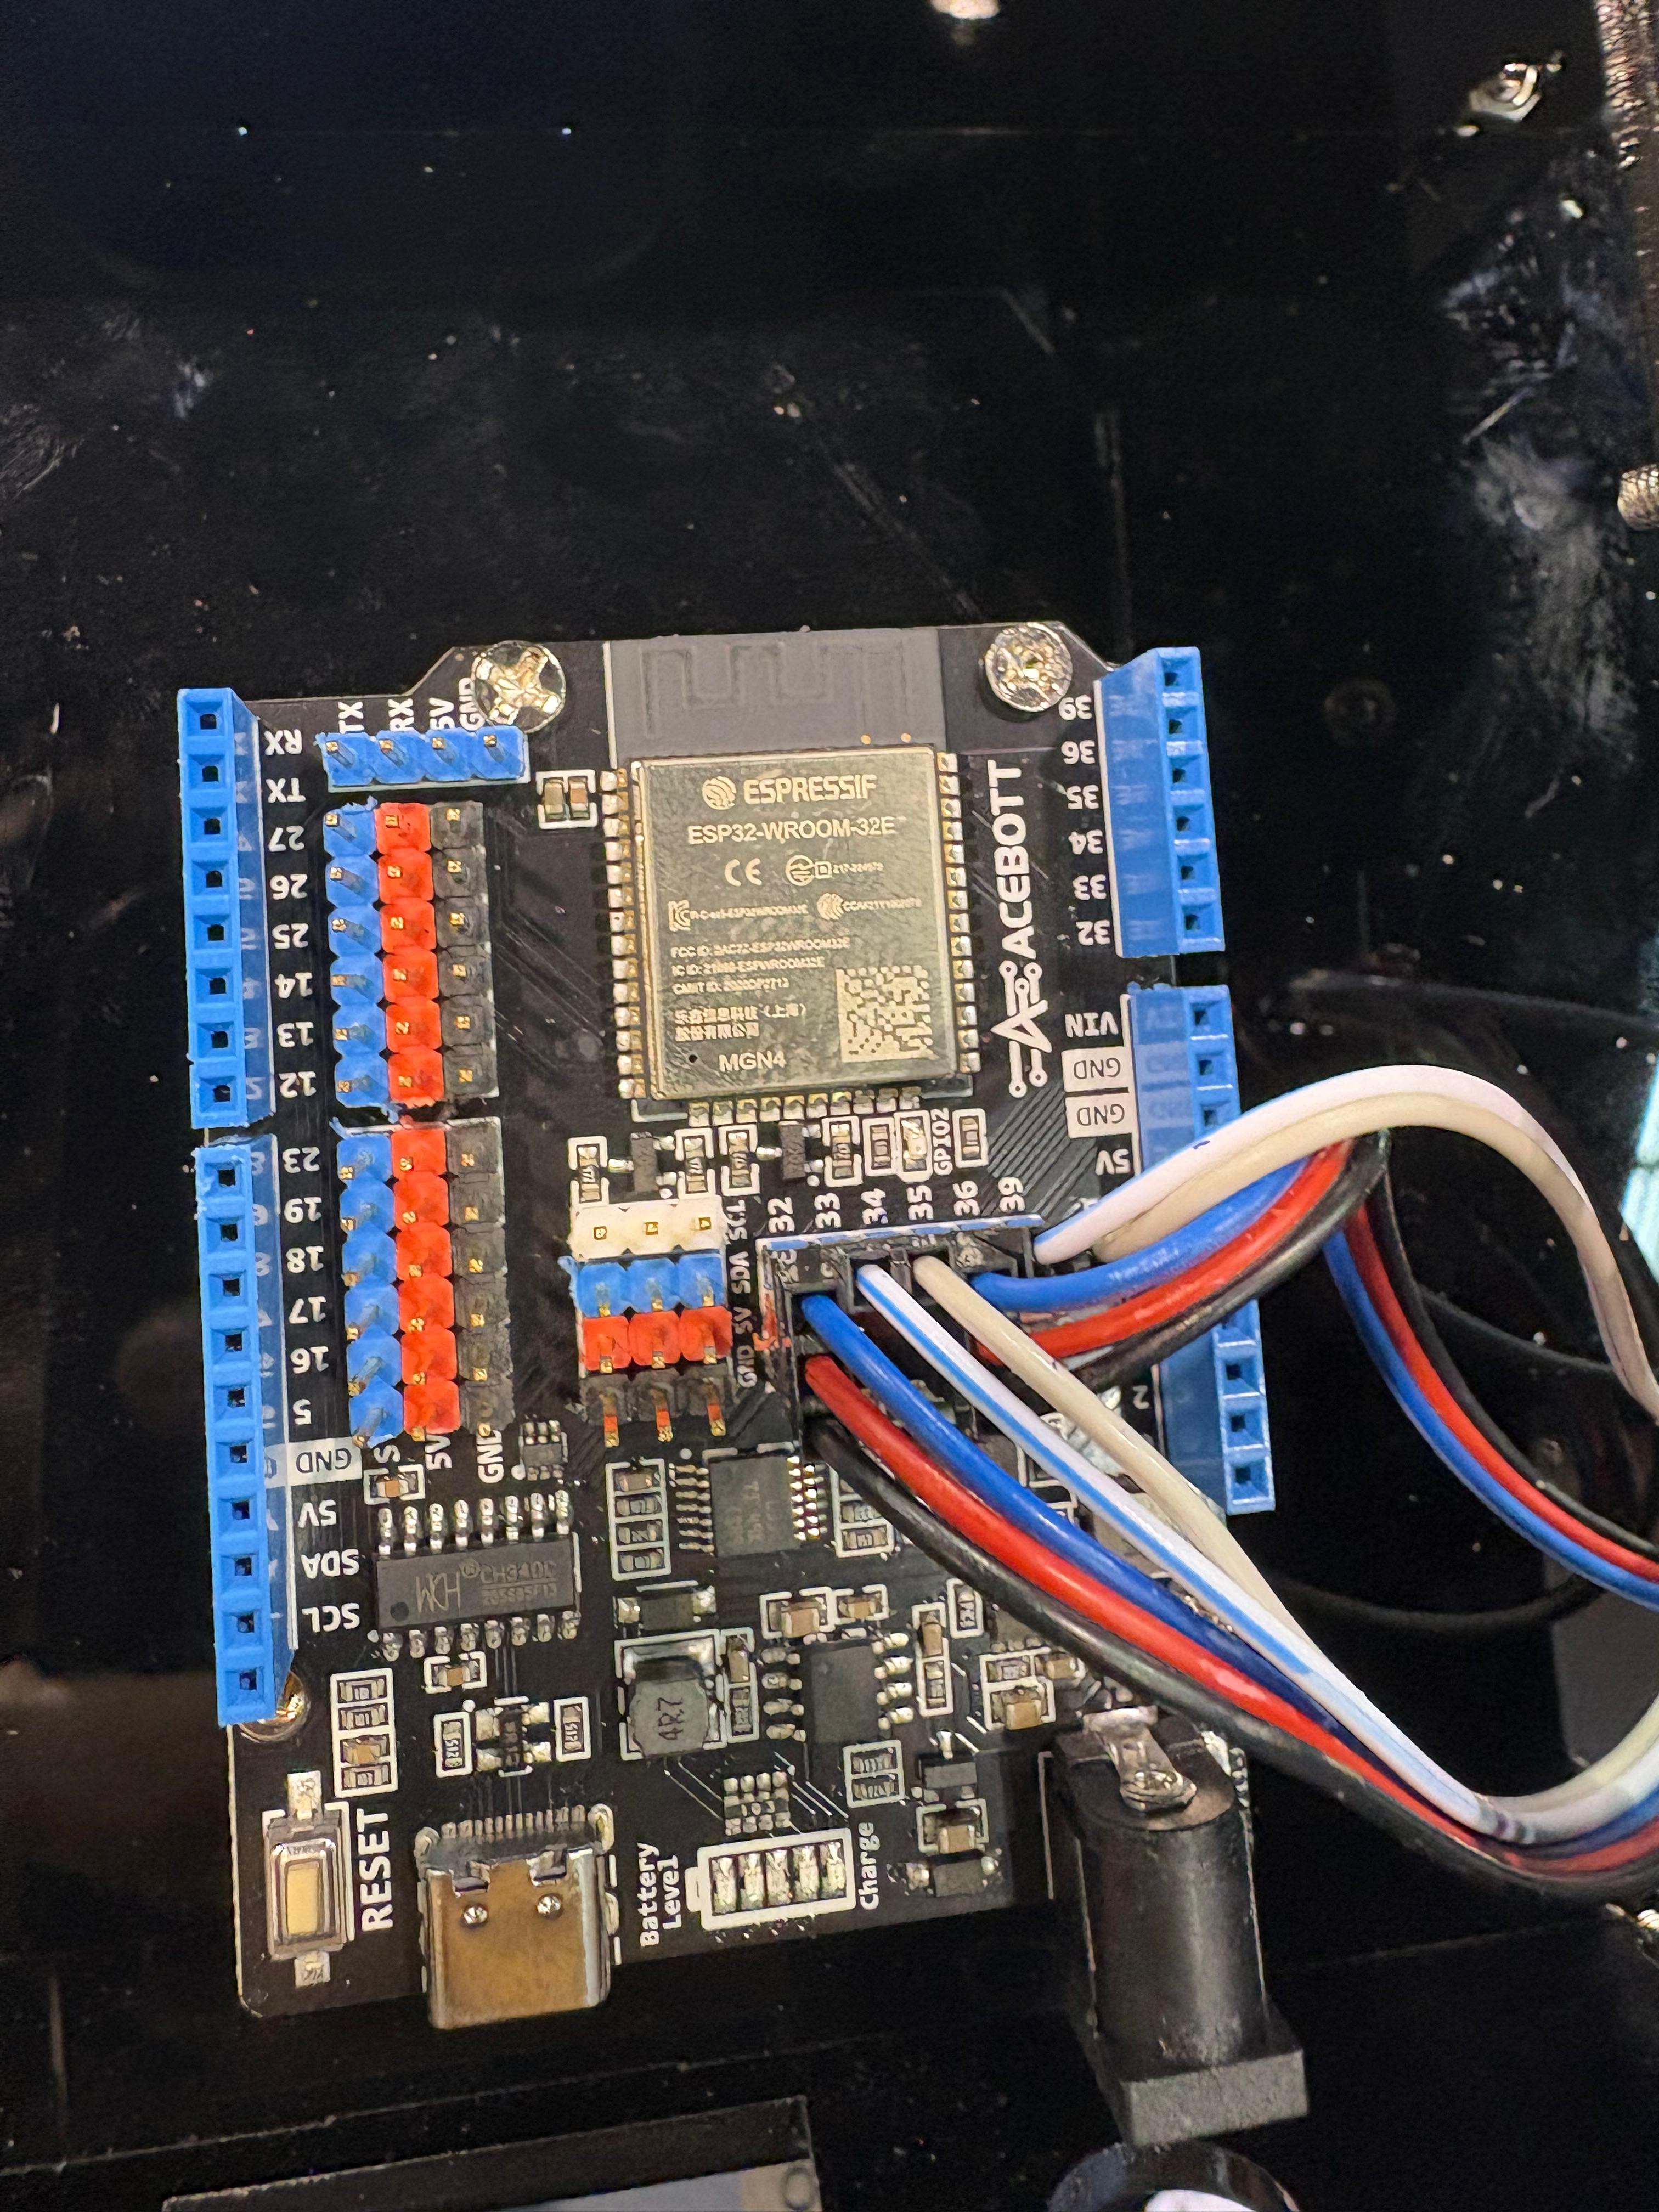
Buttons with no pull-up. ESP32 pins GPIO34/35/36/39 are input-only and have no internal pull-up resistor. Our joystick buttons read correctly only because the modules supply their own.
Reset on connect. The ESP32 resets whenever the serial port opens, so the Python side waits 2 seconds before sending any command.
Late supplies. Delays cost every team time on Day 1. The organizers let us take the arm home overnight, and implemented the changes based on updated requirements.
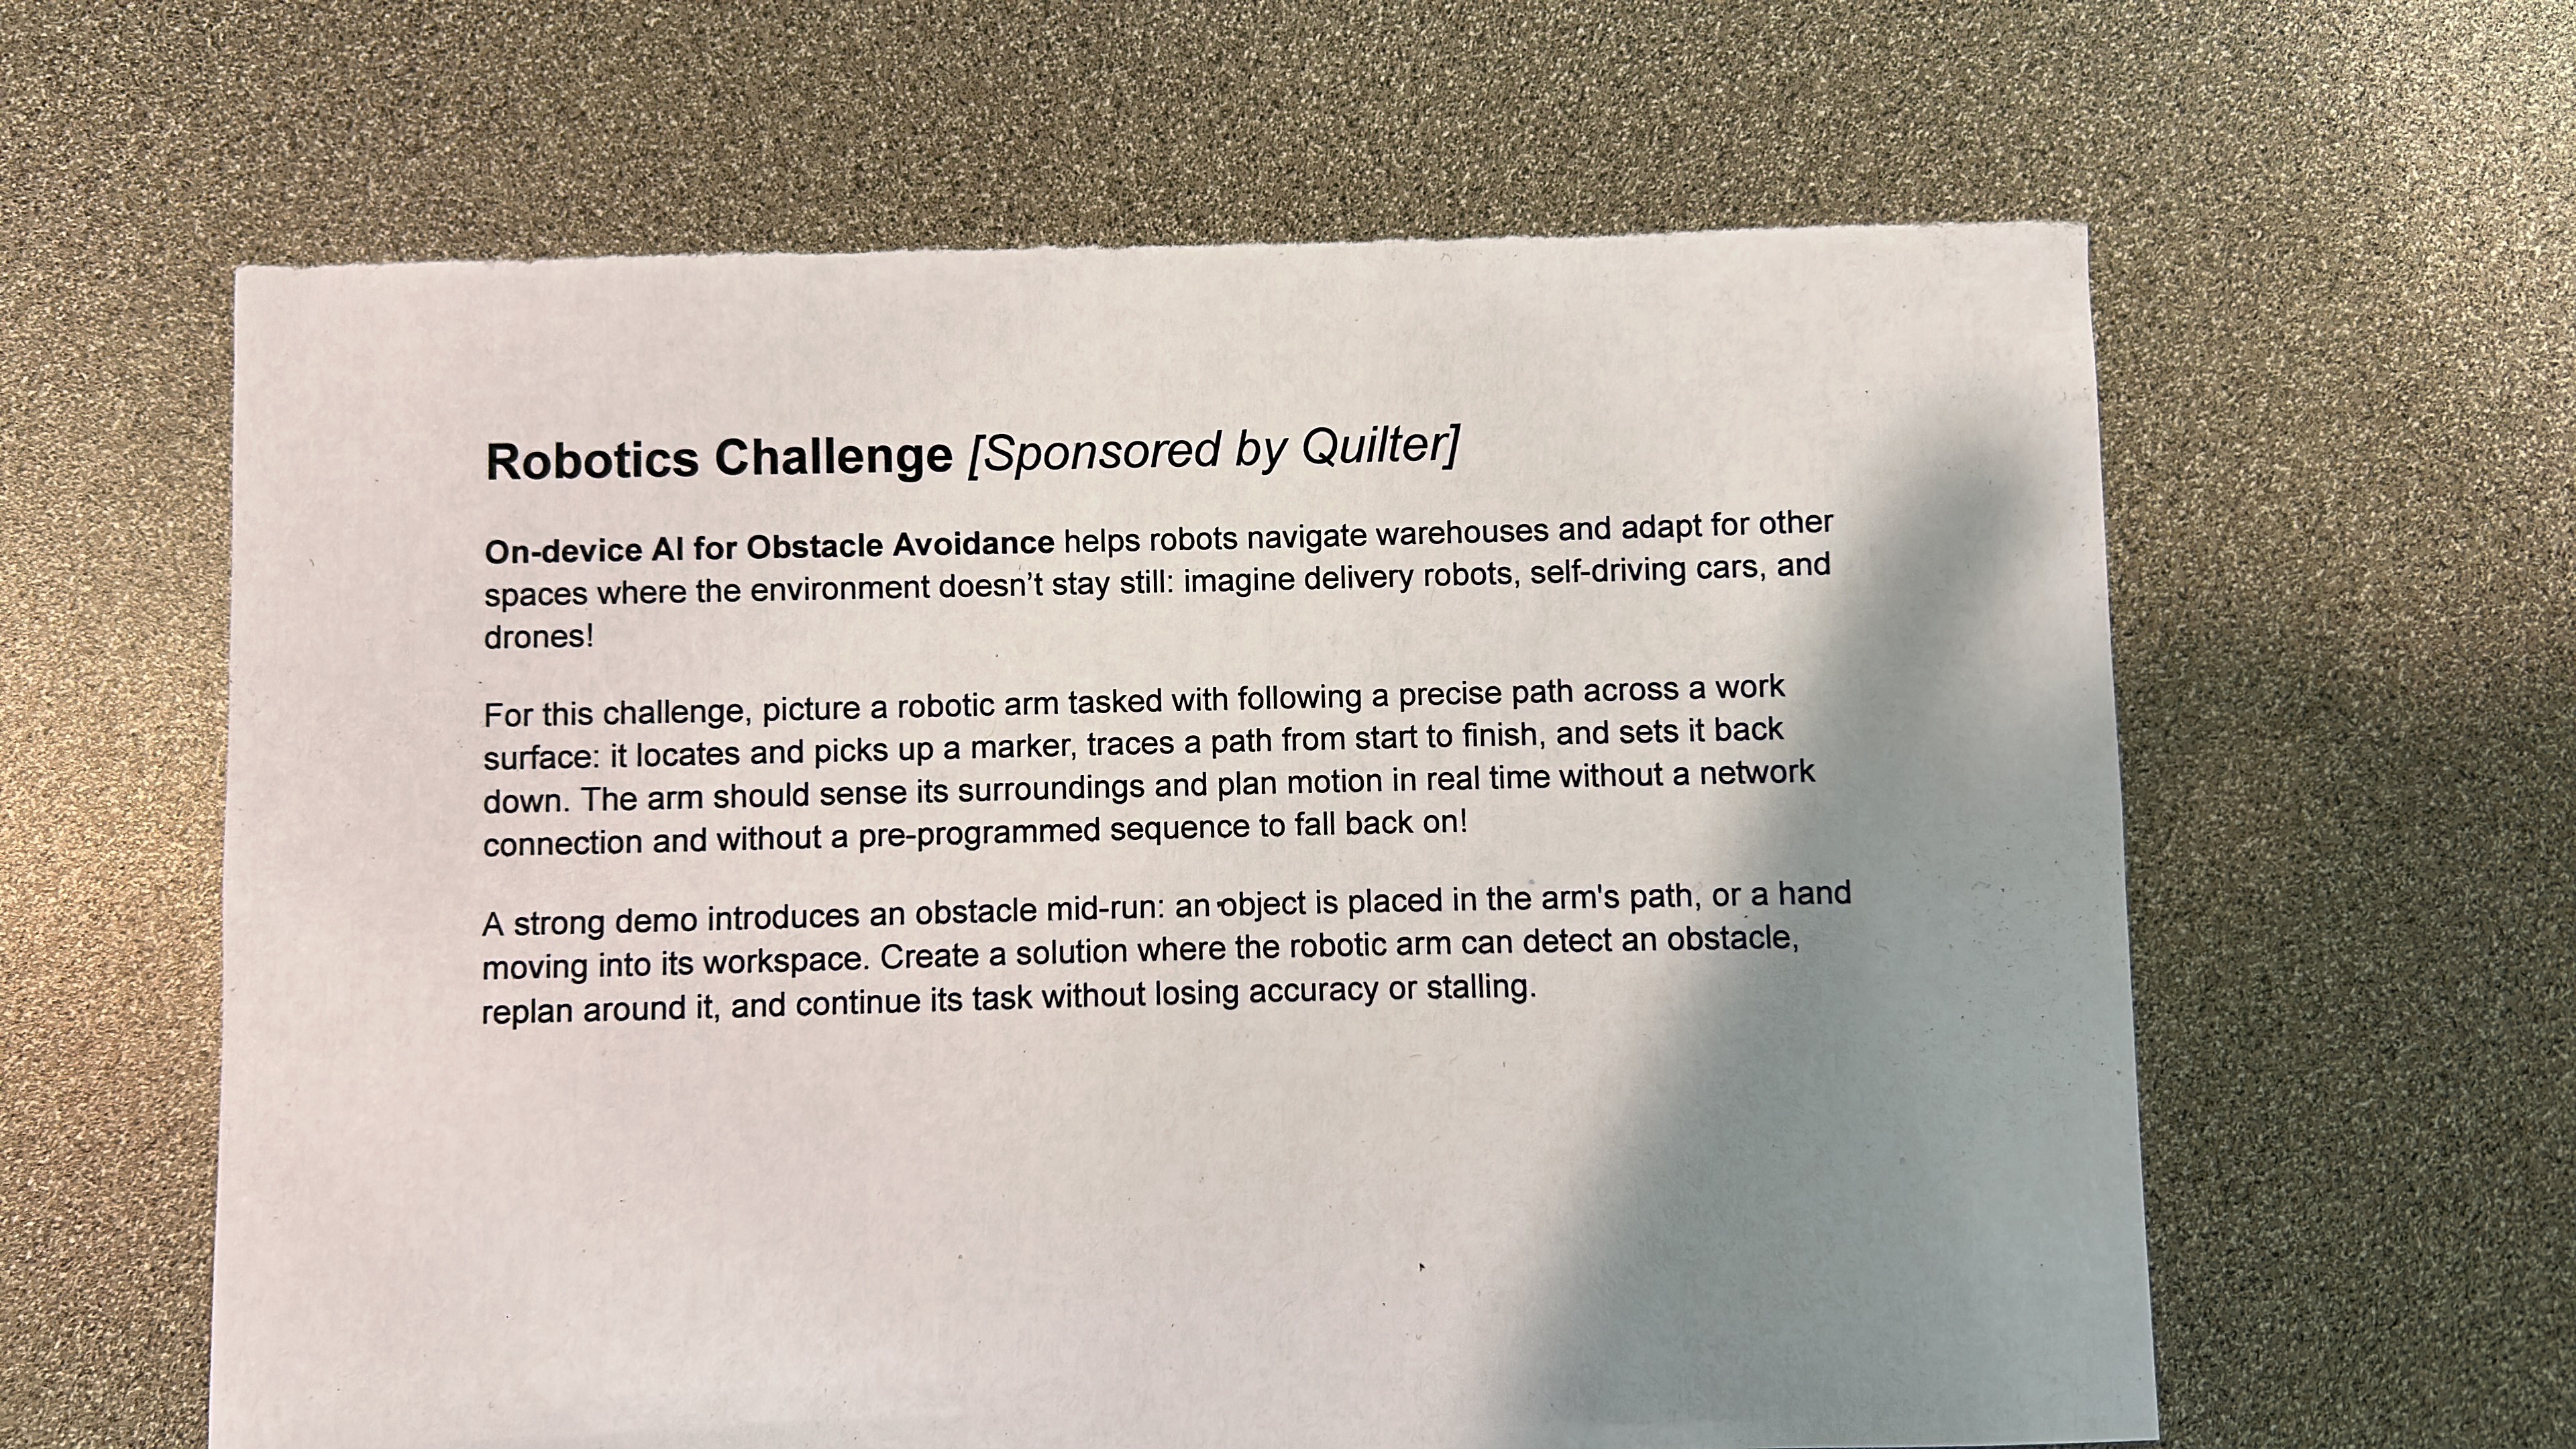
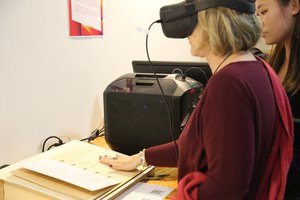
The challenge was handed out (first attached image) Tuesday (09/22/2026) morning 11:05 am. A robotic arm has to find and pick up a marker, trace a path from start to finish, and put the marker back down. It must plan its motion in real time with no network connection and no pre-programmed sequence. The strongest demos add an obstacle or a hand mid-run, and the arm has to detect it, replan around it, and keep going without losing accuracy.
Before touching hardware, we sketched the task as a flowchart (second attachment): find marker, pick it up, go to the path start, follow the path, put the marker back, return home. Our first key design decision came from that sketch. Our first draft had separate "find another path" boxes for the approach and for tracing. We merged them into one shared routine called Guarded Move. It moves in small steps, checks the camera before each step, and detours if something is in the way. Every movement the arm makes uses this one loop.
Our first key decision came while drawing it. The first sketch had two separate "think of another path" boxes, one for the approach and one for tracing. We merged them into a single shared routine called Guarded Move. It moves in small steps, checks the camera before every step, and detours if something is in the way. Every movement of the arm uses this one loop, so obstacle handling works the same way in every phase of the task.
The attached YouTube Video was used to construct the robot and move to next stage which was interfacing sensors and actuators through firmware.
For starters, we referred
The combined algorithm was developed by the firmware wizards in the team which brought the setup in the current state.
The Arduino UNO Q is the "brain" of our arm. It has two processors on one board: a Qualcomm QRB2210 running Debian Linux, and an STM32 microcontroller. We run the whole perception and planning stack on the Linux side, fully offline. Real-time servo control stays on the ESP32 Max V1.0 from Step 2, which the UNO Q talks to over USB serial.
Hardware connections:
First boot and access:
Create an account to leave a comment. Already have an account? Log In.
Become a member to follow this project and never miss any updates
By using our website and services, you expressly agree to the placement of our performance, functionality, and advertising cookies. Learn More
Rodolfo
CapitanVeshdoki
Mohamedtaharsaoudi
Ed S