 WJCarpenter
It's easy to disassemble the Craftsman remote. The case opens up so you can replace the battery, and you can completely release the circuit board by prying a couple of plastic clips. Here are the two sides of that circuit board.
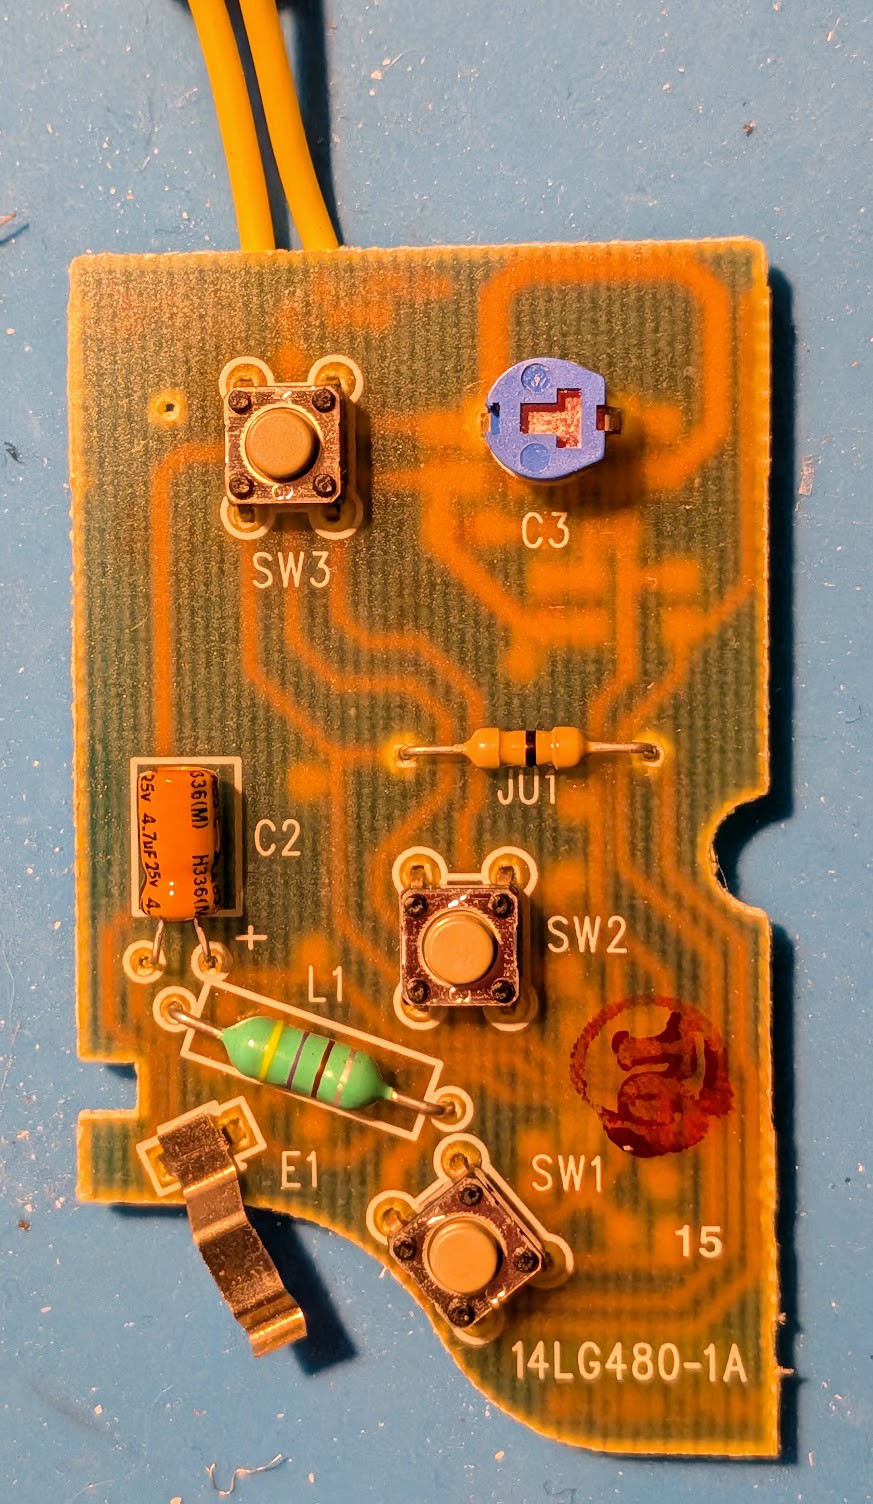
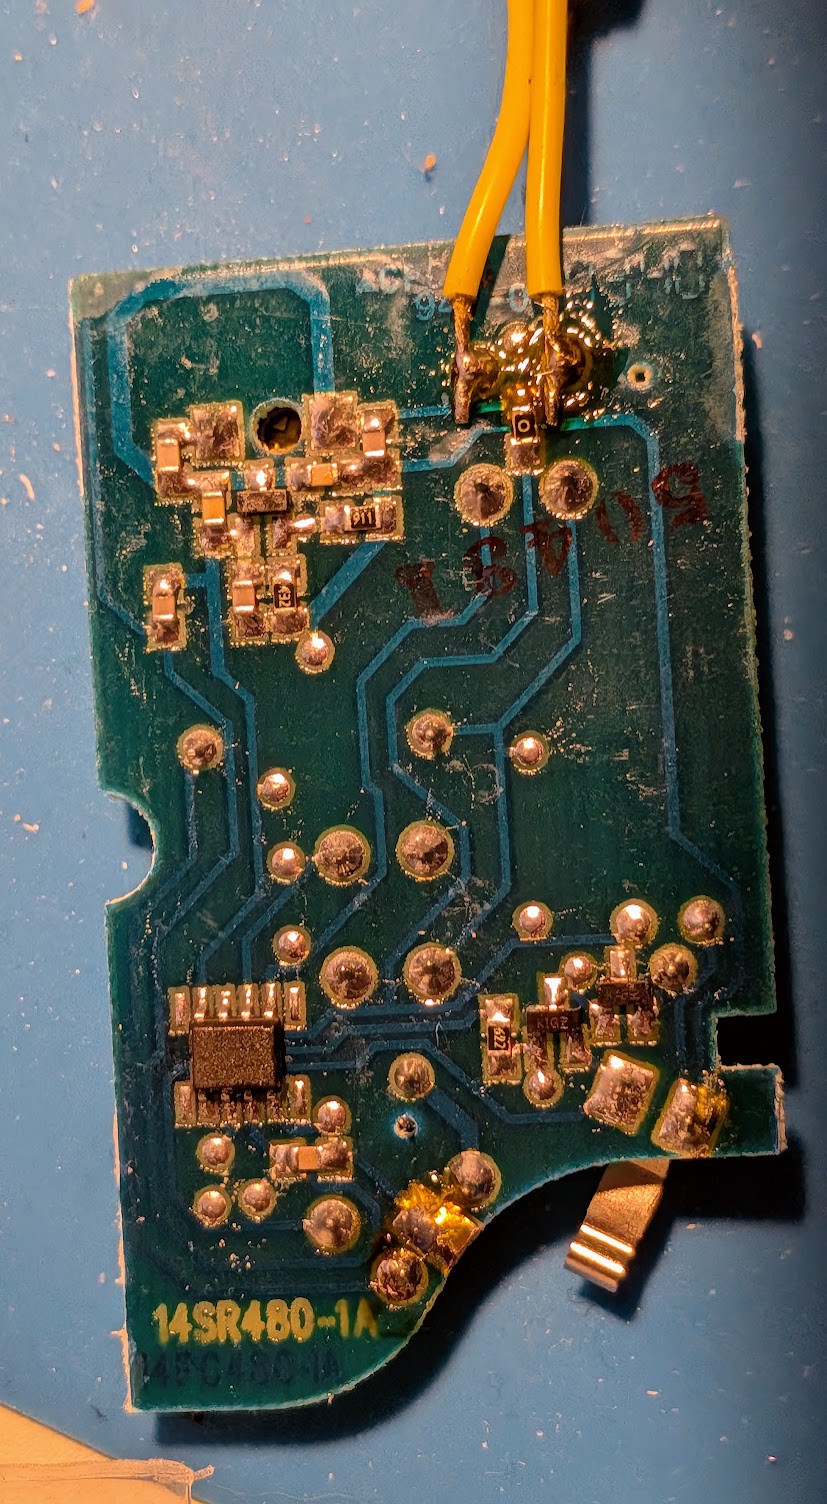
By the time I took those photos, I had already doped out the contacts for SW3 and soldered some wires (yellow) to them. The small metal tab (E1) sticking from the bottom of the board is the battery ground contact. The battery plus contact is a small blob of solder nearby. The matching tab that presses against it is not shown (it's integrated into the plastic remote case). I soldered red and black wires to those contacts.
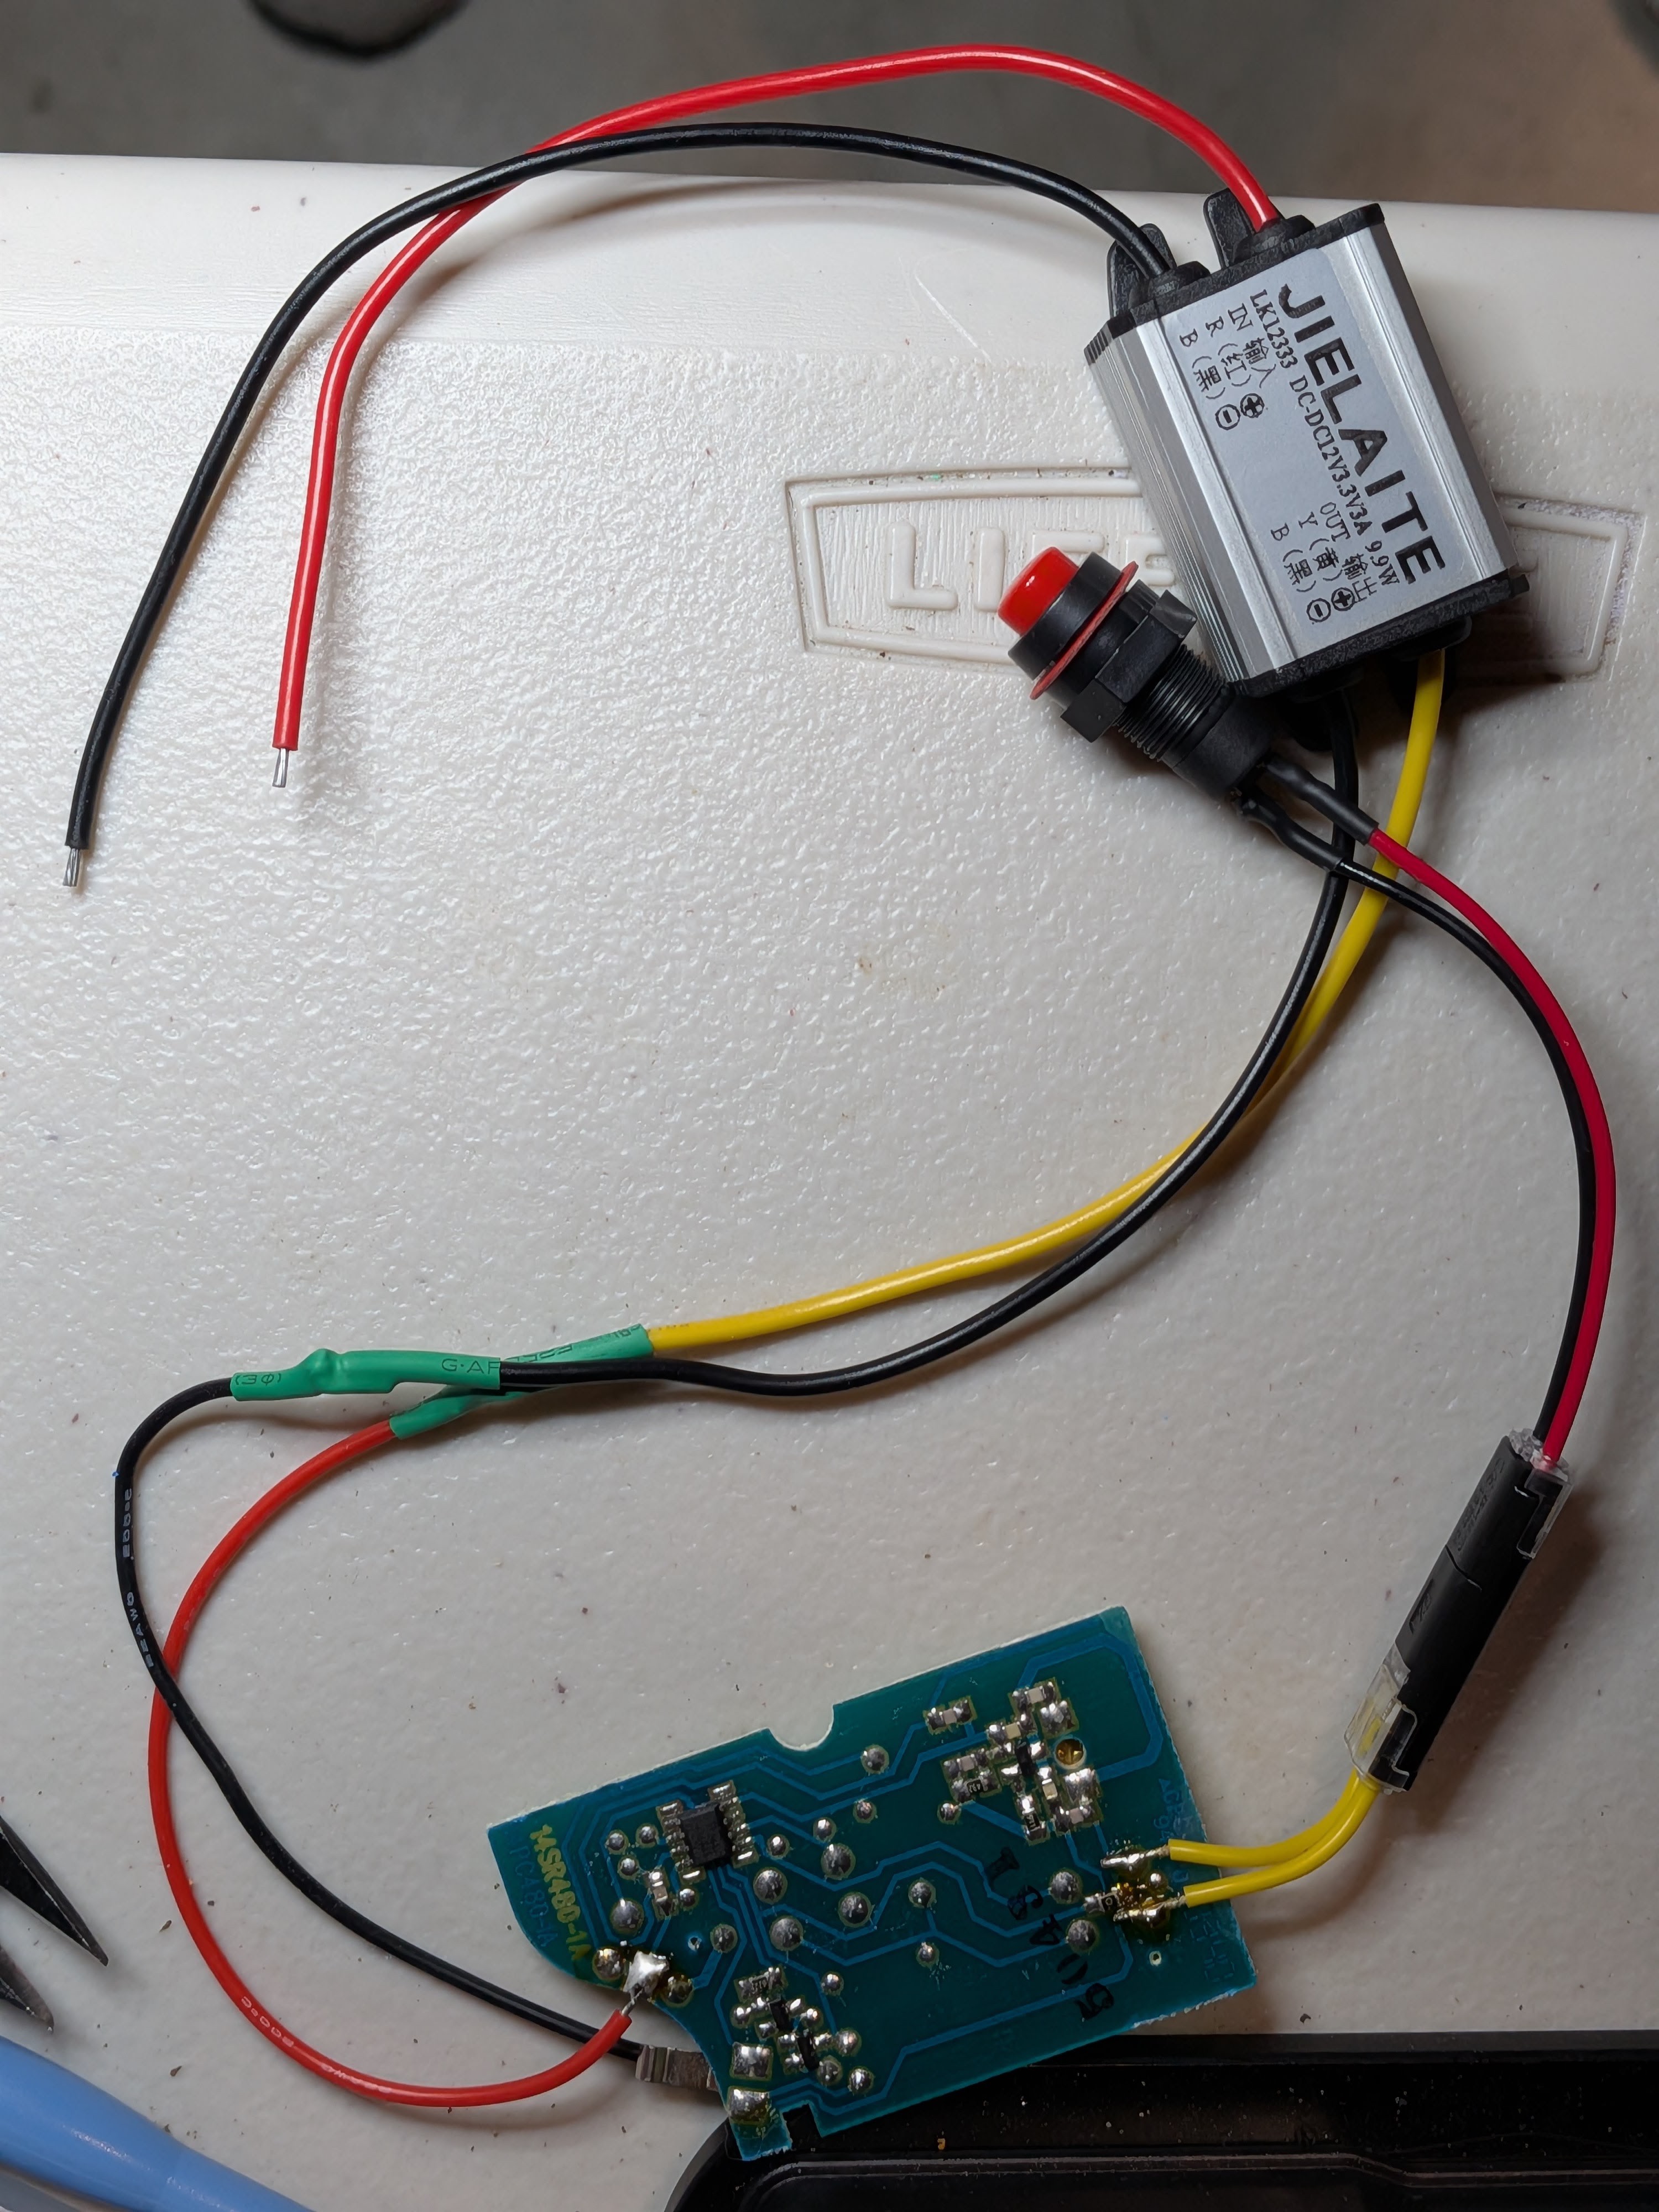
The coin cell in the remote provides 3Vdc. I think there are some voltage regulators on the circuit board, but I can't make out the markings. I knew I would find (possibly noisy) 12Vdc in the car wiring, so I bought a cheap 12Vdc-to-3Vdc buck converter (widely available for only a few dollars). The buck converter turned out to actually be 12Vdc-to-3.3Vdc, so I crossed my fingers that the circuit board would be OK with that (it was).
Here's everything wired up and ready to test.
And here's everything in a rat's nest wire up with a 12Vdc wall wart for actual testing. When I pressed the button on my switch, the garage door activated. You can't ask for more than that!
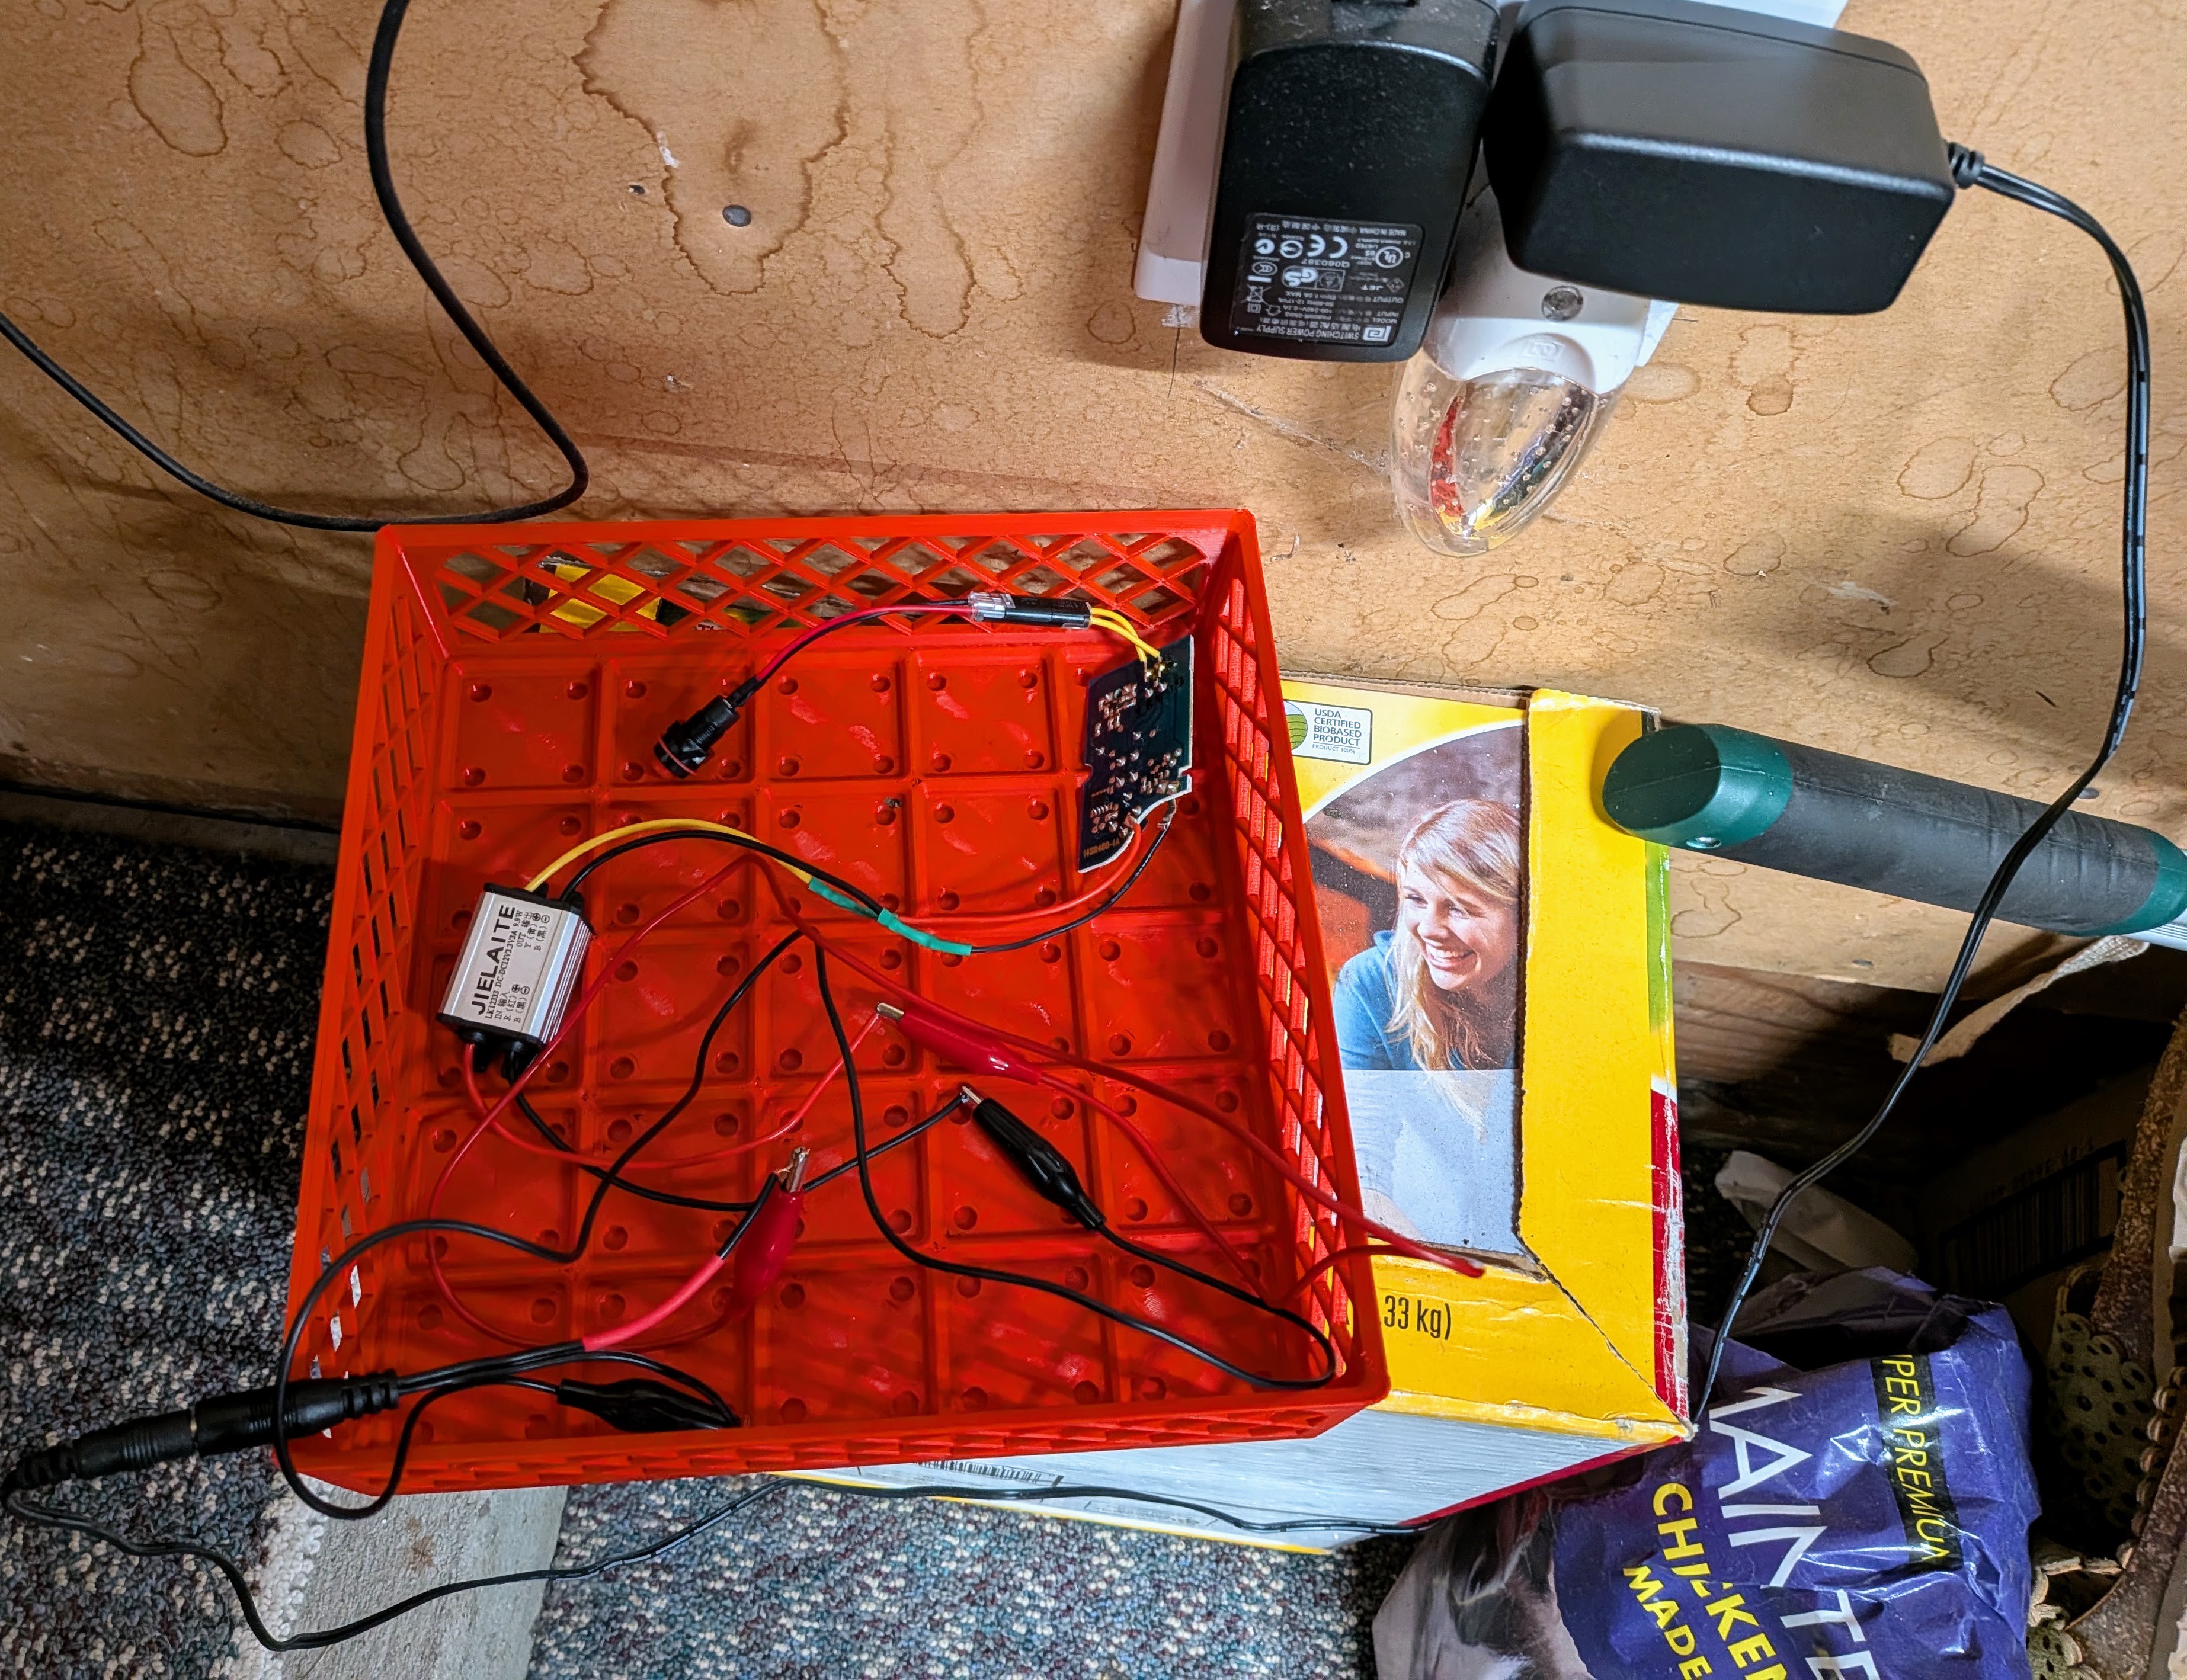
There's a small blunder in that photo. I hadn't removed the nut from the switch before crimping the connector onto the red and black wires. The nut will not fit over that connector, so I had to re-do that. Doh!
Satisfied with the smoke test, I made a small 3D printed box to hold the circuit board and the buck converter. I used this 3D model because I had used it for some other projects in the past. It has an option for a nice sliding lid that clicks into place. The hexagonal holes are big enough to let the connectors pass through, and I could also thread zip-ties through to mount the box somewhere. I didn't want them to create an annoying rattle inside the dashboard, so I padded the inside of the box with scrap corrugated cardboard.
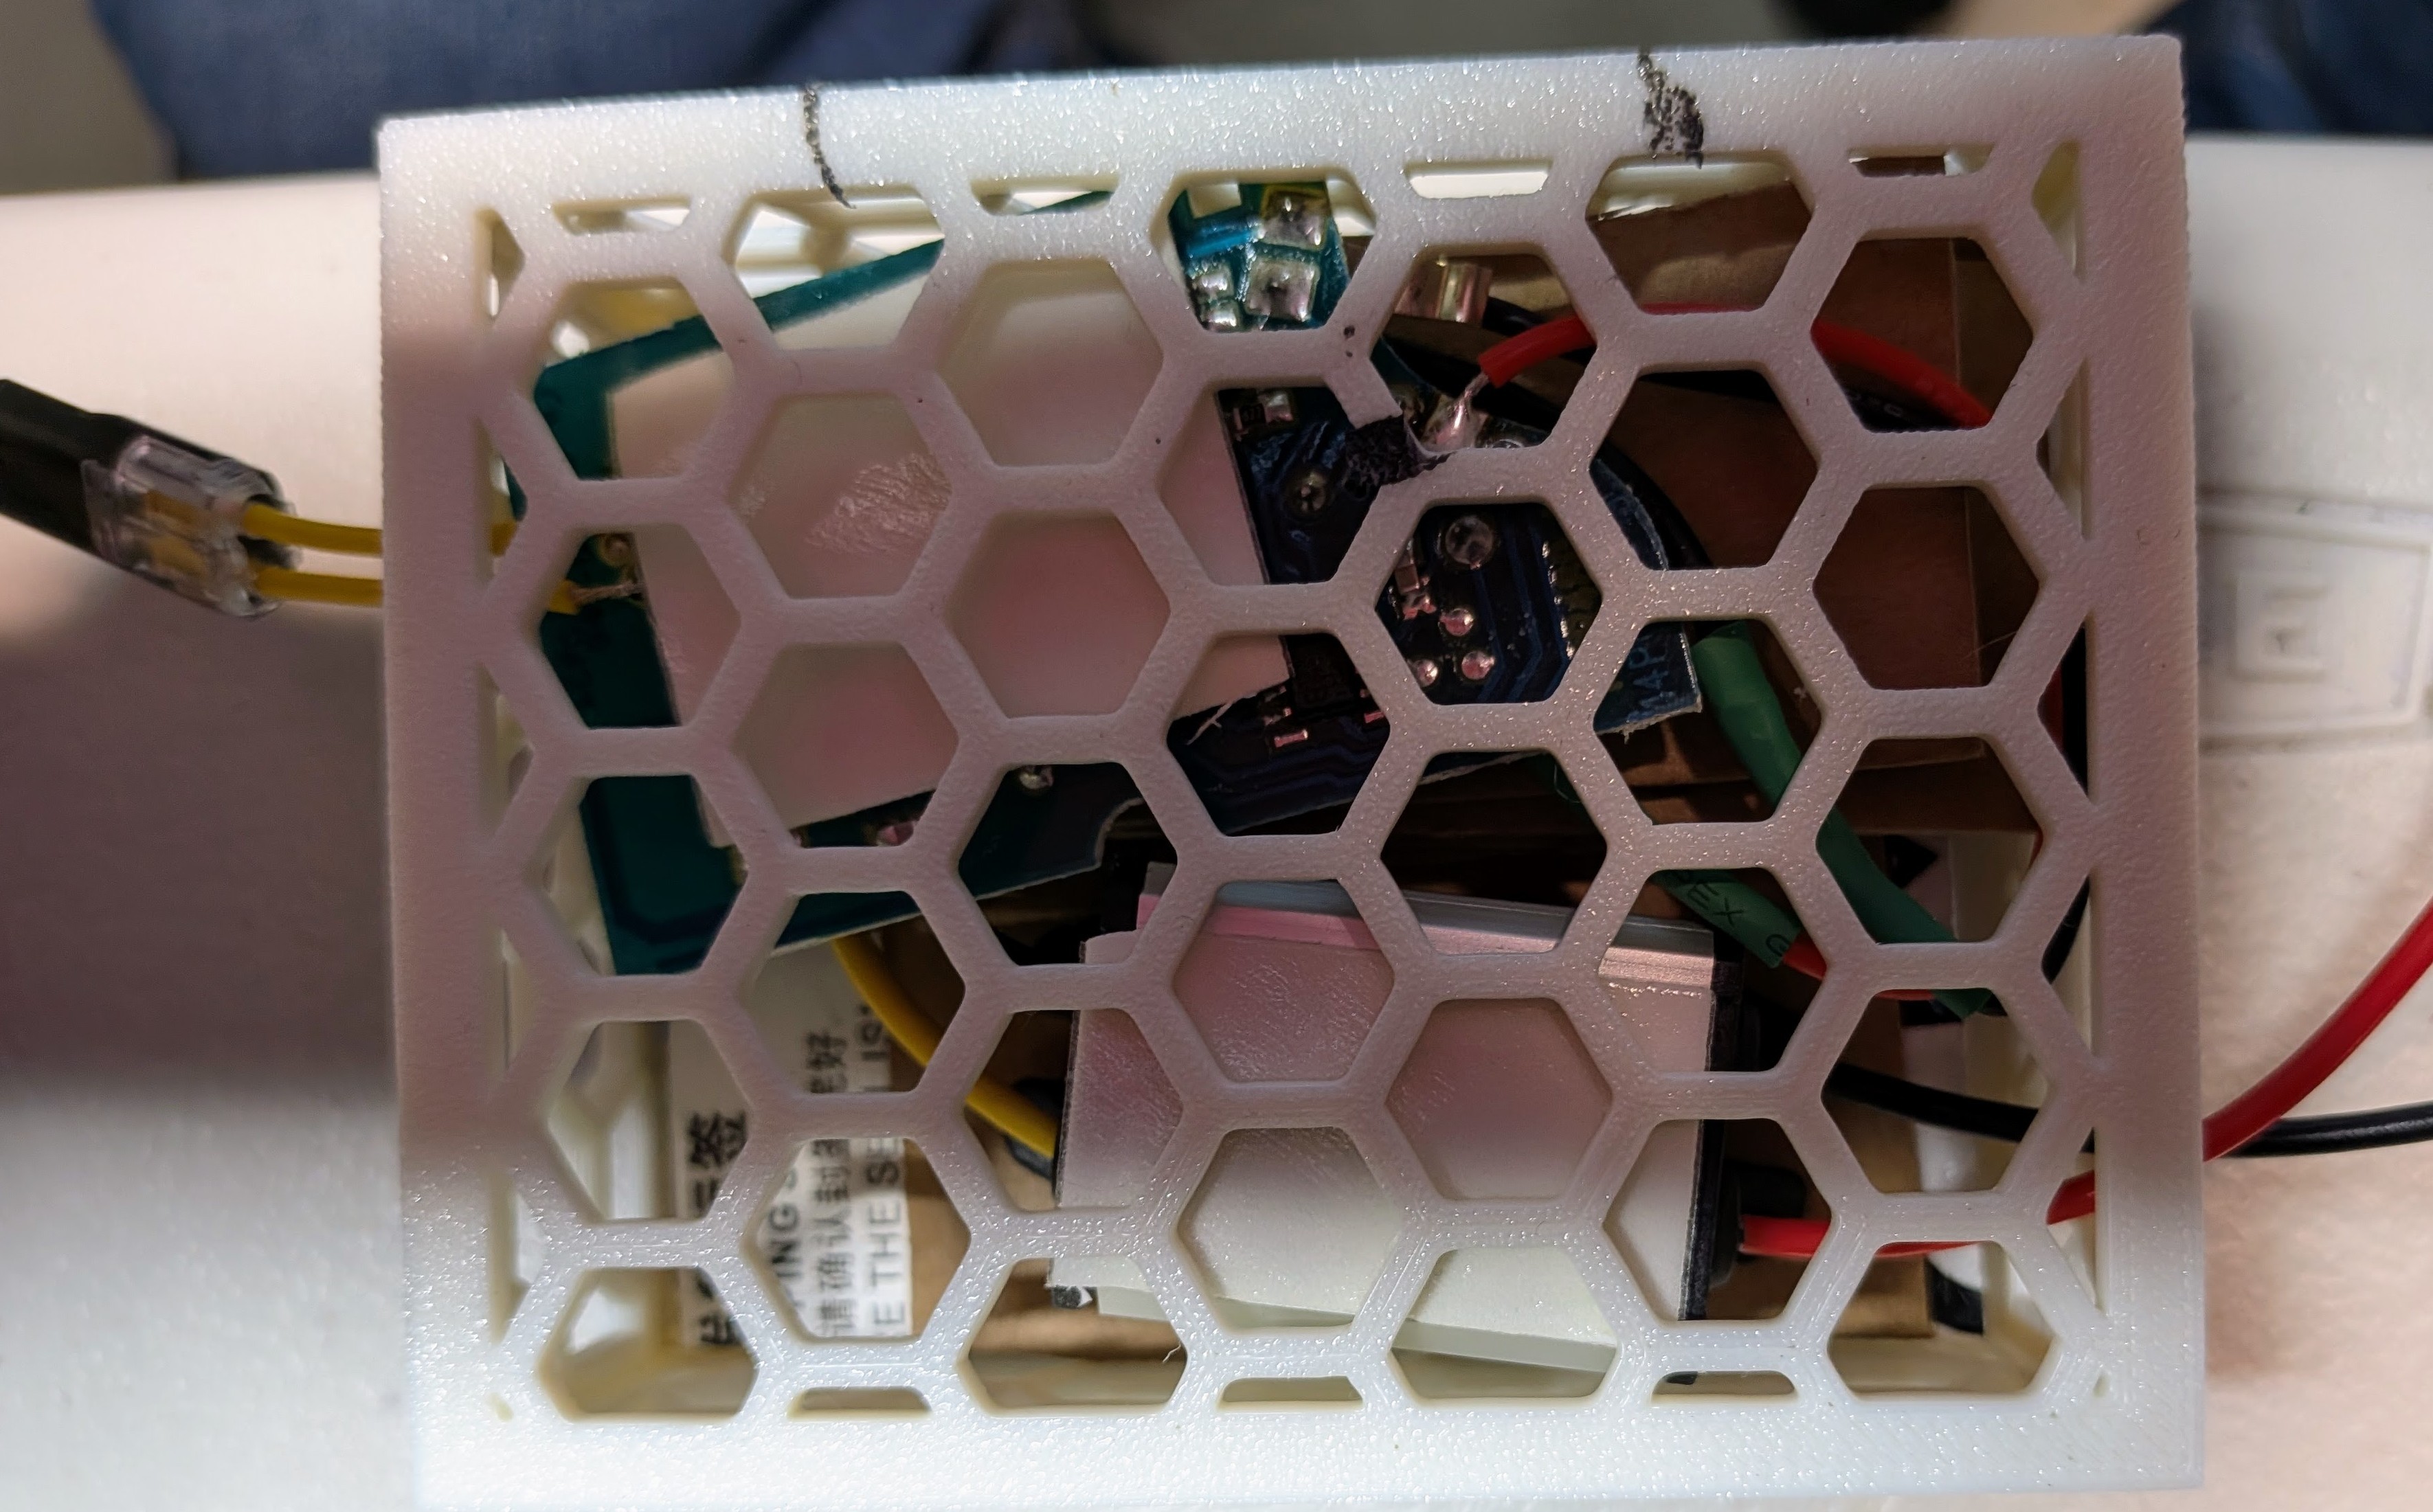
Those large white rectangles inside the box are double-sided foam tape. There wasn't enough box surface for it to hold, so I had to unpack everything and put a piece of cardboard in the bottom of the box for the tape to stick to.
This kind of concludes the deterministic and easy part of the project. Time to start ruining my new car.
Discussions
Become a Hackaday.io Member
Create an account to leave a comment. Already have an account? Log In.