 WJCarpenter
The time had now come for the part of the project I felt least comfortable about: opening up the dashboard. My main fear was that I would do some irreversible damage, even if it was only cosmetic.
The first thing I tried was a complete dead end. If you open the front door, there is a small triangular panel on the side of the dashboard. This is the passenger side in the photo, but it's the same sort of thing on the driver side.
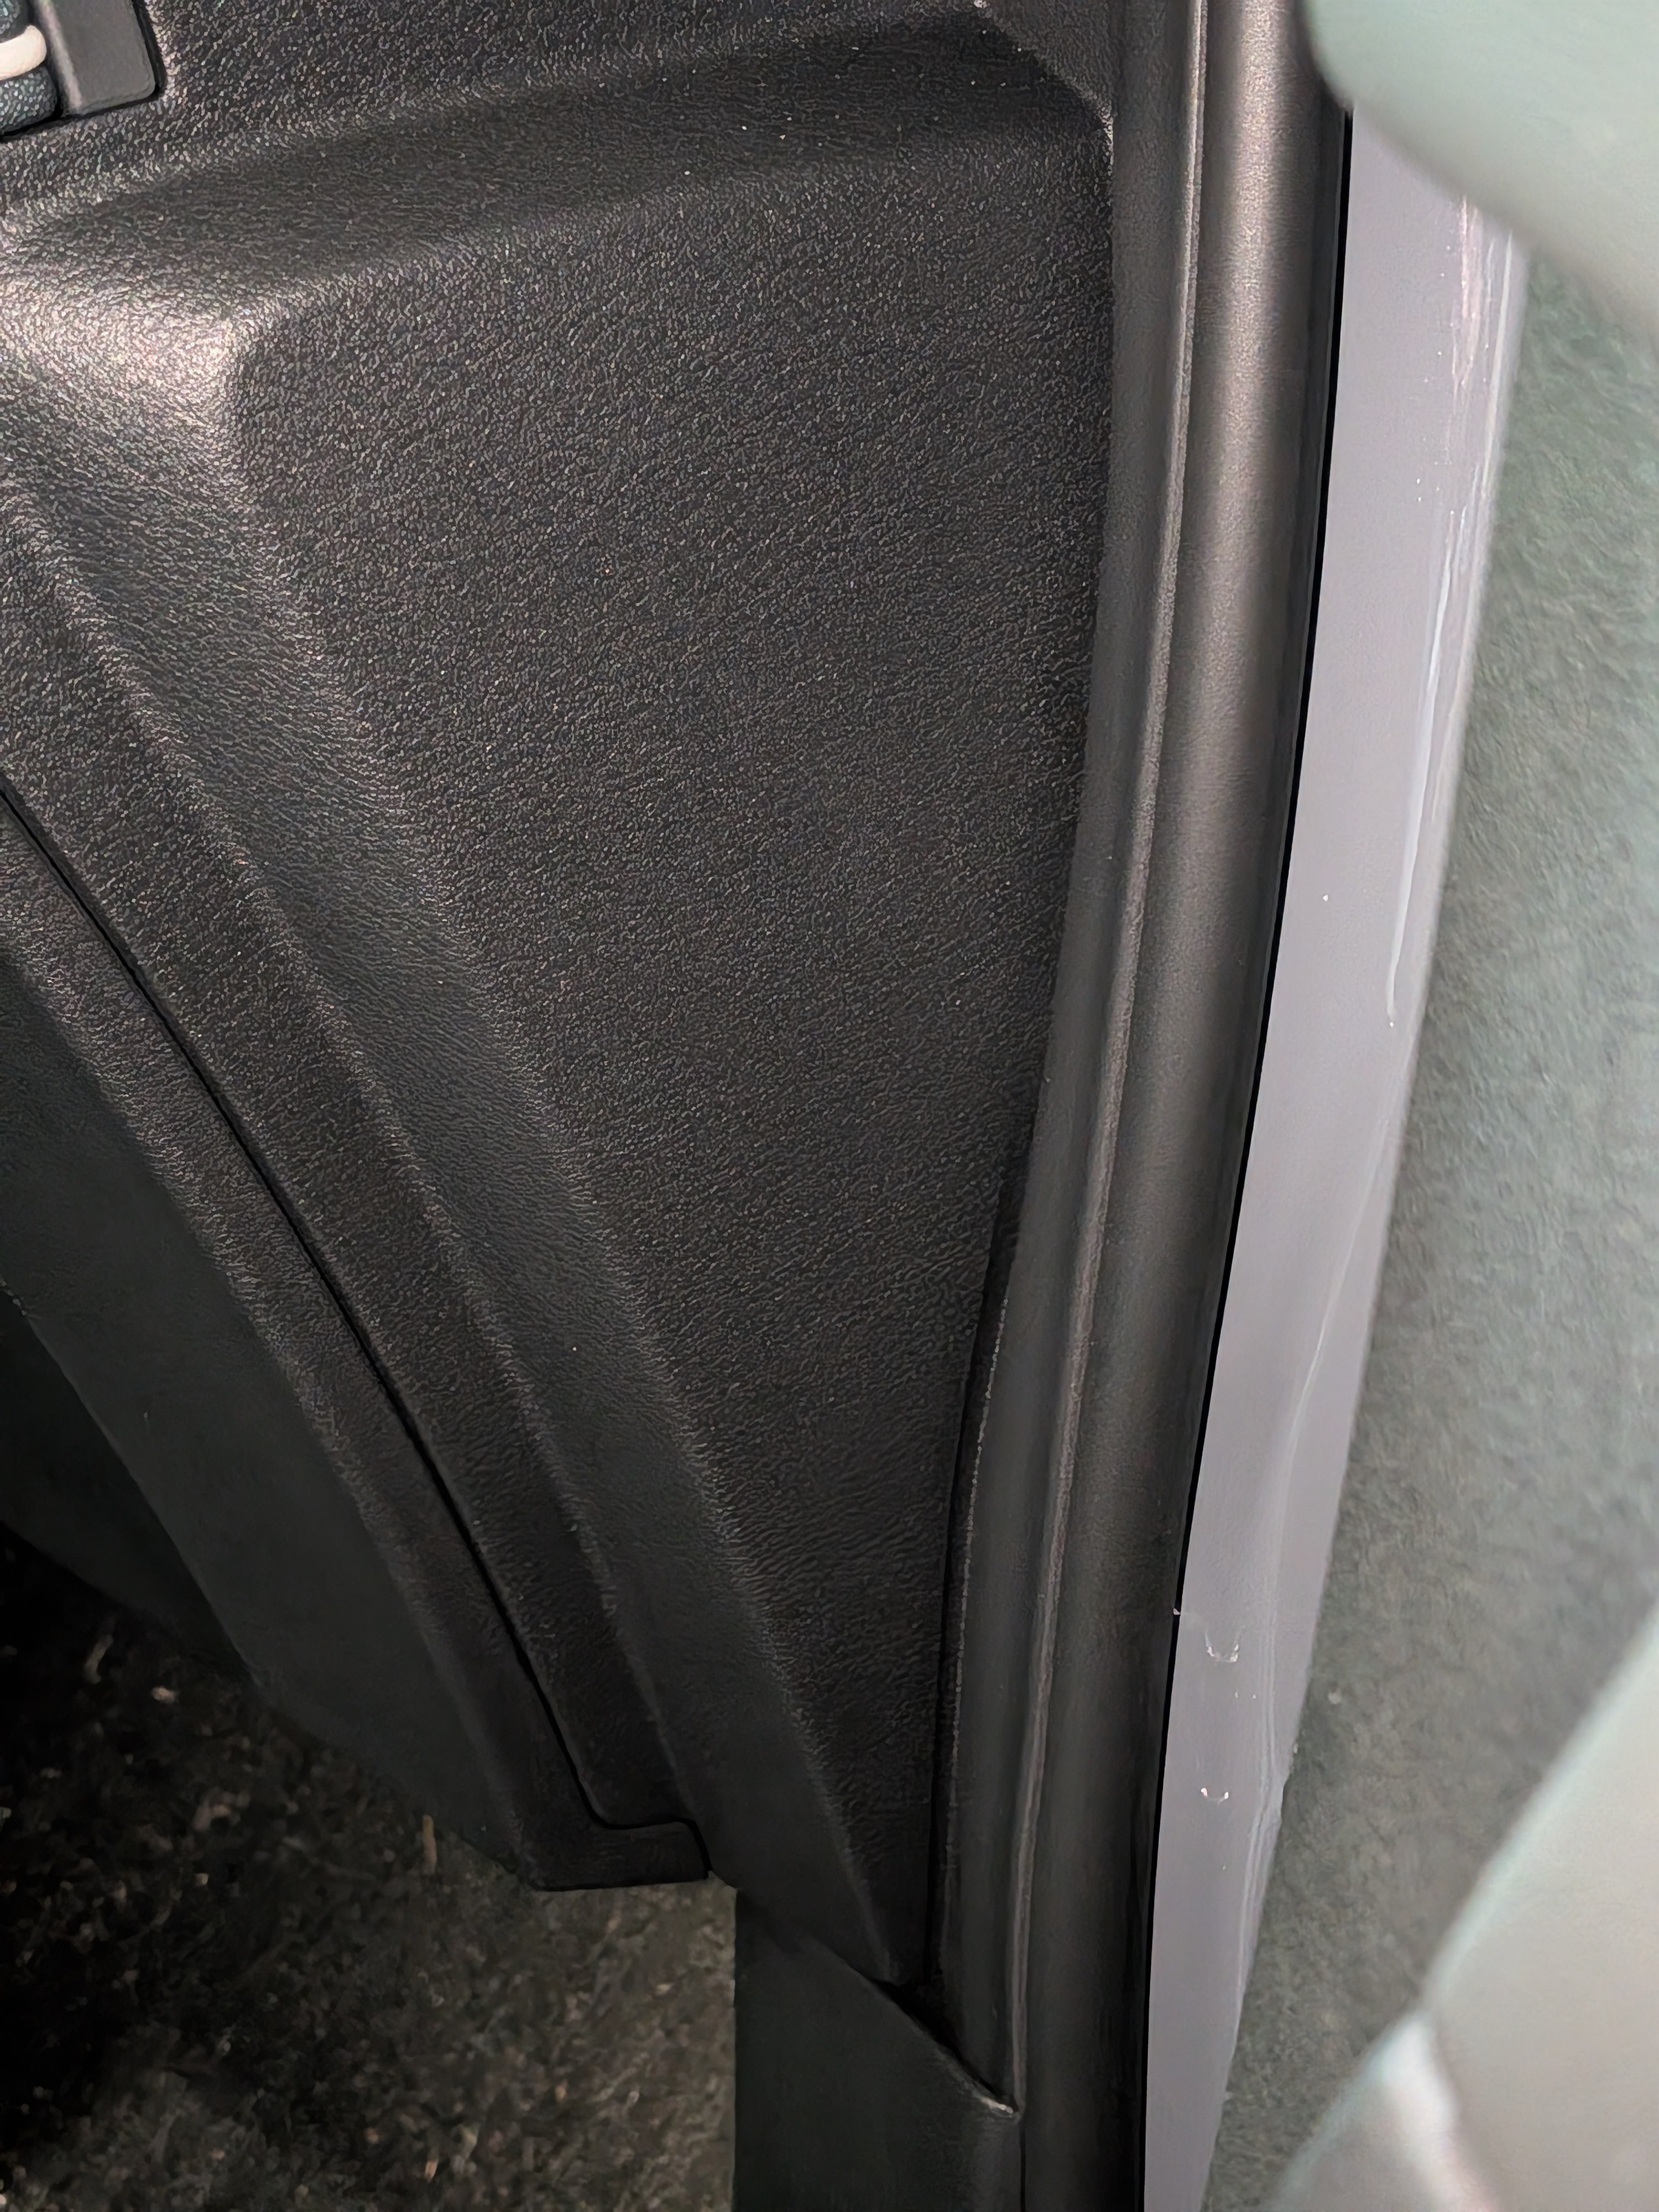
If I took that panel off, the bank of six switches would be only a few inches away. I could reach in and take care of business. If I happened to do some cosmetic damage to that panel, well, it's not very visible.
Alas, when I took the panel off, I found all sorts of metal and plastic bracketry that didn't look very easy to get past or remove. I couldn't even get my pinky finger through there.
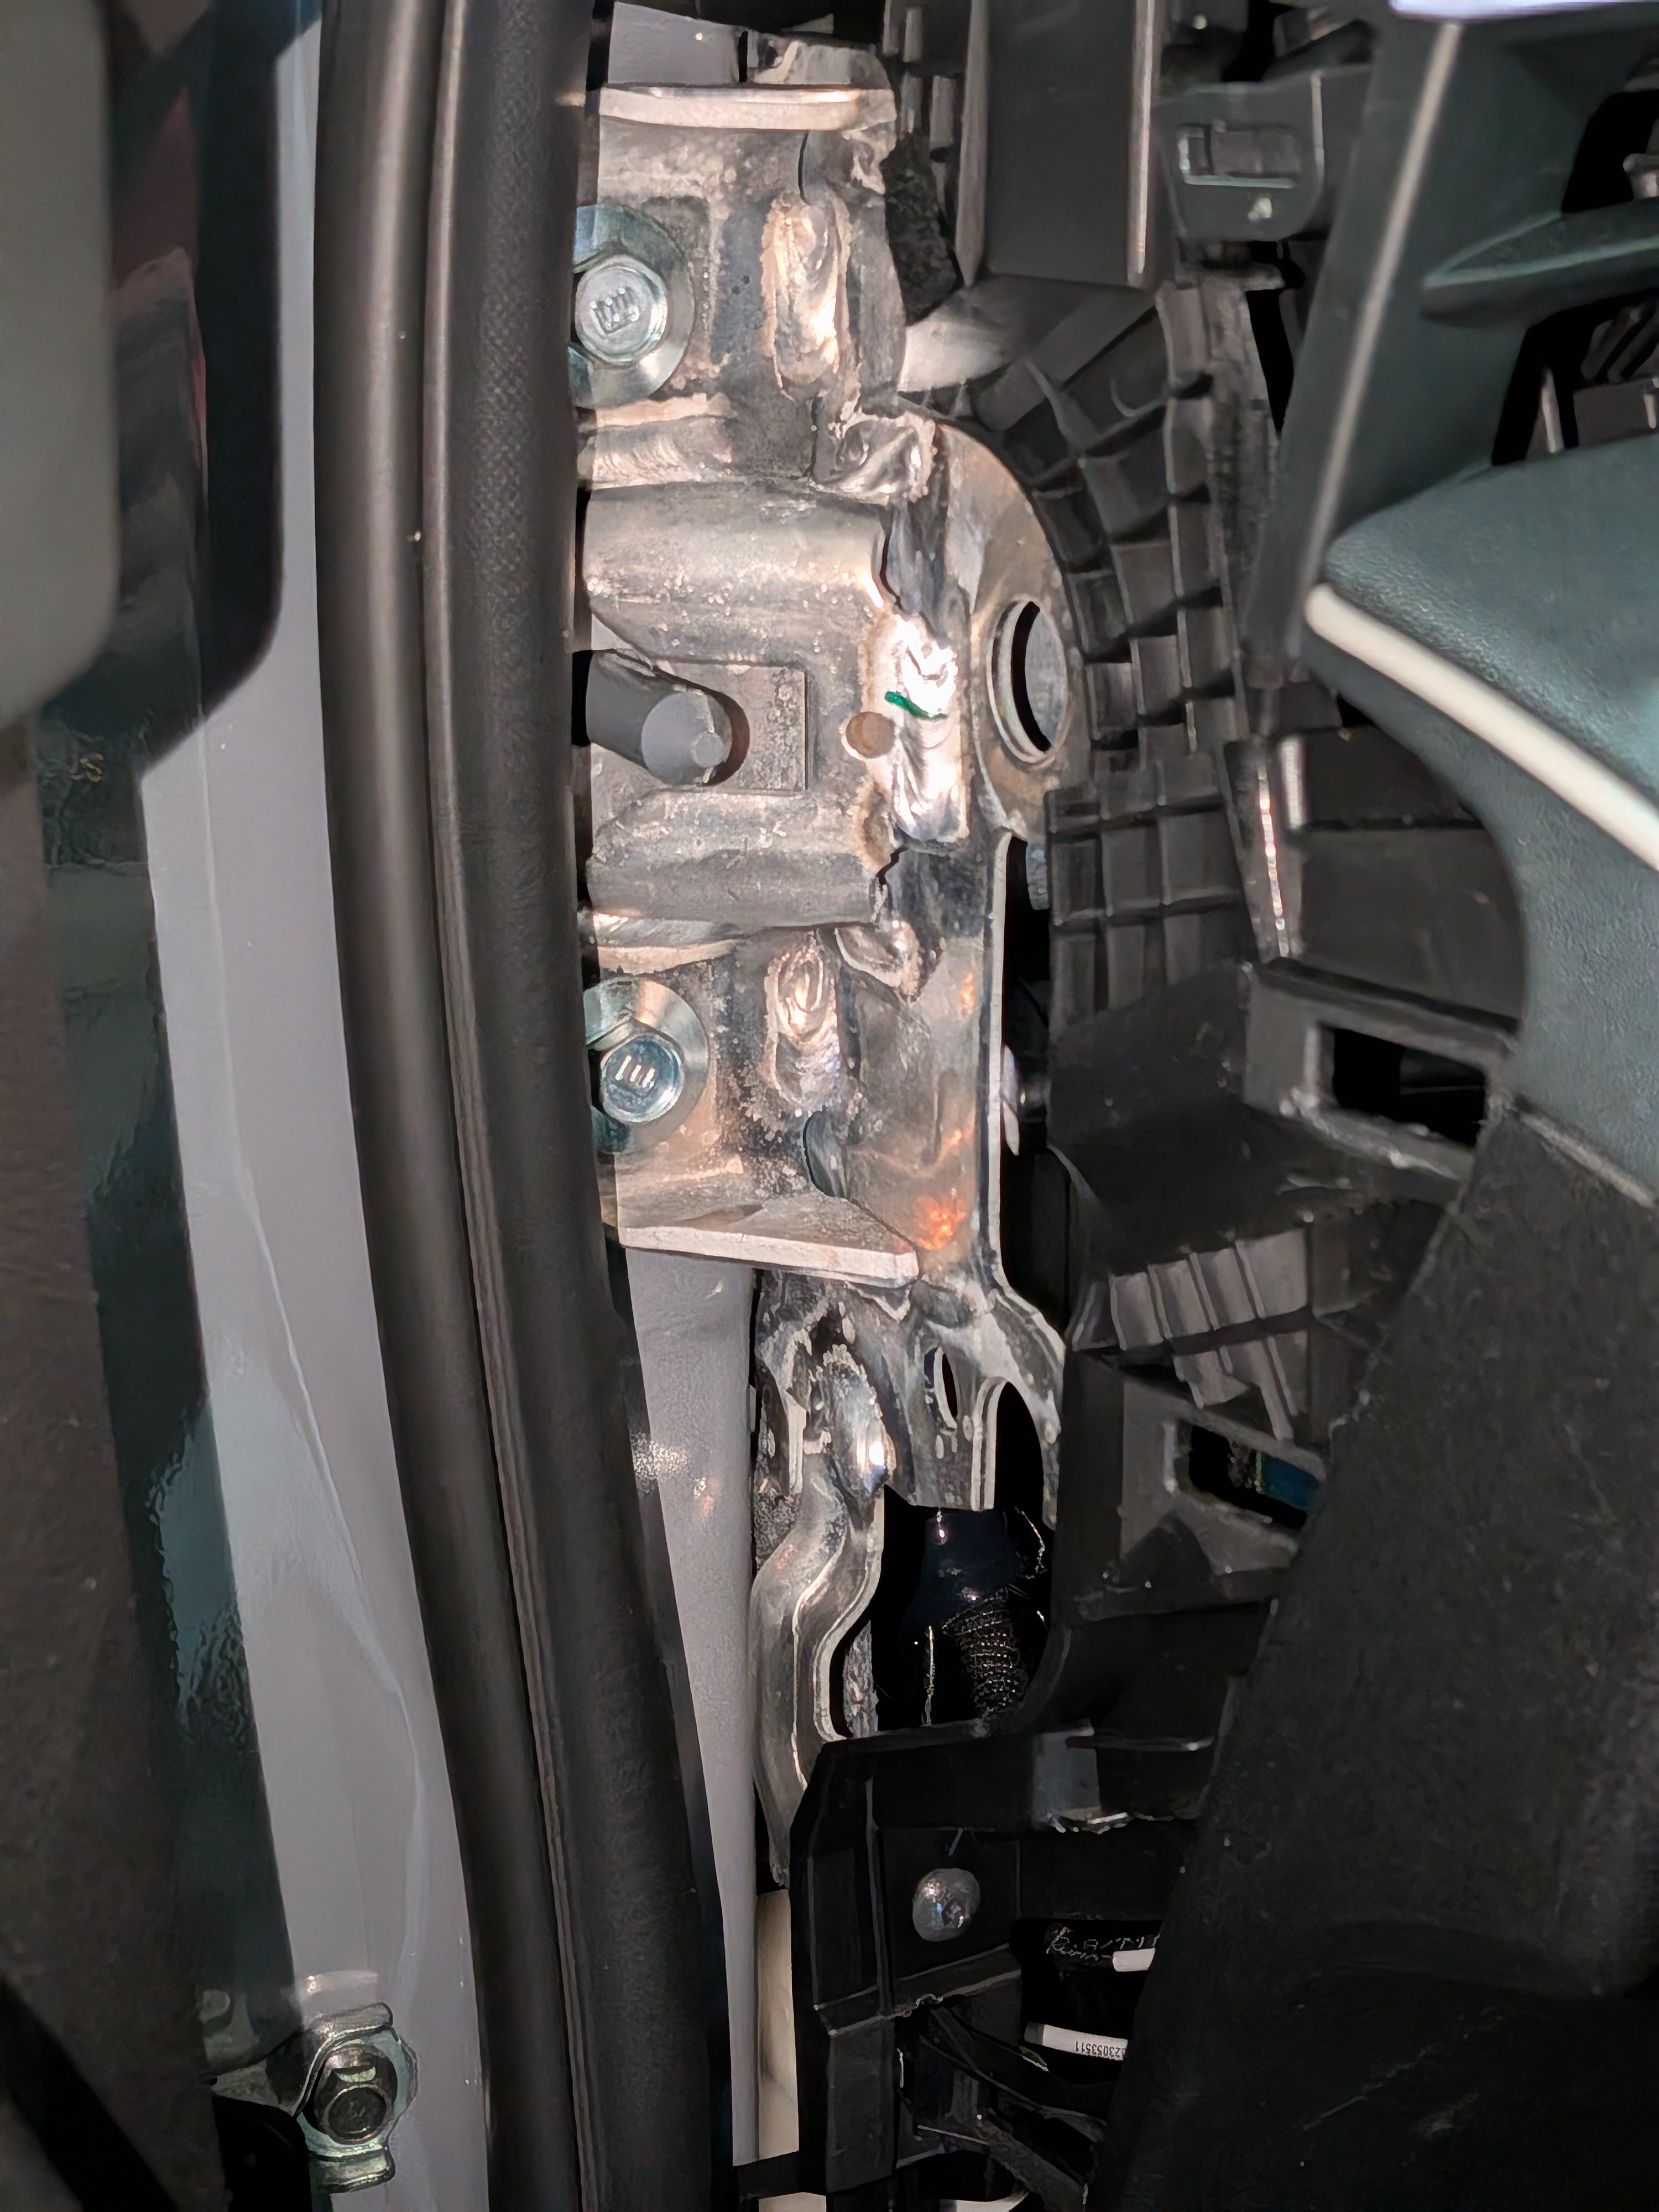
I turned my attention to the large kick panel under the steering wheel. I asked for advice on a popular forum, but there were no takers (probably because of limited experience with the 2026 model). I was especially cautious because there is an airbag down there that I didn't want to mess with or mess up.
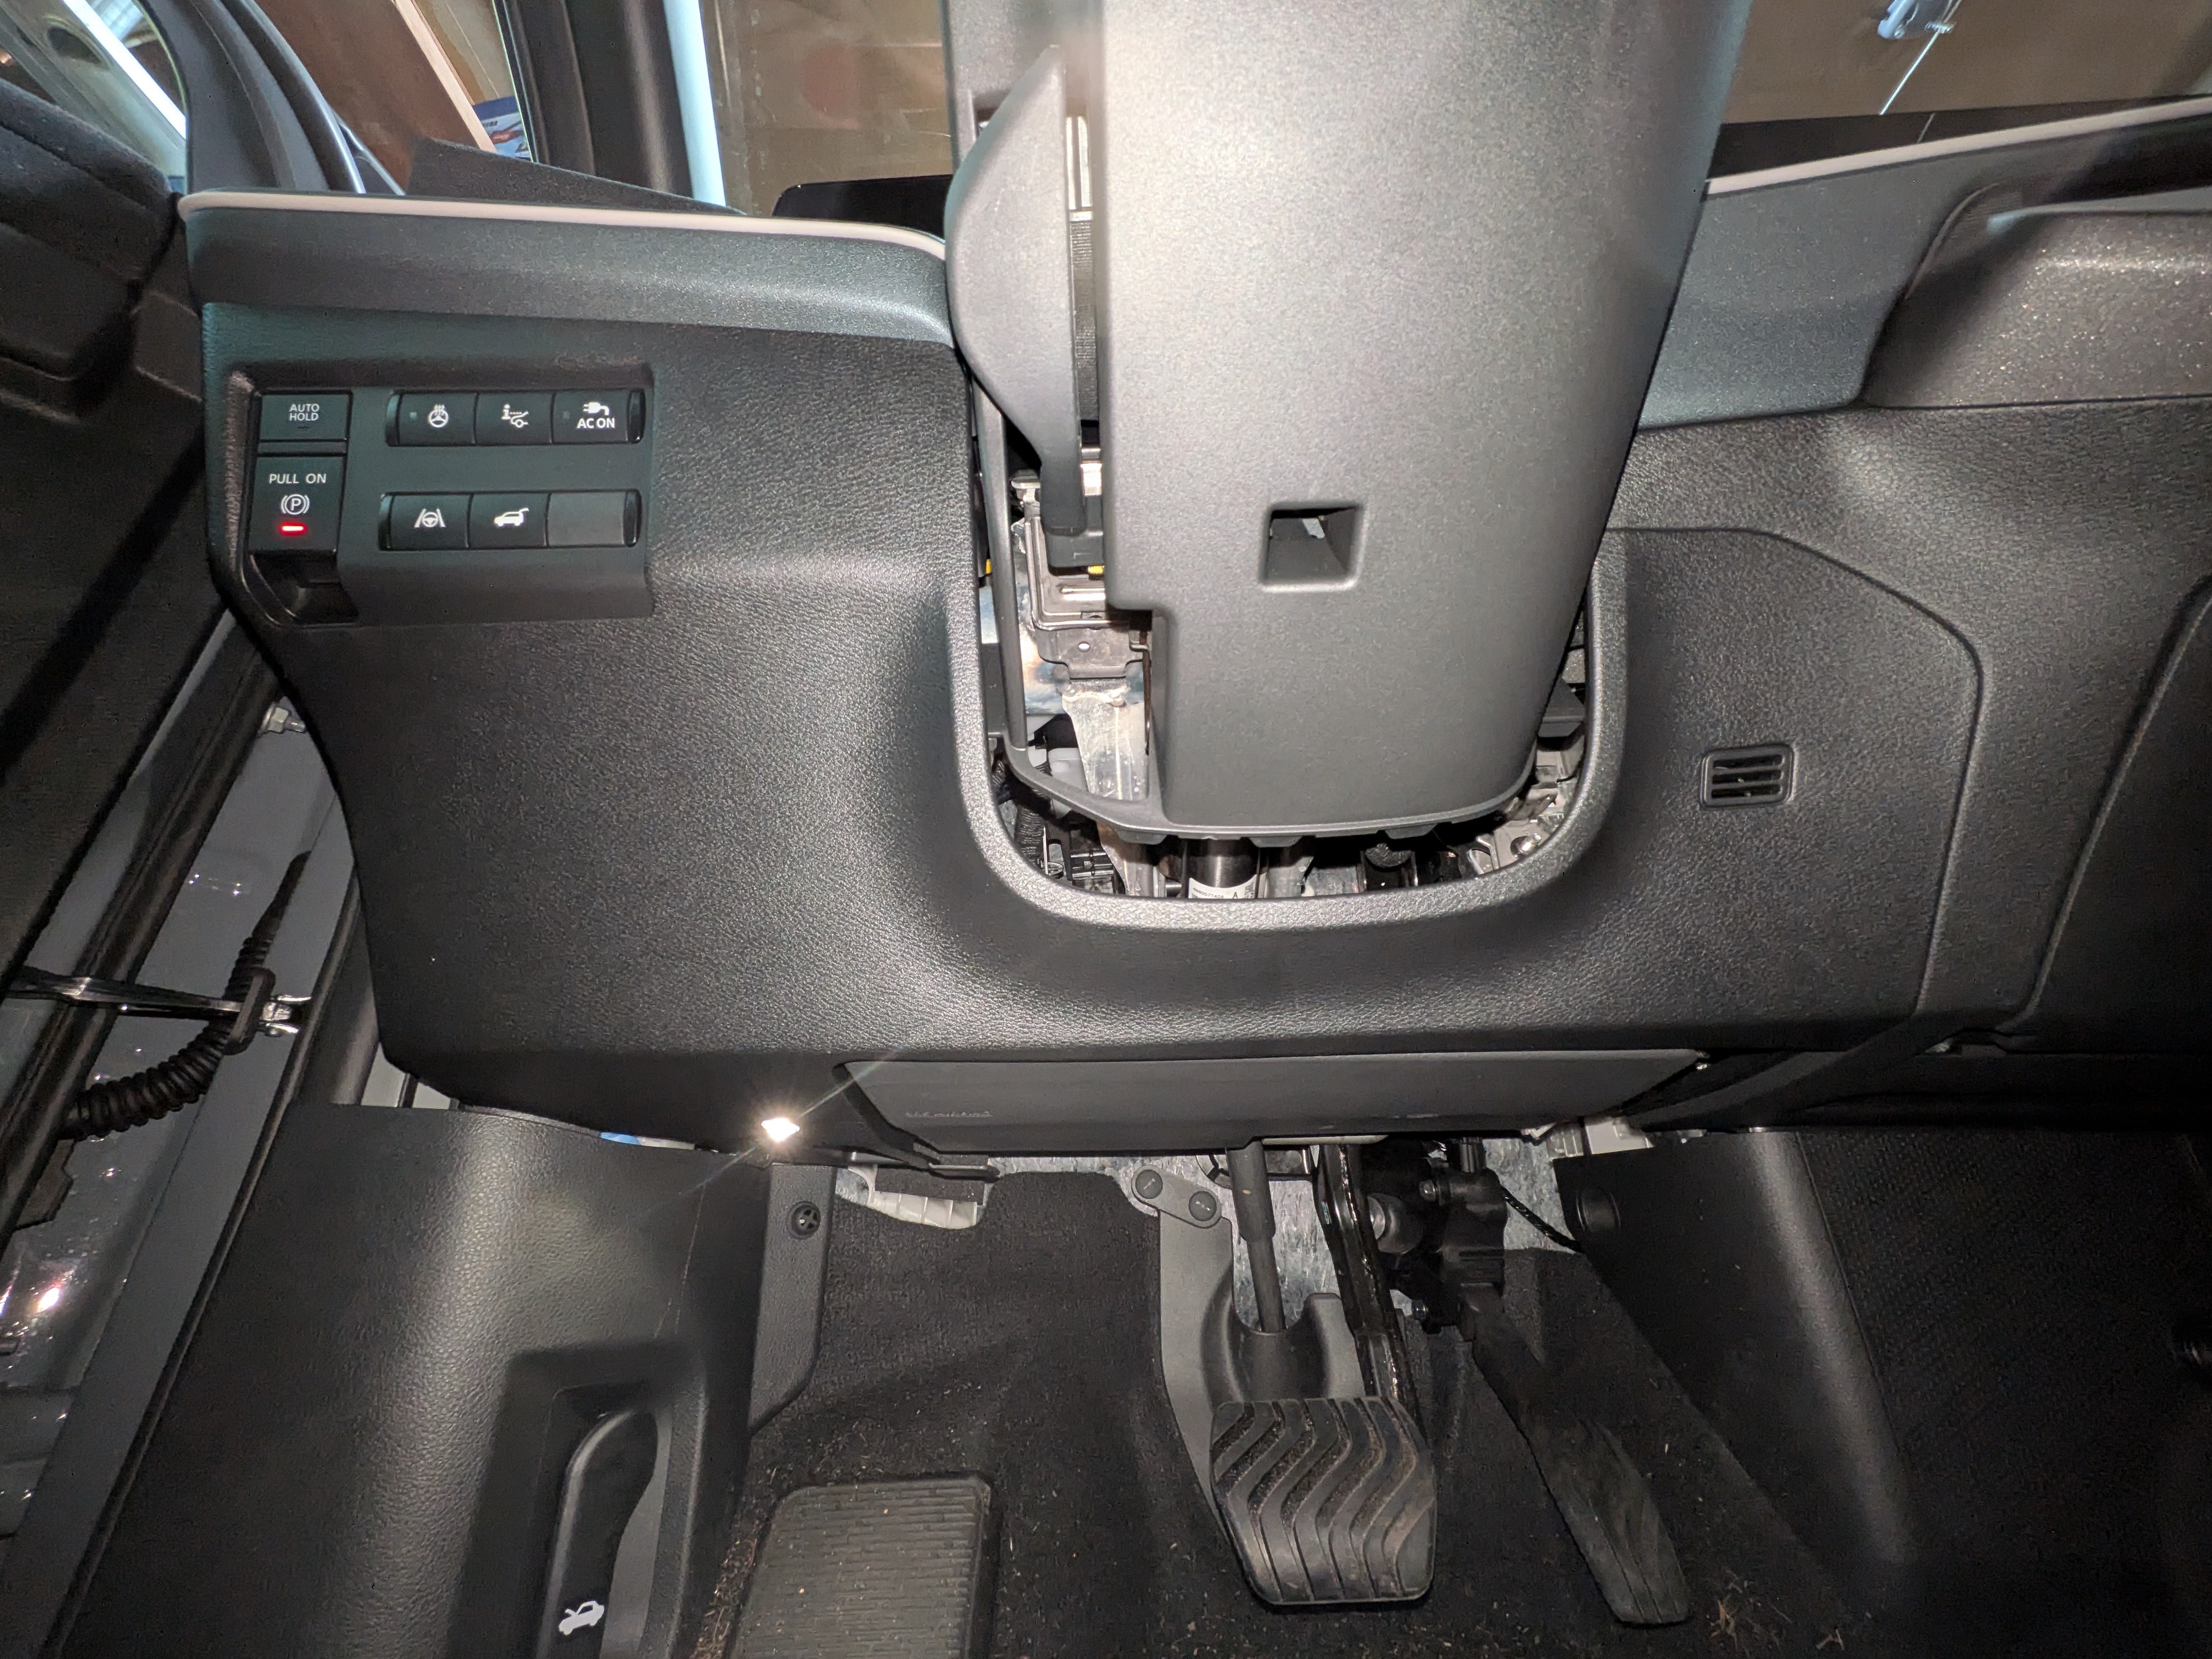
I procrastinated for quite a while, hoping that some information would surface. I eventually took a chance and just pried the top of that panel out. There turned out to be 2 press-fit connectors on the left side and 2 more on the right side. The bottom of the panel has a sort of leg that tucks into the top of another panel on the left. Here are pictures of the left and right sides of the kickpanel with the clips highlighted.
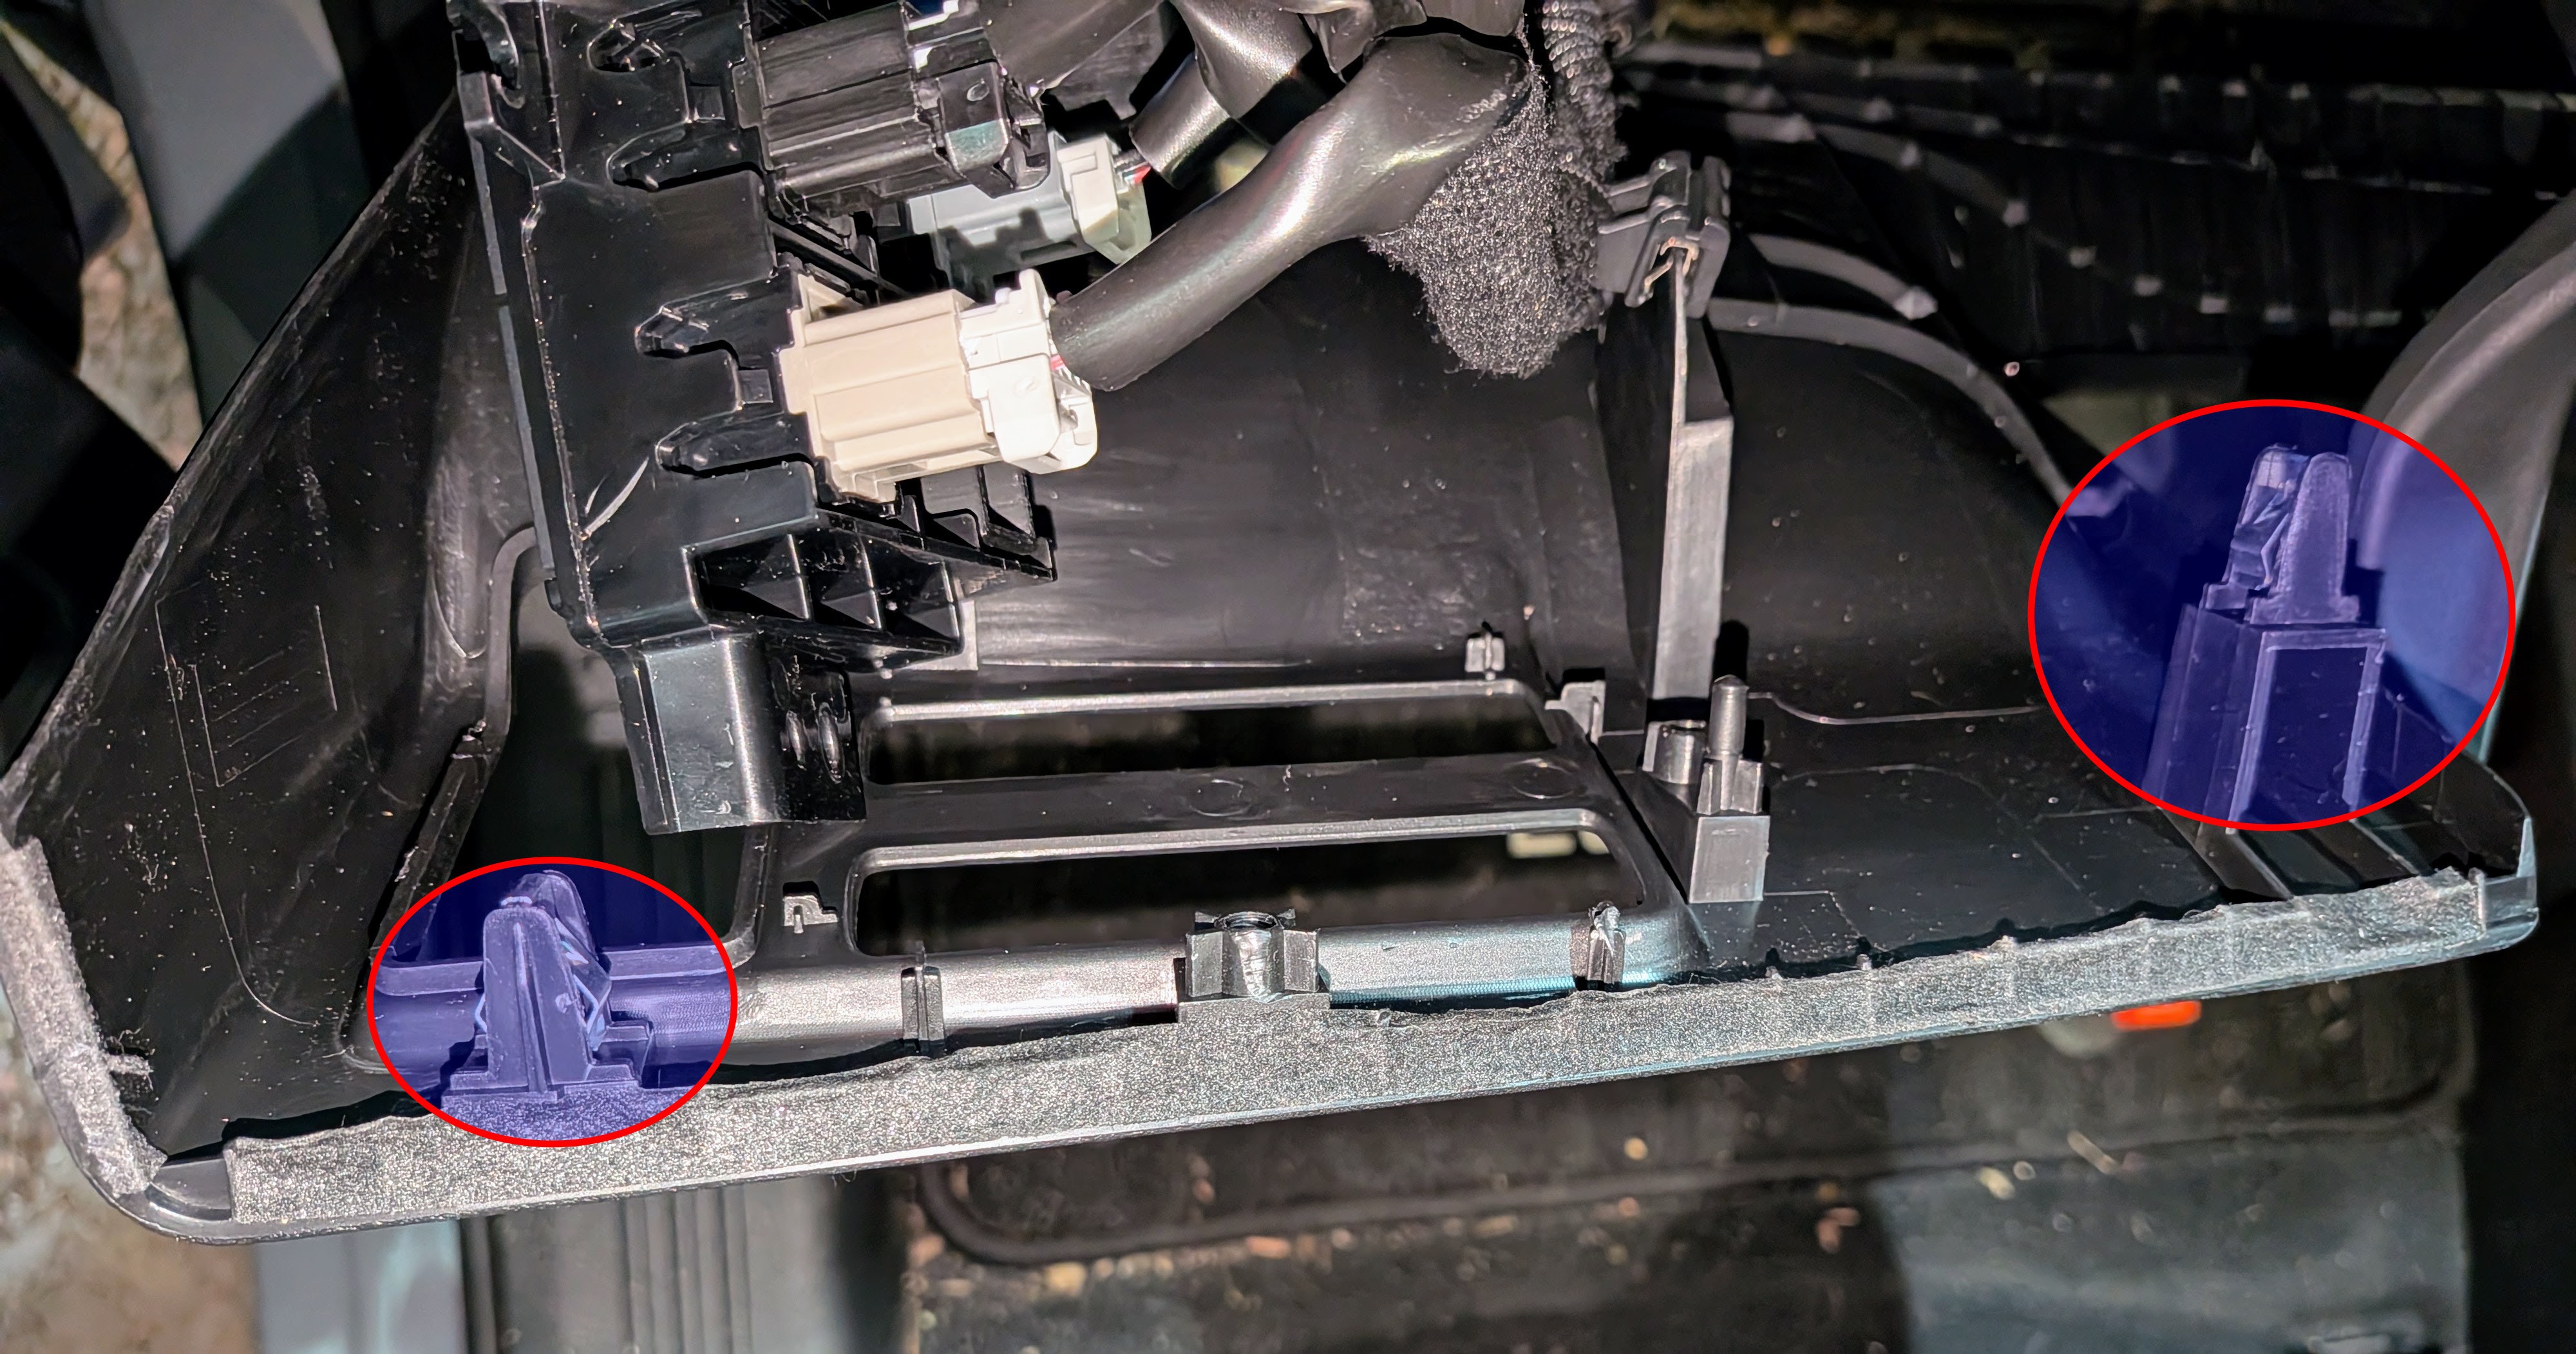
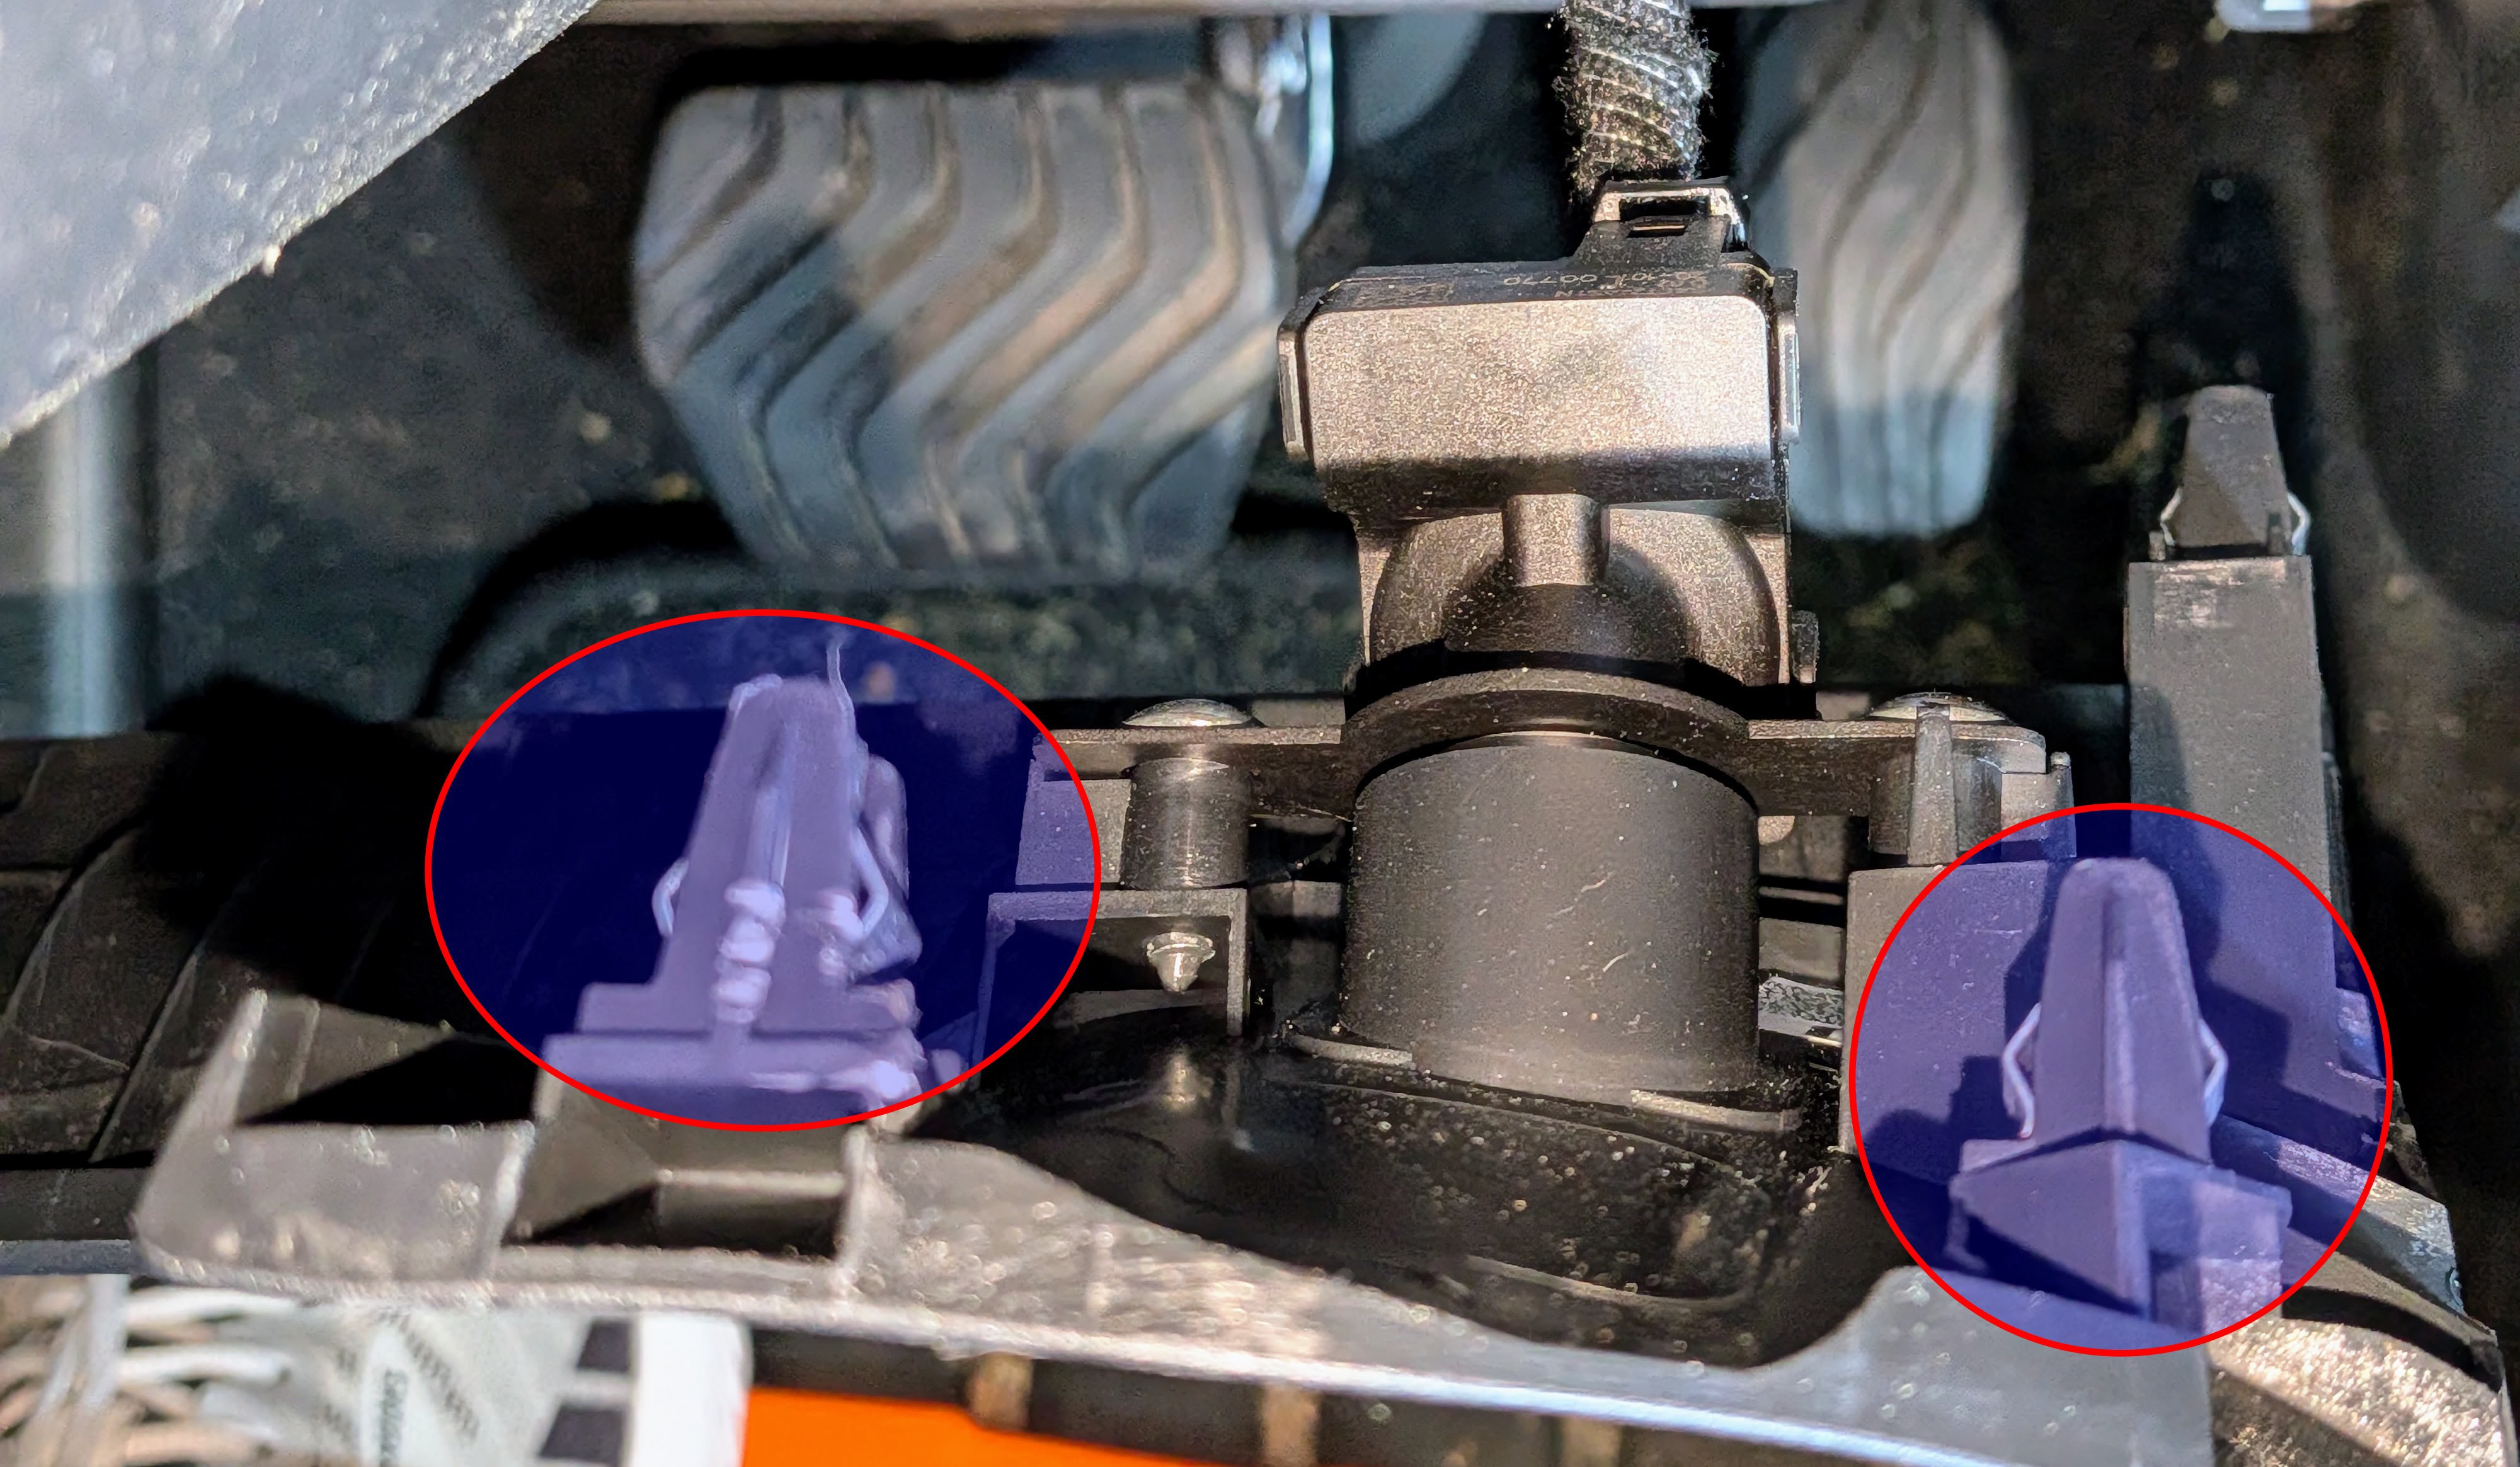
The panel of 6 switches is attached to the left side of the panel with 3 screws. There are a few other things attached to each side, so it takes some care to handle things. In the image of the left side, above, I had already detached the 6 switch panel (you can see the white and gray connector for one of those switches). Here's a better look at it before it was detached. You can just make out the switch blank in the right rear.
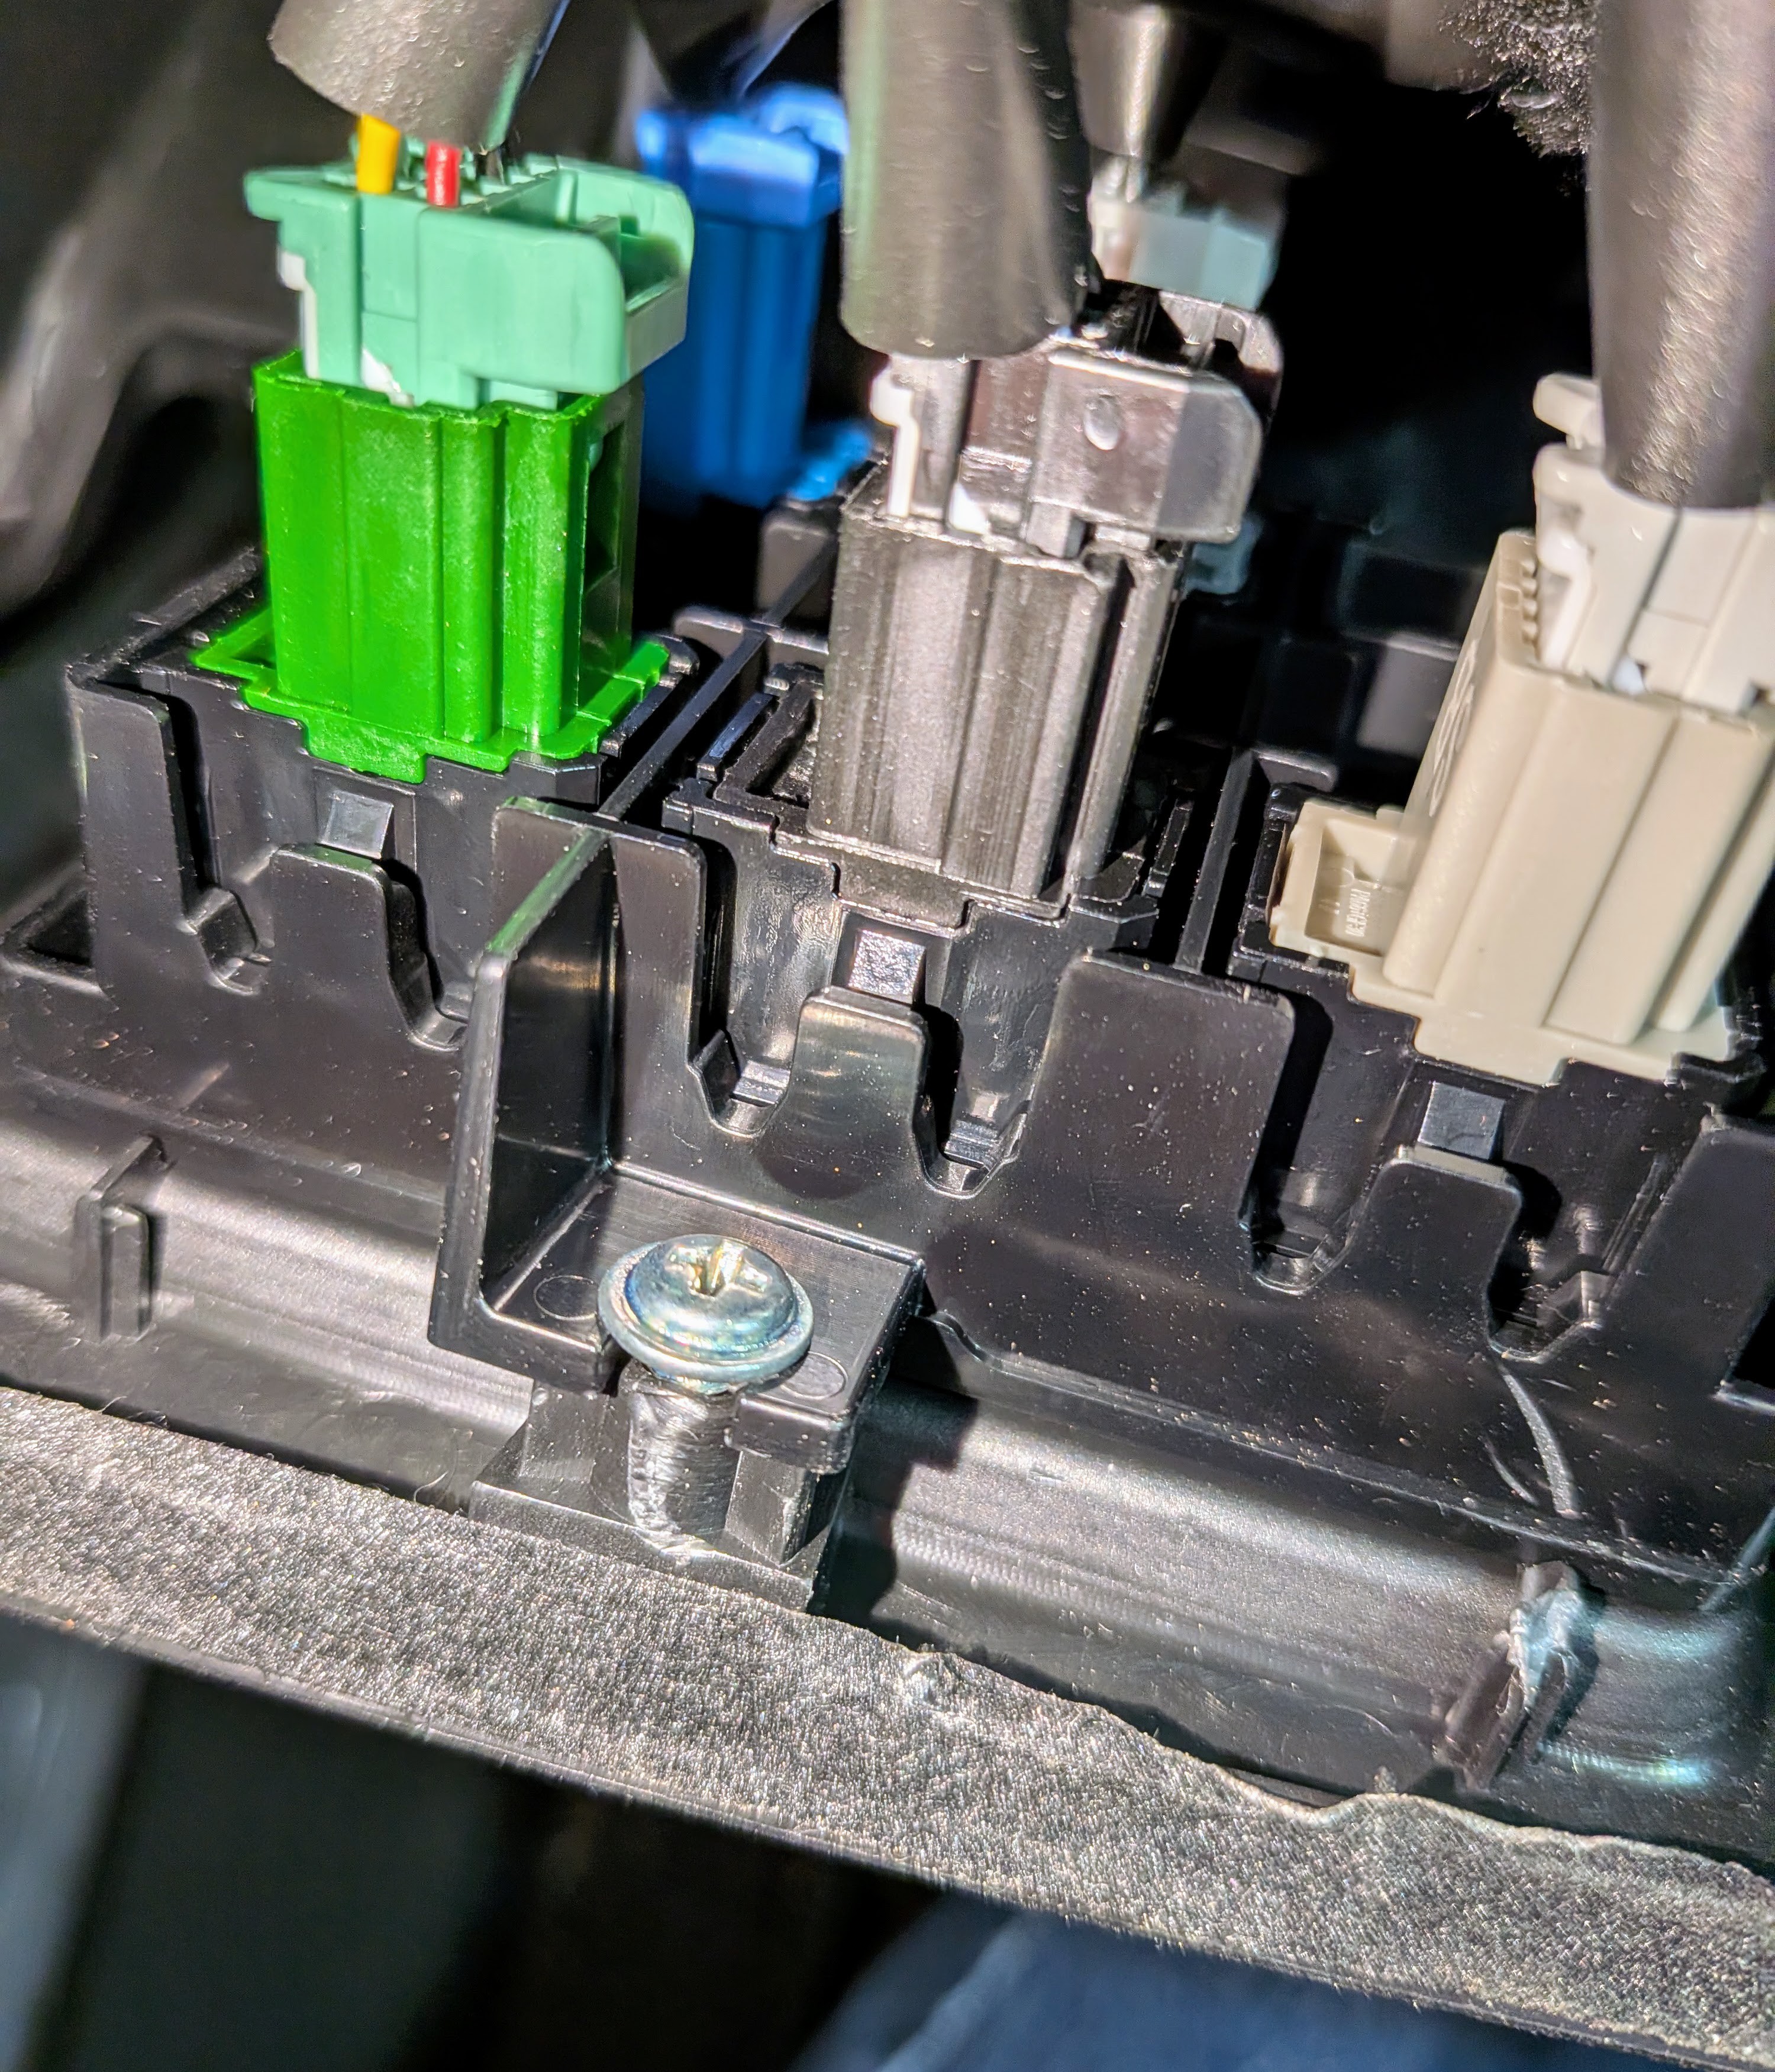
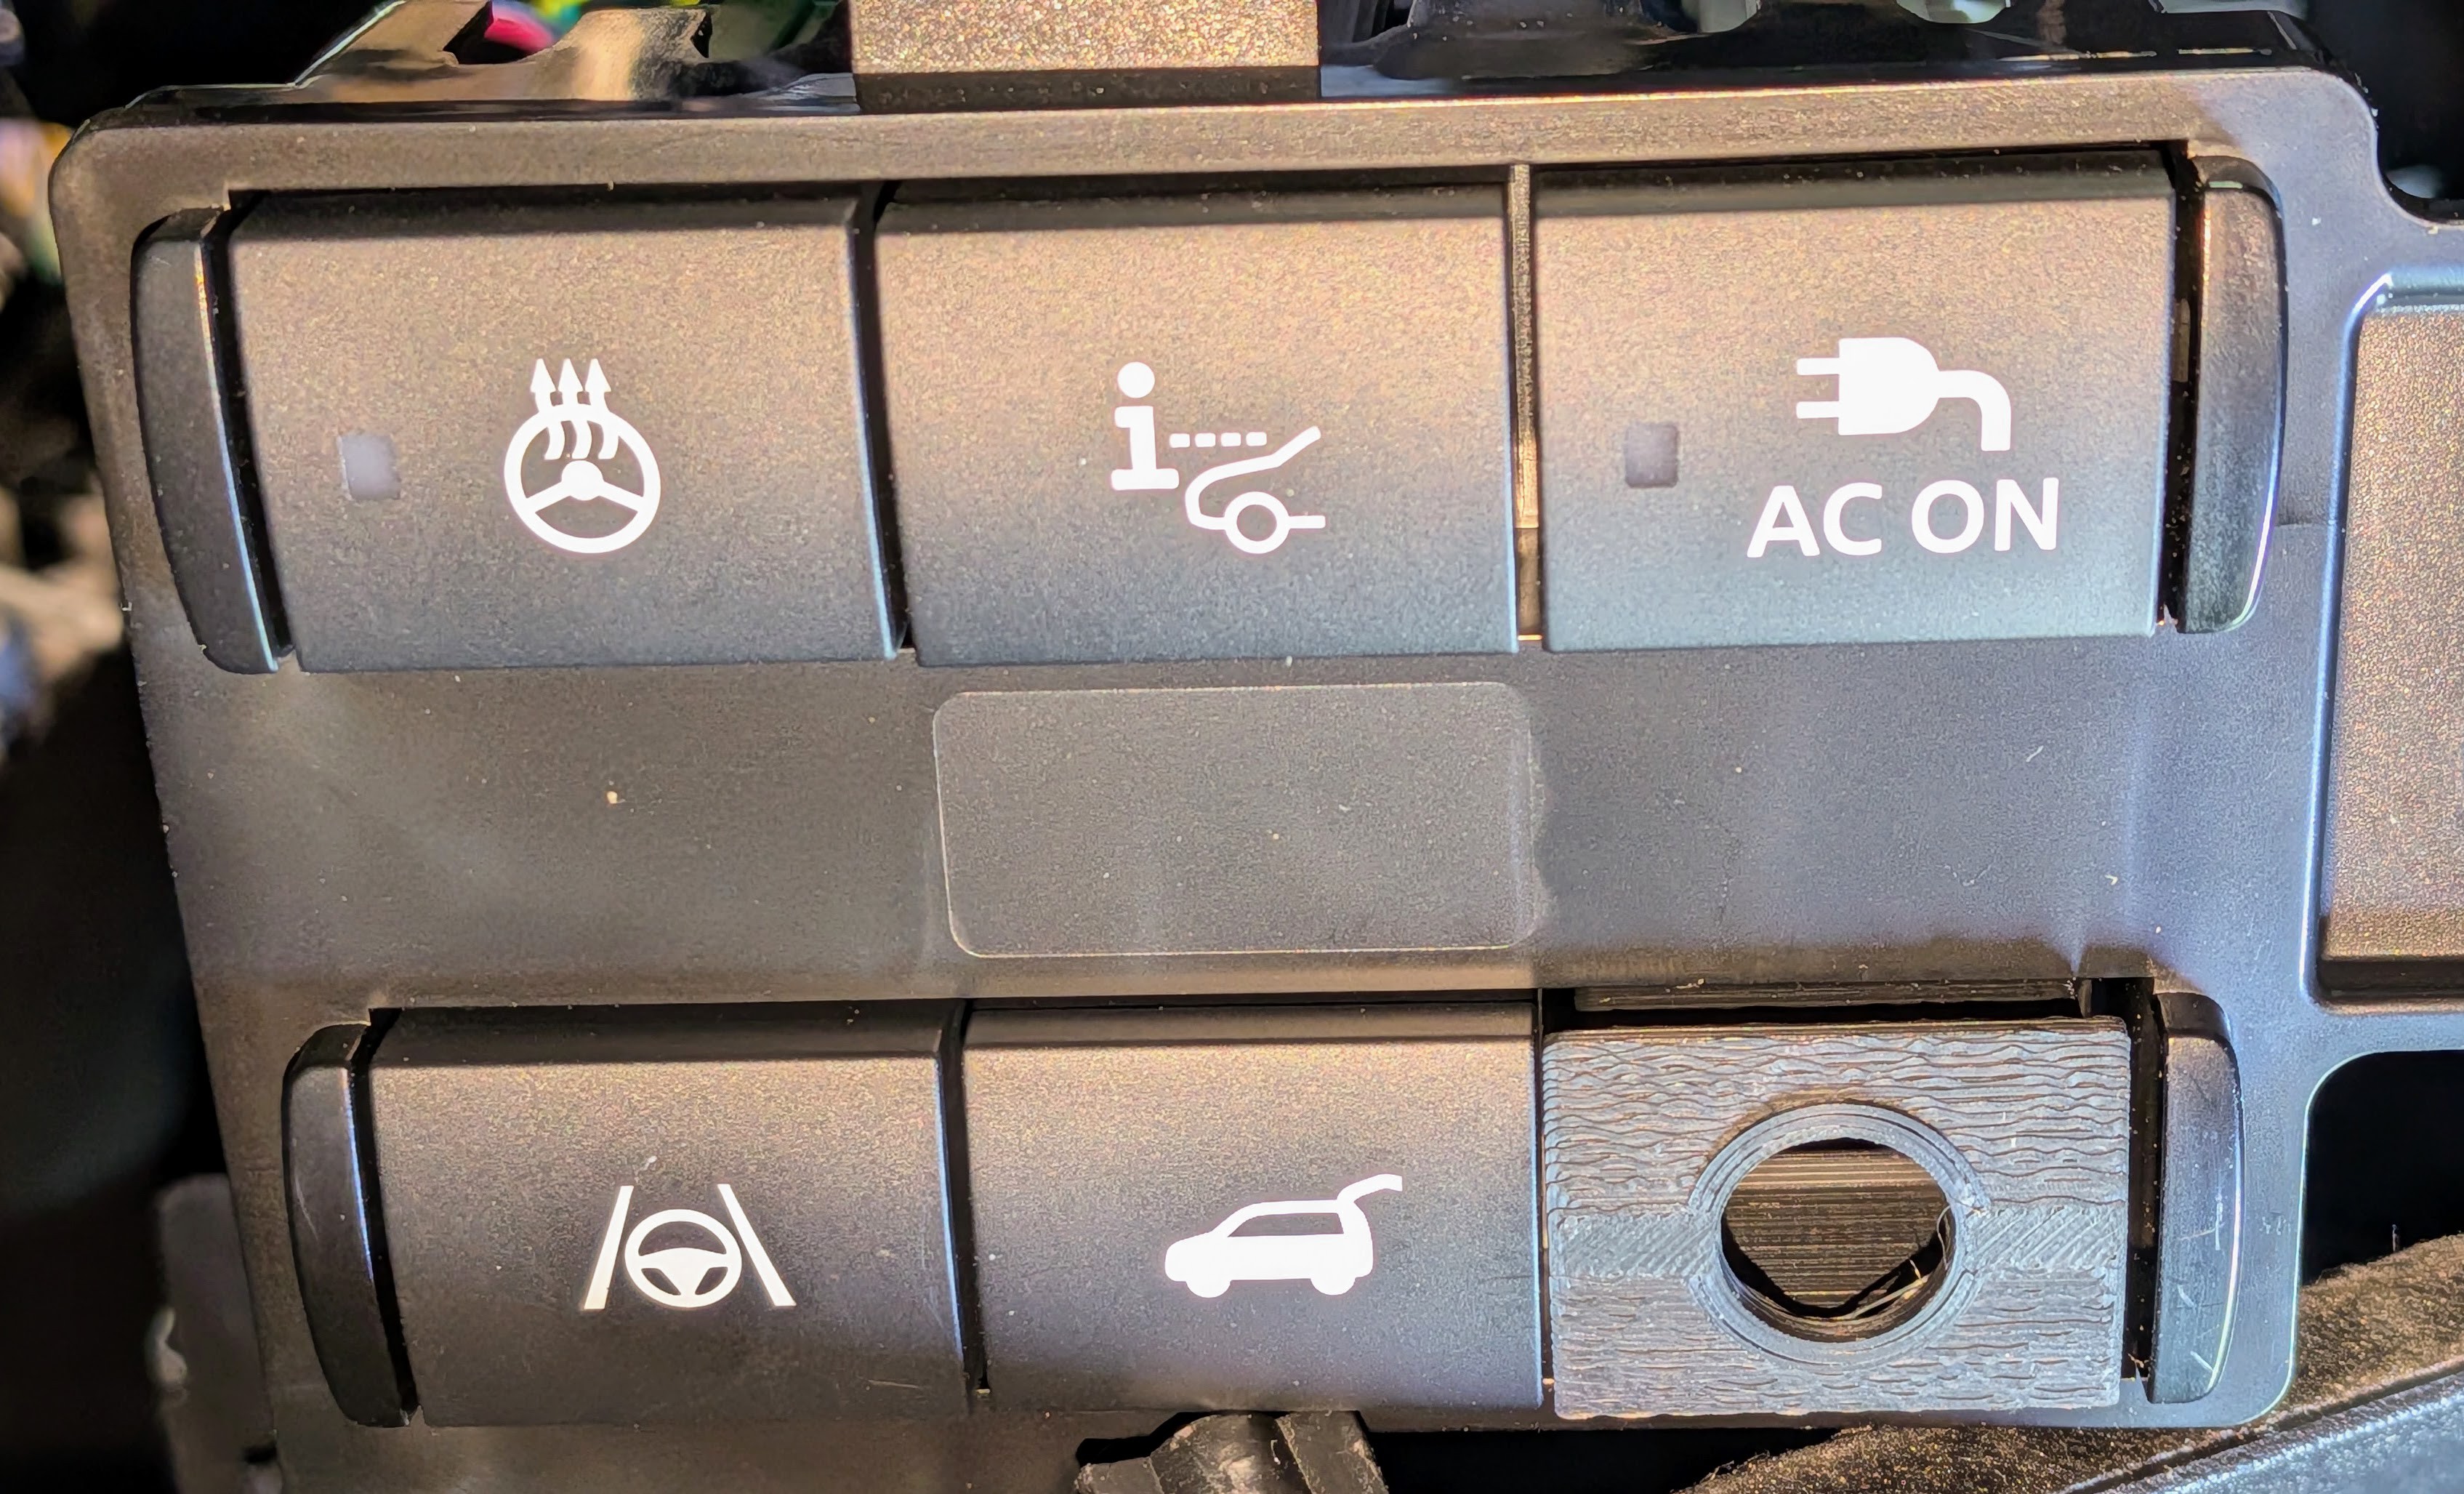
Each switch is held in place by a couple of plastic tabs that press against a flat piece of the switch. Except for the aggravation of working in a tight space, it's easy to pry up those tabs with a small screwdriver and push the switch blank out the front of the panel. Here's an image of a dry-fit with a spare 3D printed switch blank before going at it with the real stuff.
Discussions
Become a Hackaday.io Member
Create an account to leave a comment. Already have an account? Log In.