Close
0%
0%

ChipBit - an RFID Card Driven Family Home Computer

The family room computer, reinvented: a Raspberry Pi kiosk where physical RFID cards launch retro or modern edutainment and software

Similar projects worth following
0 followers
ChipBit is the family computer reinvented. Imagine returning to their being a shared machine in your home that plays games and runs software the whole family can enjoy. It teaches valuable computer skills, like how to use a keyboard and navigate software. Parental controls are simple, and it's easy to add new software and restrict screentime.

Best of all it is intuitive even for small children because all software is launched by simply tapping a card!

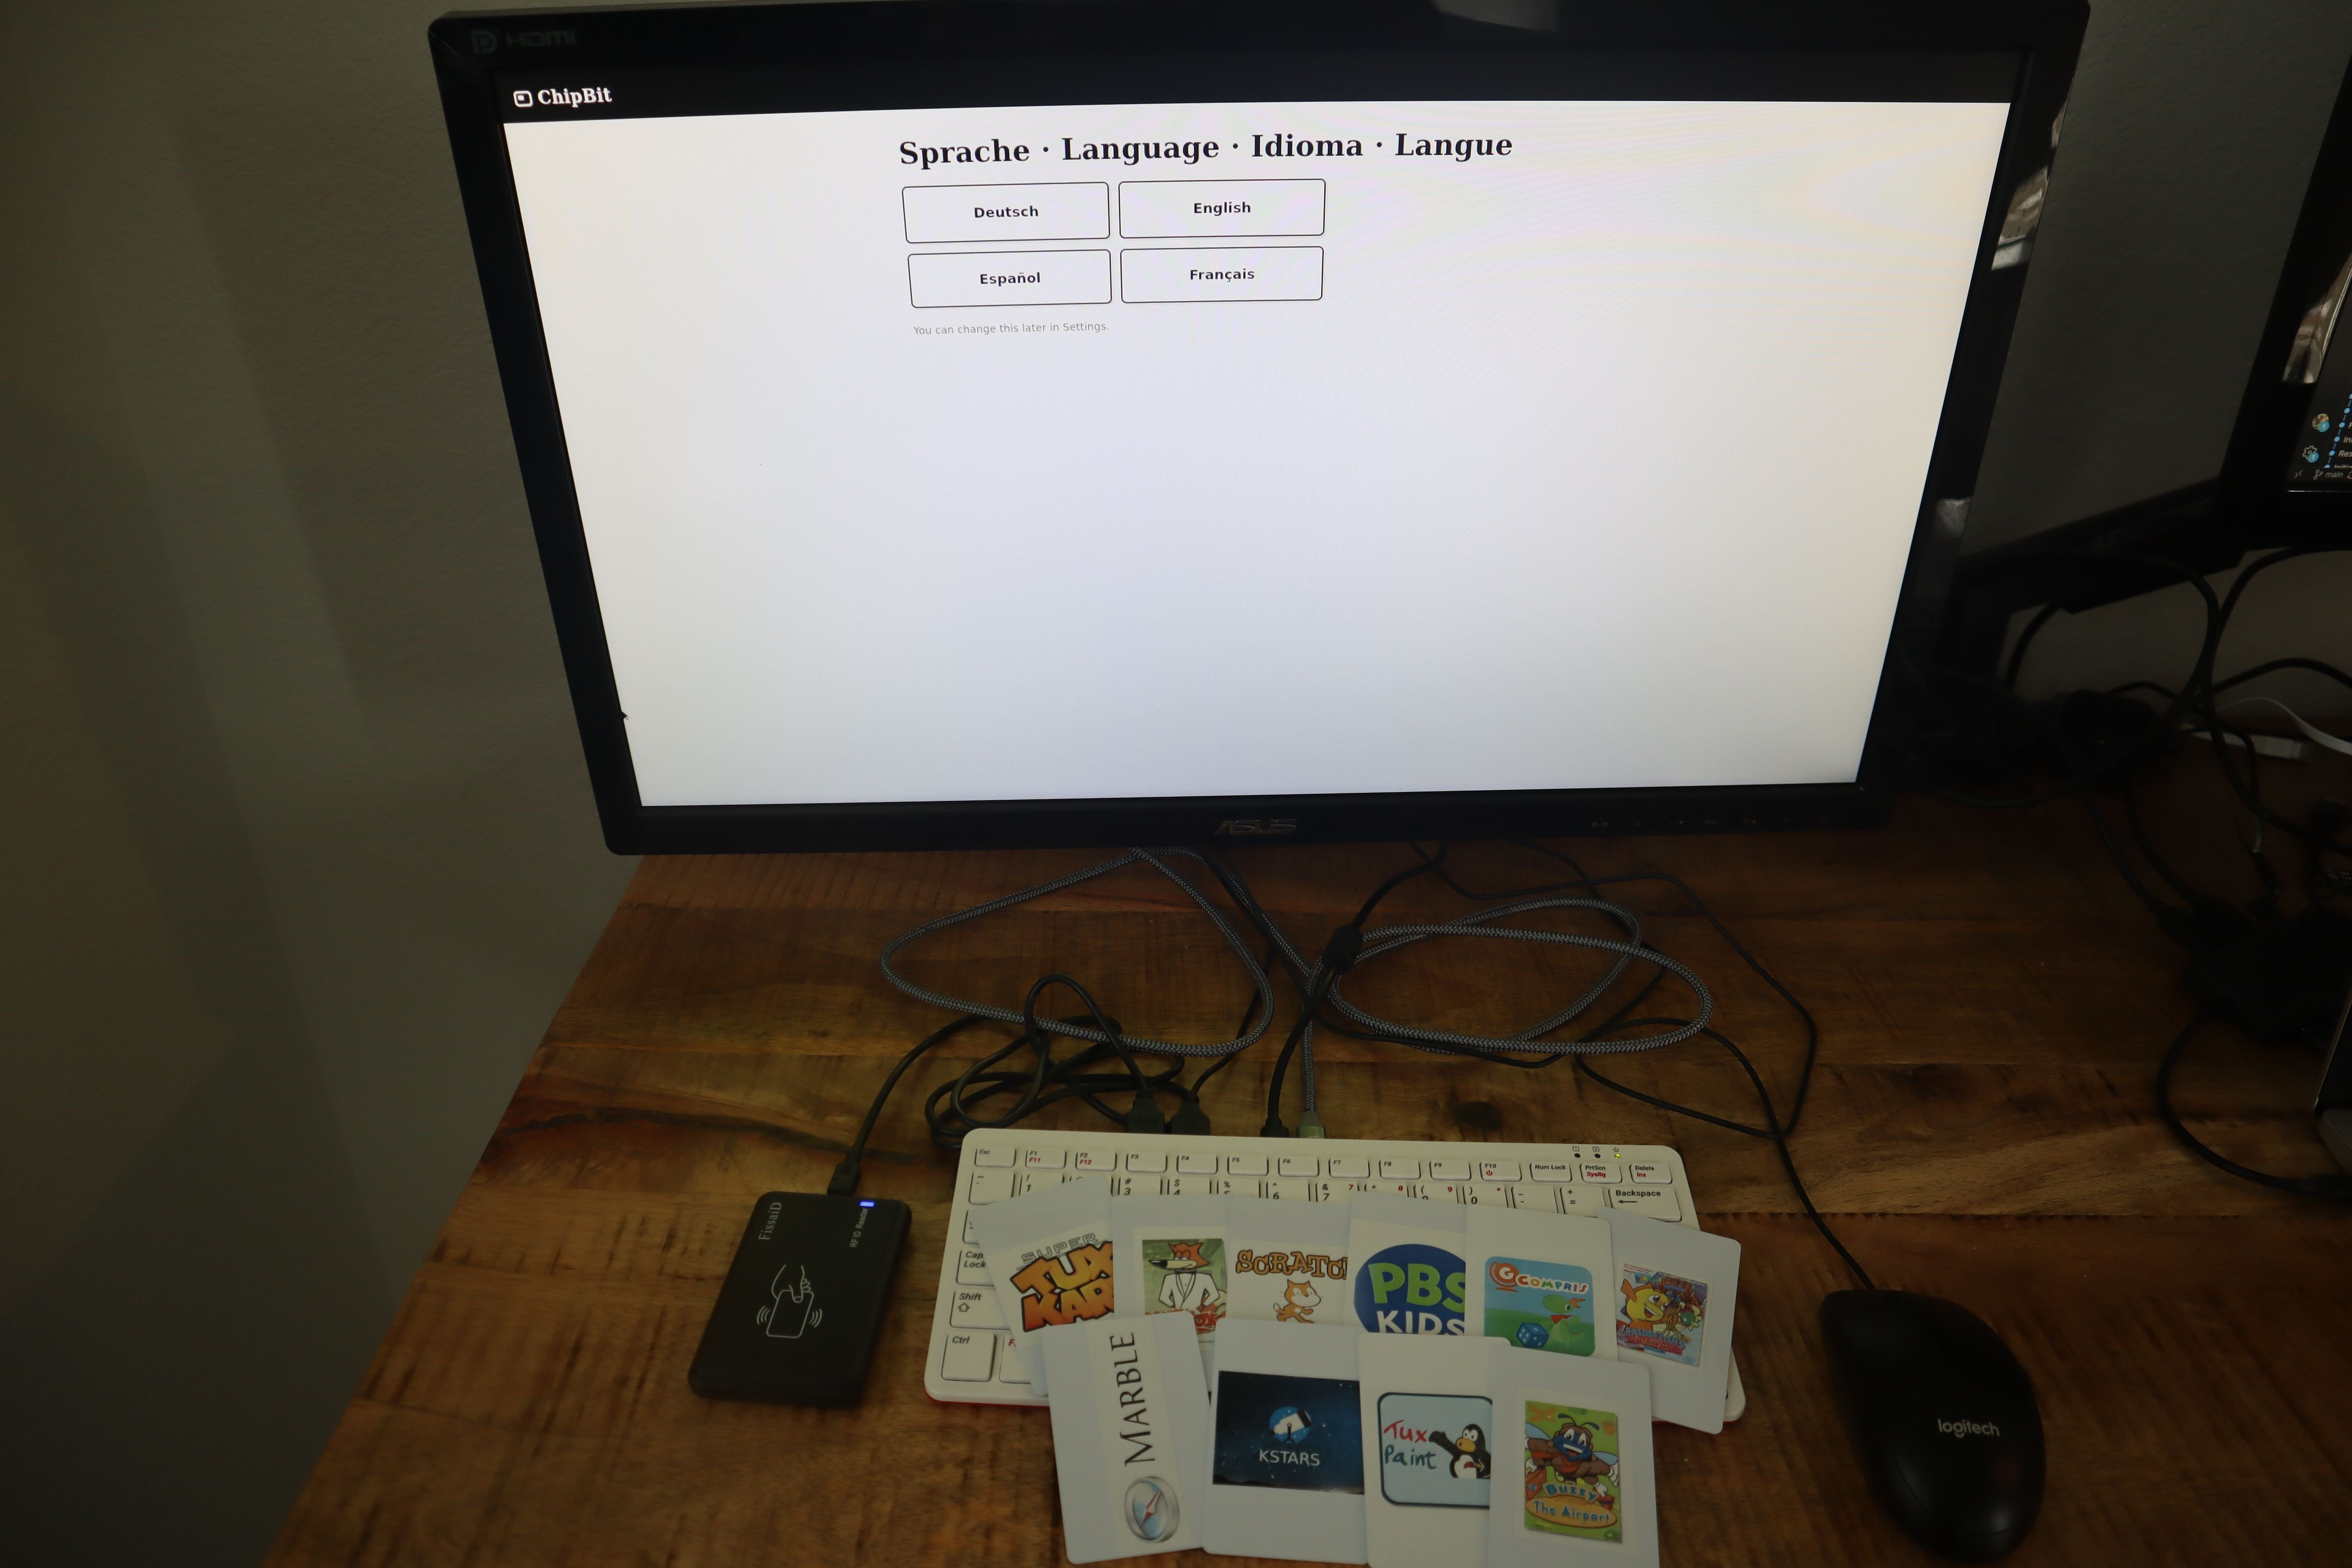
Chipbit is Raspberry Pi (400 or newer) that boots straight into a kiosk and launches software when you tap an RFID card. Each card is bound to one title. Everything is sandboxed- you can give users access to websites without worrying about them navigating places they shouldn't be, launch games with as much ease as a game console, and make works of art they can save safely to local storage.

It runs ScummVM, Ruffle (Flash emulator), native Linux software, and a locked-down browser.

A Raspberry Pi 400 is a keyboard with a computer inside it, just like the Commodore 64, Apple II, Atari 800, Amiga 500, and the ZX Spectrum. The shape of the machine that sat in a lot of living rooms in 1985 came back a few years ago and is part of the reason this project exists.

The machine in the living room

The family computer was one computer. It lived in a shared room and belonged to the household rather than to a person. The software sat next to it, and you picked one up with your hands. Anyone walking past could see the screen.

What replaced it is a device per person, with a login on each one, an account behind each login, and a feed behind that. For a six-year-old the available options are an adult's tablet with an adult's entire life on it, or a kids' account in a walled garden that mostly wants to show them ads.

Basic computer skills are disappearing. Kids aren't learning how to use a keyboard or mouse, and saving their work is abstracted away to the cloud. I wanted to make the computer a shared family experience again while also teaching valuable computer skills.

What ChipBit Does

Each piece of software gets an RFID card. Tap the card on the reader, that title launches. Tap the Home card, it stops and the screen goes back to idle. There is no menu, no launcher, no browser, and no desktop underneath to escape to. A five-year-old can't type a password but can absolutely keep track of which card is Freddi Fish. It's tactile and physical like a game cartridge. I also think it's less mindless for small children than selecting an app because they have to pick a card, tap it, hear the noise the reader makes, and watch the new software load. 

Nothing is written to the card, every MIFARE tag has a unique factory UID which is used to match a piece of software to it so blank cards work and you can reuse an old hotel keycard if you want.

How it works

The reader is a 13.56 MHz USB HID unit that enumerates as a keyboard. A Python daemon reads it through evdev, looks the UID up in a binding table, and finds the matching entry in catalog.yaml. That entry says which engine to launch and with what arguments.

The engines are ScummVM, Ruffle for Flash-era titles, native Linux apps, and a browser locked to an allowlist.

The display runs cage, a Wayland kiosk compositor that shows exactly one window and has no concept of a desktop. When the daemon kills a session, cage puts the idle screen back up. The whole thing is built as a CustomPiOS module so the output is an image you flash rather than a script you run on an existing install.

Every title gets its own loading screen, color-keyed to the card art.

The parent side

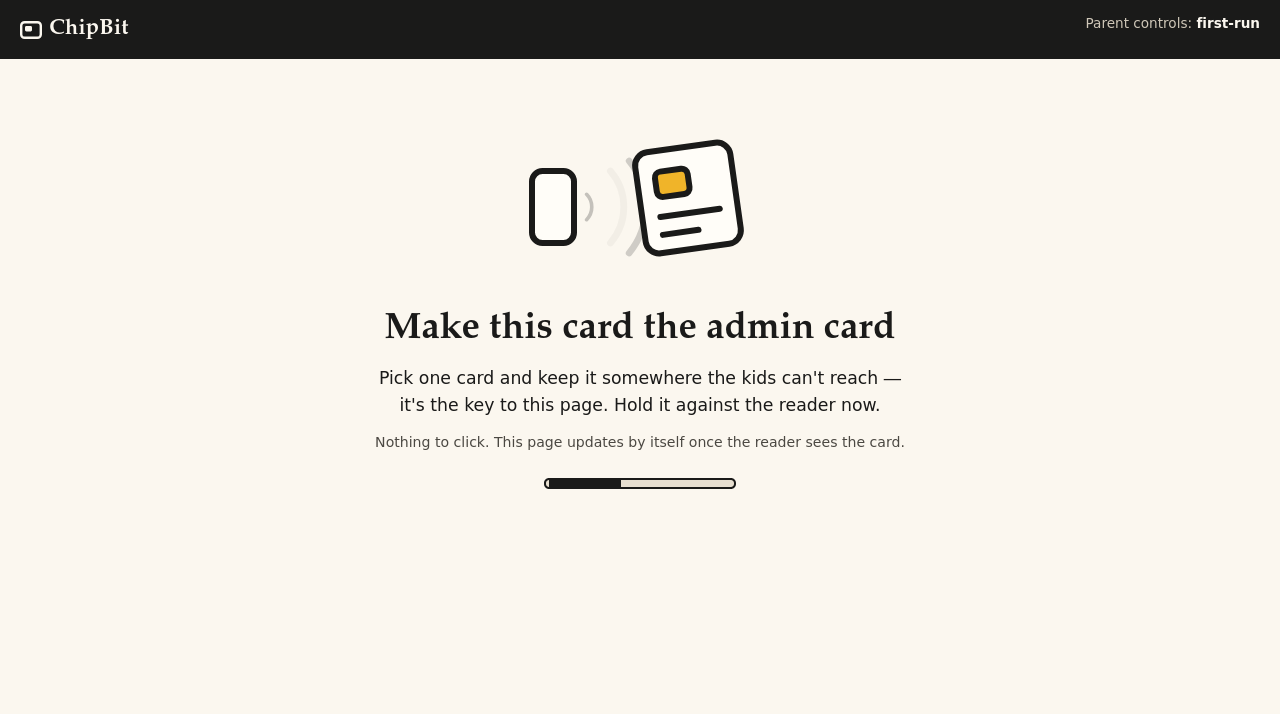
There's a web UI served from the Pi itself that you access by tapping a special admin card you enroll on setup. From there you enroll cards, bind titles, and set screen time limits. 

What runs on it

Working so far, under ScummVM: Putt-Putt, Freddi Fish, Spy Fox, the Blue's Clues titles, Pajama Sam, and more! The parent UI has an easy utility for importing the content needed from a CD. Ruffle makes it easy for you to load up your favorite Flash games and content.

Bundled and ready out of the box: GCompris, Tux Paint, Scratch, PBS Kids. Marble, KStars, SuperTux and SuperTuxKart install from the Pi OS repos the first time you enroll a card for them, which keeps the image smaller.

chipbit_labels.pdf

These are the card labels I made and pasted on my cards. Feel free to make your own!

Adobe Portable Document Format - 7.43 MB - 10/18/2026 at 18:06

Preview

  • 1 × Raspberry Pi 400 or newer
  • 1 × USB HID RFID reader, 13.56 MHz MIFARE Here's the one I used https://a.co/d/0bN2XUZ1
  • 1 × Computer monitor
  • 1 × USB mouse
  • 1 × MIFARE Classic 1K cards One for every app or website you want to launch. Any 13.56 MHz card with a factory UID. Nothing gets written to the card, so blank cards are fine and you can reuse hotel keys and transit cards.

View all 8 components

  • 1
    Get the hardware
    • Raspberry Pi 400 or 500. You can also use a Pi 4 or newer, just remember to get a keyboard.
    • 13.56 MHz USB HID RFID reader. Any reader that enumerates as a keyboard will do.
    • MIFARE Classic 1K cards. Nothing is written to them, so blanks are fine. Old hotel keycards work.

    One thing worth knowing before you order: most of these readers ship in a mode that types the UID as a decimal number, and ChipBit wants hex.

  • 2
    Flash the image

    Grab the latest image from Releases and write it with Raspberry Pi Imager or dd.

    Don't use the Imager's OS customization panel. ChipBit's own first-boot wizard handles Wi-Fi and the parent PIN, and pre-seeding config fights with it.

    If you'd rather build the image yourself, it's a CustomPiOS module on top of pi-gen and the build is one script.

  • 3
    First Boot

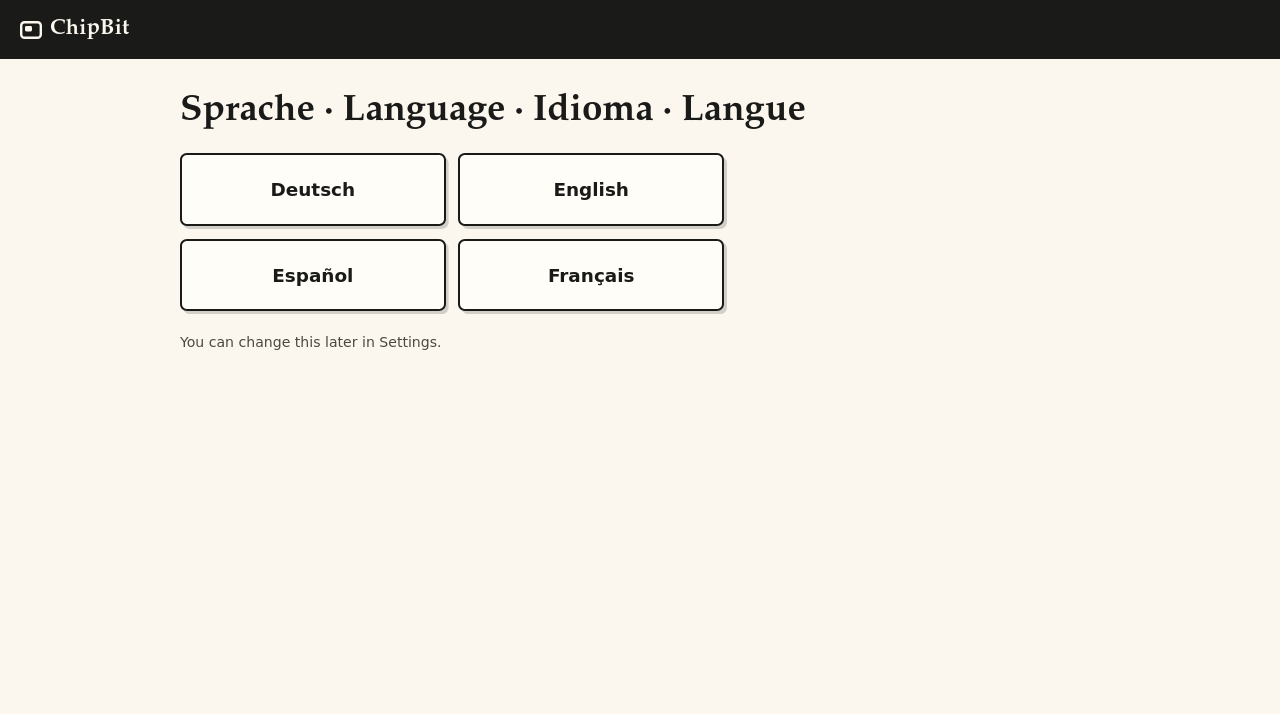
    Plug in a monitor and the reader, power it up, and wait a couple of minutes while the filesystem expands. You will need to choose a card to be your admin card, which gives you access to the admin panel as a parent. The wizard asks for your language and lets you set up WiFi.

View all 6 instructions

Enjoy this project?

Share

Discussions

Does this project spark your interest?

Become a member to follow this project and never miss any updates