-
11Step 11
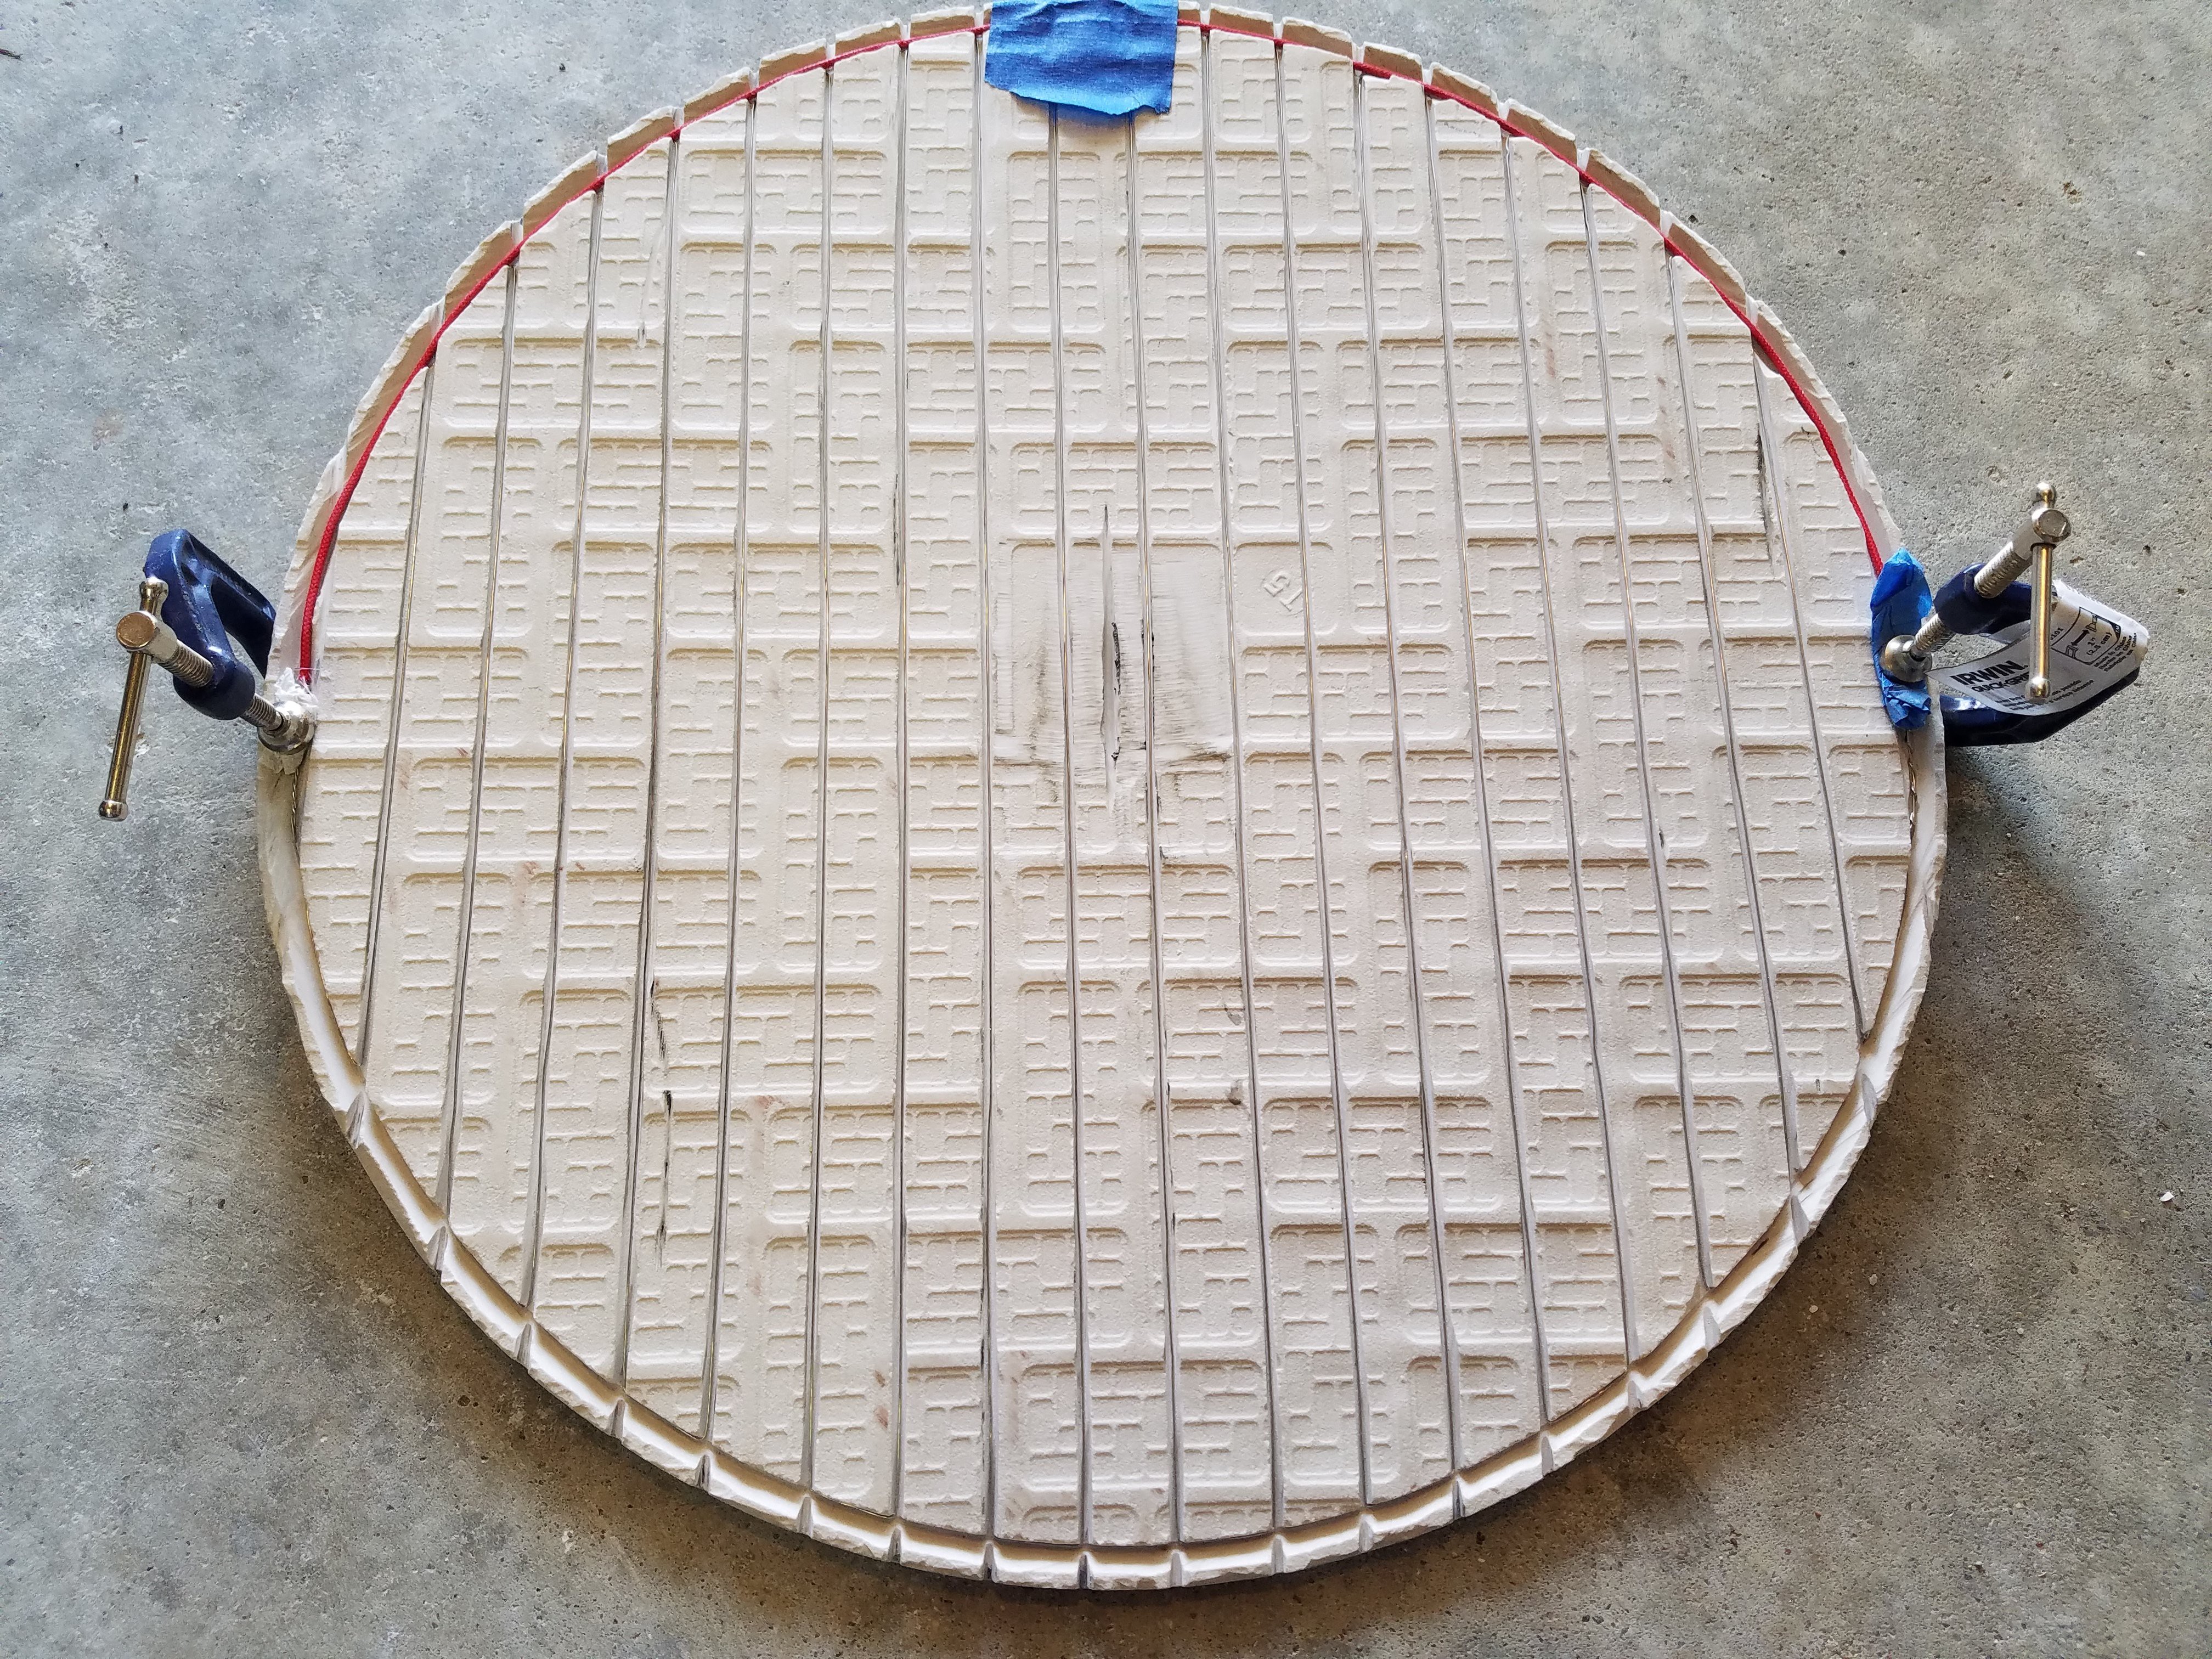
Measure out where you need to cut your wire, wrap it back around itself like the other end, and crimp your connector on so it ends up in your groove.
Put some heat shrink on your feed wires as a strain break where it will exit the cement. The fiberglass/silicone insulation likes to bond to the cement more than it does to itself and frays pretty readily otherwise.
Clamp it in place and take a break, marveling at your handywork.
![]()
-
12Step 12
Now to encapsulate it in cement.
Spray the tile down with water. The cement bonds much better if the surface you put it on is slightly wet. It also makes the cement easier to work with.
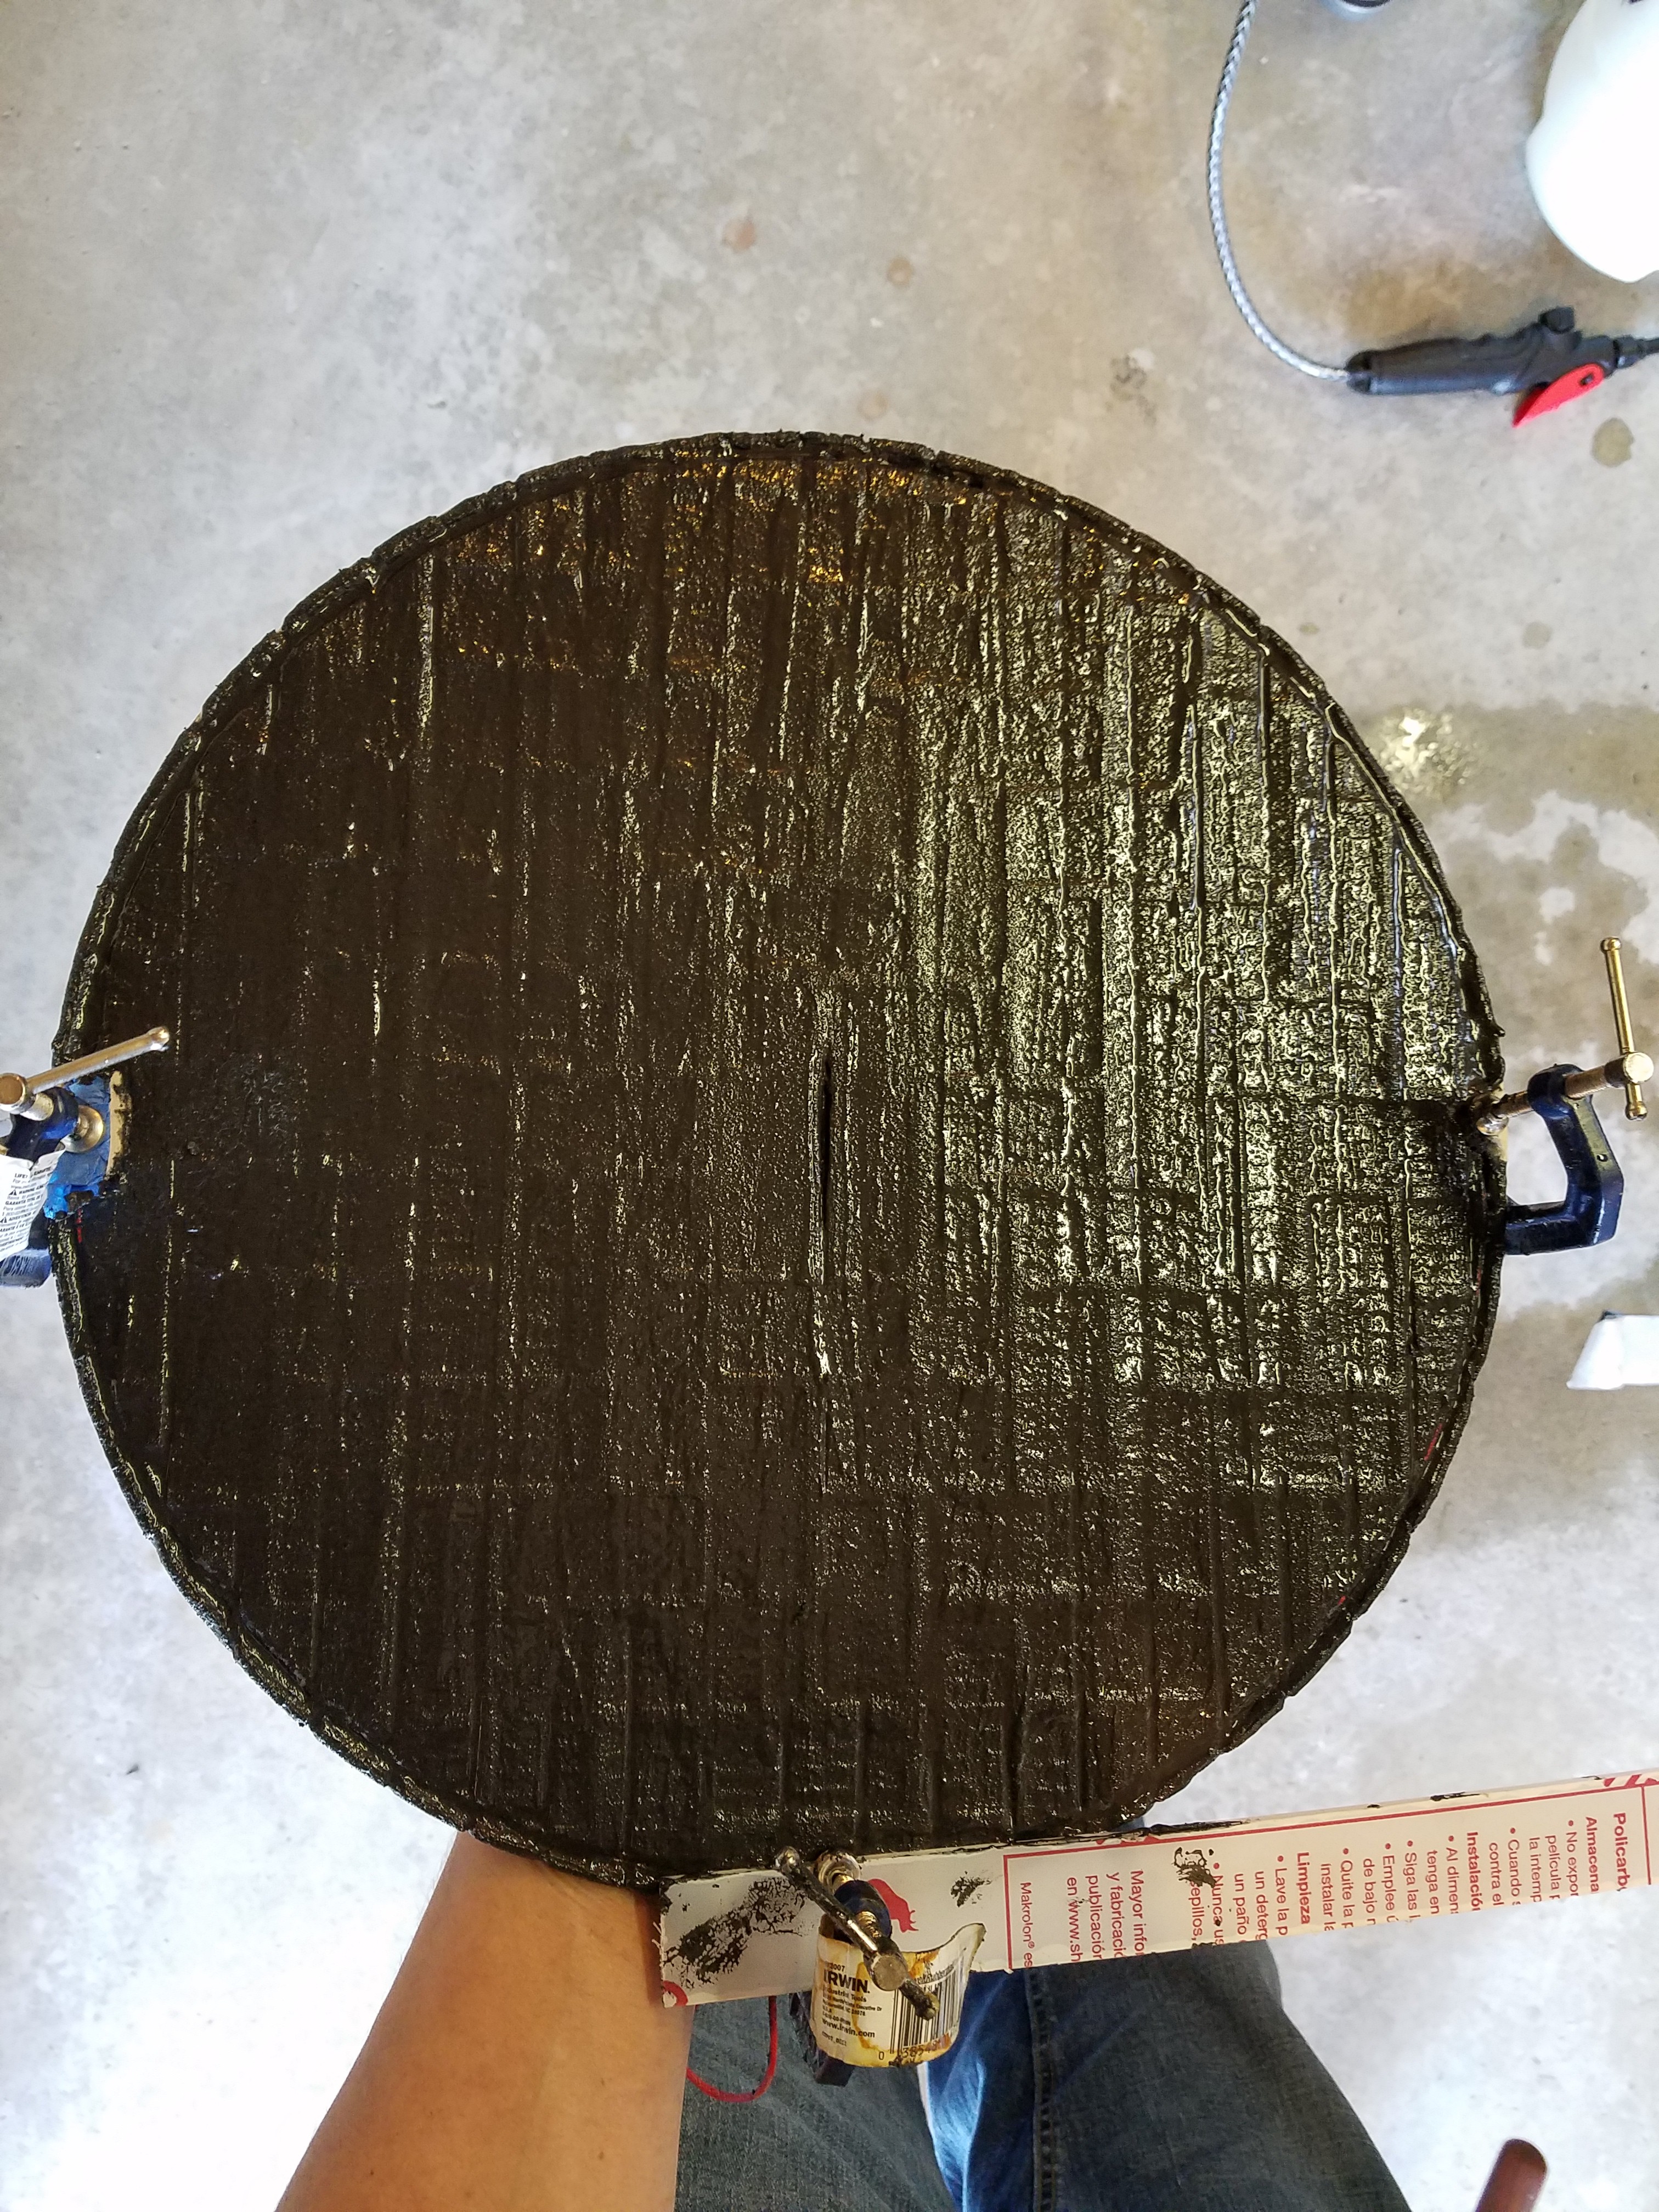
Spread the cement all over the bottom of the tile, except for the clamped areas. Lift the feed wires out of the grooves, put cement in, put them back down. Run a screw driver down each groove to get ensure the cement is fully encapsulating the wire.
![]()
All of the nichrome wire must be in direct contact with the cement with no voids to prevent localized heating of the wire. Localized heating is bad. A large void will eliminate the heat sink effect you are after here, and can cause the nichrome to fail at that point
-
13Step 13
Let it dry completely, but slowly. A warm area like near a heater just above room temperature is best. If you try to dry it quickly, bad things will happen. Trust me.
Once it's completely dry, you can remove your clamps. The cement is not cured yet though, so be gentle.
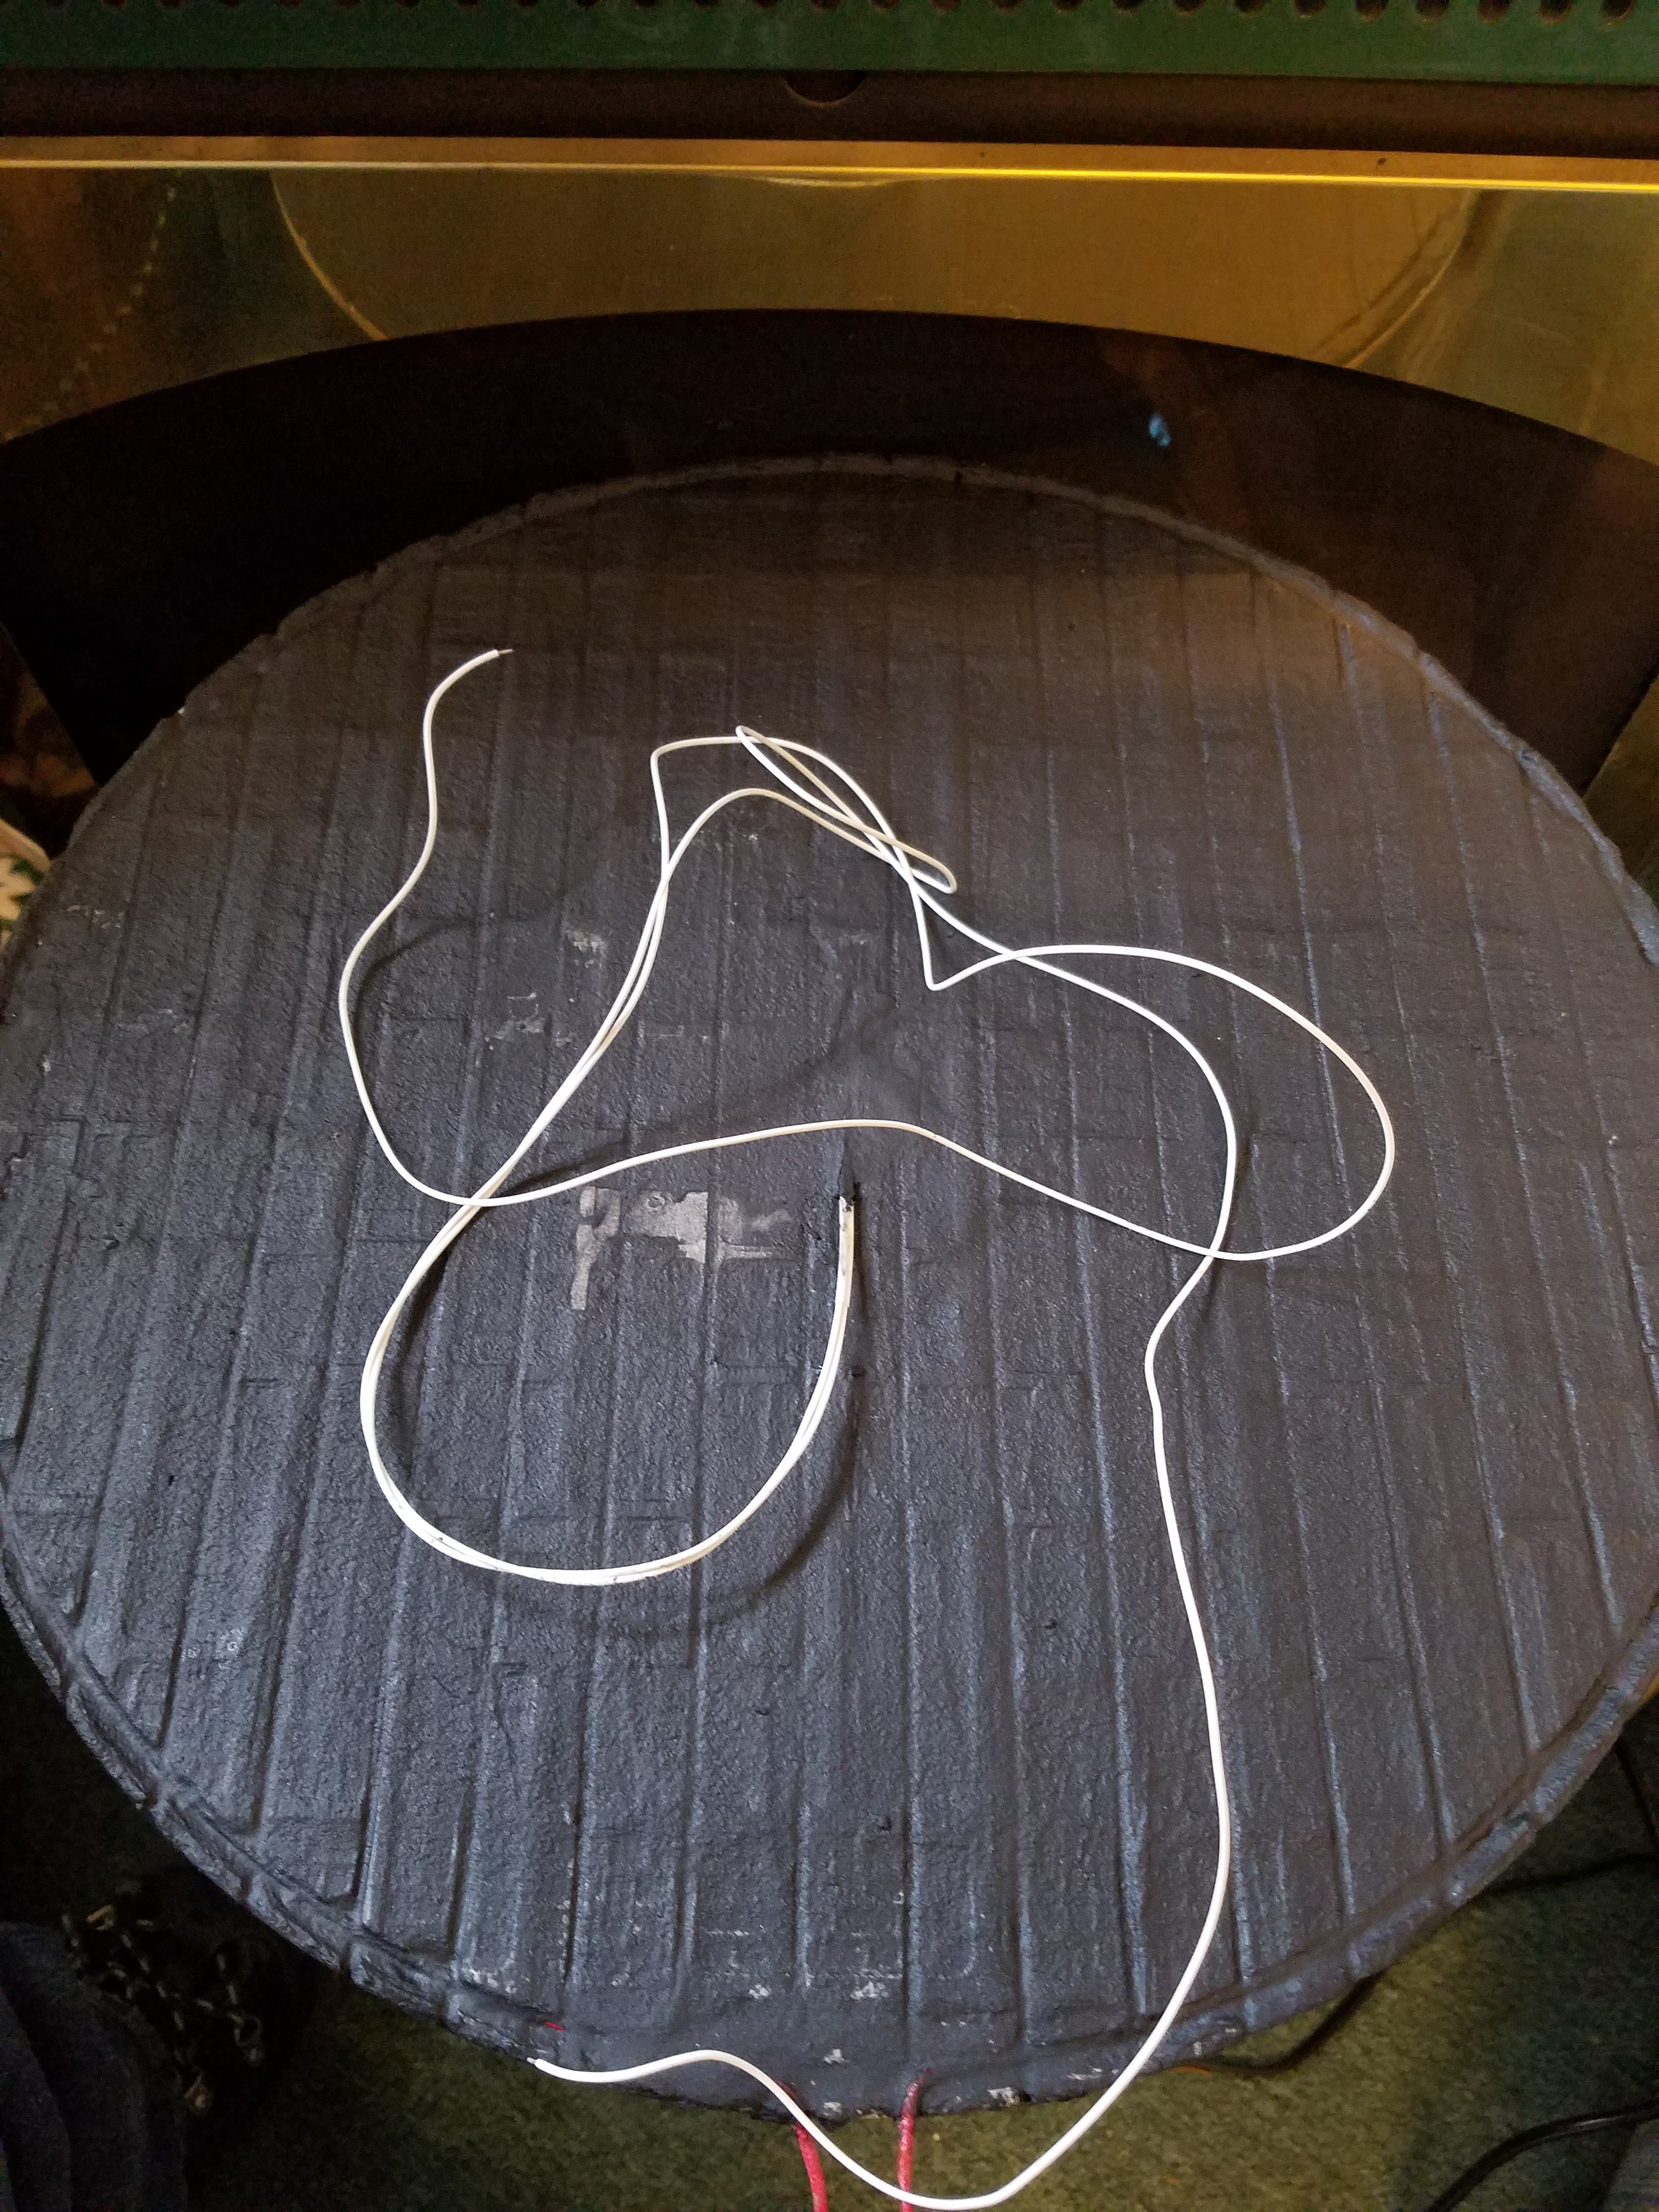
Mist just those areas with water again, and cover up the areas which were hidden by the clamps with more cement. Clean out the groove in the center for your thermistor, and cement that in as well.
Let the whole thing dry again. Overnight is best.
![]()
-
14Step 14
Once it's dried (pressing on large areas of cement doesn't feel squishy), you can bake it.
It doesn't seem to emit any toxic stuff, so I did this in the household oven without issue.
Start at 200 F, and leave it there for an hour, just to make sure you really have all the water out of it.
Then you can raise the temperature to just below whatever the upper limit on your feed wire was. I took mine to 280F and kept it there for 30 minutes.
In the event you have any remaining water in it, at this point it will expand and create voids within the grooves. You'll end up starting completely over with a brand new tile. Make sure it really is dry before you bake it.
When it comes out of the oven, the cement will be rock hard and slightly brittle. It has excellent thermal conductivity, but is still an insulator for the electrical bits you just encapsulated. Pretty much perfect for this application.
-
15Step 15
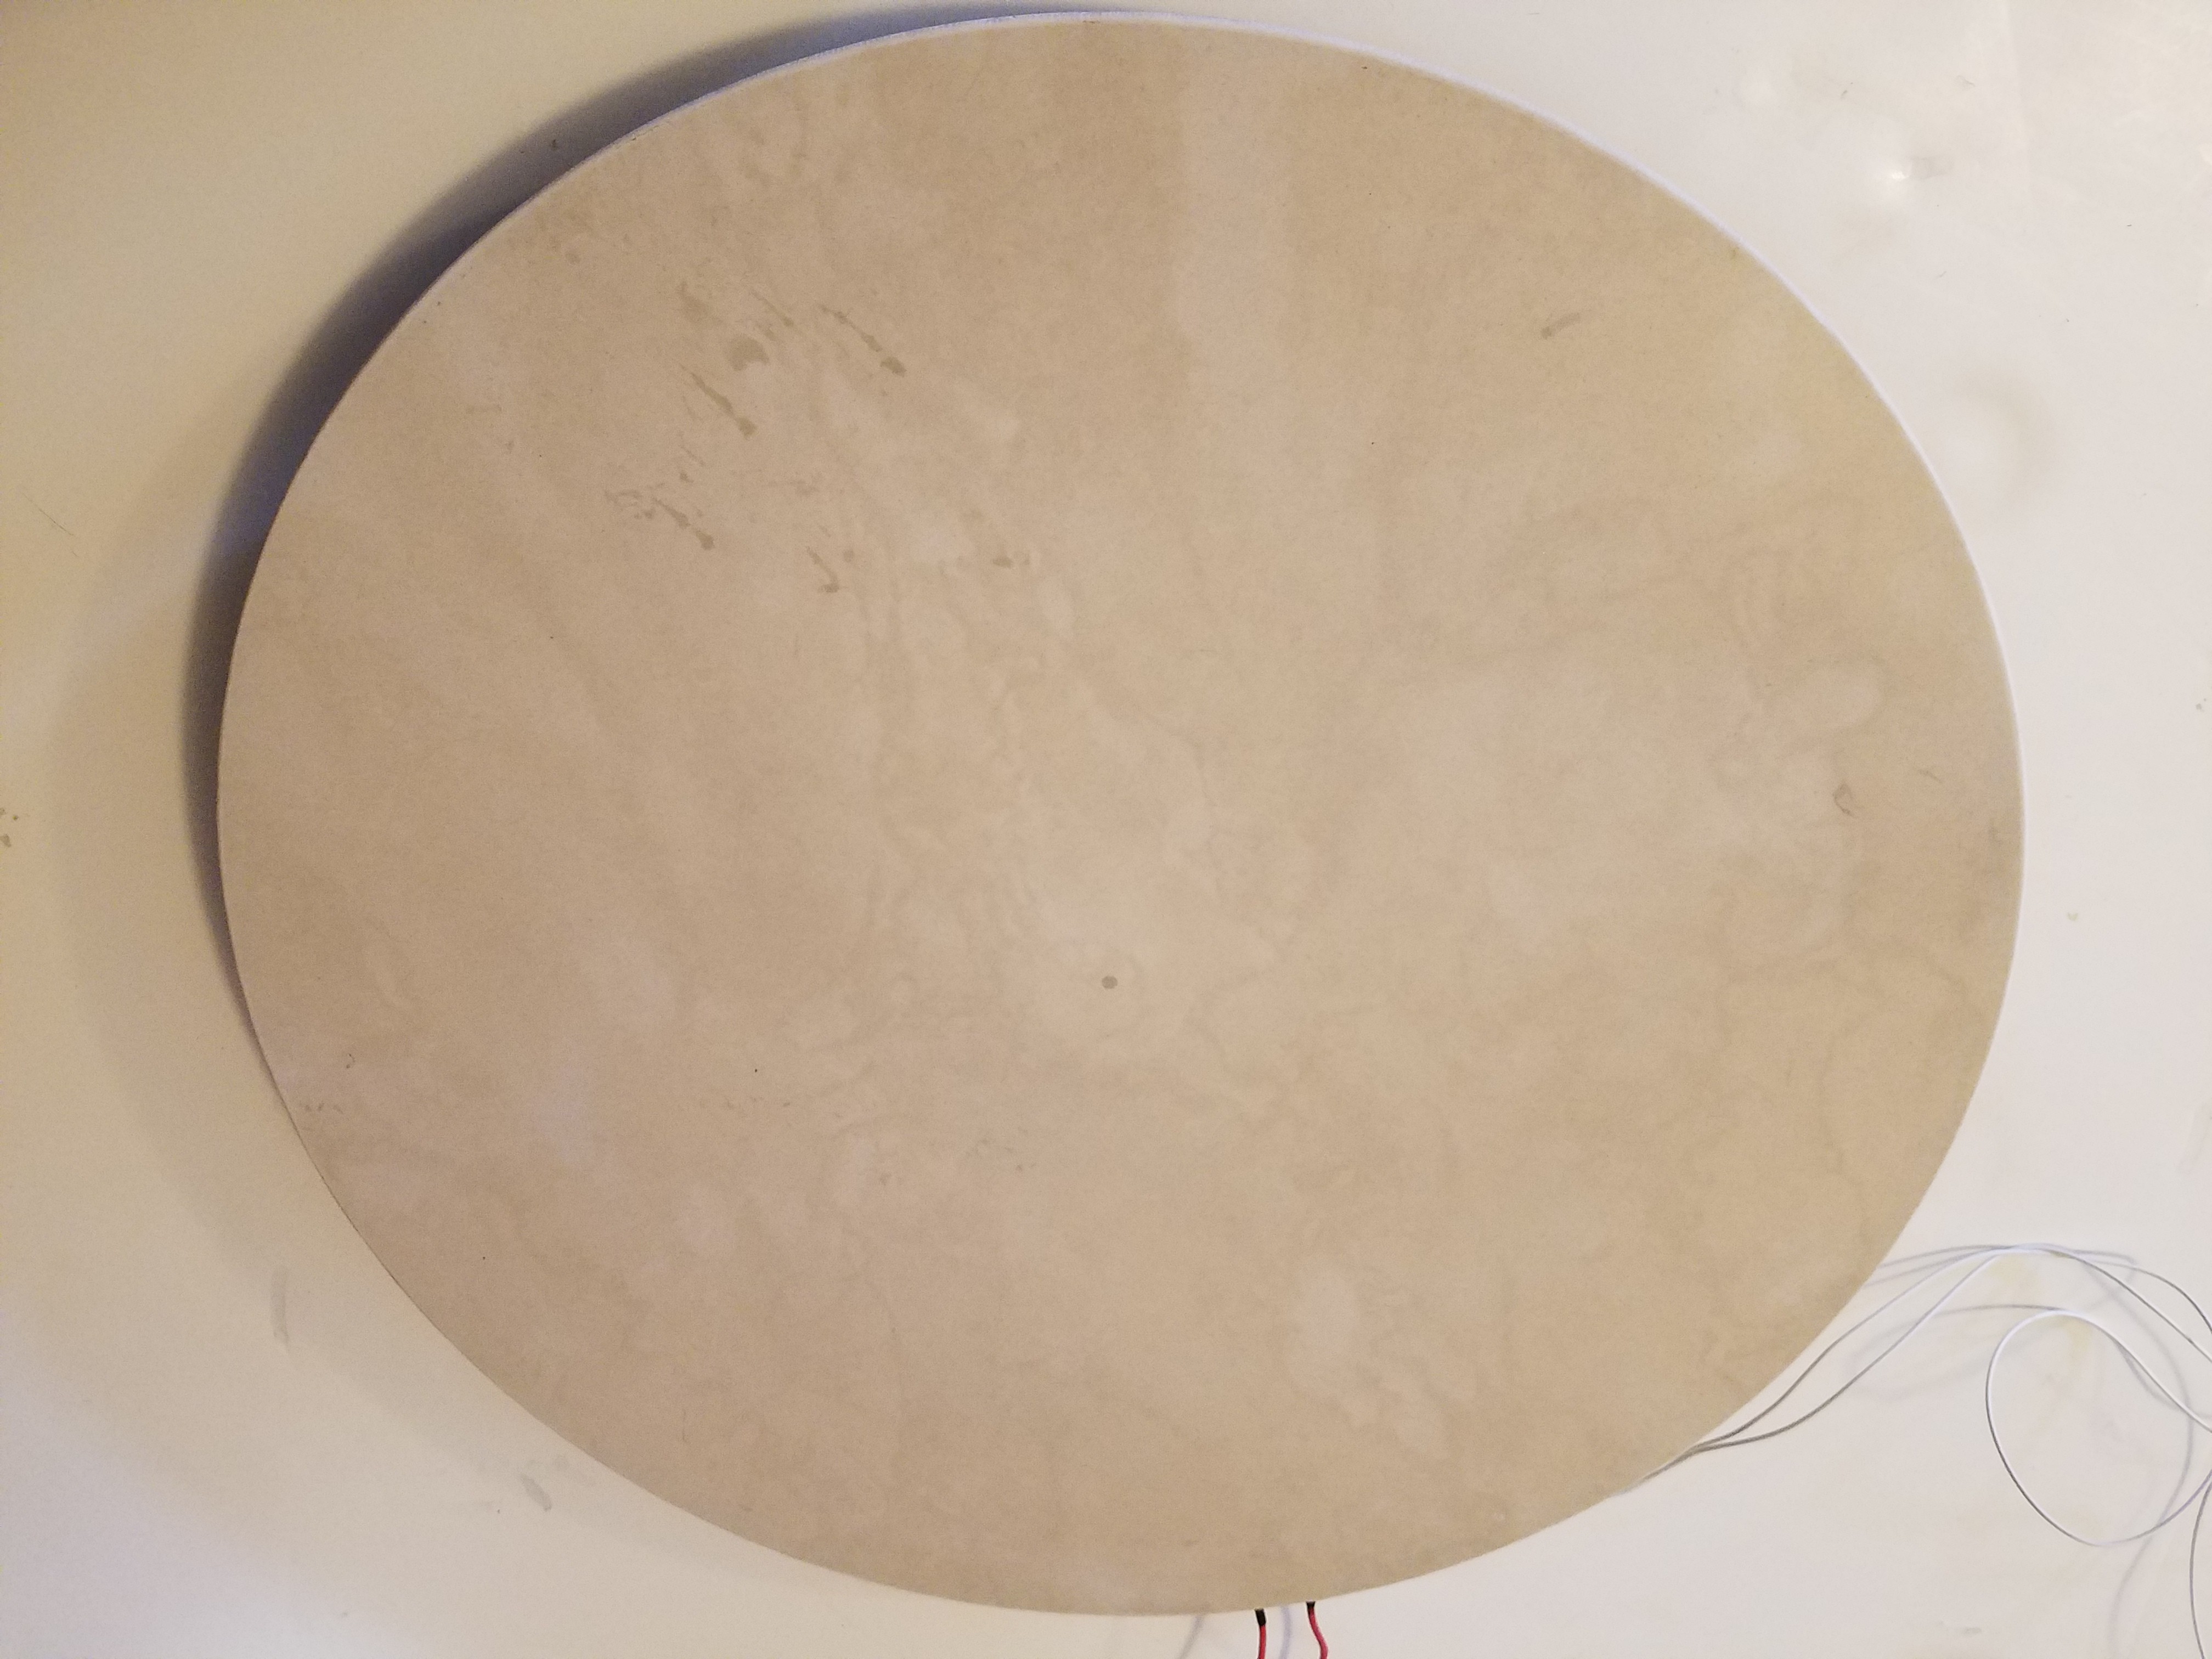
Clean up the edges with the angle grinder, taking care not to cut off your feed wires. :)
Sand the top of the tile lightly and evenly with 800 grit silicon carbide sand paper. (Most regular sand paper won't even scratch it)
![]()
At this point, you got your heated bed. Measure your resistance and see how close to the target 41 Ohms you got. Mine was lower as I didn't take into account the 1/2in I lost on each winding by turning around before the edge and that added up to less wire being used. Still within the target range though, and now it's probably actually 350W at 90C.
-
16Step 16
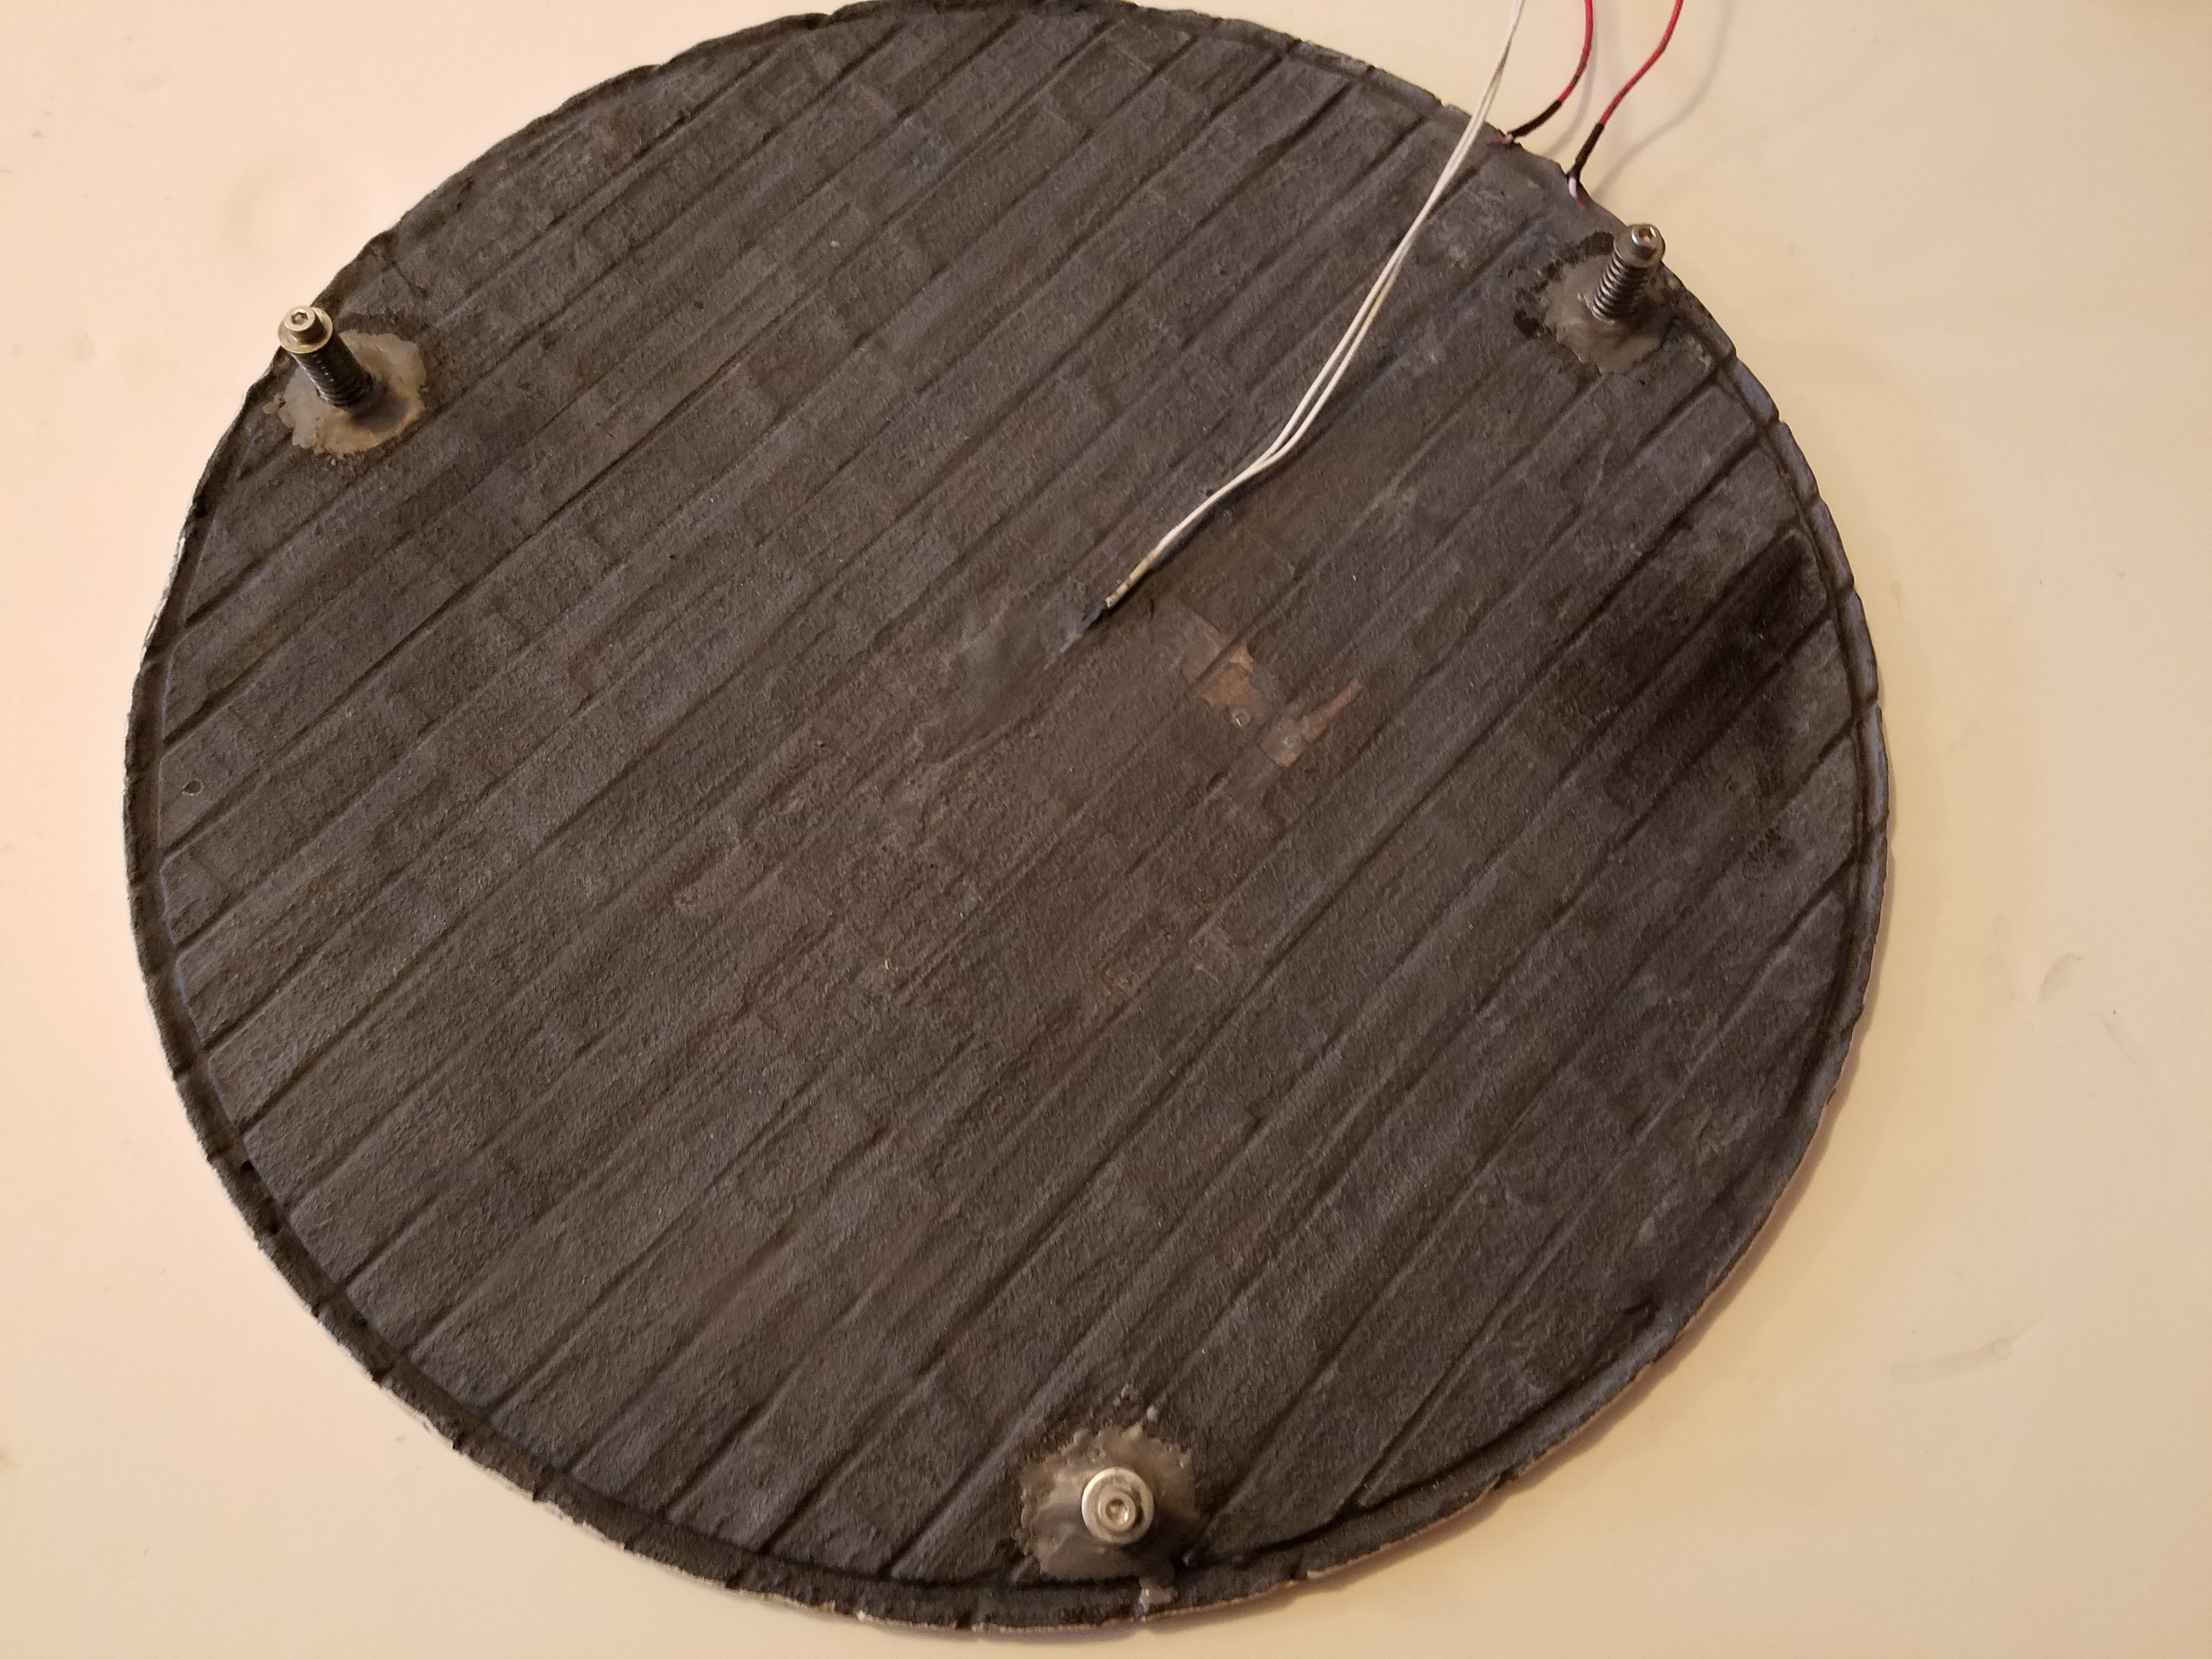
Mounting it to the printer was accomplished by epoxying some metric T nuts to the bottom, and then bolting them through the frame supported by some springs.
![]()
This allows the bed to give a bit in the event of a head crash now, and hopefully prevent me from cracking this one.
Arcus-3D-M2 - Ceramic Heated Bed
Low cost, large build diameter heated bed made from a floor tile.
 MasterOfNull
Discussions
Become a Hackaday.io Member
Create an account to leave a comment. Already have an account? Log In.