-
1Step 1
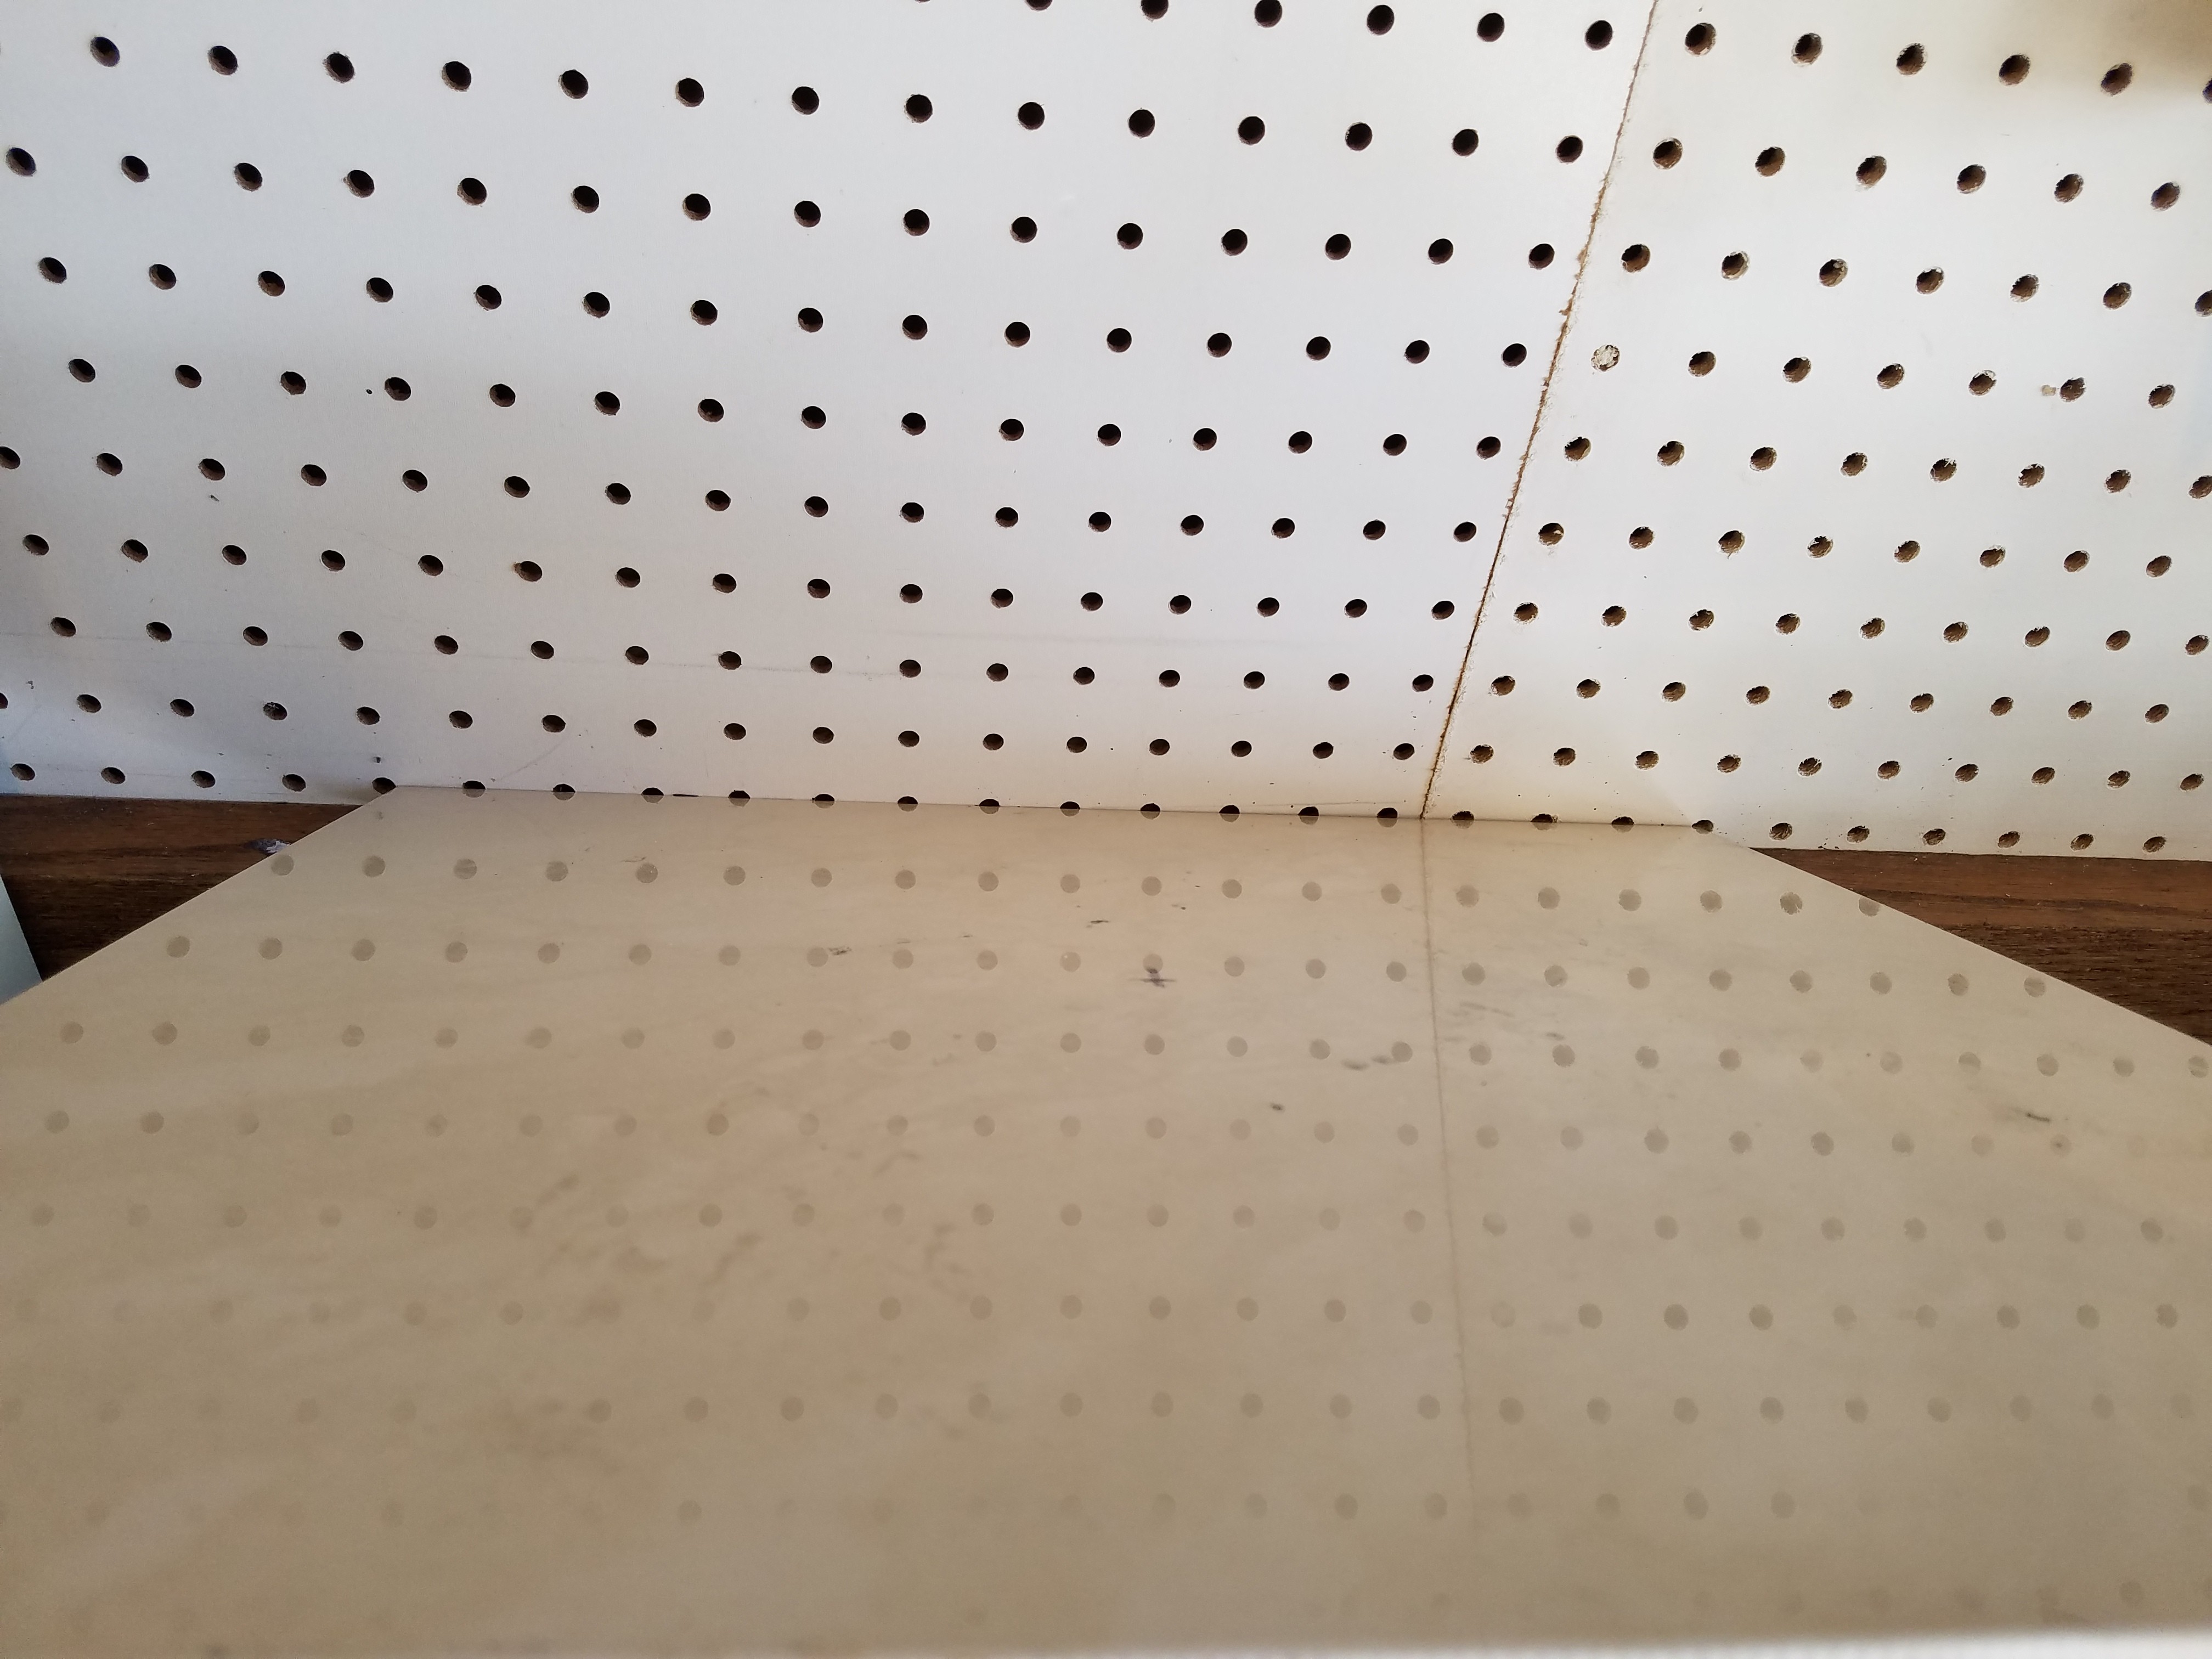
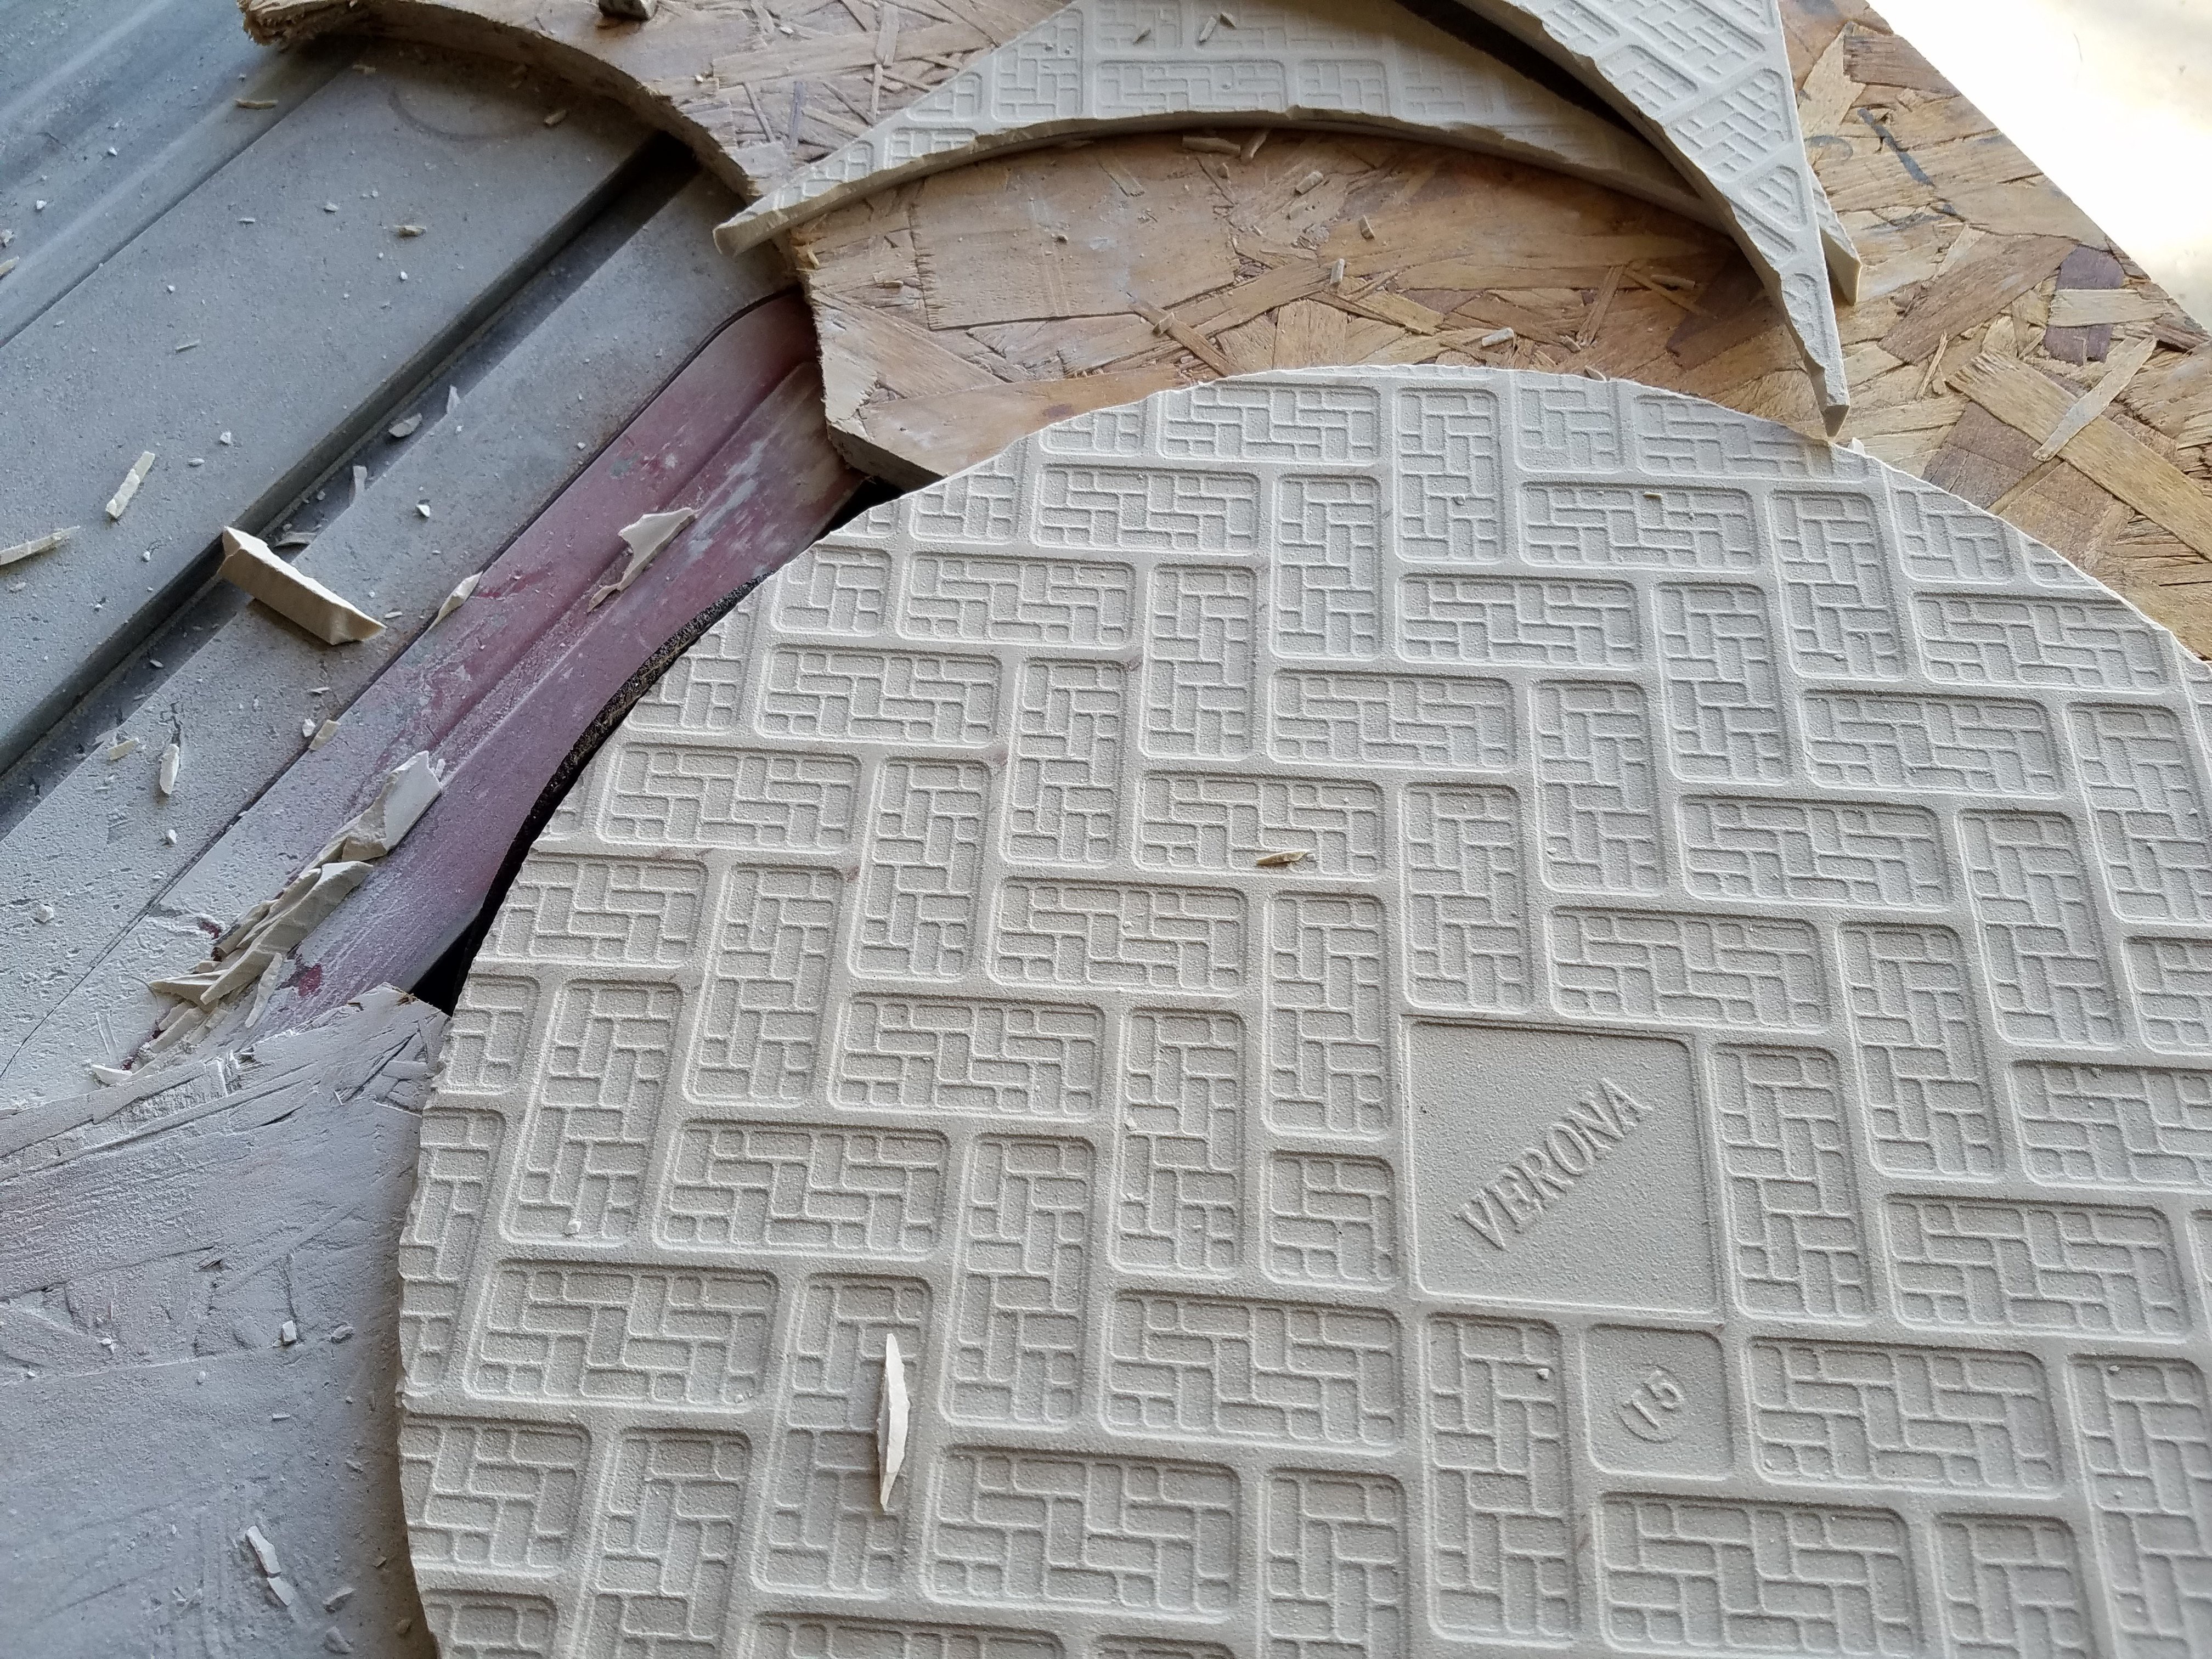
Probably the most important part of this project, is to pick a good tile. The majority have rounded edges and are not flat.
The fake marble ones looked really good.
Find something with fine detail or better yet, parallel lines and look at the reflection in the tile. Not distorted? You got a winner.
![]()
-
2Step 2
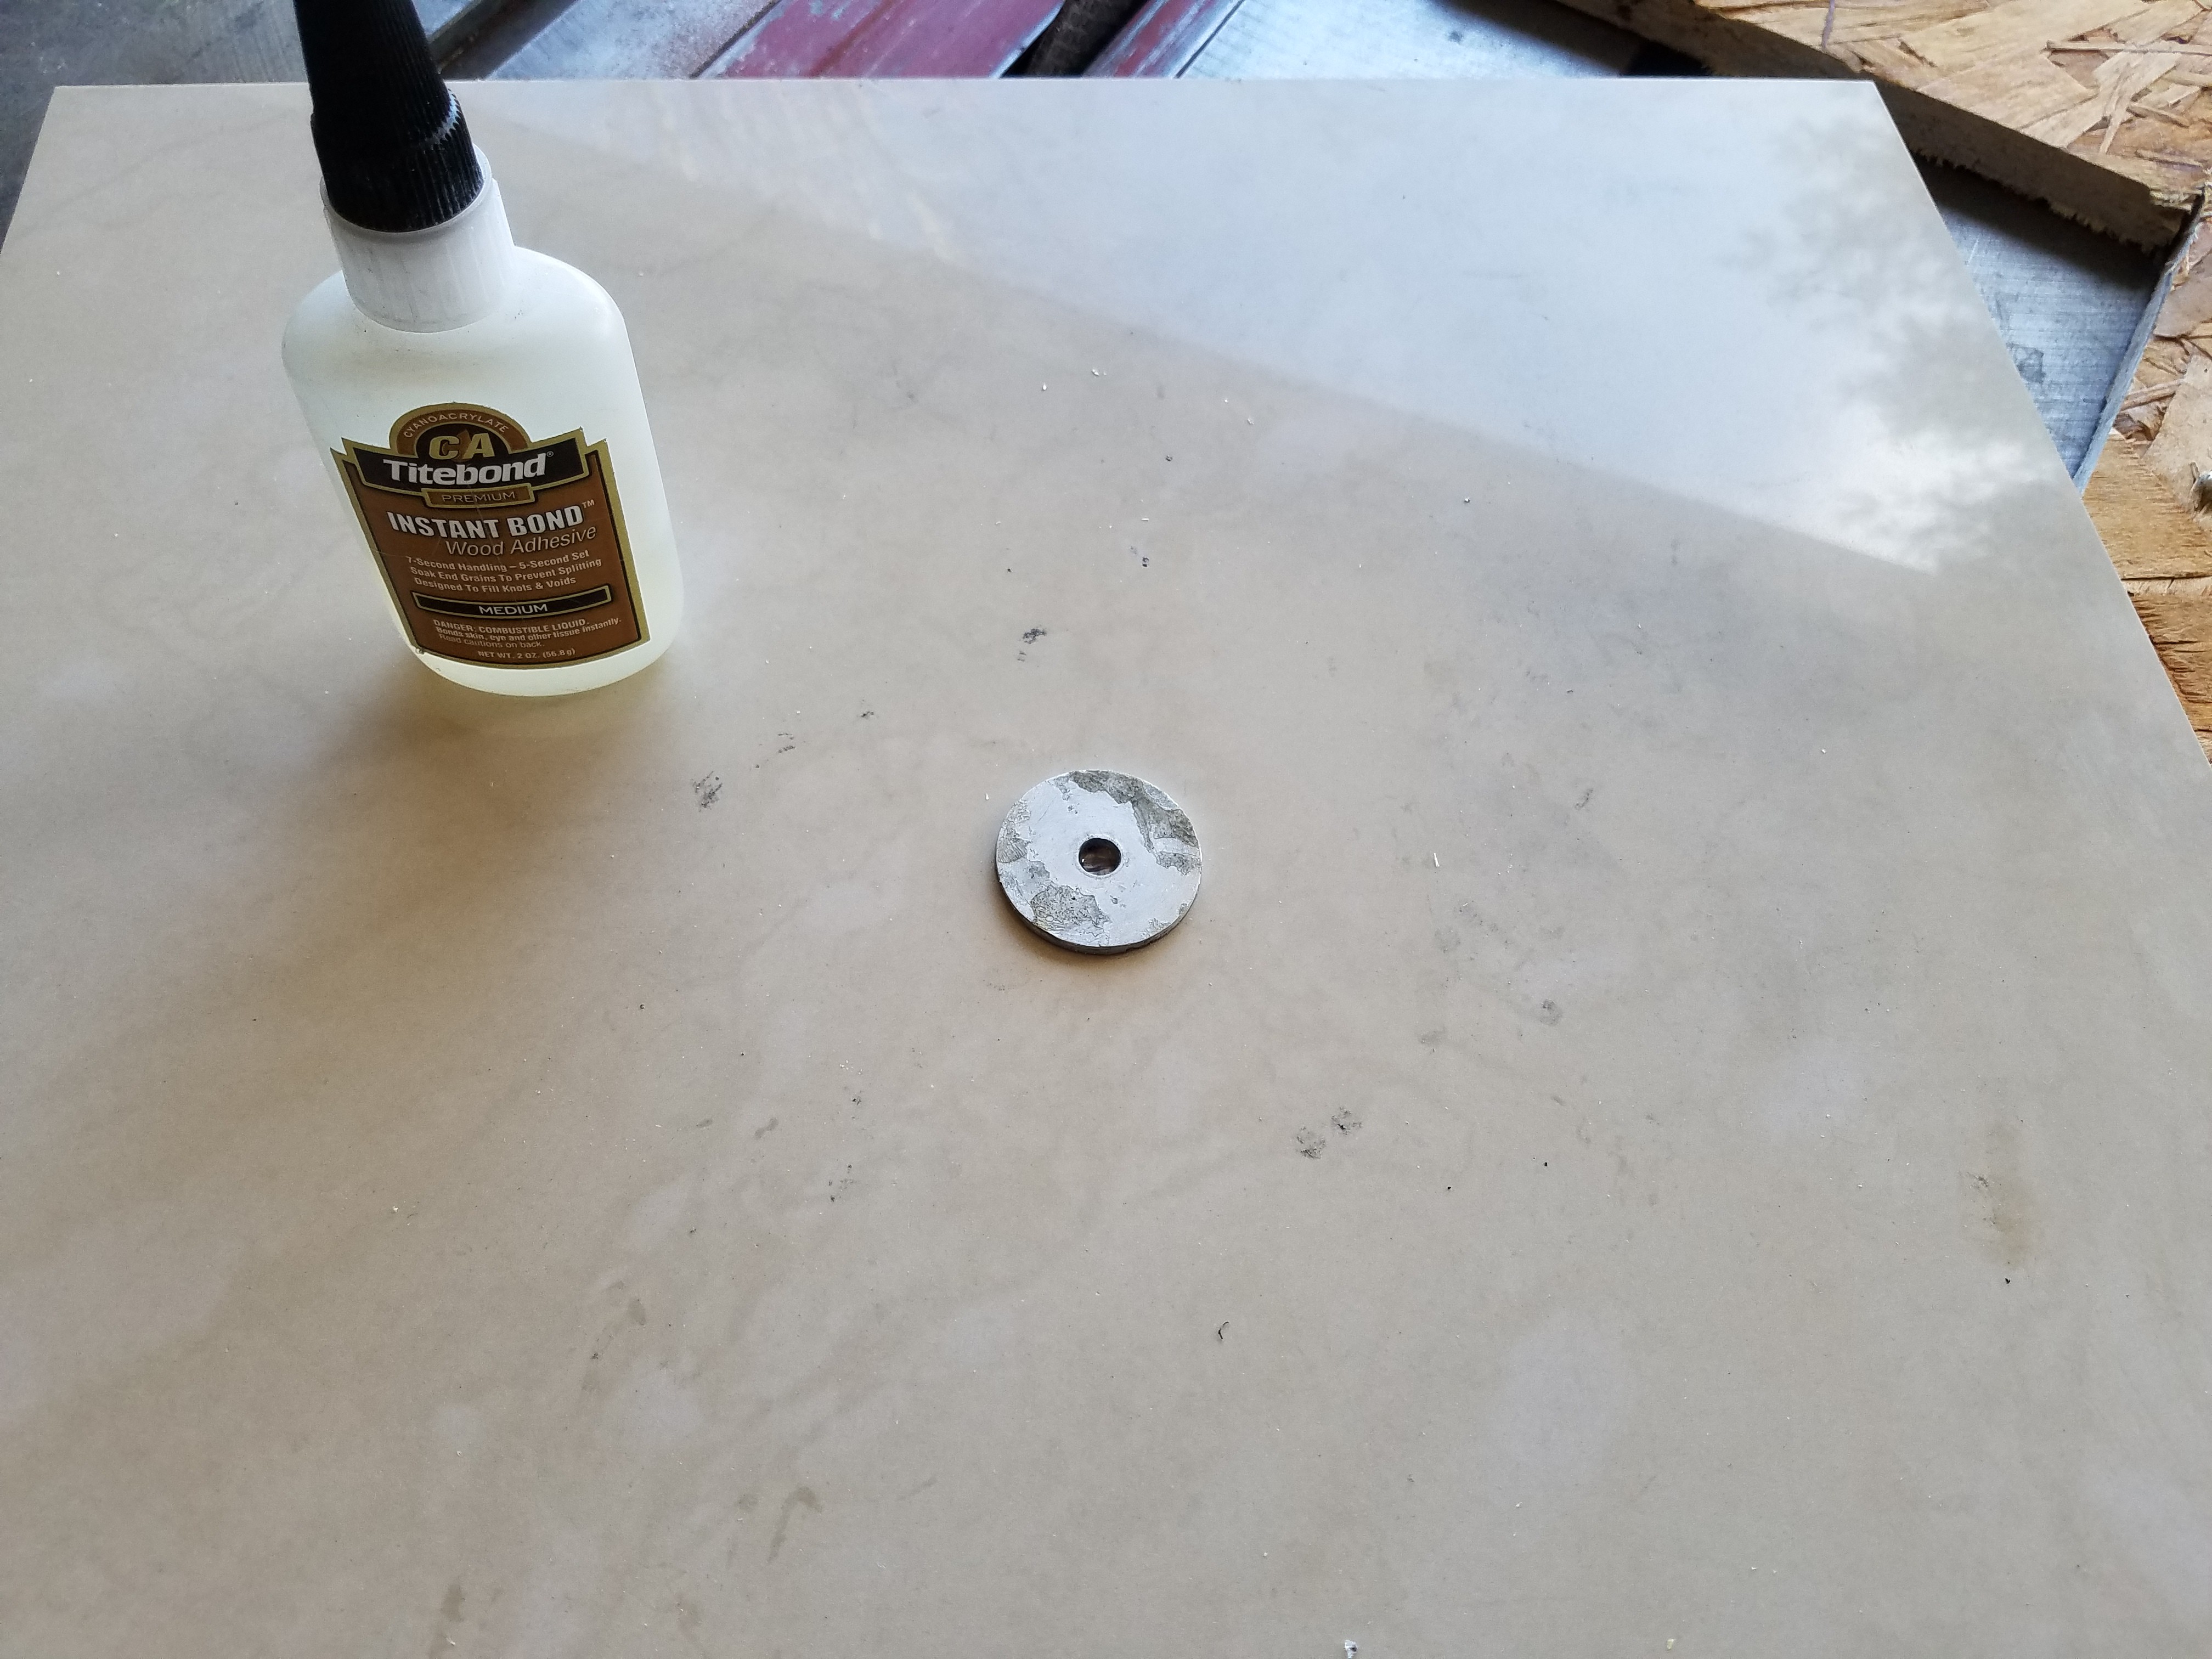
Find a pin of some sort in your scrap box, and a washer which fits relatively tightly to it. In my case I had a scrap AL disc from the hole saw which was perfect.
![]()
Mark the center on the top of the tile. Super glue the washer to it, right in the center. This will give you your pivot point for cutting it.
We are gluing to the top so your cut starts on the top. Although it's ultimately simpler to just glue it to the bottom once instead of moving it from the top to the bottom, I was not happy with the edges when I started from the bottom. When the blade ultimately breaks though the other side while cutting, it will invariably chip that surface. Now that surface is the bottom.
-
3Step 3
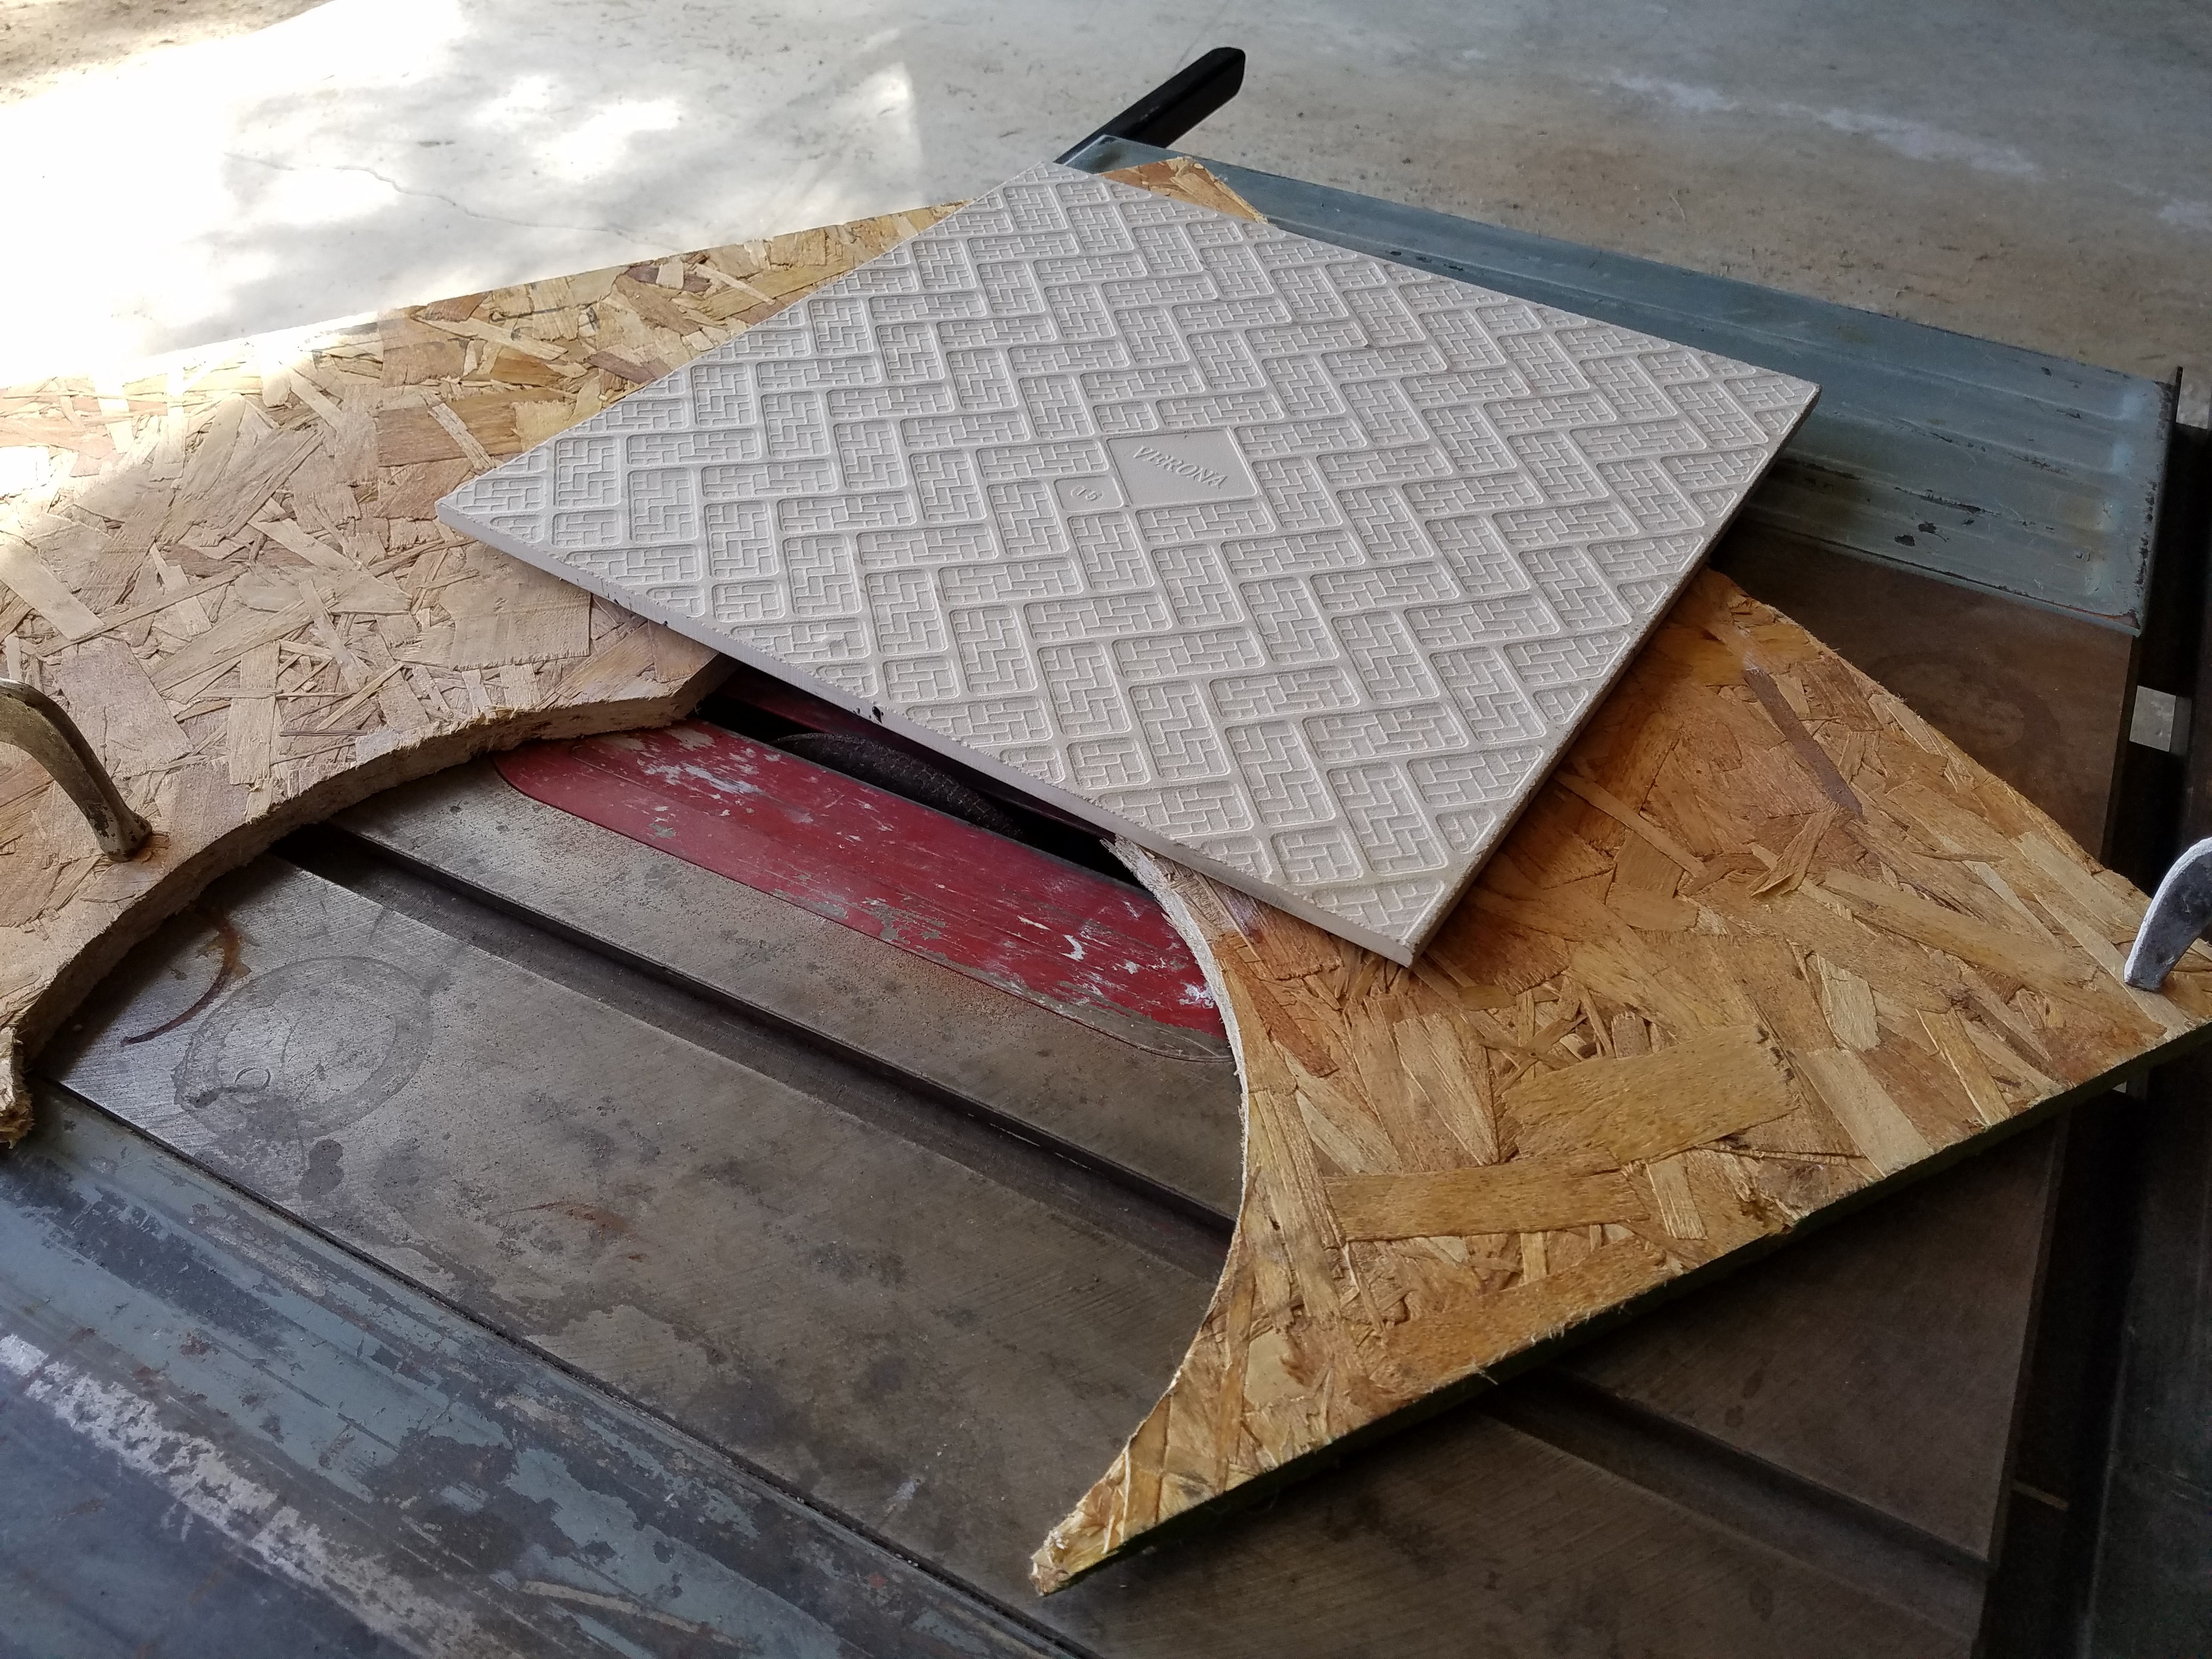
Mount your pin in some scrap plywood, big enough to span your table saw. I just drilled a hole slightly under size and hammered it in.
Put a masonry blade on your saw. Mine was actually made for a circular saw, but it fit the table saw arbor just fine.
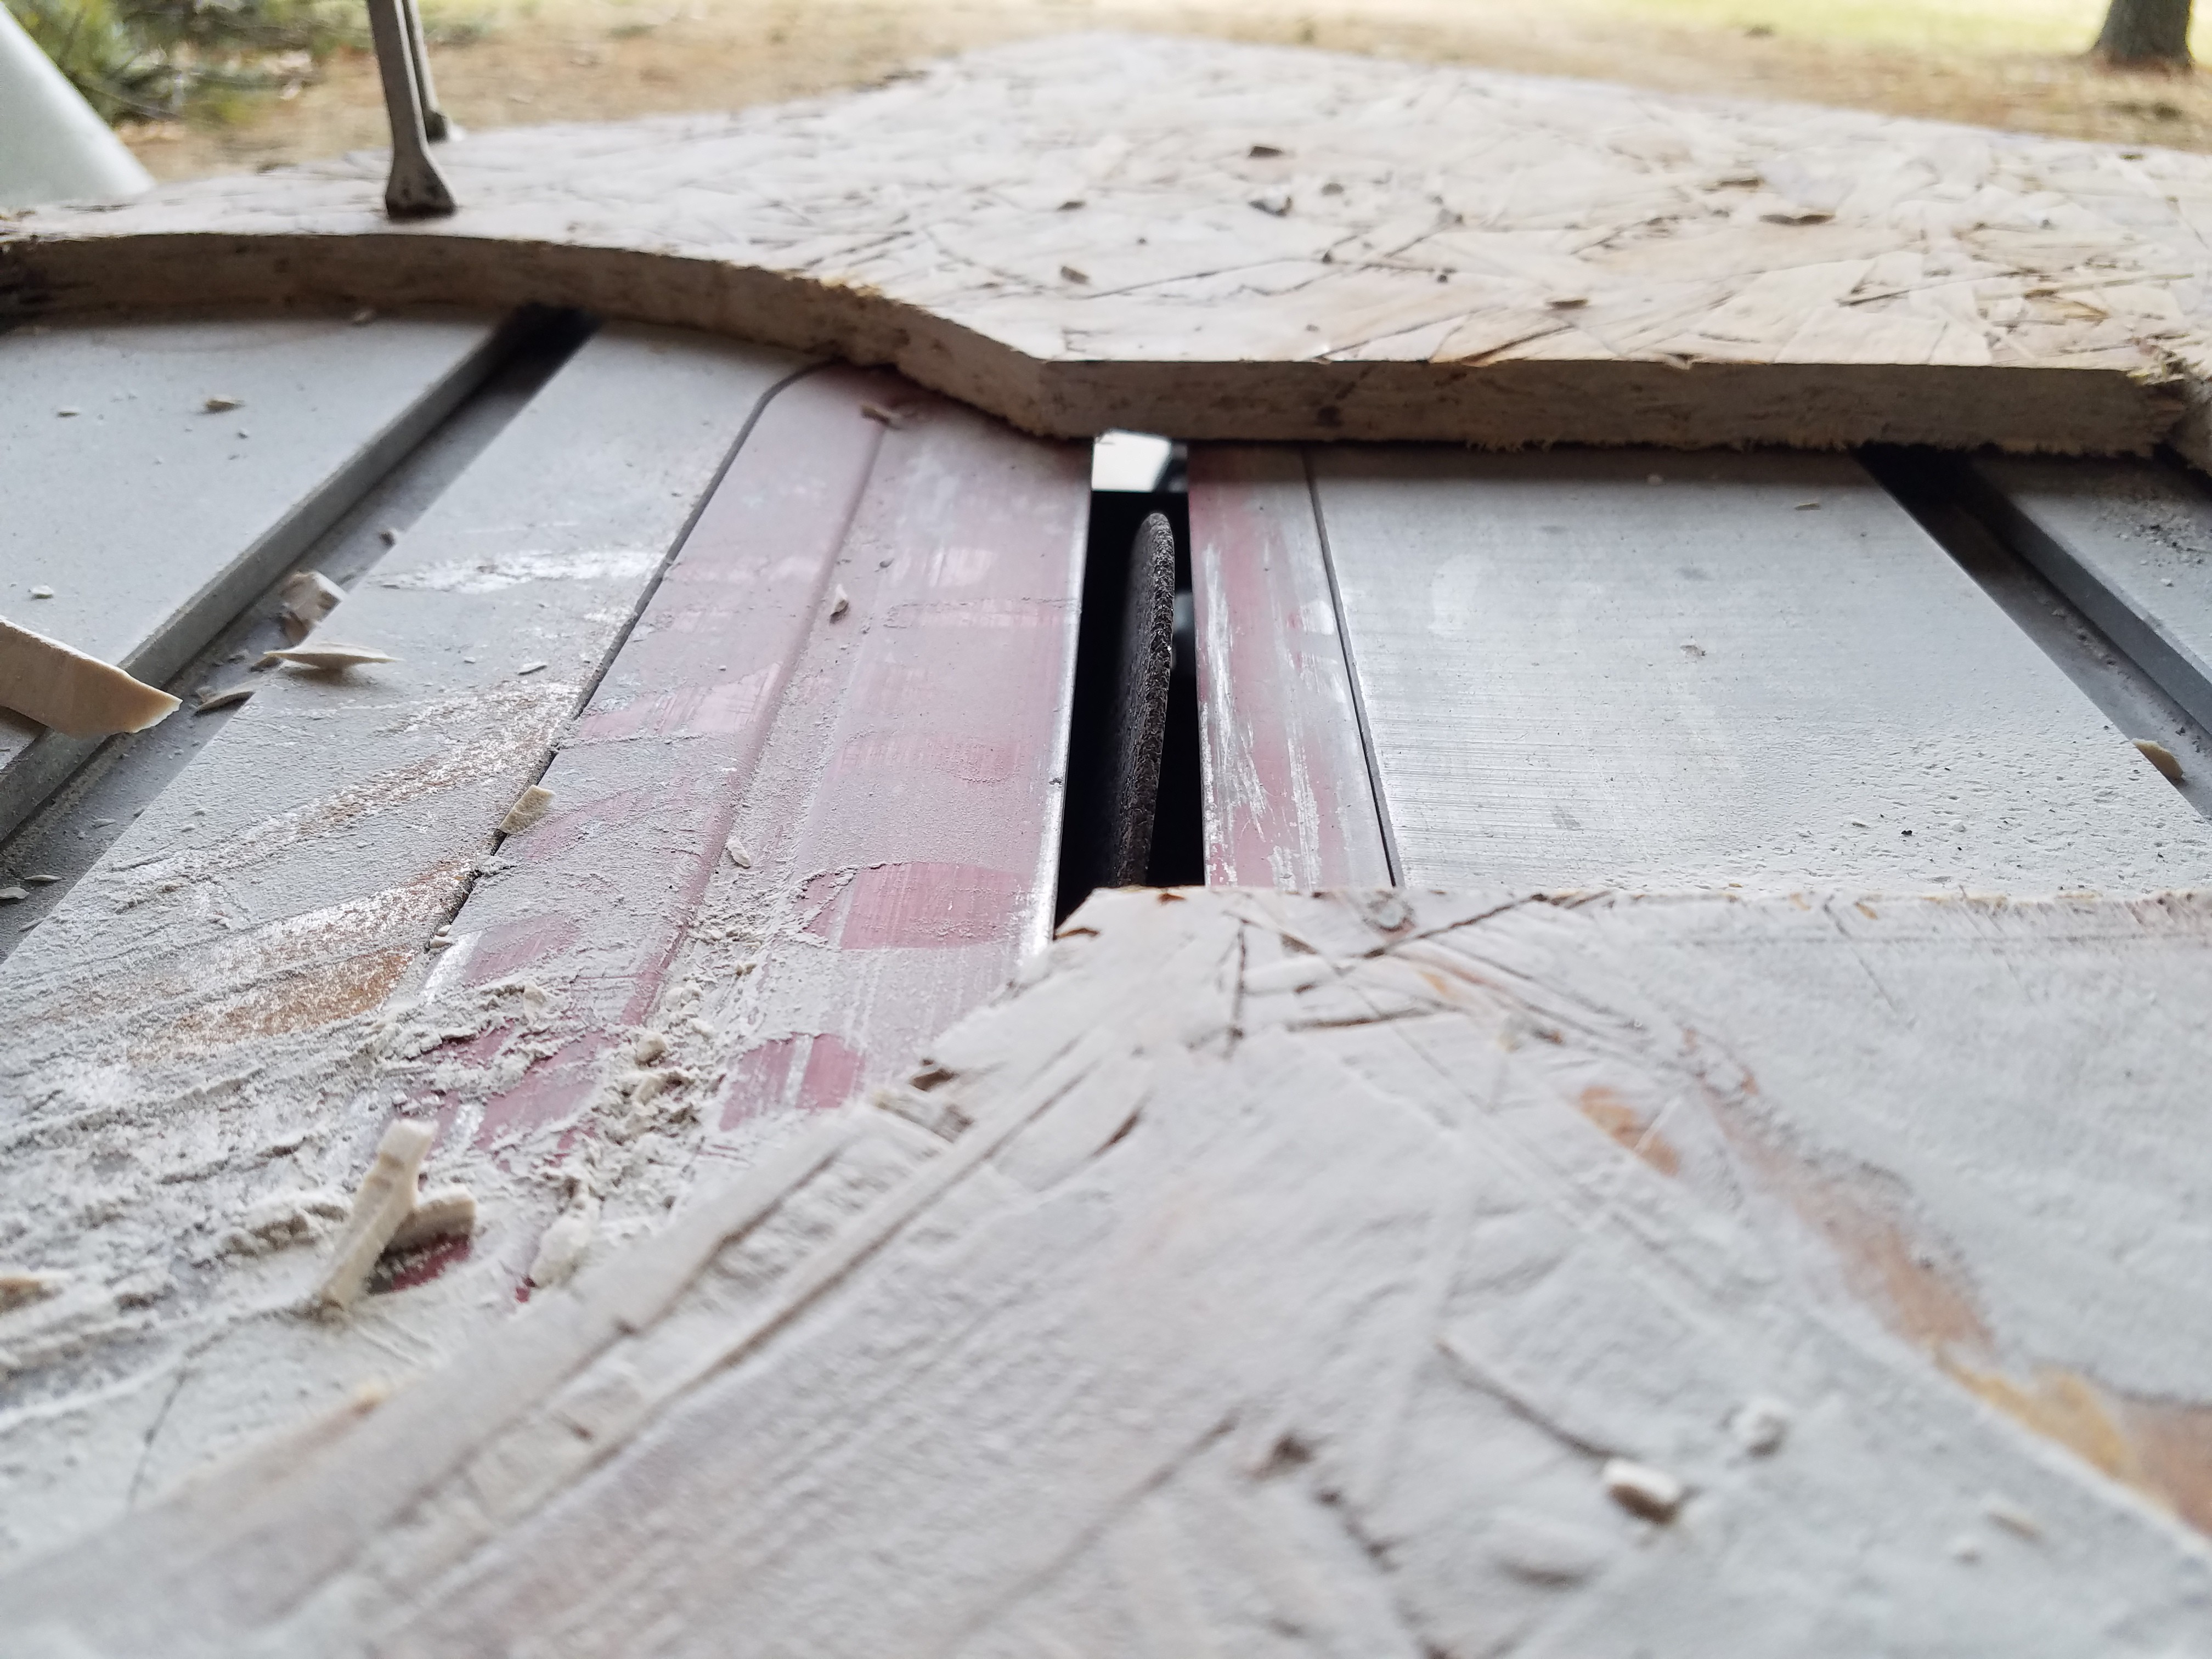
Raise the blade until it would just impact the tile, and then position your pin at a 90 degree angle from the center of the top of the blade. It's important to set the height first, as the blade will move forward and back as you raise/lower it.
![]()
Lower the blade and get suited up to get blasted by toxic dust. The dust that comes from dry cutting ceramic tiles, if it gets in your lungs, will basically never leave and can cause you life long issues. Wear a respirator!
I found putting a fan behind me and slightly off angle aimed out of the garage worked pretty well at keeping the majority of it off of me.
-
4Step 4
Turn the saw on.
Slowly raise the blade until it just impacts the tile.
Spin the tile around on your pivot, putting even pressure on the tile to keep it in contact with the blade.
Repeat the above two steps, for about 10 minutes.
![]()
Heat is your enemy here. If you overheat the tile while cutting it, it will crack. If you are really unlucky, the crack may not even show up until you are completely done and baking it later on. Go slow. If it starts to heat, stop and wait a while.
-
5Step 5
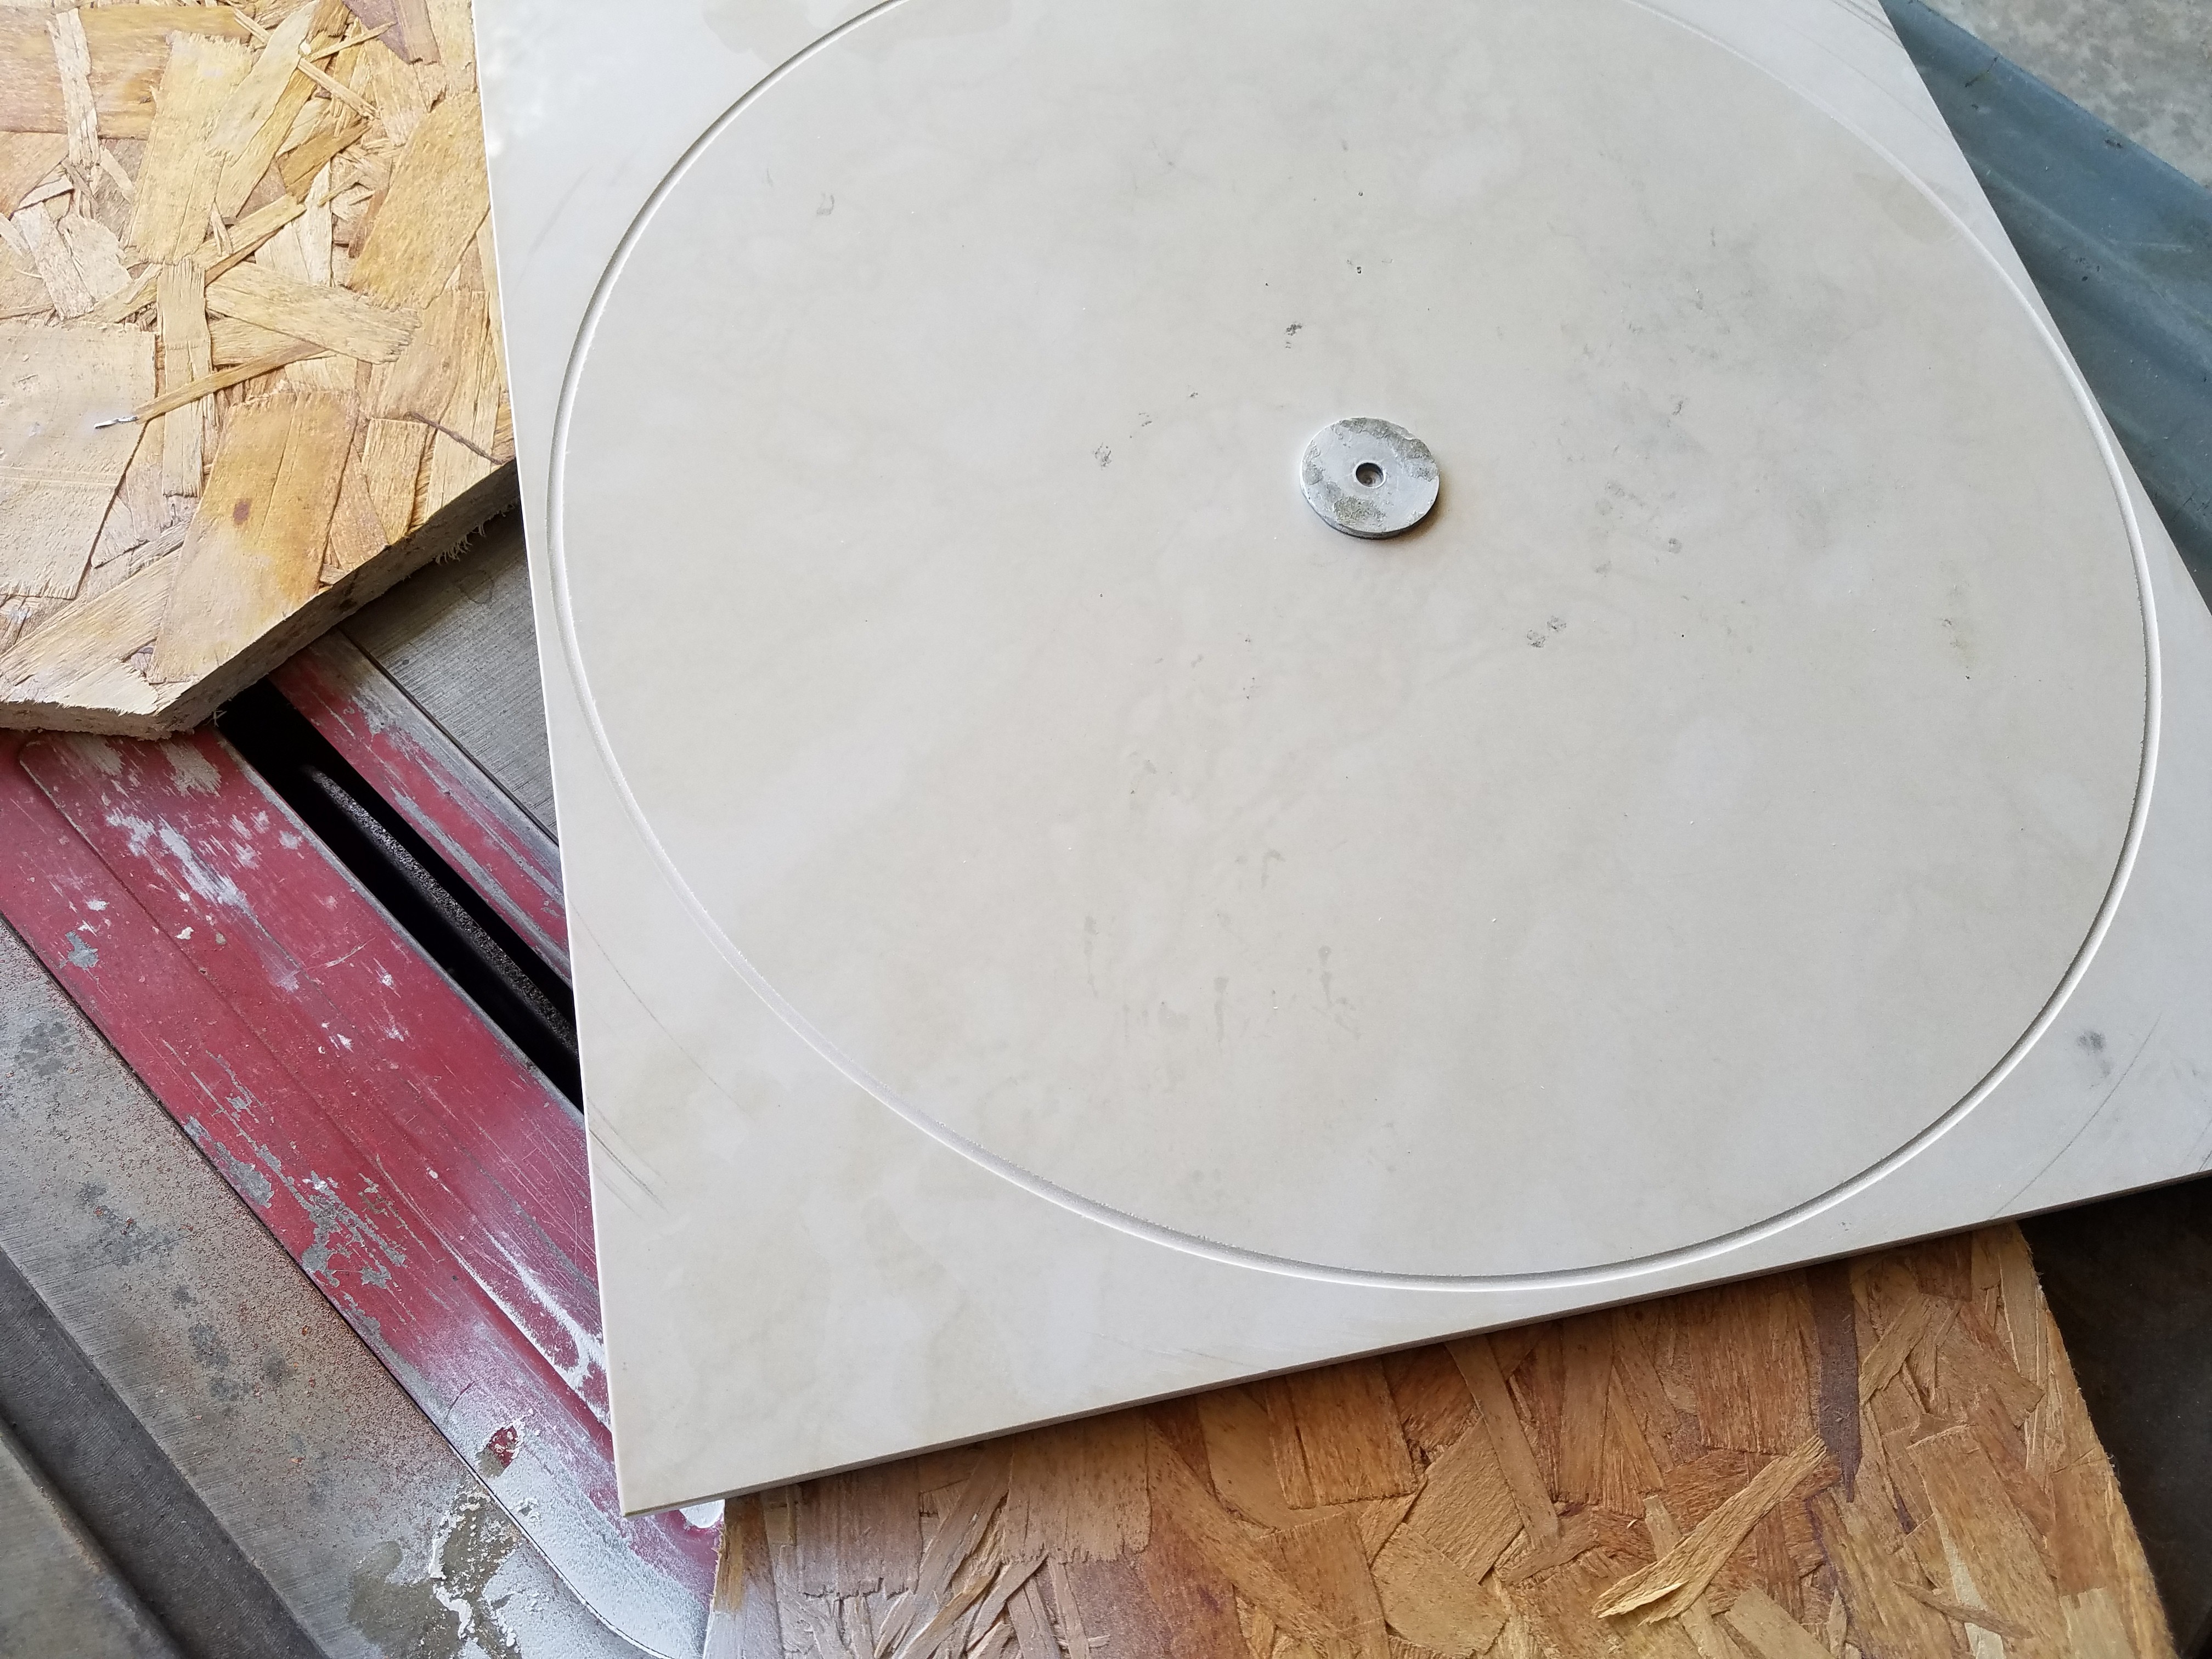
Success.
![]()
-
6Step 6
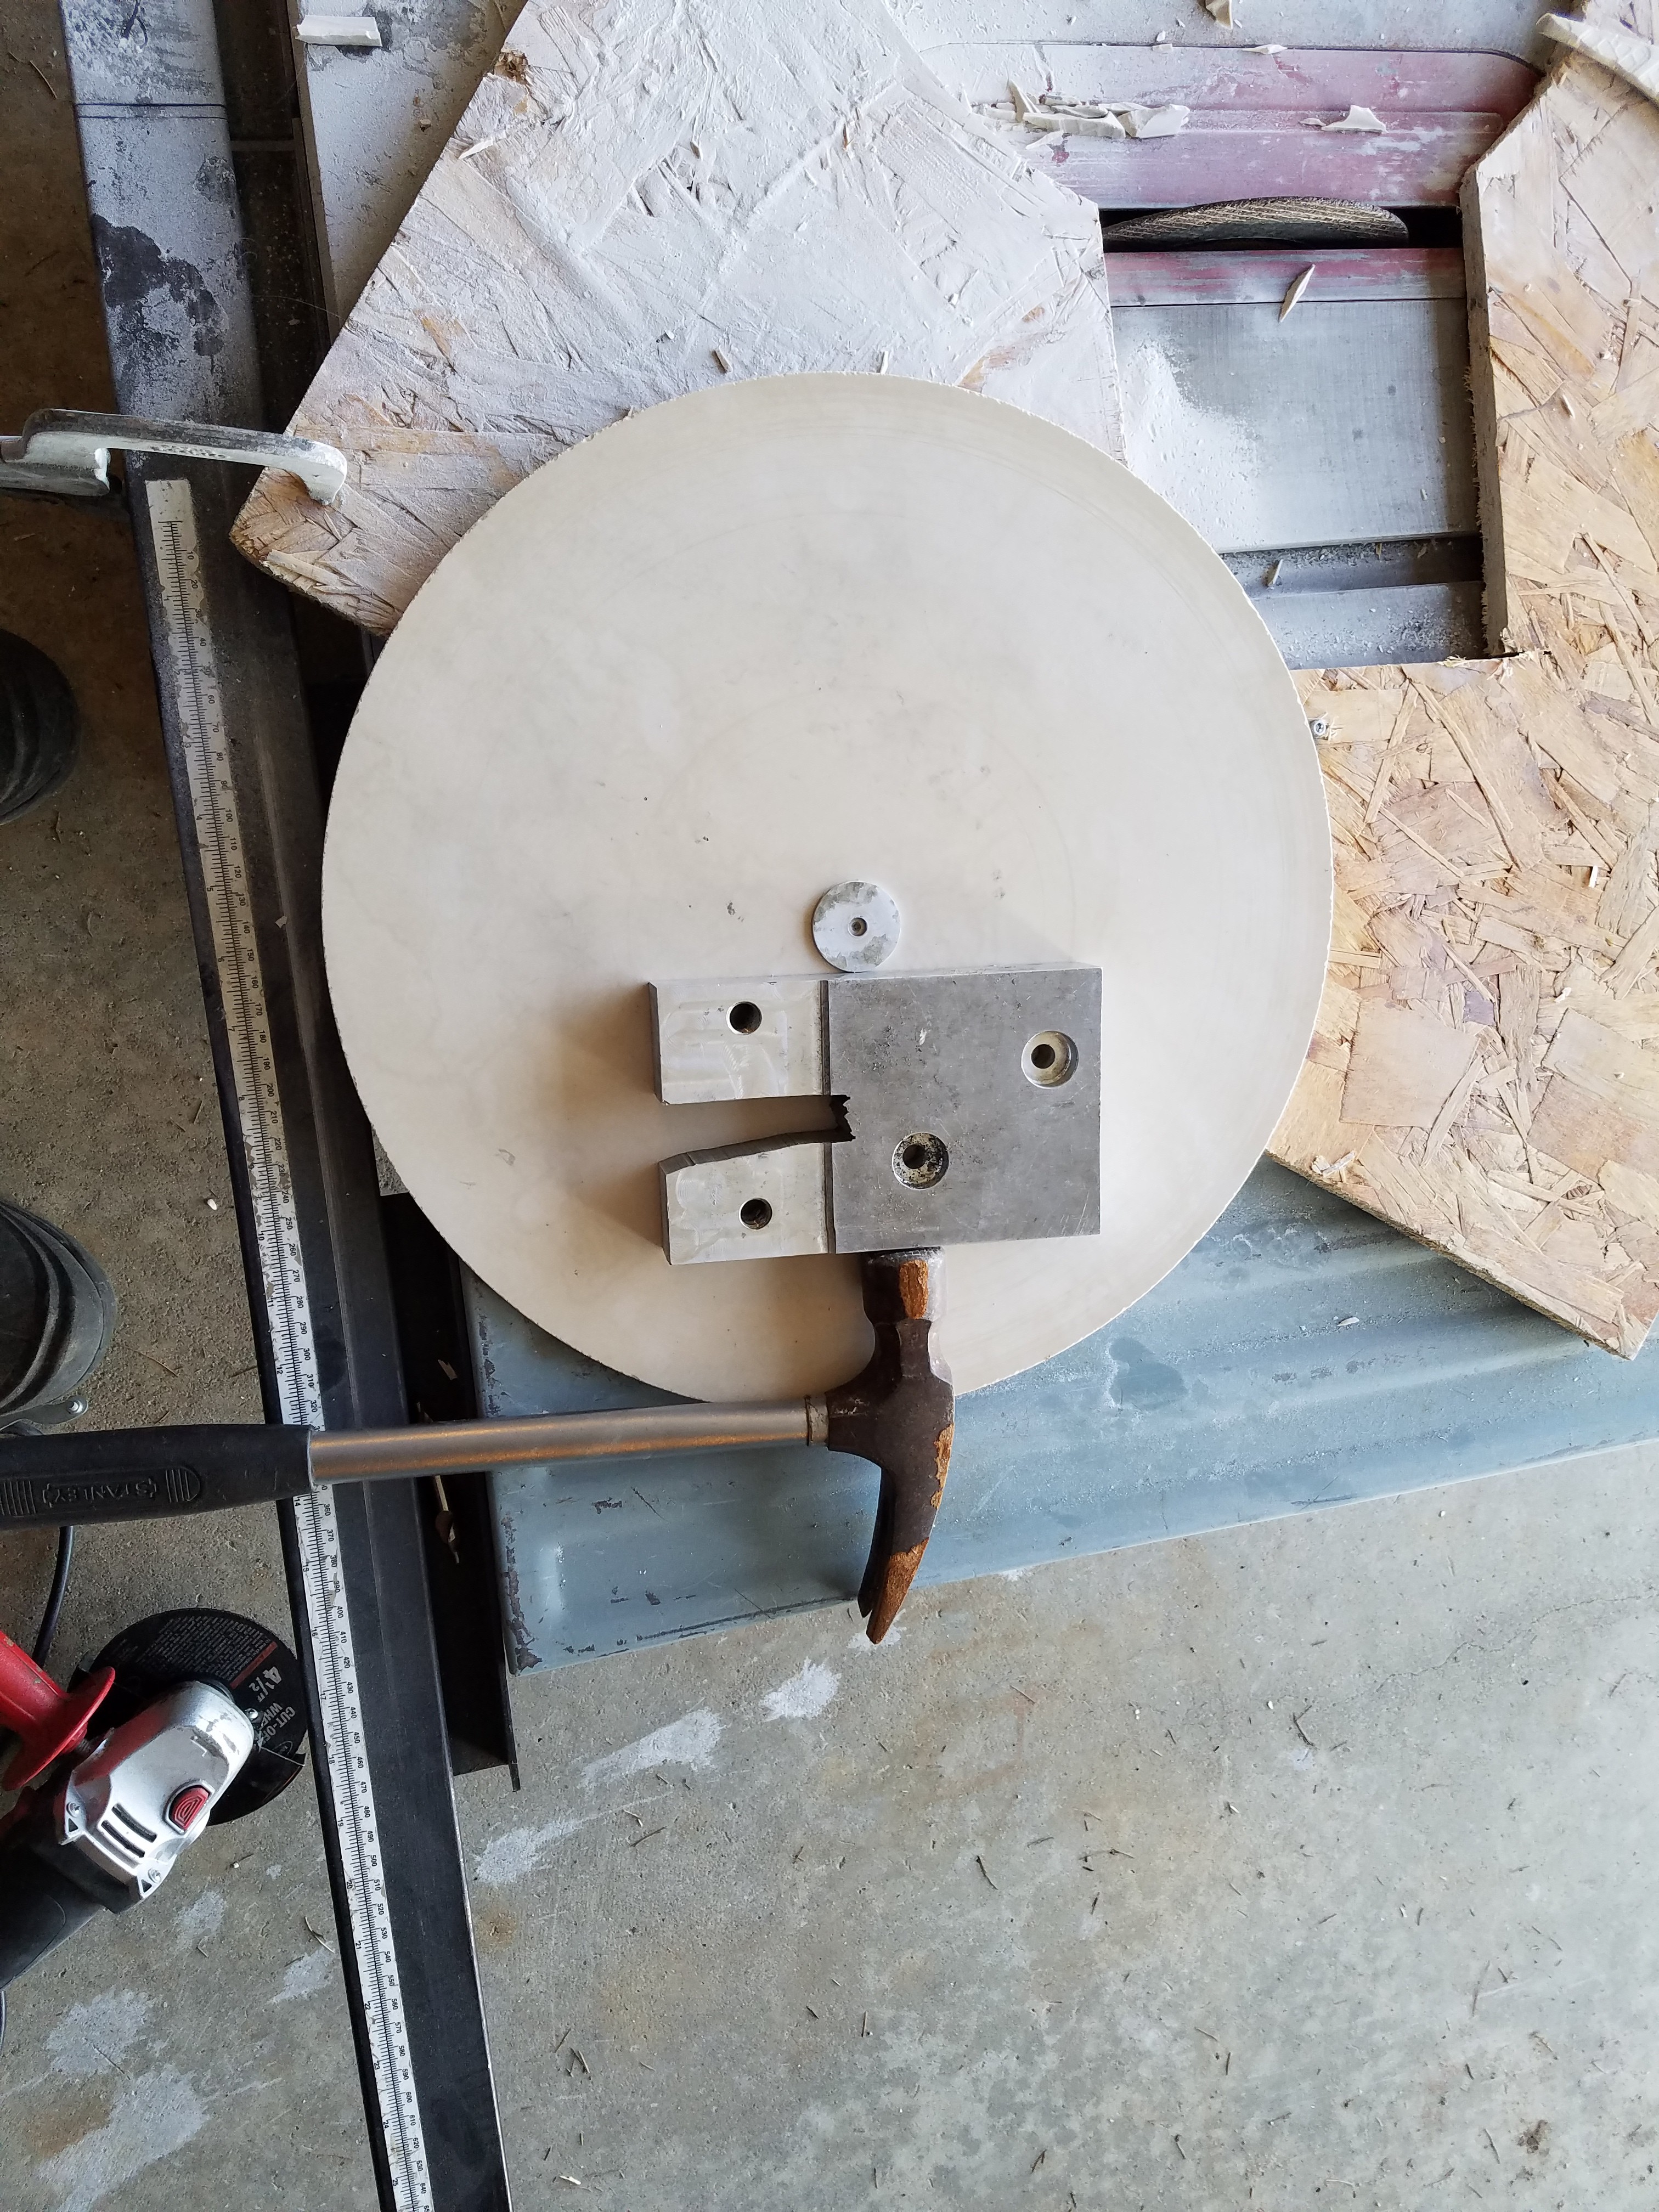
Now you have to remove your washer without destroying the tile. A sharp tap with a hammer generating shearing on the super glue works pretty well.
This is how I did it. Haven't broken one yet (at this step at least).
![]()
-
7Step 7
Now for some math. I was shooting for a 350w bed here.
So Ohm's law for power is:
Putting in 120v for E and 350w for P gives us a target resistance of 41 Ohms.
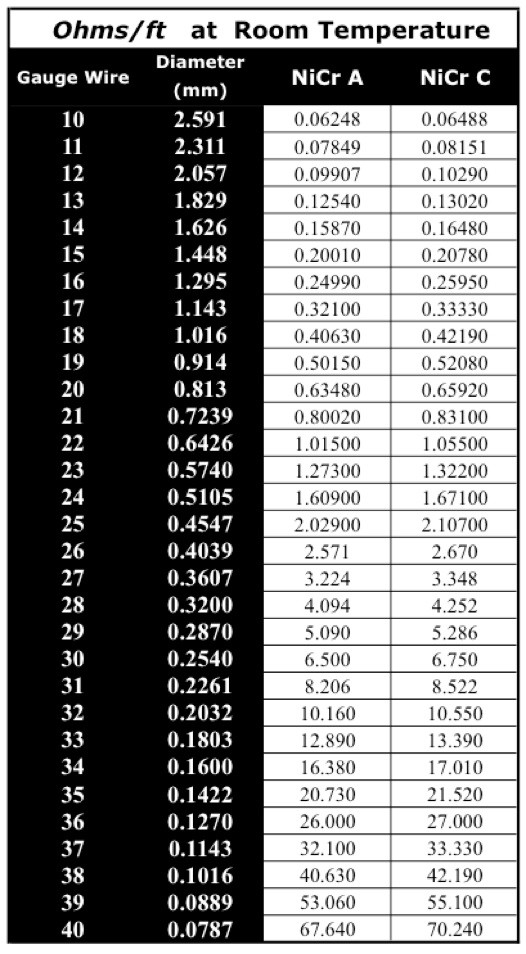
A quick google search on the resistance per foot of nichrome wire yielded this nice chart.
![]()
It wasn't clear which type of nichrome the vapor shop had, so I just split the difference in the math. Of the wire they had, it would take exactly 25 feet of 24 gauge to get the desired 41 Ohms resistance. It comes in 25 foot spools. Perfect.
Well, almost. One of the reasons nichrome wire is used for heating so often is that as it heats, it becomes less conductive relatively rapidly. At my target temp of 90C for the bed, it will actually have dropped to less than 300w output. I think that will still be fine, but something to keep in mind.
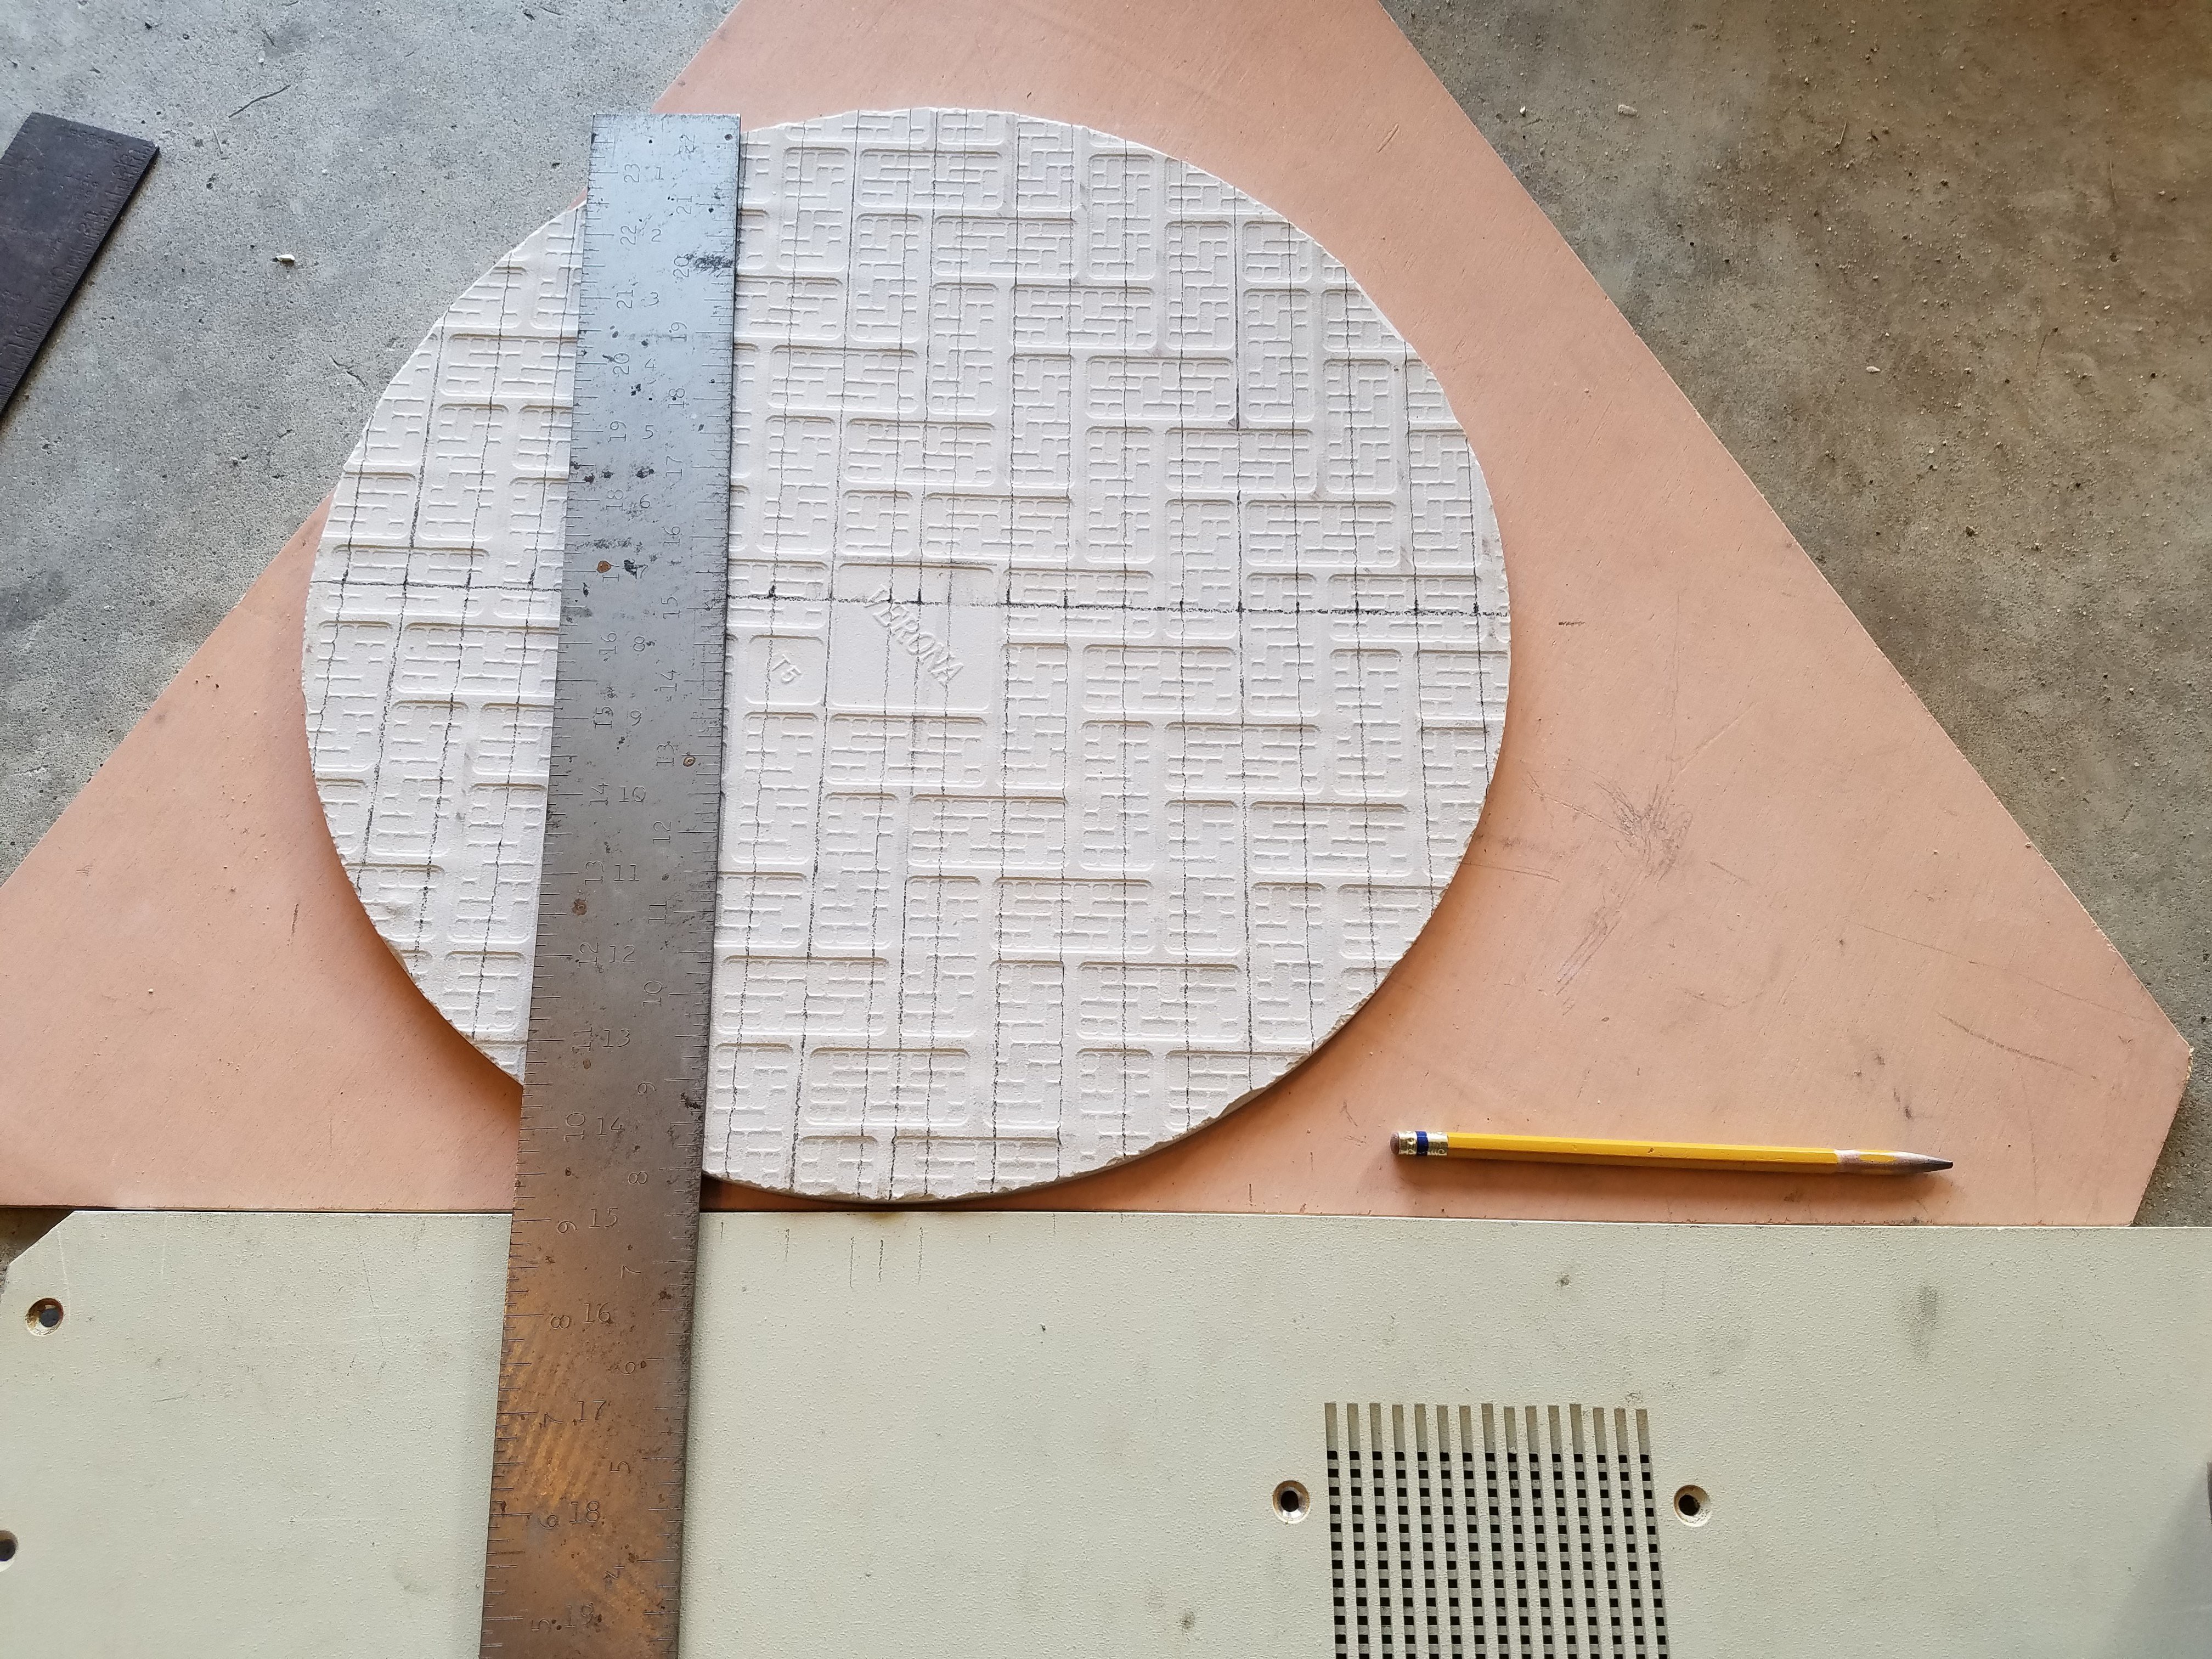
Now I needed a pattern for winding to evenly distribute that 25 feet of wire. Some trial/error and a bit of string 25 feet long later, I decided on a 3/4in spacing. Not too many cuts as to be annoying to make, but enough to evenly heat the entire surface.
![]()
Now flip it over and mark the center again. Then get annoyed at the tile sliding around, and put some double stick tape on it to hold it down.
I missed a step while I was building it this time though. Grind off an area large enough to allow your washer to lay flat first, as the superglue trick only works with flat surfaces.
Then make your marks. Offset your marks from the center so you can put your thermistor dead center later on. 3/4 in apart lines from edge to edge, and evenly spaced.
-
8Step 8
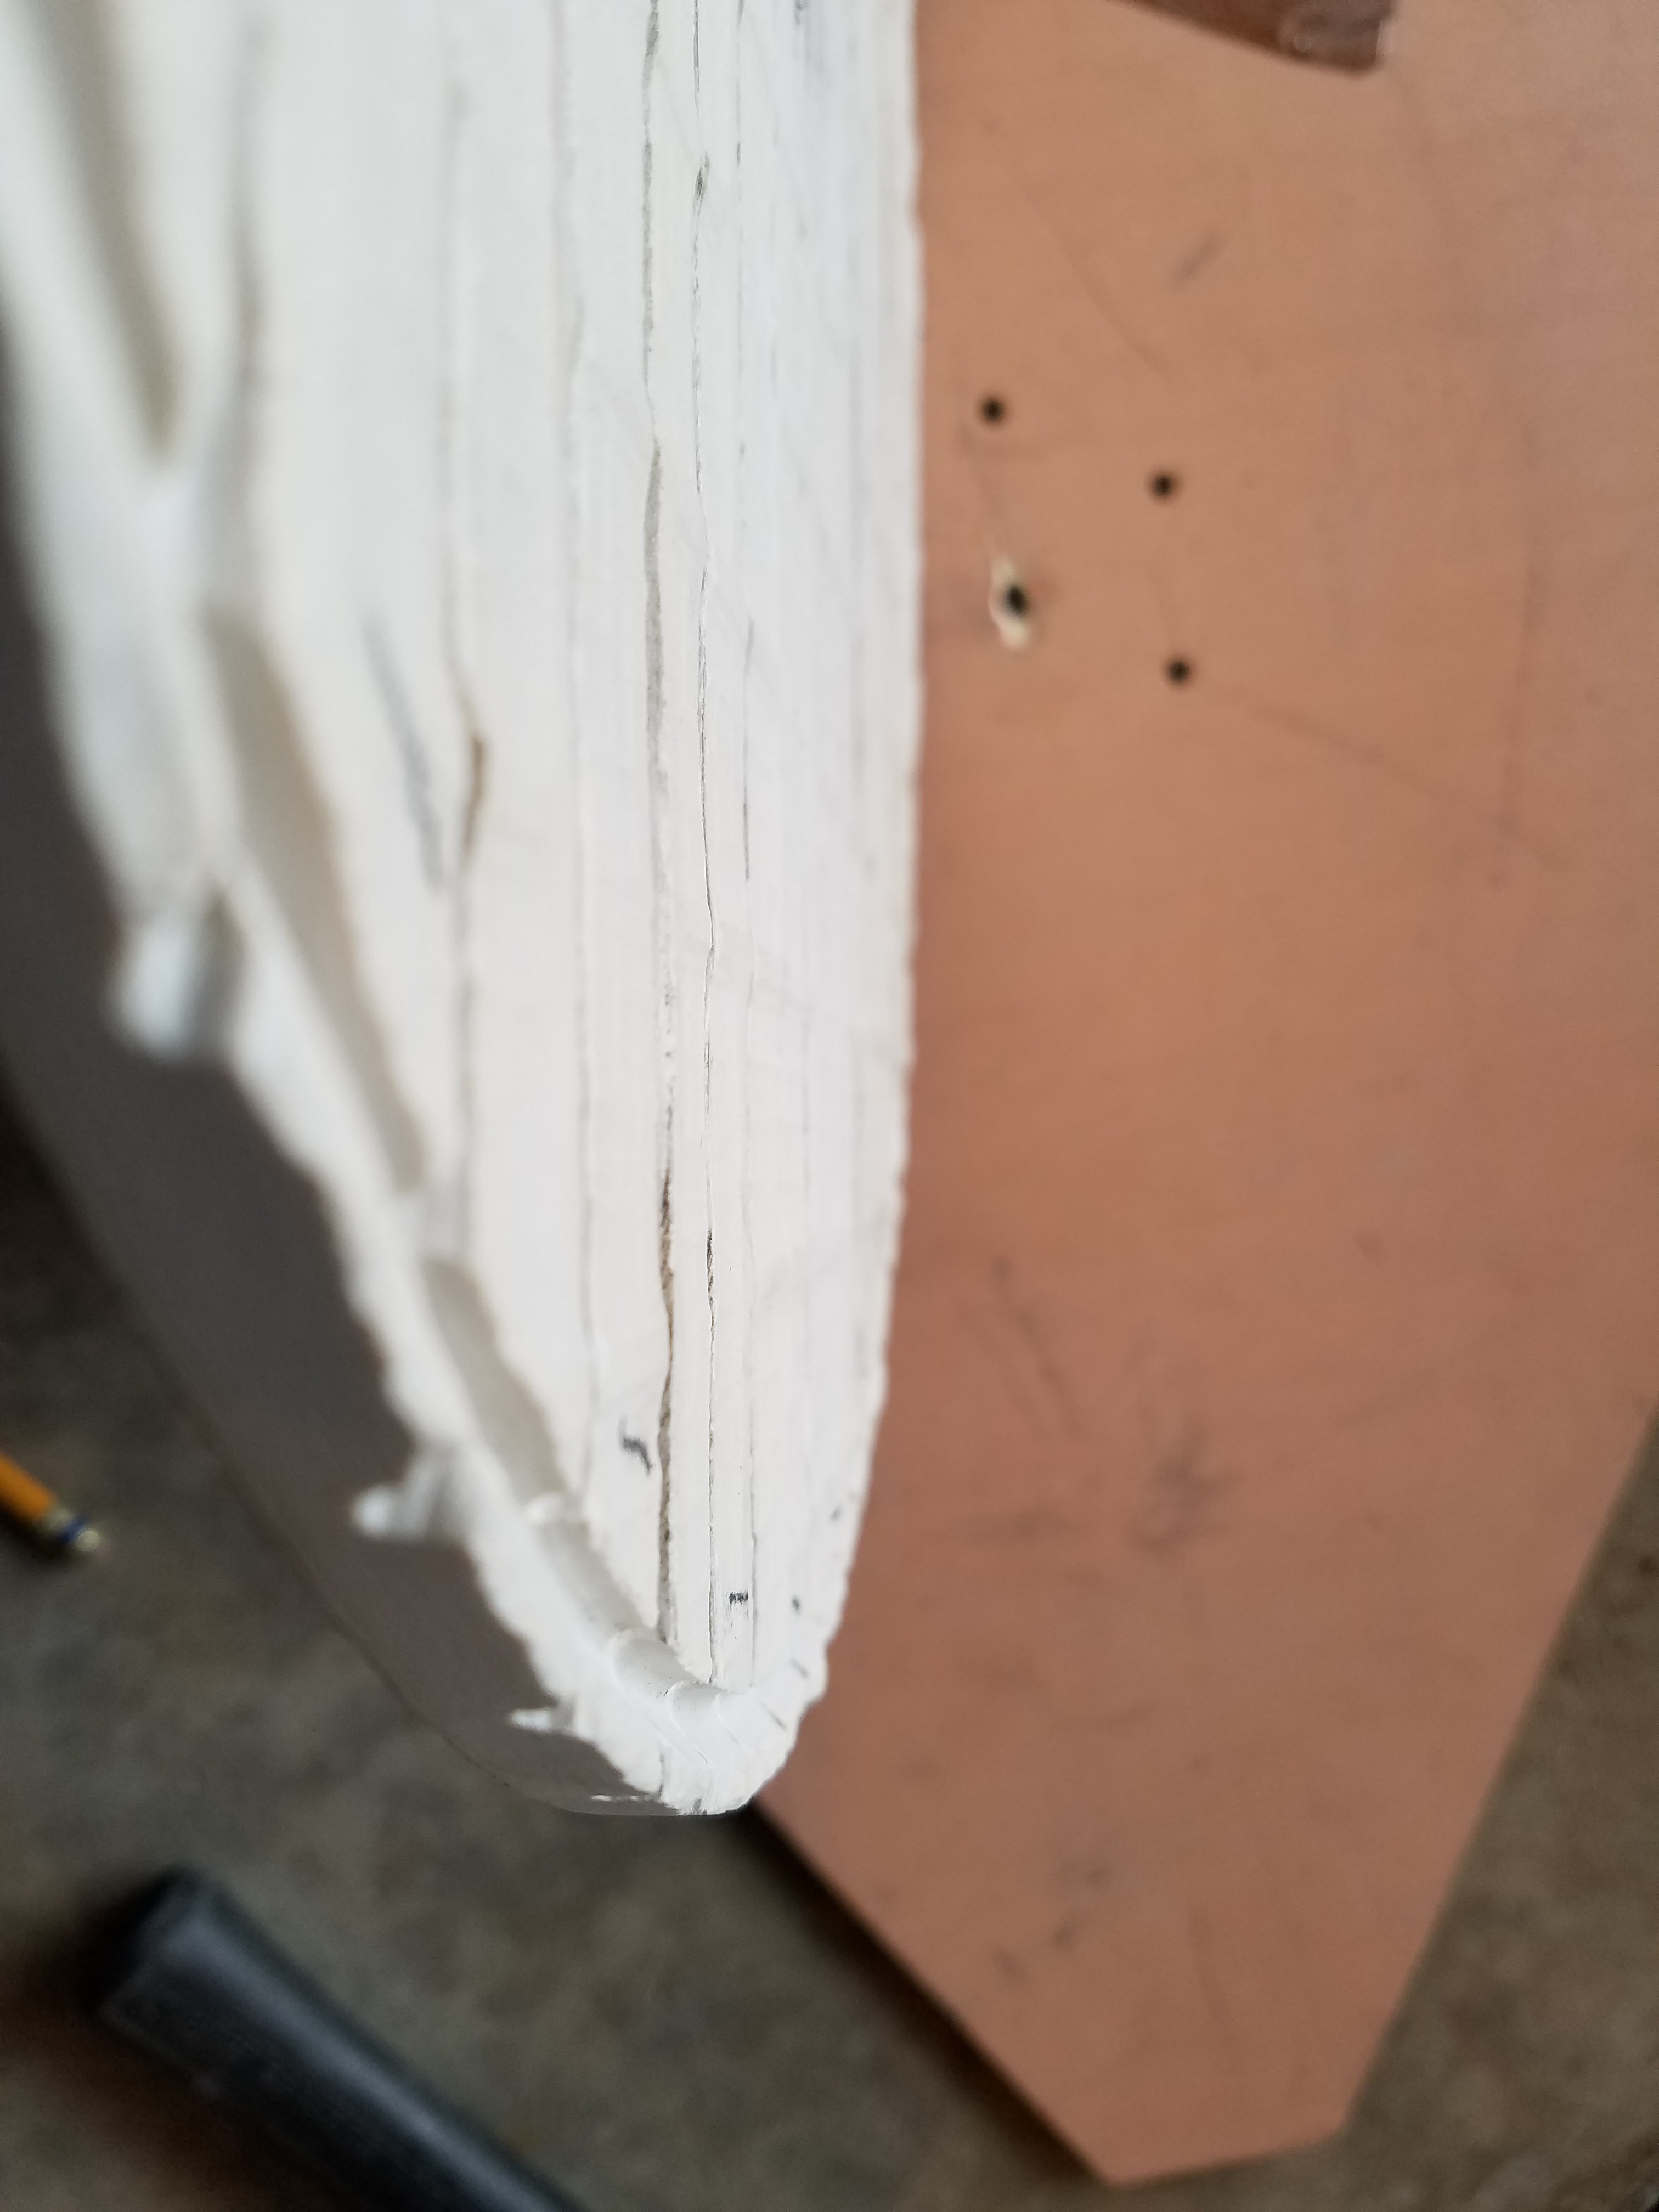
Now at this point I was going to originally try to freehand the cuts around the edge for the wire to turn around. I tried it. It didn't work so well. I went back to cutting a groove in the edge with the table saw.
Glue your washer on the bottom of the tile now, and angle the saw blade slightly. Since the top of the blade has a rather large circumference, angling the blade gets us closer to the vertical ledges we will need to wrap the wire with much less swearing.
![]()
Repeat as before. Spin the tile, raise the blade, spin the tile. It was a lot easier later on when I started to make this cut relatively deep, about half way through the tile.
![]()
-
9Step 9
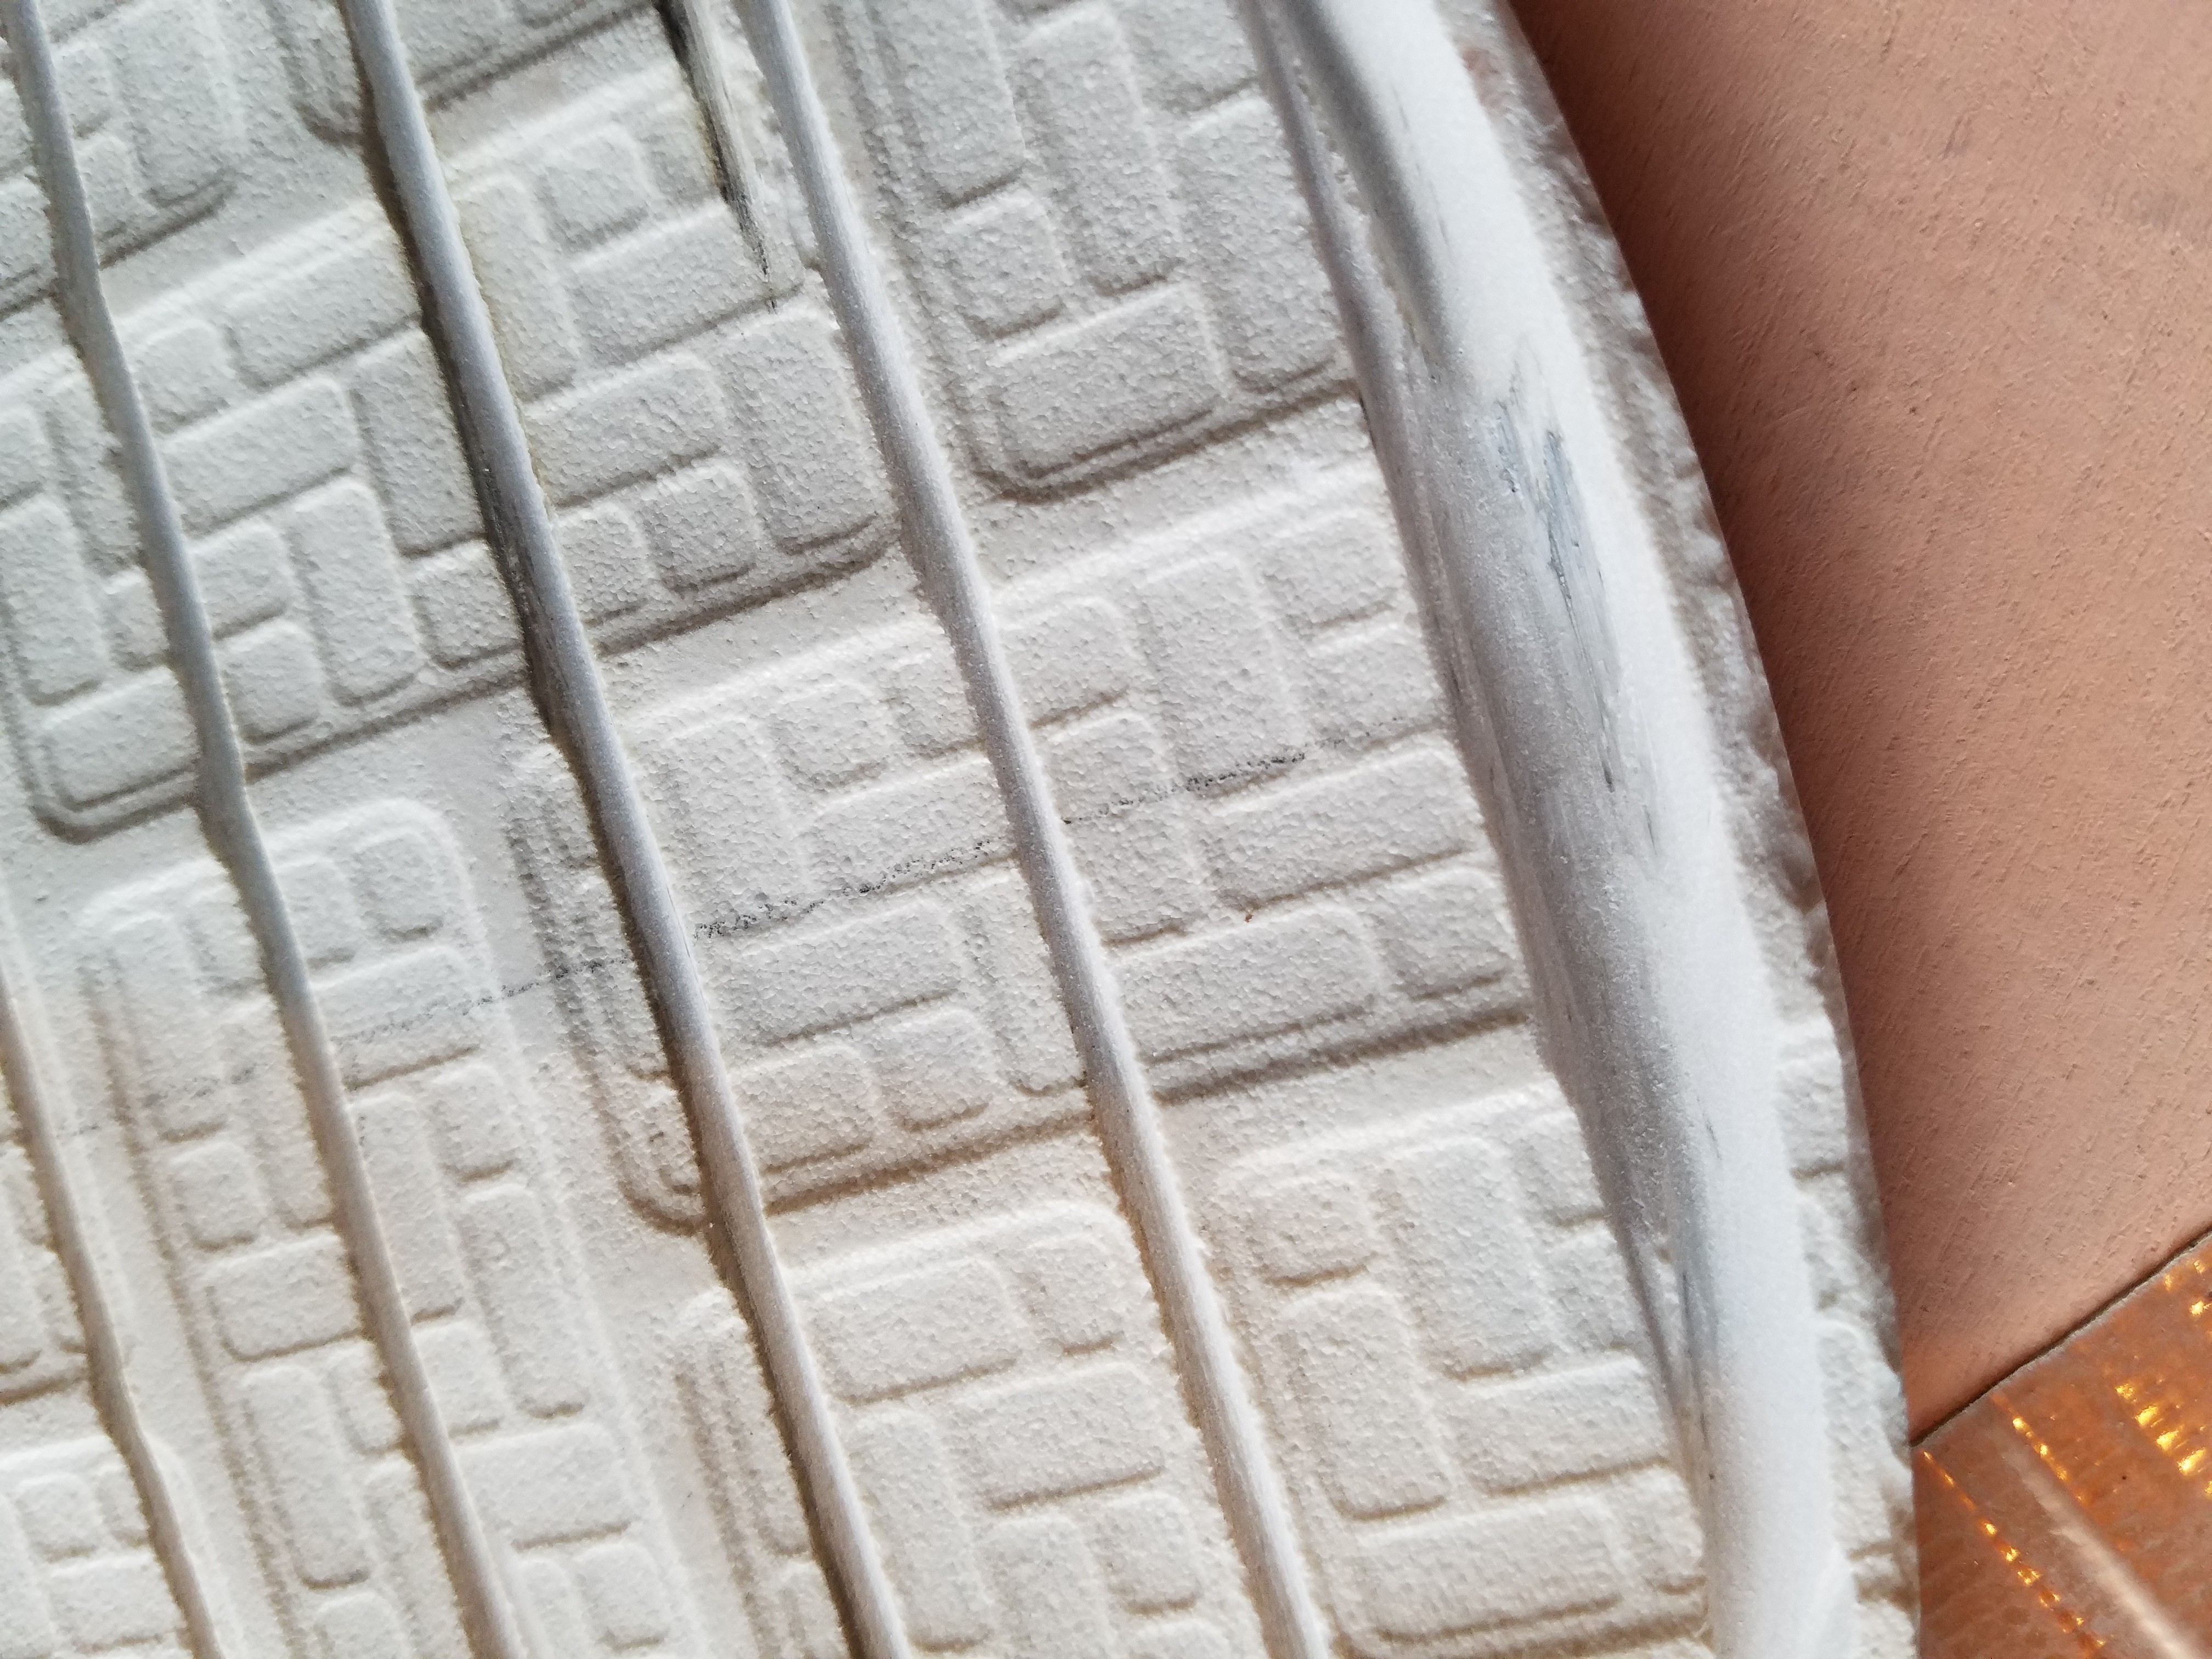
Now you need to cut the grooves themselves for the wire to lay in, again being careful to not overheat the tile.
![]()
I made a quick jig with a scrap of wood and ran the angle grinder along it to get the initial cuts nice and straight. You only need the jig until you get an indentation in the tile, then the blade will just follow the groove.
Getting these cuts straight is important. The wire is going to be held in the groove until cemented in place by the tension in the wire. That only works if the grooves are straight.
Continue deepening the grooves until they are all 1/5th to 1/4 through the tile. Spend a little longer on each end to bring them to match the depth of the table saw cut. You are basically making an arch with each groove.
Widen the groove at both ends of the wire wrap enough to allow your crimped connector to be fully below the surface when you apply the cement.
-
10Step 10
Wrap about an inch of the end of the nichrome wire around itself and twist with a pliers until you are satisfied that it would conduct electricity if it were two wires. This will lower the resistance near where you are going to crimp your feed wire to it, preventing that portion of the wire, and therefore the connector from heating as much. Crimp your feed wire to the nichrome.
Clamp one end in place with something to cushion the clamp so you don't crack the ceramic and start winding. Figure out all the places you need to manually clean up the angles with the grinder to get it to stay put.
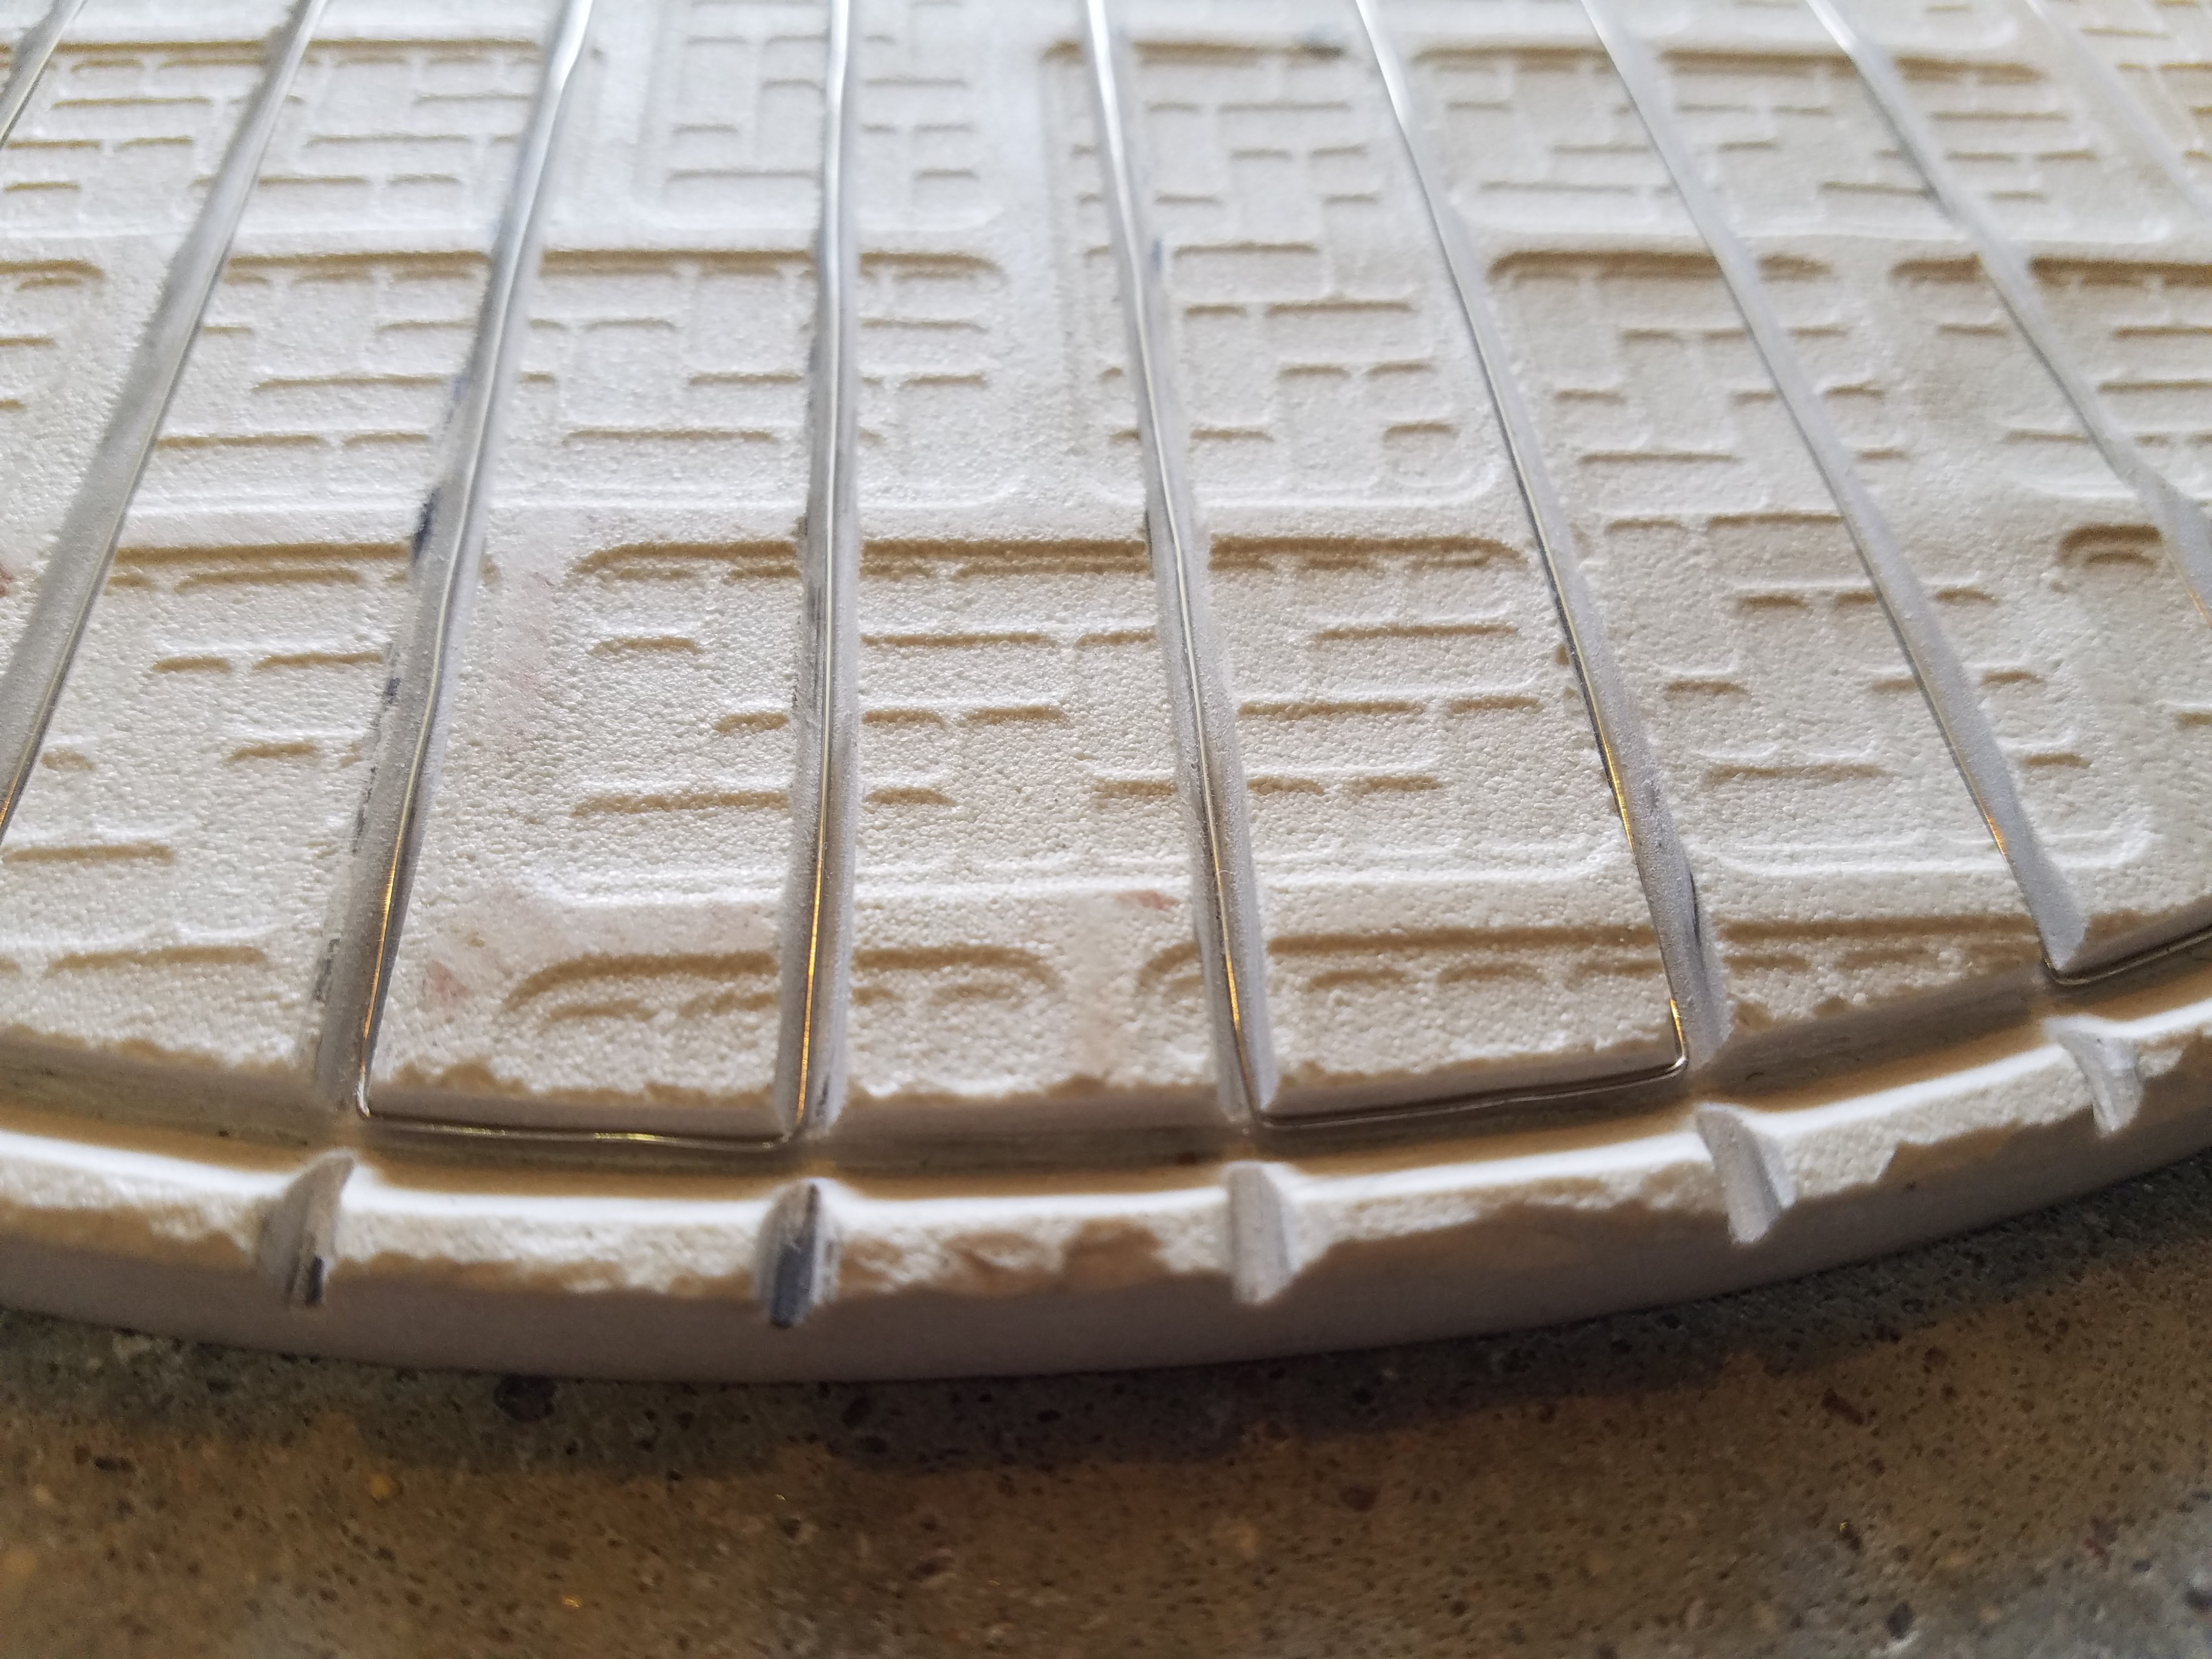
Pull the wire tight past the end of the tile. Put a screwdriver over it right at the corner you need to make to hold it down in the groove, and then keeping tension on the wire, bend it around the corner. Repeat. Regret not wearing gloves as the wire starts to cut into your hands. Break a few corners off and have to cut them even deeper with the angle grinder. Swear a lot.
Eventually, you should have this.
![]() If you don't wind it tightly, the wire will lift out of the grooves in the middle, and you won't be able to encapsulate it with cement later on. This is essential to keep fingers/parts from coming in contact with the mains voltage, and to evenly dissipate the heat from the wire into the tile.
If you don't wind it tightly, the wire will lift out of the grooves in the middle, and you won't be able to encapsulate it with cement later on. This is essential to keep fingers/parts from coming in contact with the mains voltage, and to evenly dissipate the heat from the wire into the tile.
Arcus-3D-M2 - Ceramic Heated Bed
Low cost, large build diameter heated bed made from a floor tile.
 MasterOfNull
Discussions
Become a Hackaday.io Member
Create an account to leave a comment. Already have an account? Log In.