-
An incredible future for autodrop3d
12/23/2018 at 22:08 • 0 commentsWe have been working on this project nearly non stop for the past year and are nearing the point of bringing a printer to market and opening up the cloud platform to people an institutions for use with there existing printers.
It has been a long road. A new ejection system concept had to be proven out and tested and after months of running printers using this system we feel we are at the point of finalizing the hardware design and releasing the printer to the world.We have lots of exciting features and still have a ways to go before we go live to the public.
In the mean time we would like to extend an invitation to folks who are familiar with hacking around on raspberry PIs and with 3d printers to access the platform and test with there own printers.
If you are interested in testing the platform with your existing 3d printer send an email to drop*no spam*at*autodrop3d.com
-
Latest revision of the 3d print auto eject system time lapse
10/02/2017 at 05:56 • 0 comments -
So we are kick starting this project.
09/25/2017 at 15:21 • 0 commentsSee us on kick starter.
https://www.kickstarter.com/projects/mmiscool/autodrop3d-unmanned-continuous-3d-printing
-
Second blade machine up and running.
09/18/2017 at 14:53 • 0 commentsSo yesterday me and a buddy worked at the maker space to get the second blade machine up and running.
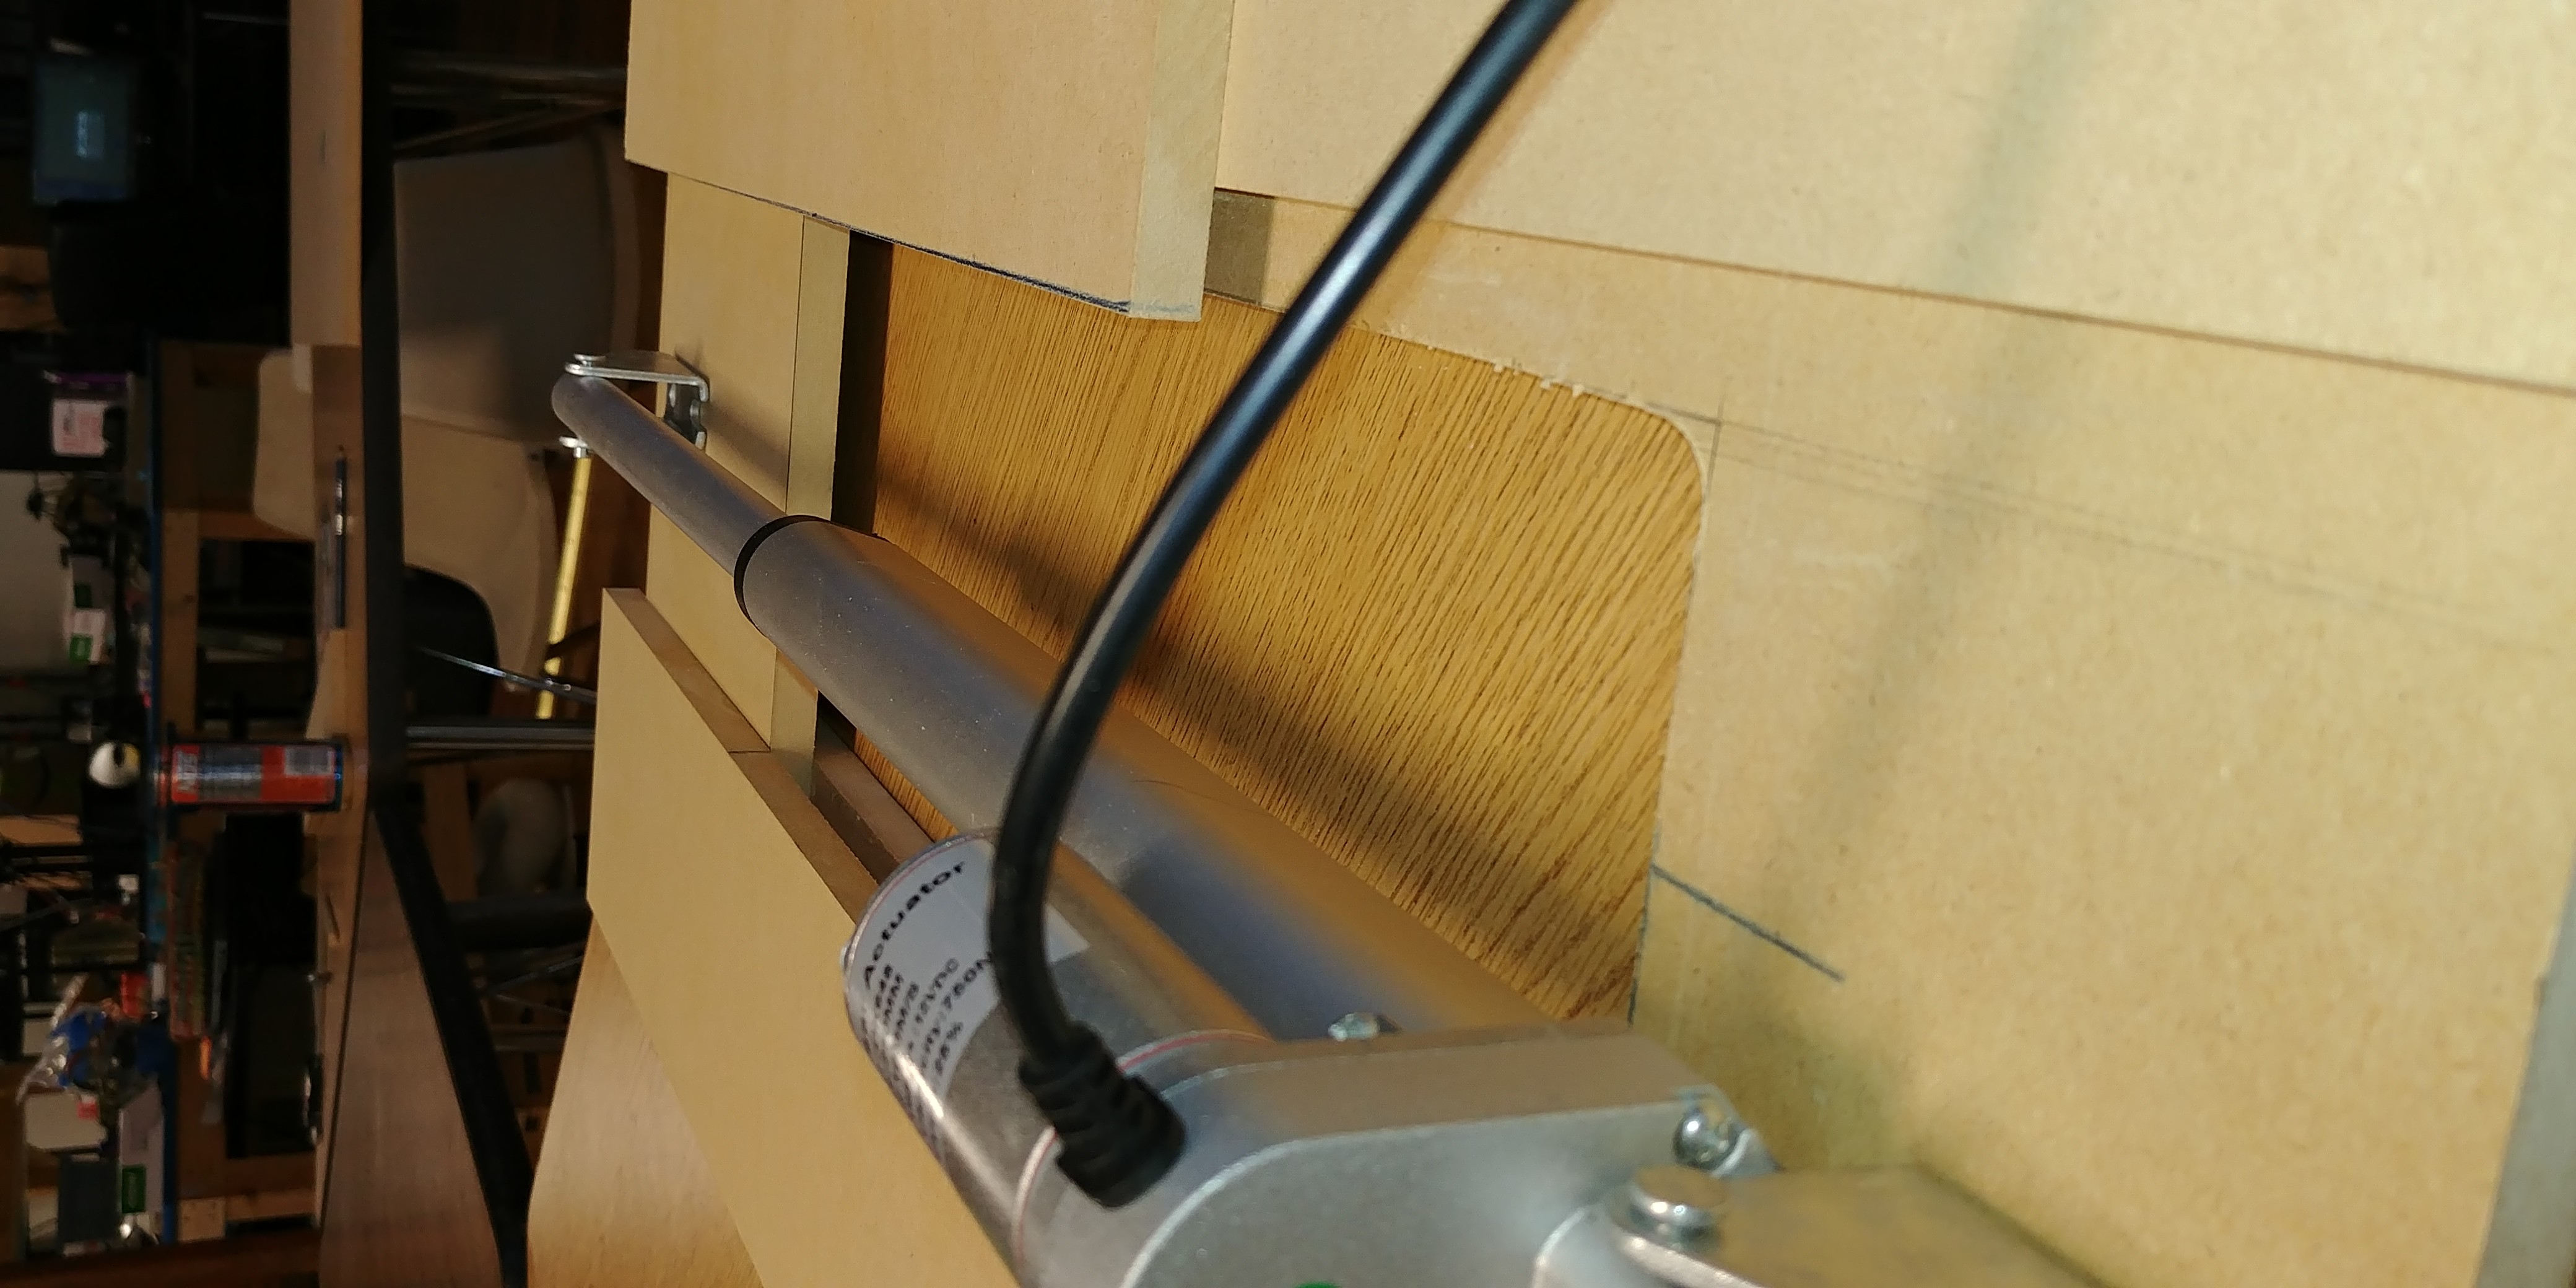
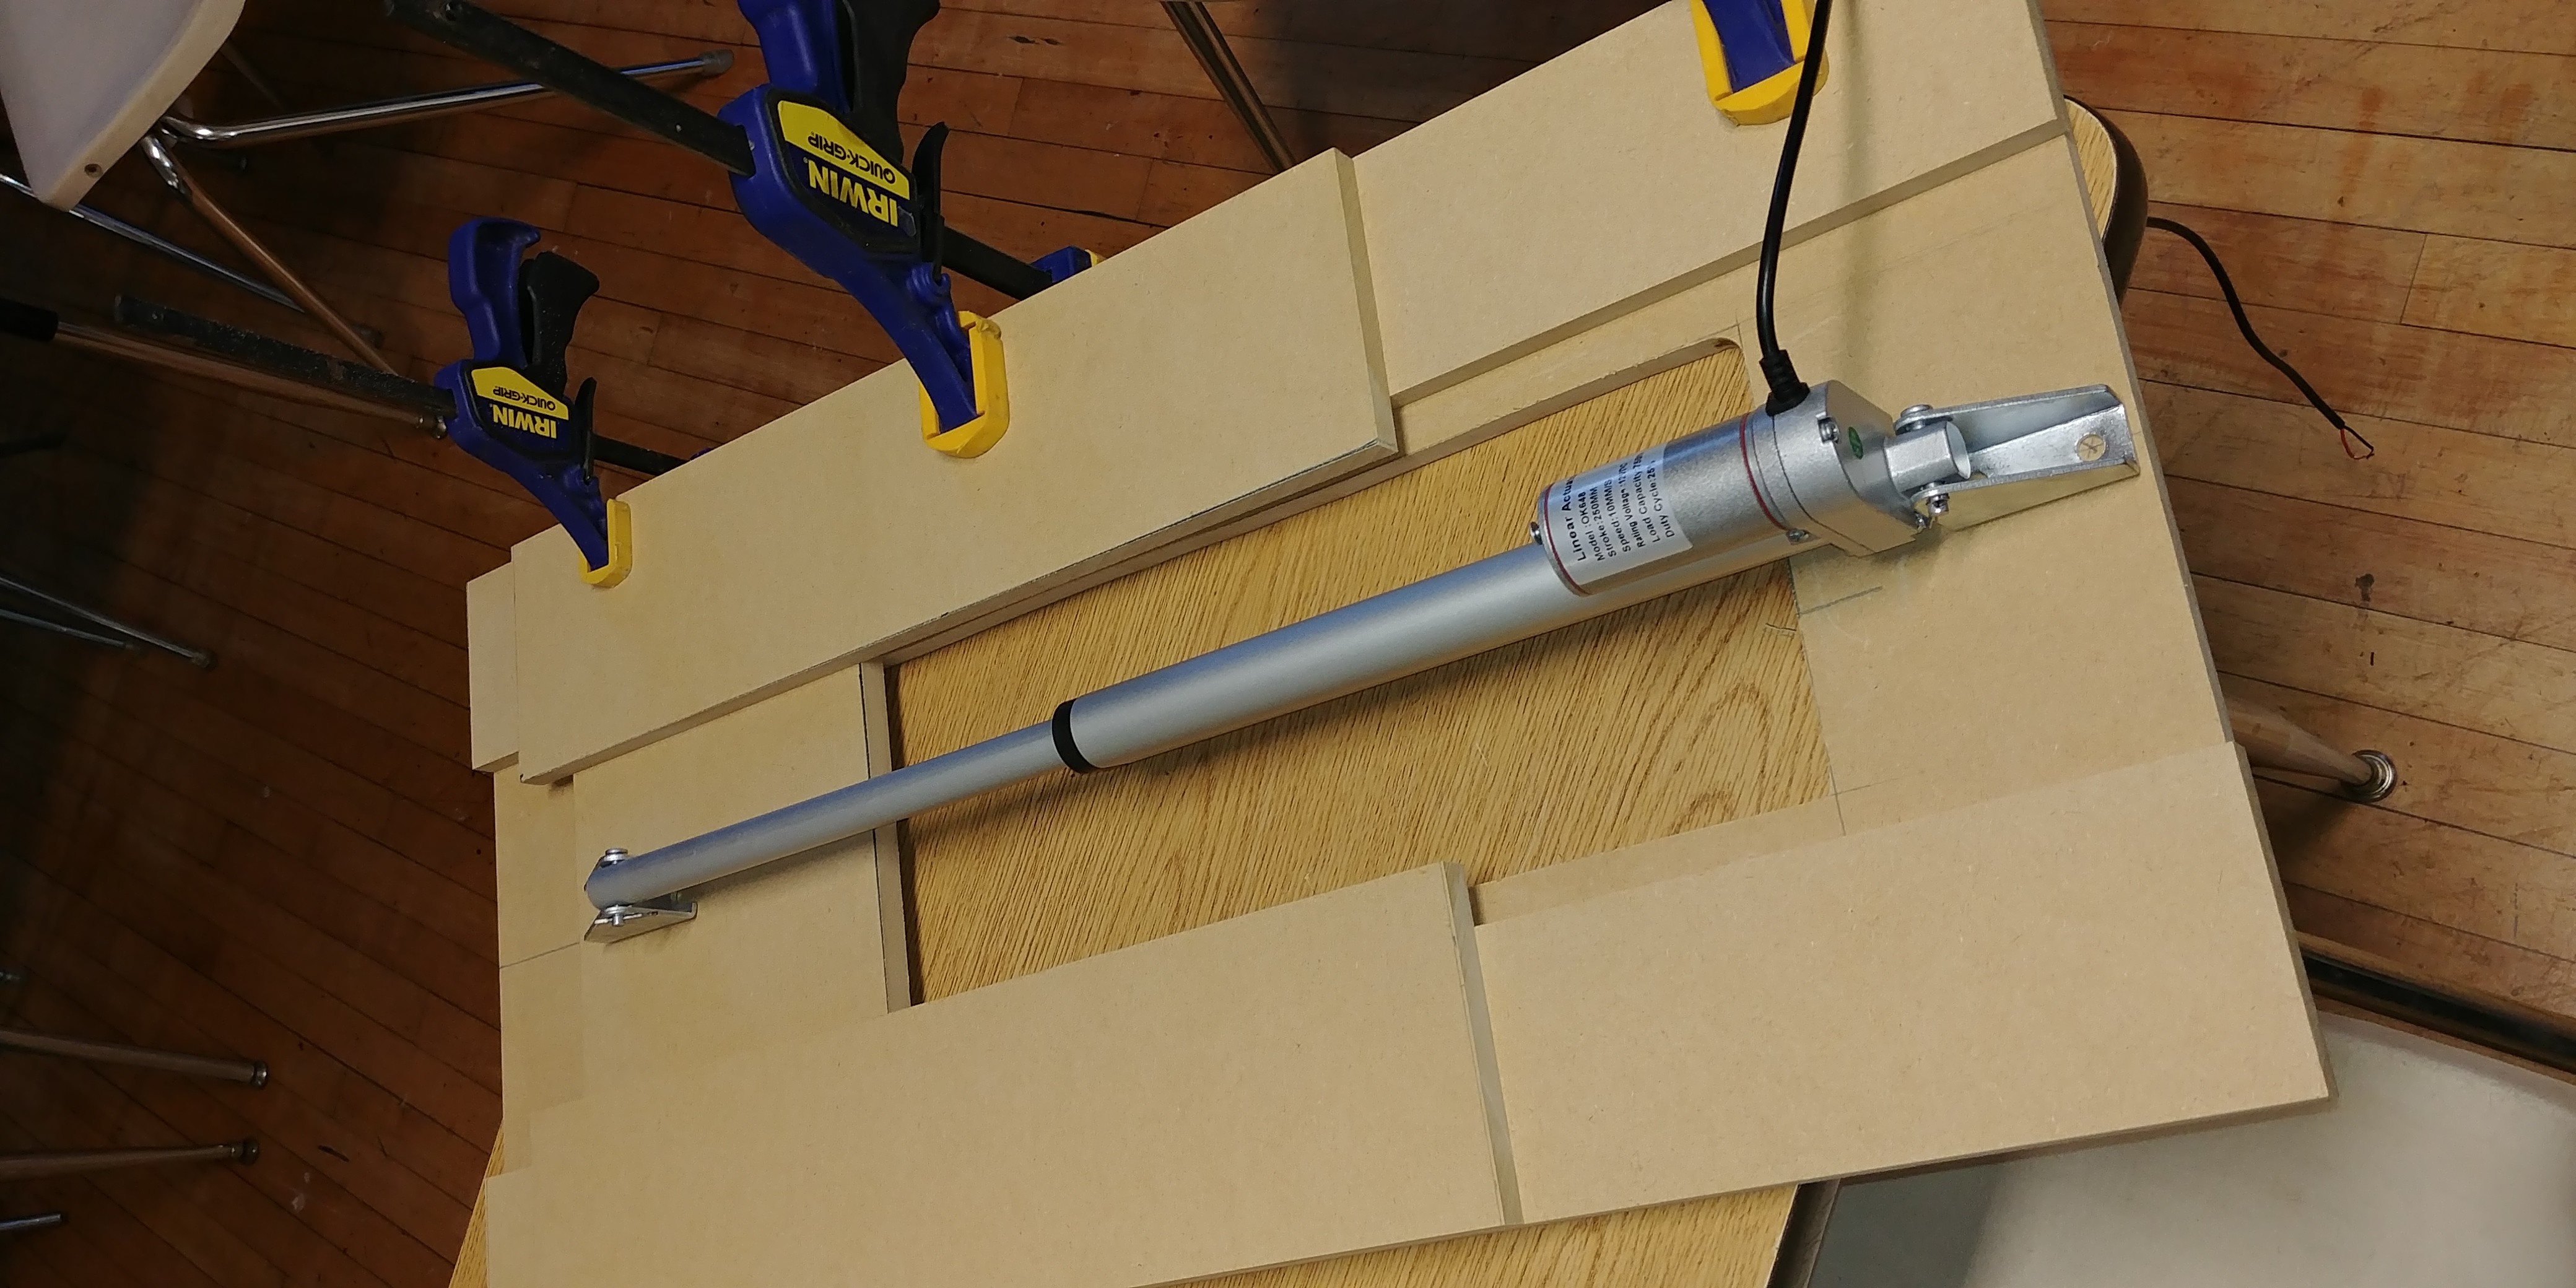
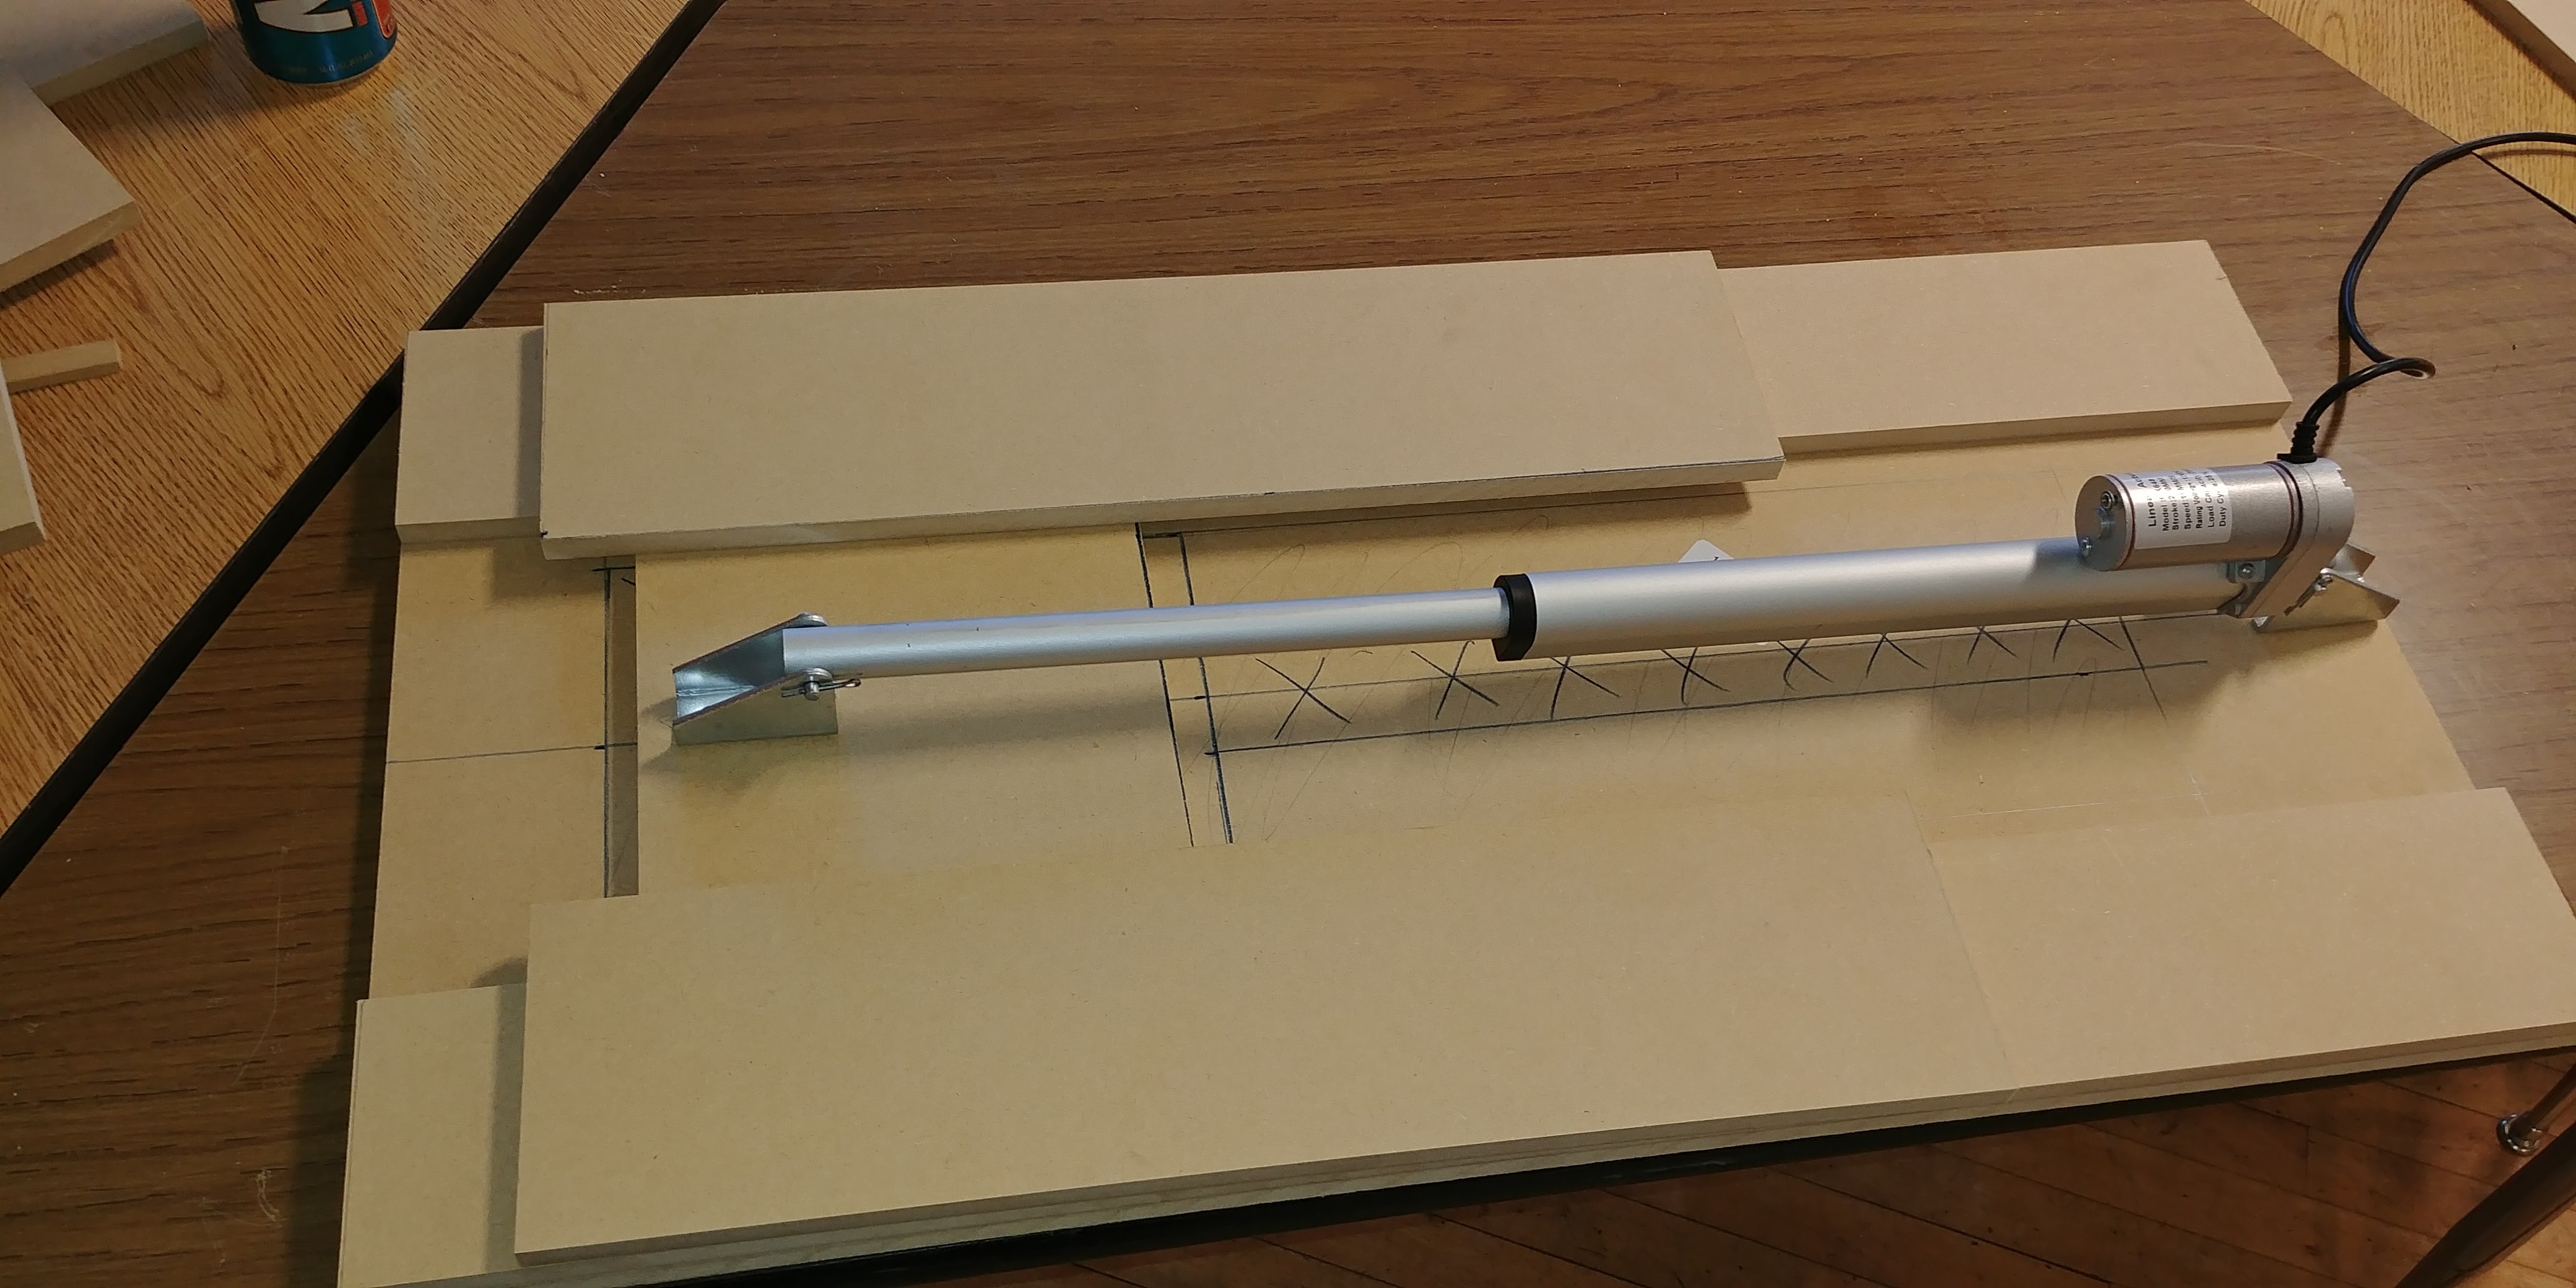
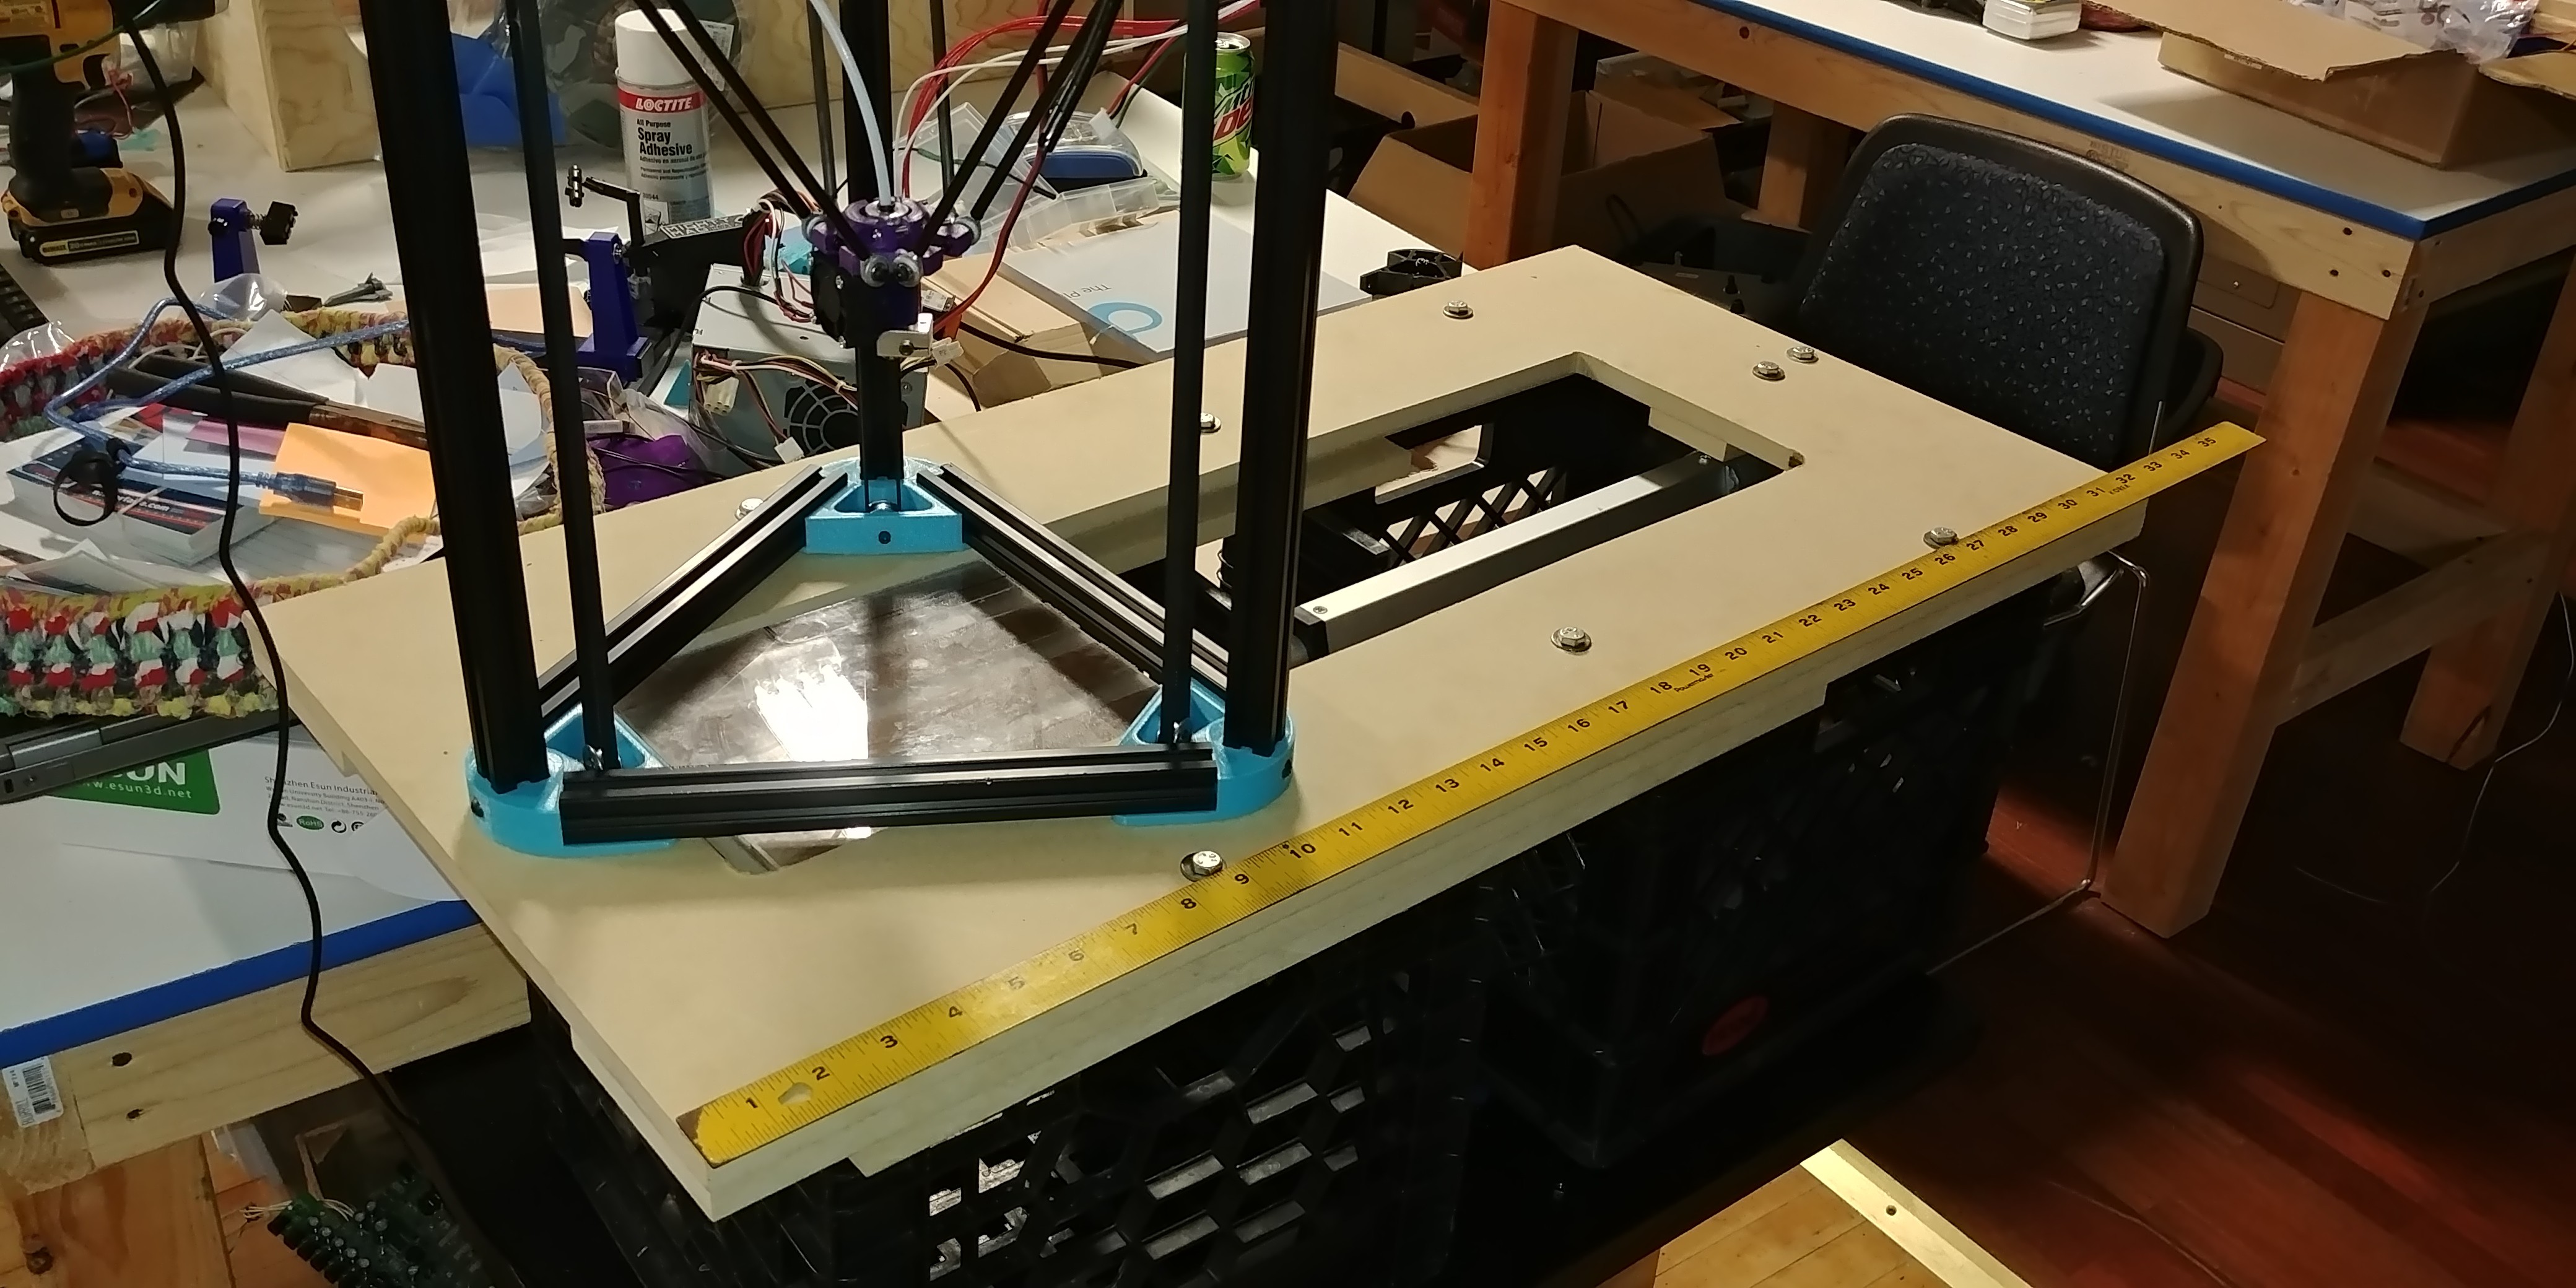
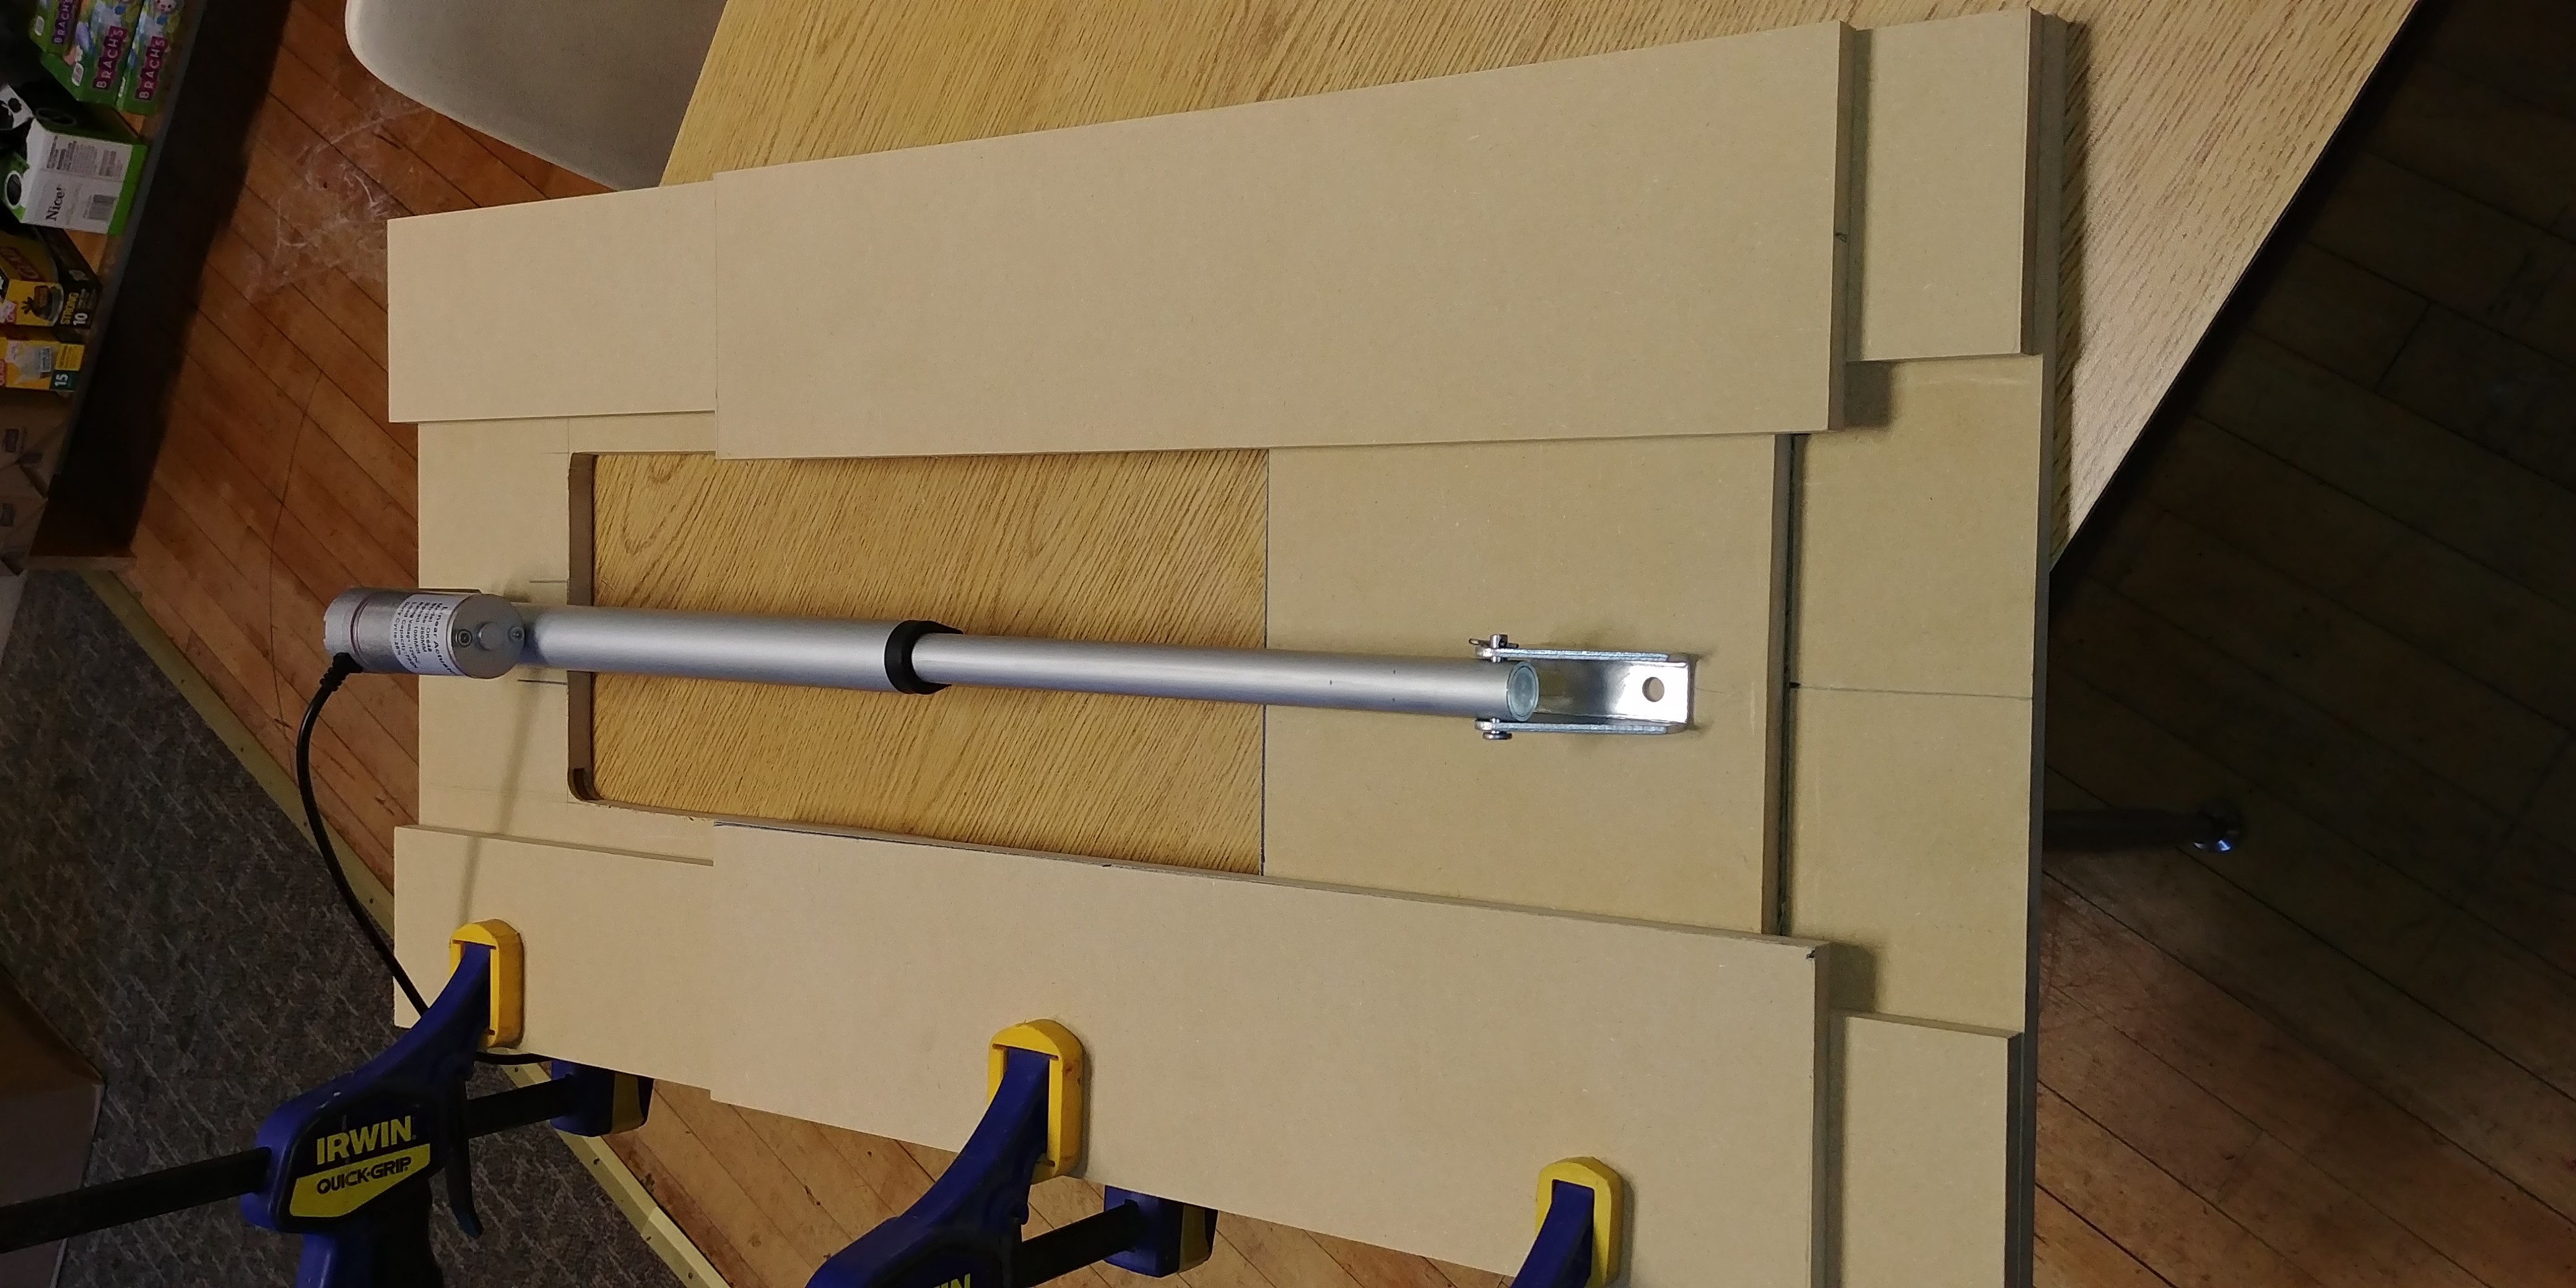
This new machine is a simplification of the design of the last machine. It uses 5 pieces of wood total to built the slide and top surface of the machine. There are some other improvements that happen with this machine. The build surface is flush with the surface that the printer is mounted too. This means that there is no chance for the print head to hit meaning that the build area is now larger. This is a nice improvement.
I also worked out how to control the linear actuator with the raspberry pi bypassing any problems there were with using gcode to control it. This has been very reliable.
So at the end of last night there were 2 printers happily printing away. This was very nice to see. I could upload a few parts and they would all just start popping off of printers.
We will be at maker fair this week end. You can see our web site at http://autodrop3d.com
-
Got the version 5 machine almost built.
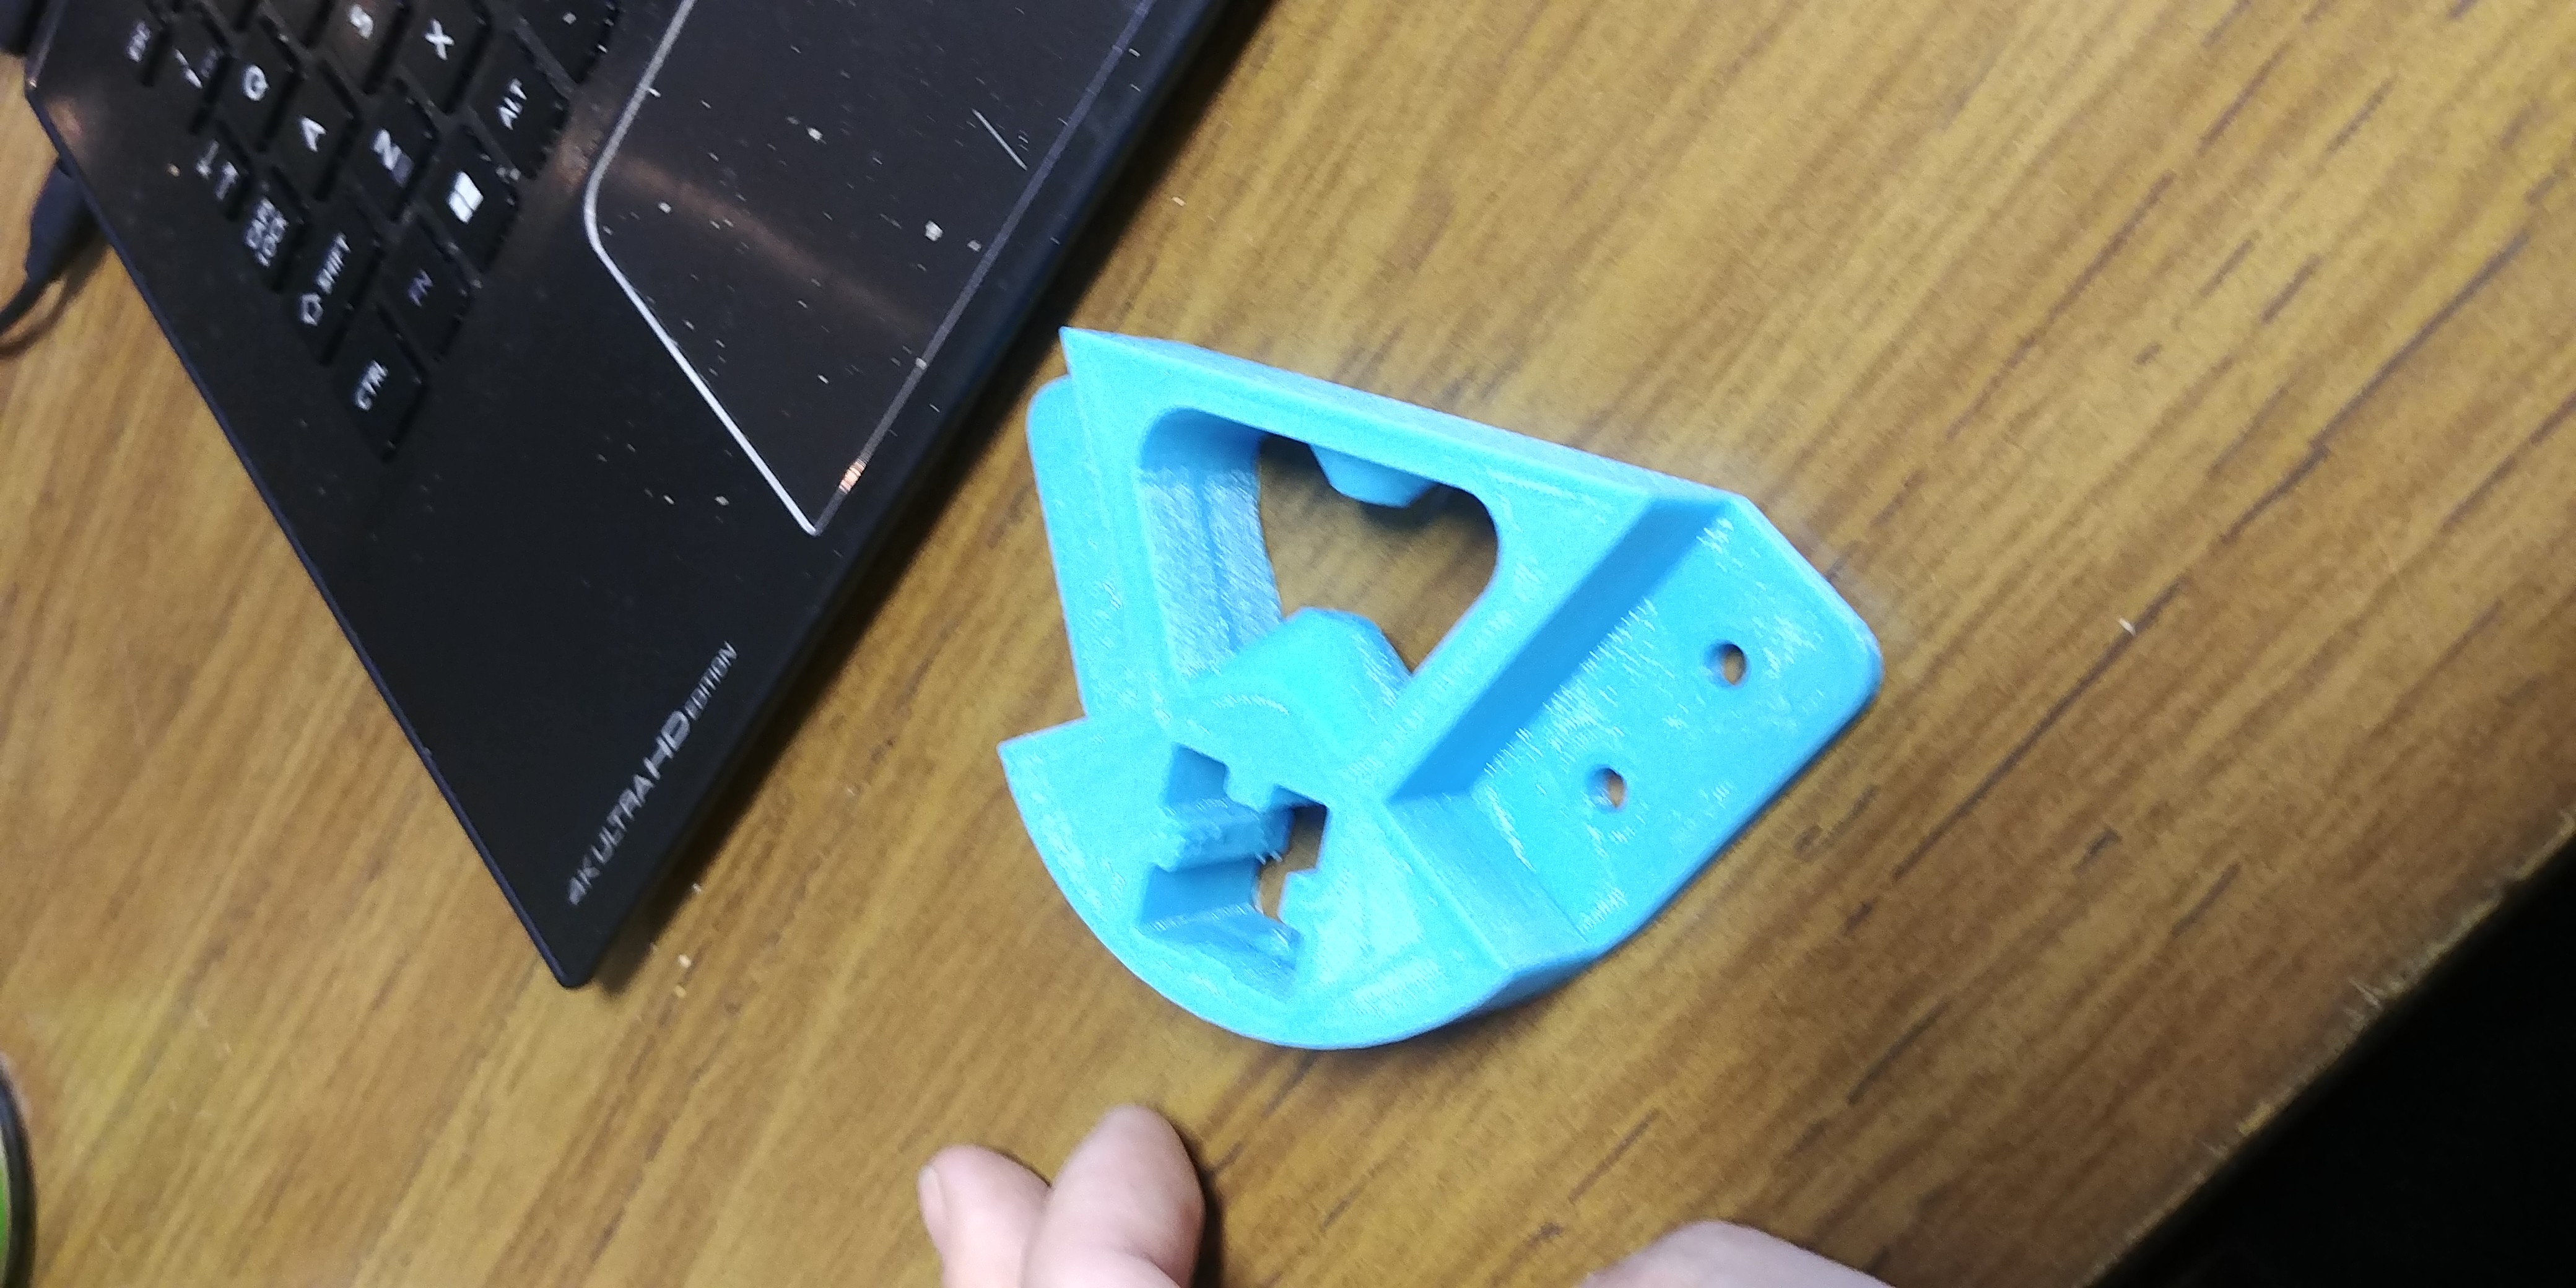
09/10/2017 at 05:24 • 0 commentsSo here are some pics of the next machine. I do believe this one will be going to maker fair.
Will be posting a video showing the first prints.
![]()
![]()
![]()
![]()
![]()
![]()
-
The new stationary blade design is starting to take shape.
09/09/2017 at 04:57 • 0 commentsSo I got in to the maker space today and was told that the new lexan parts had been cut and were ready to be used.
The new design for the 3d printer is a further simplification of the previous stationary blade design.
It will use a sandwich type construction and be built in such a way that it can be flat packed. The goal is to make it all out of plywood wood or other common building material. It's crunch time before maker fair new your and I really want to have the new design working so we can show it off there. Of course the old design is still viable and we can show off the auto ejection mechanism but I really want it to be more polished.
This project had come a long way since the beginning and I hope to be able to have a marketable product at the end of all this exersize.
Open source is important and I fully believe in it. The designs are all open source along with the software. I will be posting the specks for the new printer and the cad files to make one. Also there might be a kick starter for the new design so we can get some printers out there for people to use.
Stay tuned to see our booth at maker fair new York.
-
(parametric 3d Modeling -> Slicing -> 3d printing) all from browser workflow completed.
09/08/2017 at 04:46 • 0 commentsSooooooo. I managed to get the stl output from jsketcher working and added a print button to the cad model pages in the web site. It is all working well now.
You don't evin need any cad software on your machine. Just a web browser.
Design your model on the web site.
Click print.
Select your slicer settings.
Approve model for printing.
Get an email when its complete.
I think we have managed to get the trifecta with this one.
-
Started to intergrate browser based CAD modeler
09/06/2017 at 14:42 • 0 commentsThere is this guy (Val Erastov) who is working on an amazing 100% javascript cad tool. It is a parametric 3d modeler. If you care about the future of open source cad products this is for you and I would hope you send this guy some $$$ to continue development.
His hackaday project page is here.
https://hackaday.io/project/25313-jsketcher
So if you have not seen it yet head on over to web-cad.org and take a look at a live demo.
Last night I took the time to embed this application in to the same system housing the print queue. There is still some work to do but I set up a database to index a list of models and established storage for those models on the server.
Next up is to do a bit of magic to get the stl export automatically and push it to the print queue.
It is kind of interesting to think that the whole workflow from design to manufacture could be handed in a web browser completely remotely from the manufacturing equipment.
-
Working to get ready for maker fair new york.
09/03/2017 at 02:51 • 0 commentsSo me and a buddy started working on the next iteration of the 3d printer. This one is made out of all that fancy aluminum channel.
This iteration will use the stationary blade design. It will be a bit different in that the blade will be spring loaded. It will be pressed against the print surface at an angle when it is retracted. There will be several benifits outlined it videos of the new printer in operation.
Also another guy at the maker space has been working on an install script to install and configure a rasberry pi to be used as the gcode receiver. The current gcode receiver is written as a bash script using pronterface print run to actually send the gcode to the printer. There are some new features coming.
We also worked out adding some physical buttons to a pi and making a variation of the bash script to run regular prusa style printers. This new script uses the two physical buttons to control actions at the end of the print. One button sends a msg to the server that a print failed and the other allows the printer to fetch a new print from the server after the user has scraped it off the print bed.
This makes it even easier to use the system with existing 3d printers making it ideal for maker spaces.
Things just keep improving. Make sure to stop by our booth at maker fair new york in September. We will have at least 1 printer working automatically the whole time ejection parts as is finishes.
-
Humidity is not your friend.
08/26/2017 at 02:24 • 0 commentsAt our maker space there is a distinct lack of air conditioning. This is problem if you have an unattended 3d printer and load up the queue.
The spool of filament had been on the printer for about 3 weeks and the electronics space is right next to the kitchen. This coupled with the fact that we have no AC resulted in the filament picking up water. I thought that there were going to be some big problems when I came in to a box full of spaghetti. It turns out I got all worked up over nothing. A few tests of pushing some filament through the extruder you could see the water bubbling an vaporizing on its exit. I replaced the filament with a new spool that I did not remove from its bag and every thing started working again.
I did not really think that water absorption with PLA was going to be a big deal but it was.
Other than that there have been a few other developments.
One of the guys at the maker space just got a new 3d printer. We hooked it up to a raspberry pi 0W and used the bash script for the unattended printer with a few modification to make it print off the queue also. Right now you have to open a terminal and let the computer know you have cleared the bed before it checks for a new print but it is able to be started and print an object with out human interaction.
The bash script that functions as the job retrieval mechanism is set up so that prior to a job starting it re-positions the head to the center of the build area. A normal prusa style printer has 0,0,0 in one corner of the bed. The gcode produced on the server was made for a delta 3d printer. Because deltas have 0,0,0 is the center of the bed and can move in both the positive and negative directions for x and y the gcode could not work. That was until we added those extra commands to the start script.
Now all we have to is rig up a button to one of the gpios on the pi to indicate when the bed has been cleared so it can retrieve a new job from the server in a completely headless fashion.
This project is really turning in to a complete solution on the software side to print to multiple printers. Some with auto ejection capability and even those with out.
Robot 3D printer auto eject sys & web print queue
A 3d printer system that can be operated by multiple people that just spits out parts placed in the web based print queue
 mmiscool