-
Update!
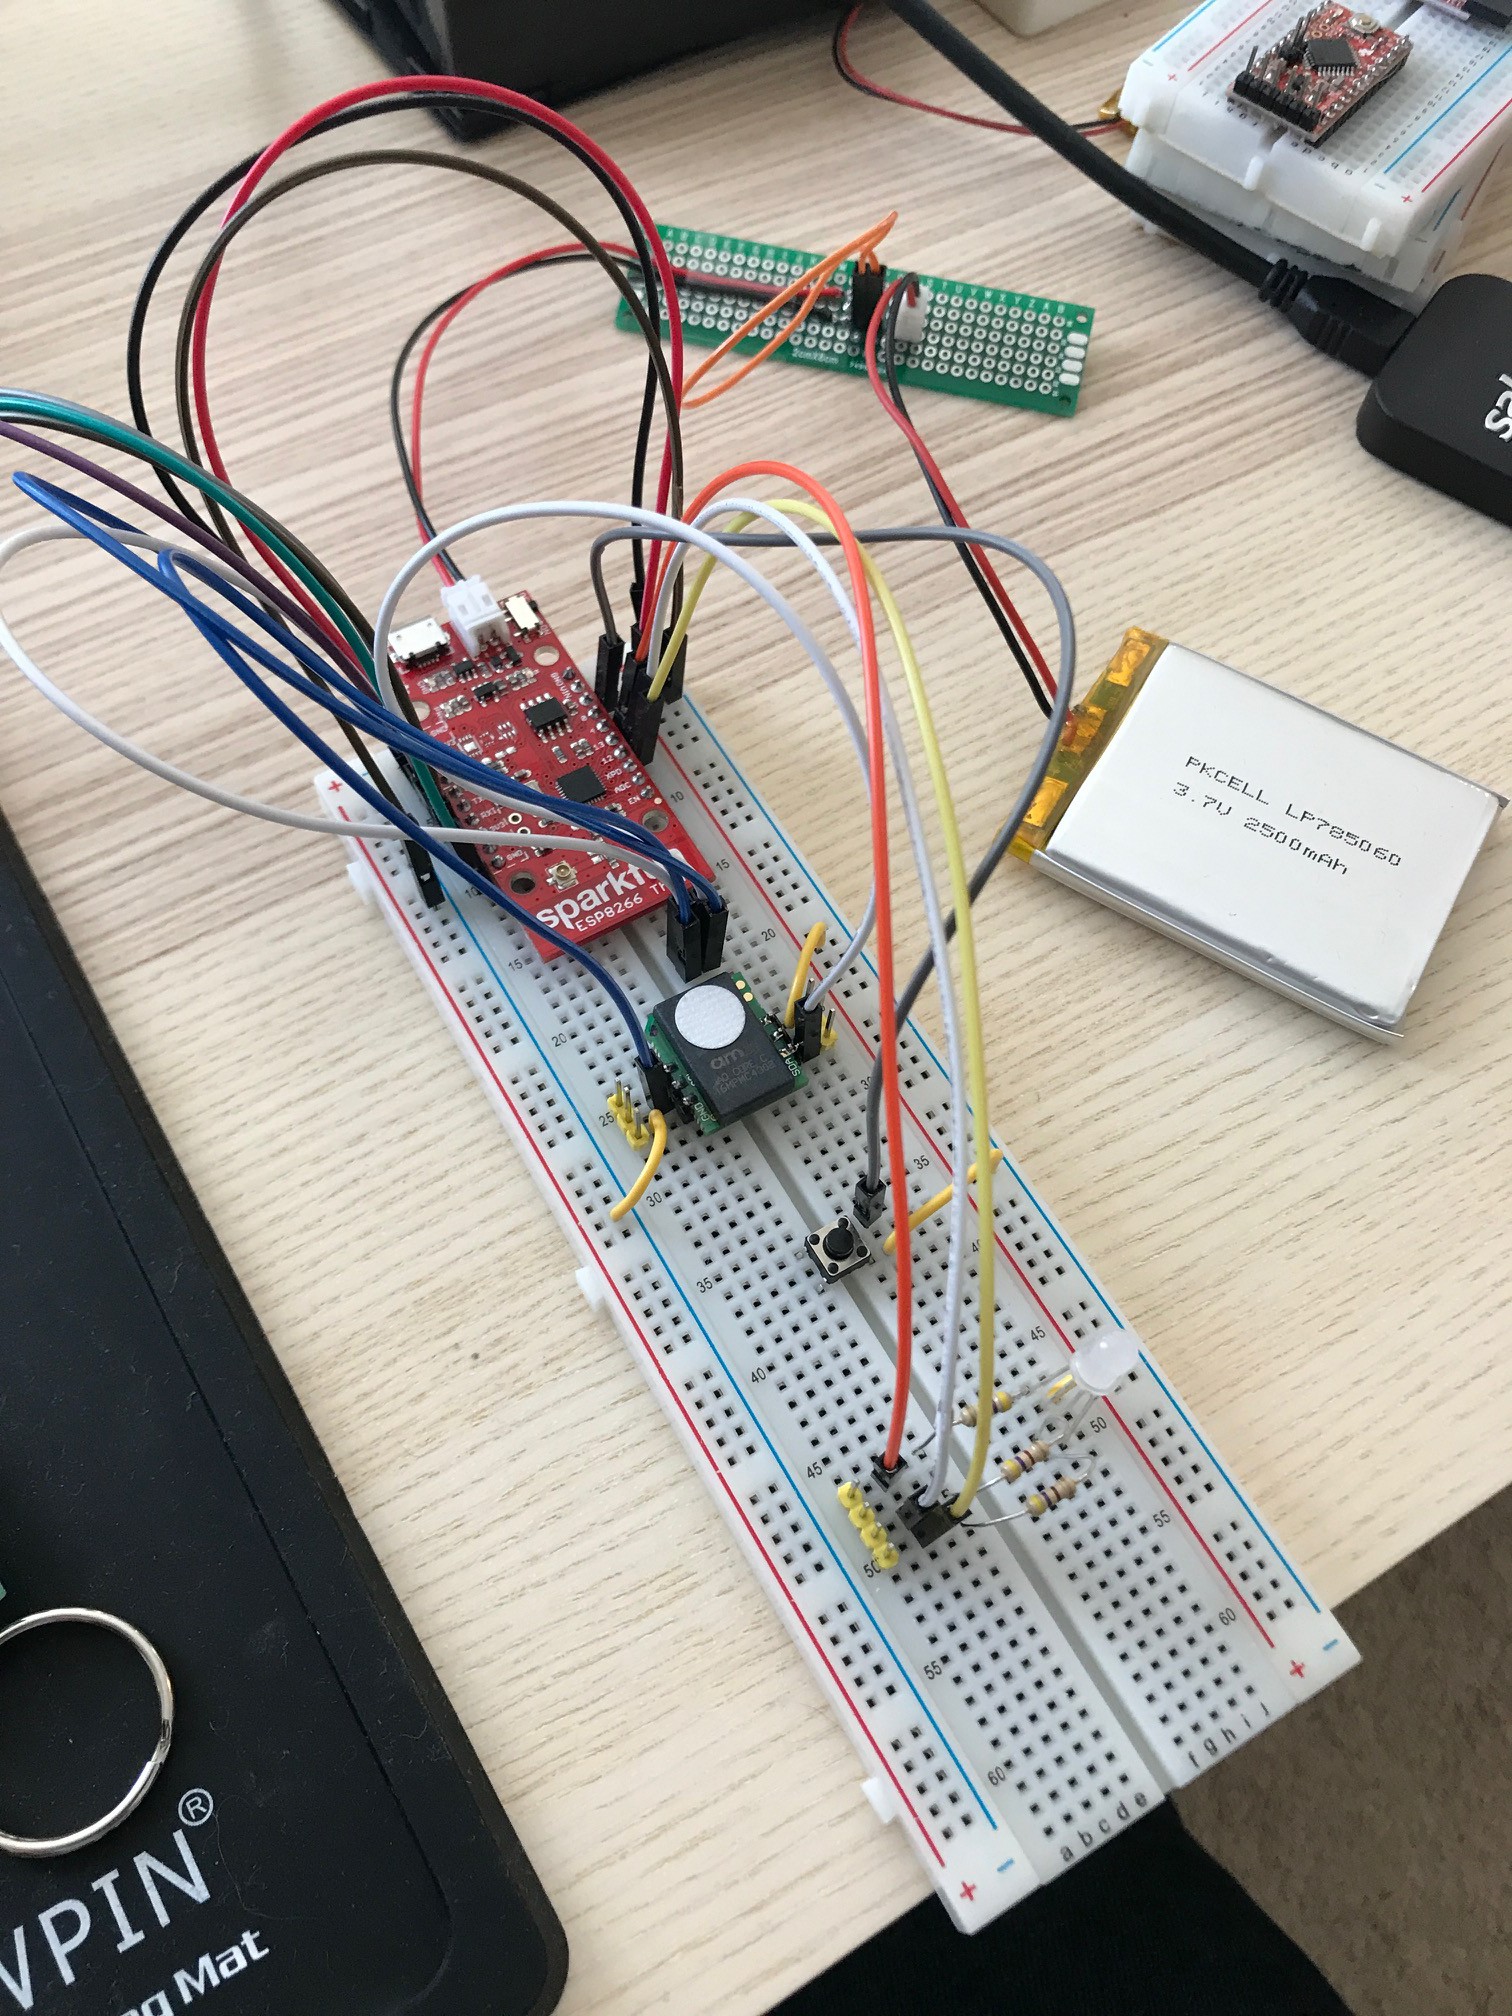
05/06/2017 at 18:56 • 0 commentsA lot has happened since my last update. I have quickly progressed past the Arduino hardware and decided to consolidate things into the ESP8266 platform. I moved to a sparkfun ESP8266 thing since it was easy to get up and running and it could do what my setup did before with less hardware. Obviously wifi is a bit different than bluetooth but much more flexible. Ideally my intent was to have a single unit running off battery power polling the air quality sensor for a threshold of VOCs, then hop onto my wifi and send me an email that would generate a text notification (there are a couple of services that do this, my phone carrier Verizon makes this easy).
For the added challenge I decided to do this all natively on the ESP8266. This was fun for a few days but after fighting with tool chains, IDEs, the ESP SDK projects and all sorts of other insanity I finally caved in and just used the Arduino libraries to do what I wanted. I do have basic SDK based programs working on the ESP8266 but using Arduino is just so much quicker. Pretty much everything I would want to implement has already been done in the Arduino core for the ESP8266, its very impressive and so far very reliable.
The current status of the project is that I'm trying to decide on the final hardware and install it in a project case to put into beta testing. Unfortunately it draws A LOT of current right now, 100mA when its going full speed. With my 2500 mAh battery this gives me just ~25 hours of life which isnt good enough. For now I will turn it off at night but now I am investigating deep sleep modes on the ESP8266 chip as well as MOSFET to turn off the air quality sensor when I do not need it (it draws about 20mA continuously). Already this has been interesting to learn about batteries and power consumption so hopefully I can get more life out of this battery without compromising product quality
-
New Air Quality Sensor
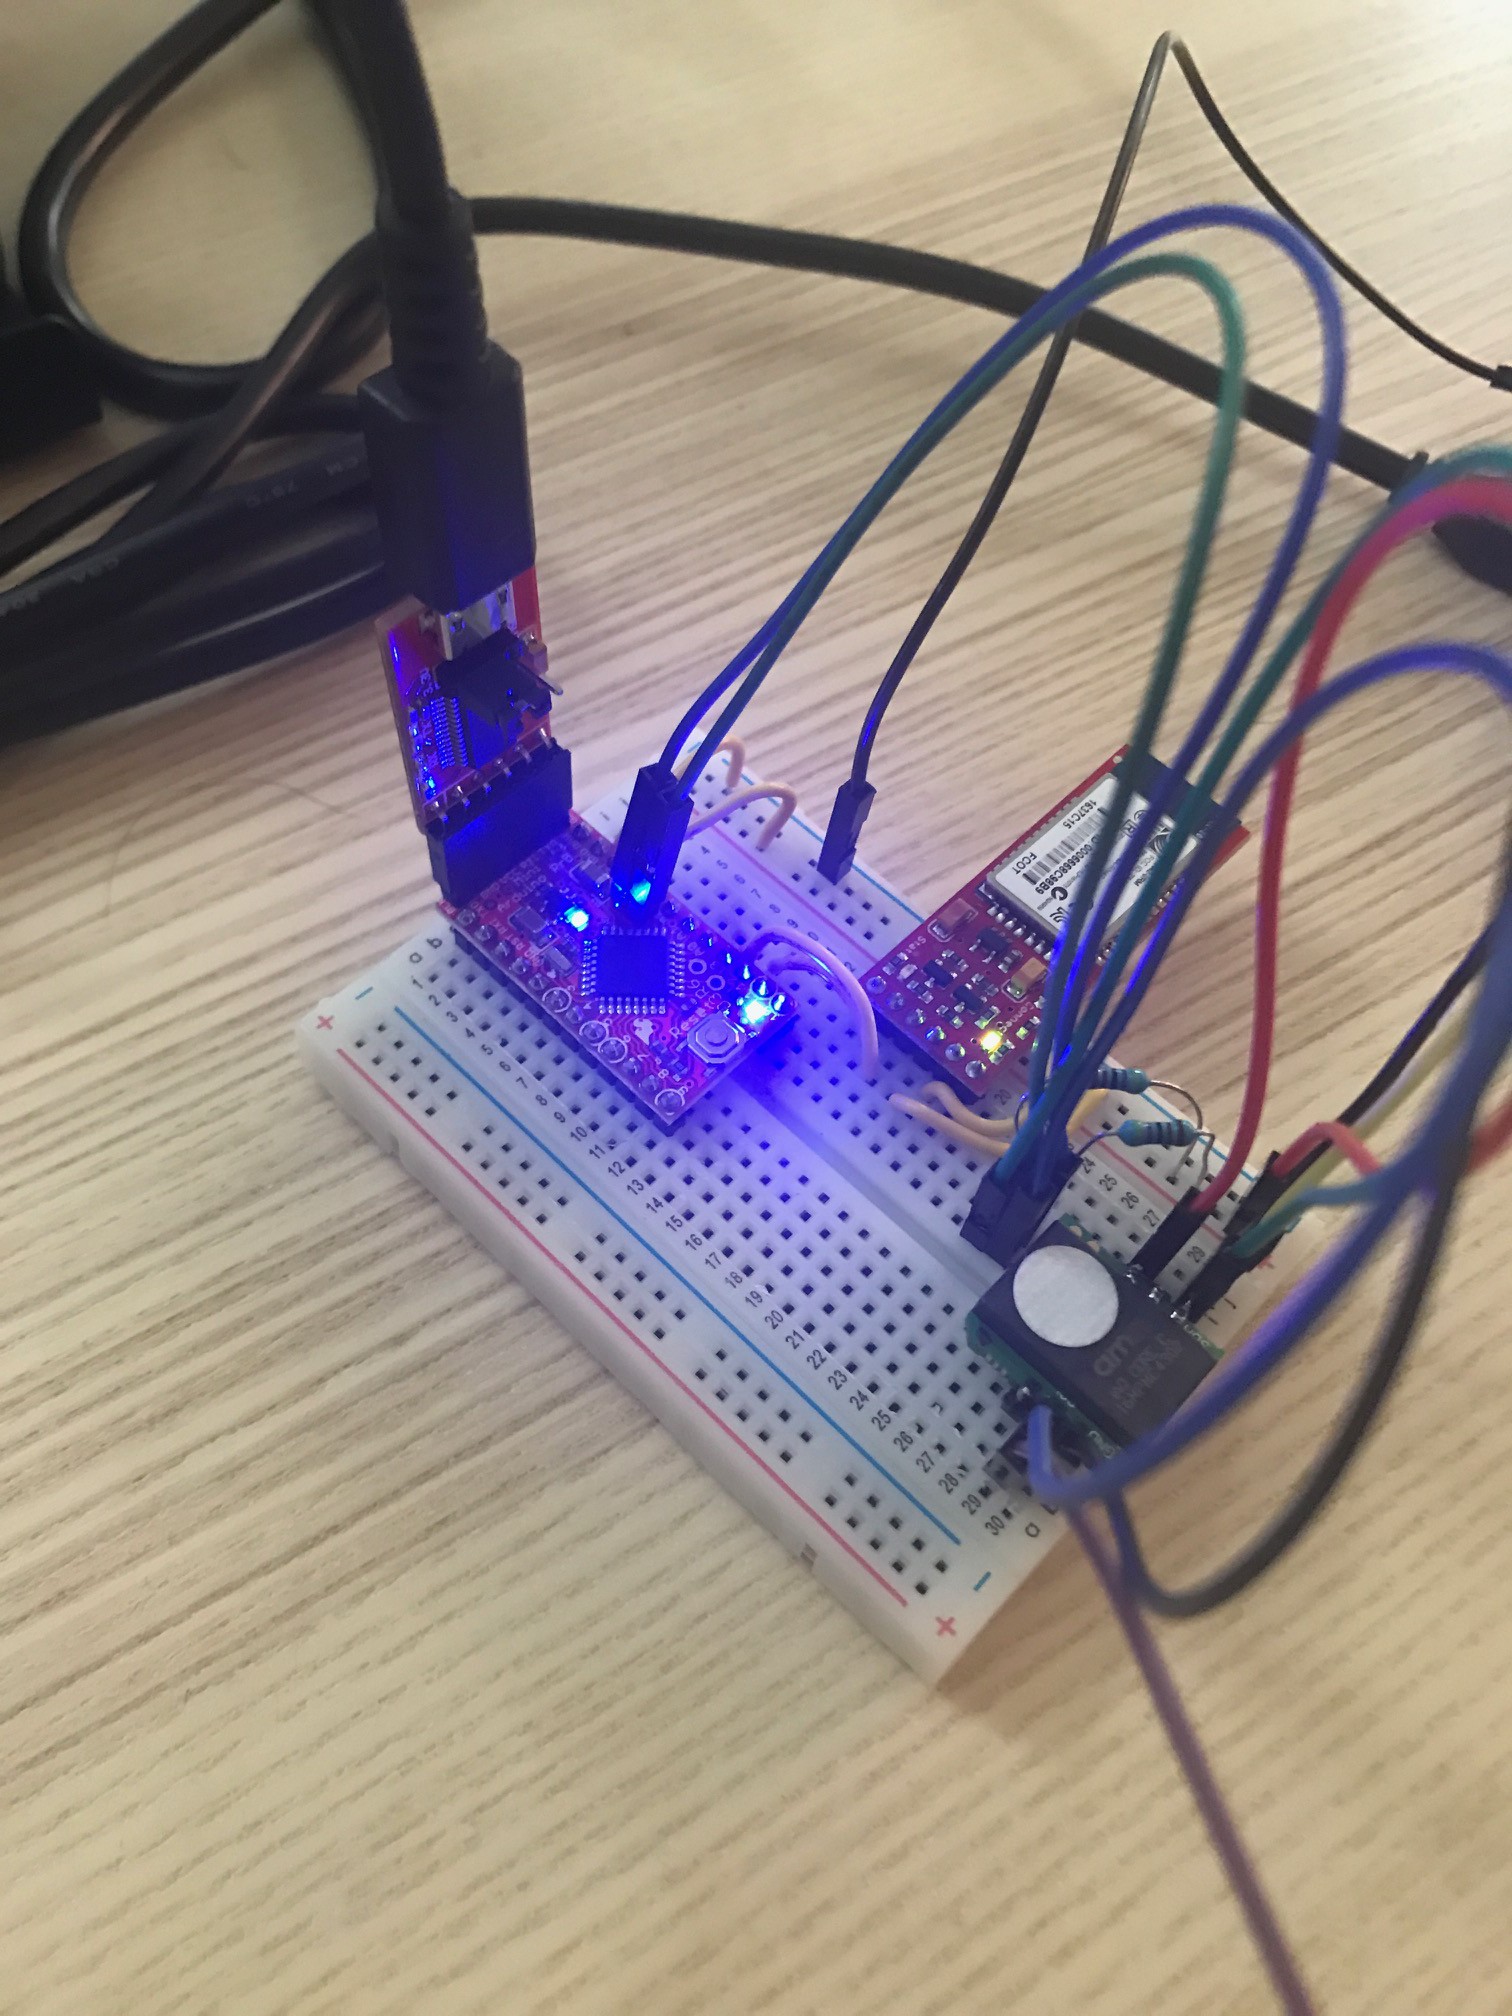
04/14/2017 at 06:06 • 0 commentsWell my two new sensors arrived from mouser today. I wired up the I2C version and quickly got it talking to my arduino. I'm calling this iteration 'version 2'. The chip is sending me valid data so I know I didnt fry it when hooking it up. I have yet to parse out the data its sending but it seems EXTREMELY sensitive when I expose it to some gas from a lighter, much more so than the analog MQ-2 sensor. All in all this looks like a promising replacement to the crappy MQ-2 (I would hope so since this sensor is around 4x more expensive).
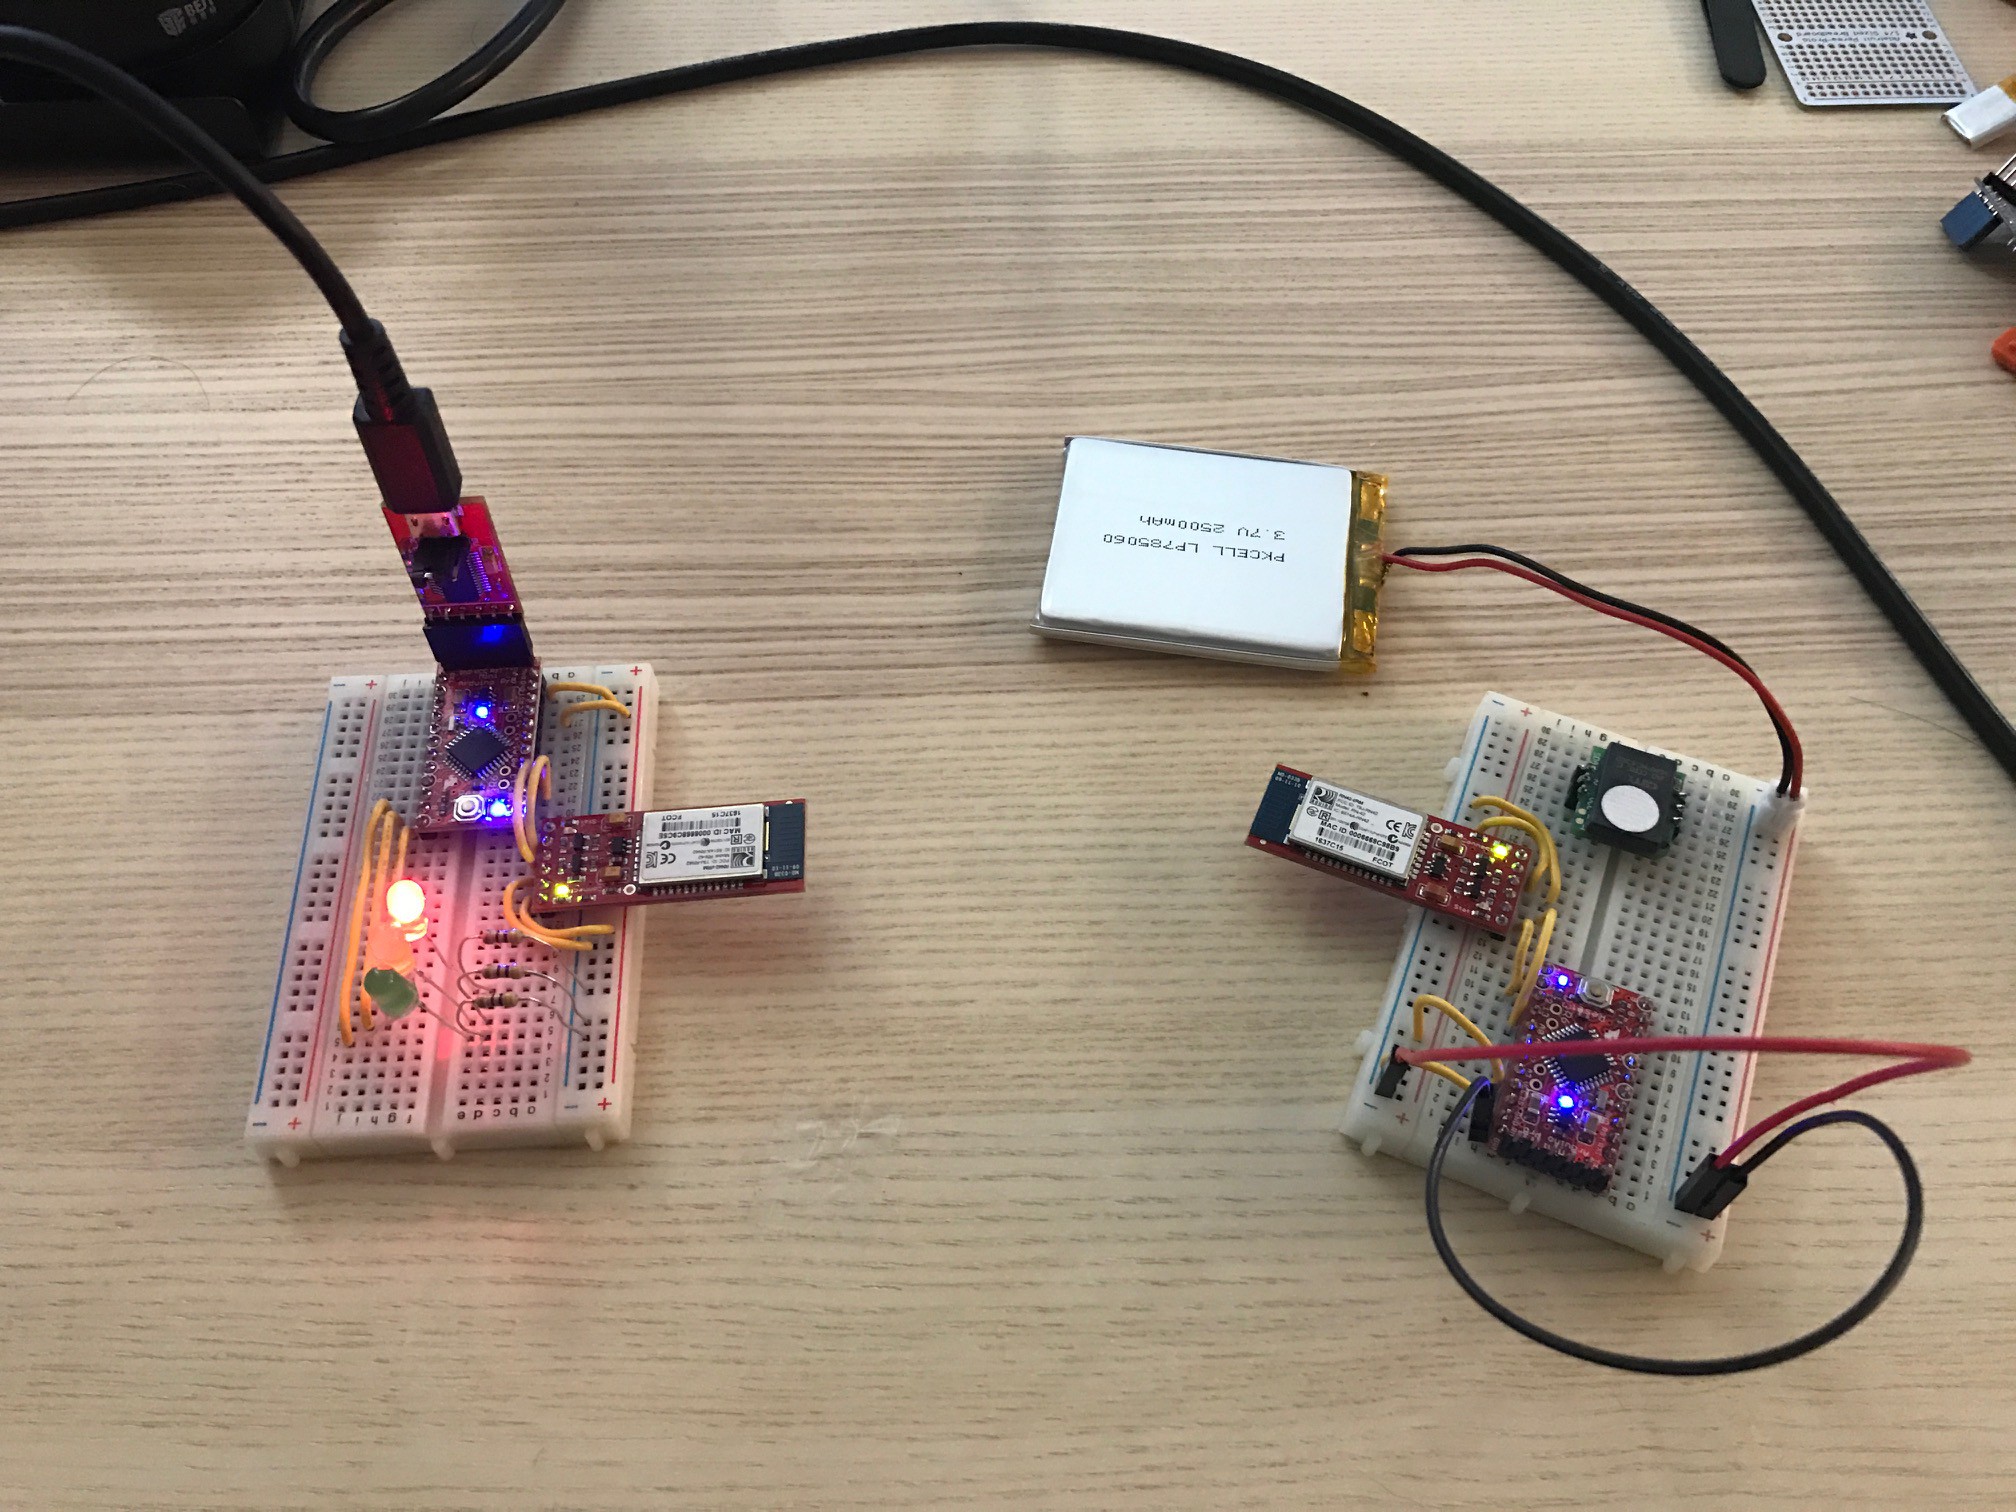
I also cleaned up my breadboard versions. The 'Receiver' part is basically done so ill solder that to a perma-proto board and close that part out. The 'Sensor' part continues to evolve. I have a version 3 in mind even yet that I'm working on that will cut out a lot of the redundant parts of this solution. Stay tuned...
-
First Problems!
04/08/2017 at 20:45 • 0 commentsI thought it would be fun to document some of my mistakes and solutions to them, so lets jump right in with where things stand.
I started with the Arduino Uno just to get up to speed with the platform. After a day or two with that on a breadboard I ordered some Arduino Pros to use in the final product. I arbitrarily picked the 5v versions since thats what I assumed wouldn't matter. The MQ-2 analog sensor is a 5v device, so I figured a 5v micro would work just fine. Everything was fine running off of USB but as soon as I switched to a 3.7v LiPo battery (via the RAW input on the Arduino Pro) I noticed my ADC measurements from the MQ2 were not anywhere as sensitive as when I was running off USB/5v. Well, I assumed the Arduino Pro had a boost circuit that would boost the 3.7v to 5v for the Vcc pin... oops! So my challenge now is to either use a boost circuit (Like one from Adafruit) or to switch to the 3v Arduino Pro and switch to a different sensor. The MQ2 seems pretty flaky anyways so I ordered 2 new smoke detectors from Mouser that are a lot more expensive but run at 3v. One has analog output and the other is i2c based. Ill see which one seems to perform better and update the project then...
-
Hello World
04/08/2017 at 20:38 • 0 commentsWell here is my first post. I want to use this website to organize my thoughts and document my progress and decision making on this product. Before I dive in ill give you some quick background about myself: I've got a CS degree and work as a Firmware Engineer. I'm kind of tired of my day job so I've decided to start working on some projects here to learn a bit more about the things I dont get to do at work.
For the most part, i've not had to get my hands too dirty with hardware so I was a bit worried about not having an EE background going into this but after looking at Arduino and some of the products out there for the hobbiest market im amazed at how easy they make this stuff. Imagination is really the limiting factor these days. Luckily I had an idea to start with, hence this project.
To start, I basically just bought a bunch of stuff off of Adafruit and Sparkfun. I've heard about Arduino for years and after coming from a professional world of baremetal development on other Atmel 8 bit CPUs, its amazing at how much the Arduino IDE does for you. It is a bit frustrating to have so much hidden under the hood, but for its intended purpose (quick, easy programming) it is pretty incredible. I'll stick with it for this project but definitely see myself moving onto other hardware platforms/tool chains/IDEs, etc.
The next component I wanted to figure out was Bluetooth. Again, there are so many off the shelf hobbiest bluetooth modules available. I ended up picking two from Sparkfun that are intended to be serial cable replacements. I'm amazed at how easy they make it and so far they suit my purpose. They unfortunately (fortunately?) hide a lot of the Bluetooth implementation so I havent learned as much as I would like about how BLE works, but ill save that for another day (perhaps migrate to a nordic based solution or something).
The last major part of this project is battery power and low power CPU strategies. I'm not quite at this part yet but this will also be an interesting challenge.
In any case, thanks for reading this far, I hopefully will keep this updated with my progress. Stay tuned.


