 Vijay
Vijay-
1Licence
This documentation describes Open Hardware and is licensed under the
CERN OHL v. 1.2.
You may redistribute and modify this documentation under the terms of the
CERN OHL v.1.2. (http://ohwr.org/cernohl). This documentation is distributed
WITHOUT ANY EXPRESS OR IMPLIED WARRANTY, INCLUDING OF
MERCHANTABILITY, SATISFACTORY QUALITY AND FITNESS FOR A
PARTICULAR PURPOSE. Please see the CERN OHL v.1.2 for applicable
conditions
-
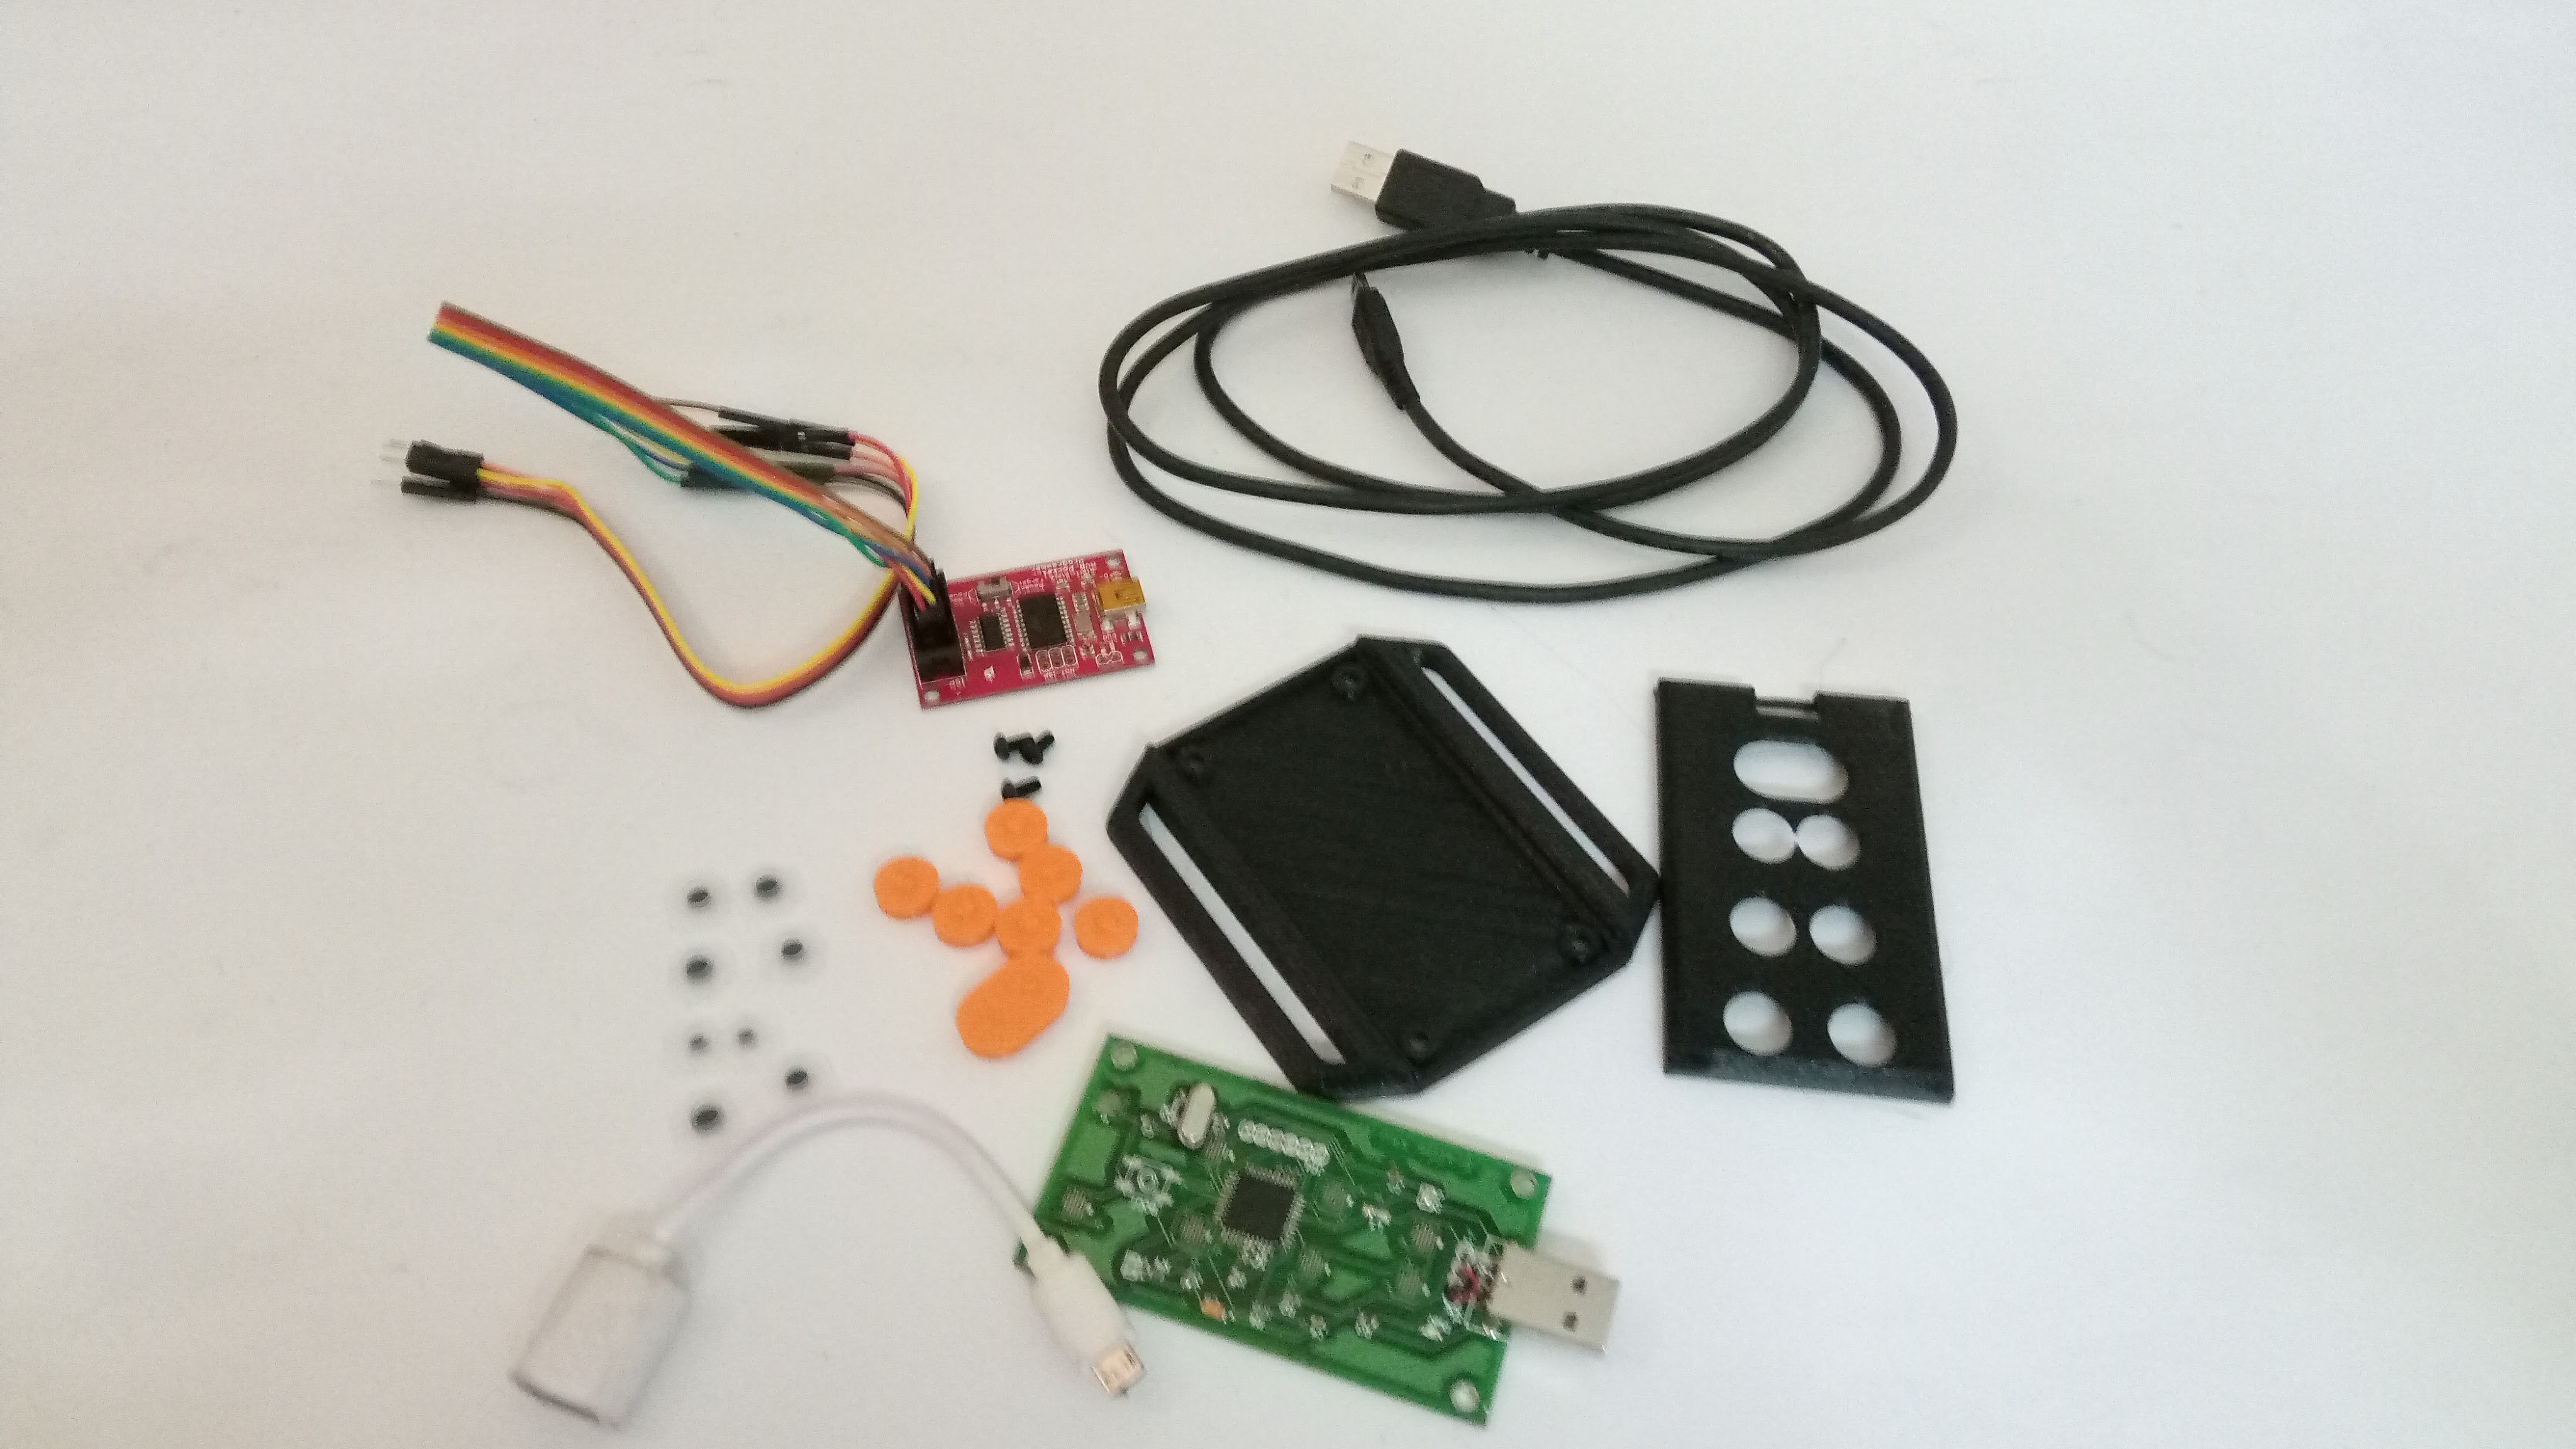
2Get Everything Together
![]()
You will need:
- Male to Female jumper cables
- AVR programmer ( I used Pocket AVR programmer from sparkfun )
- USB micro cable for the programmer
-USB OTG cable
-All 3D printed parts
-M3 x 10 CSK screws
-Silicone button pads
-
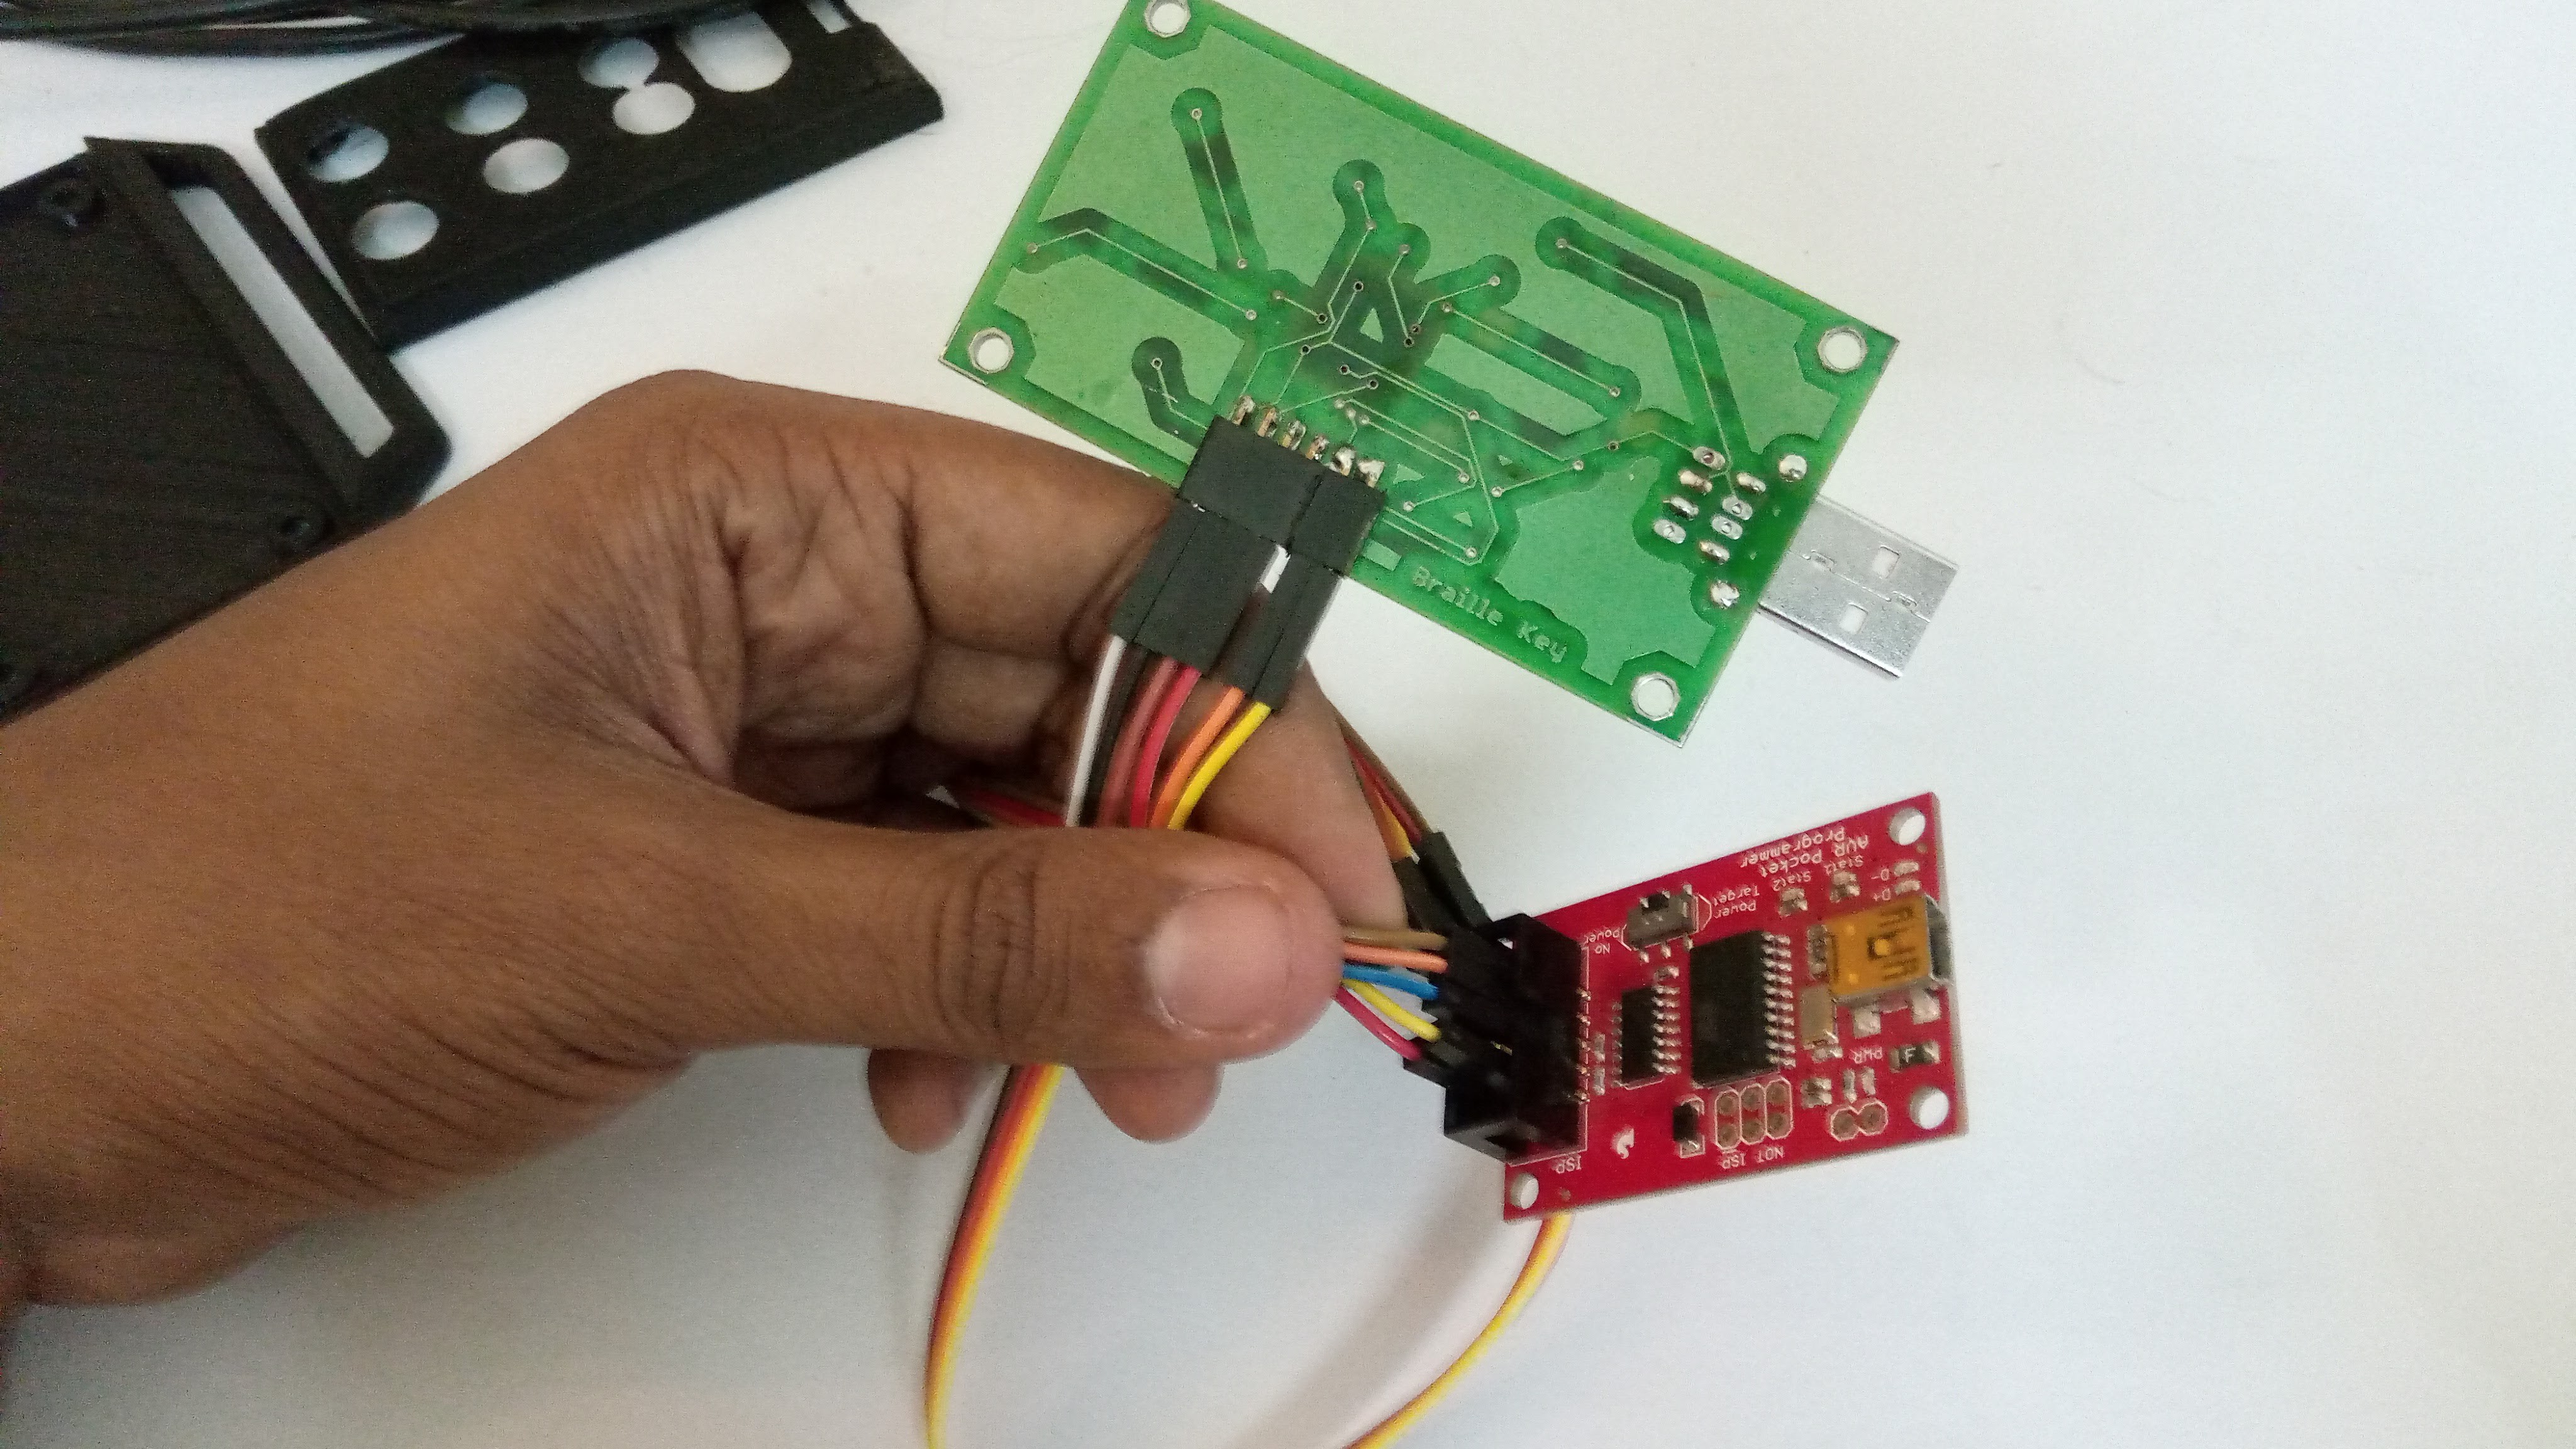
3Upload Bootloader
The brains of Tipo is basically the same AVR 32u4 chip used in the Arduino Leonardo. We use the arduino leonardo bootloader to make programming easier, via the USB type A directly.
![]()
Use the pocket AVR programmer to upload the Arduino Leonardo bootloader. This guide should help:https://learn.sparkfun.com/tutorials/pocket-avr-programmer-hookup-guide
-
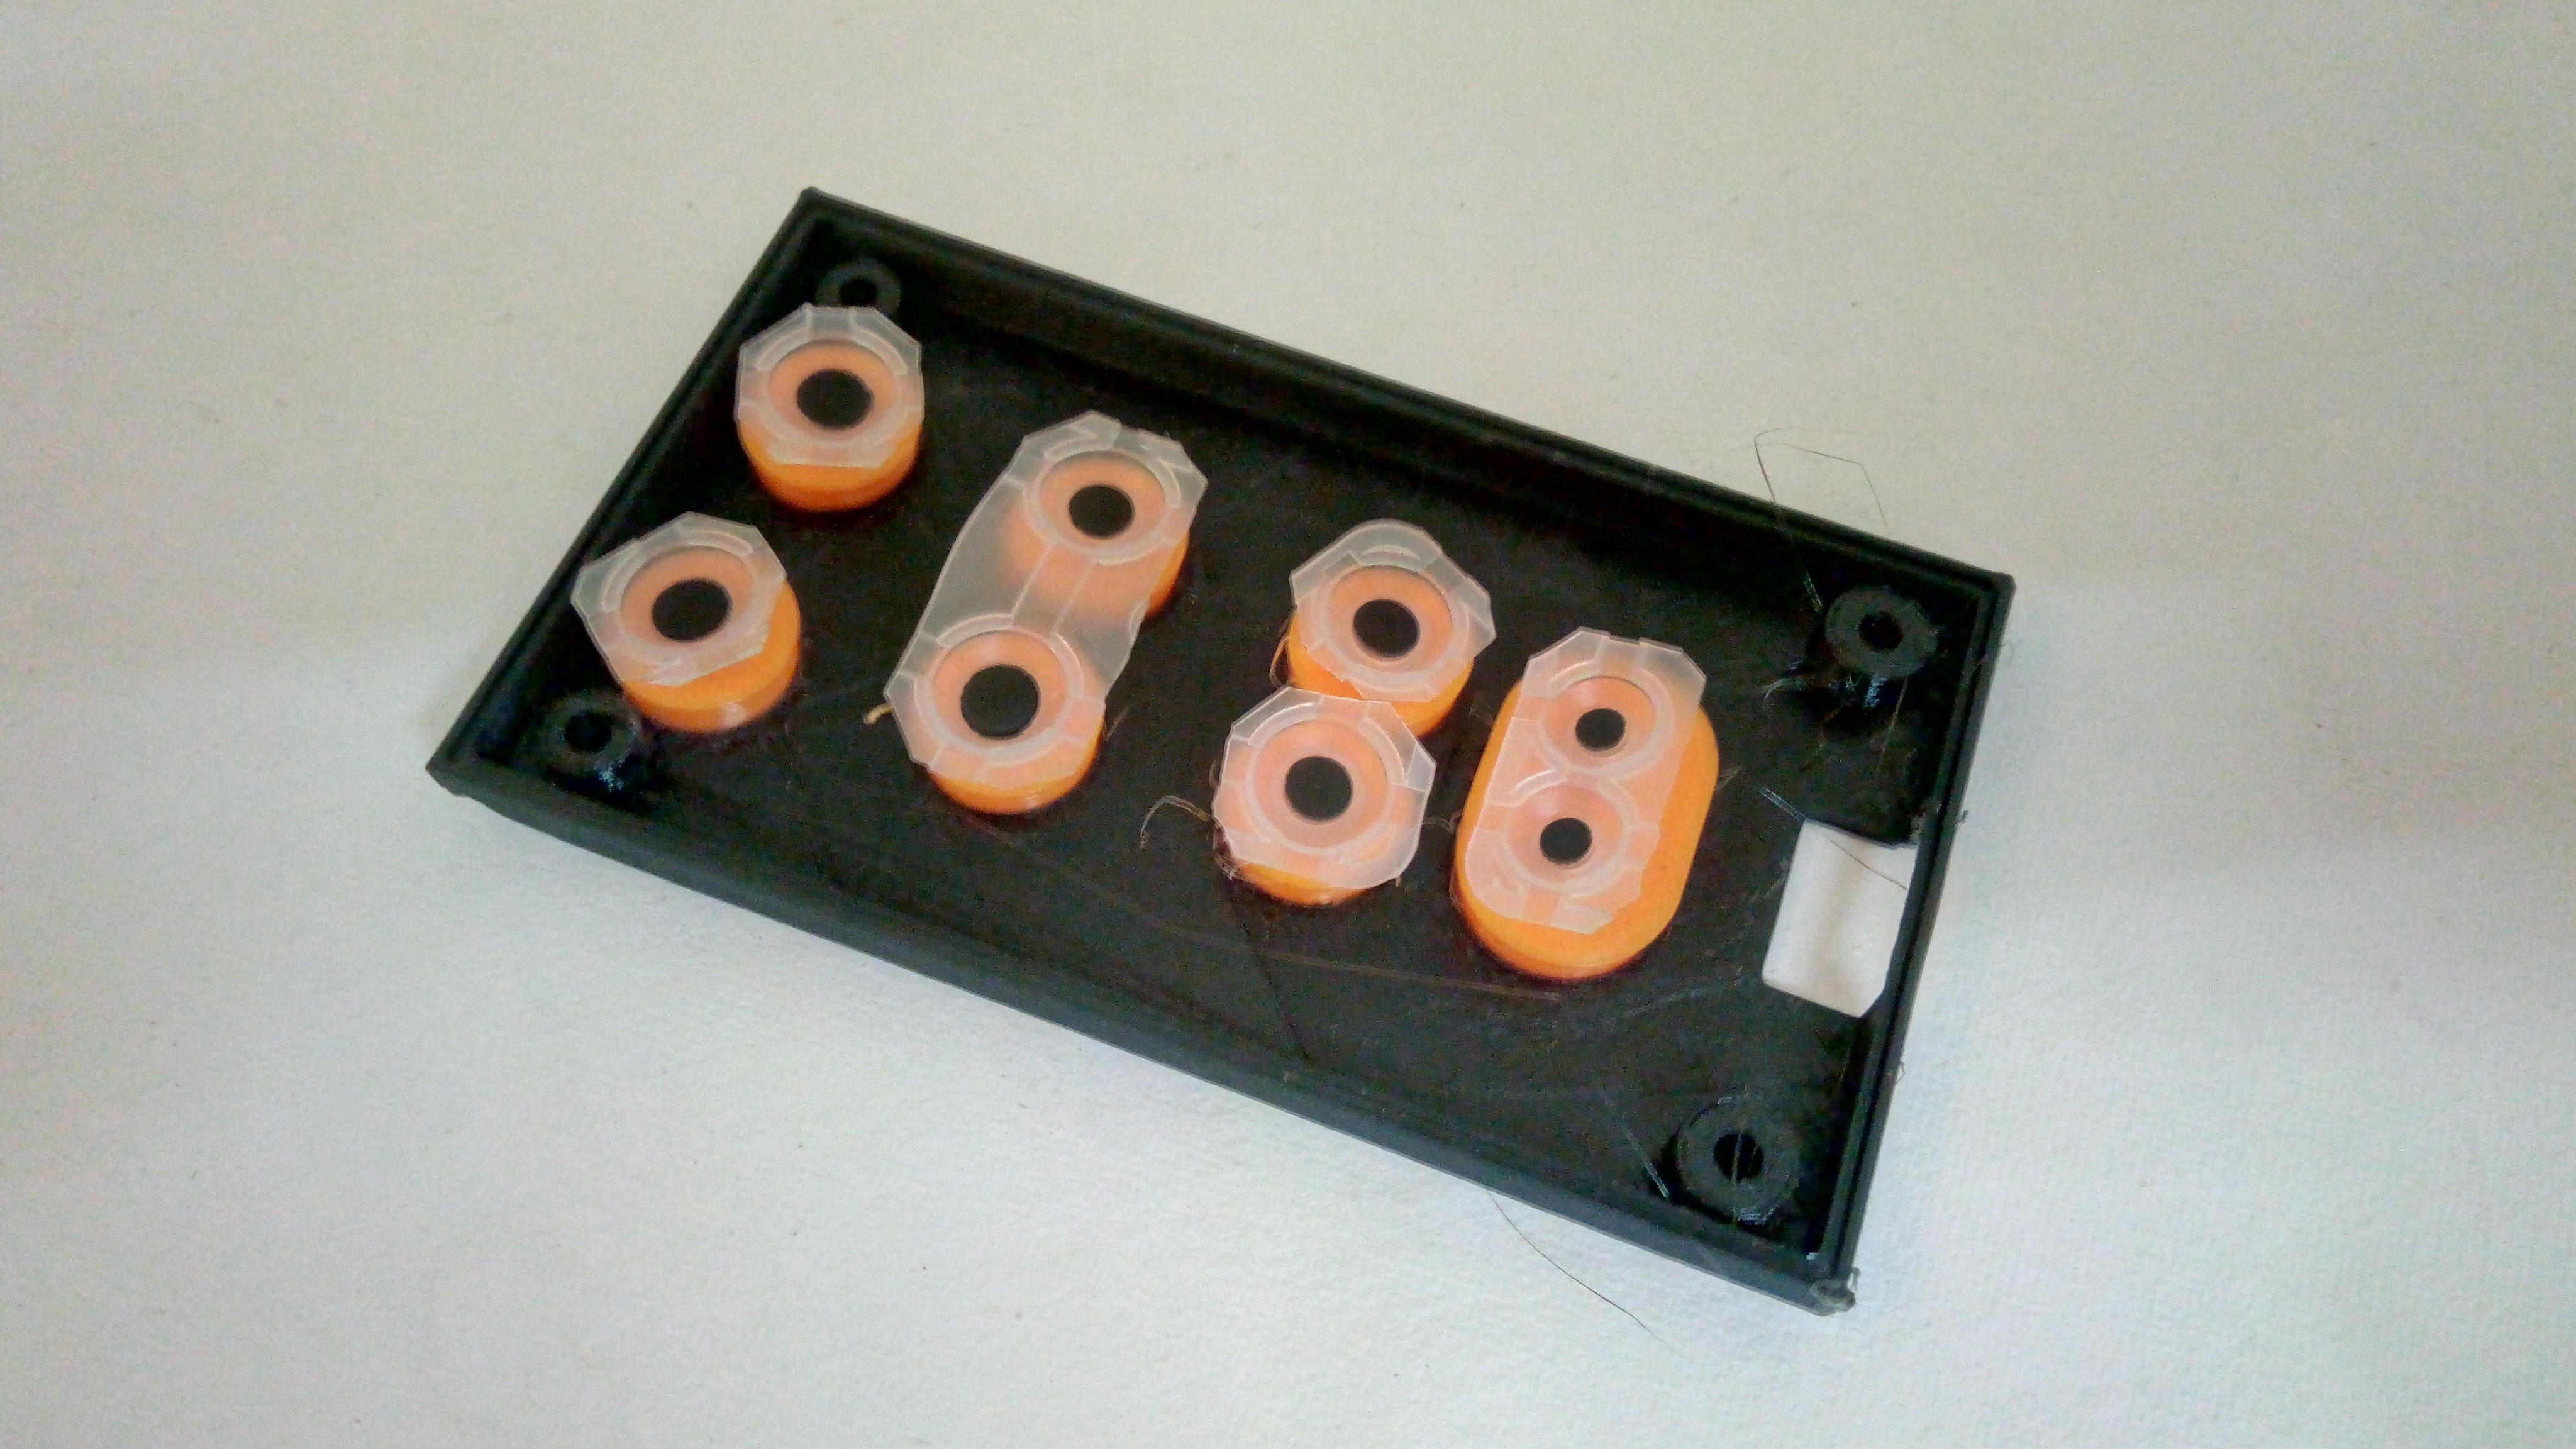
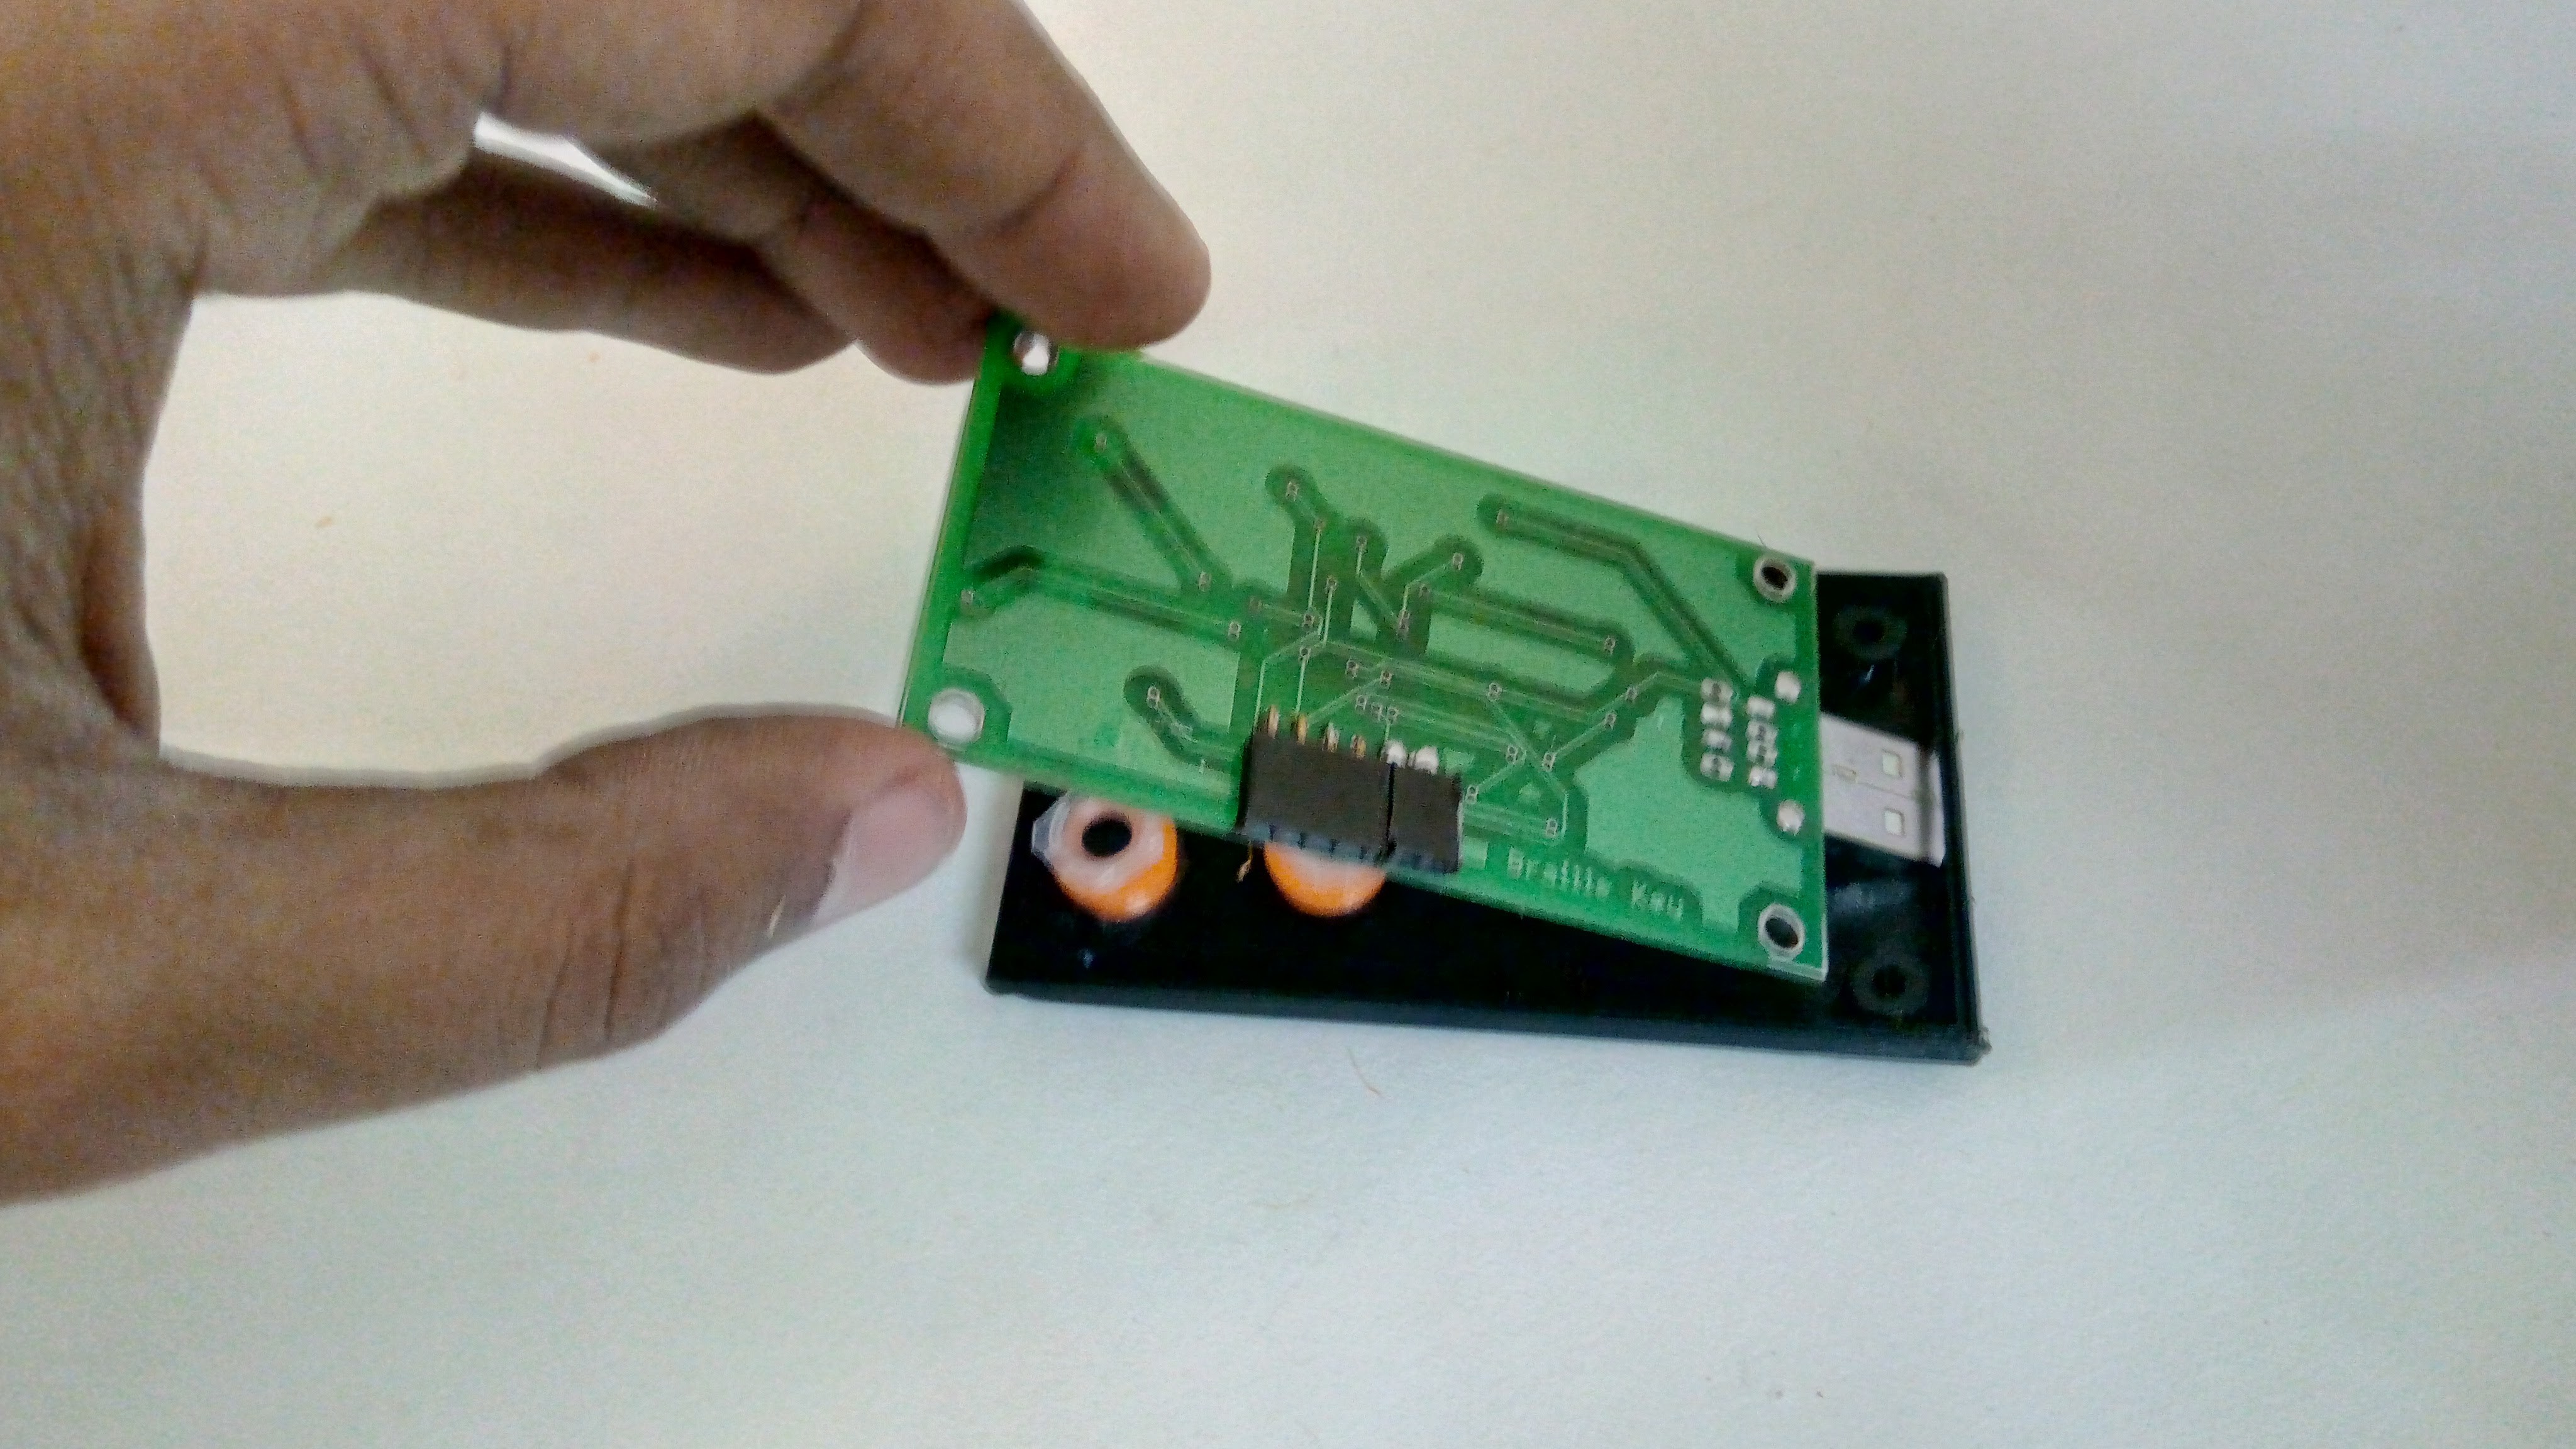
4Assembly
Arrange the Buttons inside the Enclosure Top
![]()
Arrange the silicone pads inside, on top of the buttons
![]()
Carefully place the PCB inside, taking care to not disturb the pads
![]()
Put the other half of the clampshell on, and fasten with M3x10 fasteners
-
5Setting Up Tipo
-
6Holding Tipo
-
7How to type in braille
If you would like to have the phone speak out text , enable "Talk back" under accessibility in your phones settings screen.
Tipo : Braille Smartphone Keypad
A keyboard accessory for a smartphone for training, and typing in braille

Discussions
Become a Hackaday.io Member
Create an account to leave a comment. Already have an account? Log In.