 Wassim
Debug like a professional
- I regret all the time I lost being prevented from real debugging to the excuse of low cost flasher and using the ST-Link and co.
- I had to move to the nRF family for single SoC with ARM-M0 and RF, so I had to have a flasher and debugger
- Note that updating an ST-Link to J-Link OB and using it with other than ST components is illeagal.
- So I decided to get a j-Link EDU
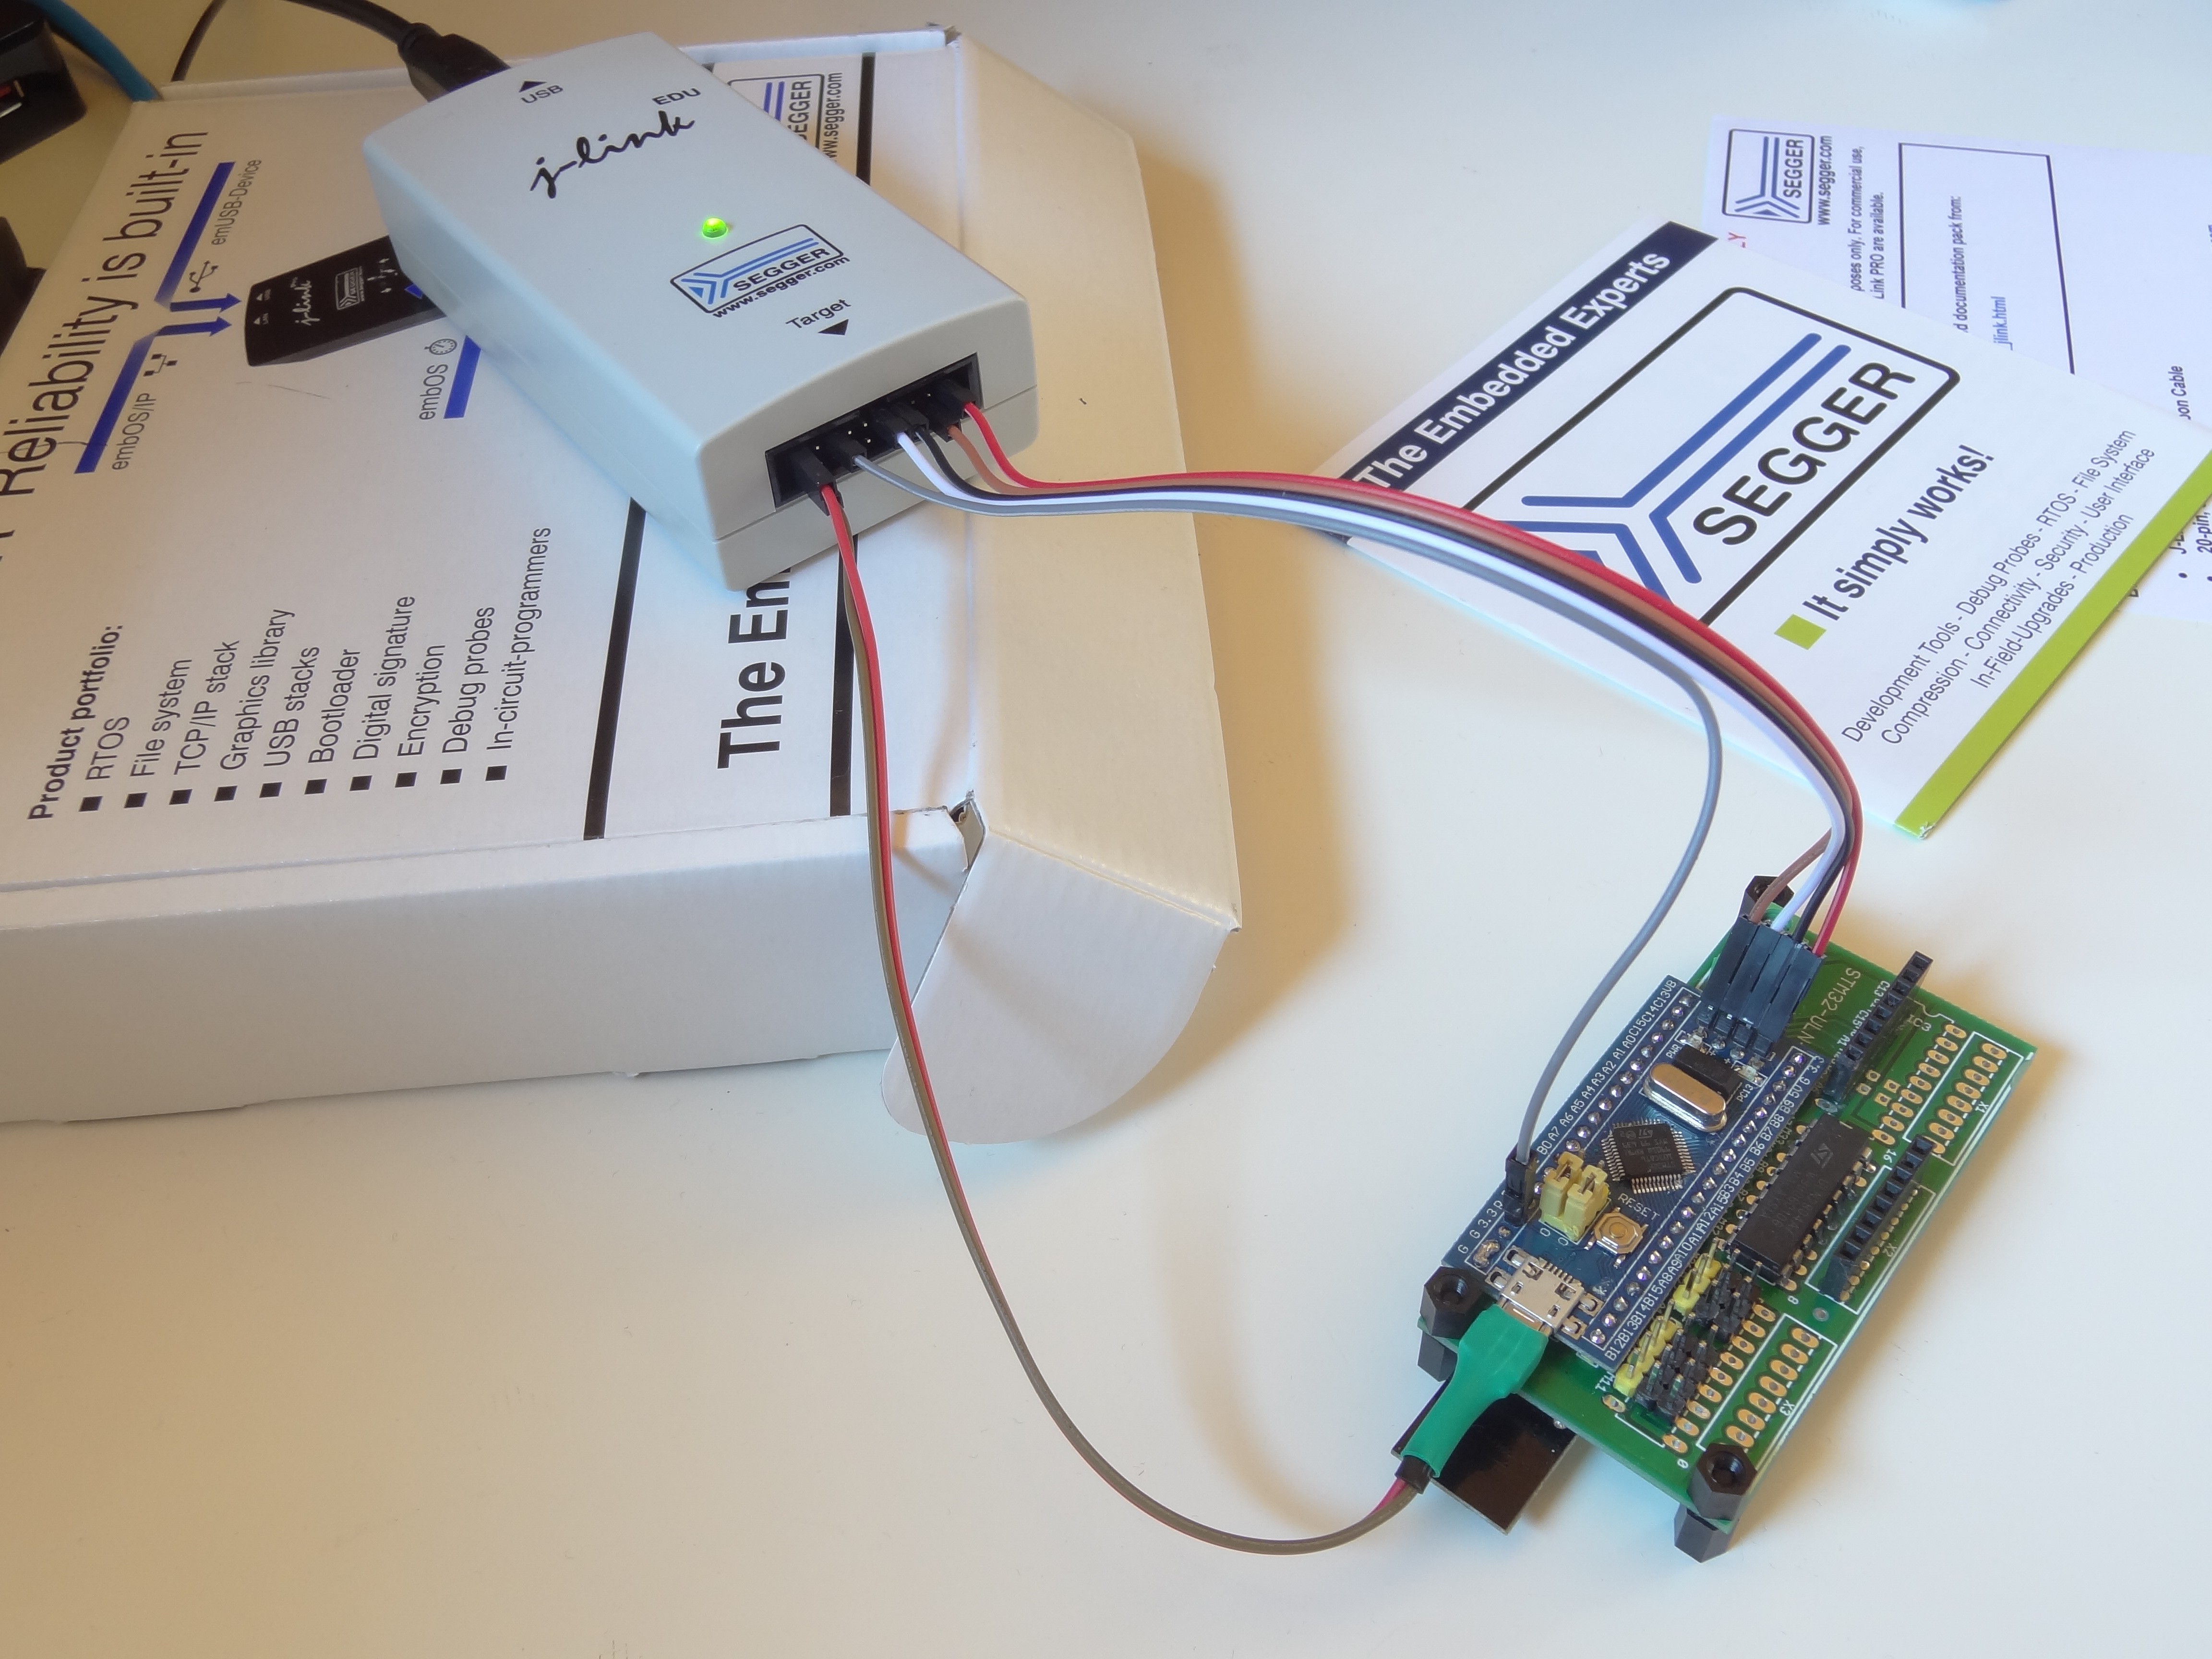
Why a j-Link EDU ?
- No need to argue too much for reasons such as "It simply works!", it is true, I tried it, also compatibility with all serious and open IDE, so let us focus more on comparison
- Compared to an ST-Link, you get with the j-Link a VTref input that sense your target voltage so that you can automate scripts using that.
- Note that the EDU is relatively cheap (60 €) usage for hobbyistes and education only, but there is an even cheaper EDU-mini (16 €) but for cortex M only.
- The EDU over the mini has a higher download speed, and more CPU variants support.
- It can control the power up to 300 mA 5V to switch your target completely off, which is important in tests automation as it is not the same as a reset.
- It has a virtual UART, not the hoisting used from the ARM cortext, but you keep your ARM program unmodified using the external UART and connect it to the external pins of the debugger.
- So you have all in one : Debugger, Power control, Voltage sensing and UART
- The segger devices security is improving, so spare yourself the pain of clones that would stop working after SW updates.
Where to go on from here
- I will start updating my scripts and environment to use the j-Link edu, I will break the compatibility with the ST-Link utilities.
- I'll evaluate debuggers interfaces Ecpilse and segger specific
- I'll start using python to wrap the debug interface and make it quick and accessible
Discussions
Become a Hackaday.io Member
Create an account to leave a comment. Already have an account? Log In.