 Jenny List
-
1Step 1
![]()
Take your t-shirt, have a good look at its design, and identify its centre line.
-
2Step 2
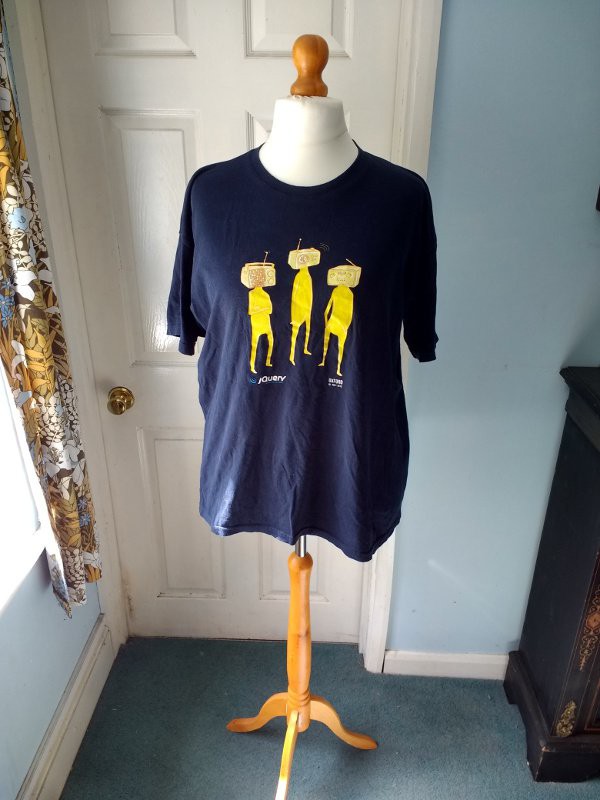
Turn the t-shirt inside out, and place it on the tailor's dummy, or on your willing model. Line it up very carefully so that the centre line is exactly central, and ensure the shoulders are sitting straight and in alignment.
-
3Step 3
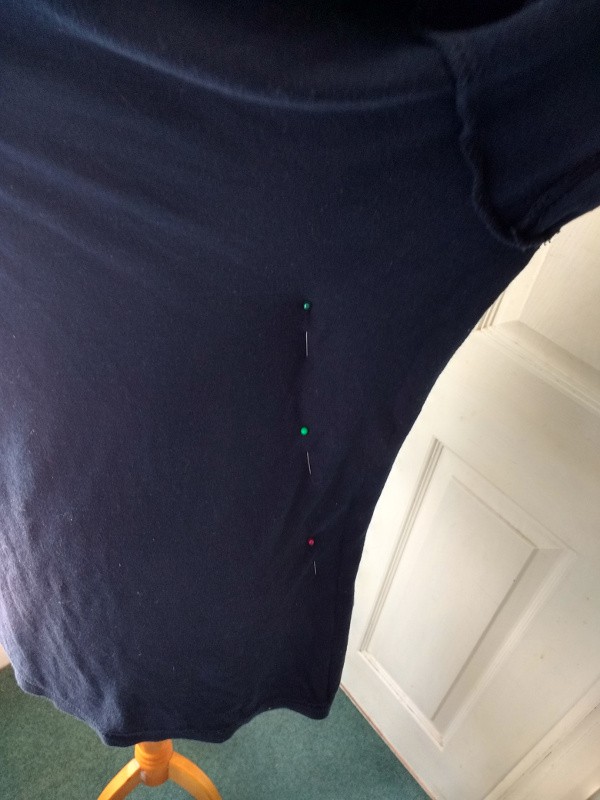
Pin the t-shirt to the dummy down the centre line to ensure it keeps its alignment. If you are doing this on your model, either do your best in the next steps to ensure it doesn't lose alignment, or if you can, pin it to any clothing they are wearing underneath it.![]()
-
4Step 4
![]()
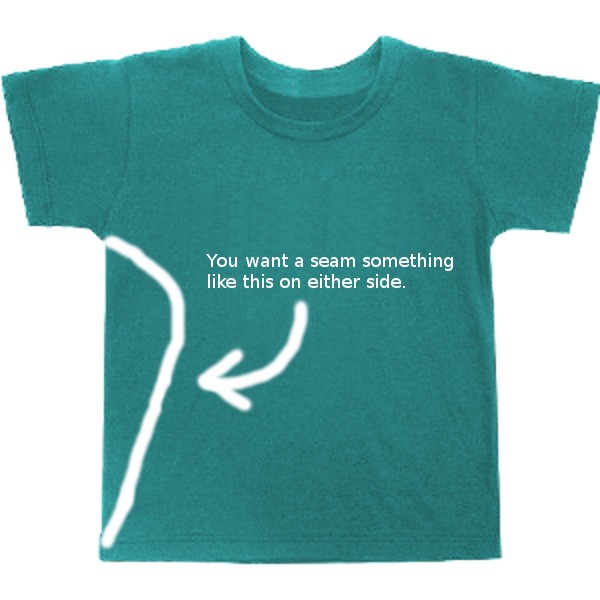
Gather the sides of the t-shirt from underarm to hem, to draw it to your desired shape. Pin it to leave a line of pins to act as your sewing guide, such that when you remove the garment from dummy or model all the pins stay in place.
-
5Step 5
![]()
Sew the seam following the line of pins, either with an overlocker or a sewing machine. Ensure that you finish the seam at each end and trim the threads. If you are using a sewing machine you will have a flap of fabric that you will need to cut away, when you do this ensure you leave a 10 to 15mm seam allowance. You can then finish the cut fabric endge with an overlocking stitch or bias binding.
Image: By Bbxxayay [CC BY-SA 4.0], via Wikimedia Commons.
-
6Step 6
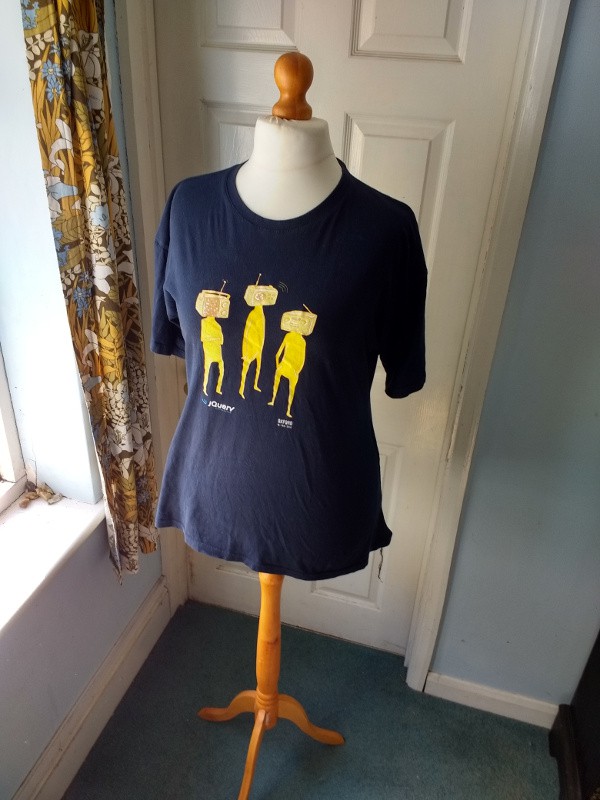
Turn the t-shirt back the right way out, and try on your completed garment. It's suggested you practice with a few shirts you don't care about before you do it with one you treasure.
![]()
Making Dev Conference T-Shirts Flattering To Wear
Free T-Shirts at dev conferences. Great for blokes, baggy and unflattering if you're not a bloke. Here's how to give them a bit of shape.

Discussions
Become a Hackaday.io Member
Create an account to leave a comment. Already have an account? Log In.