-
1Step 1
1. Download and burn your Raspbian image to your sd card. More information here
You may need some additional software to burn your image file like SD Formatter and Win 32 Disk Imager
-
2Step 2
2. Getting your laptop ready. You must download PuTTY for SSH in here
If you using linux or Mac O, you can use your terminal to SSH your pi via LAN or WLAN.
-
3Step 3
3. Set your connection in your raspberry. For more information, click here
-
4Step 4
4. Download and install pigpio to handle your GPIO in here
-
5Step 5
- 5. Download and install Jasper to handle our voice command. More information in here
-
6Step 6
6. Download and install MJPG-Streamer in here
-
7Step 7
7. Make the source code. I'm using python for my main script. You can download the source code here in my github
-
8Step 8
8. Make the HTML Code for user interface
-
9Step 9
9. Oooops! I Forgot something, install webiopi for handle your python script to the internet. See this link below to download and install it.
WEBIOPI install and download.
-
10Step 10
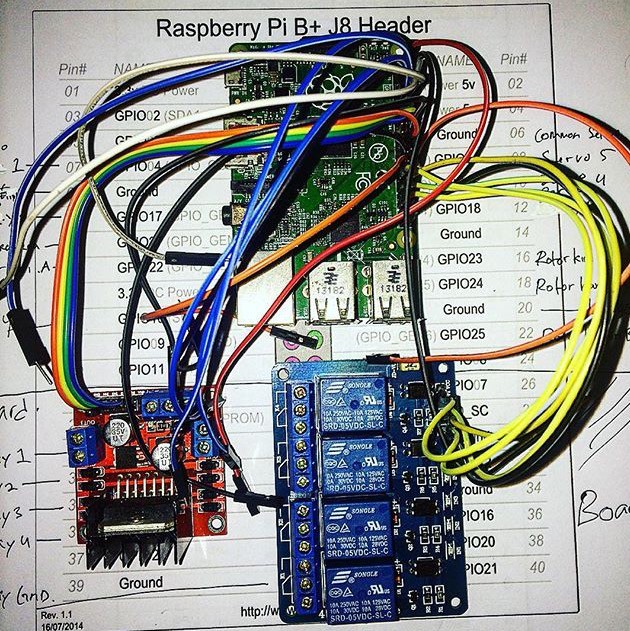
9. Assembly the hardware.
Im not use SPI Servo controller. You can do it, it can give you best result and also give you more pins on your raspberry pi.
Im using 3 servo SG90 that connected to raspberry pi for the data only, i give separate power supply for them.
2 servo Mg90
And 1 servo MG966R who have 7v input voltage.
4 pins to the motor driver LN 298 to control the movement of the wheels.
4 pins for the relay 4channels (to control electronics stuff with voice command)
7 pins for all servo.
So total pin that im using is 15. Not including ground pins
Human Assistant Robot
A robot that can control and be controlled for any kind of activities.
 Rishaldy Prisly
Discussions
Become a Hackaday.io Member
Create an account to leave a comment. Already have an account? Log In.