In my previous development log, I did what I do really well, which is prototype the circuit that I want to build. Yay (bored version). You can tell from my attitude towards that this is old hat for me. What's new is learning to prototype like a 7 year old kid again. To do that, I broke out the cutting board, scissors, cardboard, and duct tape. What was my goal of this? It's to find the most useful shape that works for the things I want to do. Break out the kiddie tools!
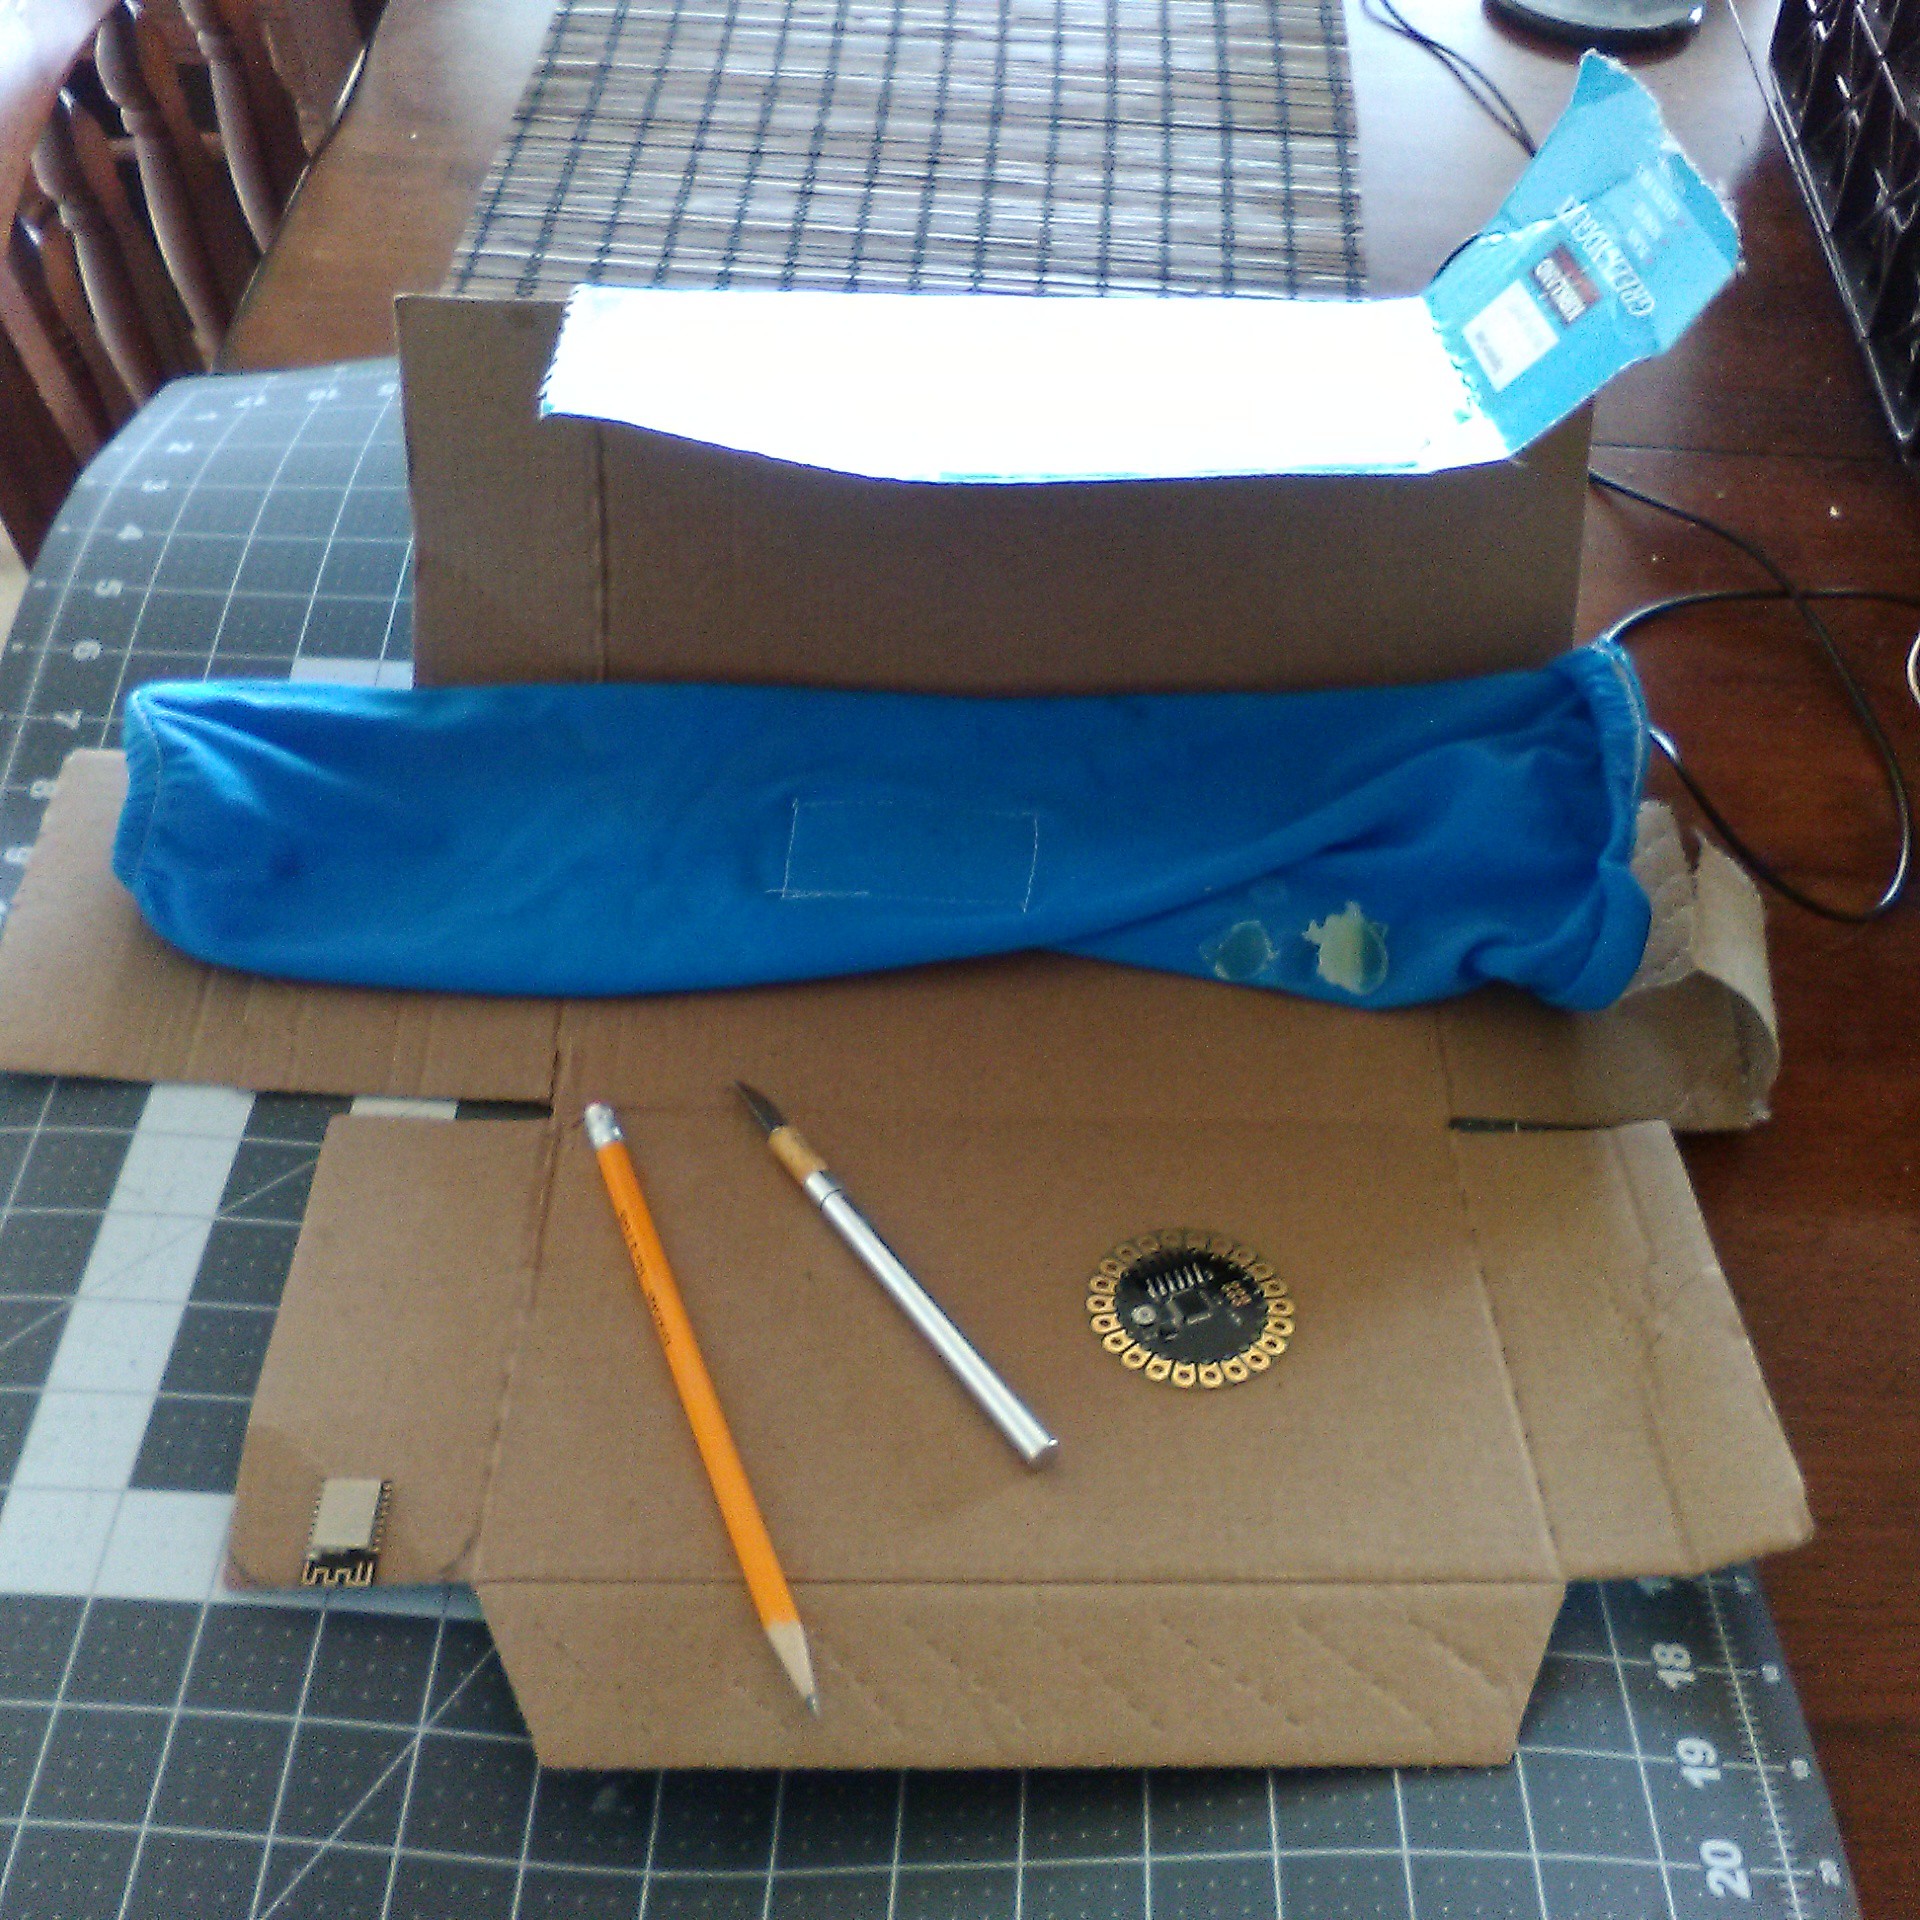
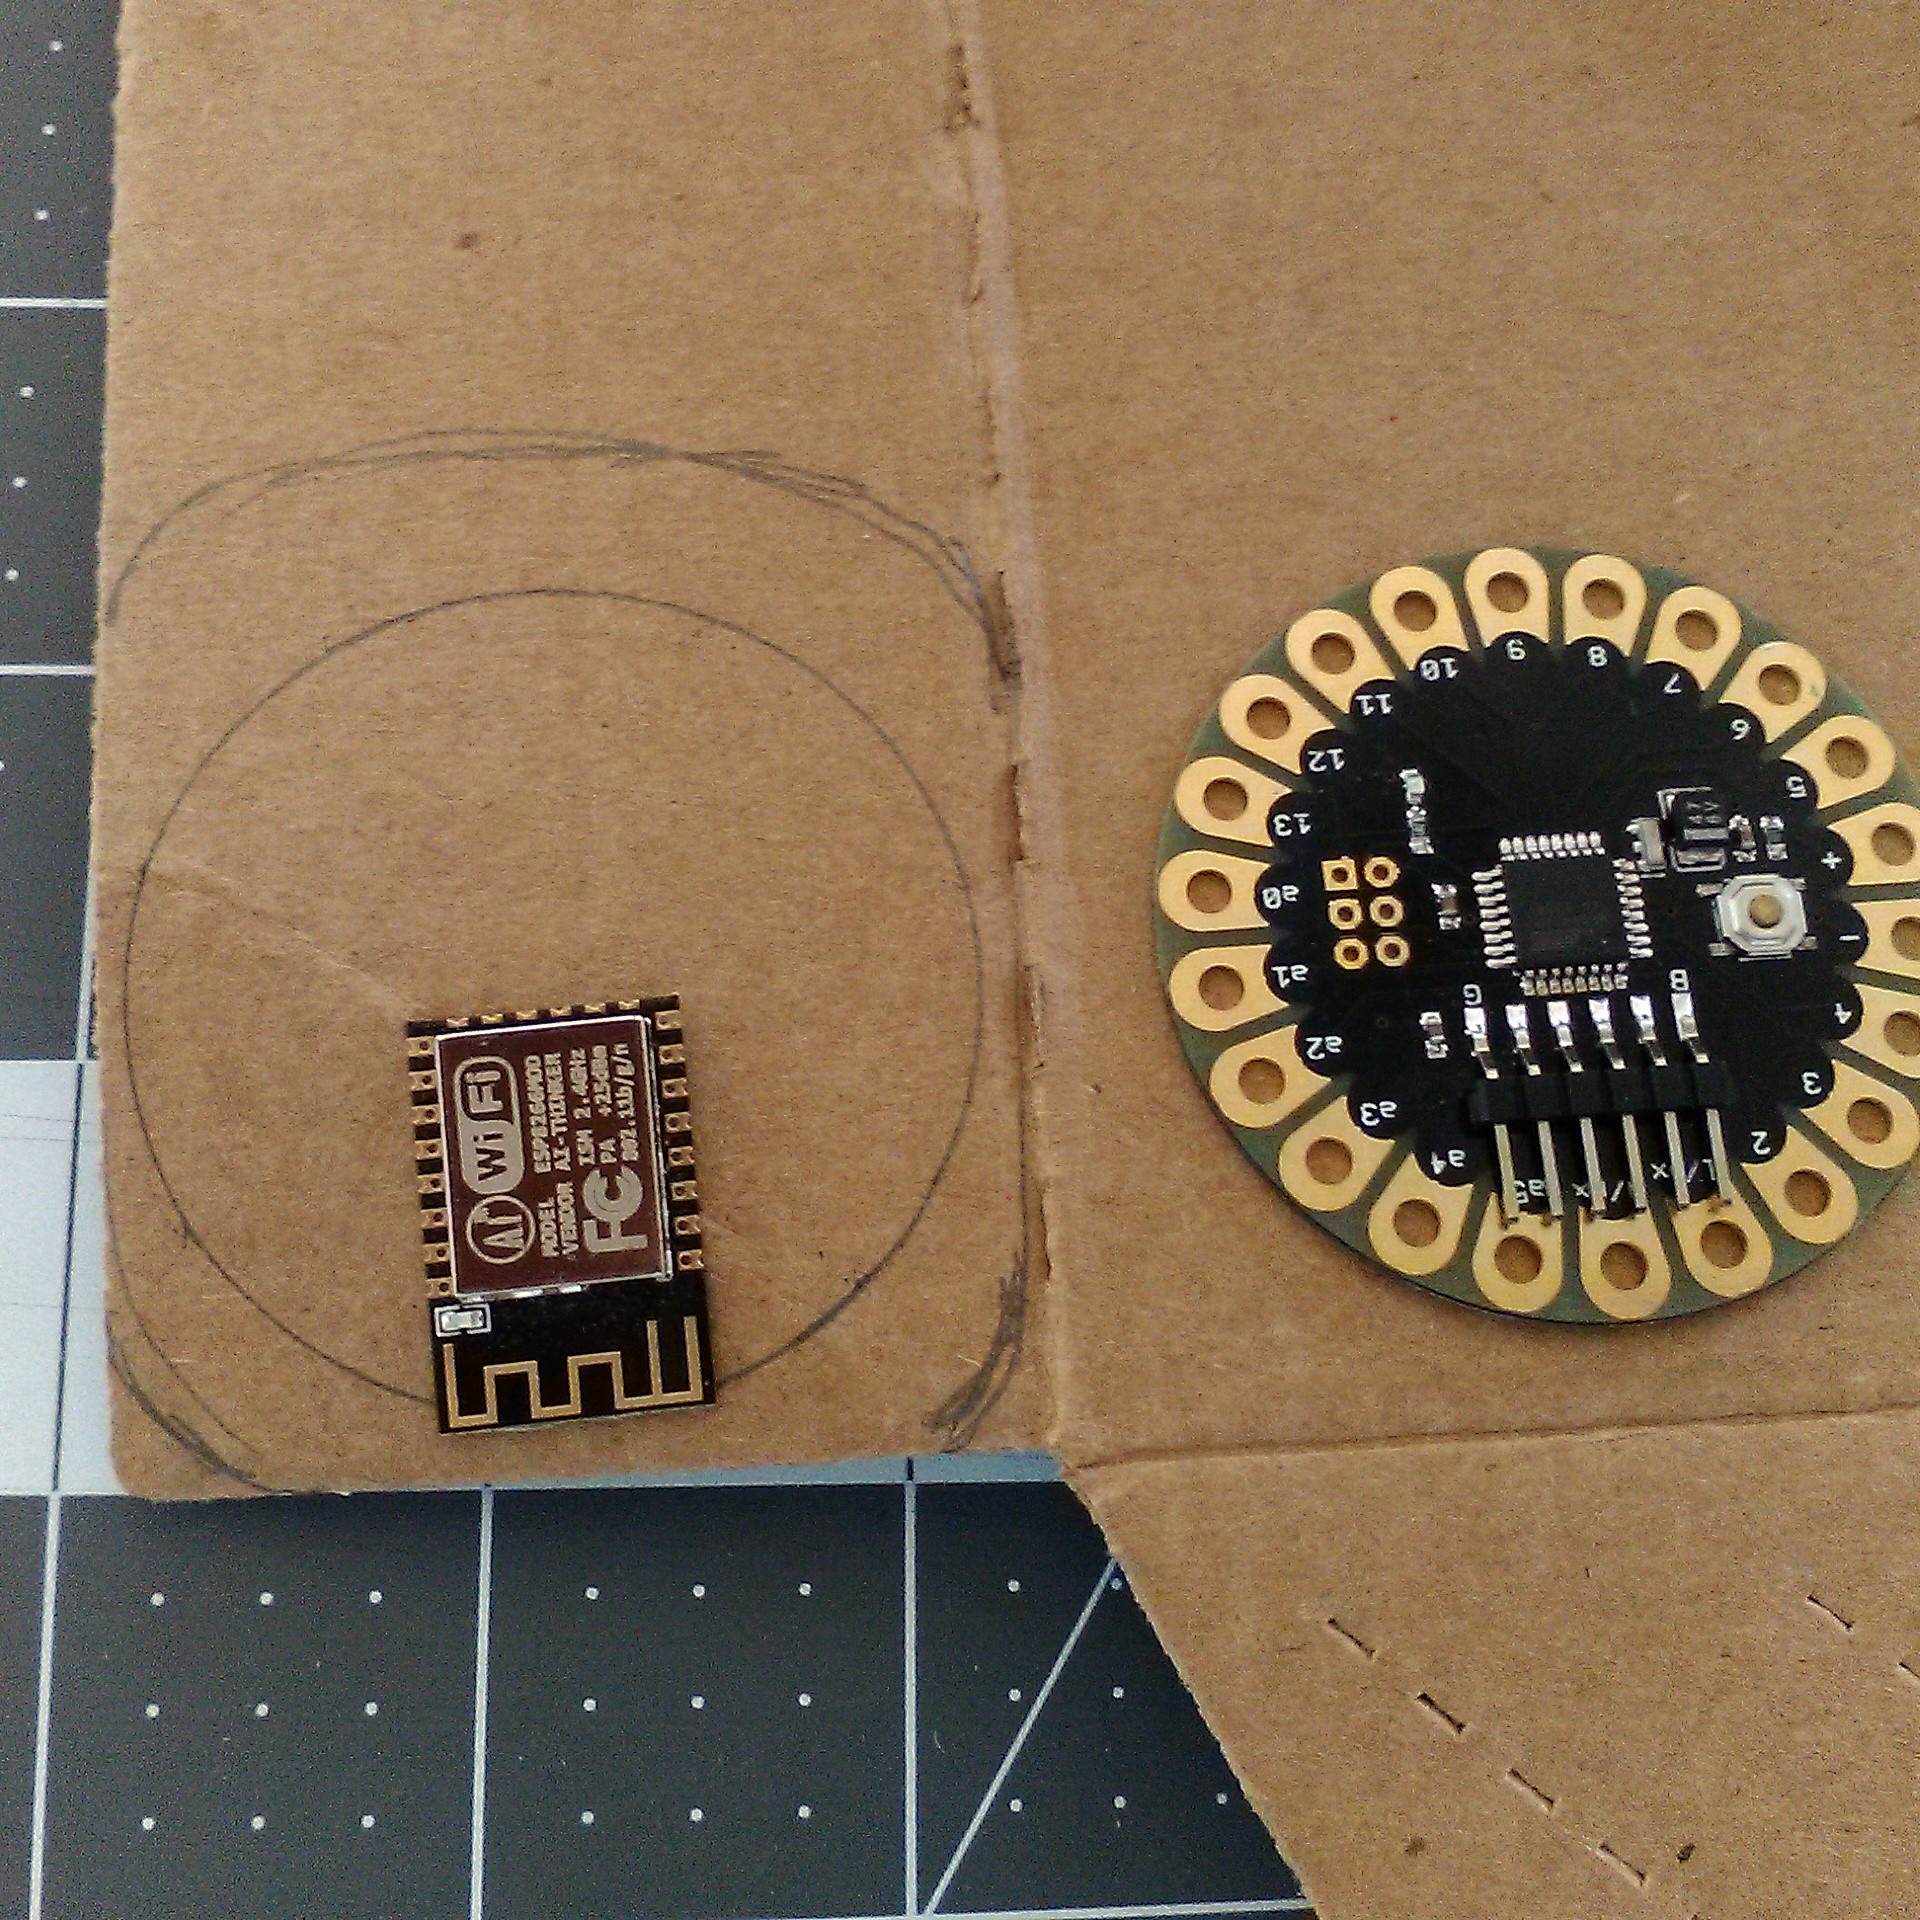
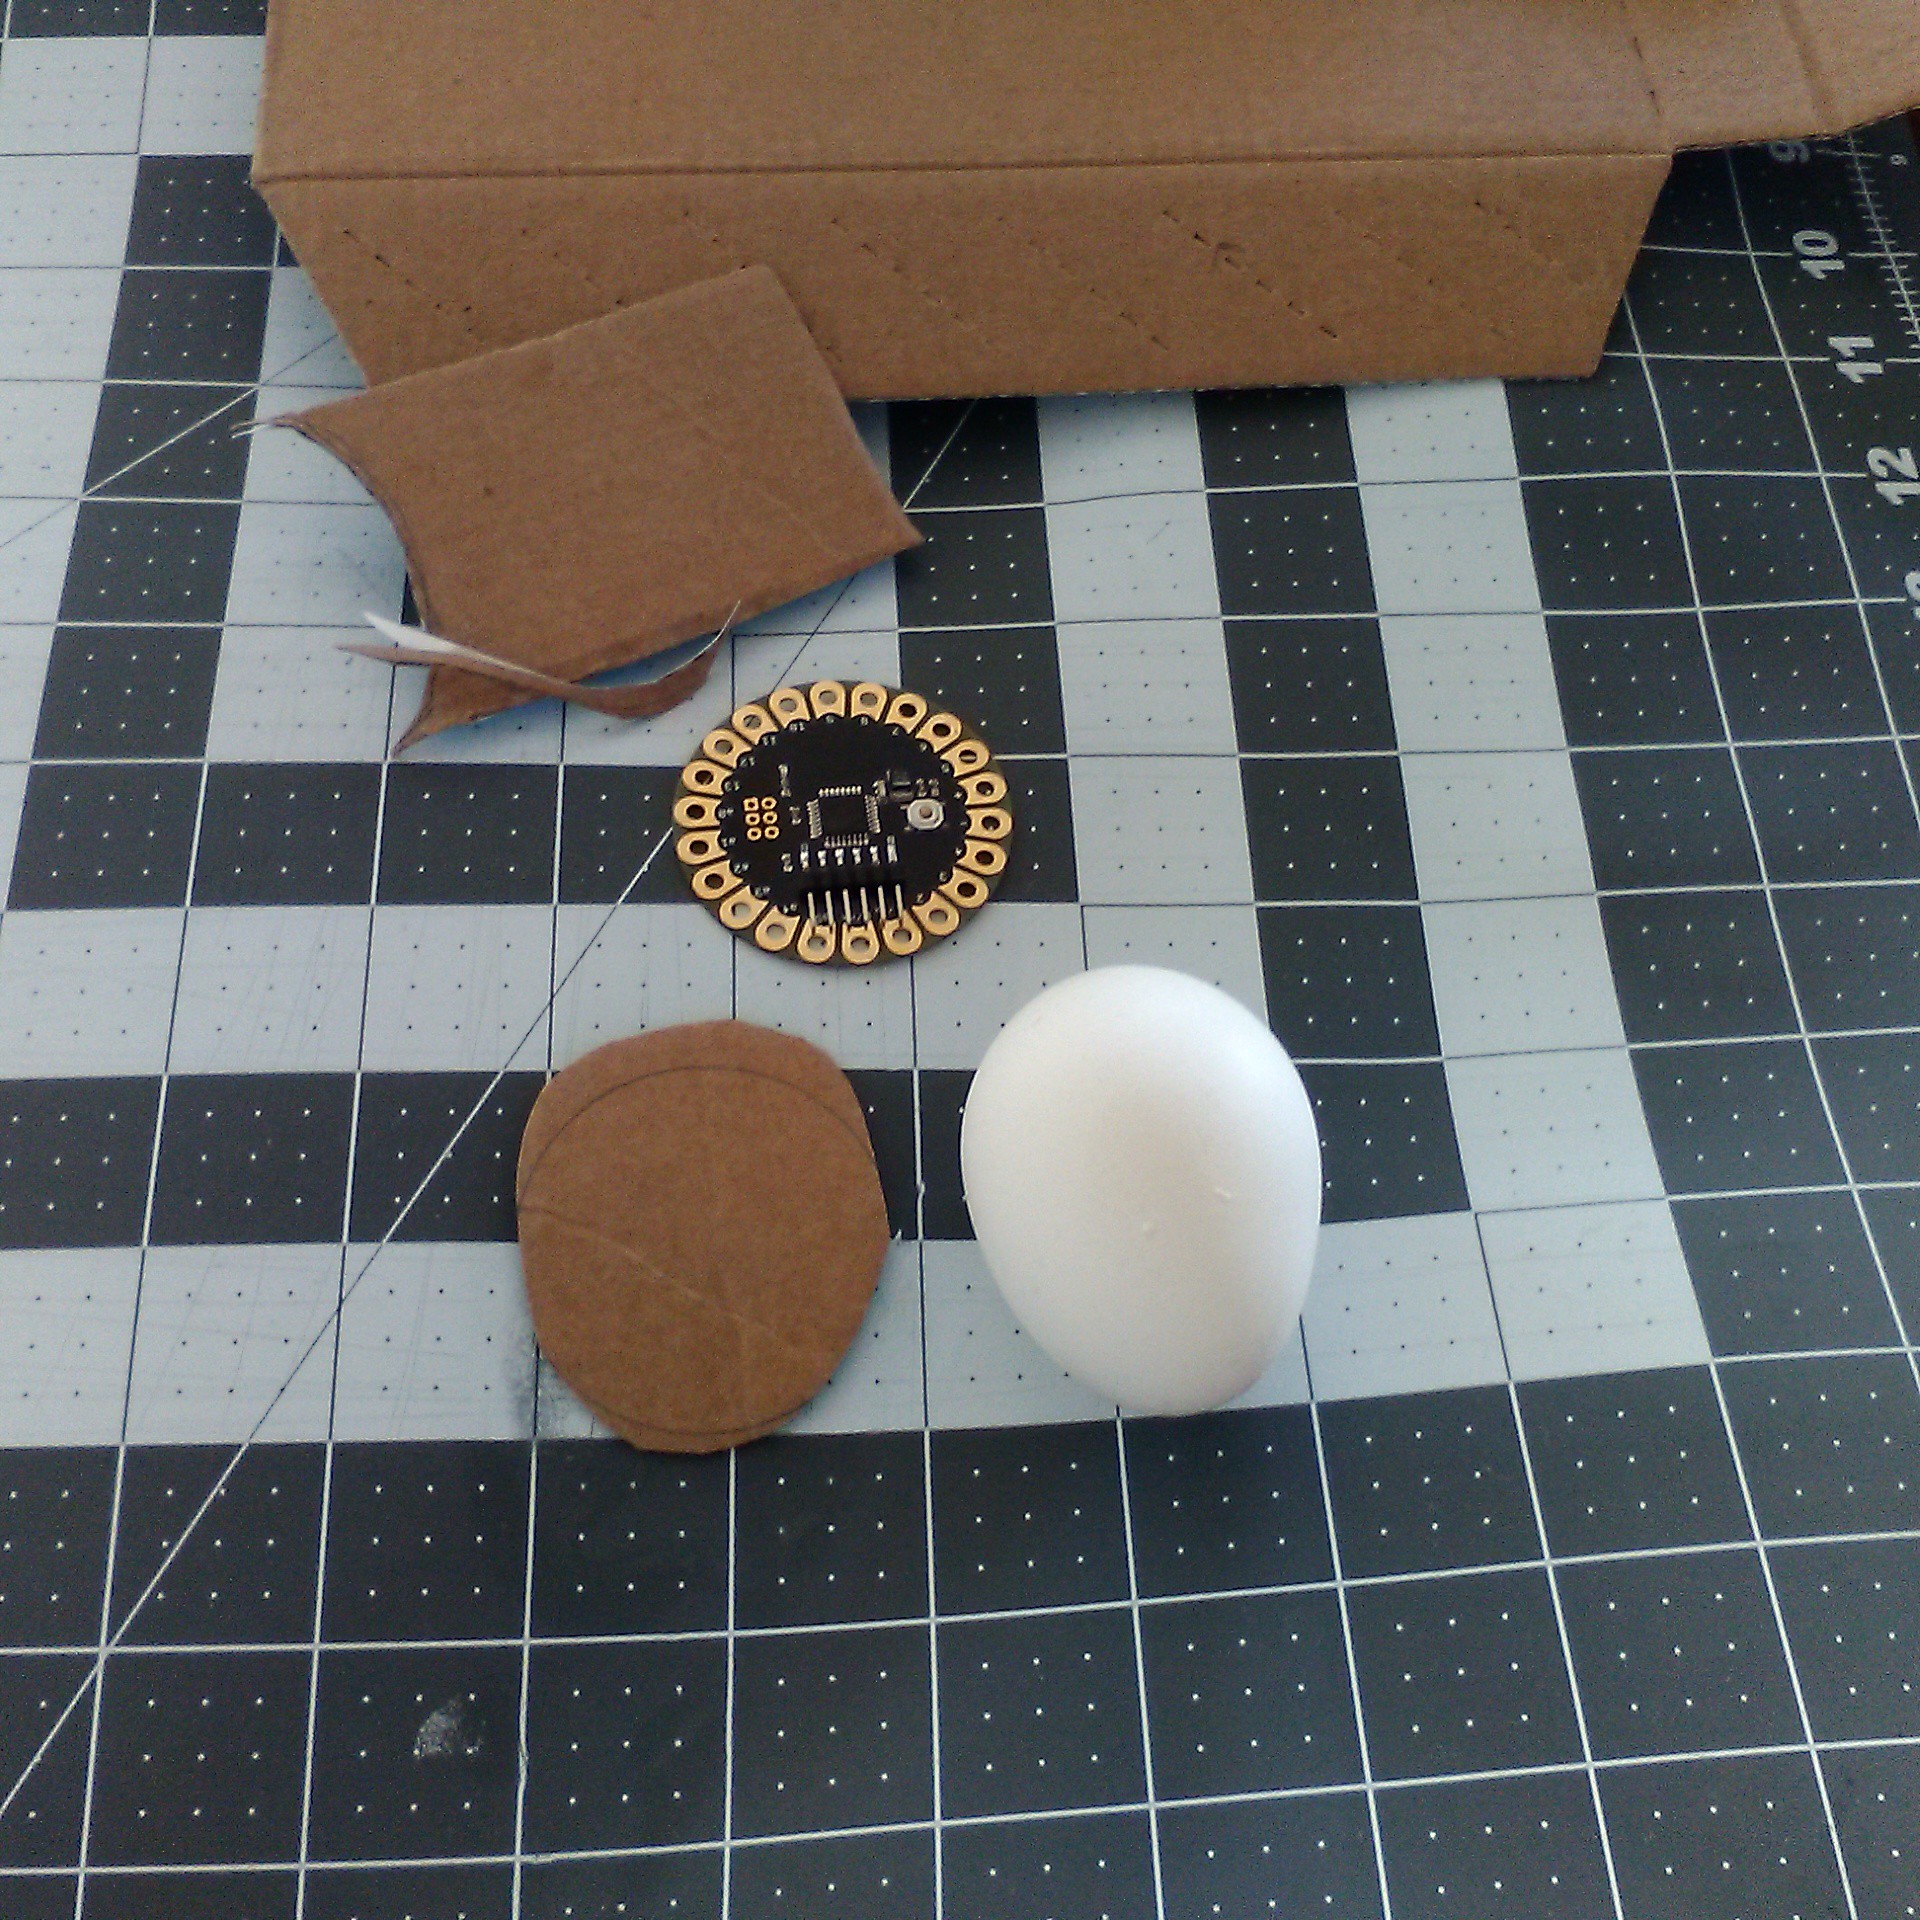
These are my basic tools. I also have an Adafruit lilypad which is specifically designed to be wearable, and an ESP8266 SOC. I'm using that to add some weight to the cardboard form. Time to cut out the form!
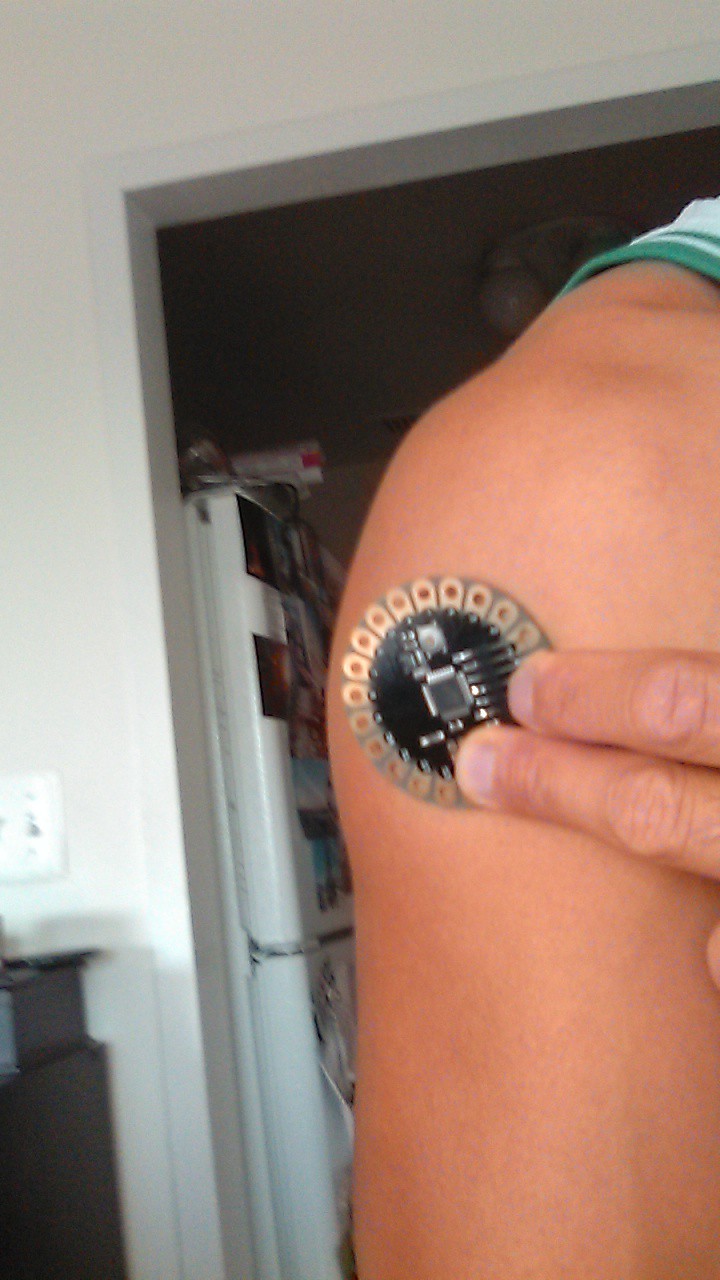
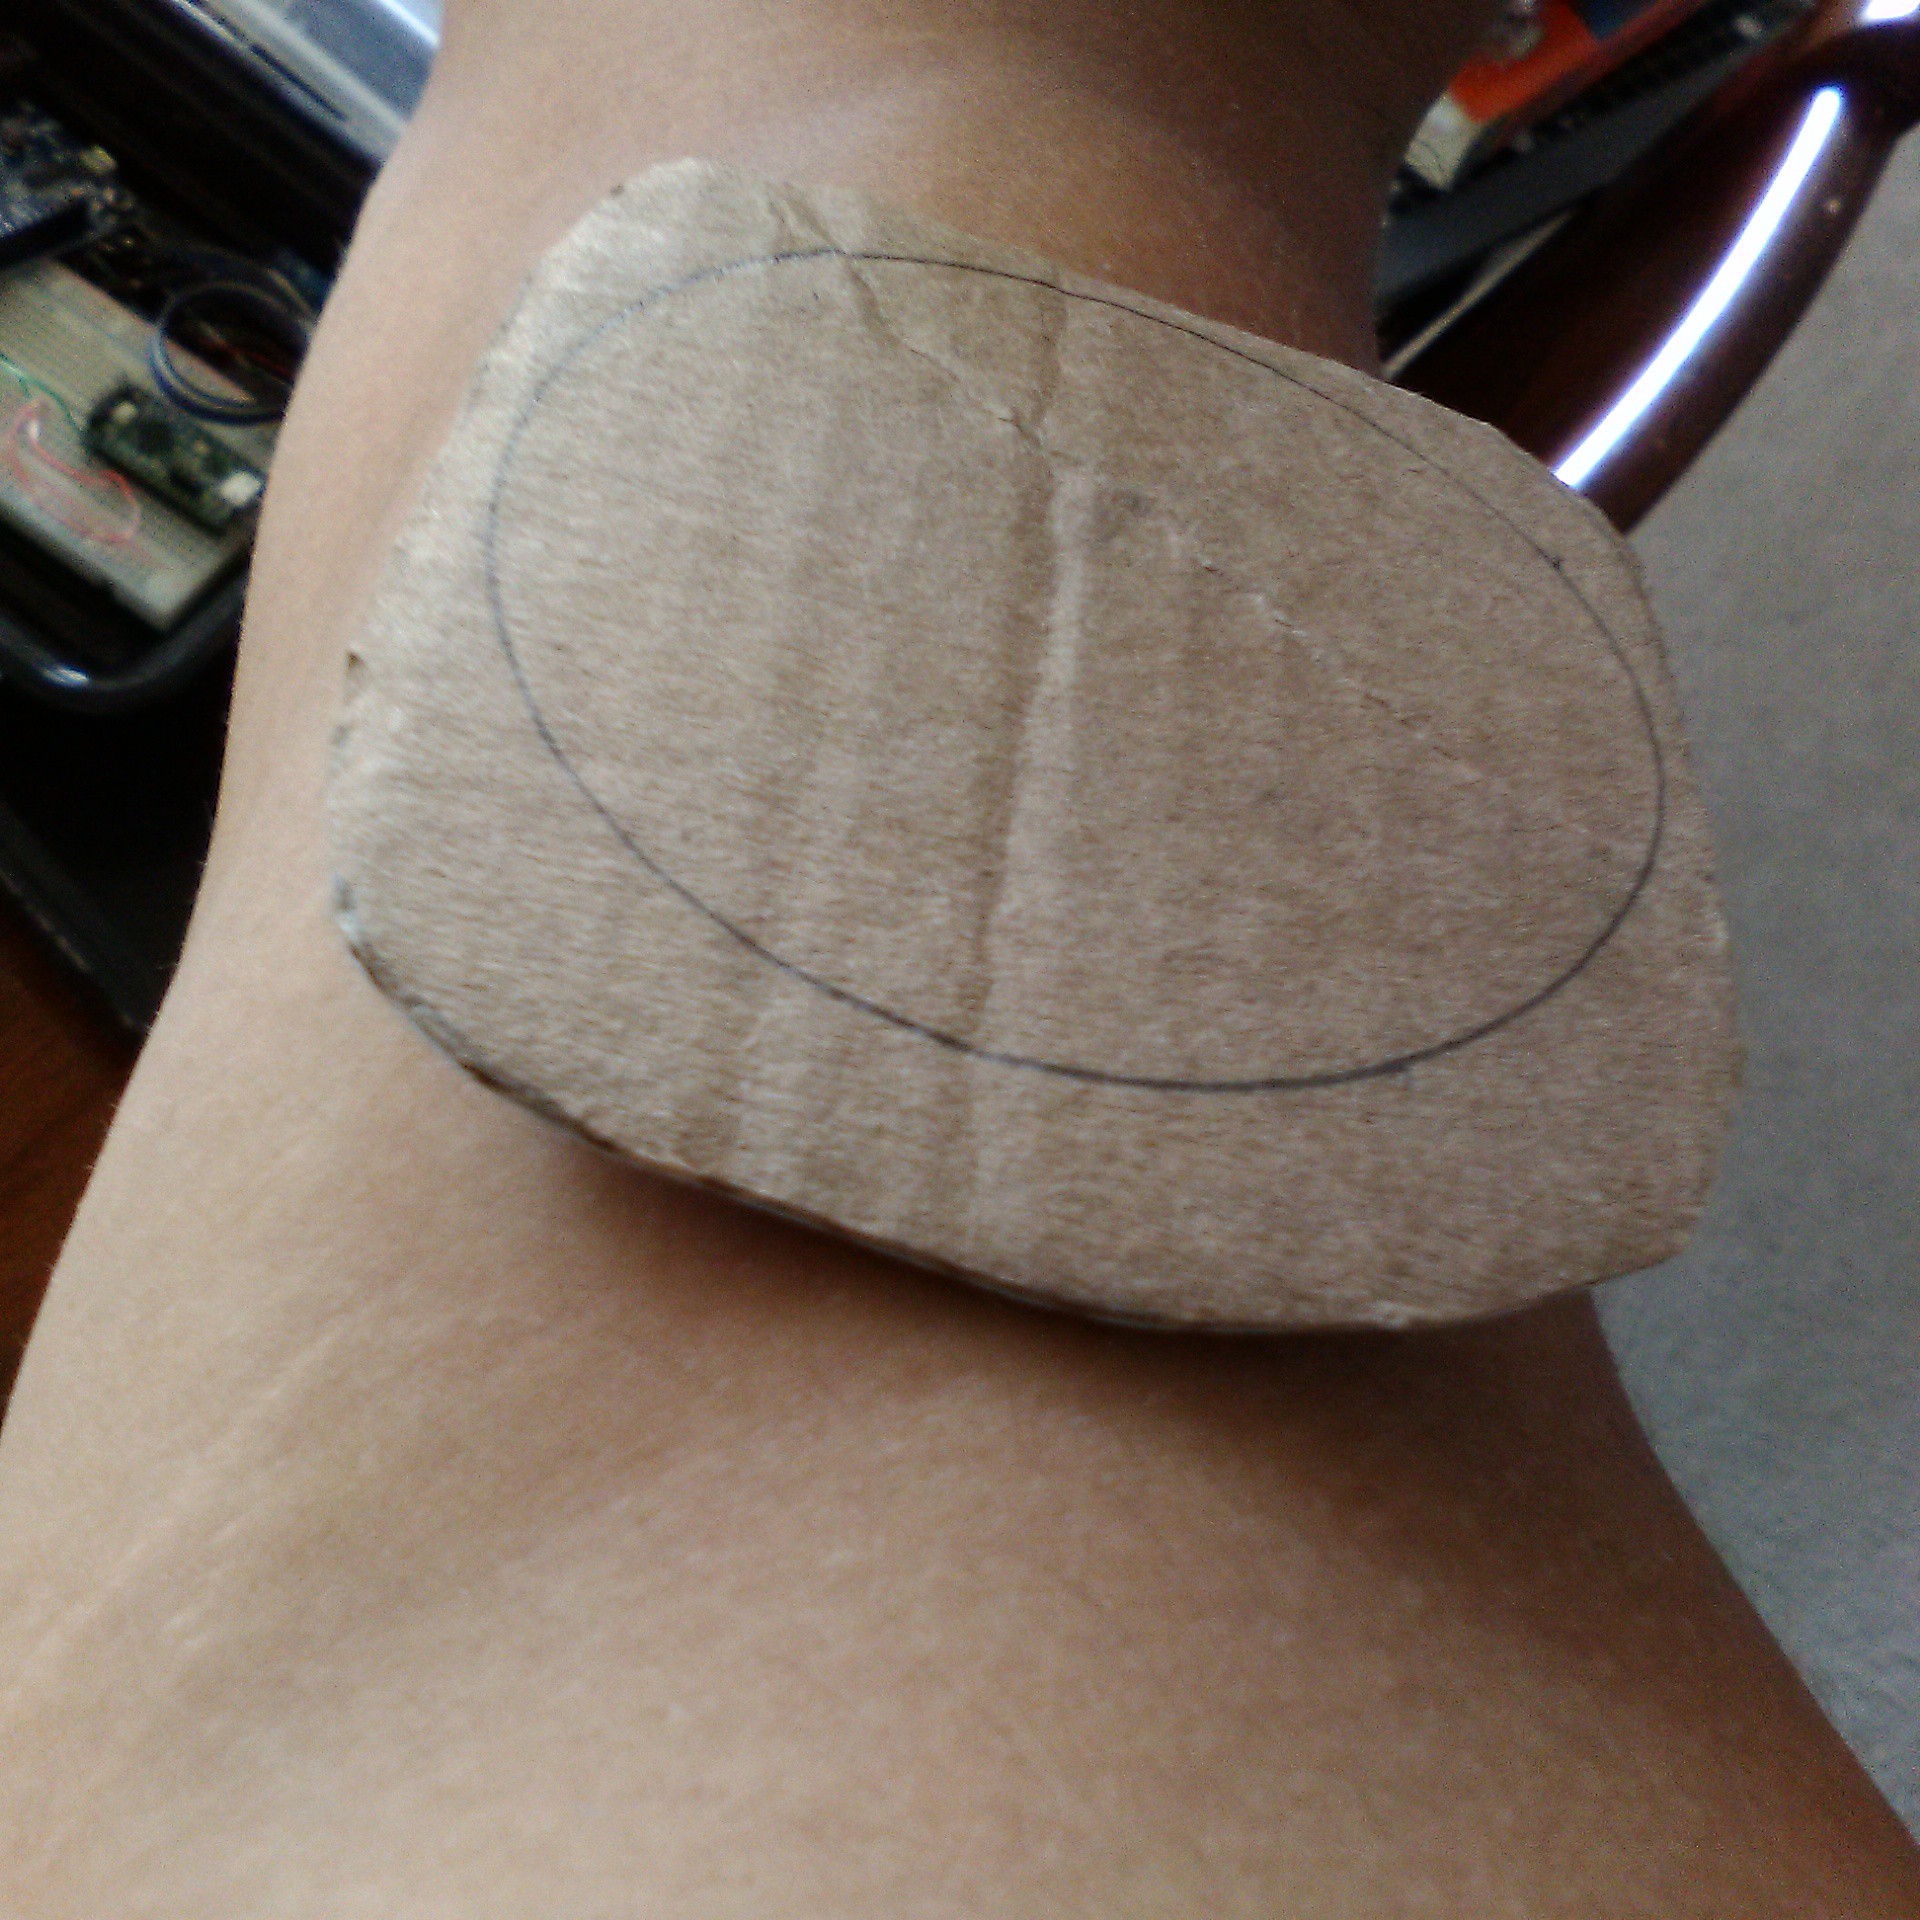
Now, I'm using the Lilypad as my reference because it's the first wearable development board that ever came out in the market. And it was designed specifically to be sewable into a garment. I'm not going to argue the utility of that, but given that I have a larger number of components on the board, I wanted some more space. I need space for the analog chip, the USB to UART chip, and connectors. So I drew out a pattern that was a bit more spacious to try out. Then I cut it out, and started seeing how it would feel against my skin.
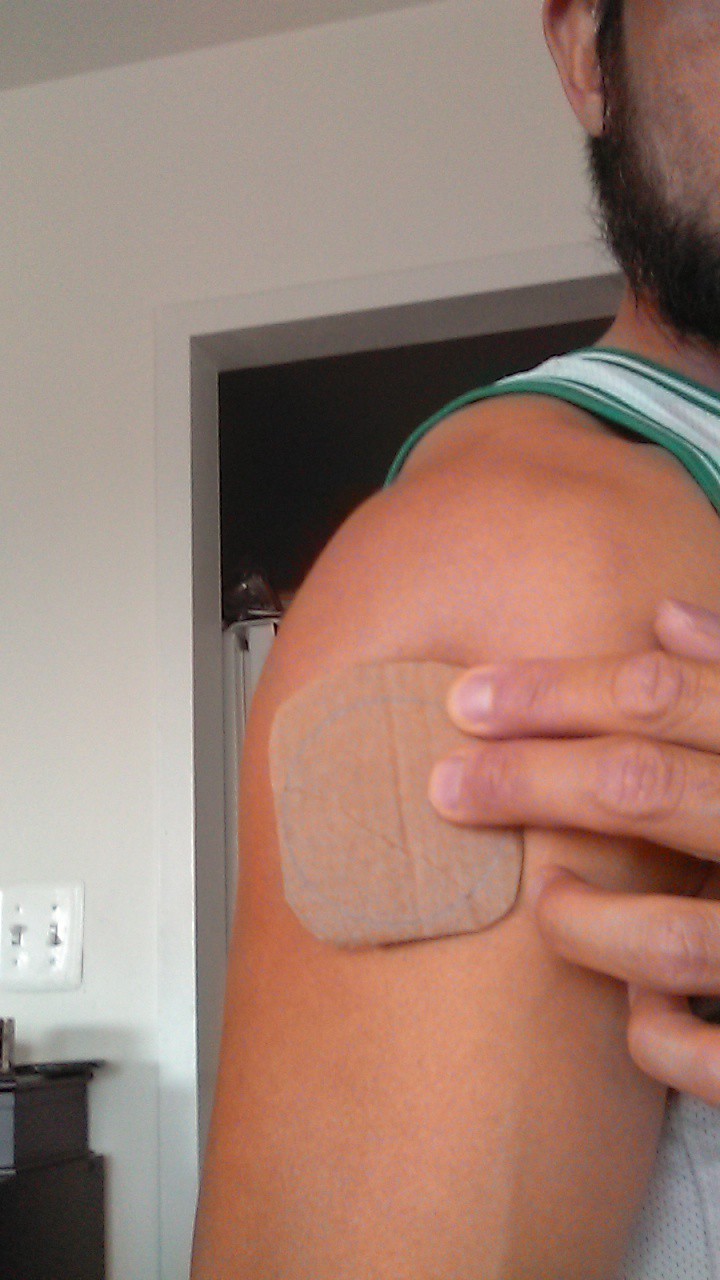
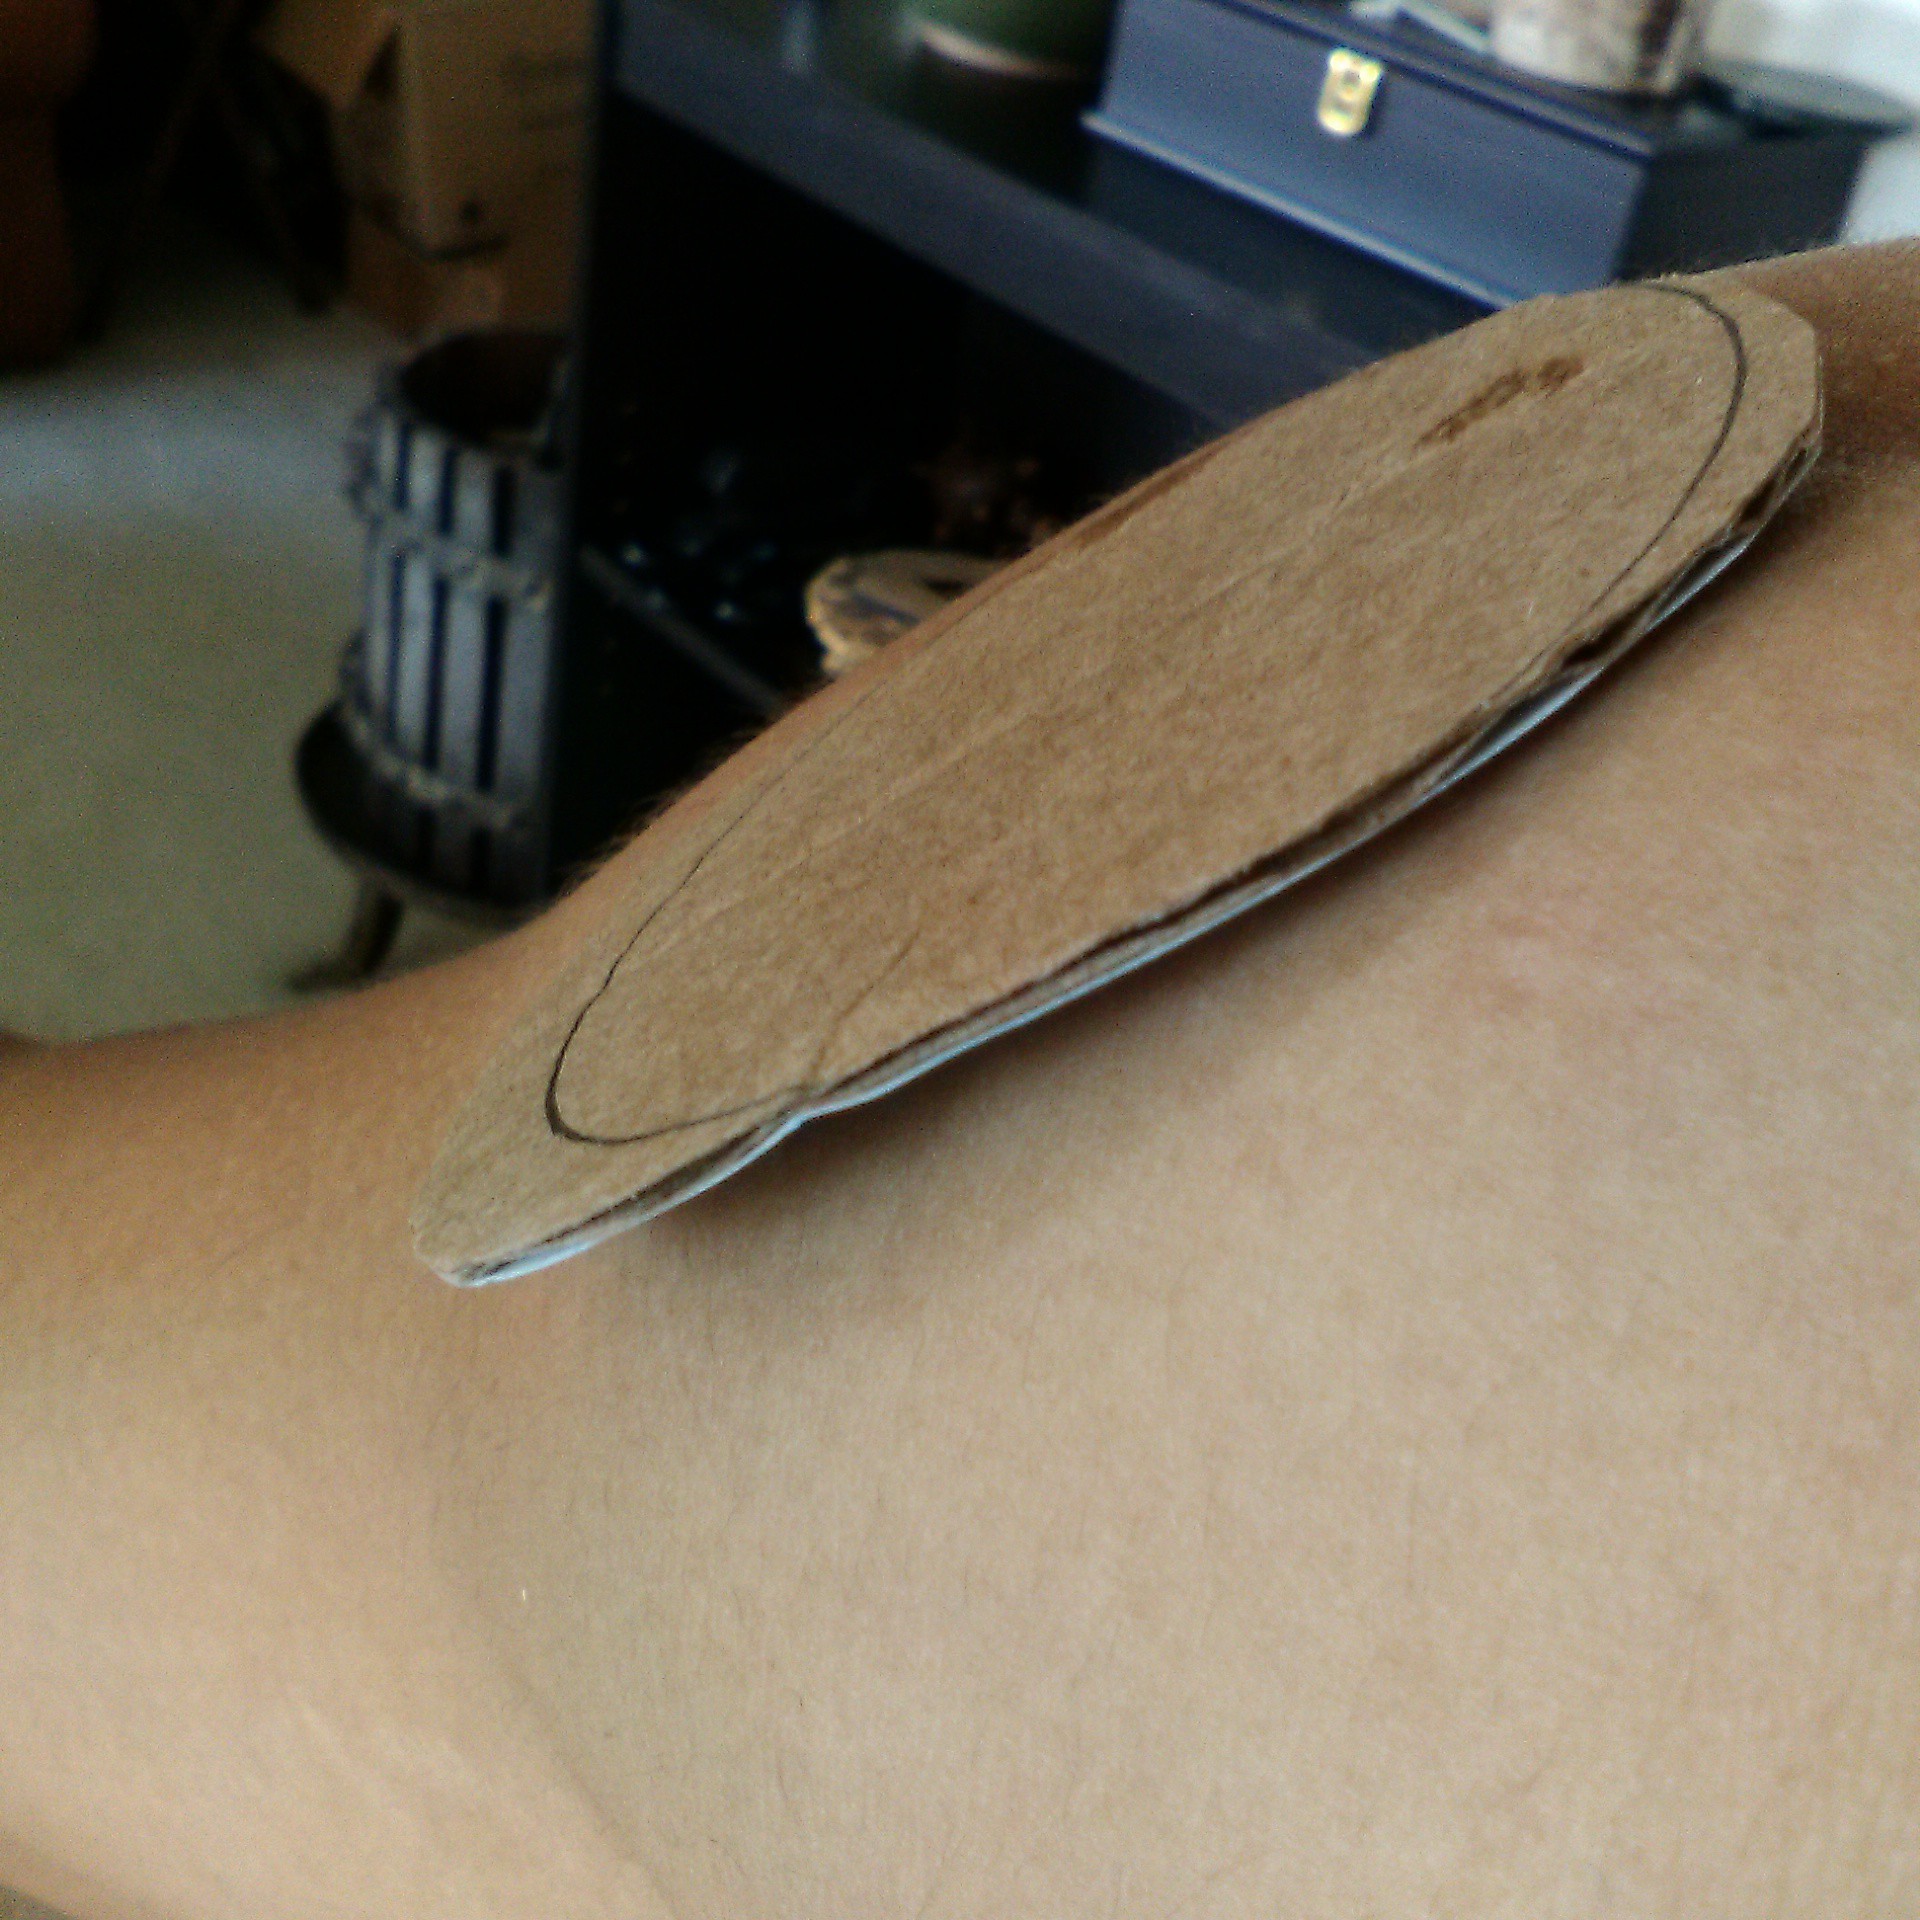
Right away, you can see some problems. It's large and flat, which means it's going to have some overhang due to the curvature of my muscles and body. But the Lilypad also suffers the same problems as well.
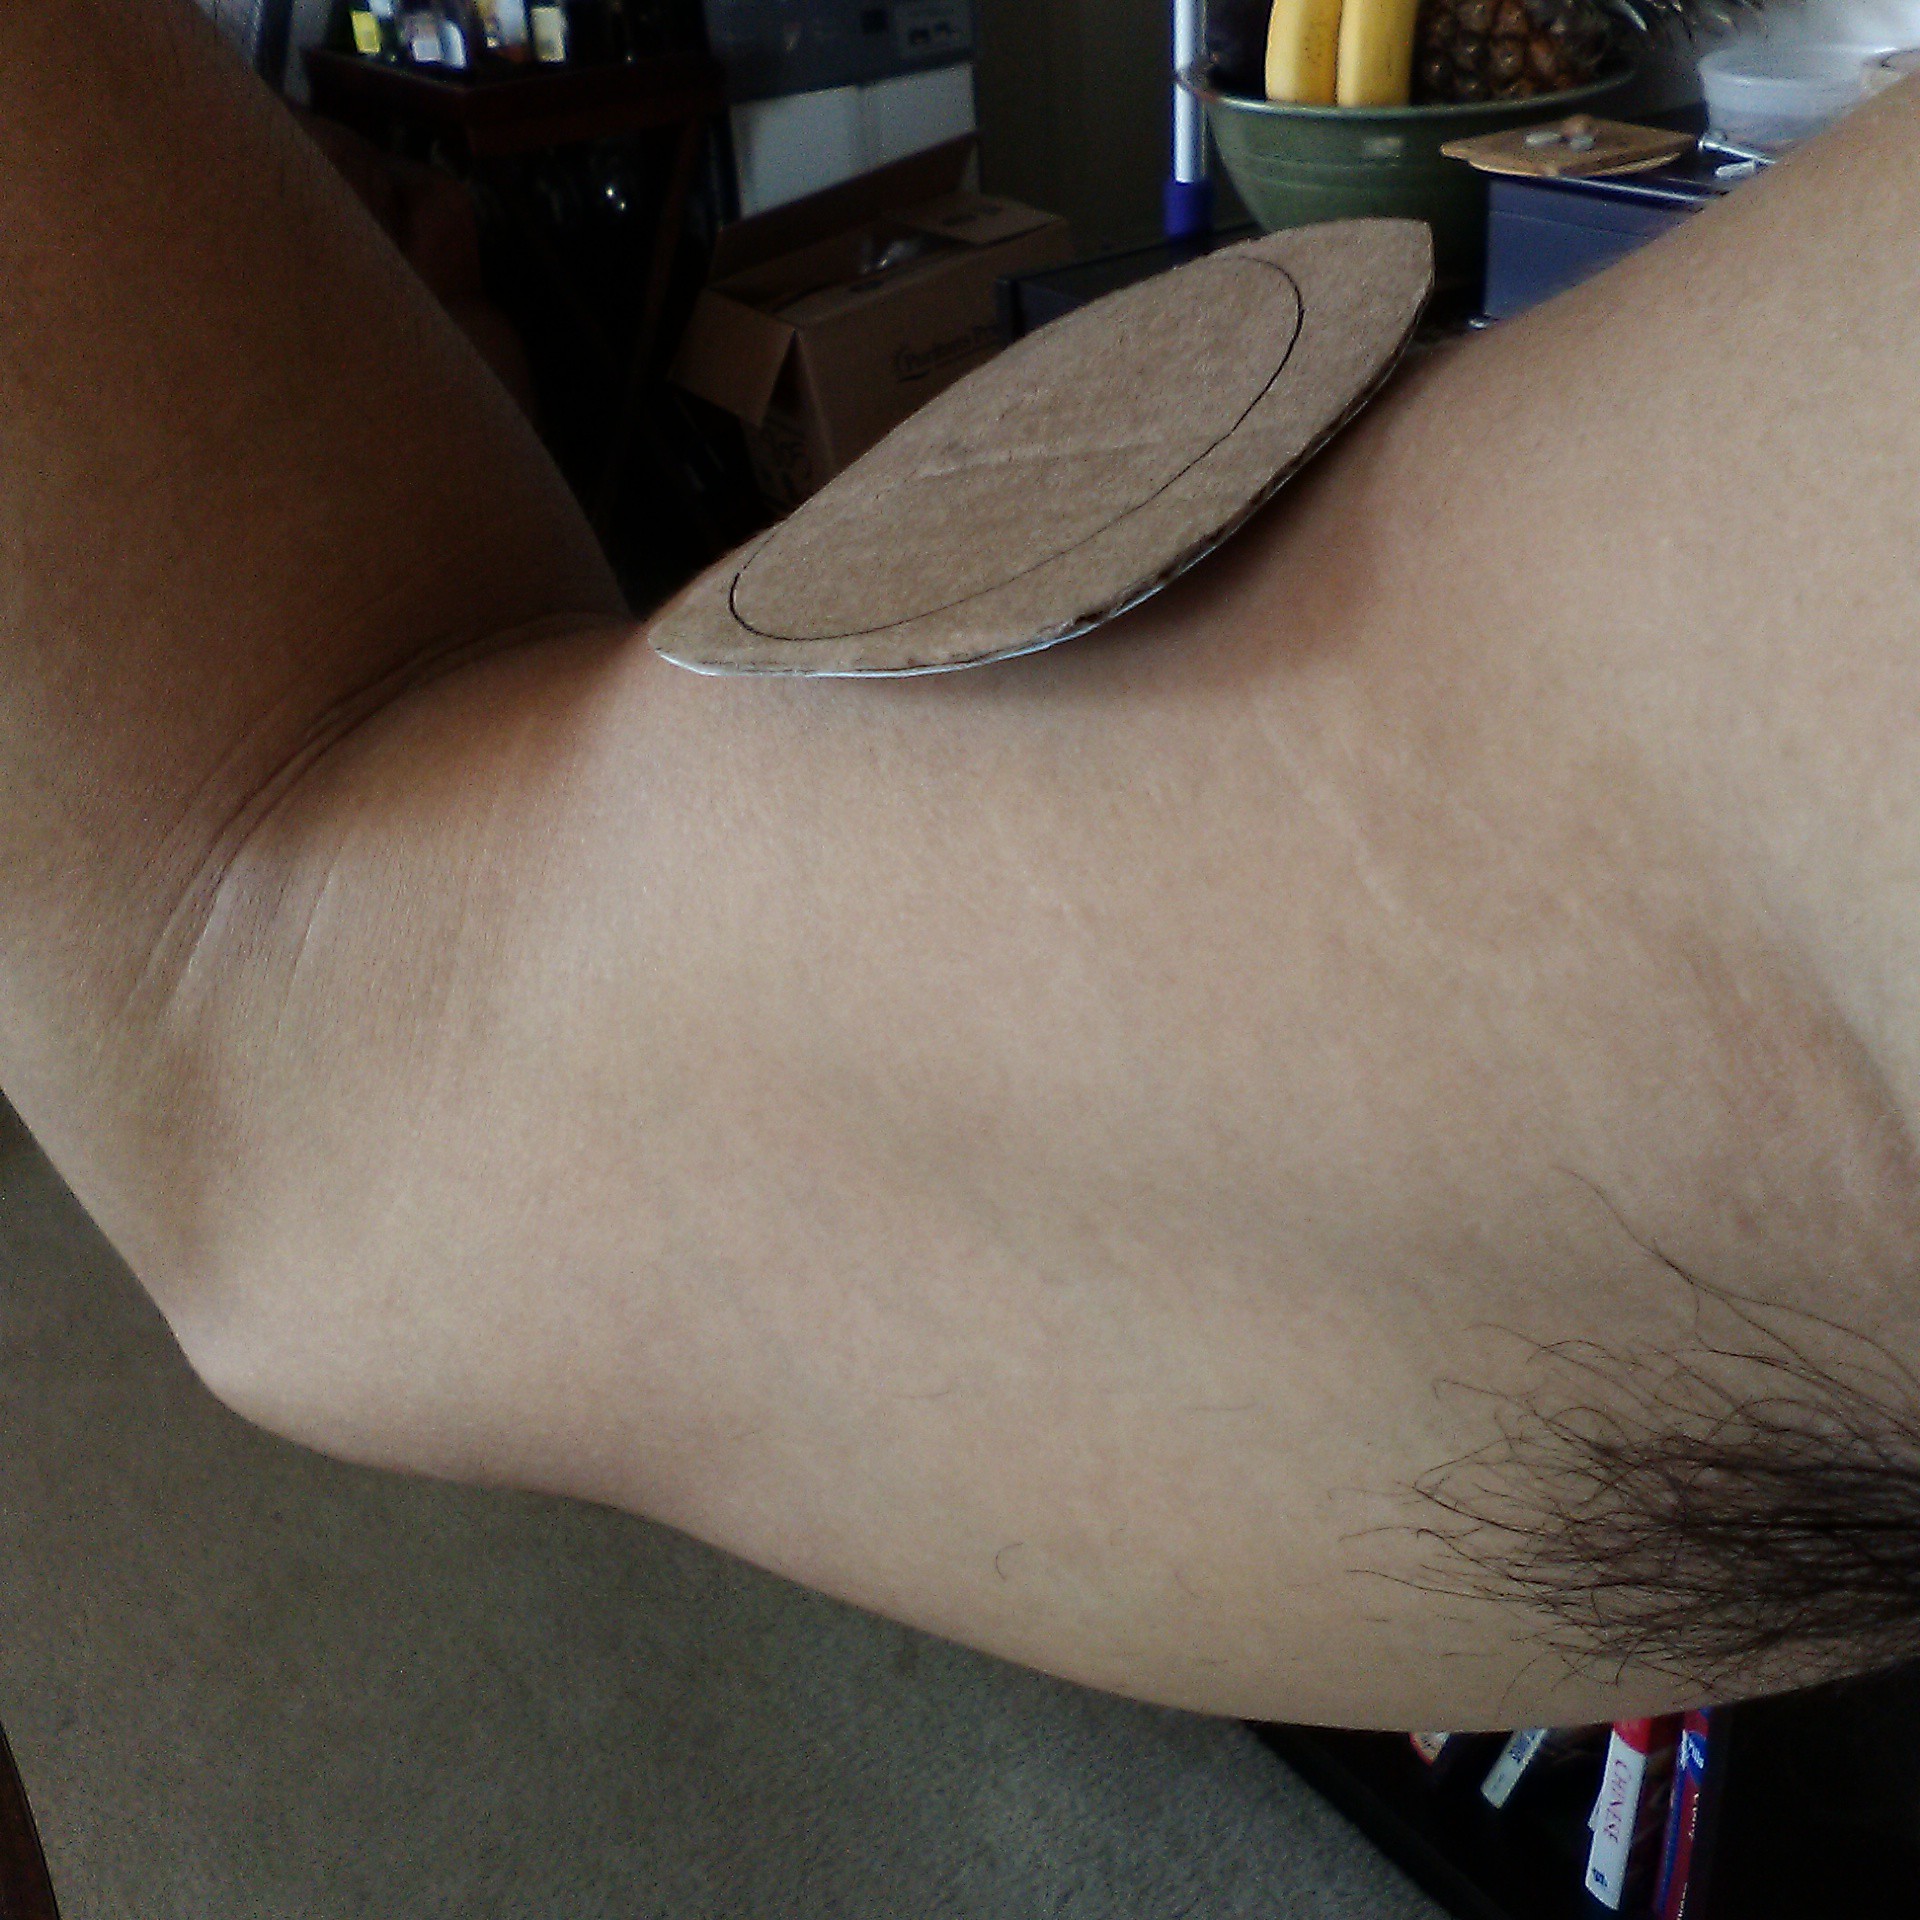
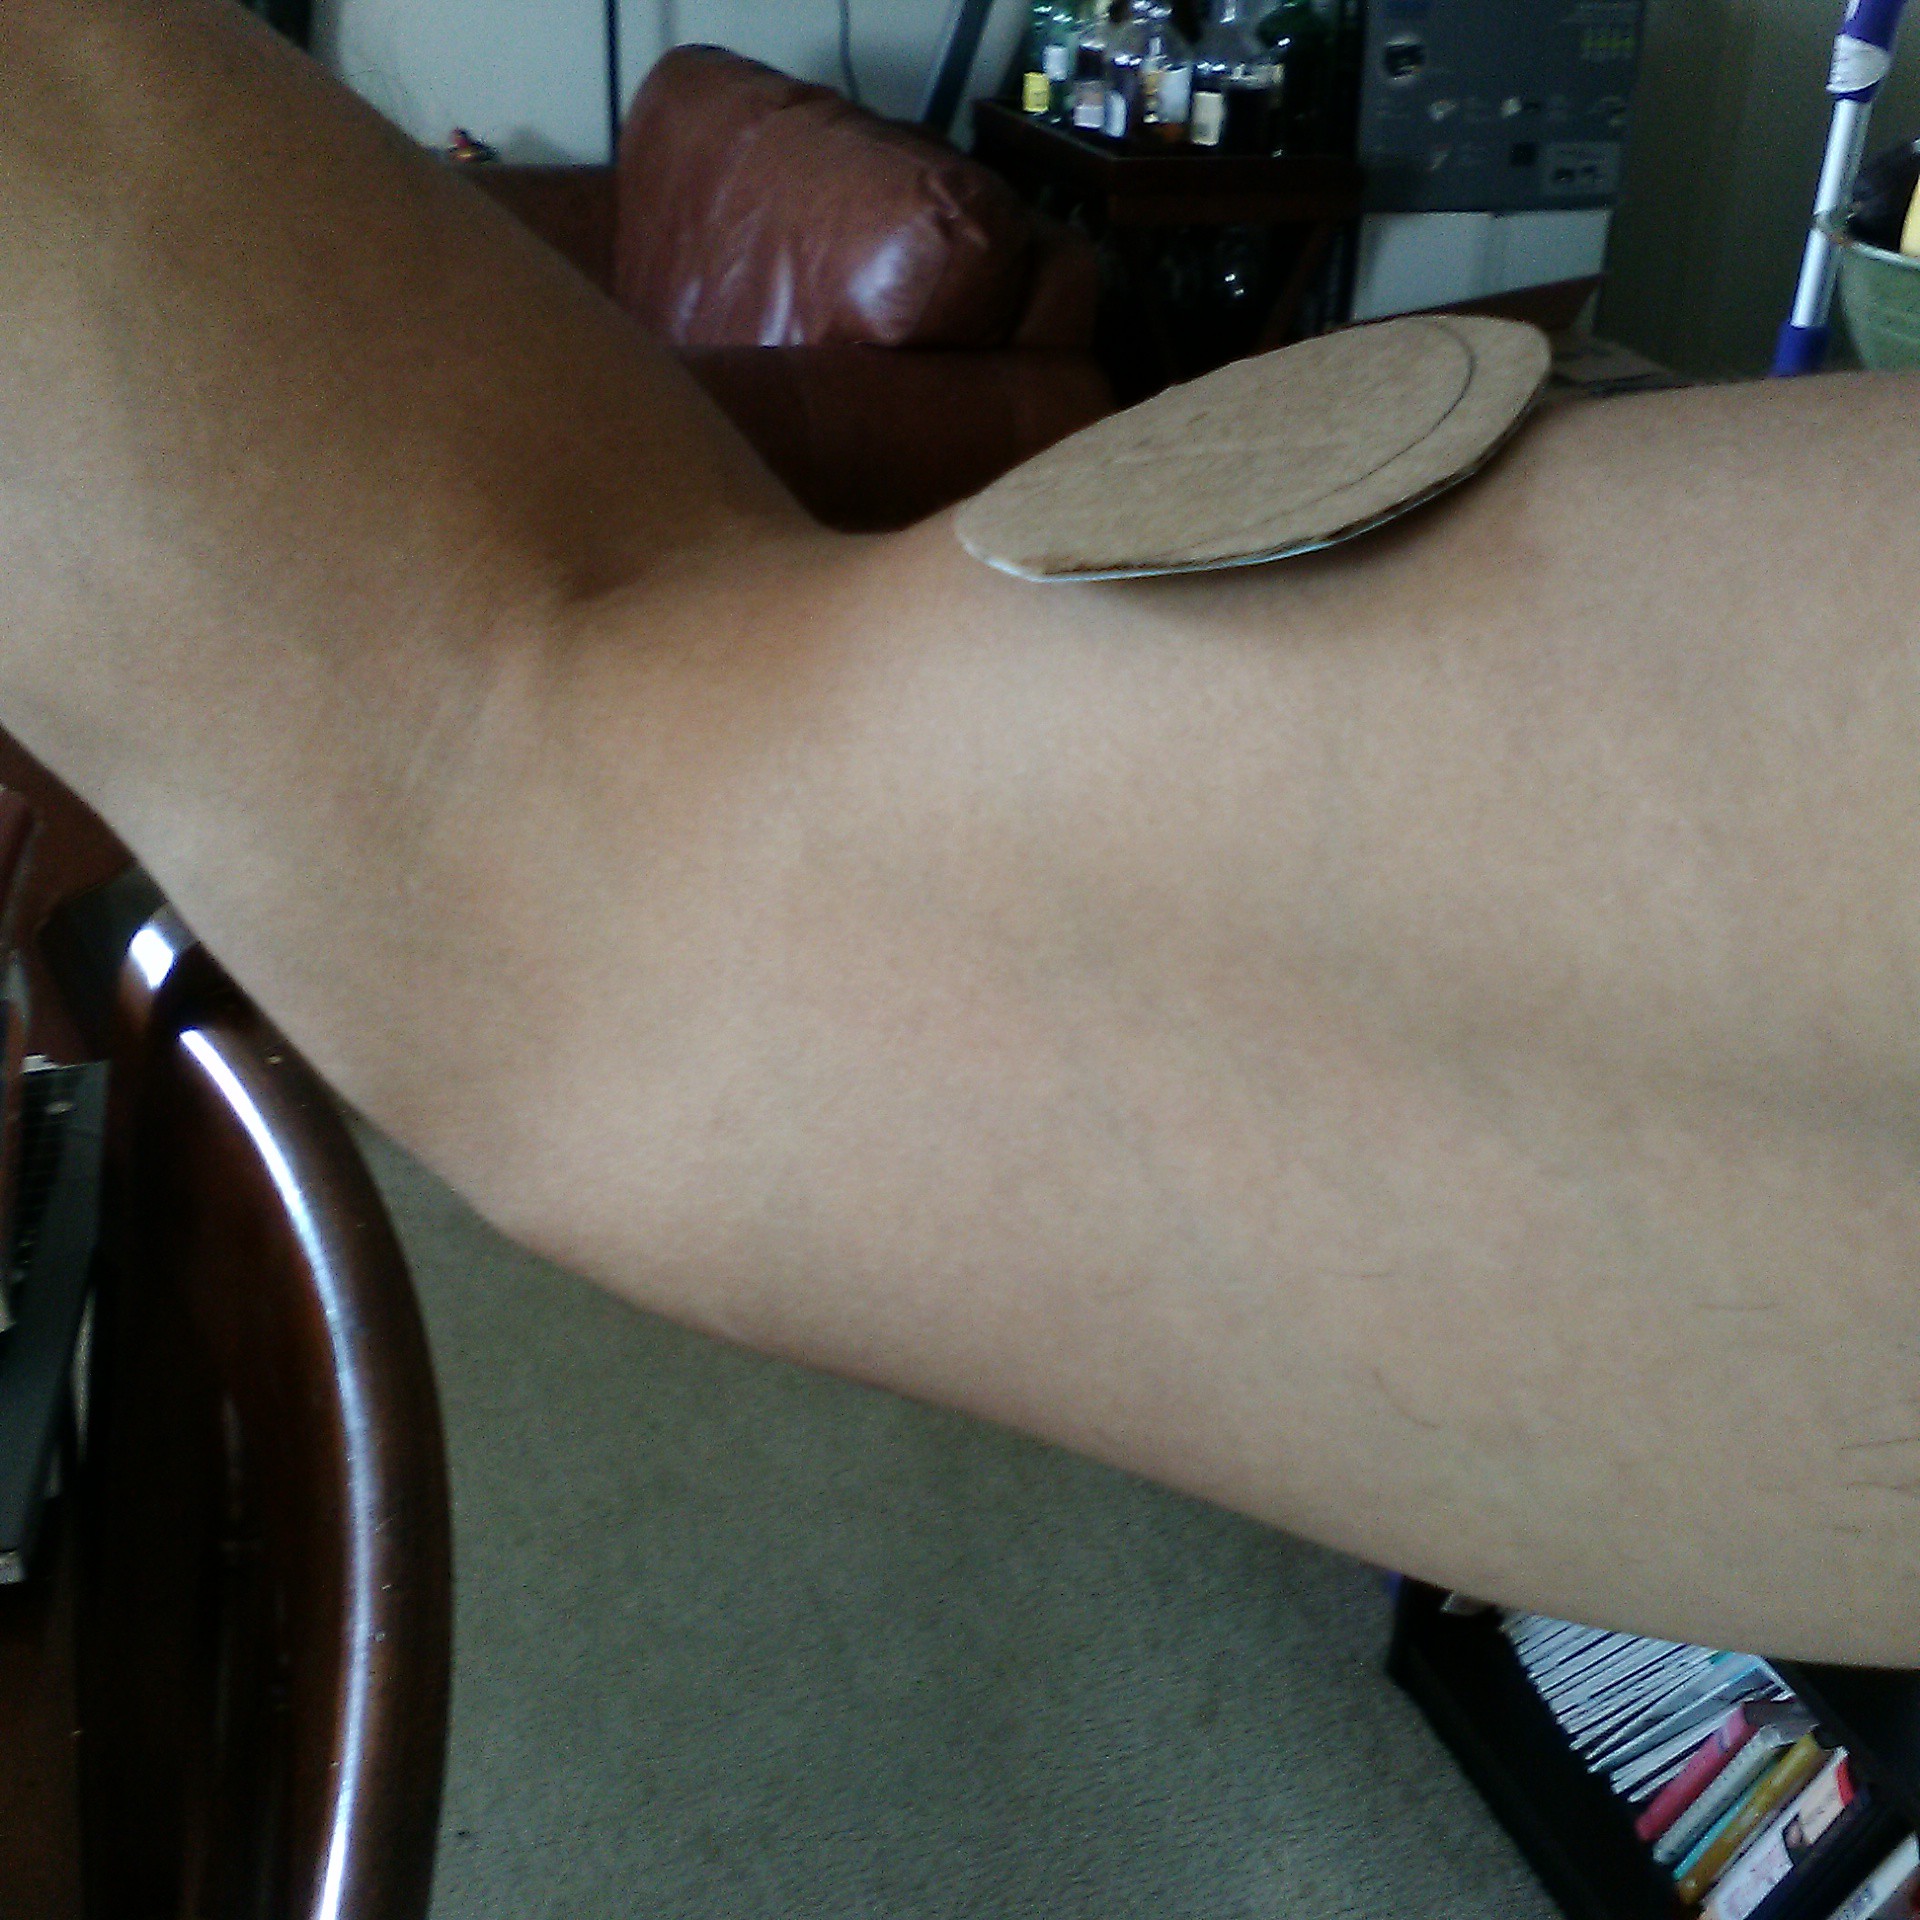
To make it more apparent, I tried balancing it on my biceps.
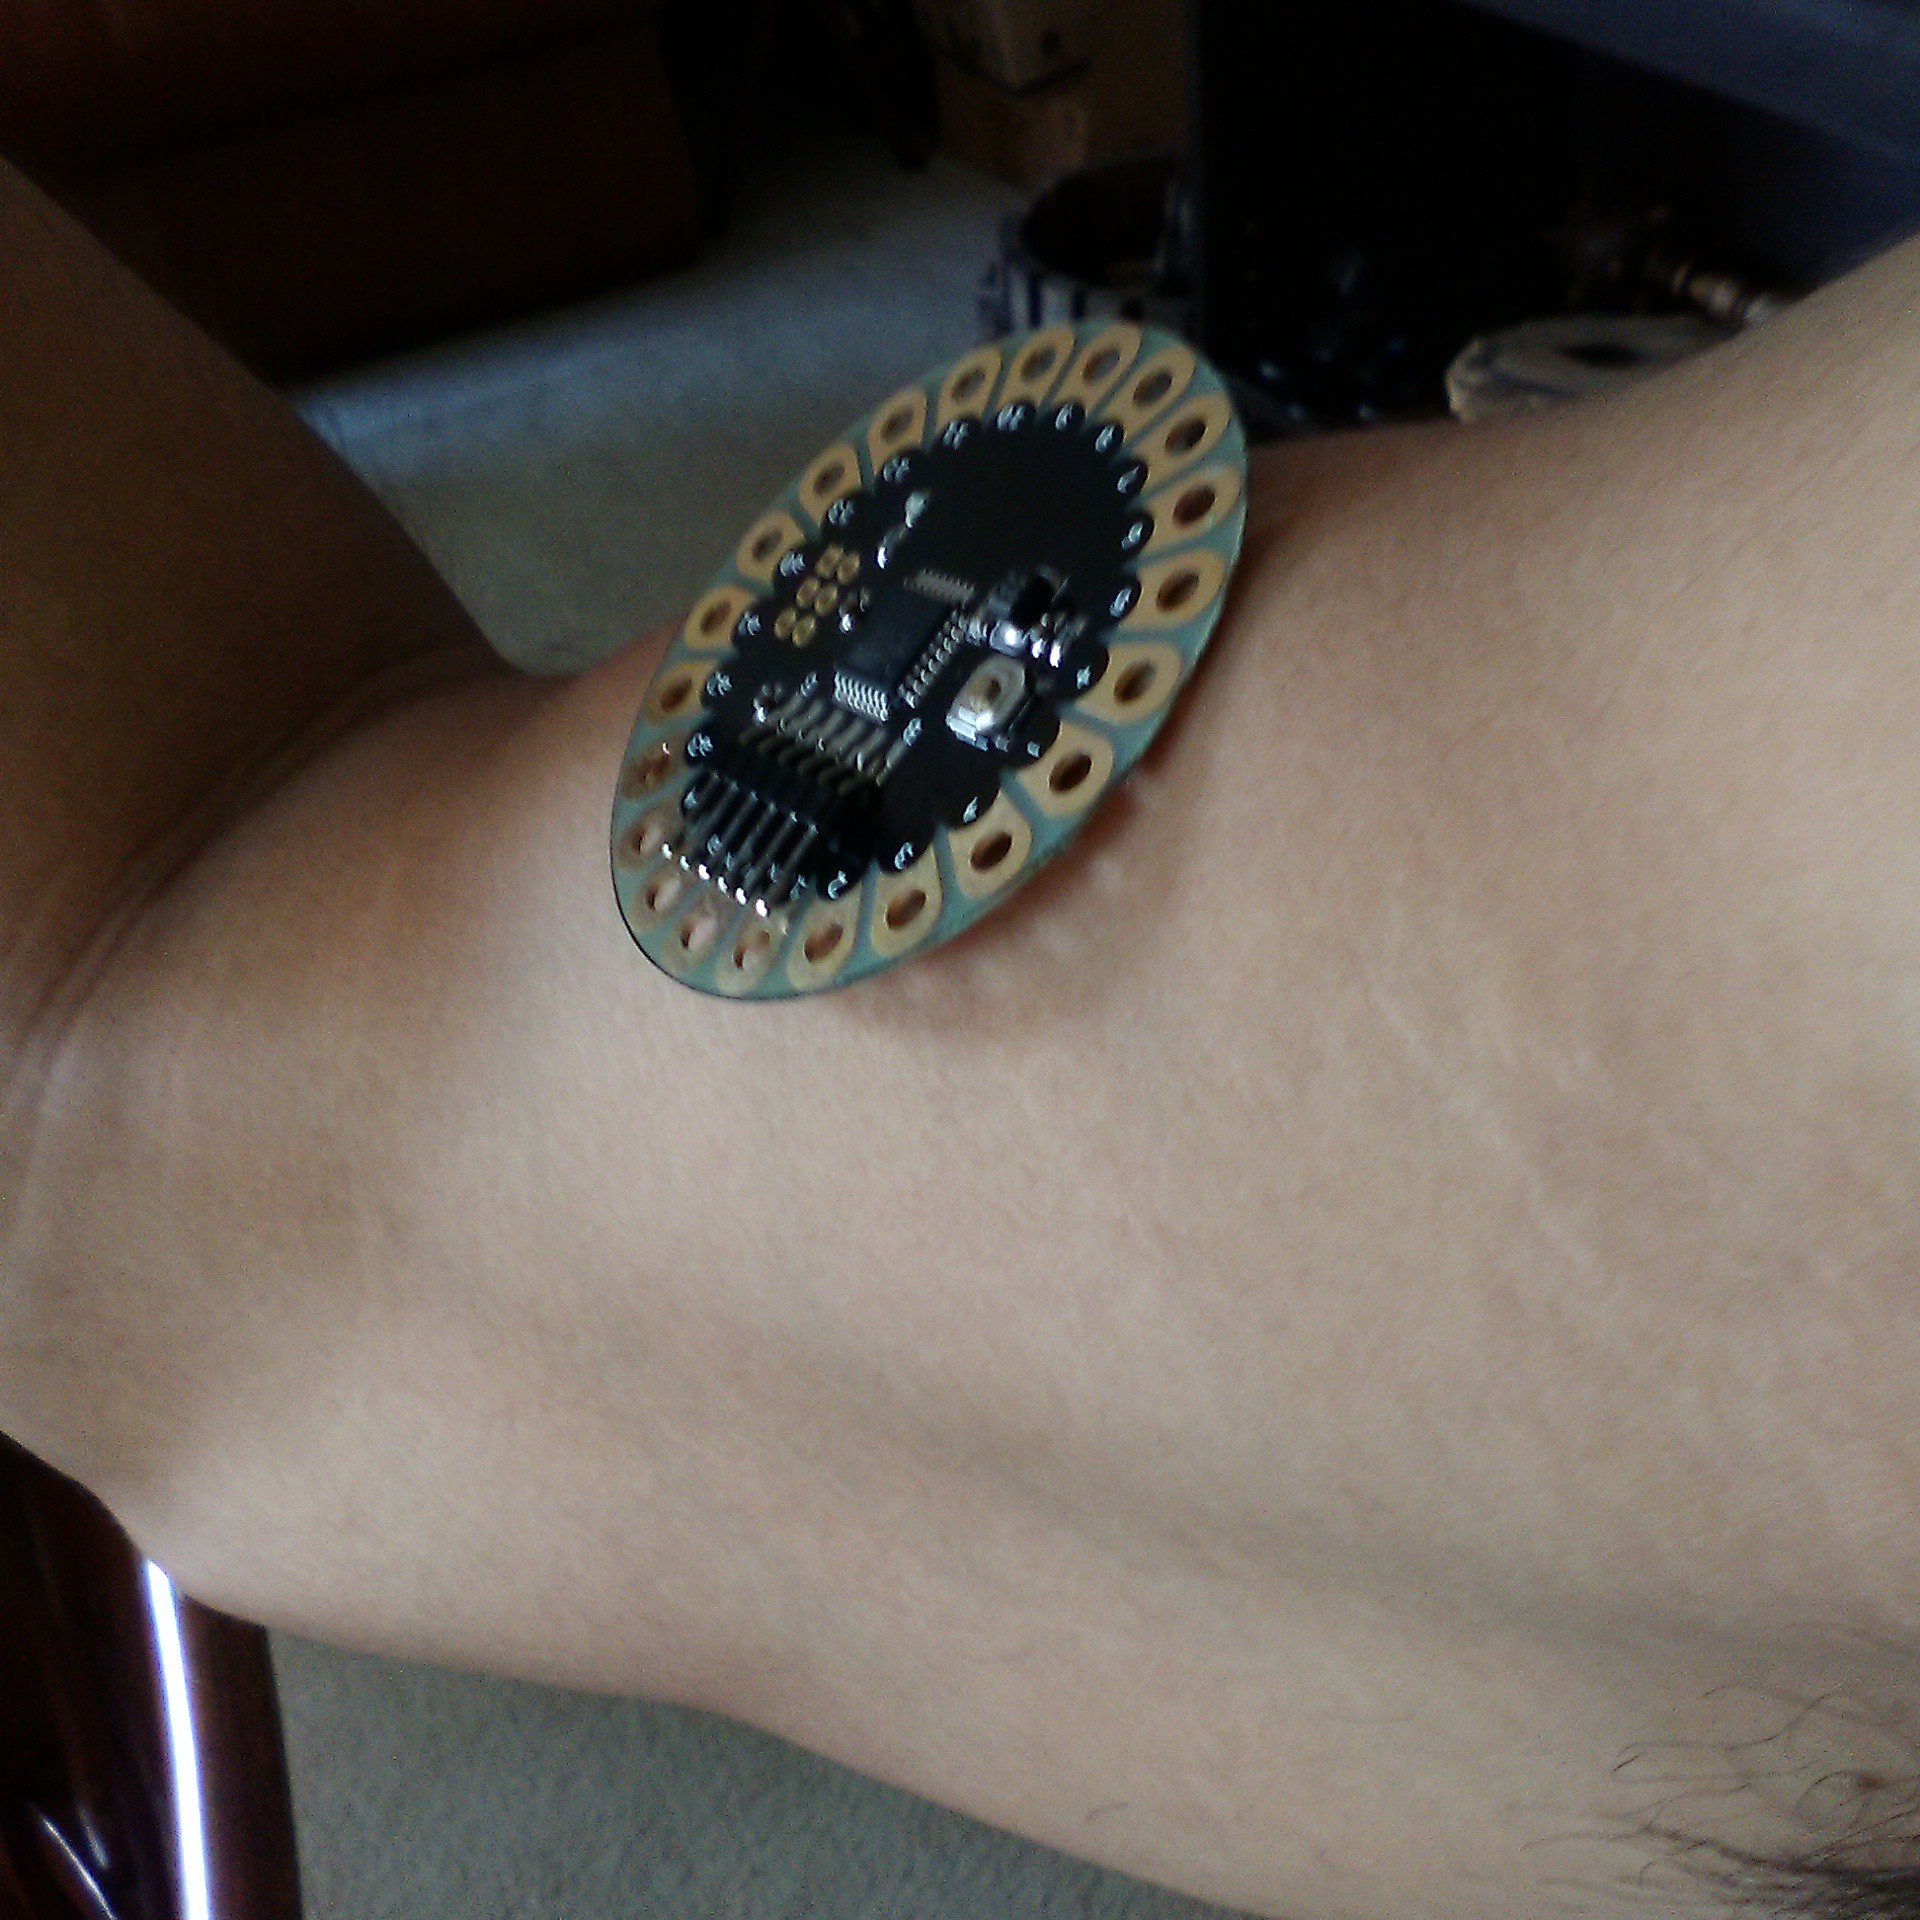
You can see there's a lot of overhang. But the Lilypad also has the same set of problems as well, due to its geometry.
Since both shapes have issues, and in keeping with the Shanzhai theme, I decided to copy from the best source out there. Mother Nature. Biomimicry is one of my favorite sources of inspiration. And as the old saying goes, "Good artists copy. Great one's steal." Now, in this case, I grabbed something from my secret source of creativity. That's my refrigerator. And I grabbed this.
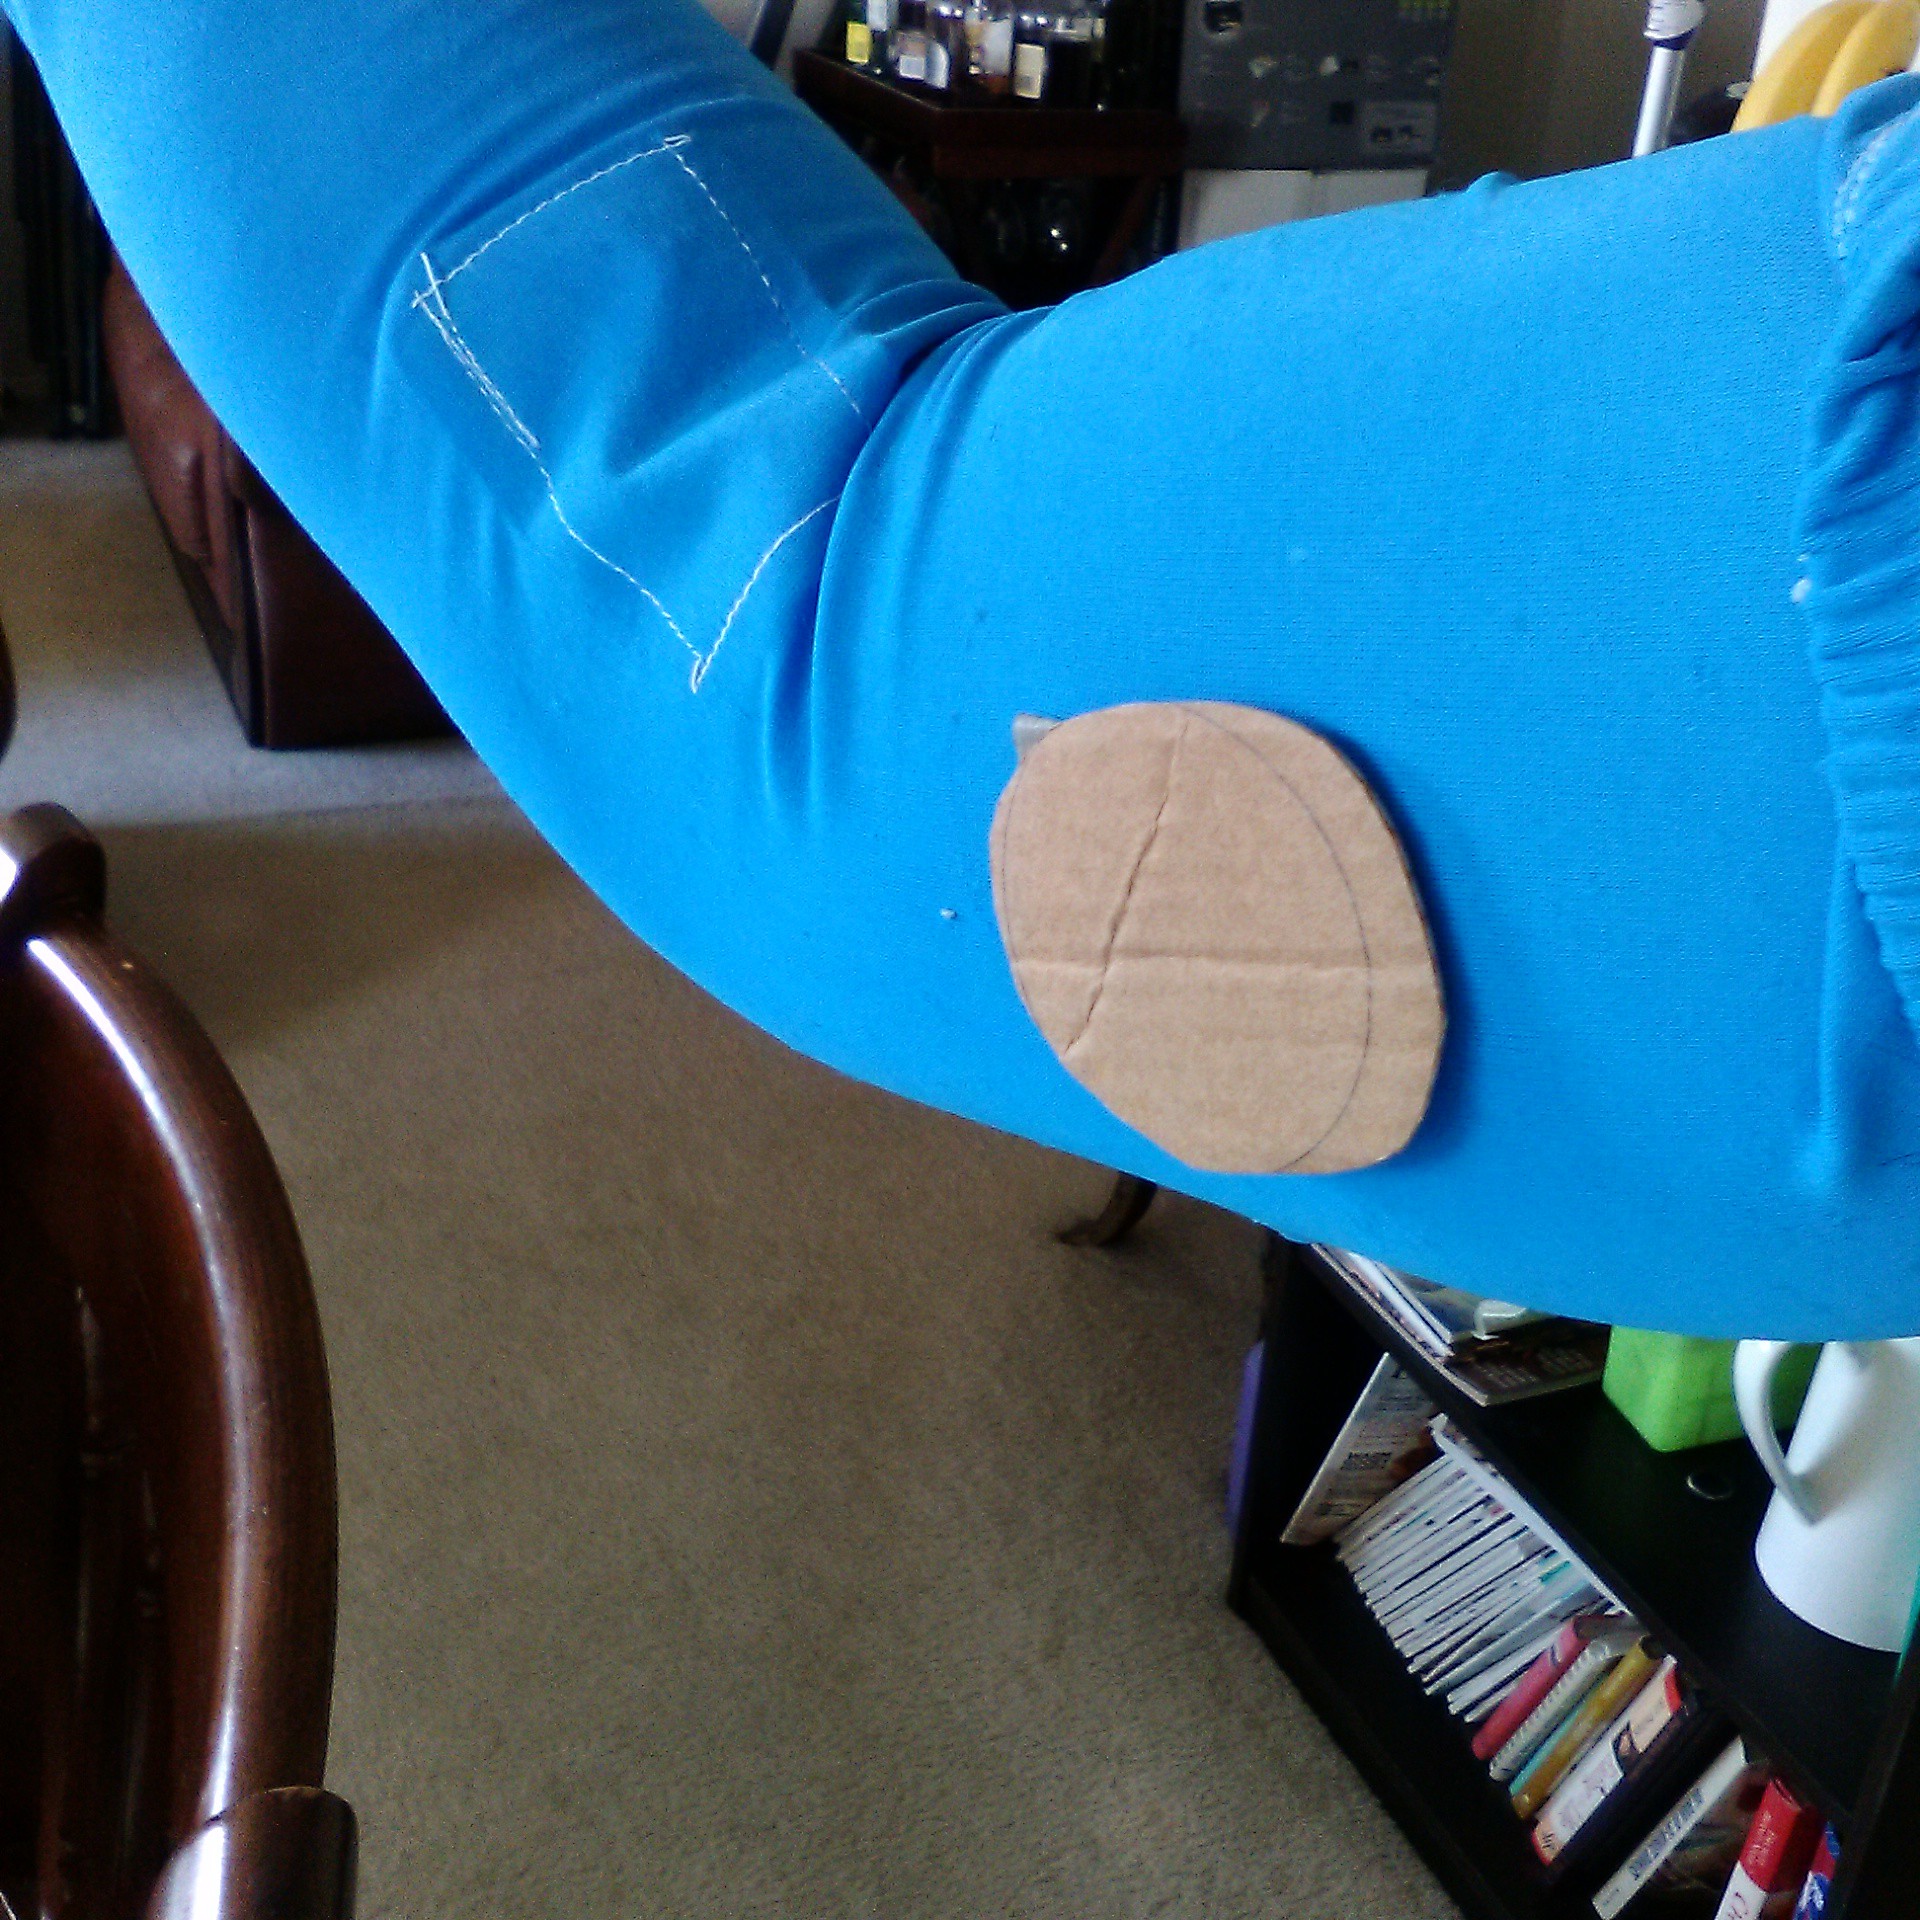
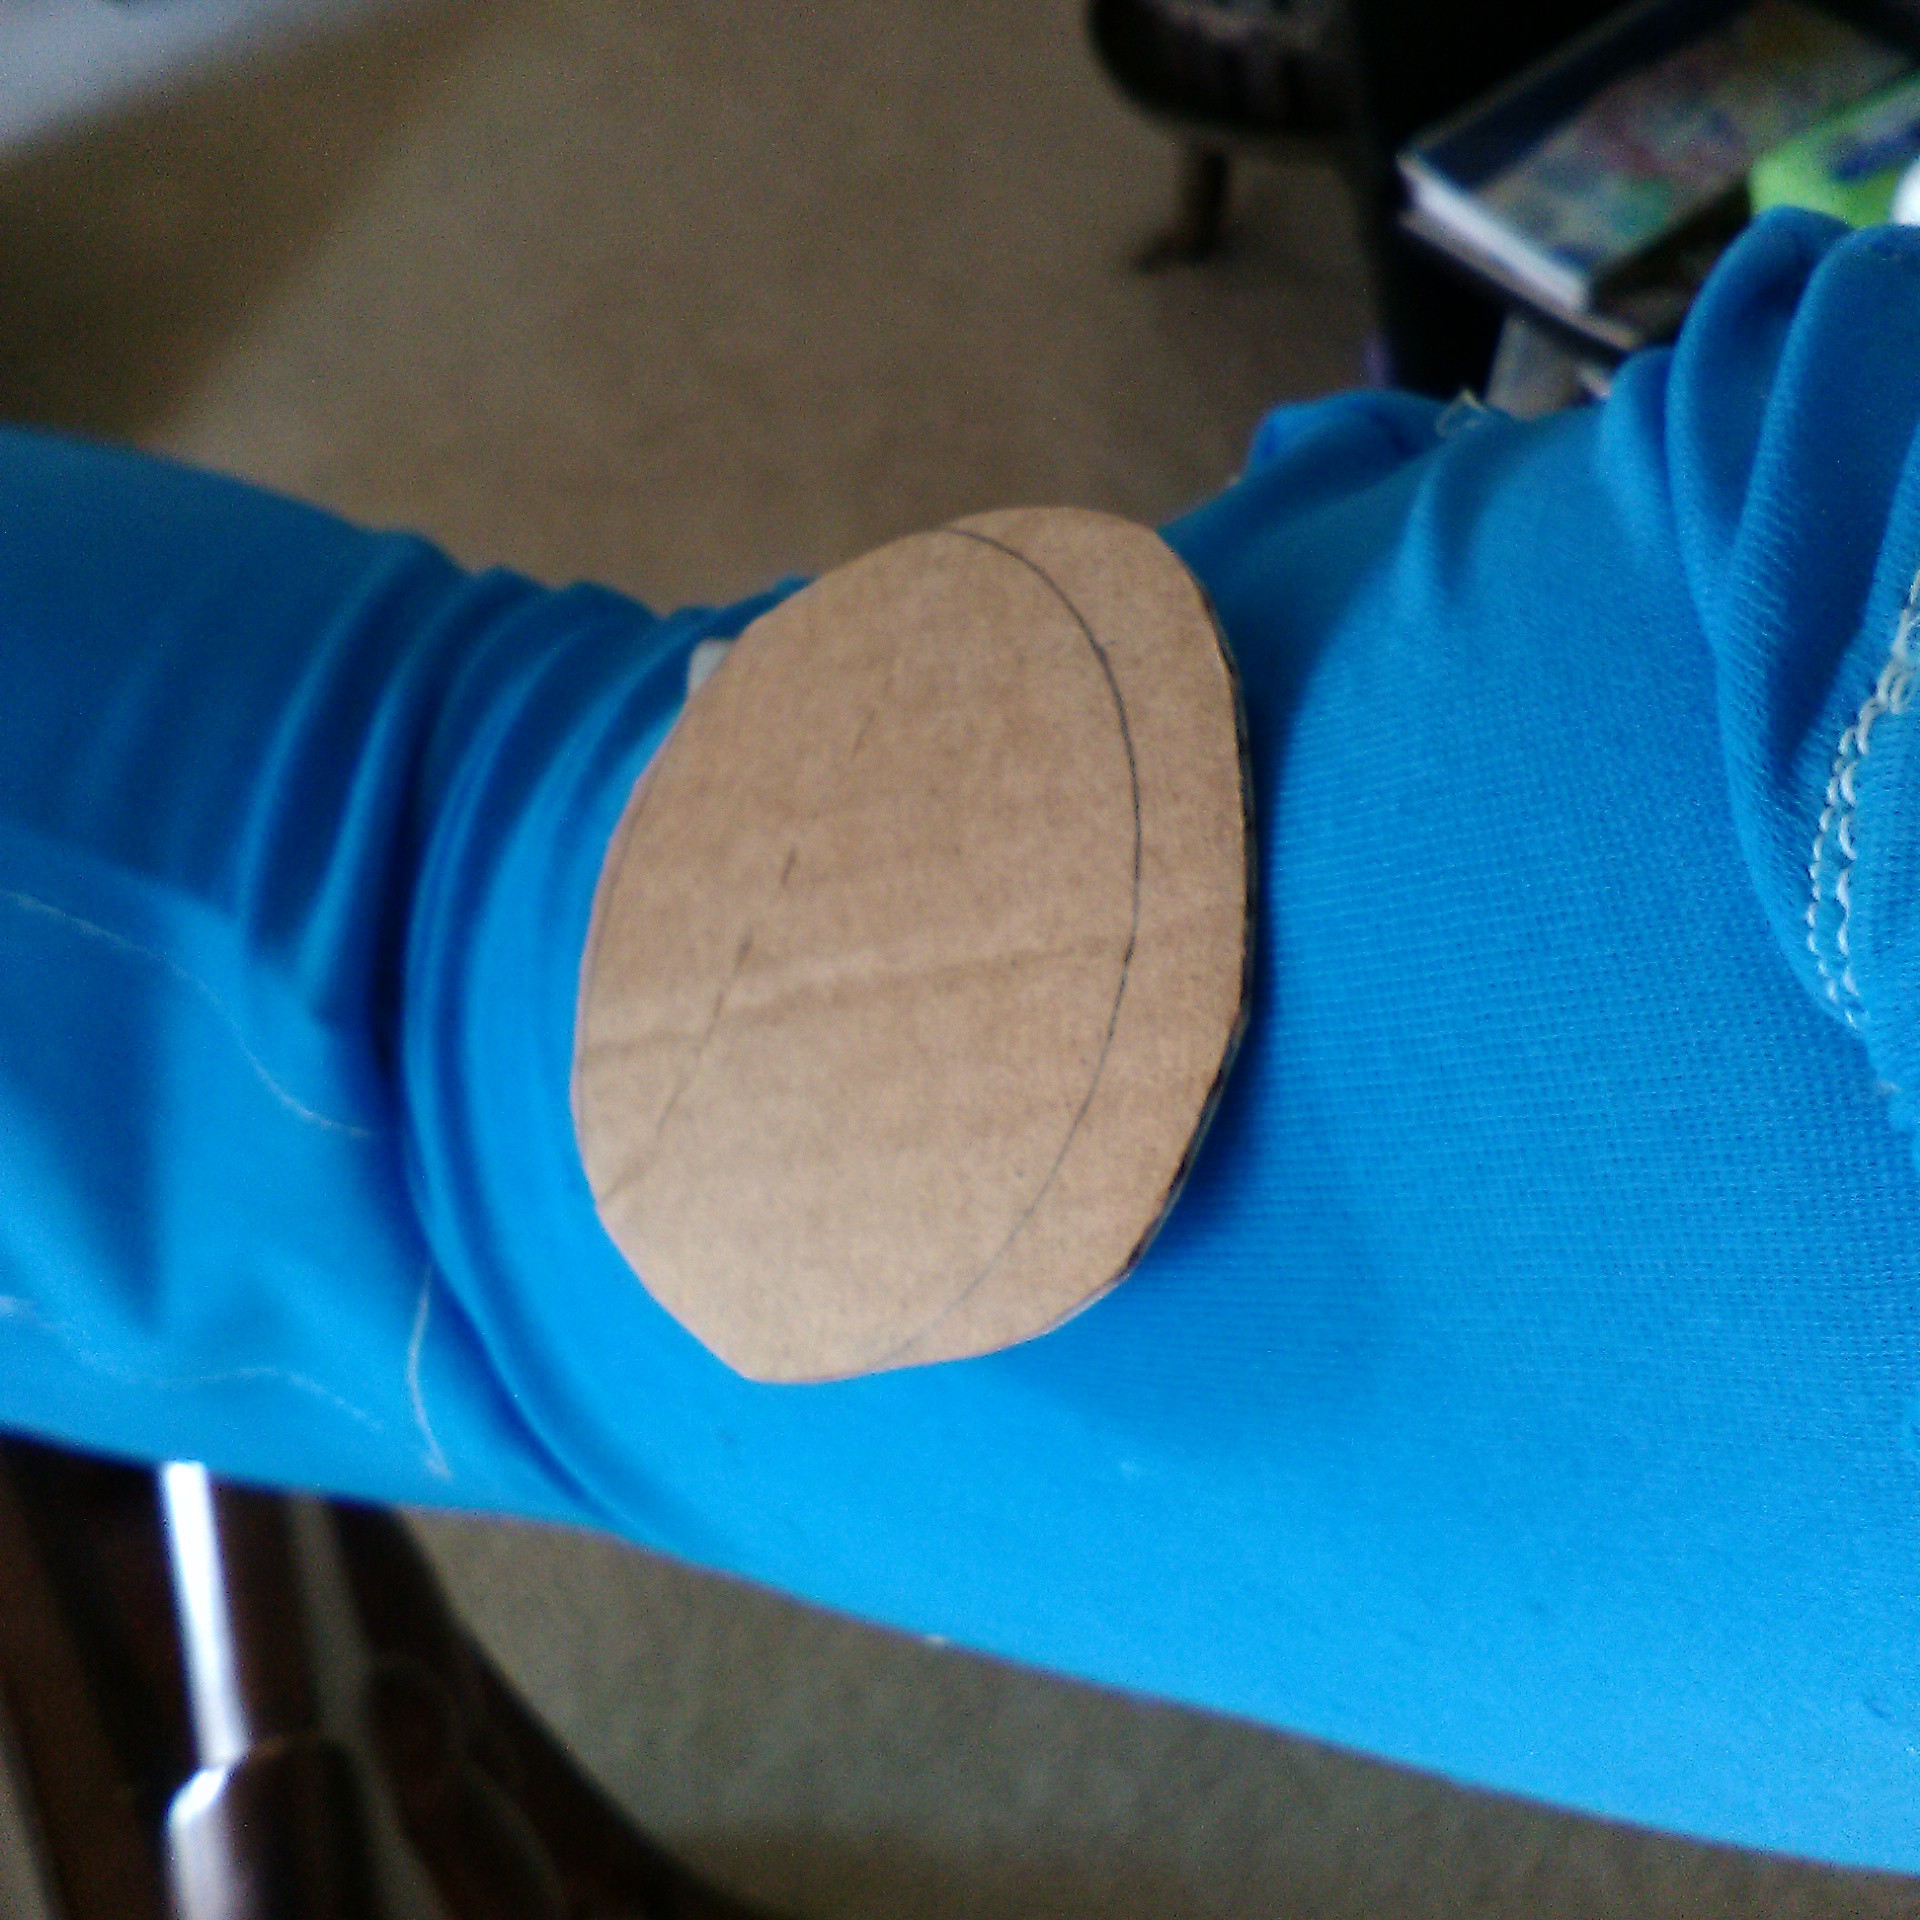
I grabbed an egg! Next, I balanced it on my arm to see if there were as many gaps and areas that might catch.
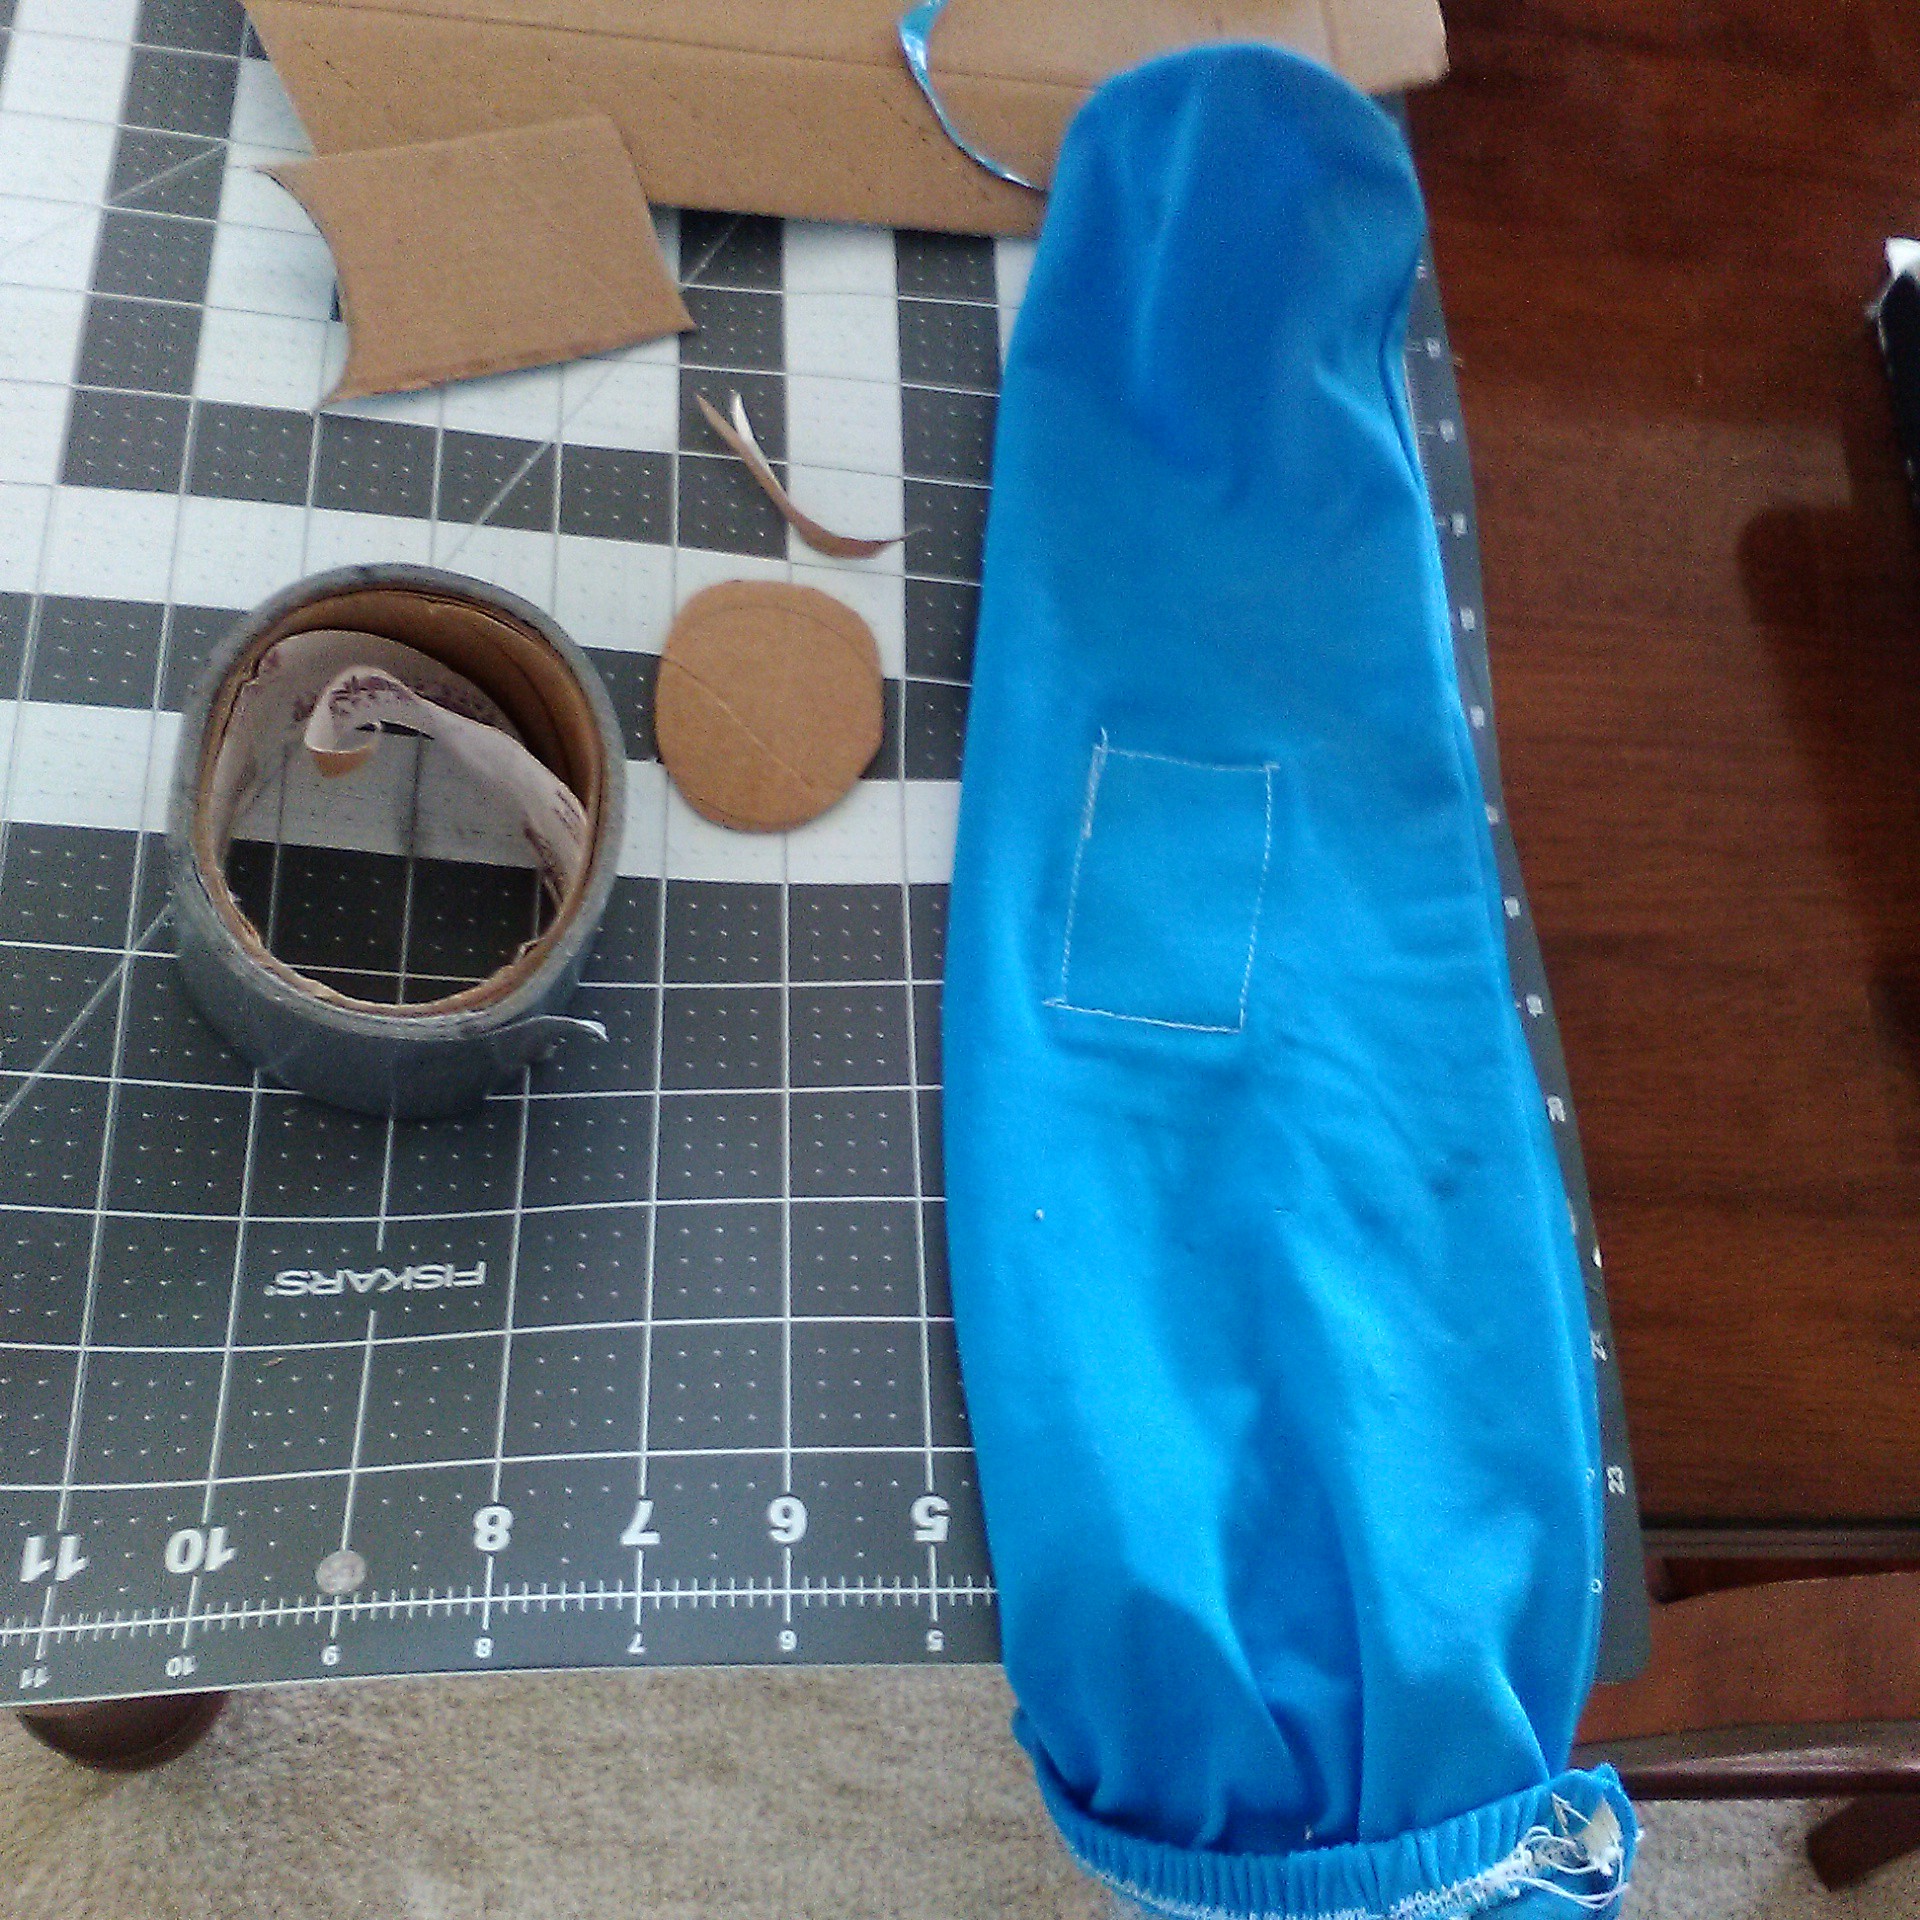
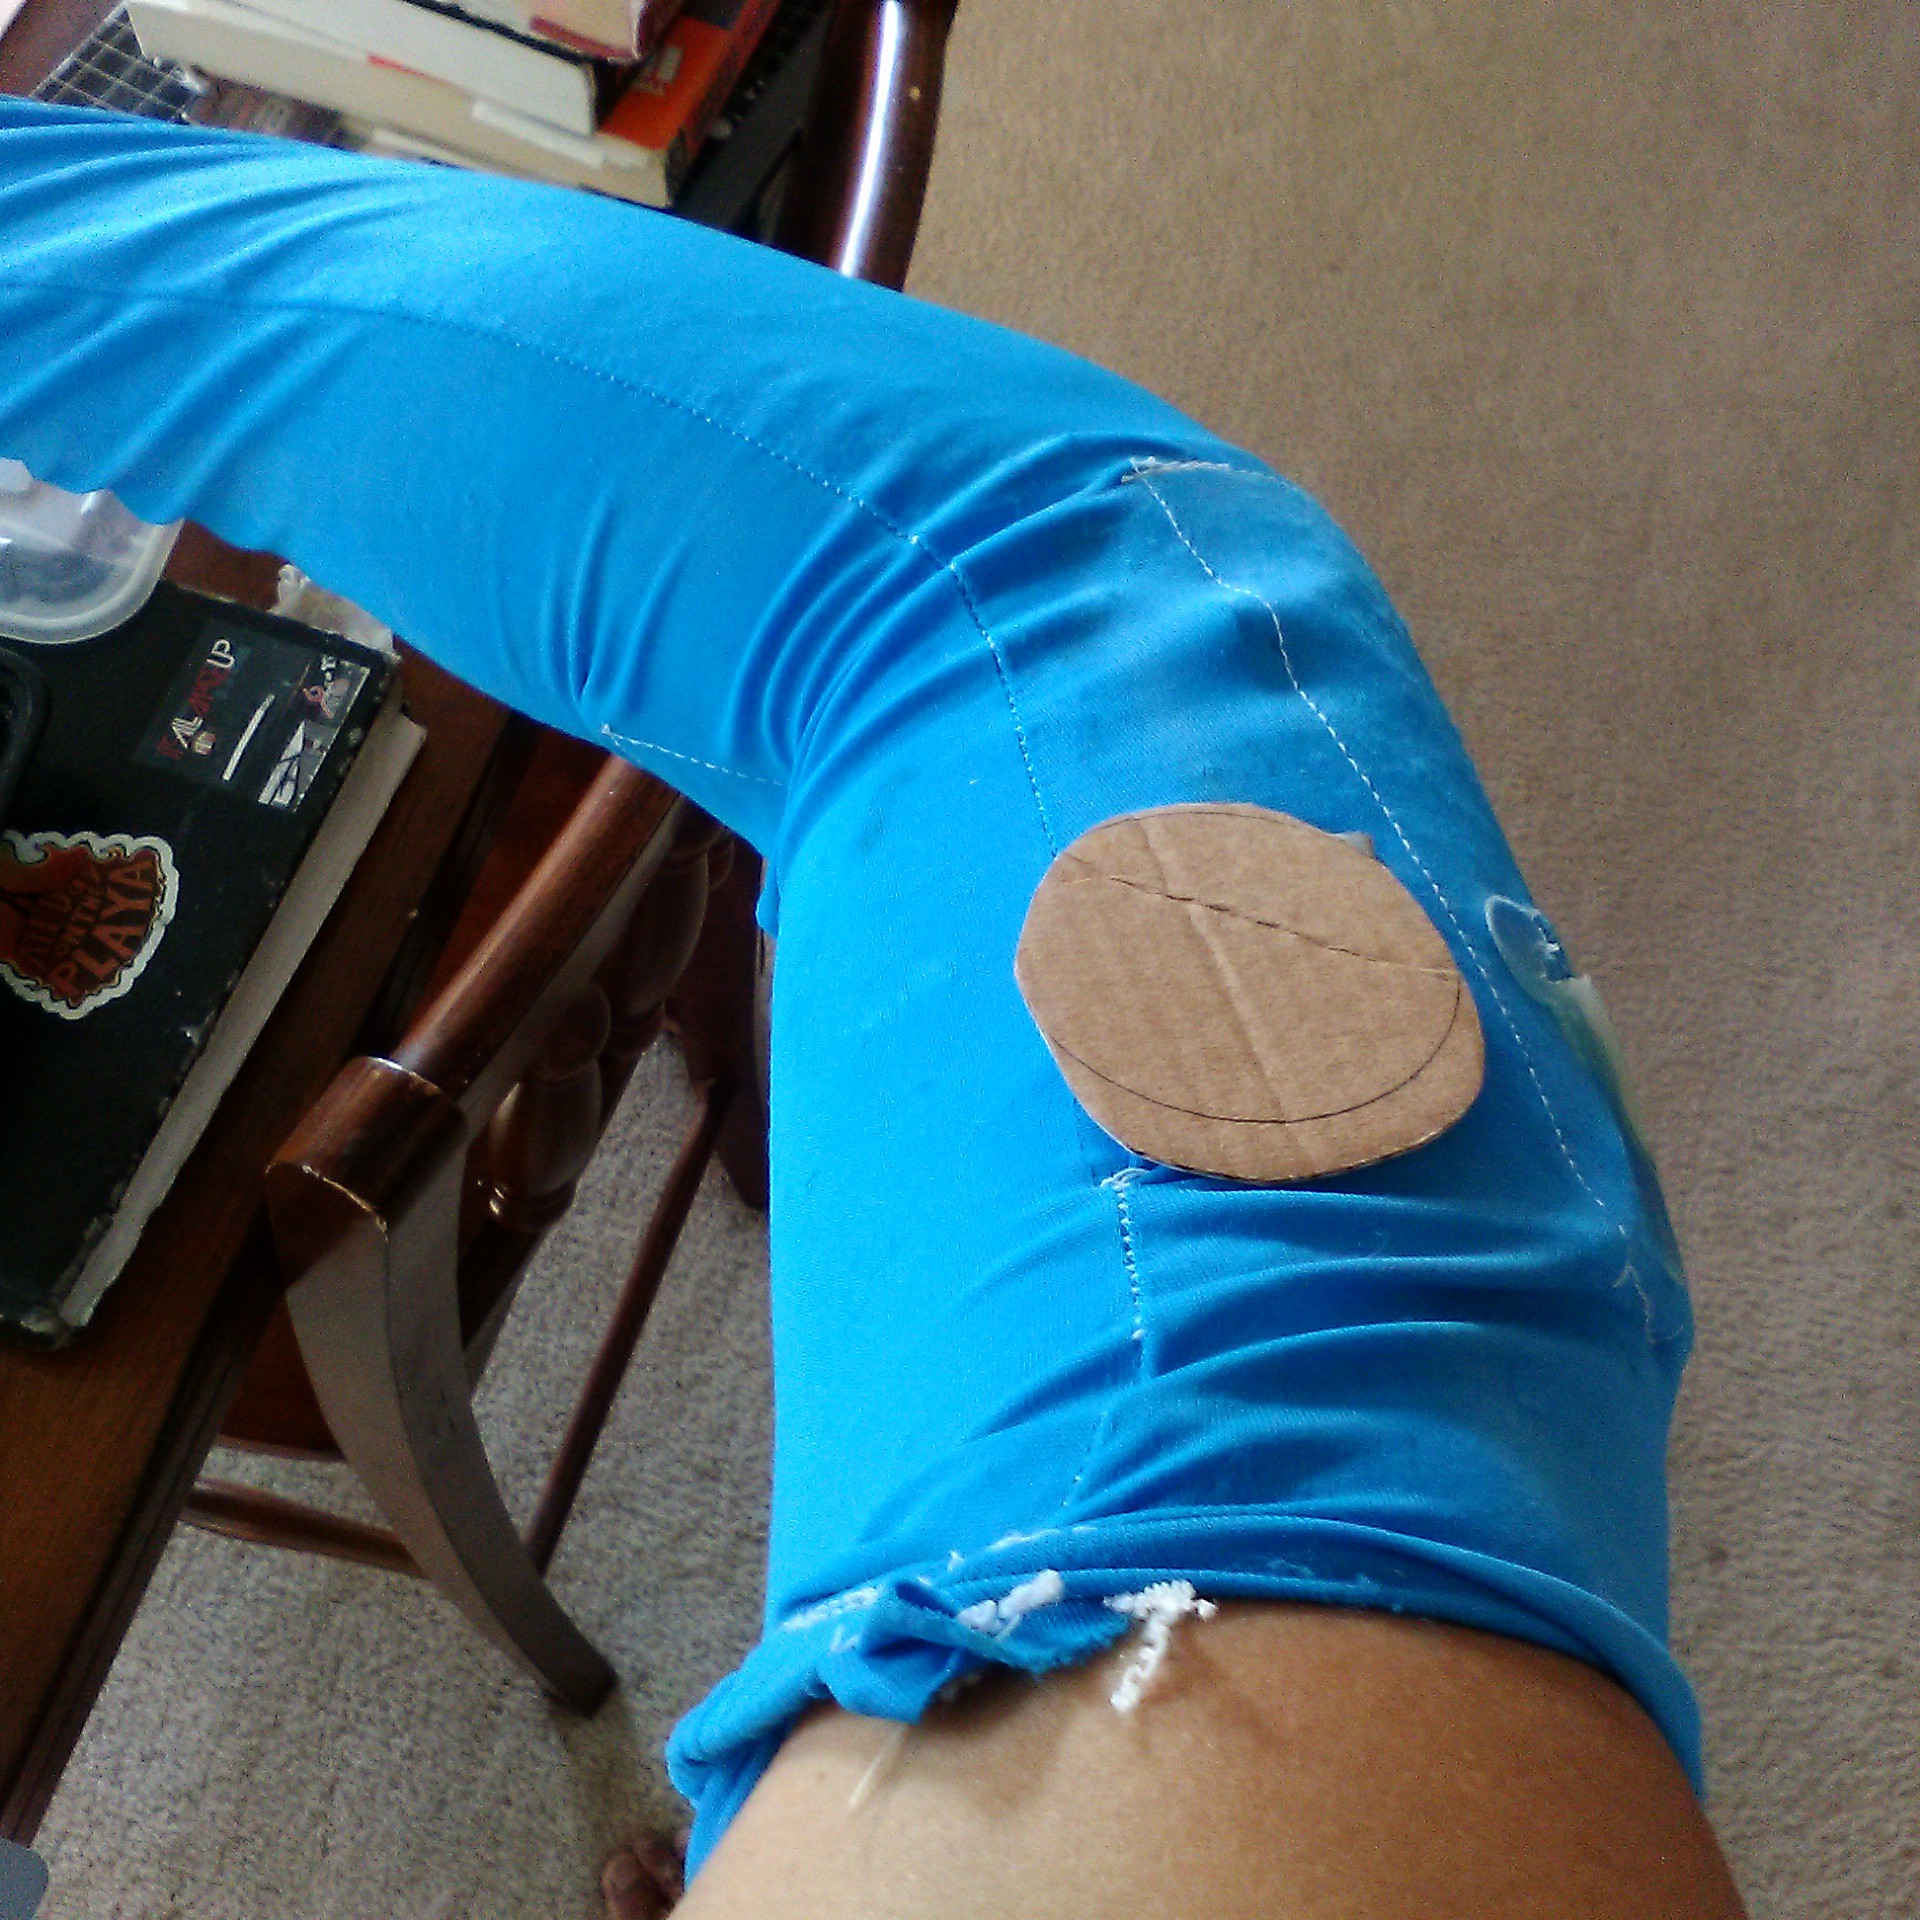
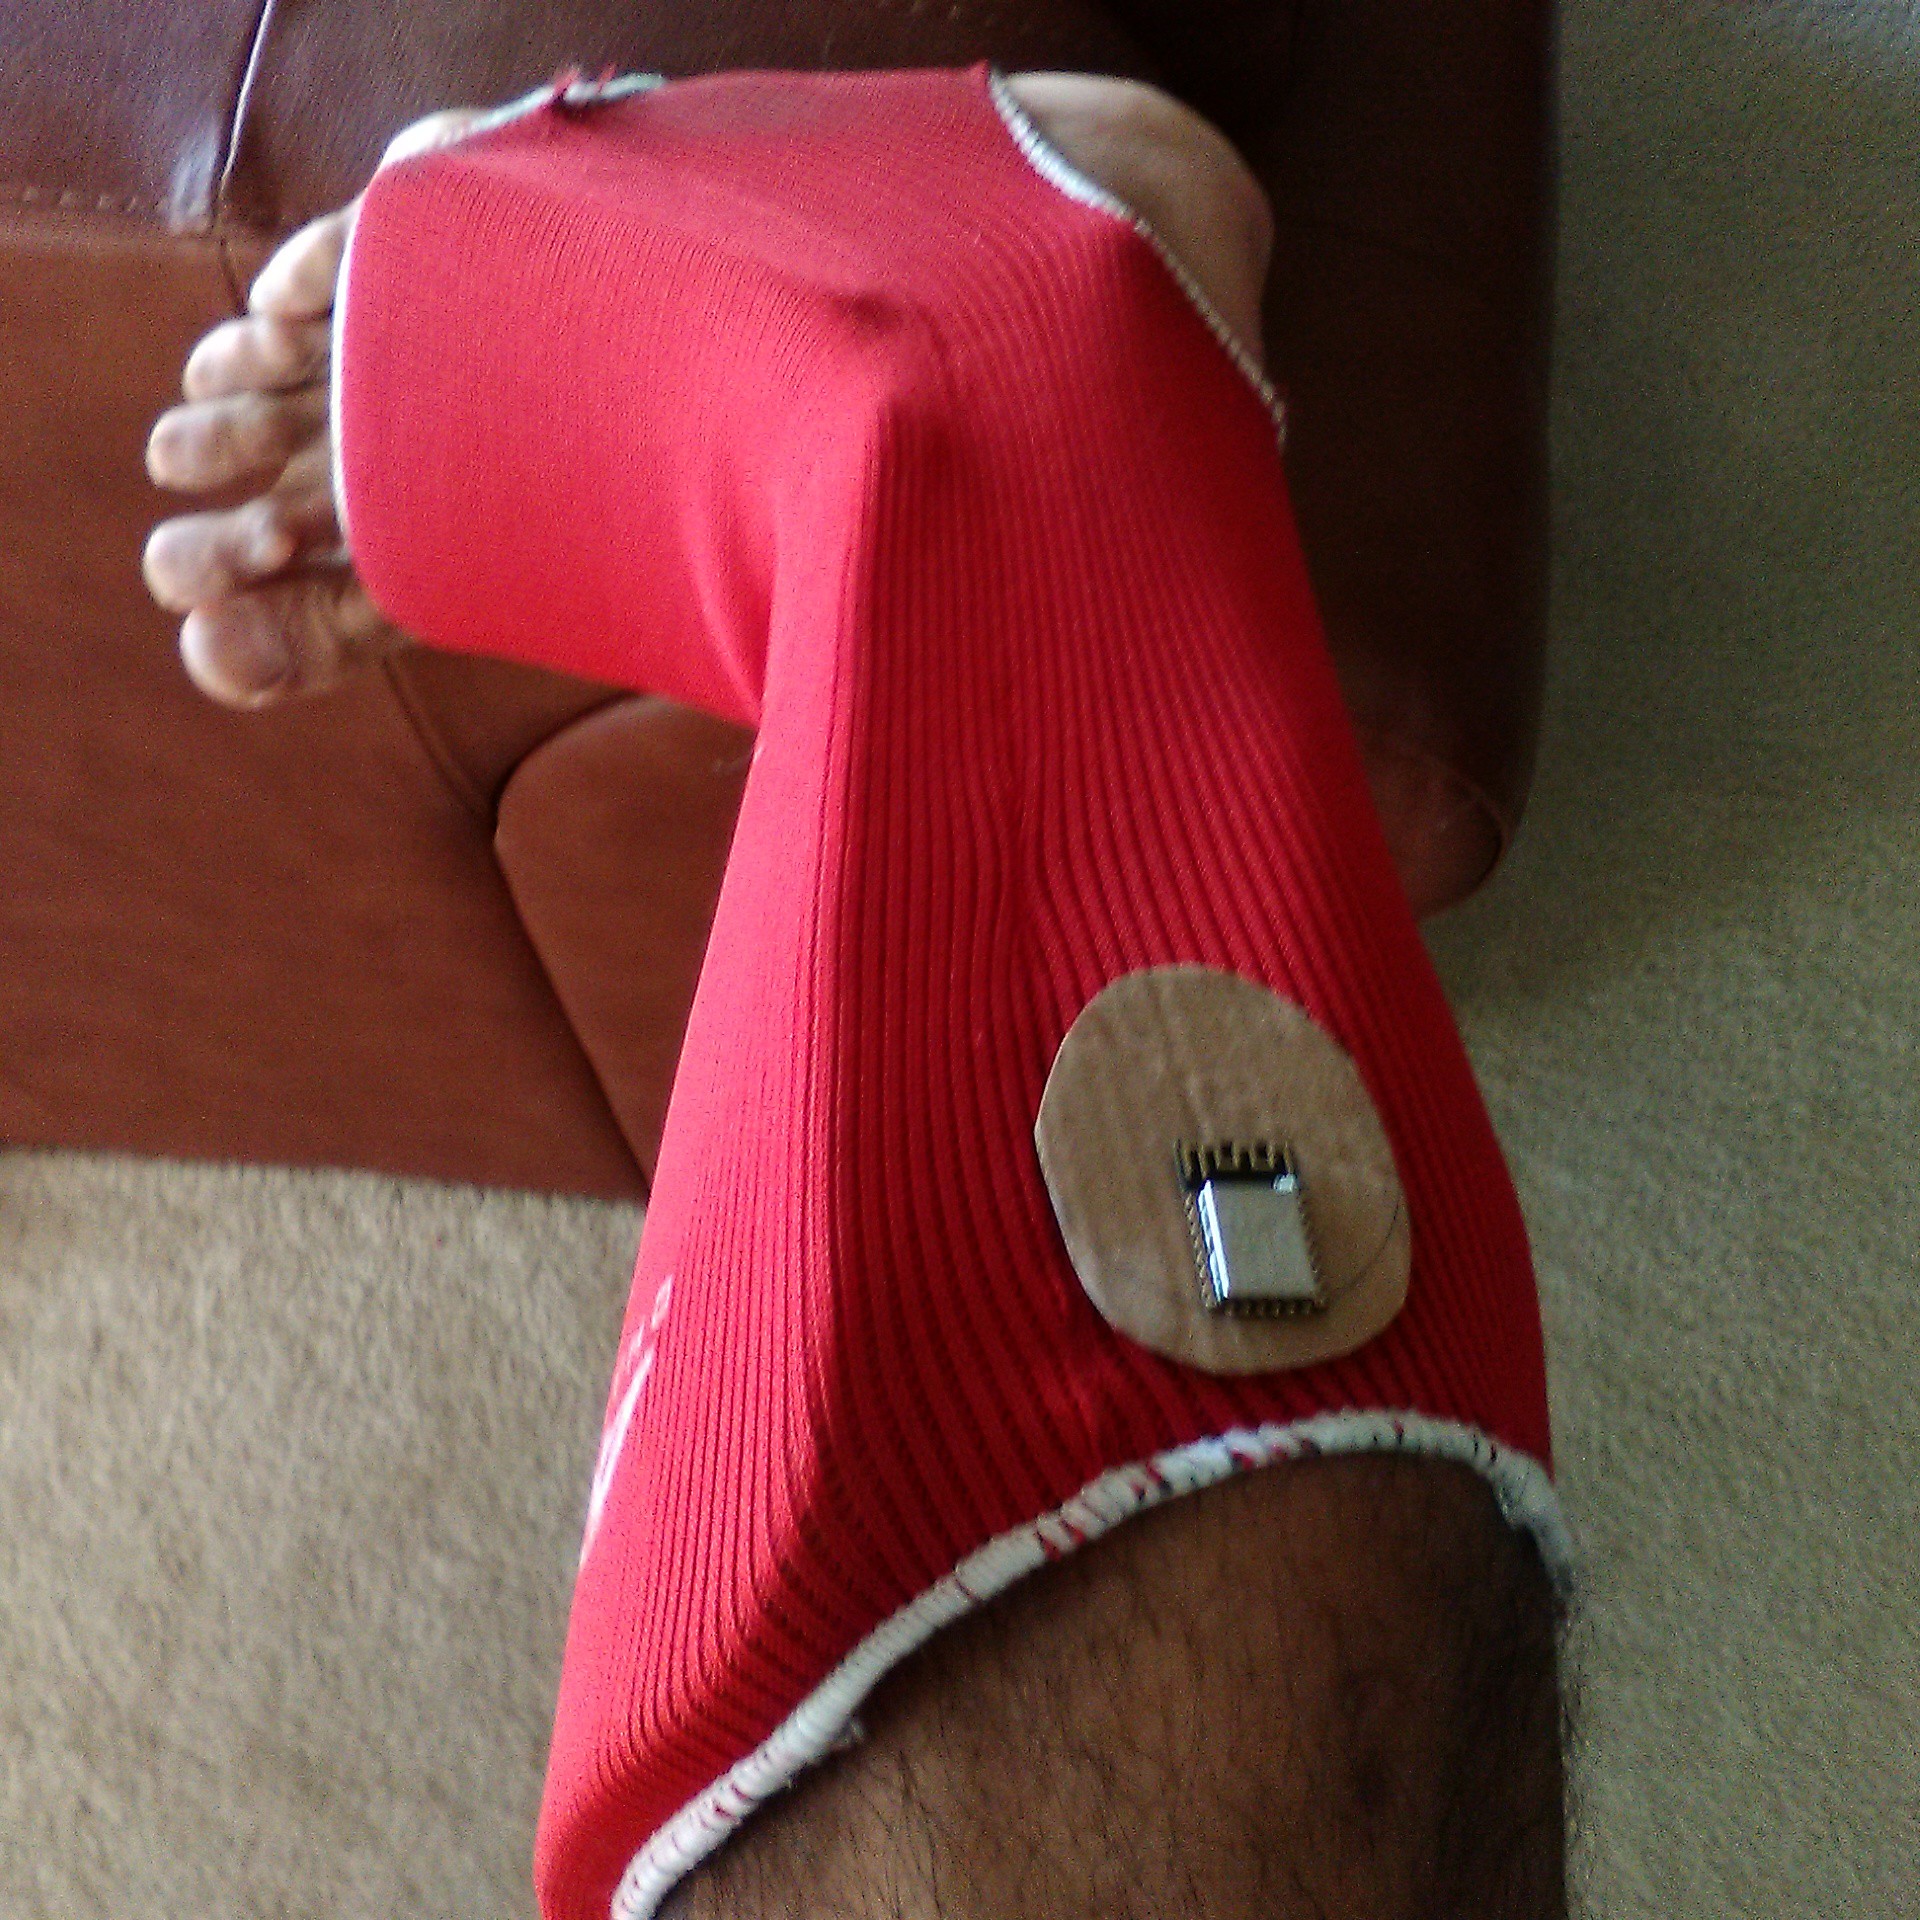
There's a lot less gap and overhang using this design. But balancing cardboard on my muscles isn't the best way to test usability. So, I grabbed a left over arm guard sleeve from my SEMG Board, and used that to model where I'd wear this thing.
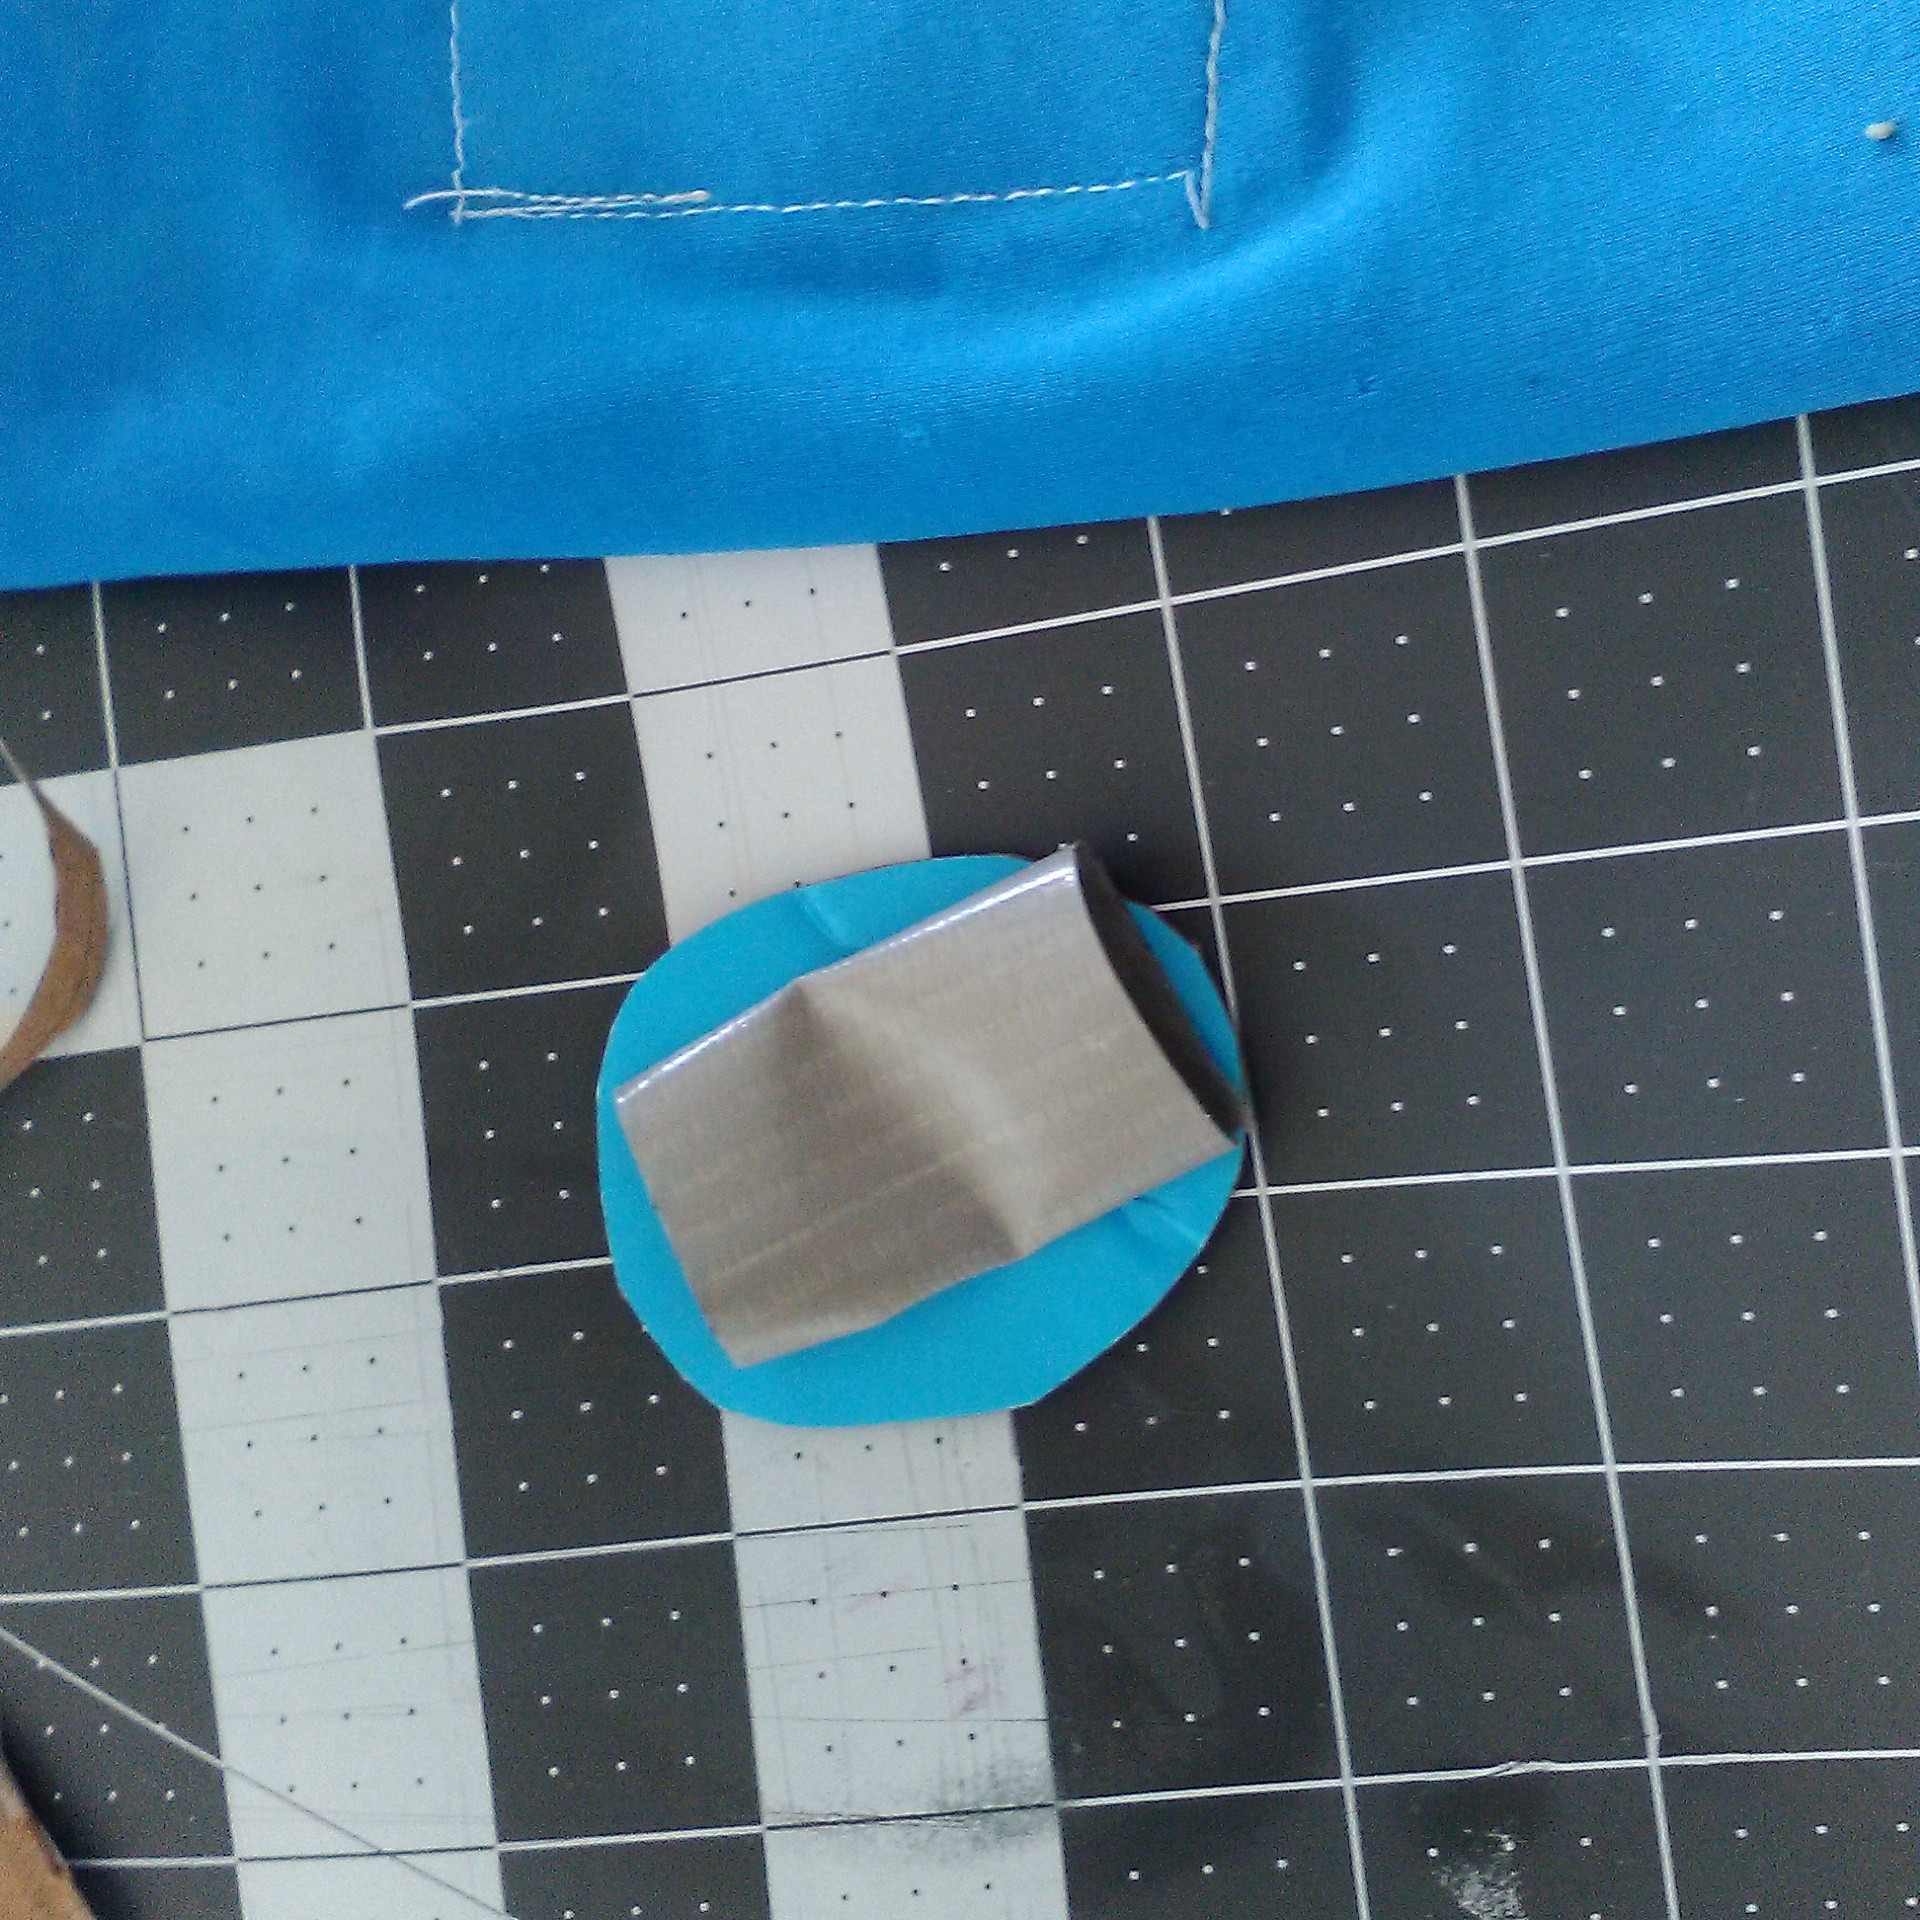
The next key prototyper tool is the thing that holds the universe together. Duct tape!
And then I tried several different locations to get a feel for the prototype.
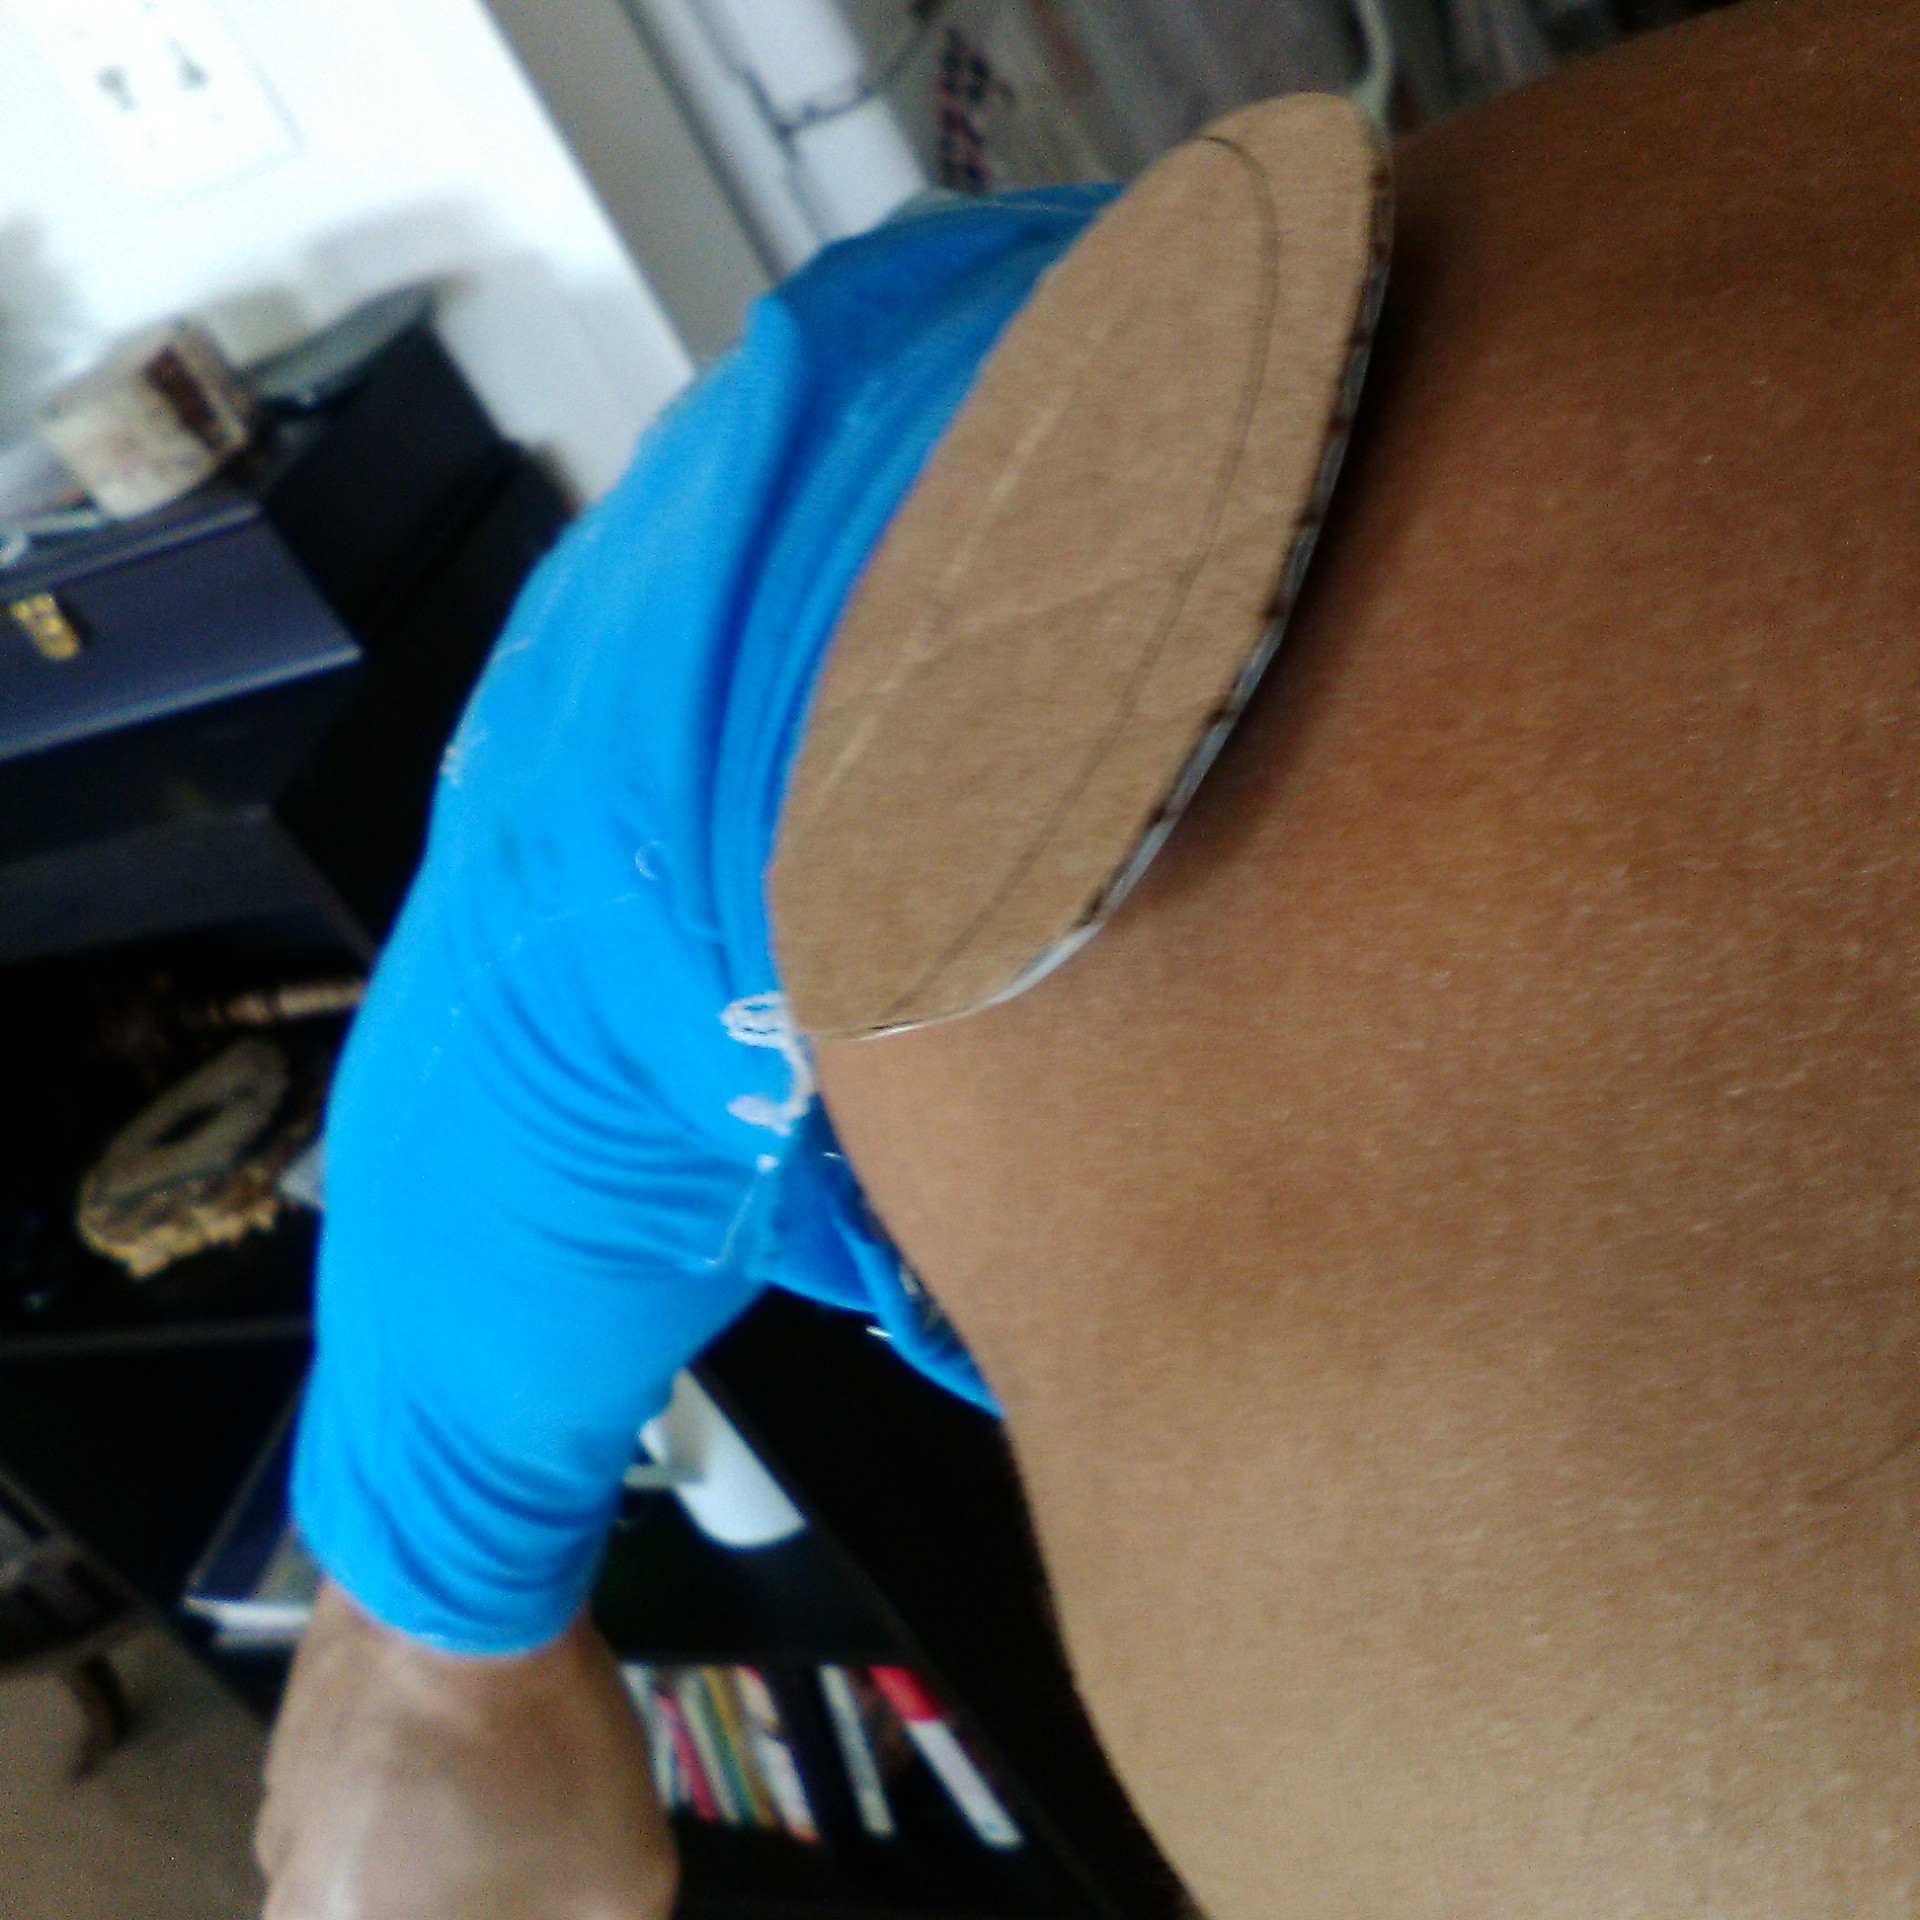
I also wanted to see how it would feel on my shoulders.
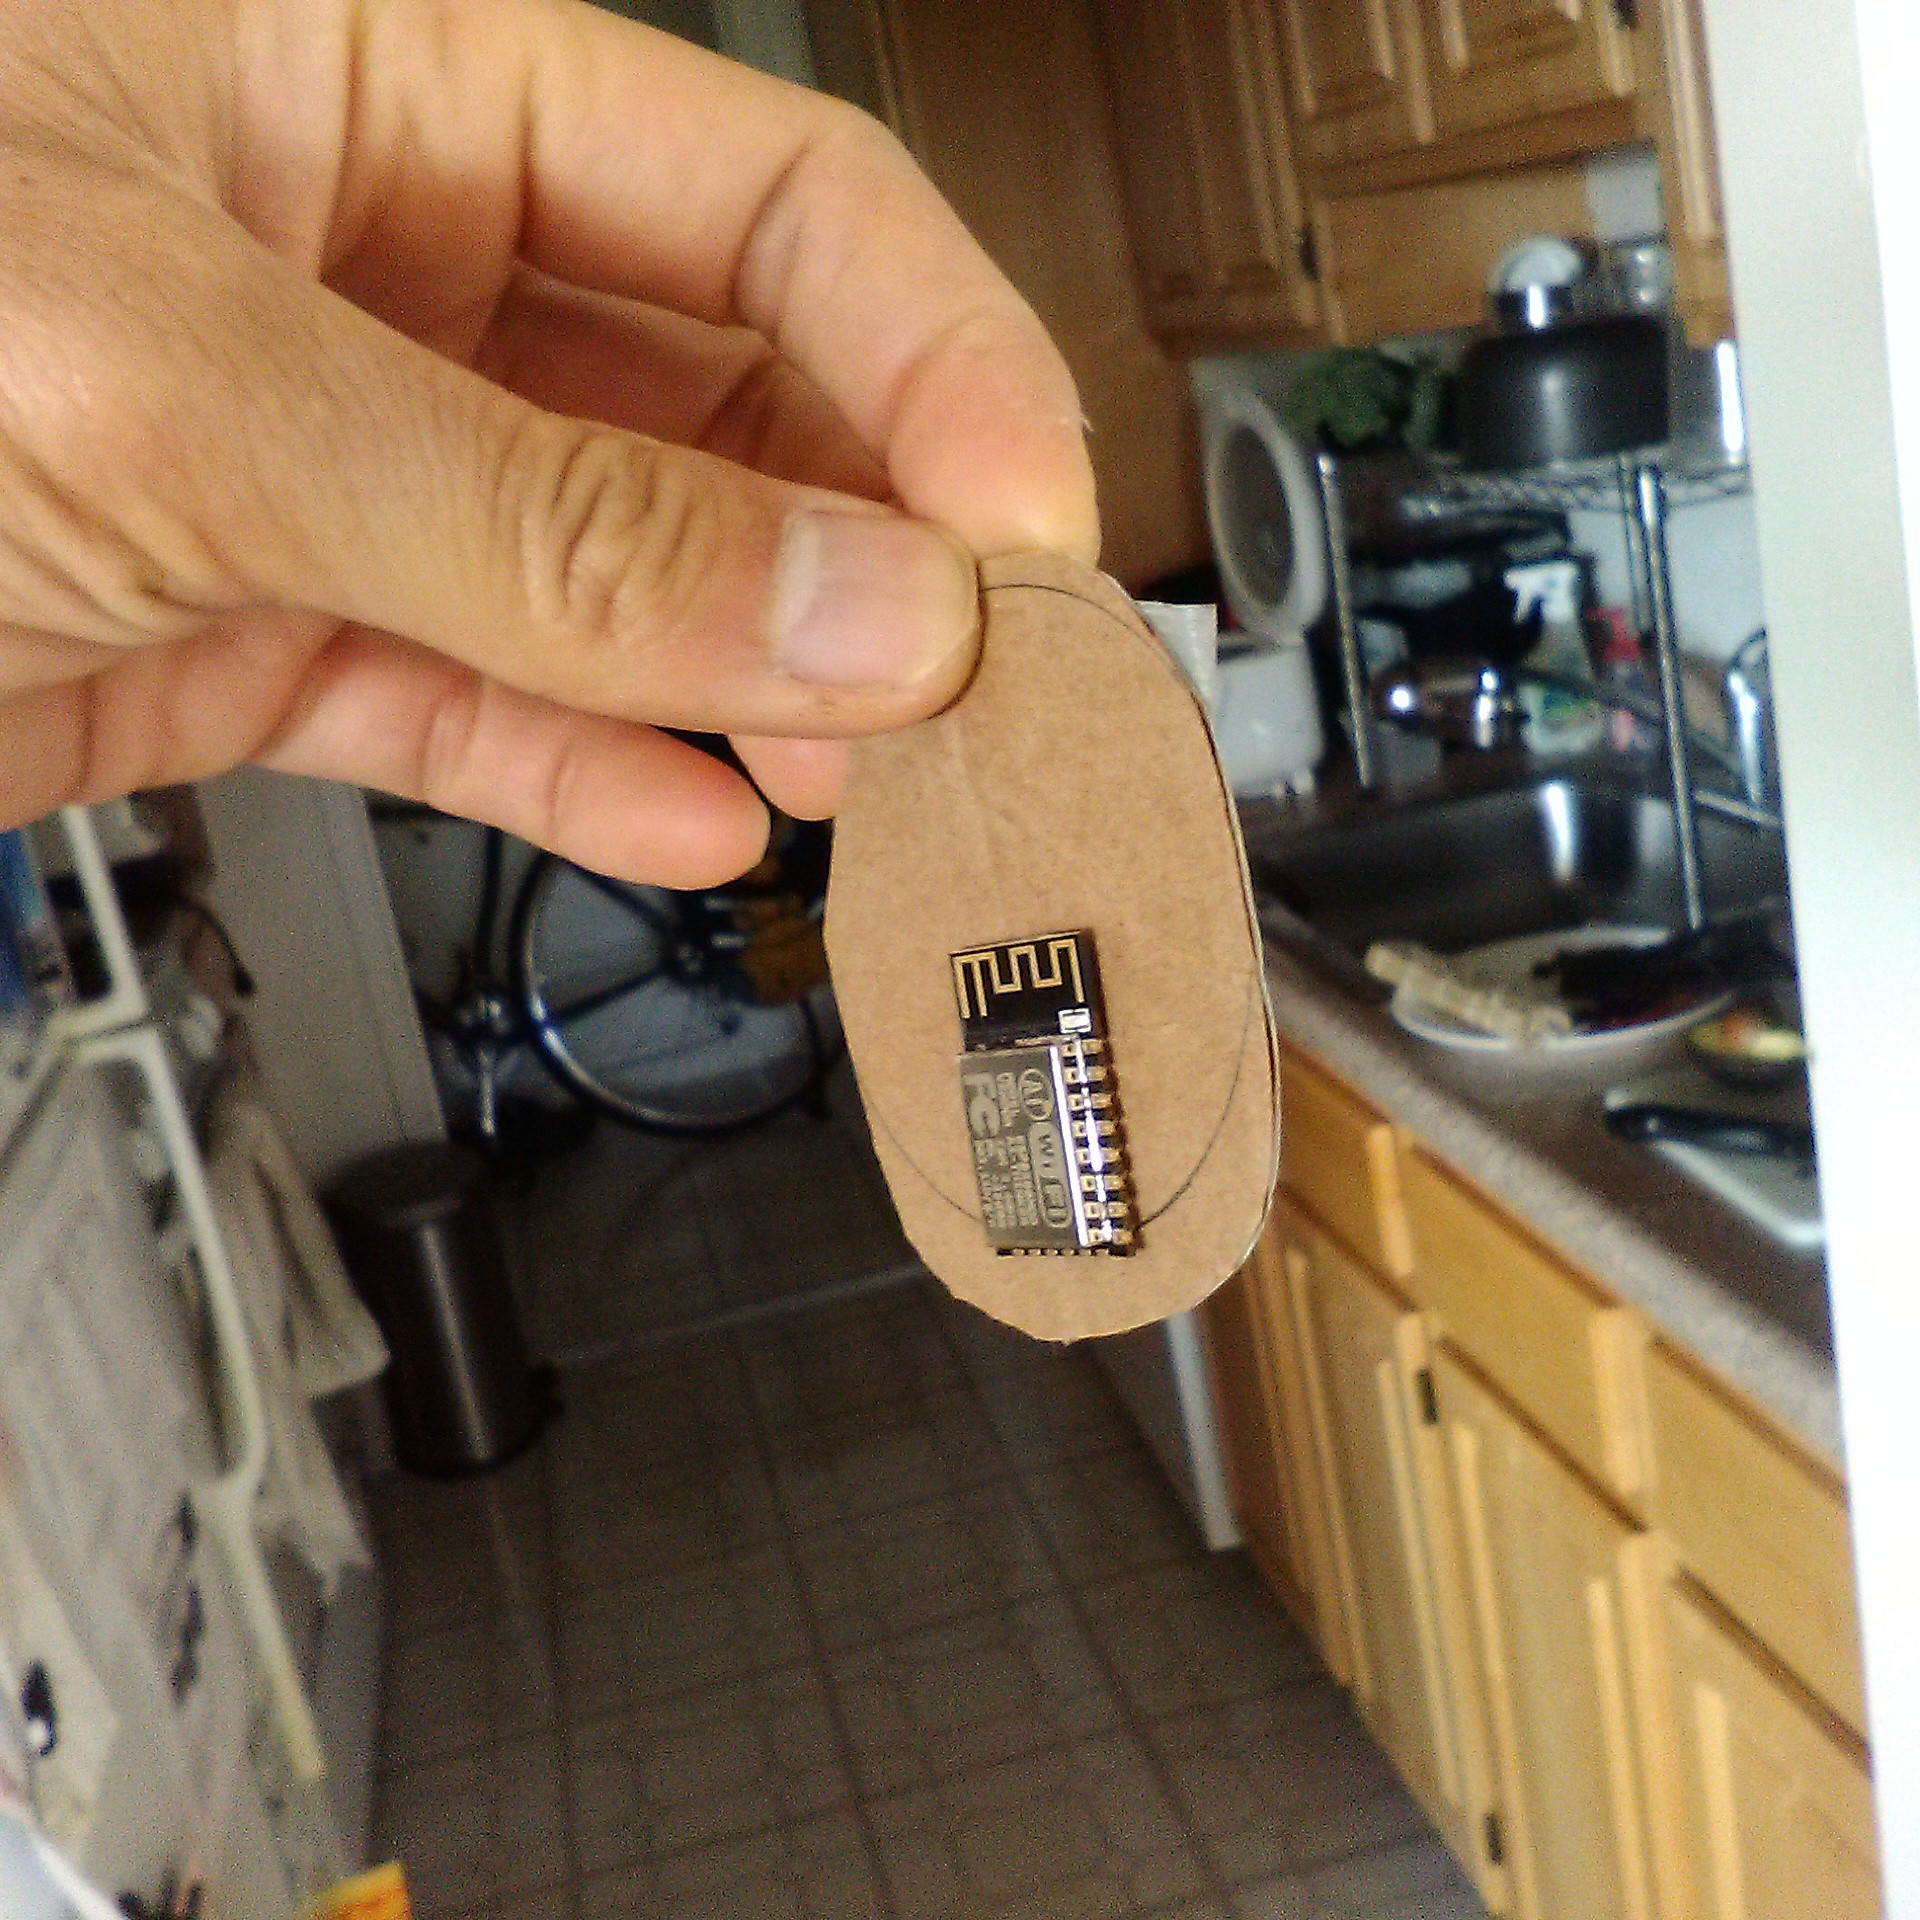
Doing this is fun, and really fast. Not to mention you can iterate so fast just to see if it's usable or not. To make this a bit closer to reality, I duct taped the ESP8266 chip to the board.
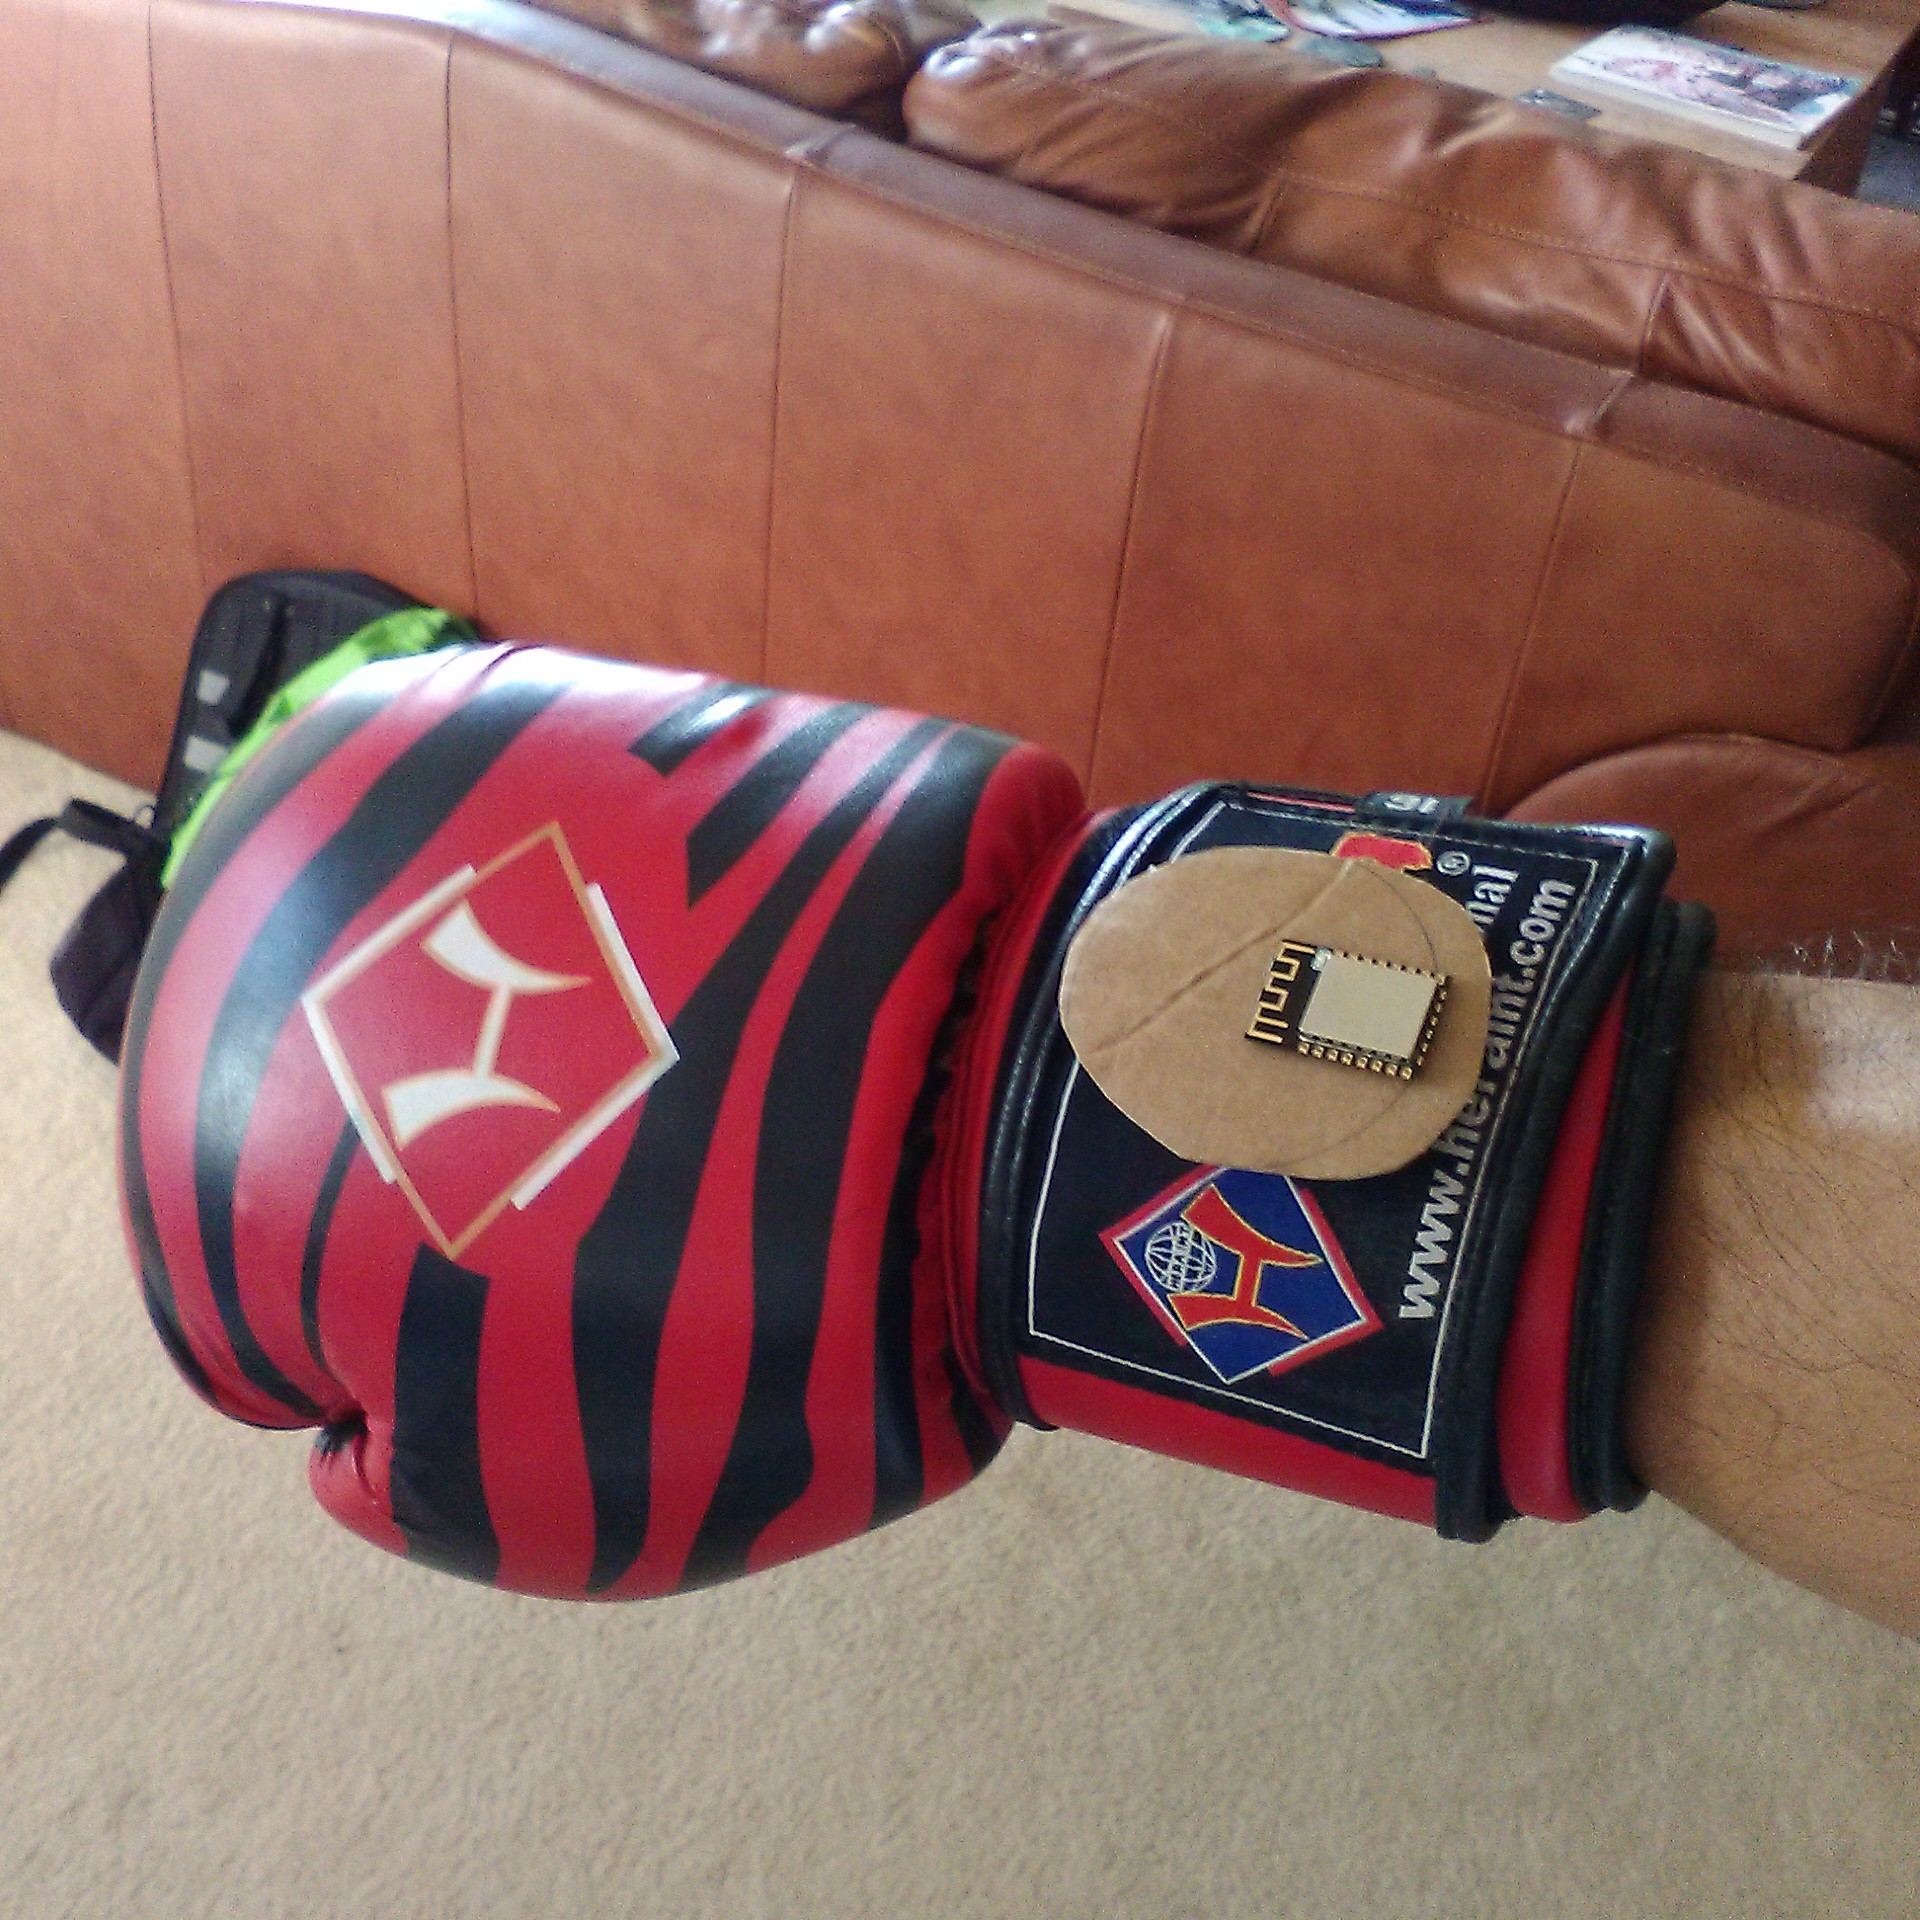
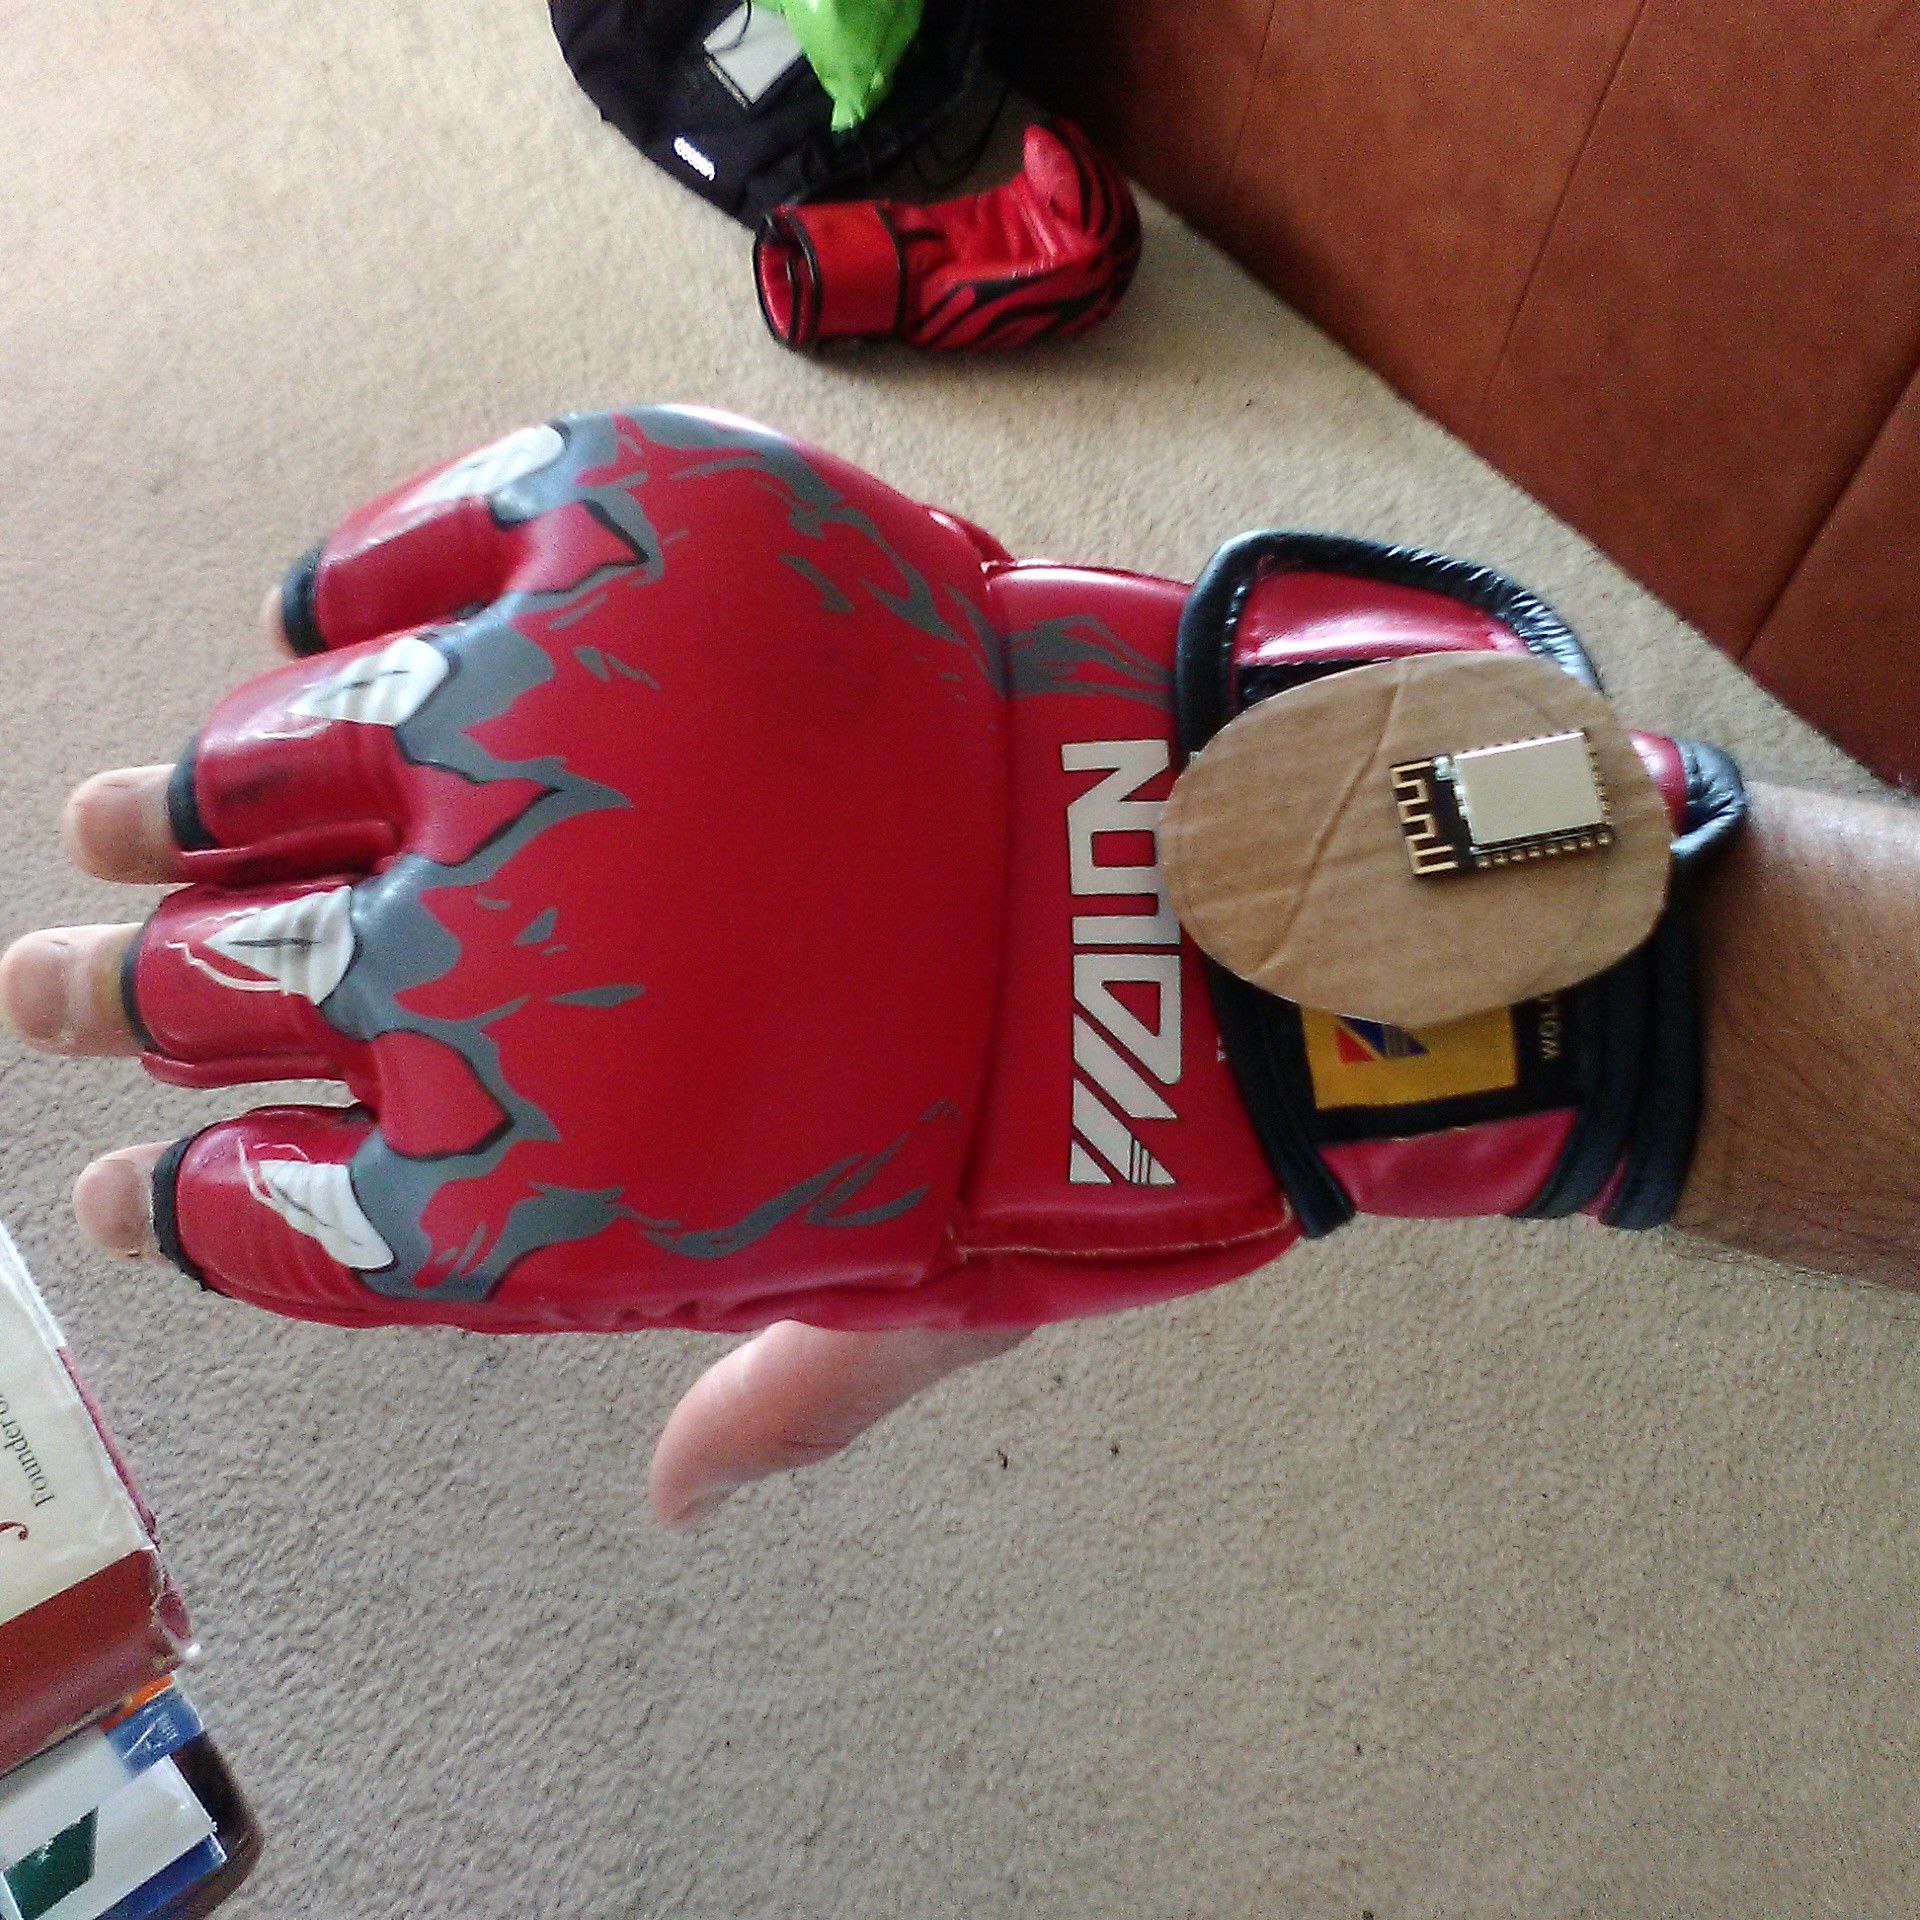
I also don't want to use this just on fabrics. I'm a kickboxer who somehow managed to preserve his brain cells for really high end technical work. Anyway, I want to be able to use this thing on my kickboxing equipment.
A few months ago, while doing side kicks, I broke the heavy bag in the gym. That naturally made me curious. Just how much force was I exerting in my kicks? And how would I measure and assess that? Ever watch National Geographic's Fight Science? I watch it avidly, especially since I'm a 30 year martial artist.
Watching that made me think, how would I be able to measure my speed, acceleration, and impact forces in a compact package without much of the specialised and expensive equipment that they have access too. So naturally, in terms of useability, I need to be able to mount this to my workout equipment. Like below.
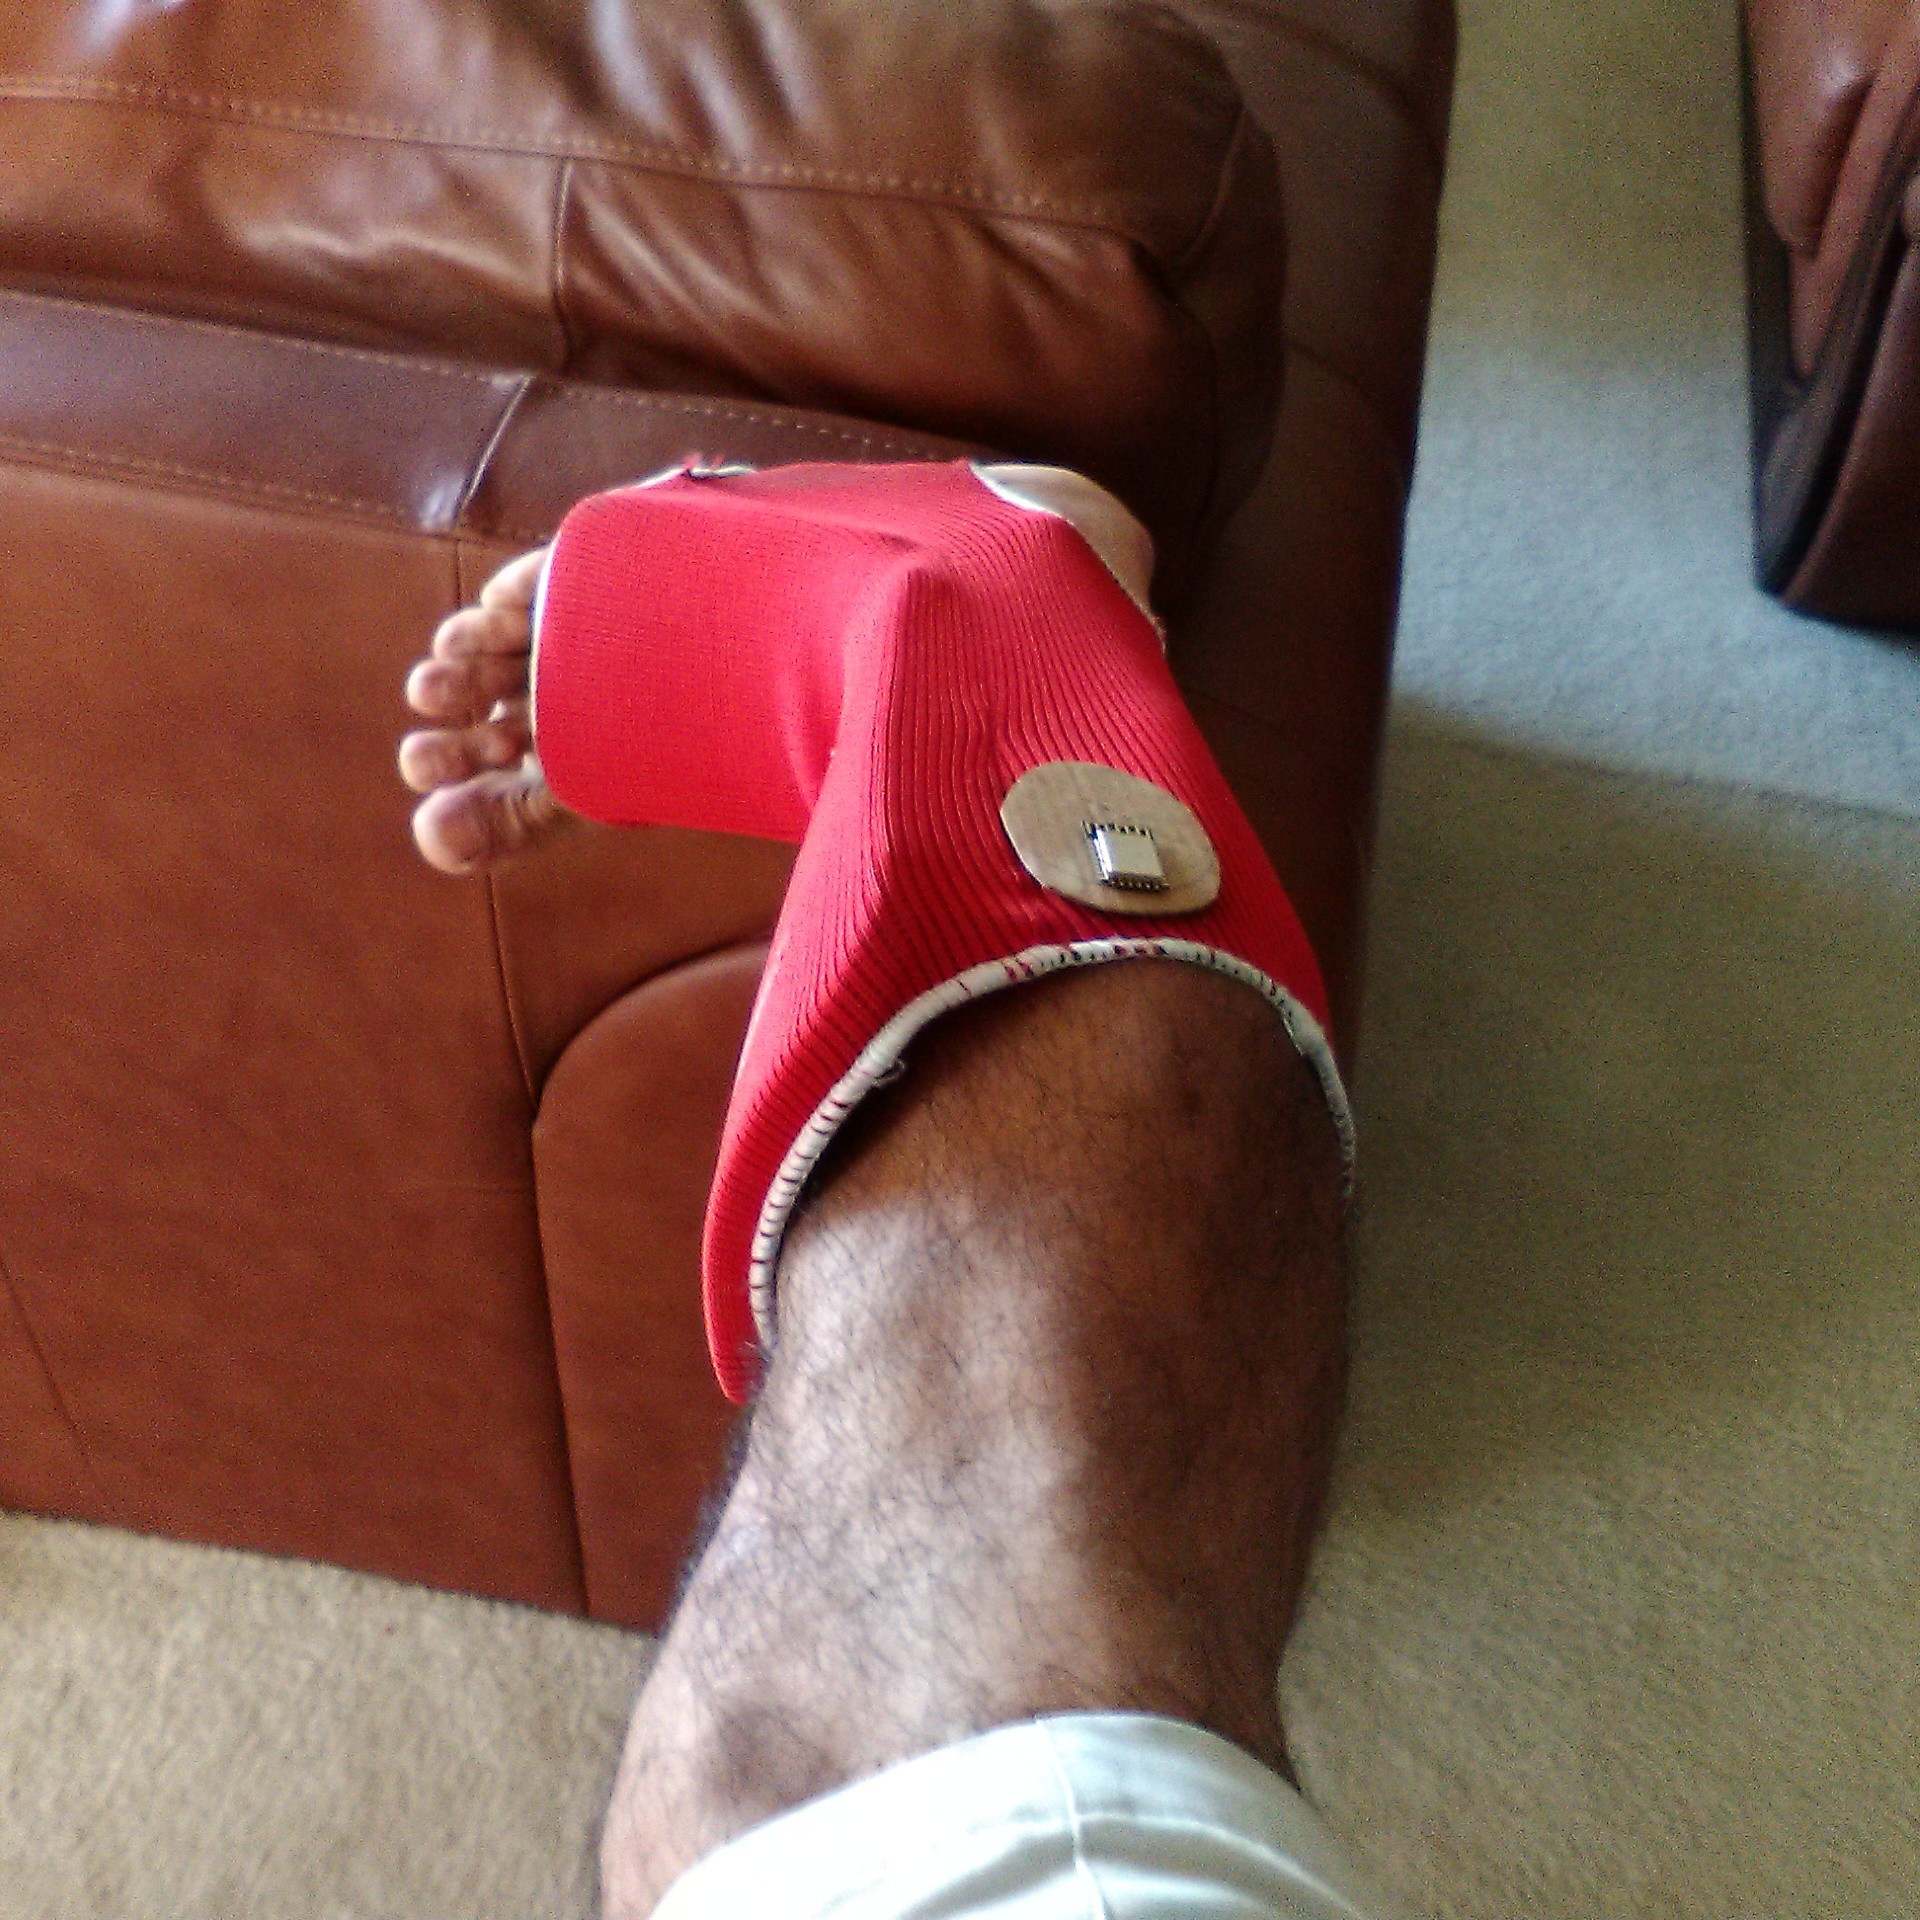
This one's really critical. I'd like to be able to sew it onto my shin and instep pads that I kick with, but in a way where I'm not going to run a high chance of hitting someone with it.
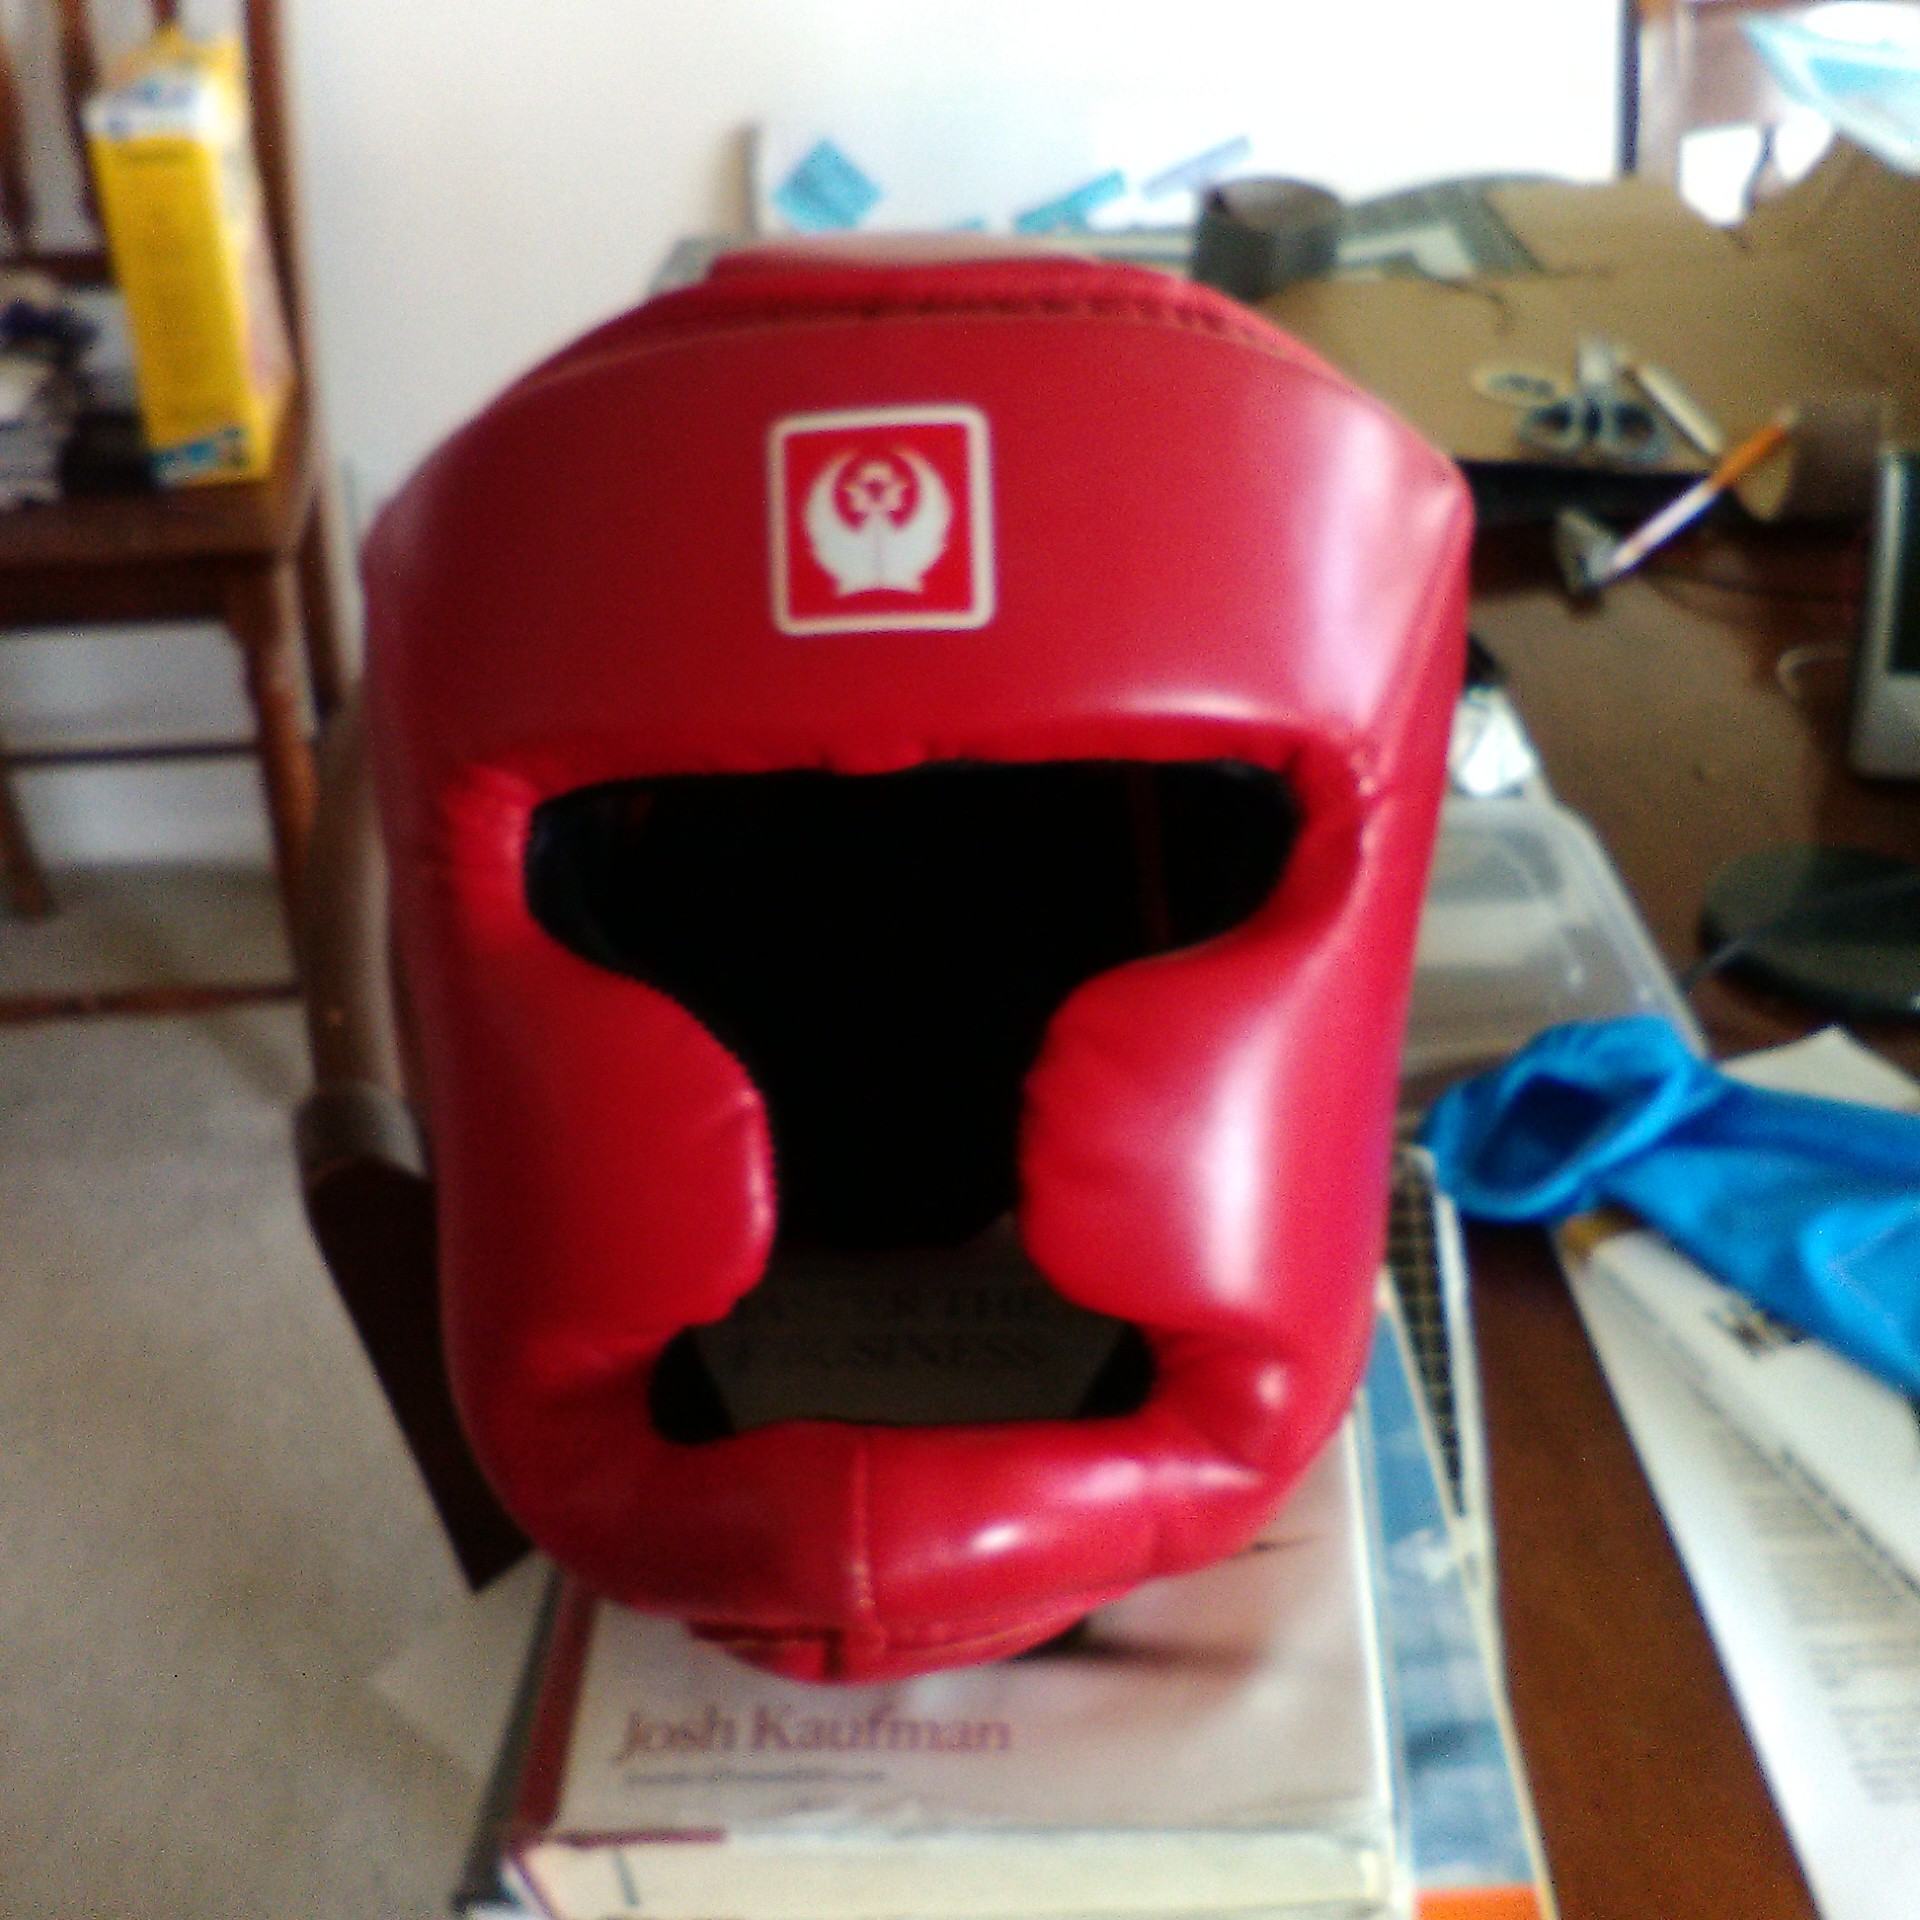
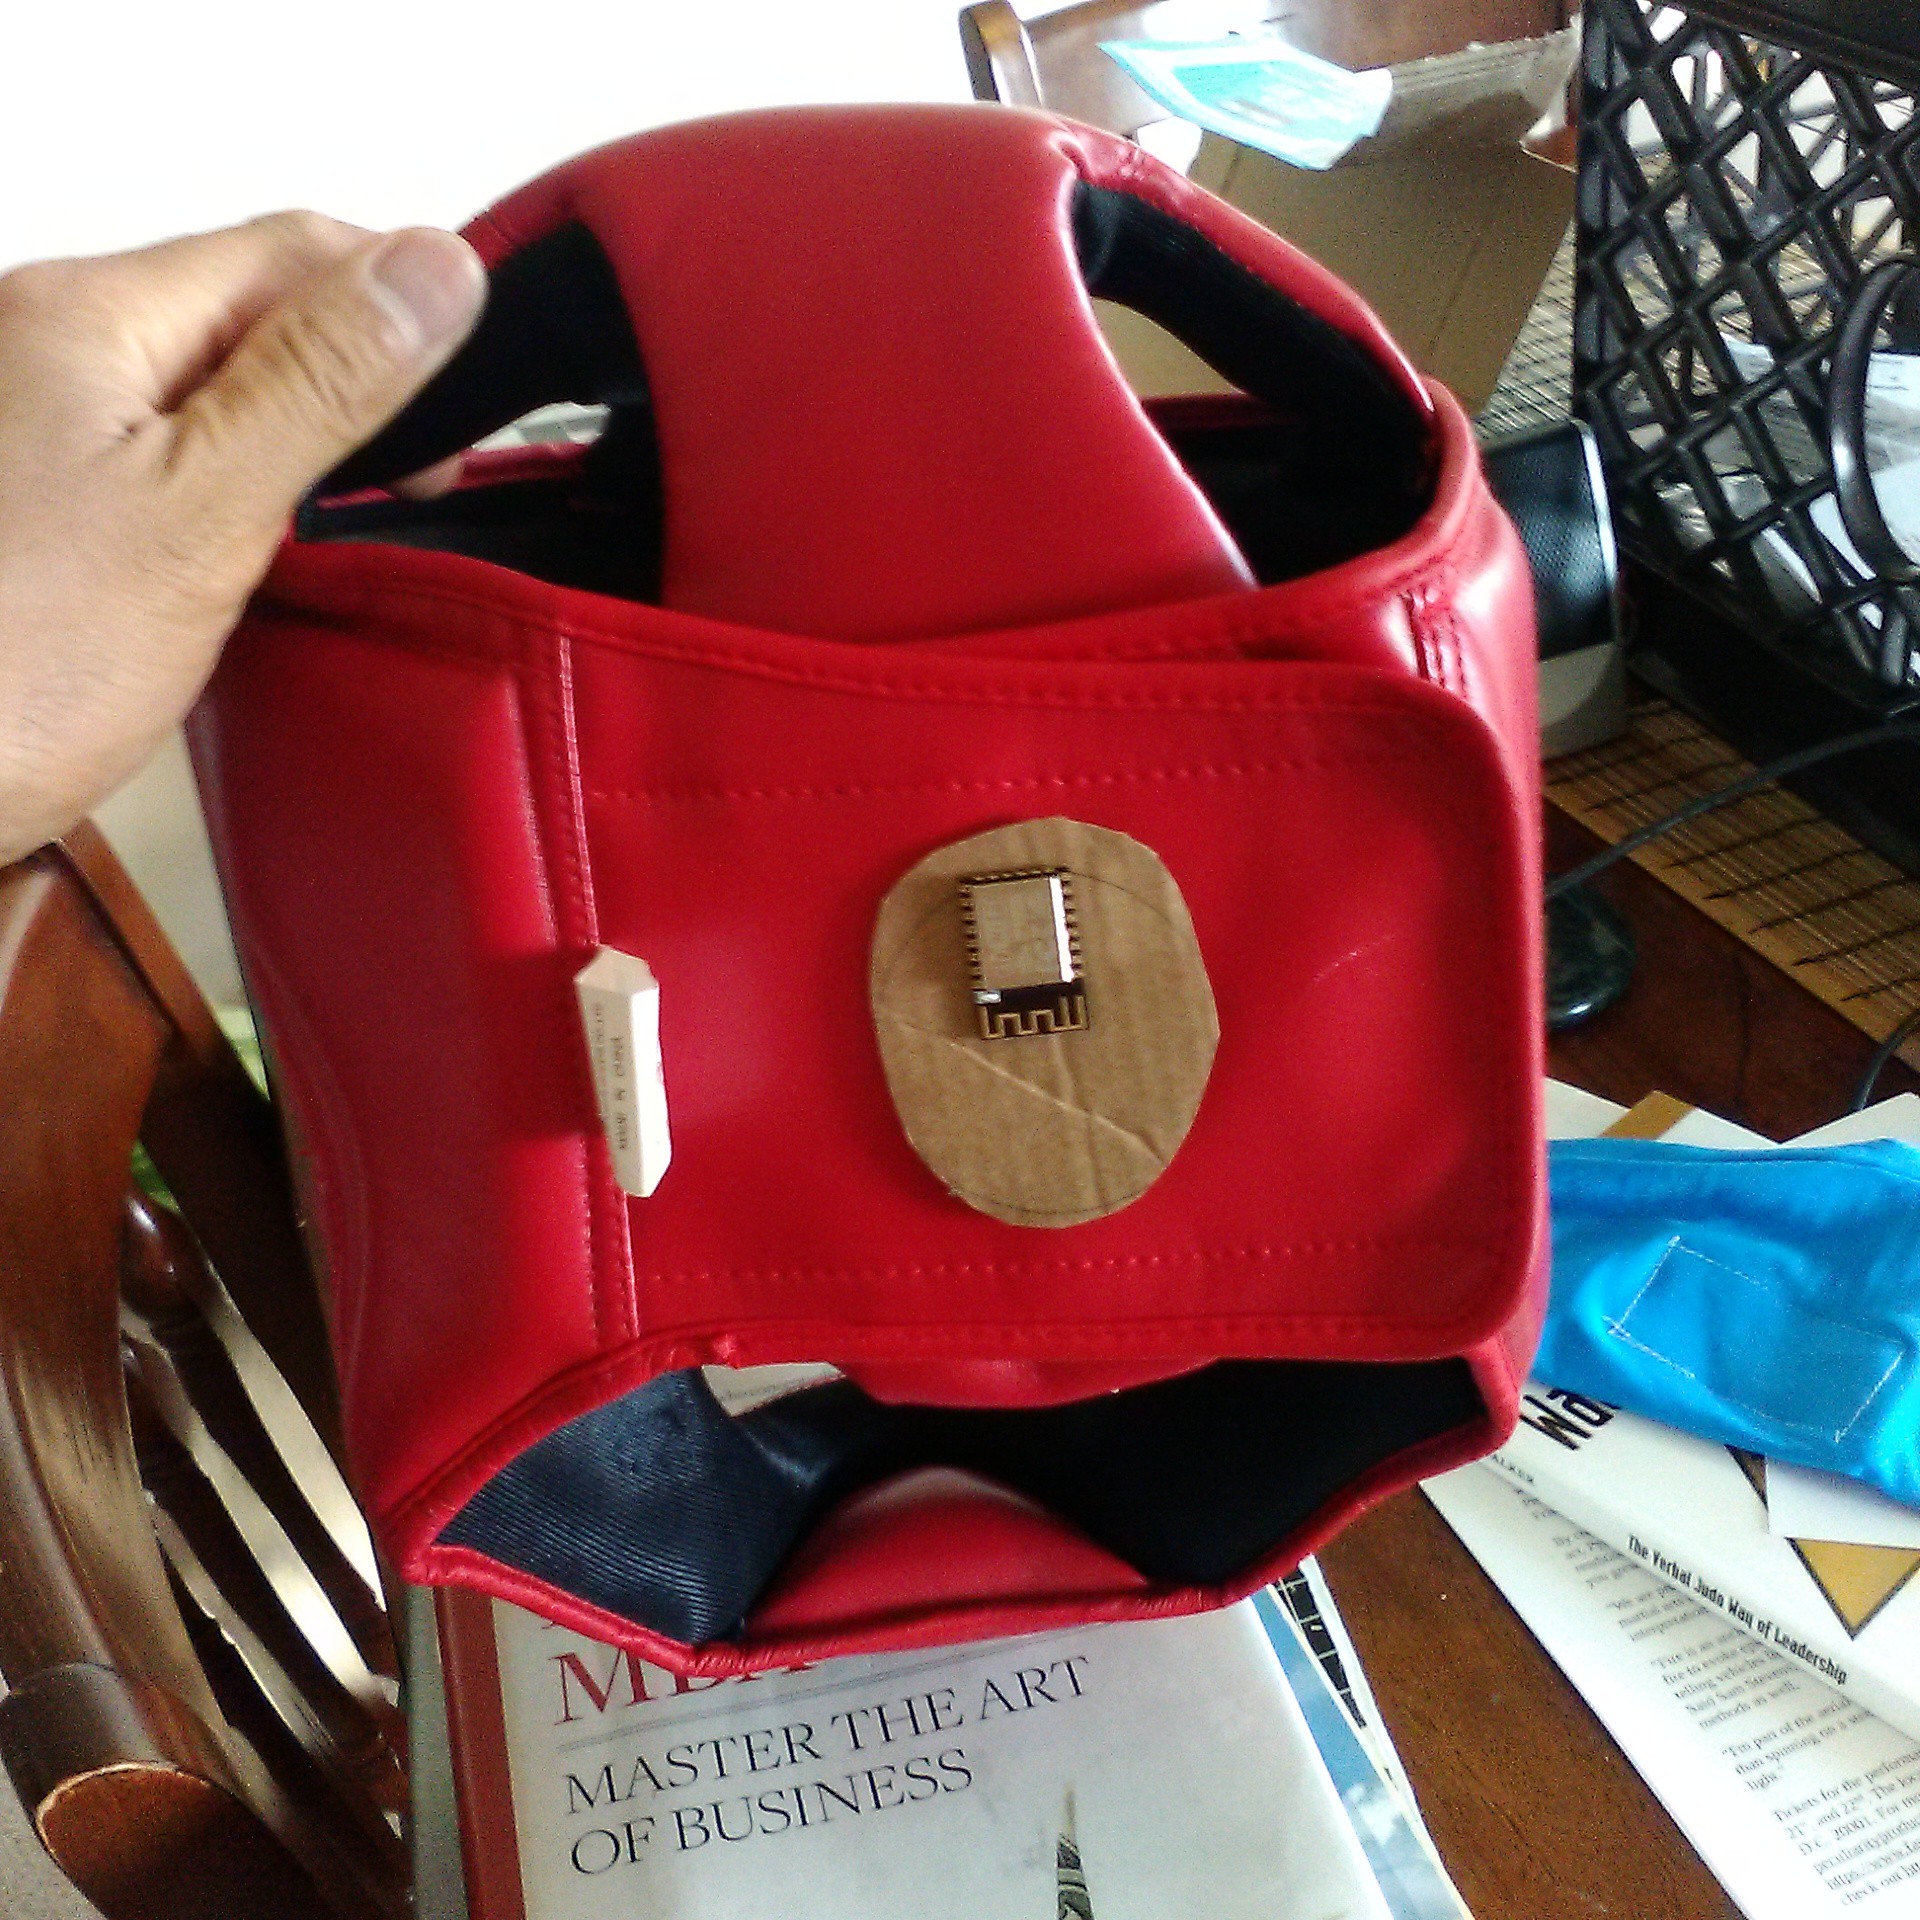
I also want to use it on my head gear too.
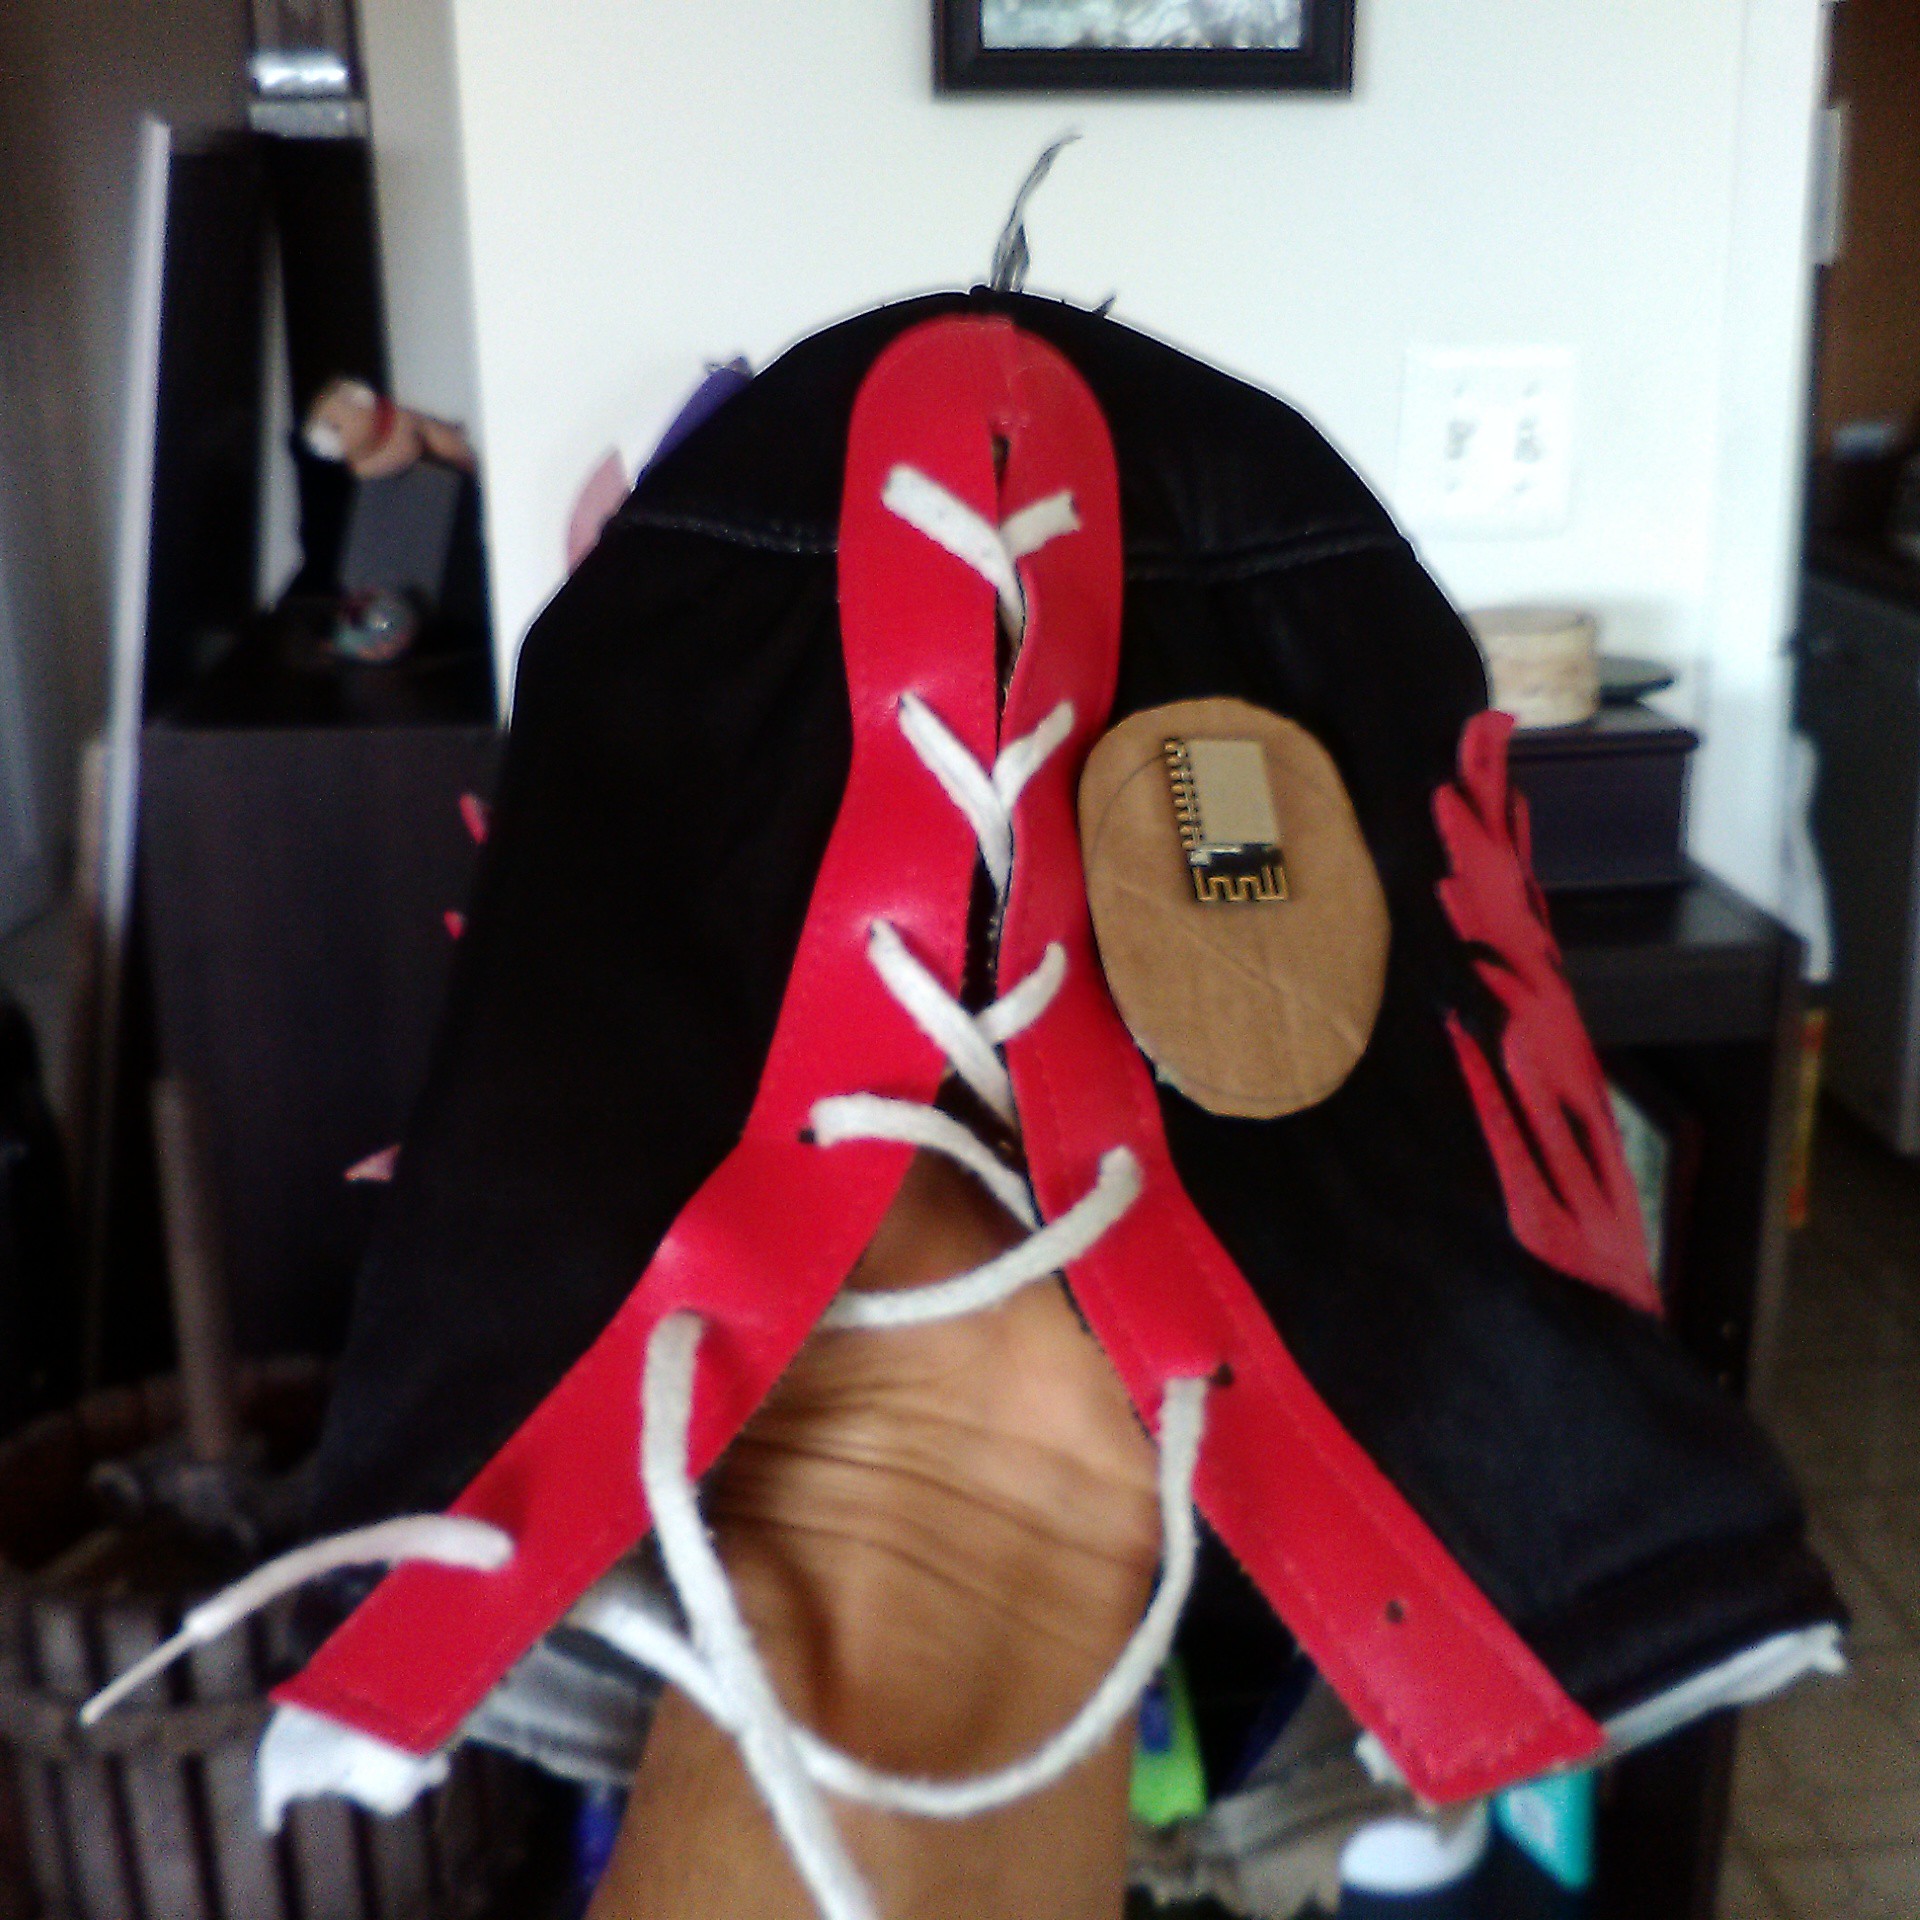
I've also done some grappling. Now while I would LOVE to do lucha libre at some point in my life, for the mean time, I'd like my masks to at least have the capability to connectivity.
And of course, gotta have the gag shot.
Anyway, while the photos illustrate my prototyping process, really, the pedal to the metal is to see if it can deal with rapid movements with chaotic objects. Which in my case, is a set of nunchaku's. And it passed that test with flying colors! Next up, circuit design and layout!
 Casual Cyborg




Discussions
Become a Hackaday.io Member
Create an account to leave a comment. Already have an account? Log In.