-
Final version for the PewPew Lite
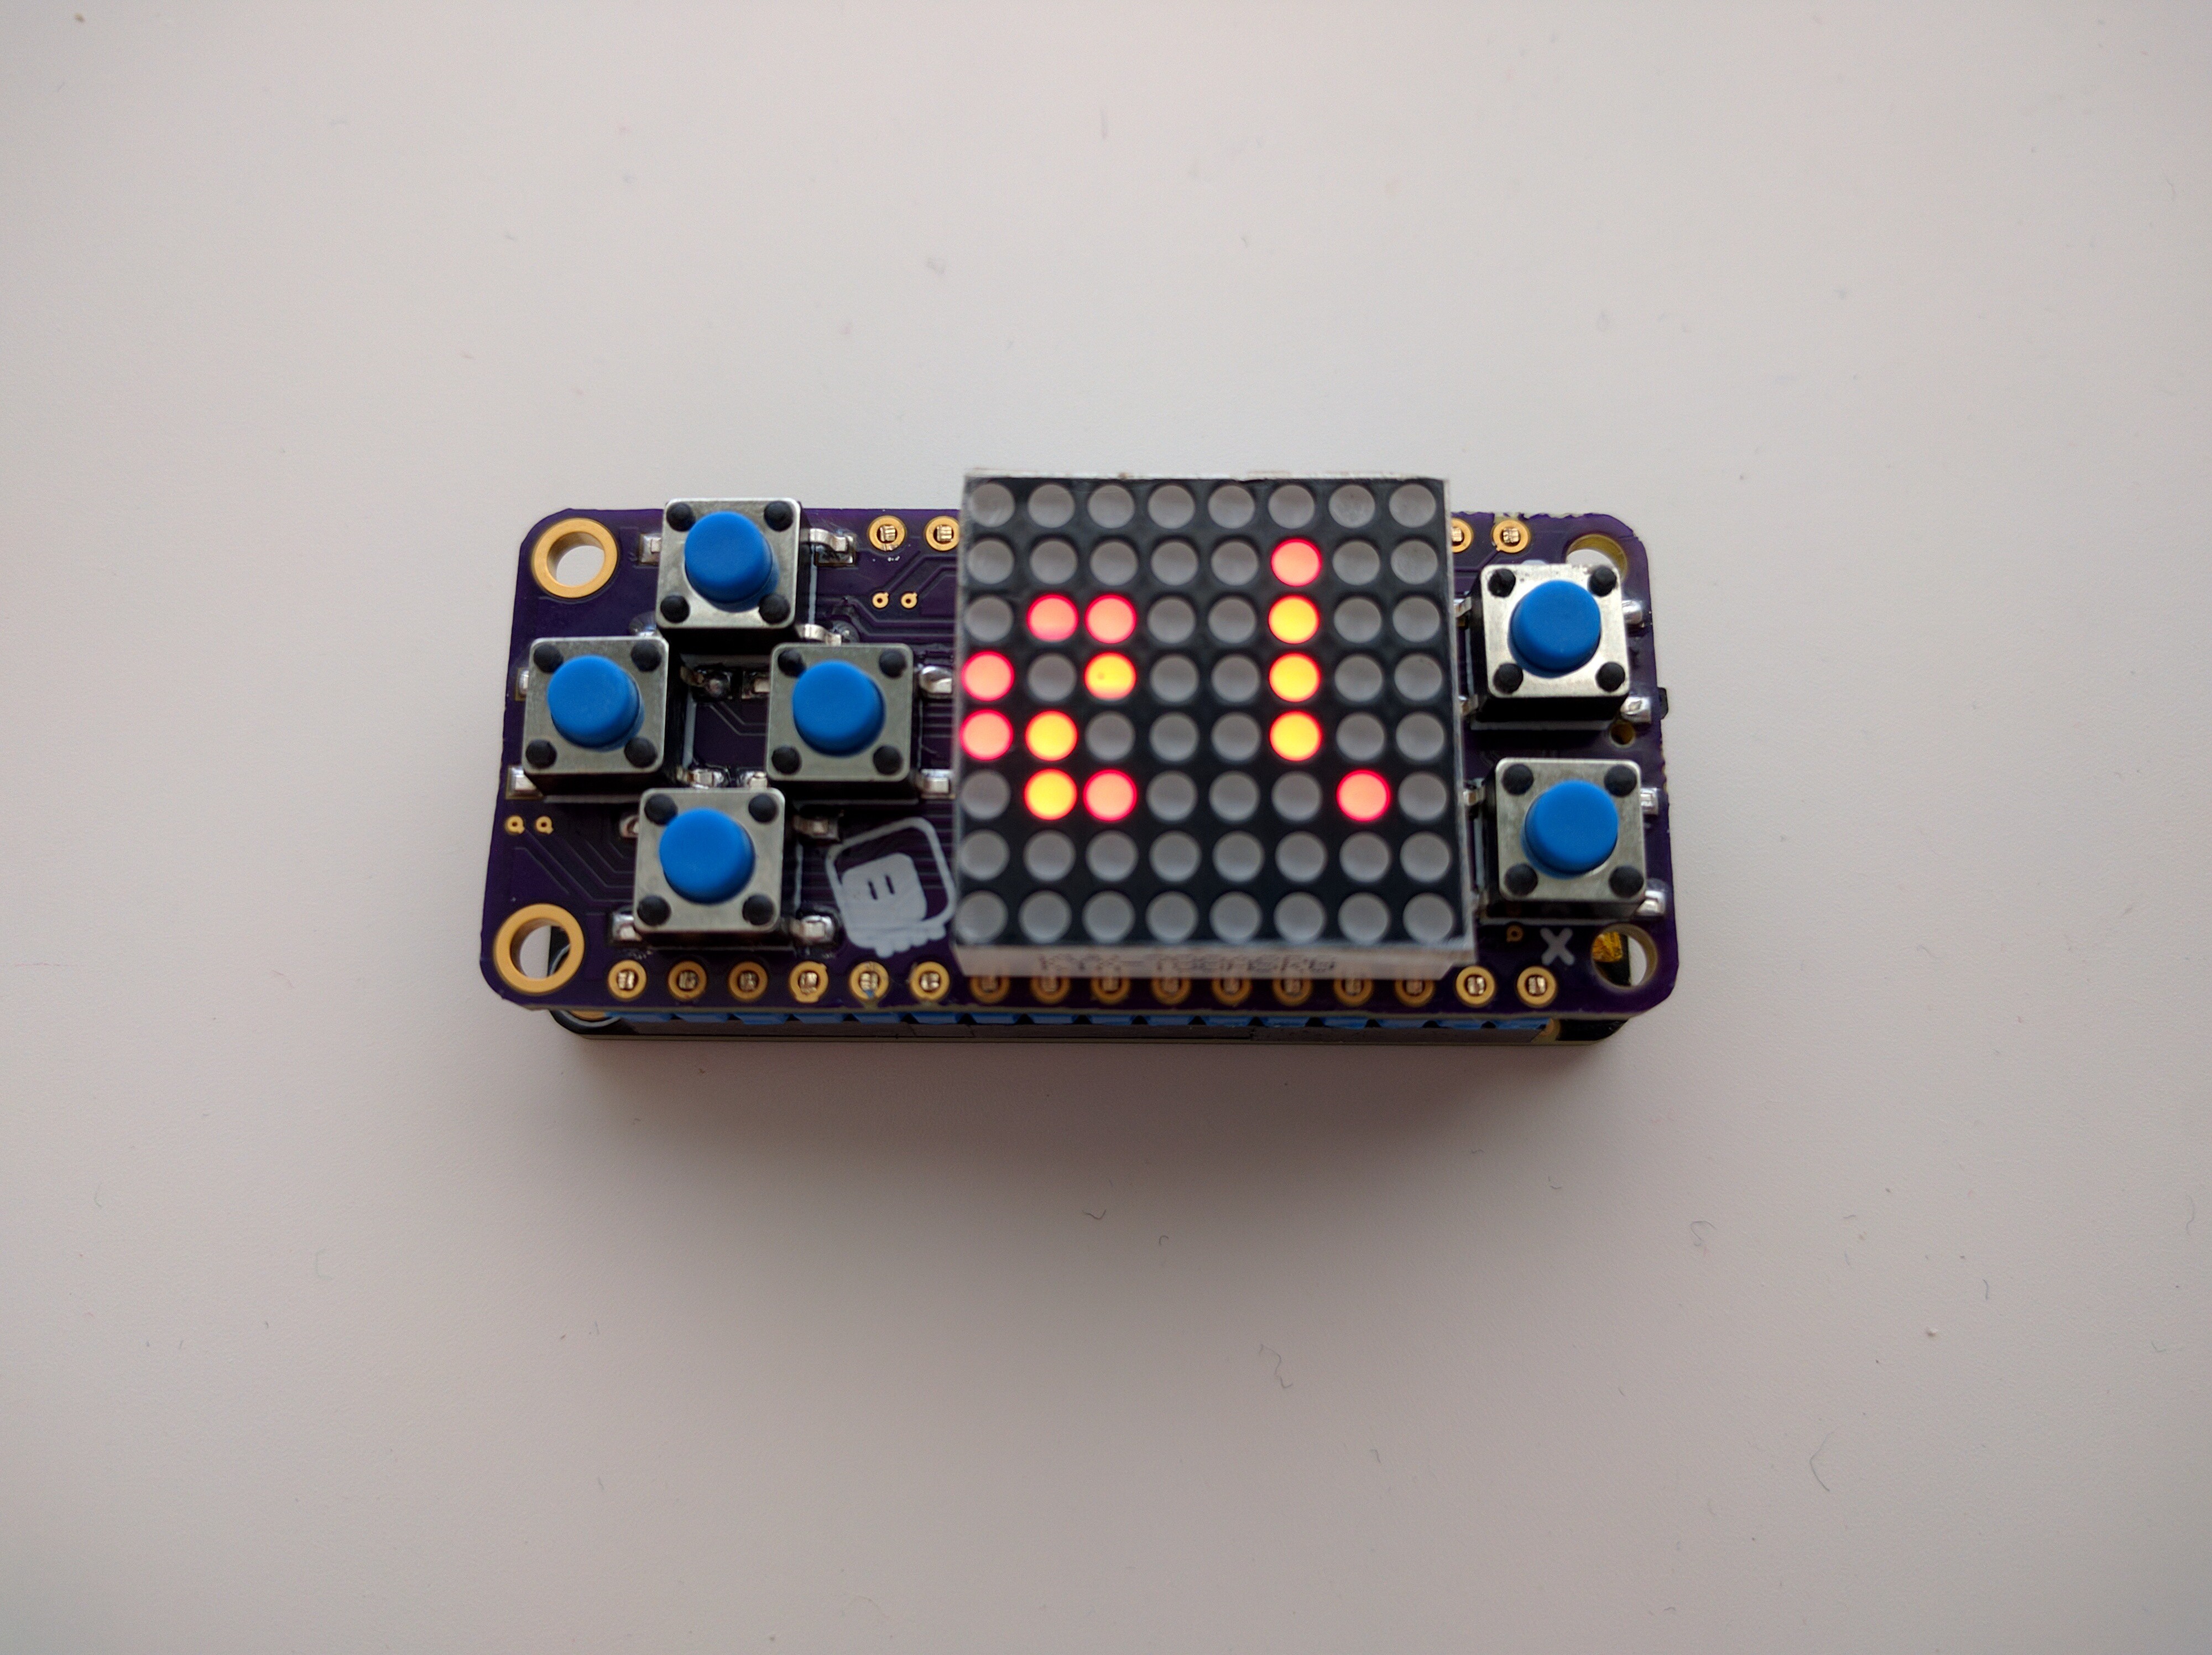
08/15/2017 at 13:03 • 0 commentsYesterday I received the PCBs from @oshpark (Thank you so much for promoting them to super-swift service and fast shipping!), and assembled them in the evening. They work perfectly, and I'm really happy with this design. The power switch and the connector for the battery are in the right place too.
![]()
I added a bunch of photos below in the "build instructions" section from the assembly process. I haven't decided yet whether I want to ship them completely soldered, or with the headers and the matrix separately — they are a bit fiddly to do right, so it will be nice to do them for the users, but then it makes it harder to ship them cheaply, and the exact headers you want depends on what kind of headers you have on your Feather board.
On the programming side, I updated the library to work with the new version, optimizing the display routine a little bit in the process, and also made the library disable the RGB status LED on those Feathers that have it. Your programs can enable it back, of course, and provide some ambient lighting.
I'm still thinking about the best way to write the tutorials for the games. I have decided on the first game in the series — a simple maze game. I also did some sketches for the accompanying illustrations. This is the part that I will need to focus on for the rest of the time left.
-
Displays Are Hard
08/09/2017 at 22:05 • 0 commentsYesterday the breakout board I made for those tiny displays arrived, so today I soldered one and tried to get it to work. So far unsuccessfully, but we will see what the future brings.
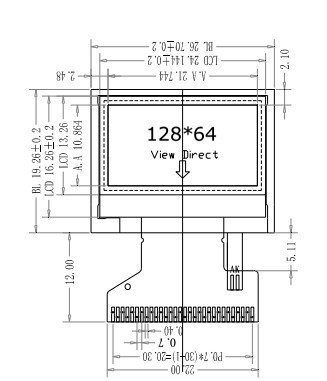
The datasheet at the seller's Aliexpress page only has this image as the information:
![]()
And then this table:
![]()
The product page has ST7735S in the title, so I'm working under the assumption that it is indeed a ST7735-series chip. Assuming that, and looking at the datasheet, I'm guessing the following pins:
Image Datasheet GND GND IOVCC (1.8/2.8V) VDDI SPI SPI4W IM2 IM2 CS CSX RESET RESX RS/SCL D/CX (SCL) WR/A0 WRX (D/CX) E/RD RDX D0/SDA D0 (SDA) D1-7 D1-7 VDD-2.8V VDD LEDA Backlight LED Anode LEDK Backlight LED Cathode The first test was connecting power to the LED anode and cathode pins, and sure enough, I got the backlight going. Yay, that means I know the direction in which the pins are numbered.
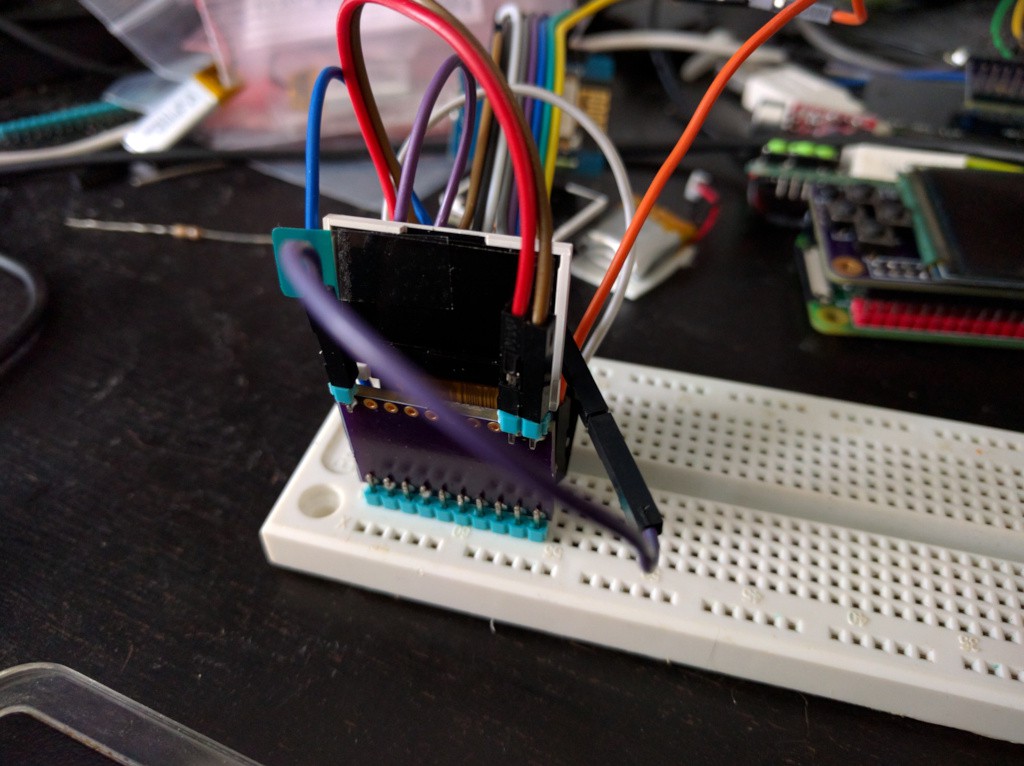
Then I tried wiring it for the 4-wire SPI mode, since that's what I already have the drivers for. I connected VDD, VDDI, LEDA, and SPI to power, GND, LEDK and IM2 to ground, and all the SPI pins, and tried the driver. Nothing, white screen. Tried a second display just to be sure. Same. Hmmm...
![]()
(By the way, when you are making a breakout like this, and make it exactly the size of the display, like I did, then make sure that: 1. the pins are a multiple of 2.54mm apart, so that you can insert it into the breadboard, and 2. you put the pin markings on the side that is not covered by the display.)
-
PewPew Lite Version 4.0
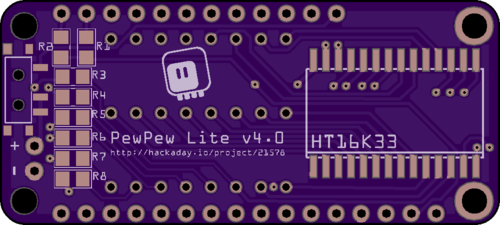
08/07/2017 at 10:46 • 0 commentsIt's pretty crazy how much small details such a simple project can have. I just ordered the 4th iteration of PewPew Lite at OSHPark (that's the tenth iteration overall, if you count all the PewPew boards). The changes this time are prompted by two factors: simplifying and speeding up the software, and making the whole thing thinner. Also, making the LED matrix easier to attach. Here goes:
![]()
When I routed this board initially, I connected the columns for the red LEDs in the opposite order as the columns for the green LEDs — because that's physically more convenient, when one is on the top row, and the other on the bottom row of the pins. I didn't worry too much, and I said the famous last words, "we will fix it in software". And I did it in software, and it works fine.
However, CircuitPython on the Feather M0 board is not as lightning-fast at bit manipulation as C would be, and an additional iteration over 128 pixels just to inverse the bit order is a little bit visible in the frame rate. Not horribly, but hey, if we can get rid of that, that would be swell.
So I went back to the design, dropped a bunch of extra vias and made both colors use the same order of columns. And sice I was fiddling with that anyways, I also made the holes for the matrix pins larger, so you don't have to wiggle them so much to insert the matrix into the board. I also moved the chip to the center of the board and away from the matrix, so it's easier to get to all of the pins with the soldering iron.
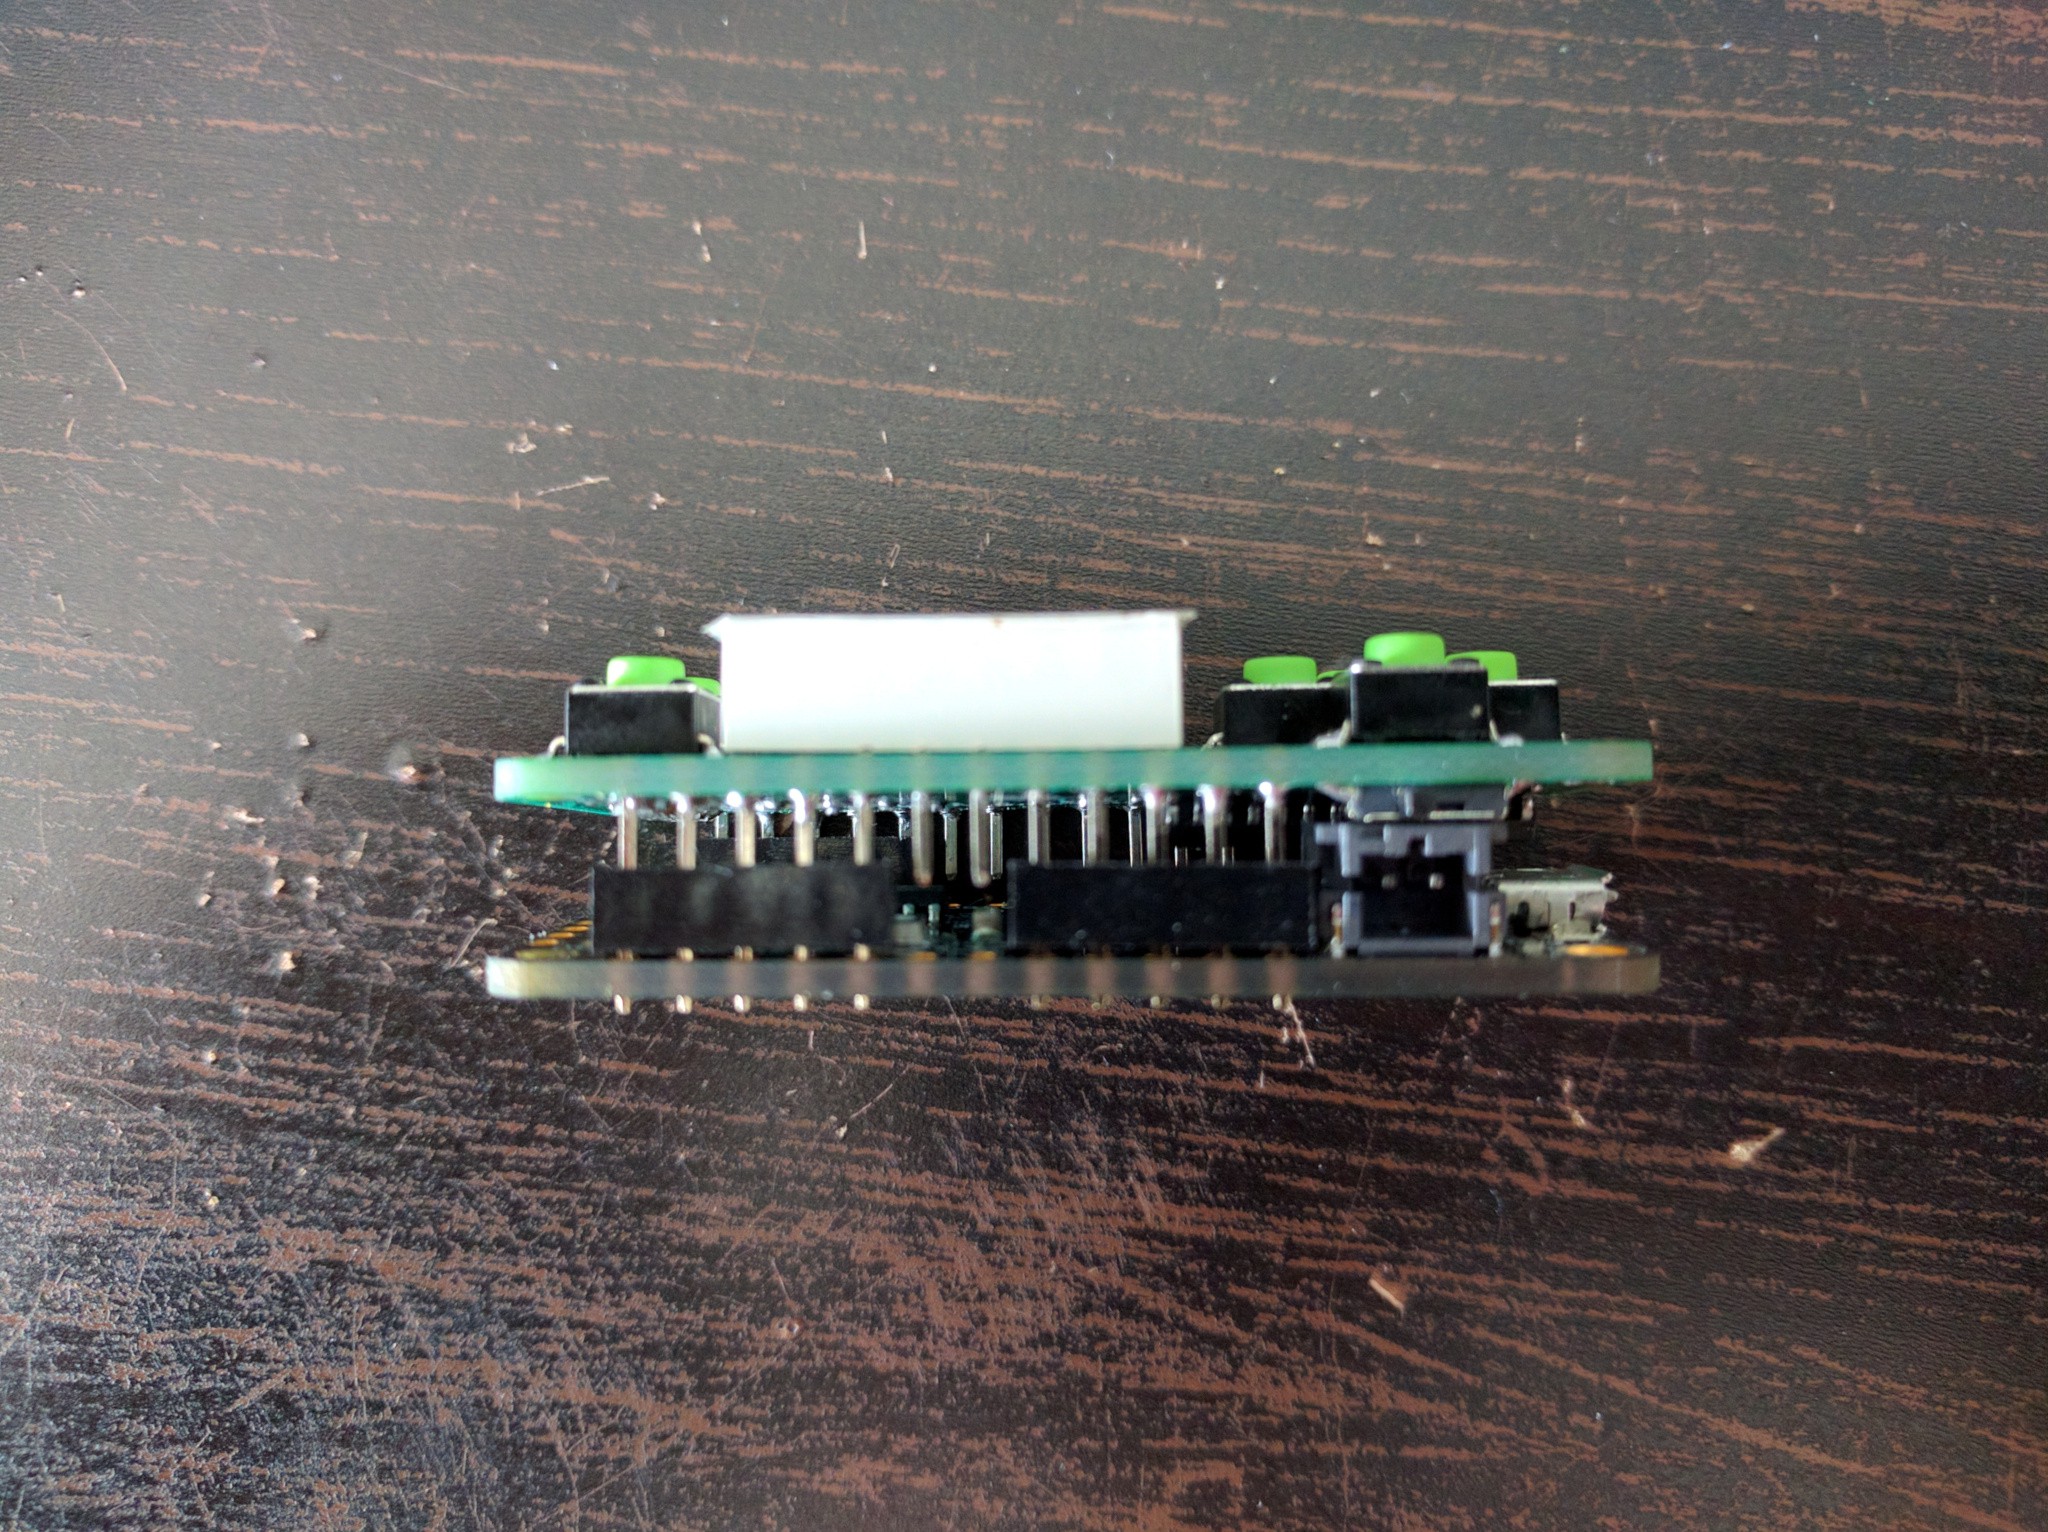
Next is the thickness. I figured out that you can fit a small 110mAh LiPO battery between the two boards, at least with those Feather boards that have a prototyping area. That would really make this thing small, and there is enough room even if you use narrow headers. However, connecting and disconnecting your battery all the time would be super-inconvenient, and a switch hanging on a battery lead would look bad. So I added a small switch in the version 3.0 of the board (I didn't write about it here). But the only place where I could fit that switch was over the battery plug, which is incidentally the highest component on the feather board.
![]()
So the switch makes the whole thing about 1mm thicker. In version 4.0 I moved the button resistors a bit, dropped the diode (which is only required when you use more than 8 buttons), and made room for the switch on the edge opposite to the USB port.
Finally, I tried to space all the traces a little bit better, to leave more room between them and fewer opportunities for manufacturing problems. There are still a few tight spots, but it's better already.
-
The Library
08/06/2017 at 18:13 • 0 commentsToday I finished the CircuitPython library for the PewPew Lite. It still has some room for improvement, especially in terms of memory use, but it already has the shape that I'm basically happy about.
I had to completely rewrite it from my initial code, since I want it to be a little bit higher level than it was initially. Apart from init, which is used for setup at the beginning, there are only four functions:
- brightness sets the brightness of the LED matrix, so that you can do fade-ins and outs,
- keys queries for keys that have been pressed since the last call (with de-bouncing),
- tick waits until a specified time has passed from the last call, and
- show that displays an image on the matrix.
Then there is a class for representing the images in memory, which have five methods:
- from_lines creates an image from data you are providing,
- from_text creates an image with your text rendered on it,
- pixel that gets or sets the color of a single pixel,
- box which draws a filled rectangle, and
- blit for copying one image onto another.
That's it. The whole library has about 200 lines of code (including the font data), but lets you conveniently do things such as scrolling, displaying text, displaying animations, showing maps, moving around sprites, etc.
For testing, I'm writing all this code on a Feather M0 Basic, which is the smallest and slowest device that runs CircuitPython — to make sure that the speed is acceptable for it, and that everything fits in the memory.
Here is a simple scrolling menu written using all this, which I plan to use for selecting the games at the beginning:
-
Why not Raspberry Pi?
08/06/2017 at 17:43 • 3 commentsIt seems that I have been blogged at https://hackaday.com/2017/08/06/hackaday-prize-best-product-finalist-pewpew/ and there are some questions as to whether it makes sense to do what I do when there is already a Raspberry Pi and all its retro-console builds.
Well, this is a little bit different. Sure, lots of game consoles using a Raspberry Pi out there. In fact, I have build one myself recently with #Ye Olde Nowt and I have to say that it is great fun. But it's not very good for teaching for the following reasons (in no particular order):
- You have to start by teaching Linux. That's a challenge already.
- Long booting time.
- Short battery time.
- SD cards get damaged when you power it off without proper shutdown, and then random things start to happen.
- Setting up the screen and inputs is a complex and somewhat hacky process. Not something you want to teach to a group of 14 year olds.
- Lots of existing emulators and ready games for this system. That discourages from making your own.
- No really good and simple game programming library for Python, although PyGame Zero helps here.
- Relatively high-resolution color graphics forces you to find game art somewhere and distracts from making the actual game.
- Raspberry Pi is not that cheap, if you consider the cost of the SD card, the screen, the power source, all the cables and adapters, etc.
On the other hand, I'm aiming at something that will be:
- Working out of the box, without special configuration. Connect to your computer, copy two files on it, and you are ready to play. Edit the files in place, and make your own game.
- Easy to fix. In the worst case just erase the memory, and you have your working device back.
- Simple. The library for it only has four functions (and one of them is for setting the brightness, so you don't even need to learn that one), and a single object with three methods. You can fit the documentation for that on a single page of paper.
- Portable. It's the size of an AA battery and runs on a single battery charge for hours.
- Powerful enough to be fun and engaging.
Of course, at some point you will want to switch to a real computer, pick up something like PyGame and continue from where you left, making more complex games. But I think this will be a really good stepping stone for starting.
-
Thinking about PewPew 2
08/04/2017 at 22:04 • 0 commentsPewPew FeatherWing qualified for the finals of the Best Product category of the Hackaday Prize. That makes me very happy, as it means that I'm not the only one who thinks this is actually doable. Sure, I started simple, and then I simplified the project further along the way. But the hard part is writing the actual library and its documentation, together with the games and their tutorials.
On the library front, I started to rewrite the whole thing to make everything work on images, similar to PyGame's Surface objects. There will no longer be commands for changing the colors of individual pixels of the display, instead you are going to send an image to it. The image class itself will have all the operations.
I also have some ideas about how to make the documentation fun to read and interesting. I'm drawing some inspiration from the famous Why's Poignant Guide to Ruby. Only less poignant. And more, you know, actually useful. The second part of my inspiration comes from the Earth Destruction Advisory Board, which is a very important resource in this day and age.
But qualifying to the next round also made me start thinking a little more bravely about the next iteration on the idea. One with a screen. And a dedicated microcontroller to handle it. I got some more of those tiny ST7735 screens – this time horizontal, not vertical, as those only had the SPI pins broken out, and I will need parallel interface to make the display refresh fast enough. Here's a mock-up of the feather with that screen:
![]()
The buttons are going to have to be through-hole, as there is no way I can fit those SMD buttons so tight, but their spacing seems to look fine. I also haven't decided what microcontroller to use — I will be testing several different possibilities, and I will probably pick the cheapest one that is fast enough. I'm now waiting for the breakout PCB for that display, so that I can breadboard it conveniently.
Hopefully I will have some games to show after the weekend.
-
Prototypes
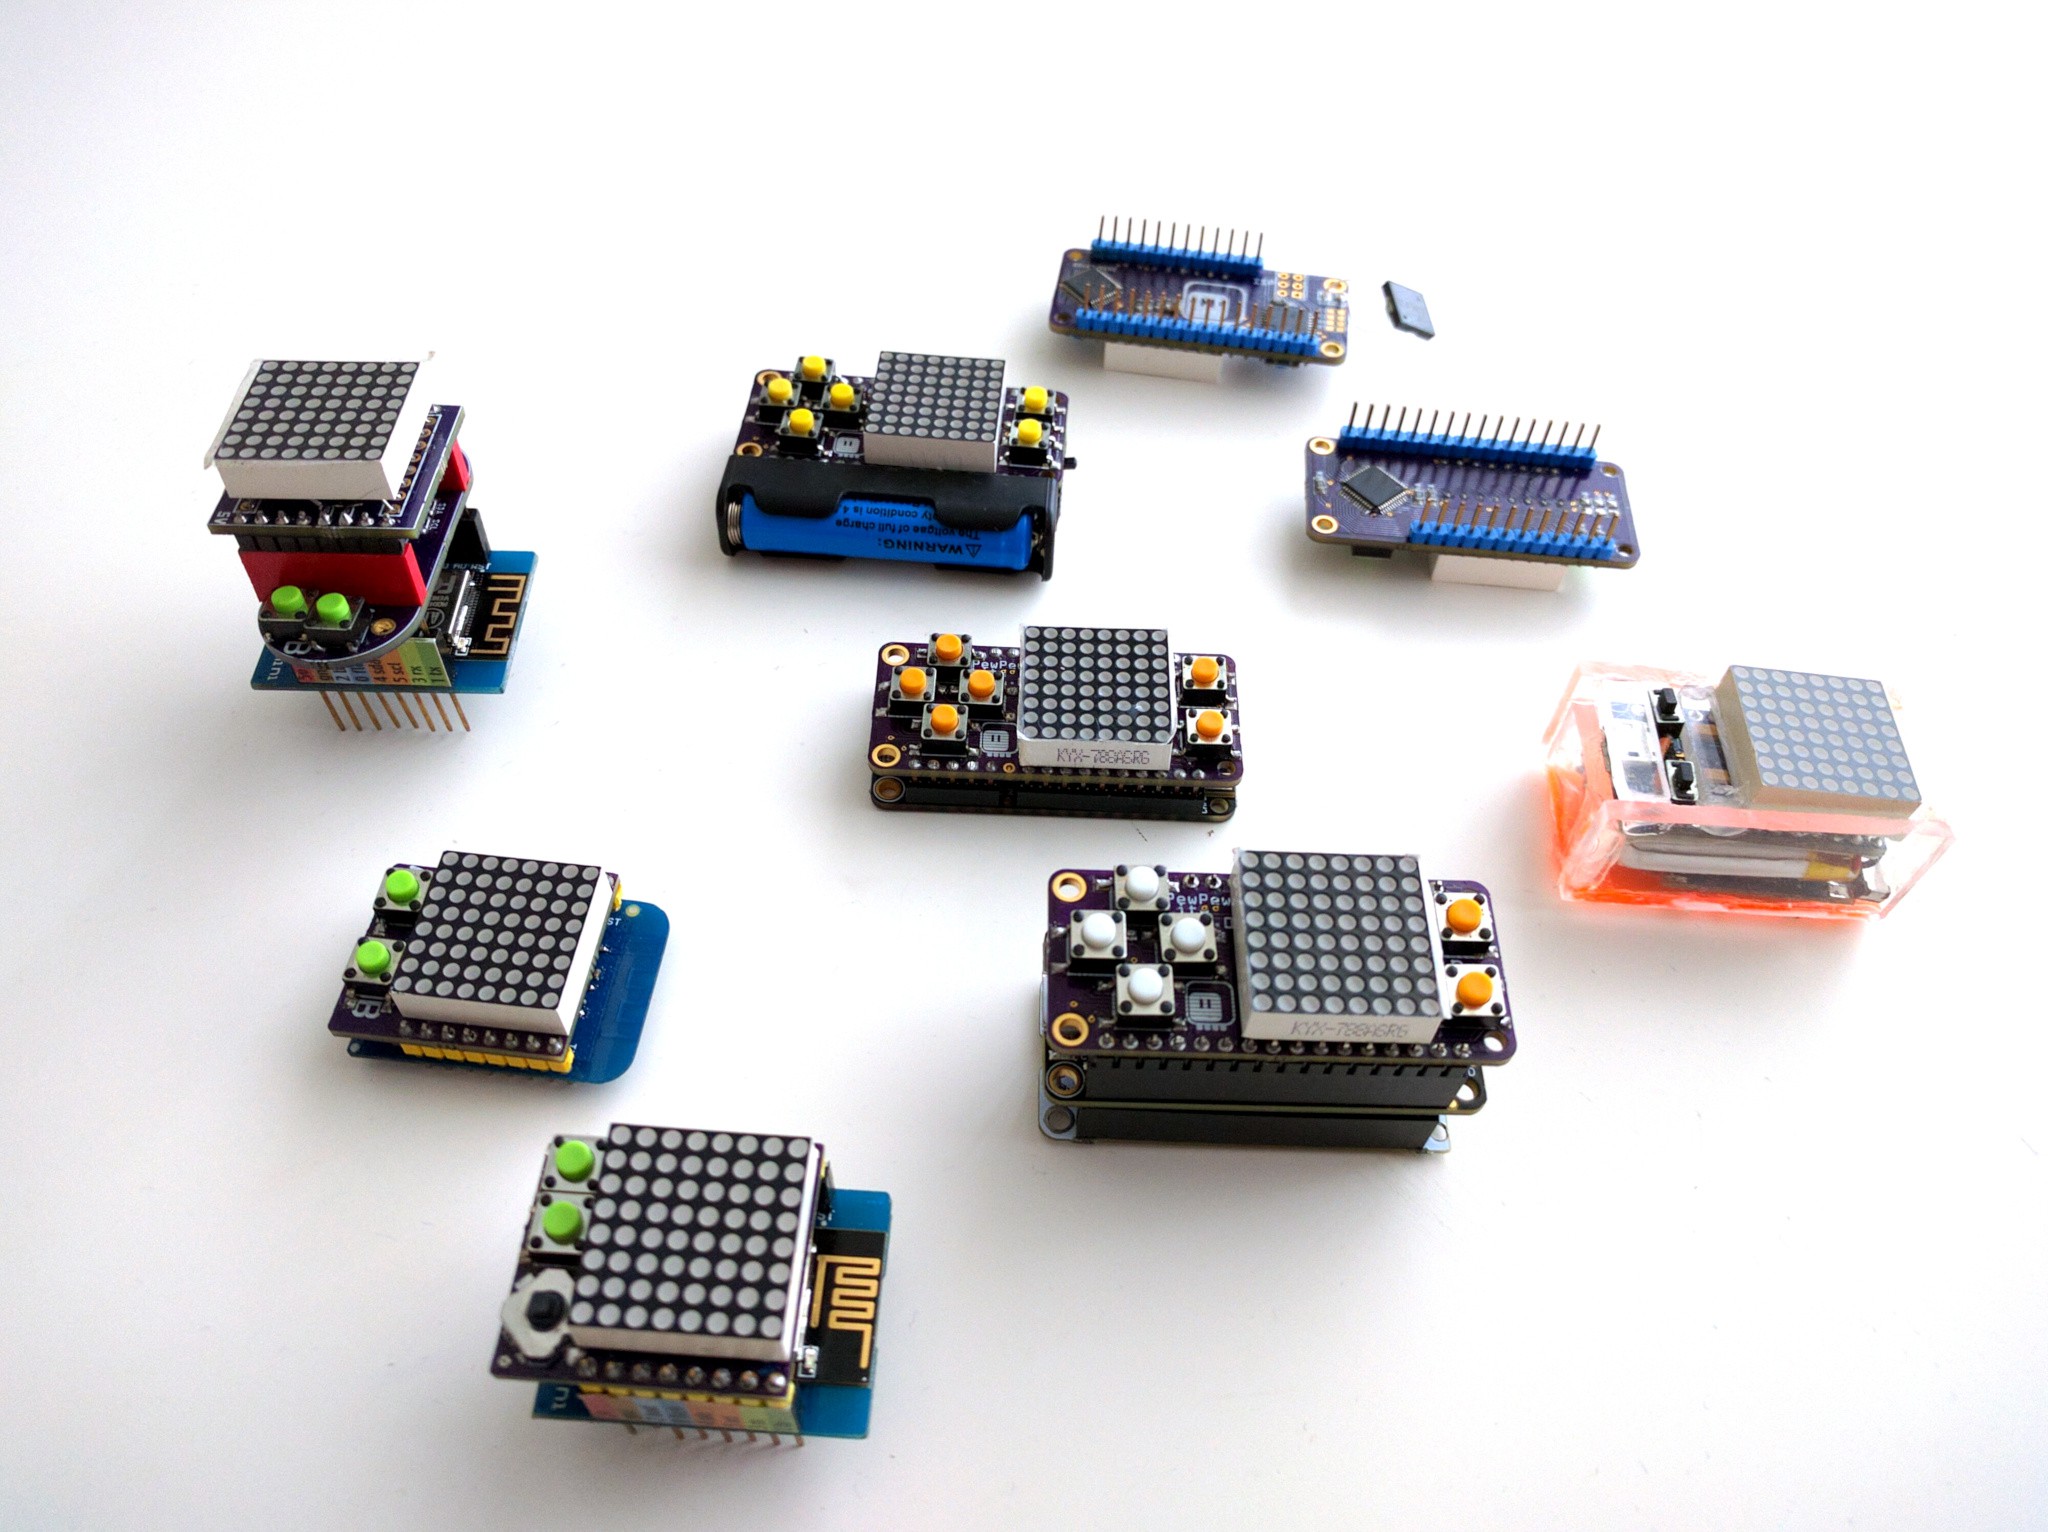
07/25/2017 at 17:21 • 0 commentsA gathered all my attempts at a microcontroller-based simple game console, and took a photo:
![]()
On the far right you can see #Frowney, then there is a bunch of different versions of the #PewPew FeatherWing, in the far left corner there is #D1 Mini X-Pad Shield, and below it there are two other shields for D1 Mini with buttons. The D1 Mini shields are too small to hold comfortably, and the small joystick is pretty hard to use, at least without anything on top of it. The feather boards are just the right size, provided the whole assembly is not too thick, like the one in the center with a battery shield.
-
BOM Updated for PewPew Lite
07/24/2017 at 12:06 • 0 commentsSince I'm starting with PewPew Lite, I updated the bill of materials to reflect that. the non-lite version will be done if the Lite version catches on — otherwise I will switch to D1 Mini as the development board.
I also added a link to the project's repository, and added a license (it's CC by-nc-sa for now). The work on the tutorials is coming slowly.
-
Business Plan
07/23/2017 at 01:09 • 0 commentsThe first step is to get the PewPew Lite featherwing to work properly, write the example games for it, and write the tutorial explaining how each one of them works. This part only requires time on my part, no special funding or resources are necessary. This should be done until the end of the year.
Once that is done, the next step is to start producing the boards and selling them on Tindie, at the same time reaching out to potential distributors. This is also the time to start running workshops, improving the documentation based on the feedback from the early users, and finding ways to outsource the assembly of the boards.
If that is successful, use the funds and experience gained from that to finish the PewPew (not Lite) board and to keep growing the community (at this point probably hired help will be necessary). Cooperate with teachers and writers to prepare lesson plans and other materials, record video tutorials, etc. With larger number of PewPew board, it should be possible to keep their price similar to the PewPew Lite.
If PewPew Lite featherwing is not successful, stop its production, and work on a PewPew D1 Mini version, which would work with much cheaper Chinese boards. Again, start selling those on Tindie, but this time the goal is to get other manufacturers to clone them, and not the distributors to sell them. Instead of preparing lessons, work on making the documentation appeal to the maker community, encourage modding and emphasize the use of those boards outside of education and games, as controllers for robots and IoT devices.
If any of those two plans works, start working on a third version of the PewPew board, this time with a TFT screen and an STM32 processor for handling it, with a tile and sprite engine and built-in example assets. Keep it compatible with the previous platforms, making all the old games work on it, but provide additional functions. Write an emulator on a PC that will allow easier debugging, and will let people try the games even without the device. Maintain a repository of games, including both the example games and 3rd party contributions (require open licenses on those). The games for older platform can use graphics based on popular themes (maybe get licenses from movies etc.).
-
Scrolling and Text
07/22/2017 at 22:45 • 2 commentsWhile most games will be simple enough to just use the individual pixels on the matrix, we still need a way to display text to the player — to show errors, to list the available games, to show the "game over" text, etc. So today I worked on that.
I designed my own 4×6 4-color font specially for this. The effect of using the 4 available colors for shading when they actually have very different hues is a bit strange, but you get used to it and I think it's actually quite readable:
![]()
I might add an option of displaying the text in just a single color — the font is designed so that it's still readable if you "round" the half tones.
The scrolling is actually quite slow on the SAMD feathers (the maximum speed is about twice as on the gif above), but I think it's quite sufficient for text.
PewPew FeatherWing
A shield for Adafruit Feather boards with buttons and a LED matrix display, for simple games.
 deʃhipu