 deʃhipu
-
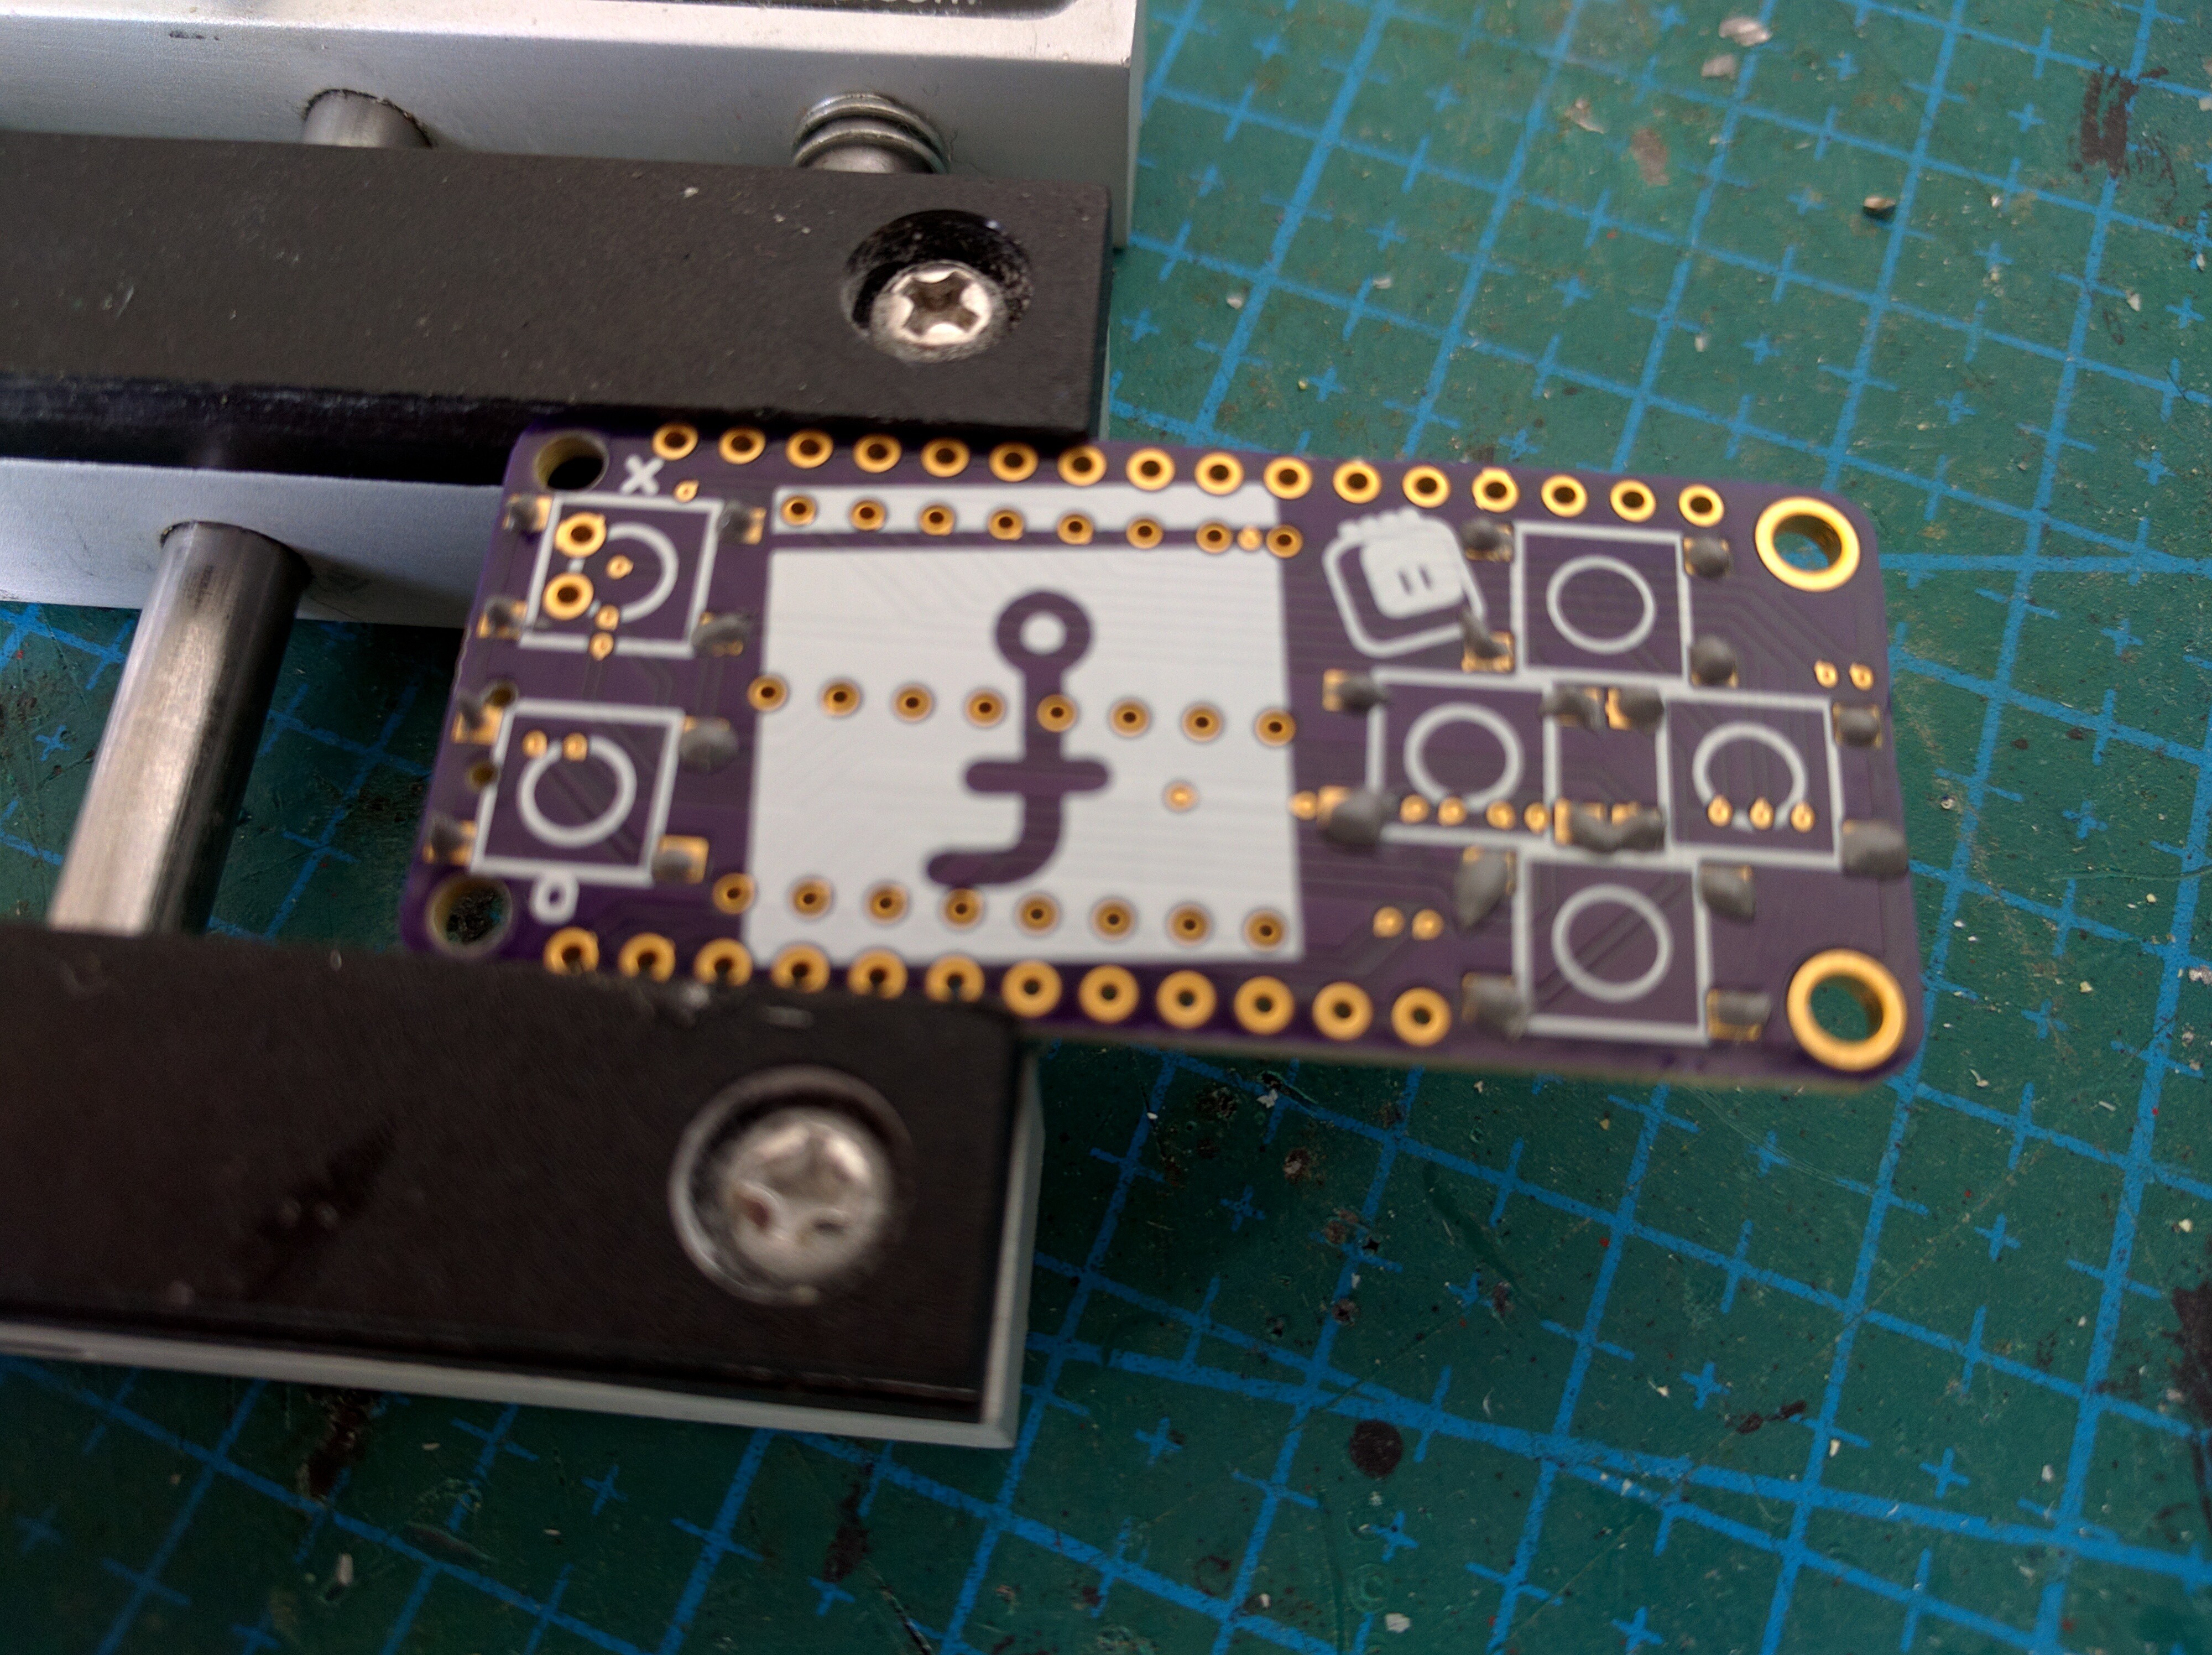
1Solder paste for the buttons
Heat the board a little bit with your hot-air station, and then apply the soldering paste on all the button pads.
![]()
-
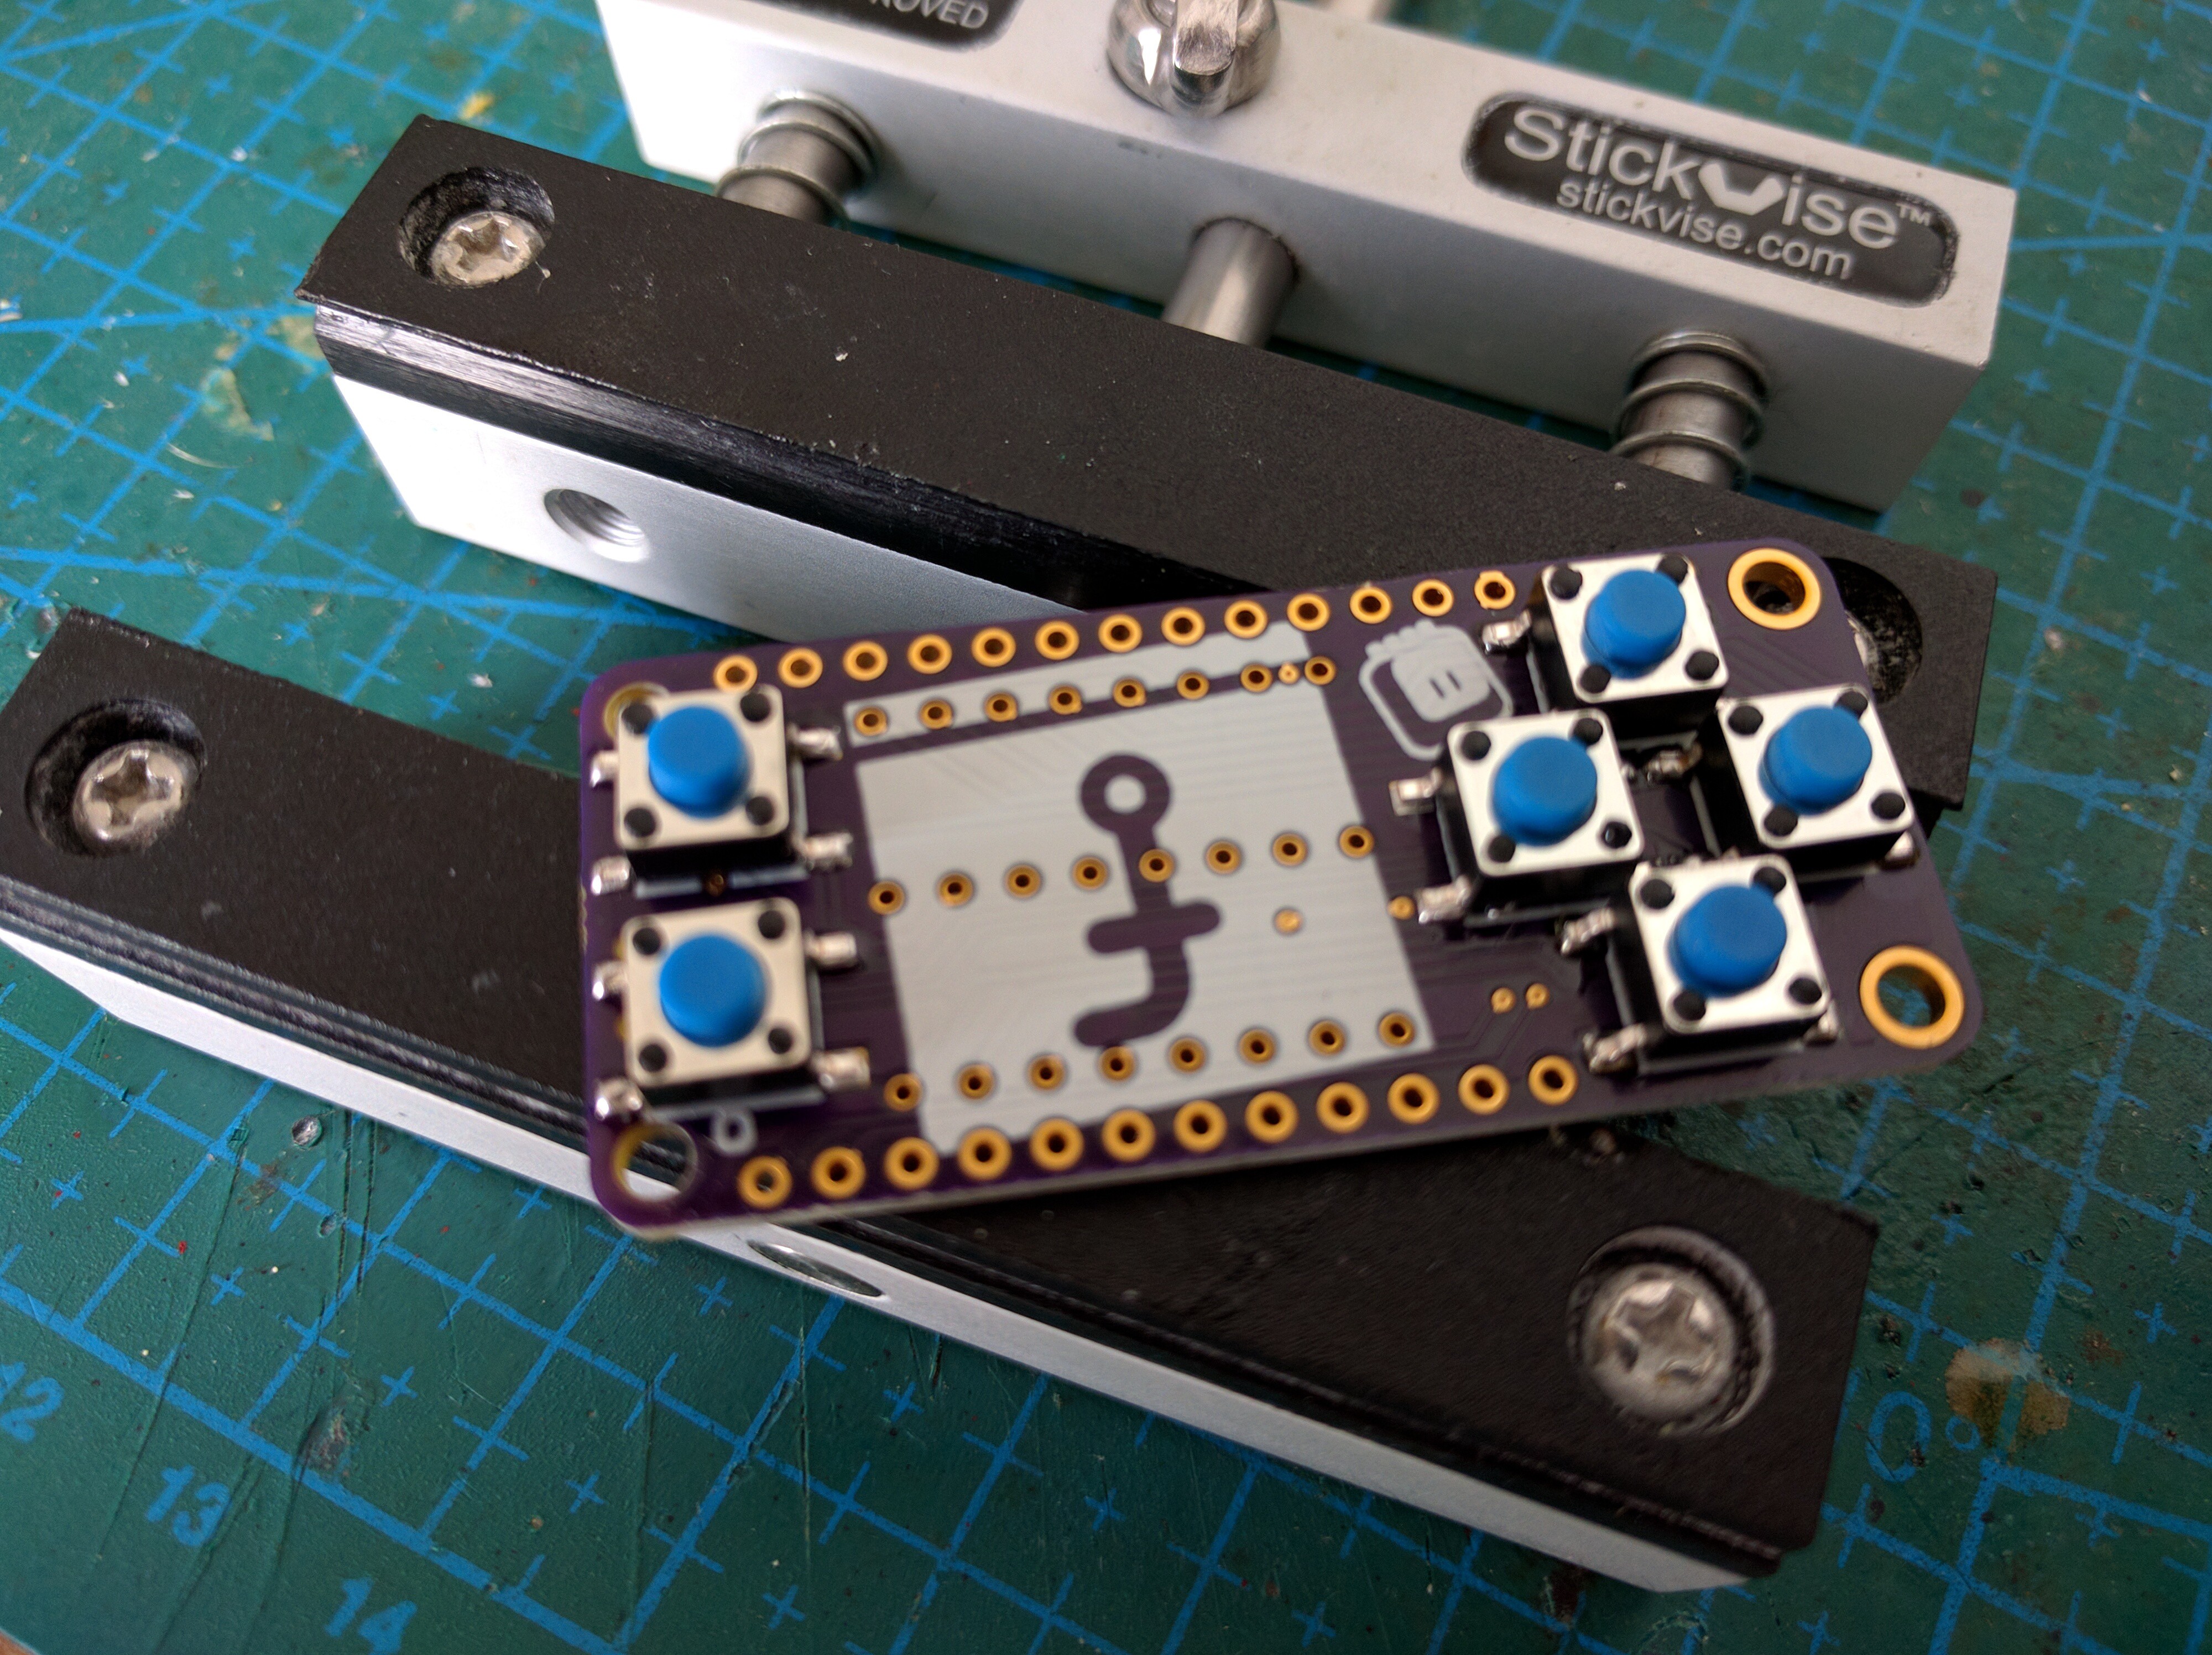
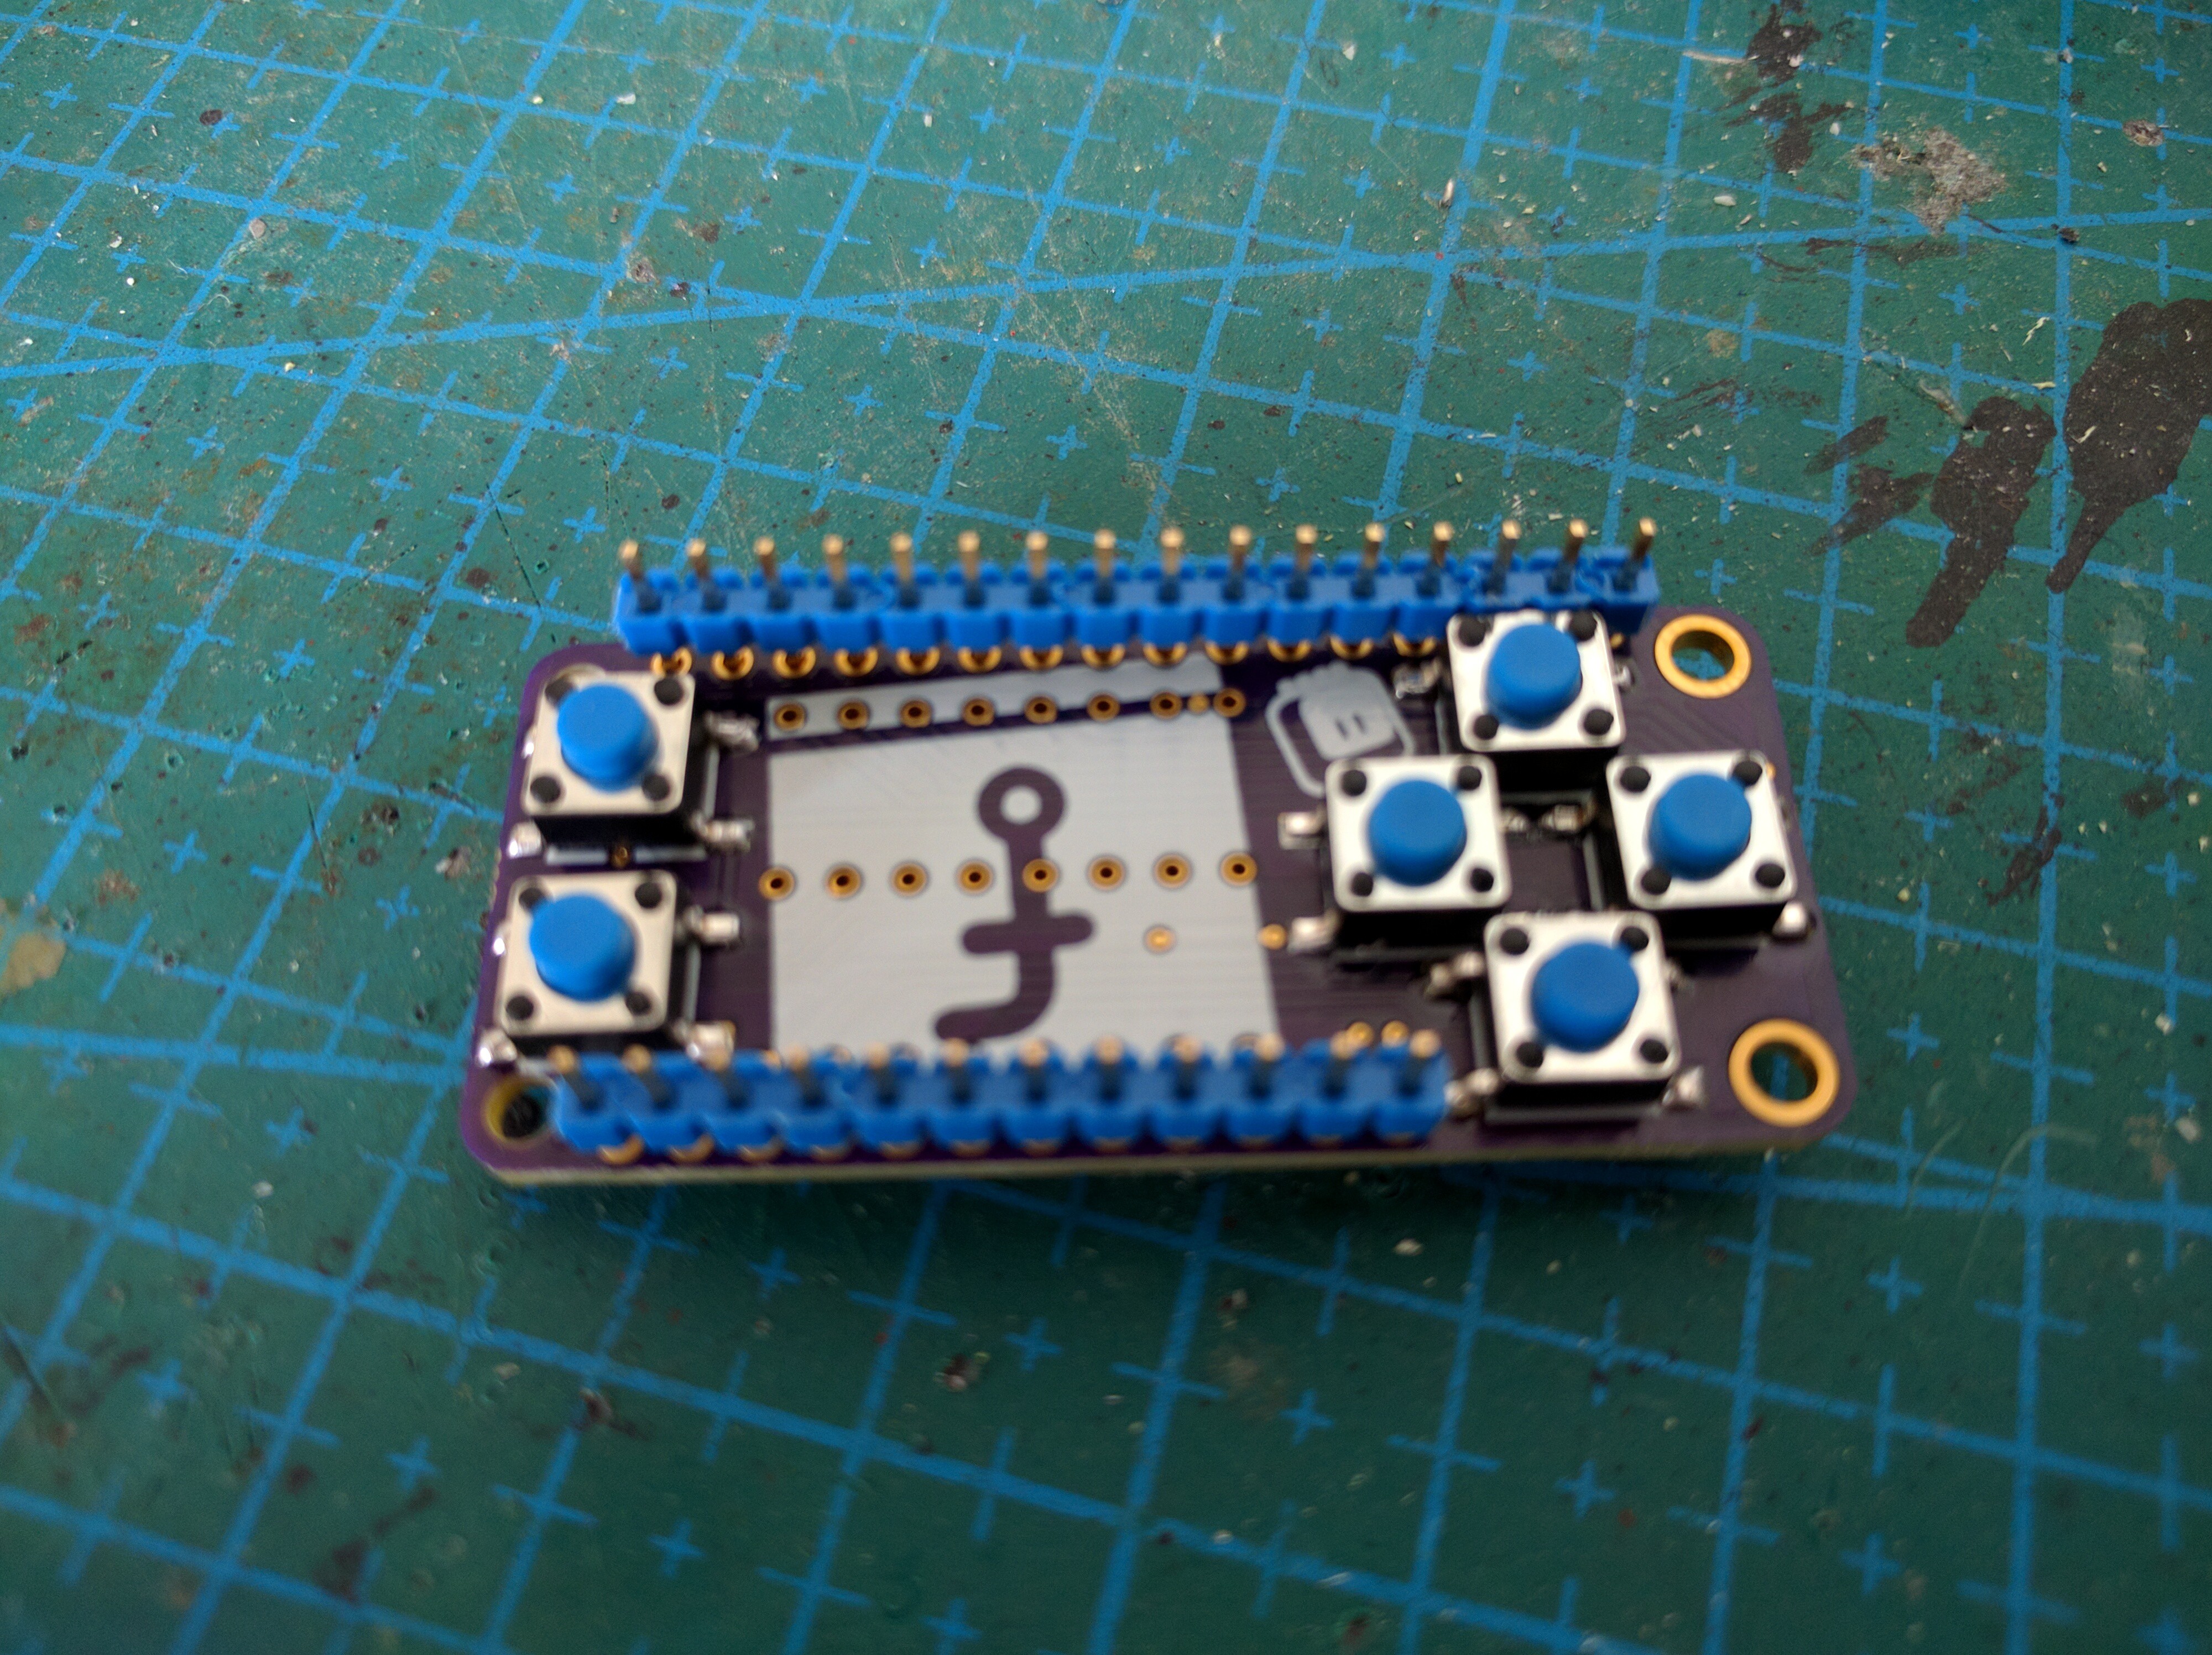
2Place buttons
Place the buttons in they correct positions. Be careful to align them properly, as the surface tension of the solder will not be enough to move them.
![]()
-
3Solder buttons
Apply the hot air to solder the buttons. Be careful to not melt the plastic caps.
![]()
-
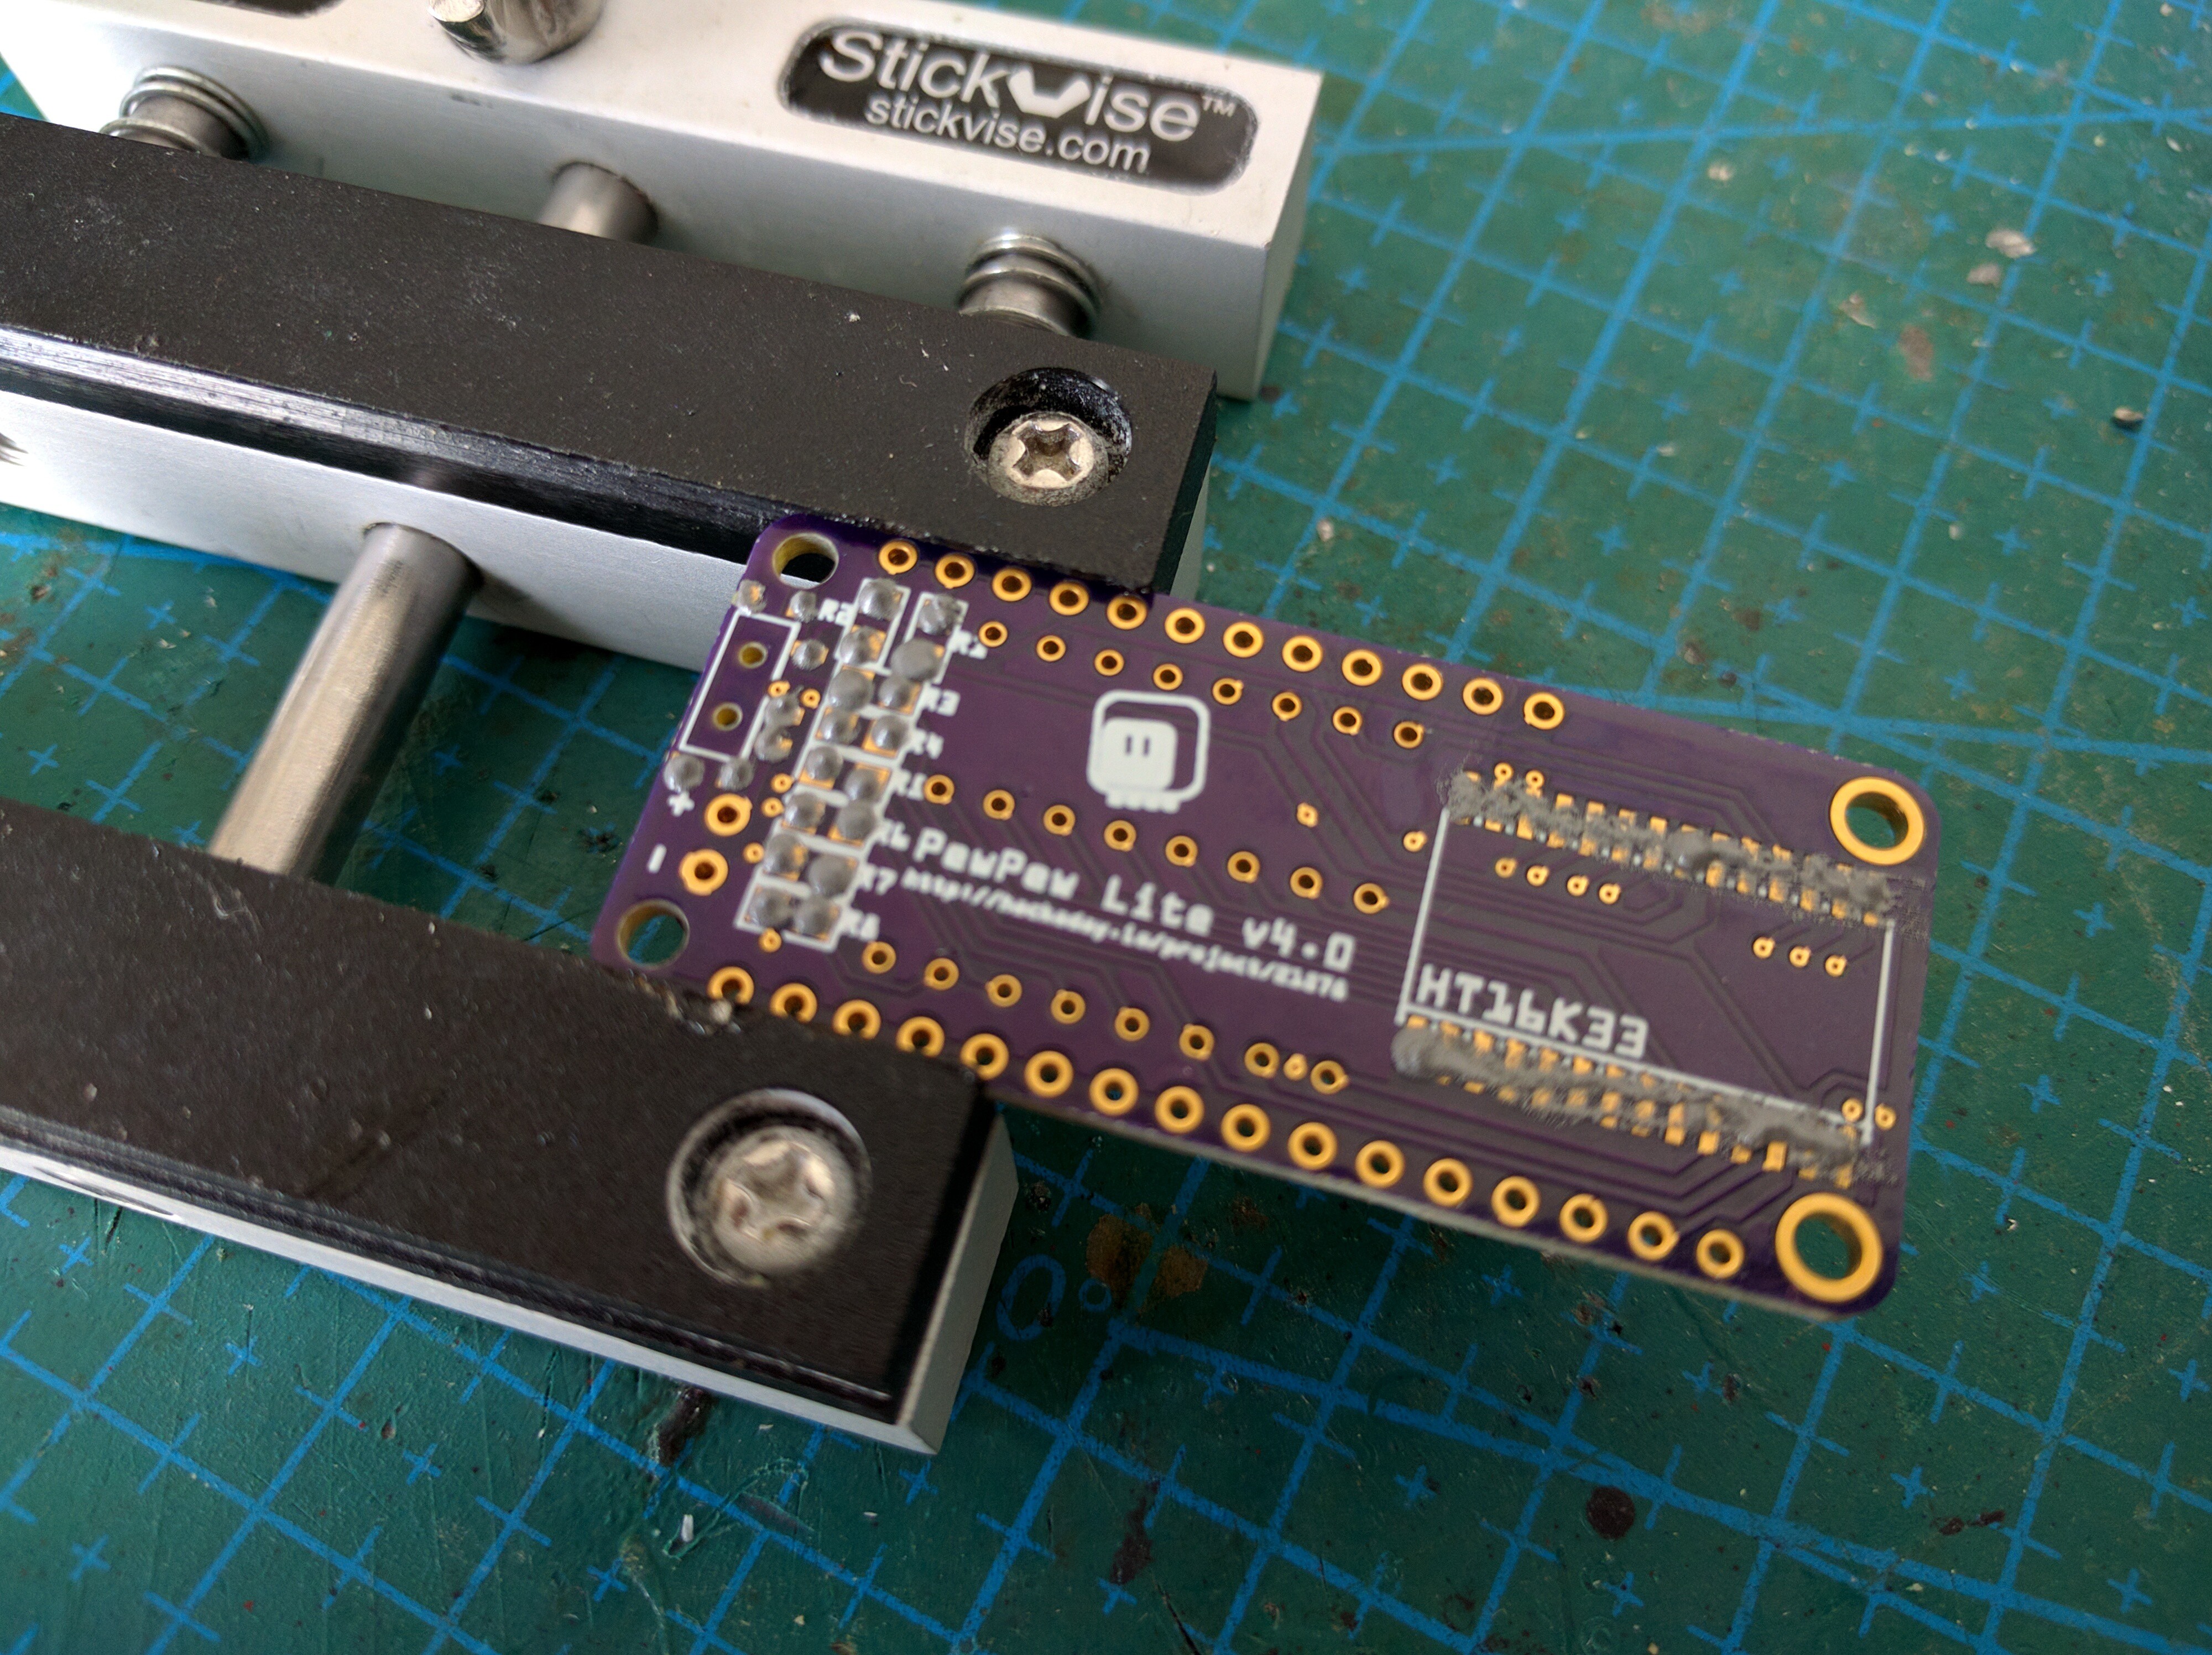
4Solder paste for the components
Flip the board, and apply the solder paste to all the pads on the other side.
![]()
-
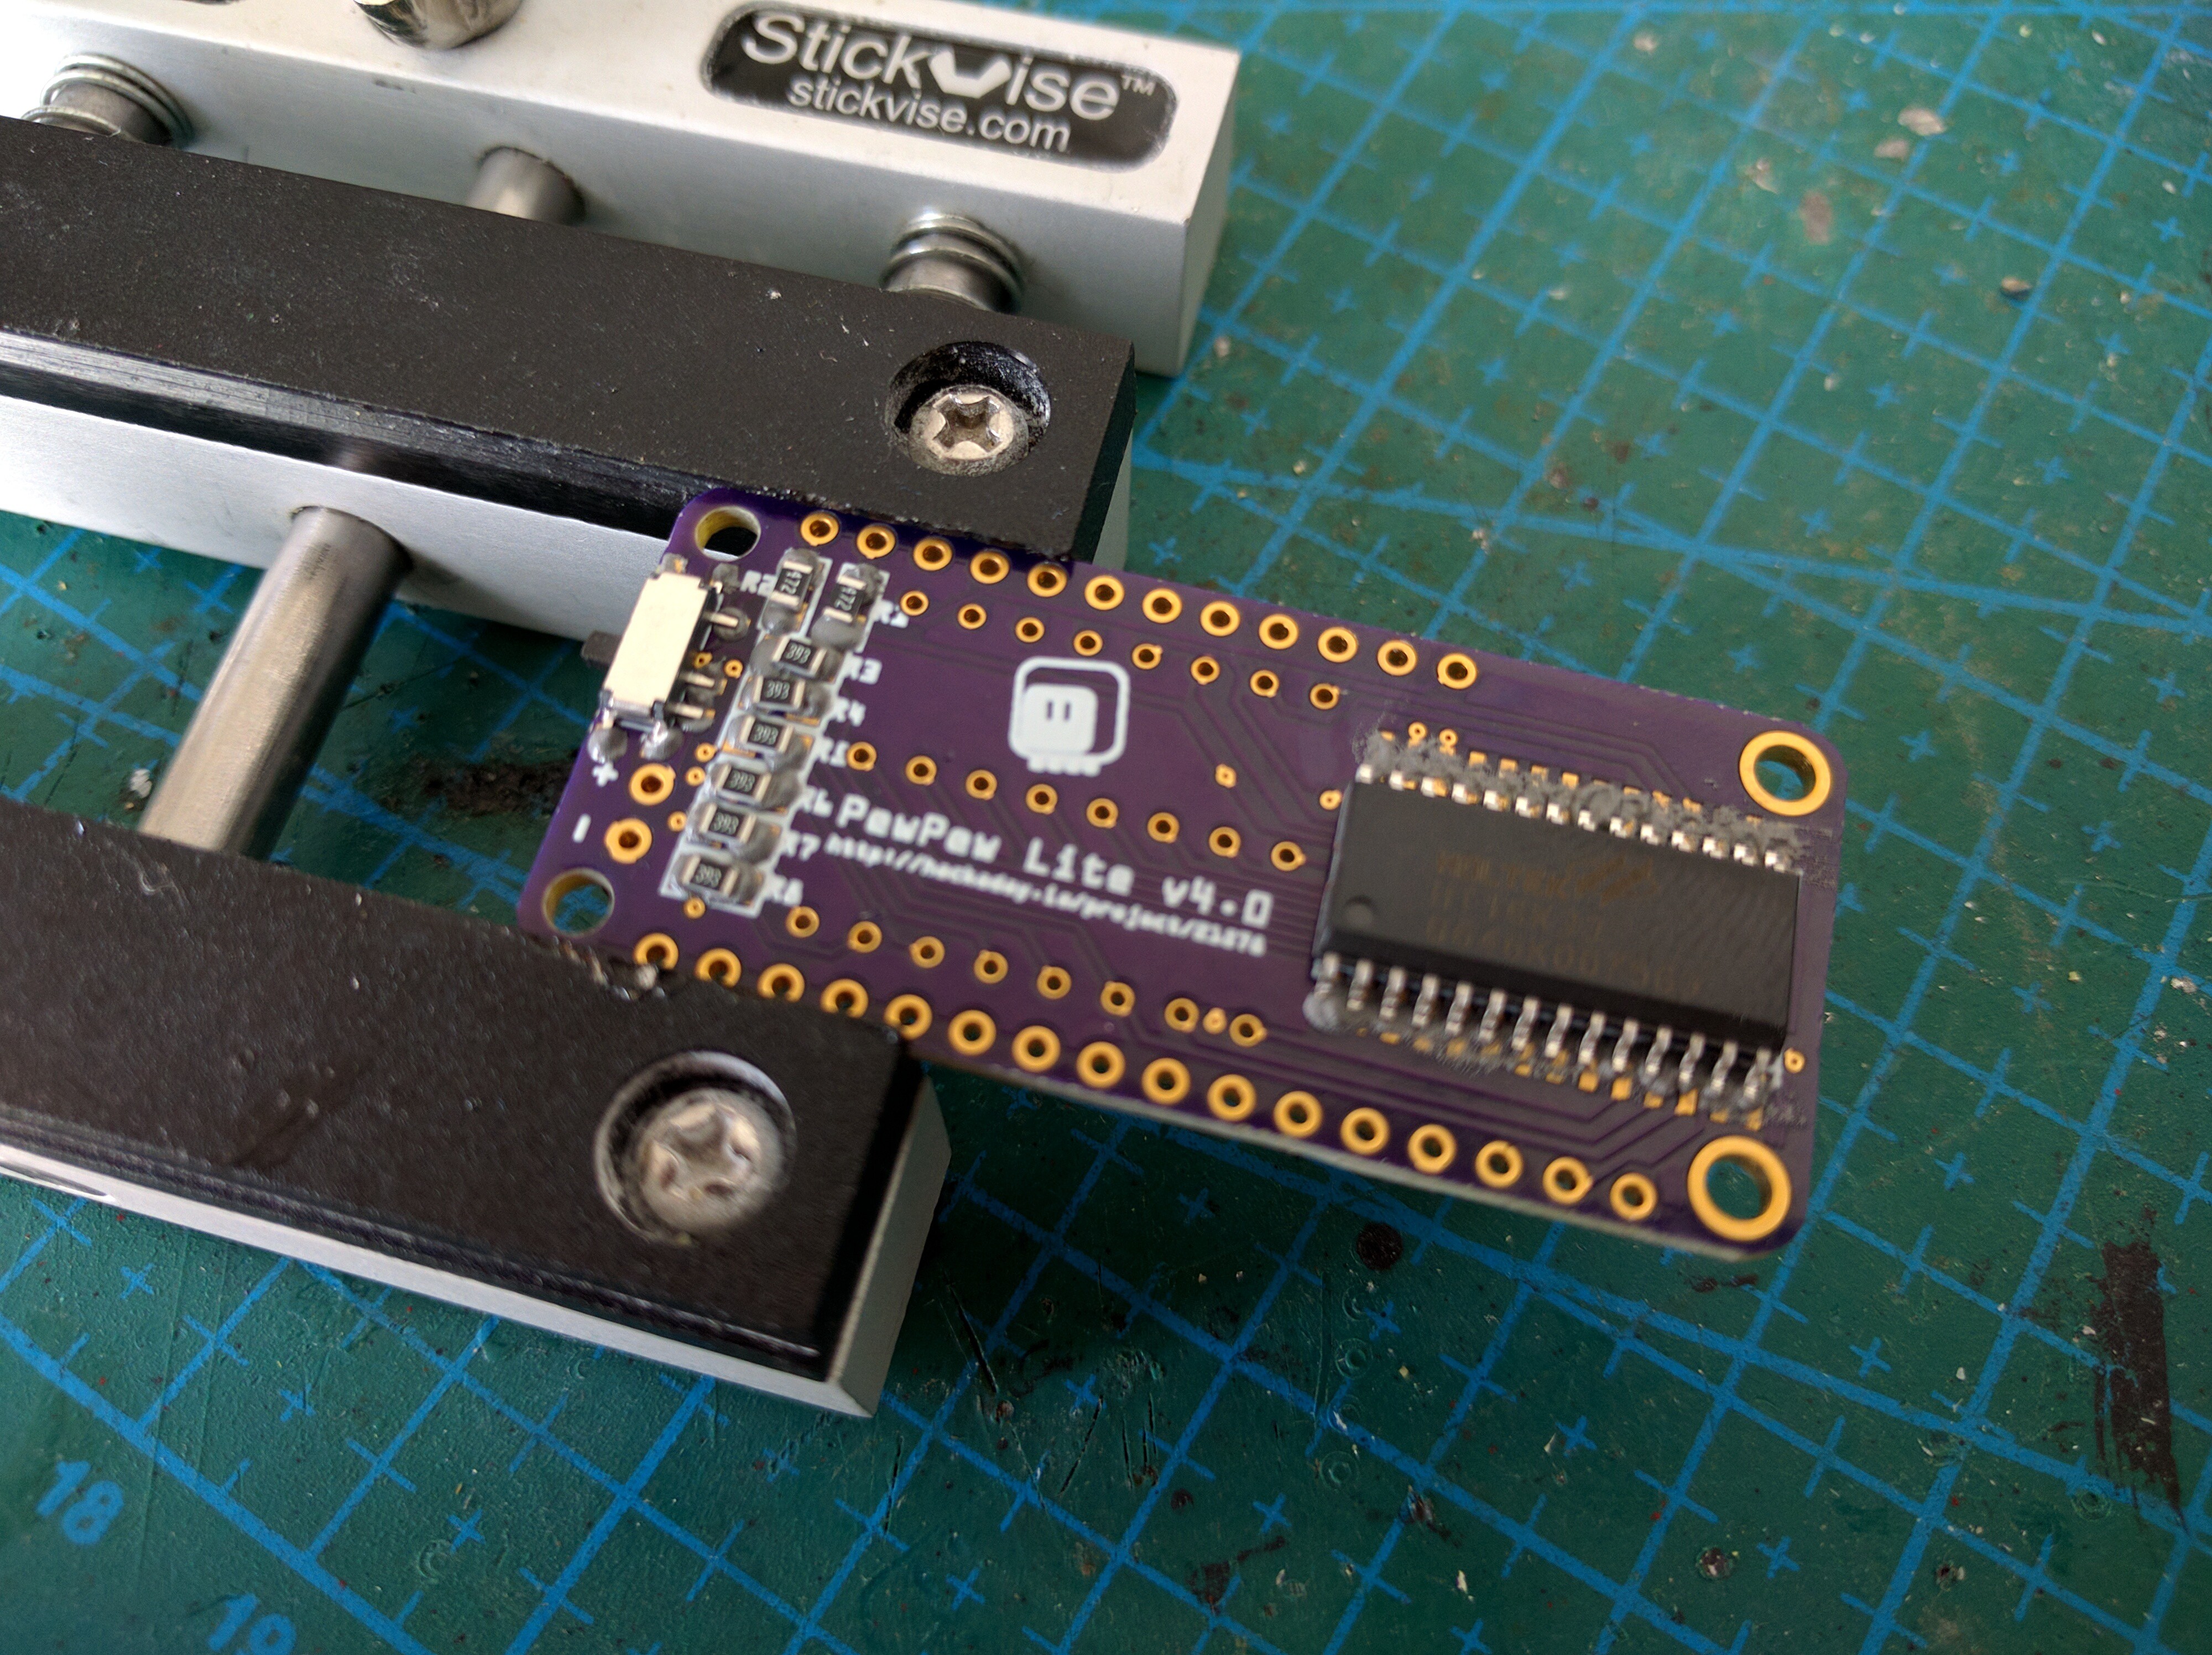
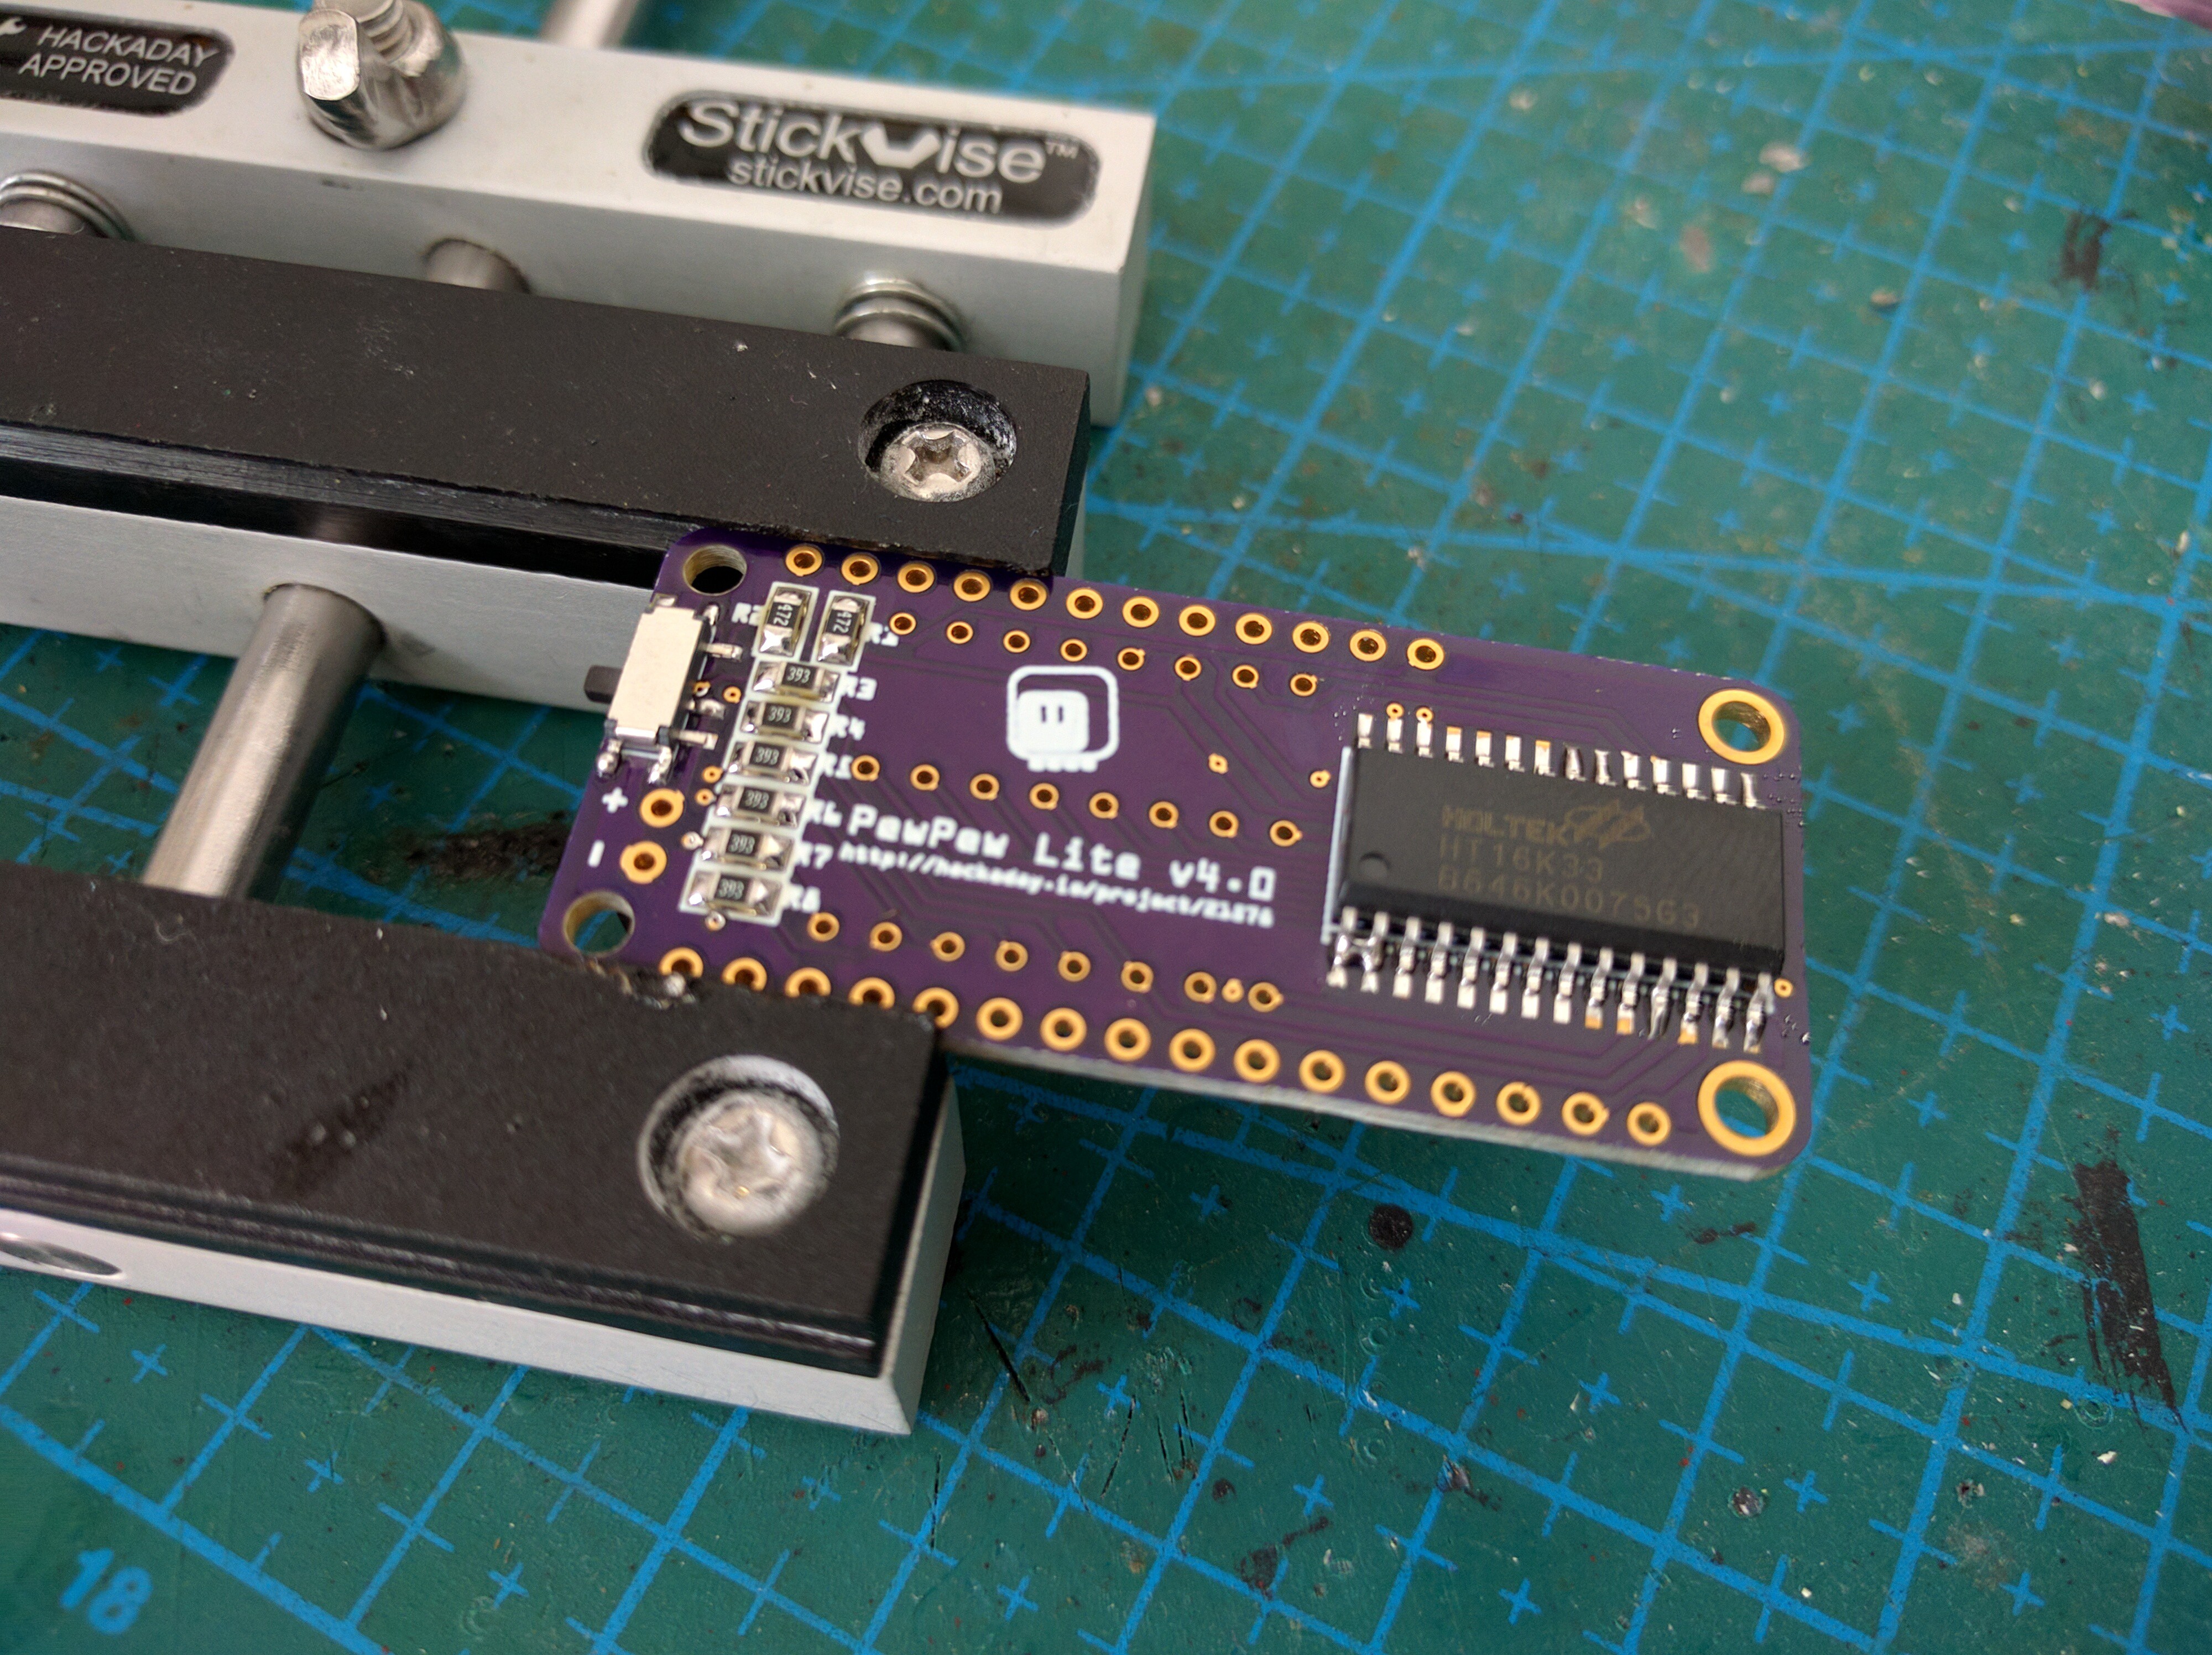
5Place components
Place the components. Make sure to align the chip properly — it is also too big to move with the surface tension. Pay attention to the resistor values.
![]()
-
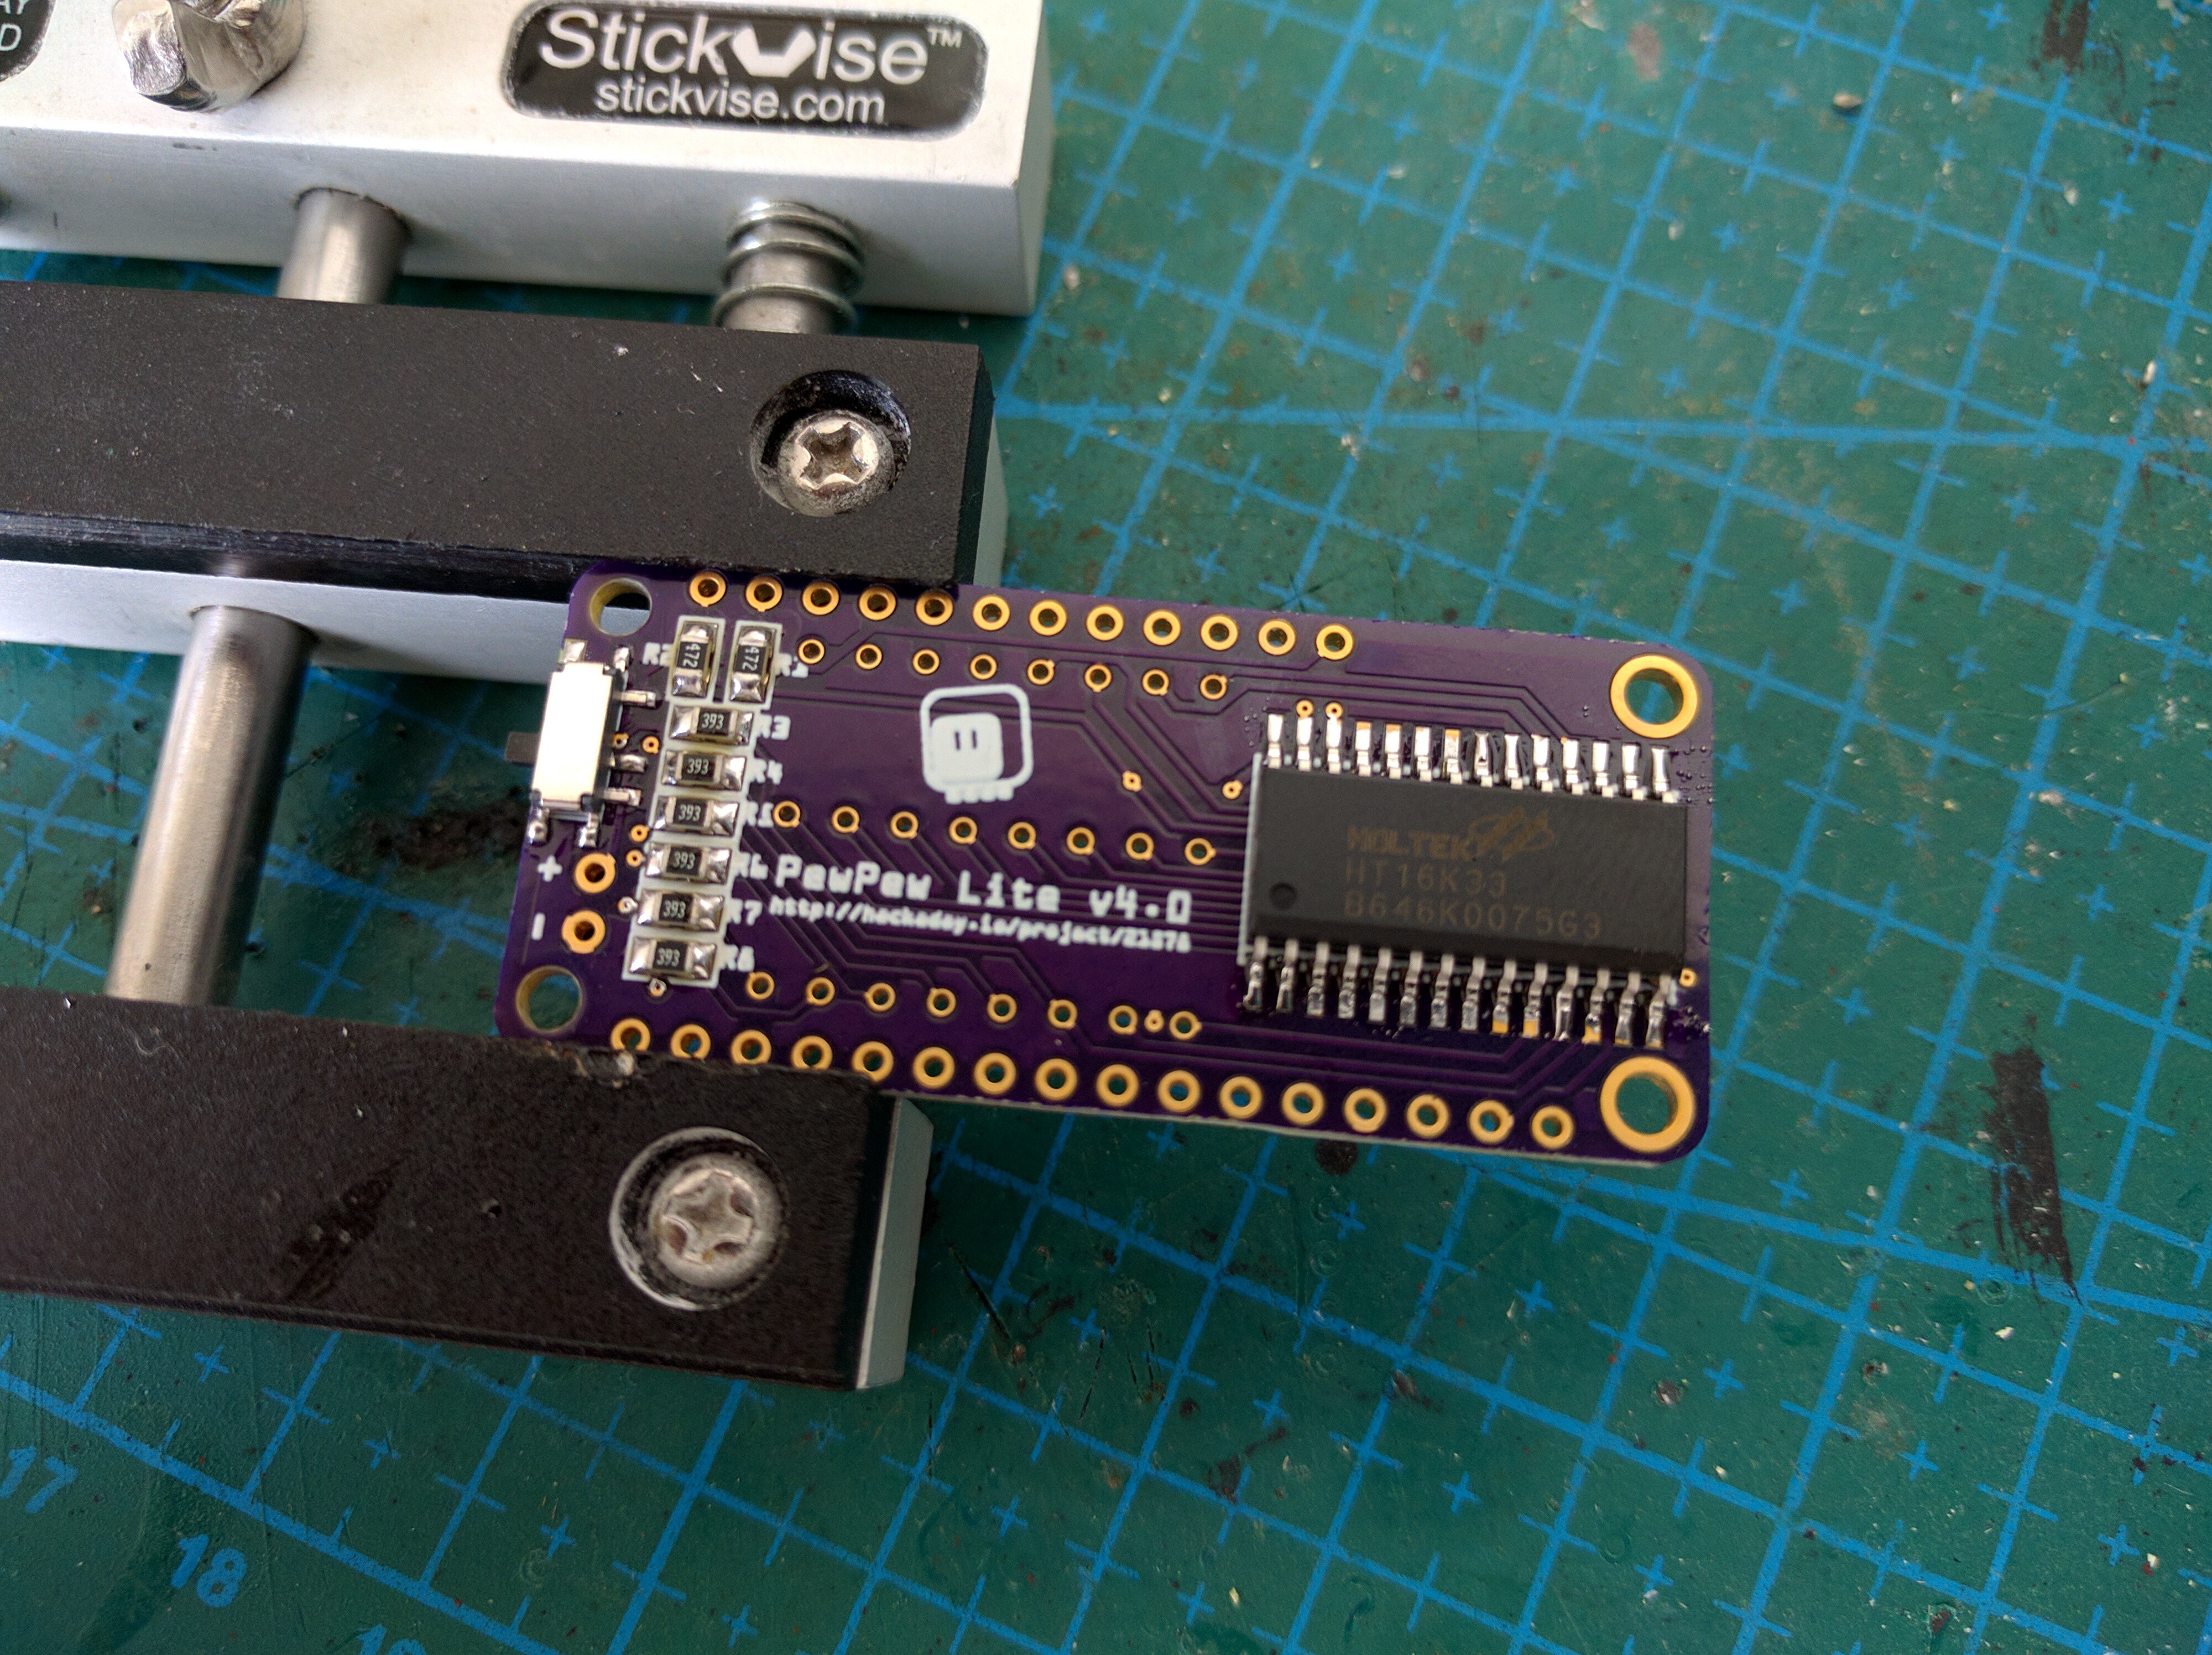
6Solder components
Apply the hot air. Be careful to not blow the resistors away.
![]()
-
7Remove bridges
Use a suction tool or a copper wick to remove any solder bridges you might have gotten, like in this case between the first and second pins of the chip.
![]()
-
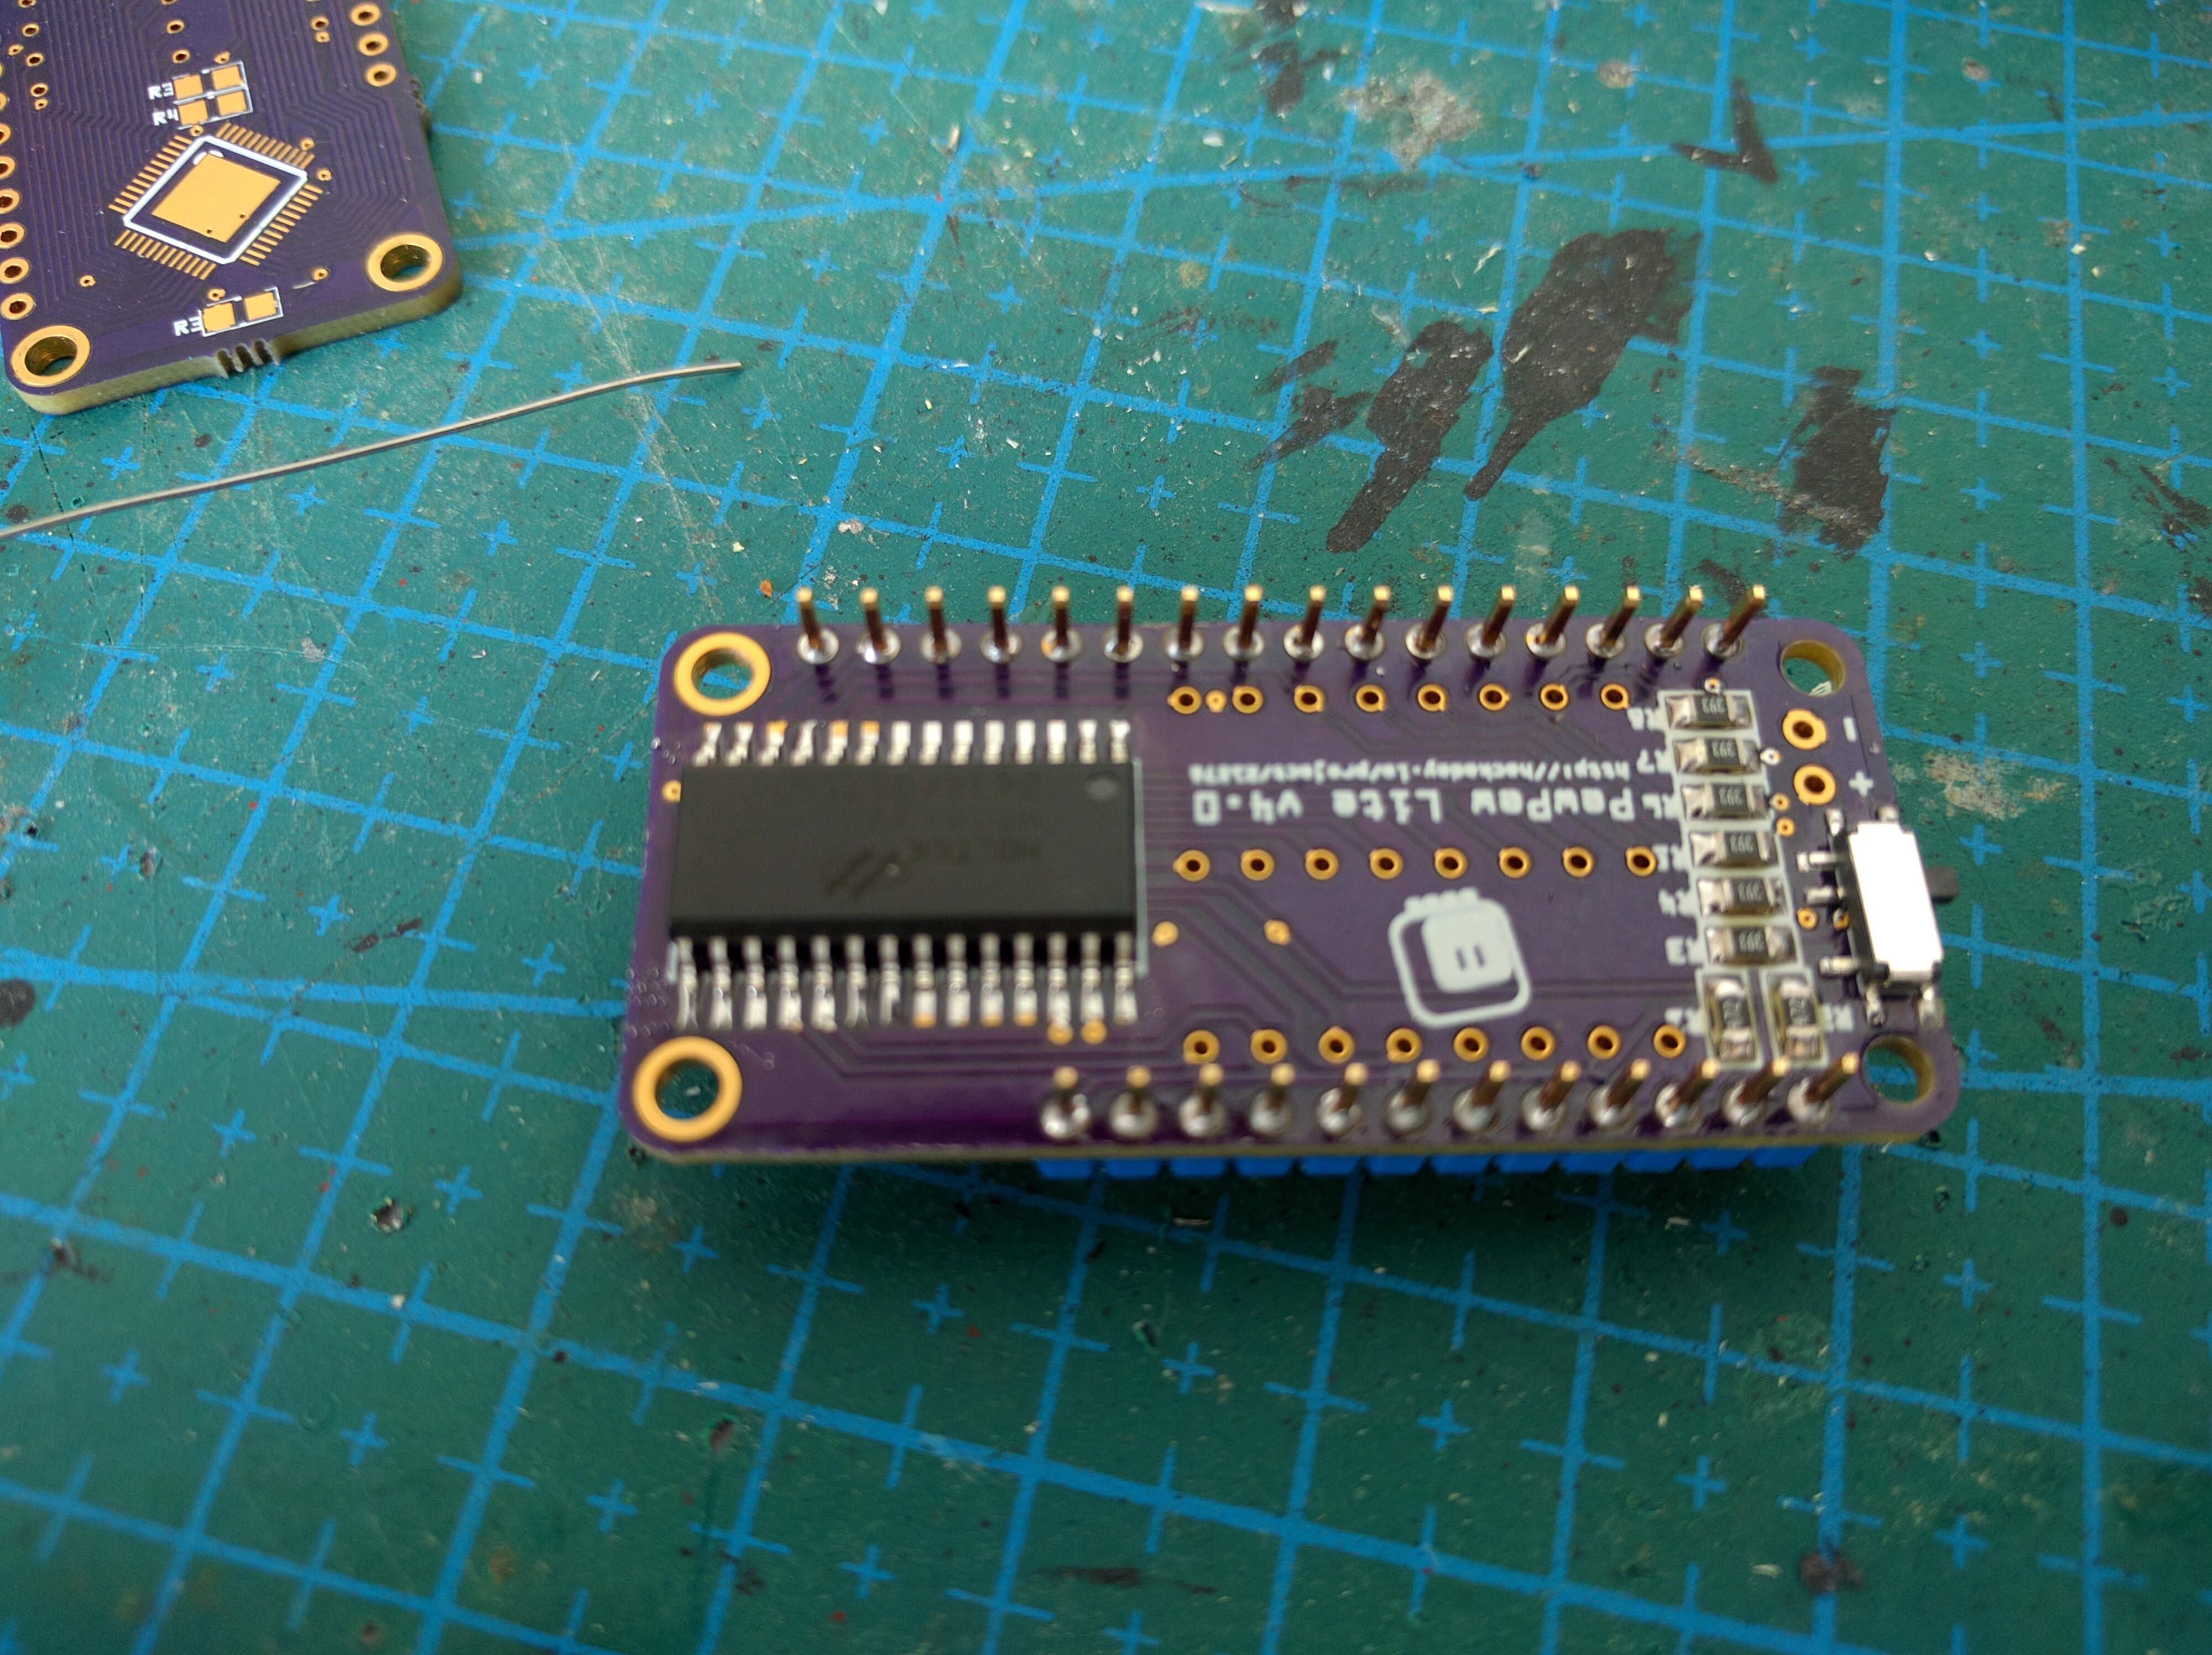
8Insert headers
We are going for a low profile look, so we will solder the headers in reverse. Insert the male headers from the top, long side down.
![]()
-
9Solder headers
Now flip the board and solder each pin in place. Make sure to not use too much solder and make the joint as flat as possible. Use a suction tool or a wick to remove excess solder.
![]()
-
10Remove plastic from headers
Once the headers are all soldered, you can remove the plastic that held them together. Use wire cutters or tweezers to pry it off. Be careful to not damage the buttons in the process.
![]()
PewPew FeatherWing
A shield for Adafruit Feather boards with buttons and a LED matrix display, for simple games.


Discussions
Become a Hackaday.io Member
Create an account to leave a comment. Already have an account? Log In.